Should you wet your face before using cleansing gel? A clear gel may make you want to add water as you would with a face wash, but makeup removal and face washing serve different purposes. First check what your product is for and how it should be used with water.
This guide covers gel makeup removers that rinse off with water or lukewarm water, from preparation and dispensing to working them over makeup, rinsing, and washing afterward. Wipe-off-only products and leave-on moisturizing gels are not included. Even among gels, the amount to use and the makeup they can remove vary by product.
1. Check whether the gel is a makeup remover before using it
First read the container and outer box to see what the product removes, looking for wording such as “makeup remover” or “cleansing product.” “Gel” describes the texture; it does not mean that every gel removes makeup. Distinguish it from non-foaming gel face washes as well.
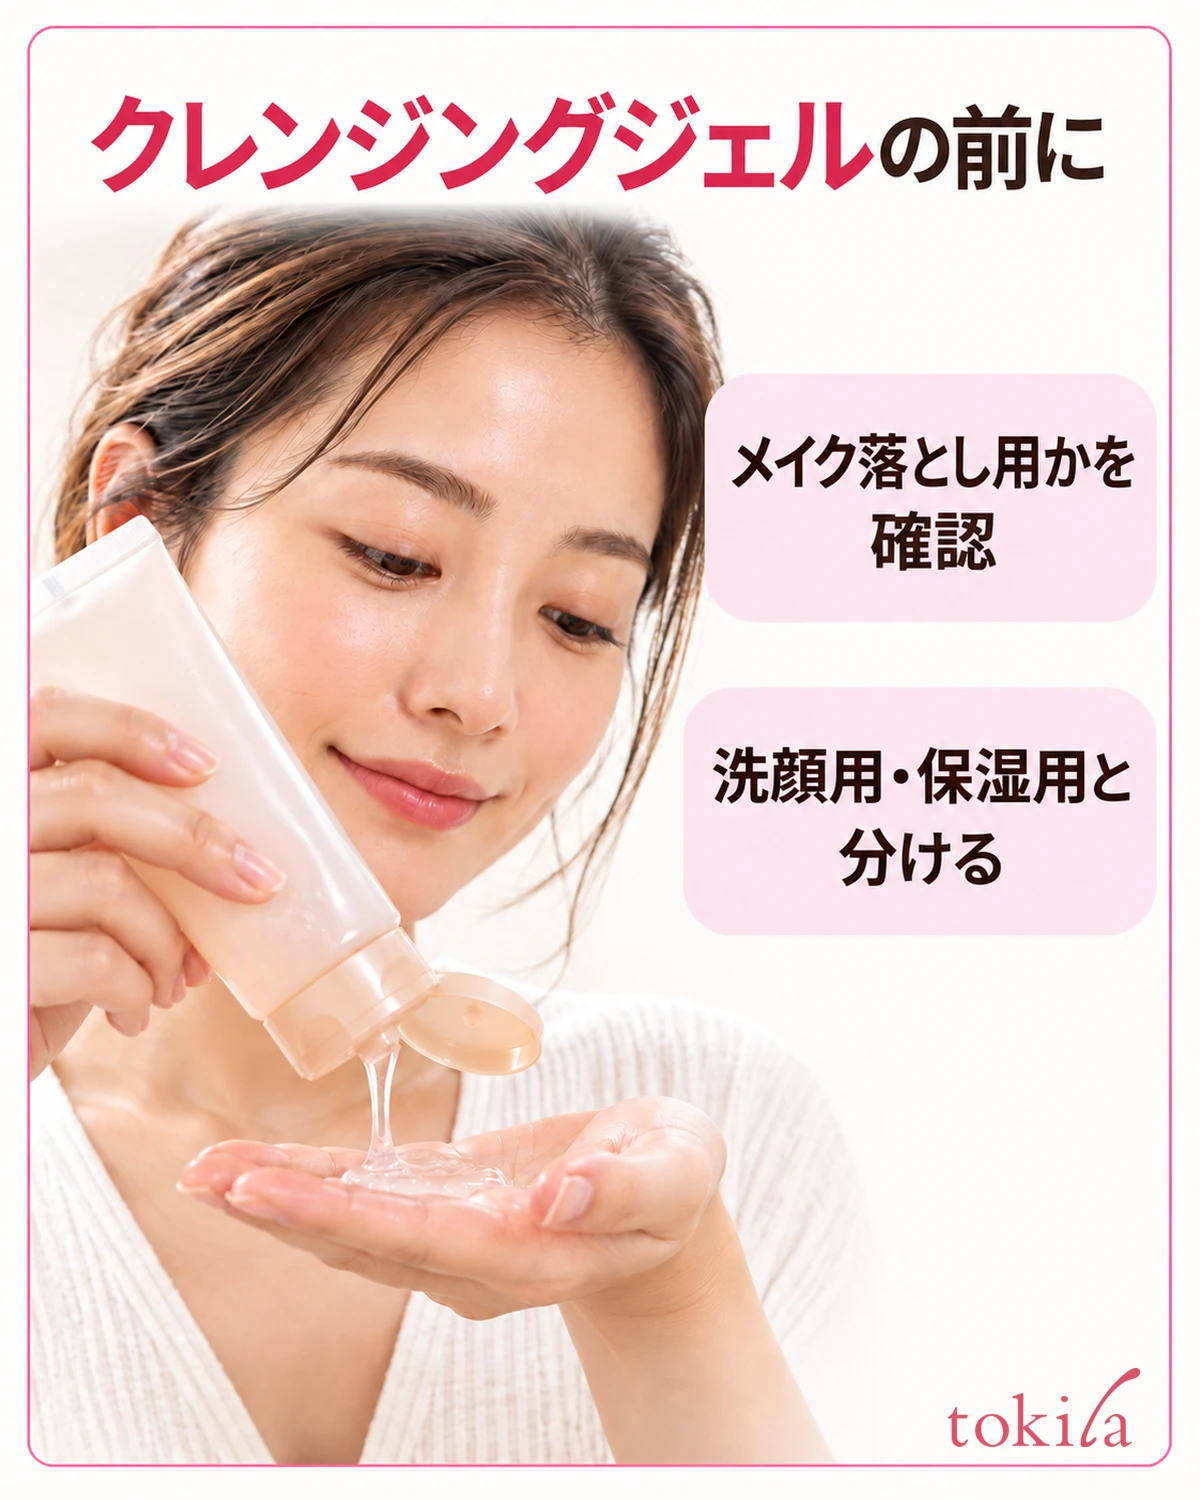
On days when you wear makeup, also check how to remove your foundation and sunscreen. Decide whether face wash alone is sufficient or a makeup remover is needed by considering the instructions for the products you applied. Having a cleansing gel does not mean you must decide in advance to use it every morning.
Waterproof mascara and long-wearing lipstick may not come off with an all-over facial gel alone. Read the makeup’s directions too, including whether it calls for a dedicated remover or warm water. Check where a product may be used around the eyes and which makeup it removes, rather than trying to remove unsuitable makeup with greater pressure.
Do not assume from color alone that a clear gel contains no oil or that a white one cleanses more strongly. The gel format does not determine whether a product will irritate skin or suit every skin type. Reading the permitted areas, required condition of hands and face, and instructions for washing afterward helps you choose the steps needed that day.
If you want to use a non-foaming face wash, you can distinguish the purposes in How to Use Non-Foaming Gel Face Wash. Rather than transferring face-wash steps to a makeup remover, return to the instructions for the product you are about to use and prepare accordingly.
2. Adjust moisture on your hands and face, and dispense the indicated amount
After cleaning your hands, check whether the gel requires dry hands before dispensing it. If so, wipe away water droplets; if the instructions also say not to wet your face, begin that way. Being at the sink to wash your face and wetting your face before working a remover over makeup are separate decisions.
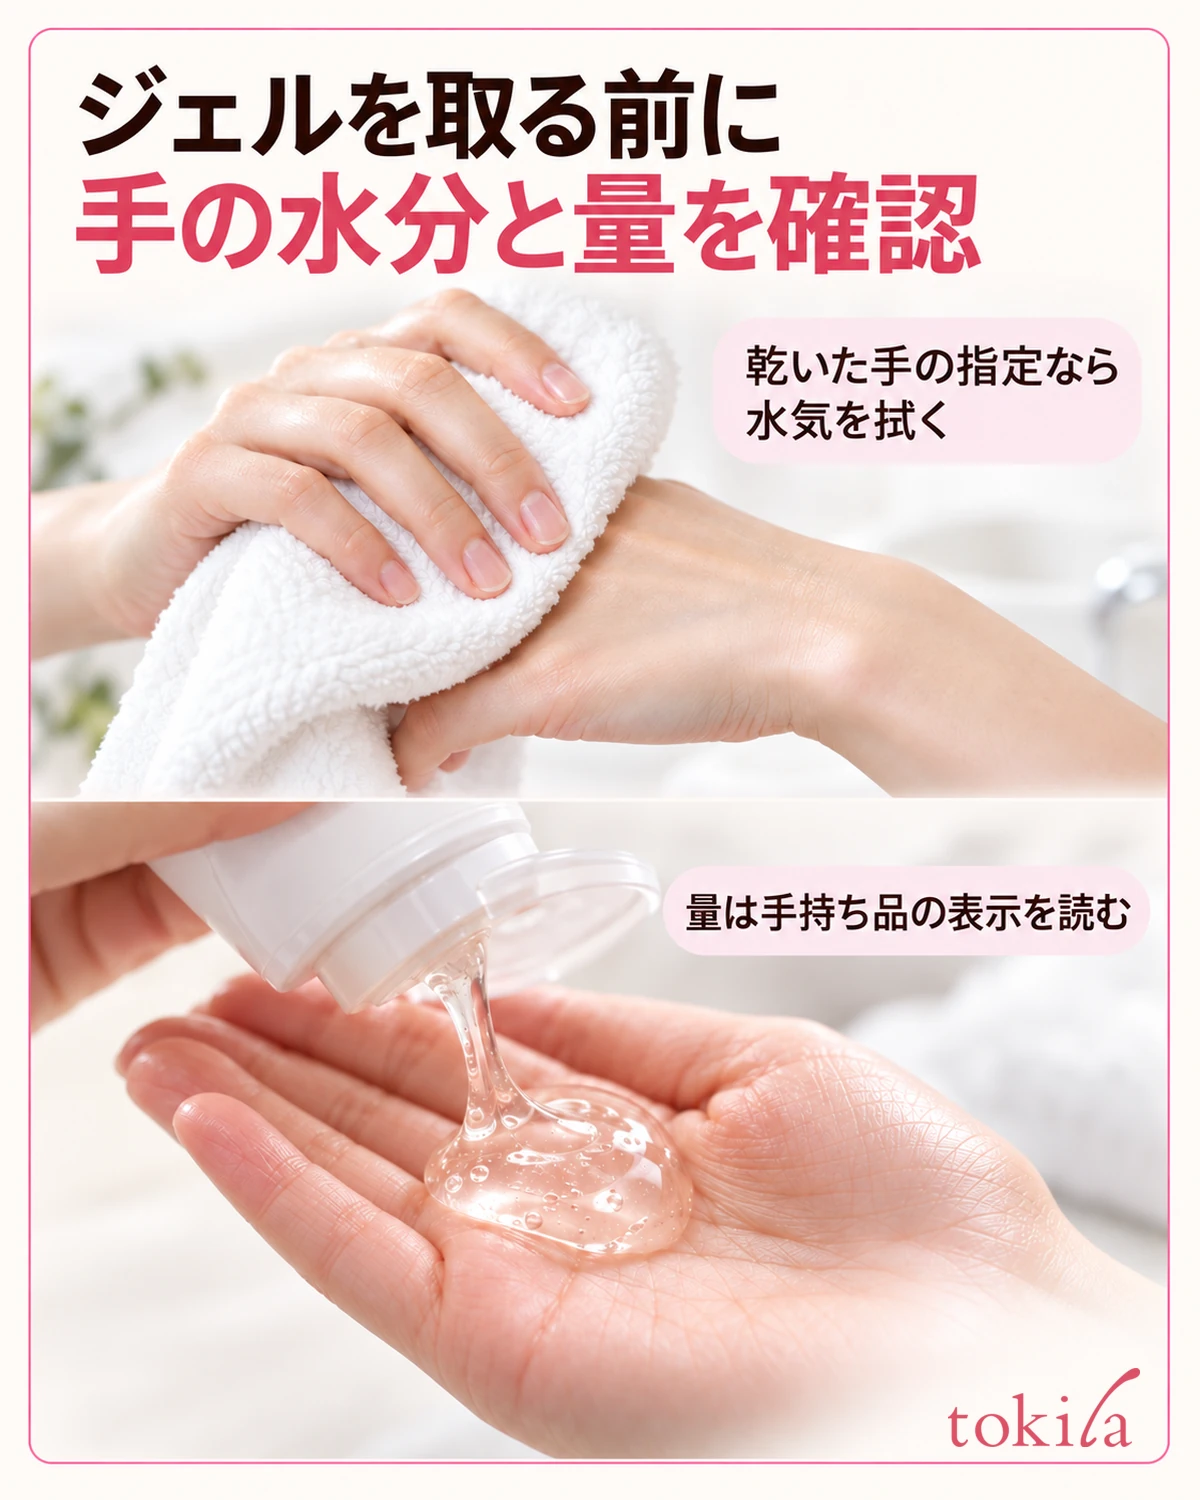
Some products that can be used on wet hands or skin provide additional conditions, such as for removing heavier makeup. Do not stop at the phrase “can be used wet”; read the explanation that follows. It is important not to apply conditions learned from another gel to the one you are using now.
Use your product’s indicated amount per application, whether expressed as a diameter, a bead size, or pump strokes. Tube openings and the quantity from one pump are not identical. Do not use a photo of another product, or the mound shown in the photos here, to measure the actual amount you need.
Avoid using so little gel that you have to stretch it forcibly to the edges of your face. Start by dispensing the indicated amount into your hand and consider how to distribute it over the specified area, such as the whole face. Conversely, there is no need to keep applying more simply to use up an excessive amount you dispensed.
When dispensing from a tube, leave a little space between its opening and your palm instead of pressing the opening against your skin. Preparing a place to set the container means you can put it down before working the gel onto your face. Do not return dispensed gel to the container or add water inside it to dilute the contents.
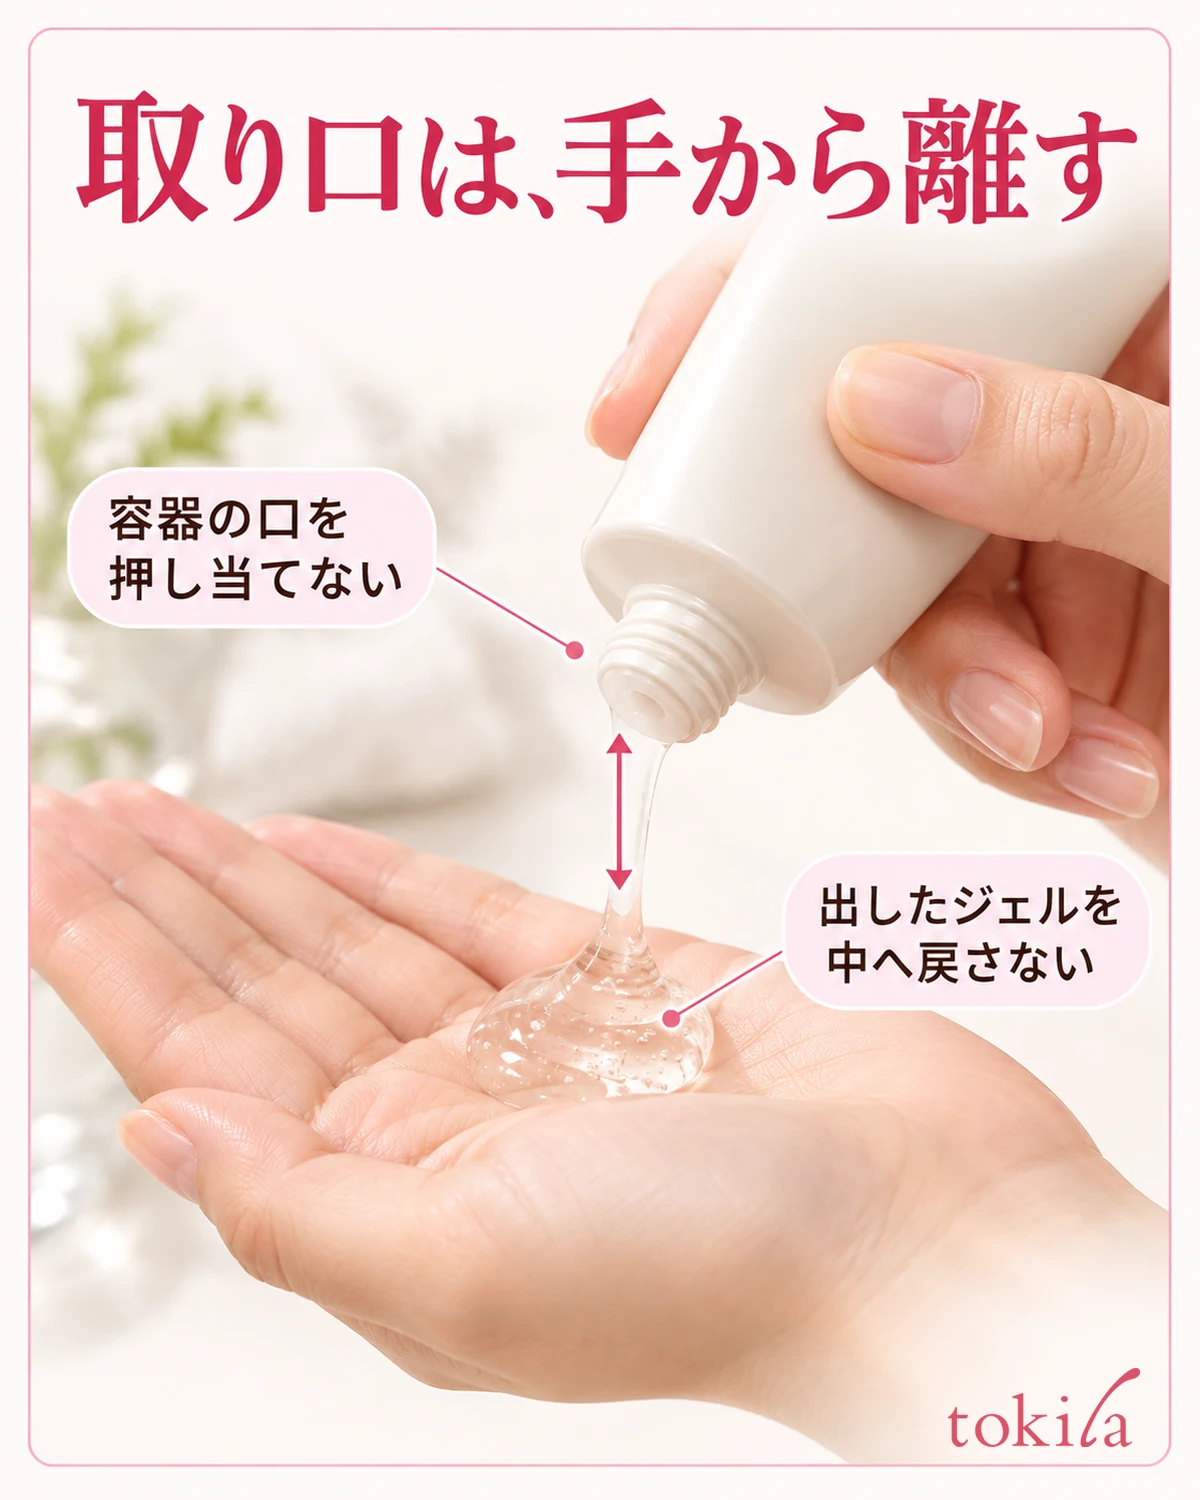
Move your hair aside and prepare the rinsing area and towel in advance. Keep an open cap away from pooled water on the sink, and follow the container’s closing and storage instructions. After dispensing, close the cap and move on to applying the gel in your hand to your face.
If you plan to use it in the bath, read the conditions for wet-hand use and the storage precautions before bathing. Deciding whether you want to start immediately after showering or remove makeup at a dry sink helps you match the preparation location and steps to your plan.
3. Spread gently with your finger pads and work over makeup
Before spreading the gel, check the directions for where to begin. Some products are placed separately on the cheeks, forehead, nose, and chin; others are spread over the whole face with fingertips. Rather than assigning every product the same five-point placement or sequence, match the amount in your hand to the area to be treated.
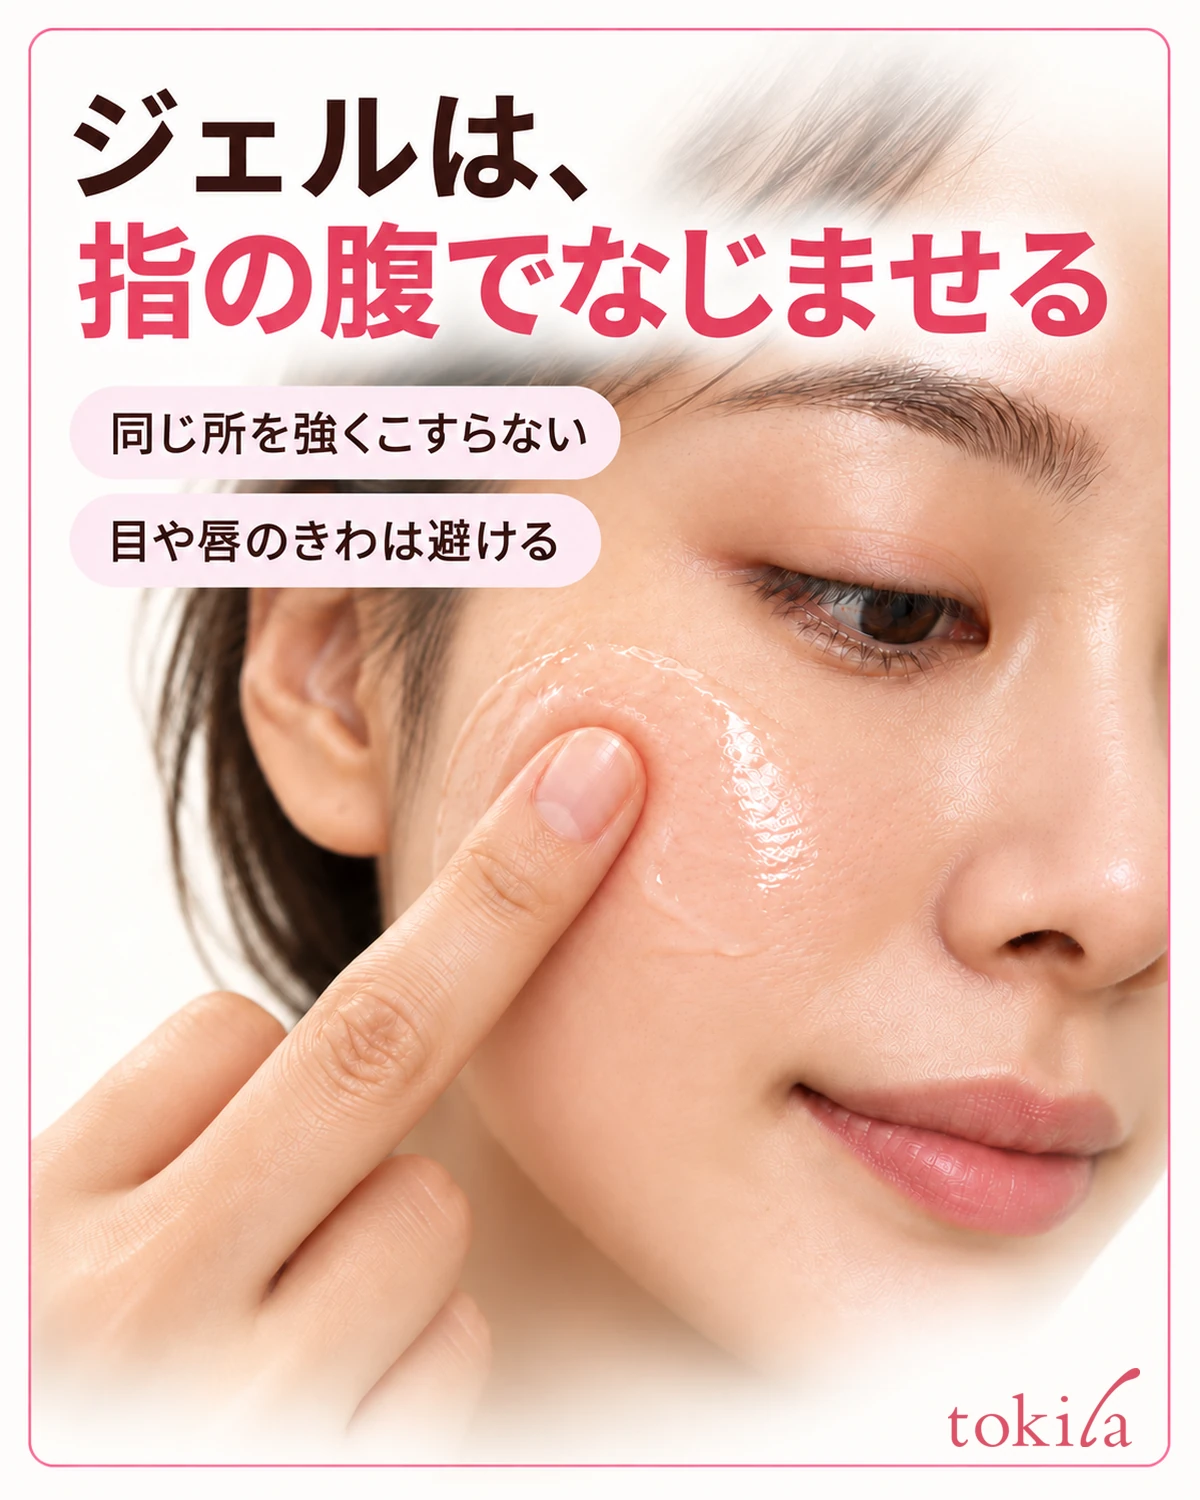
When using your fingers, make light contact with the soft pads, not your nails. As you spread gel over your cheeks, do not press hard enough to pull the skin substantially or rub the same area back and forth forcefully. The gel’s slip is not a reason to turn makeup removal into a prolonged massage.
For narrow areas such as beside the nose, check the contact point in a mirror and follow the product’s specified motions. There is no need to scrub with nail tips because an area is hard to reach. Avoid the edges of the eyes and lips and mucous membranes; even when treating the eye or mouth area, prioritize that product’s permitted areas and precautions.
If your fingers begin to catch, stop before increasing pressure and review the amount you took and whether you added water beforehand. Do not mix water or another oil into the gel on your face to create your own cleanser. It is important not to keep rubbing the same area while uncertain about the proper method.
If a number of motions or a time is indicated, use it as guidance for that product. Do not apply another gel’s timing universally or insist on continuing until makeup color is no longer visible. If redness, stinging, or another abnormality occurs, prioritize stopping use and following the precautions over finishing the normal steps.
4. Rinse as directed rather than continuing to wait for whitening
After working the gel over makeup, switch to the rinsing method stated on your product. If it says to rinse with water or lukewarm water, follow those instructions and rinse thoroughly. Lifting your hands from your face and changing to cupping water helps mark the end of the working-in stage.
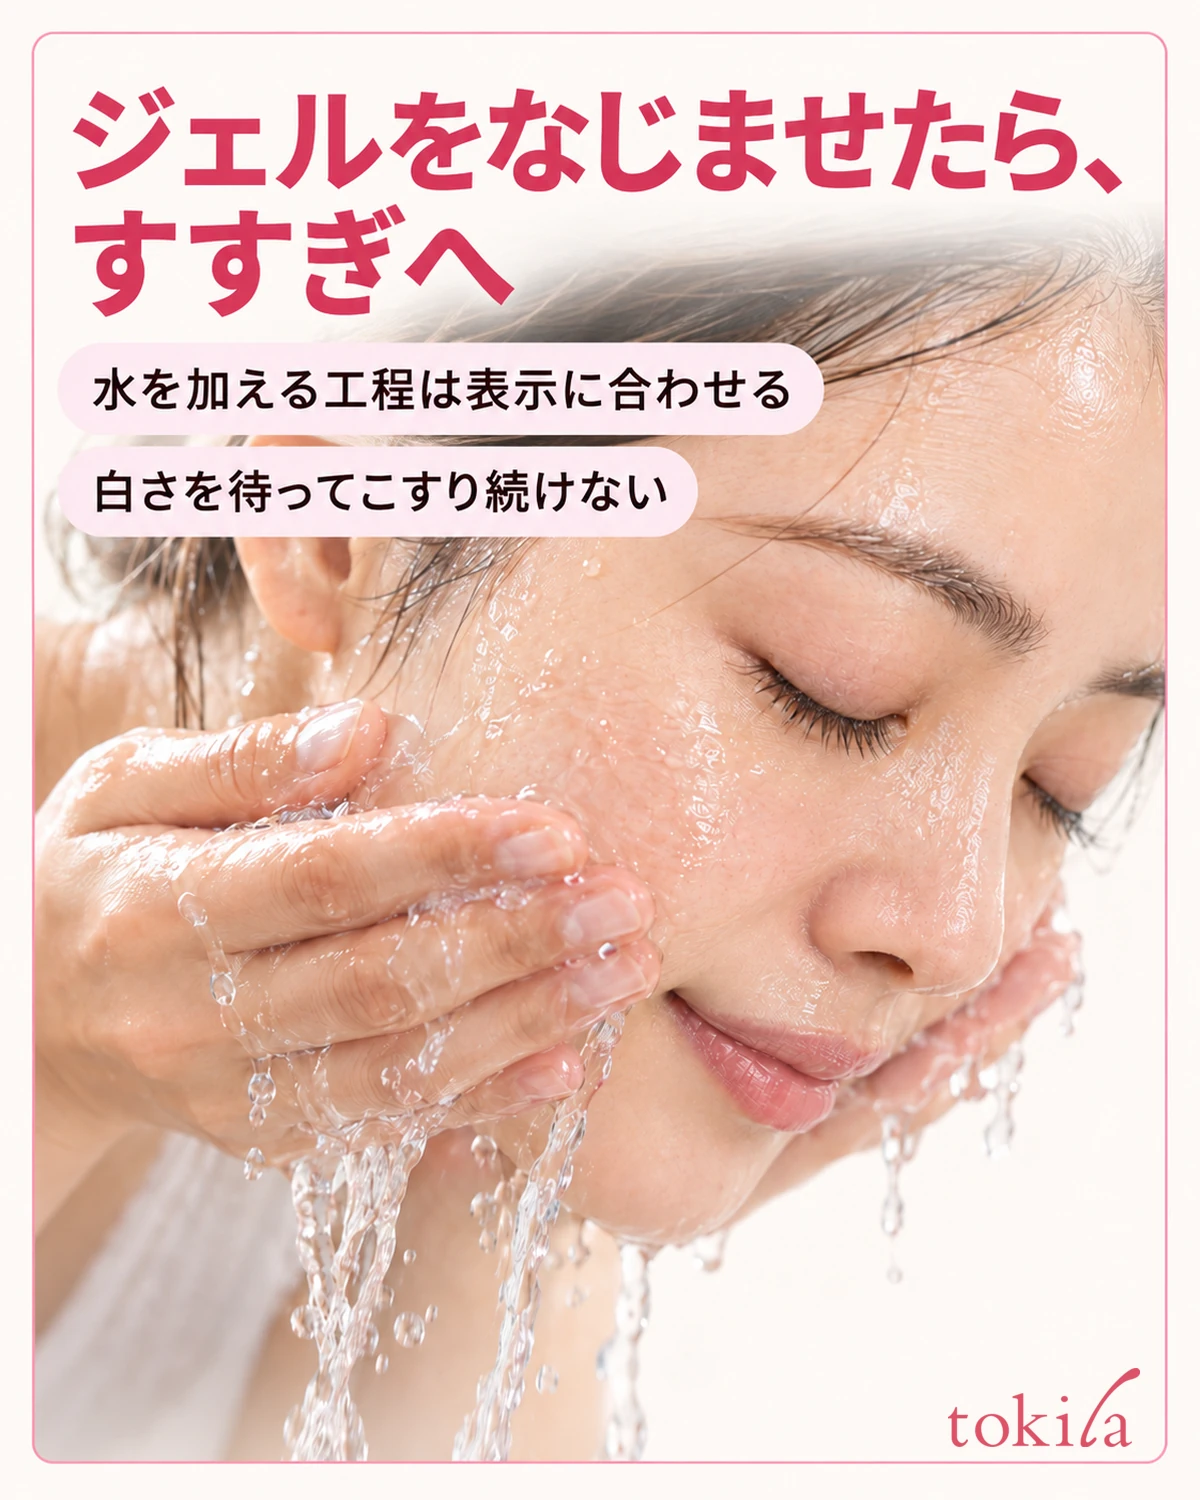
There is no need to add the cleansing-oil step of “adding a little water to emulsify until white” to every gel. Add water before rinsing only if directed. Do not decide from appearance alone that makeup has not been removed because the gel did not turn white, and keep rubbing.
Do not rinse only the centers of your cheeks. Check whether water has reached the hairline, sides of the nose, underside of the chin, and other places where you spread gel. Make sure hair or the edge of a headband is not covering them, and work through the rinsing area in order. Do not check narrow areas by scratching with nails or directing strong water pressure at them.
Gently bring cupped water to your face and rinse the areas where you worked in the gel. Rather than setting a universal rinse count or temperature, check the product’s directions and whether any areas have yet to receive water. Do not raise the temperature on the assumption that hot water will remove makeup faster.
A smooth feeling after rinsing alone does not establish that gel remains or that moisturizing benefits have been obtained. Instead of aiming to wash repeatedly until your skin feels squeaky, separately check whether any makeup remains and whether face wash is needed next.
Even if a product describes a texture change during use, treat that change as guidance for that same product. Do not keep working a clear gel in while expecting it always to turn into liquid oil. Read the specified motions and the point at which to switch to rinsing as a set.
5. Check whether face wash is needed and where makeup may remain
Whether to use face wash after rinsing off the gel depends on that product’s directions. Do not assume all gels eliminate the need for double cleansing, or that all rinse-off products require an additional wash. If face wash is required, proceed in accordance with its instructions too.
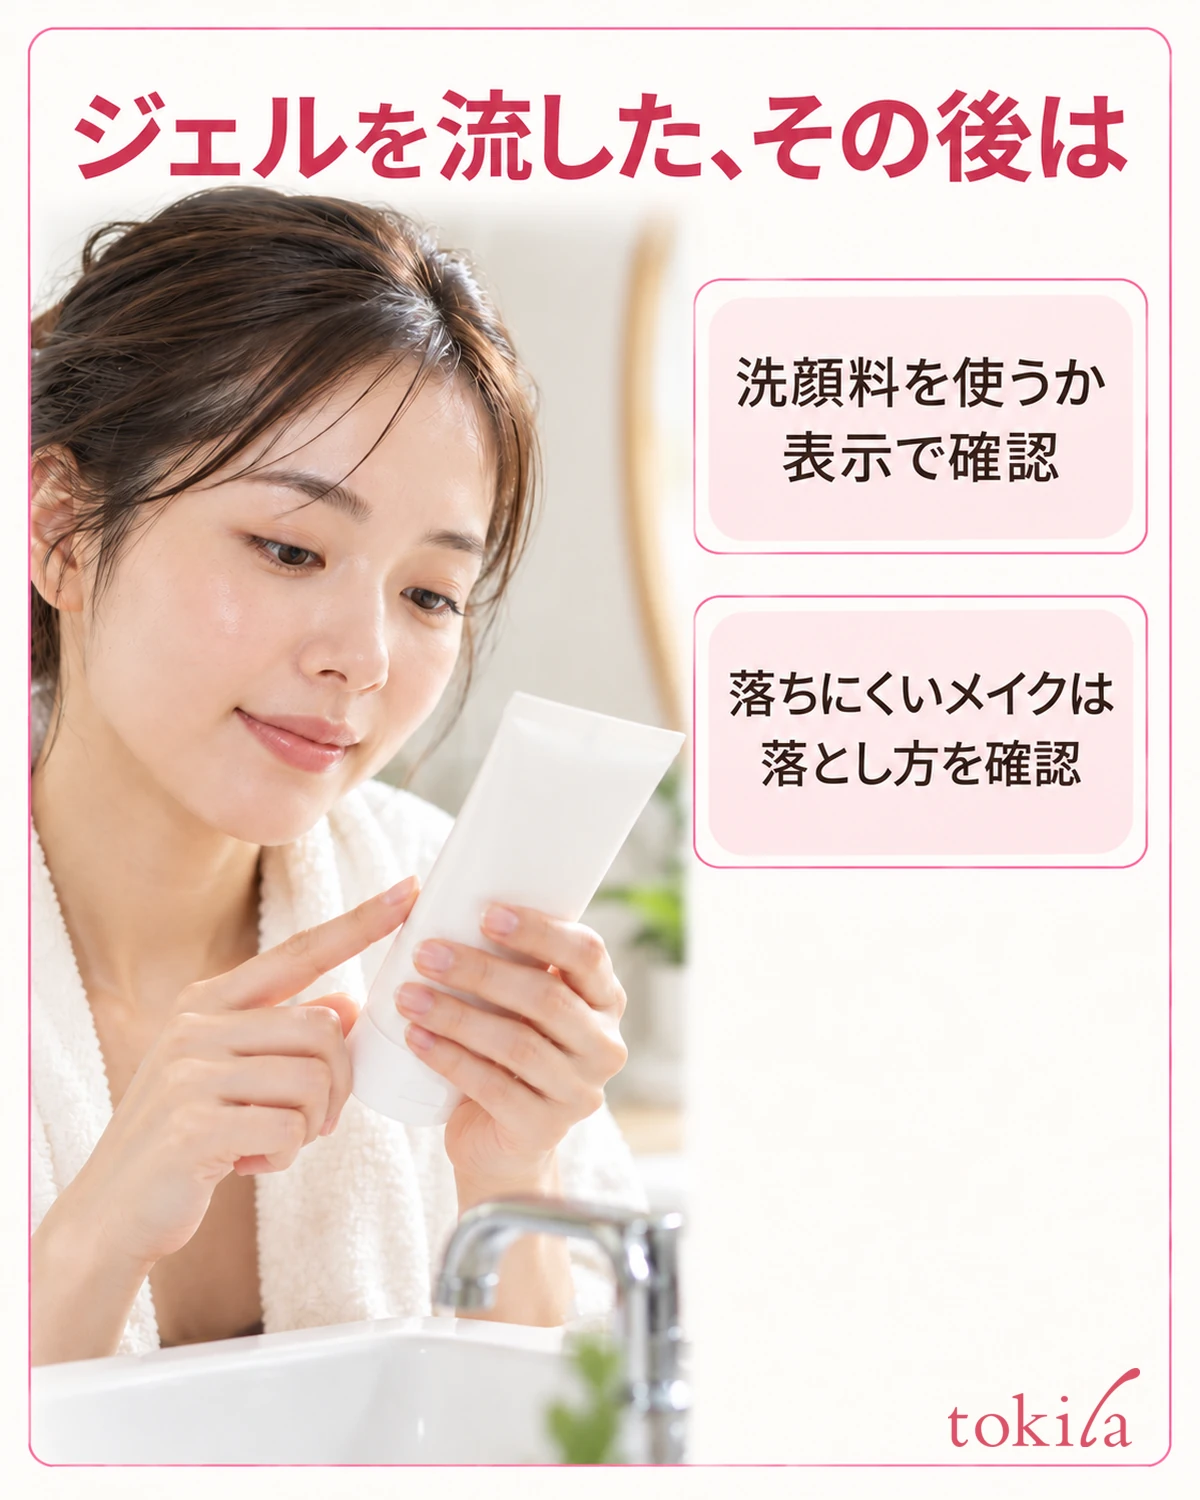
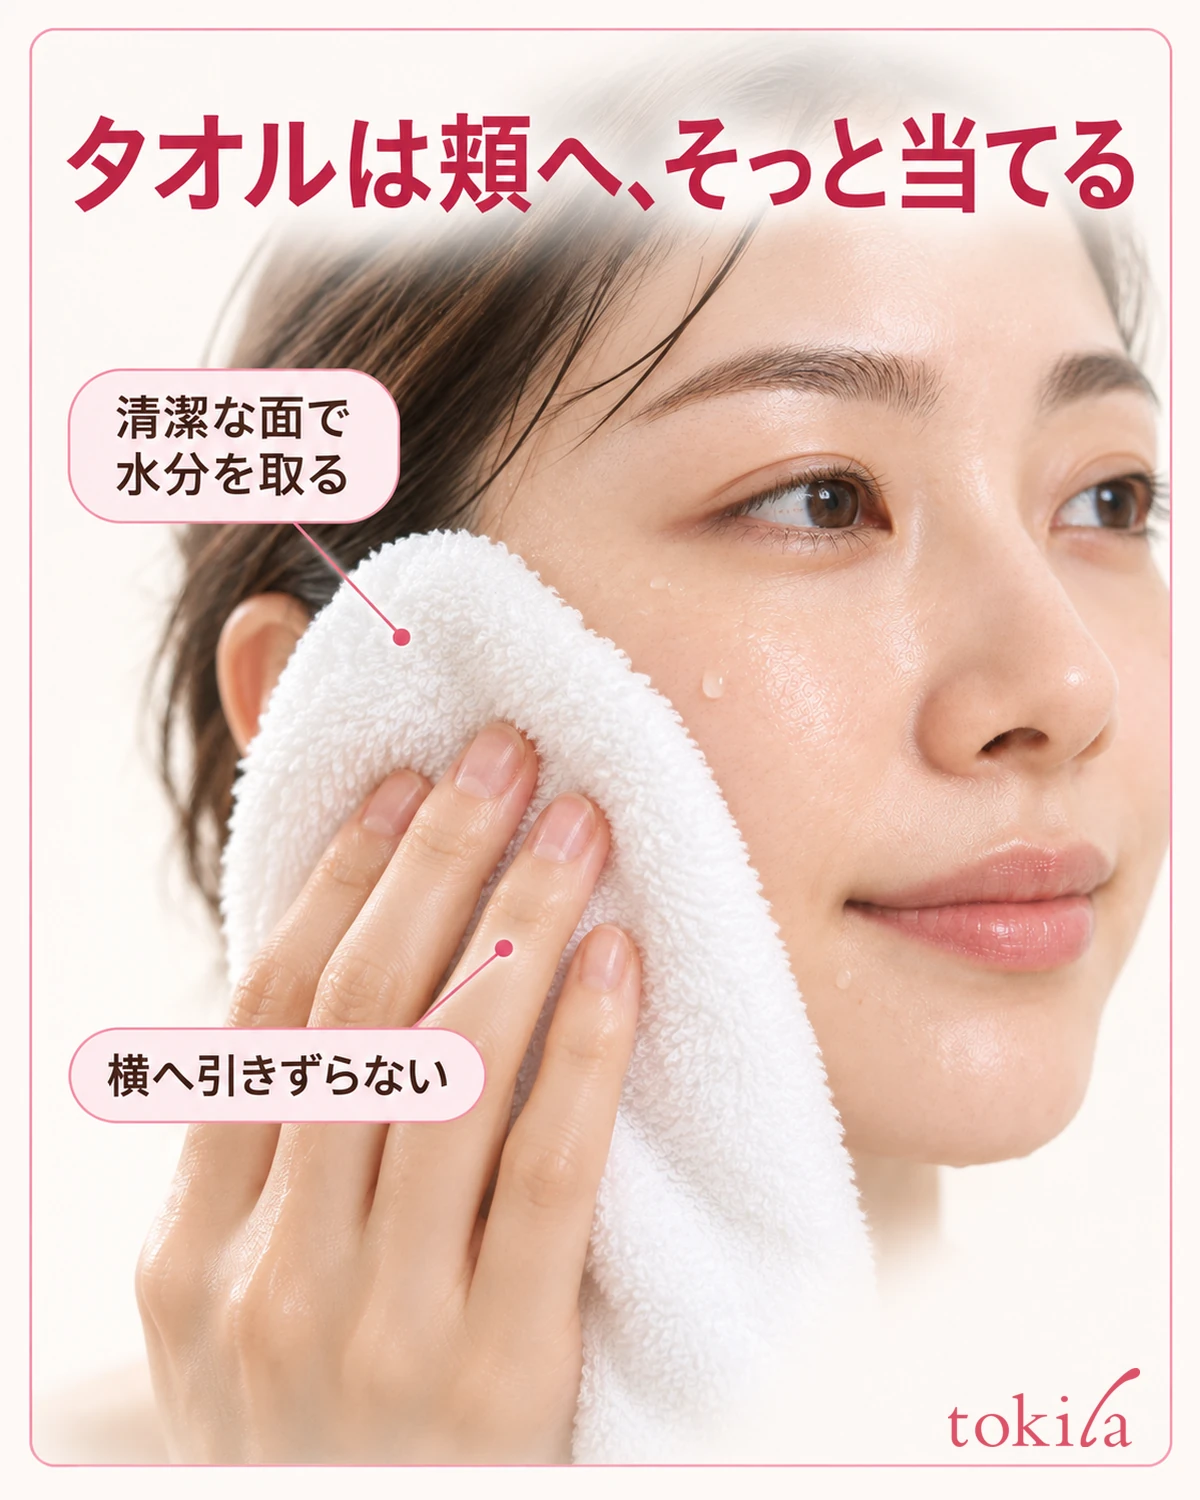
When drying after the necessary cleansing, lightly place a clean towel against your face. Let its broad surface touch your cheek and gently press rather than drag it sideways. Distinguish rolling an edge tightly and scrubbing from softly touching the skin to remove water.
If color remains only around your eyes or mouth, check how to remove that makeup before repeatedly washing your whole face with the same gel. Instead of scraping mascara with nails or leaving gel on the eyelids for a long time, match the permitted application areas with the appropriate removal method. It is also important not to decide the cause of remaining color from appearance alone.
Next, follow your usual moisturizing routine in accordance with each product’s directions. A lingering feel from a rinse-off gel is not a reason to omit all leave-on moisturizers. If you keep moisturizing and cleansing products together, position them so their names and purposes are visible to avoid confusing them.
For next time, note one step you were unsure of: whether you wet your face first, dispensed the indicated amount, or missed an area while rinsing. Rather than changing the amount, time, and product at once, check whether you are following your product’s directions. This is not a record testing cleansing power or effects on skin.
If irritation during use, redness, itching, or other symptoms persist, do not keep experimenting with a smaller amount. Stop in accordance with the precautions and consult a dermatologist or another appropriate professional as needed. If the product enters your eyes, rinse thoroughly immediately and consult an eye doctor if abnormalities remain. Do not use technique adjustments to conceal discomfort.