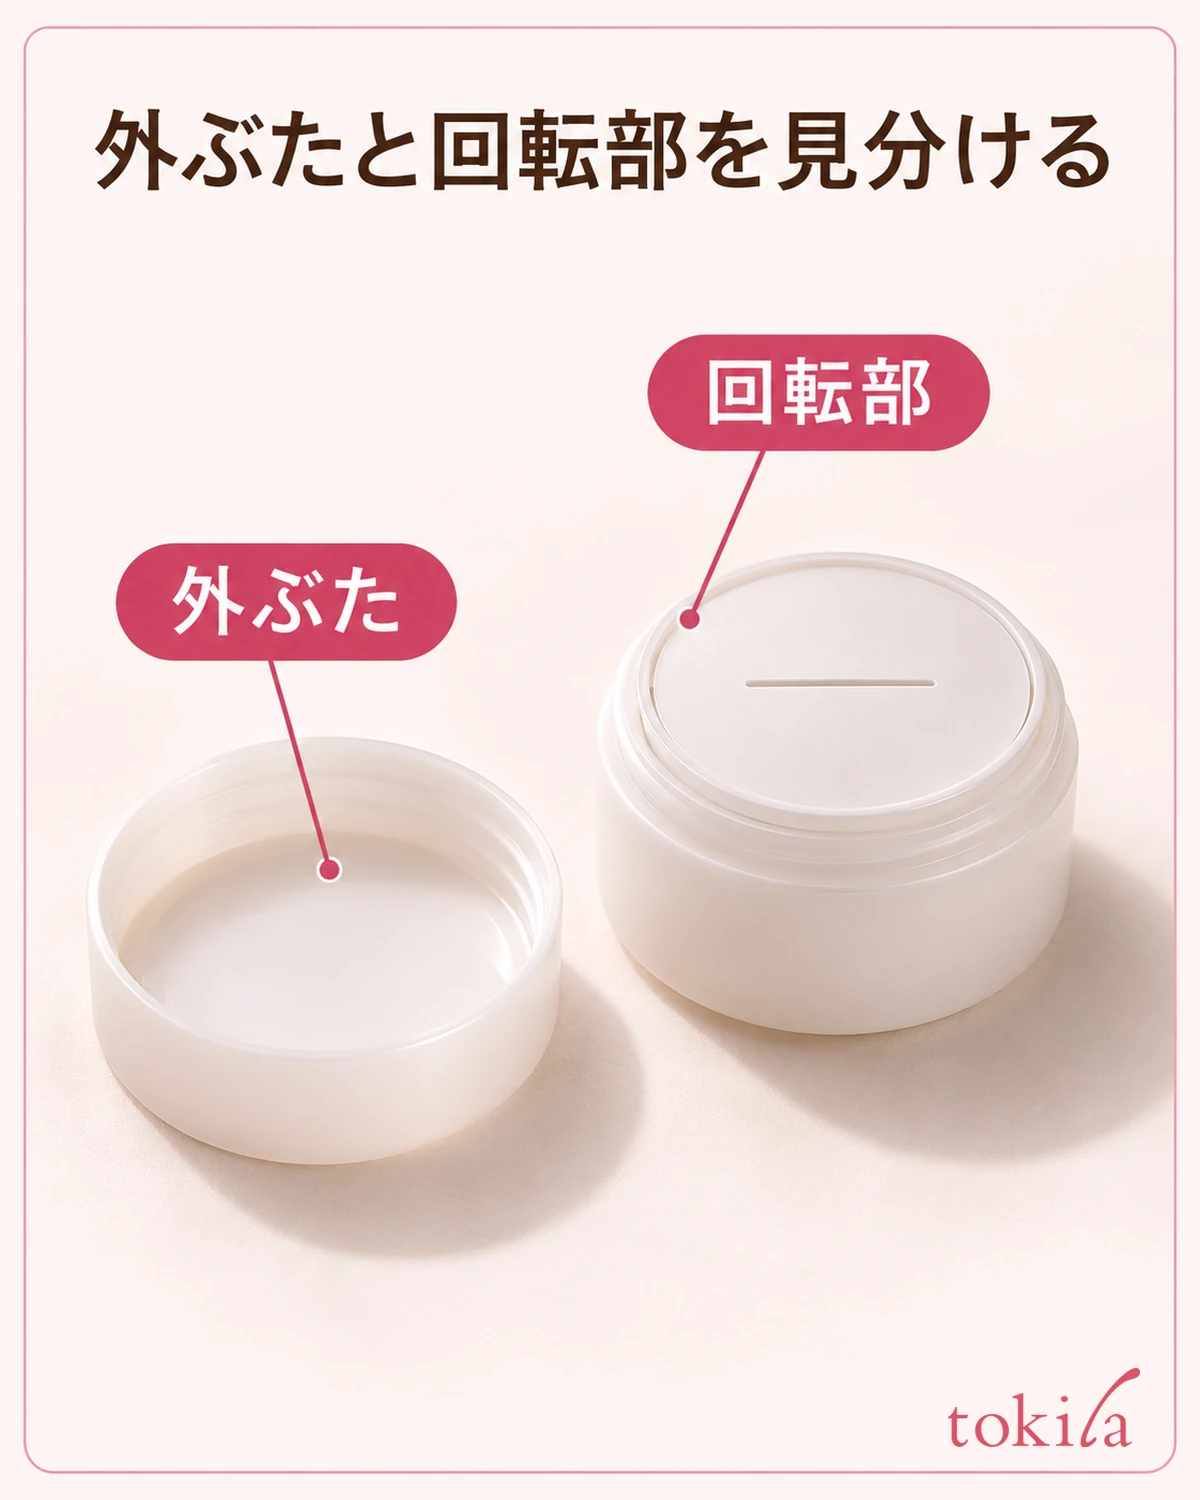
You want to enjoy your lipstick color without adding a dark line around your lips. A clear lip liner, which adds no color, is one option. If it is labeled for outlining, use it along the lip border before applying lipstick. The clear line can be hard to see, so at first it helps to work in short sections you can follow as you go.
Even when a product is labeled clear, an all-over lip primer or a topcoat that goes over lipstick serves a different purpose. Check where your product is meant to go. Within that area, look at the Cupid’s bow, the center of the lower lip, and the corners of the mouth in that order.
1. Tell clear liner from clear primer for the entire lips
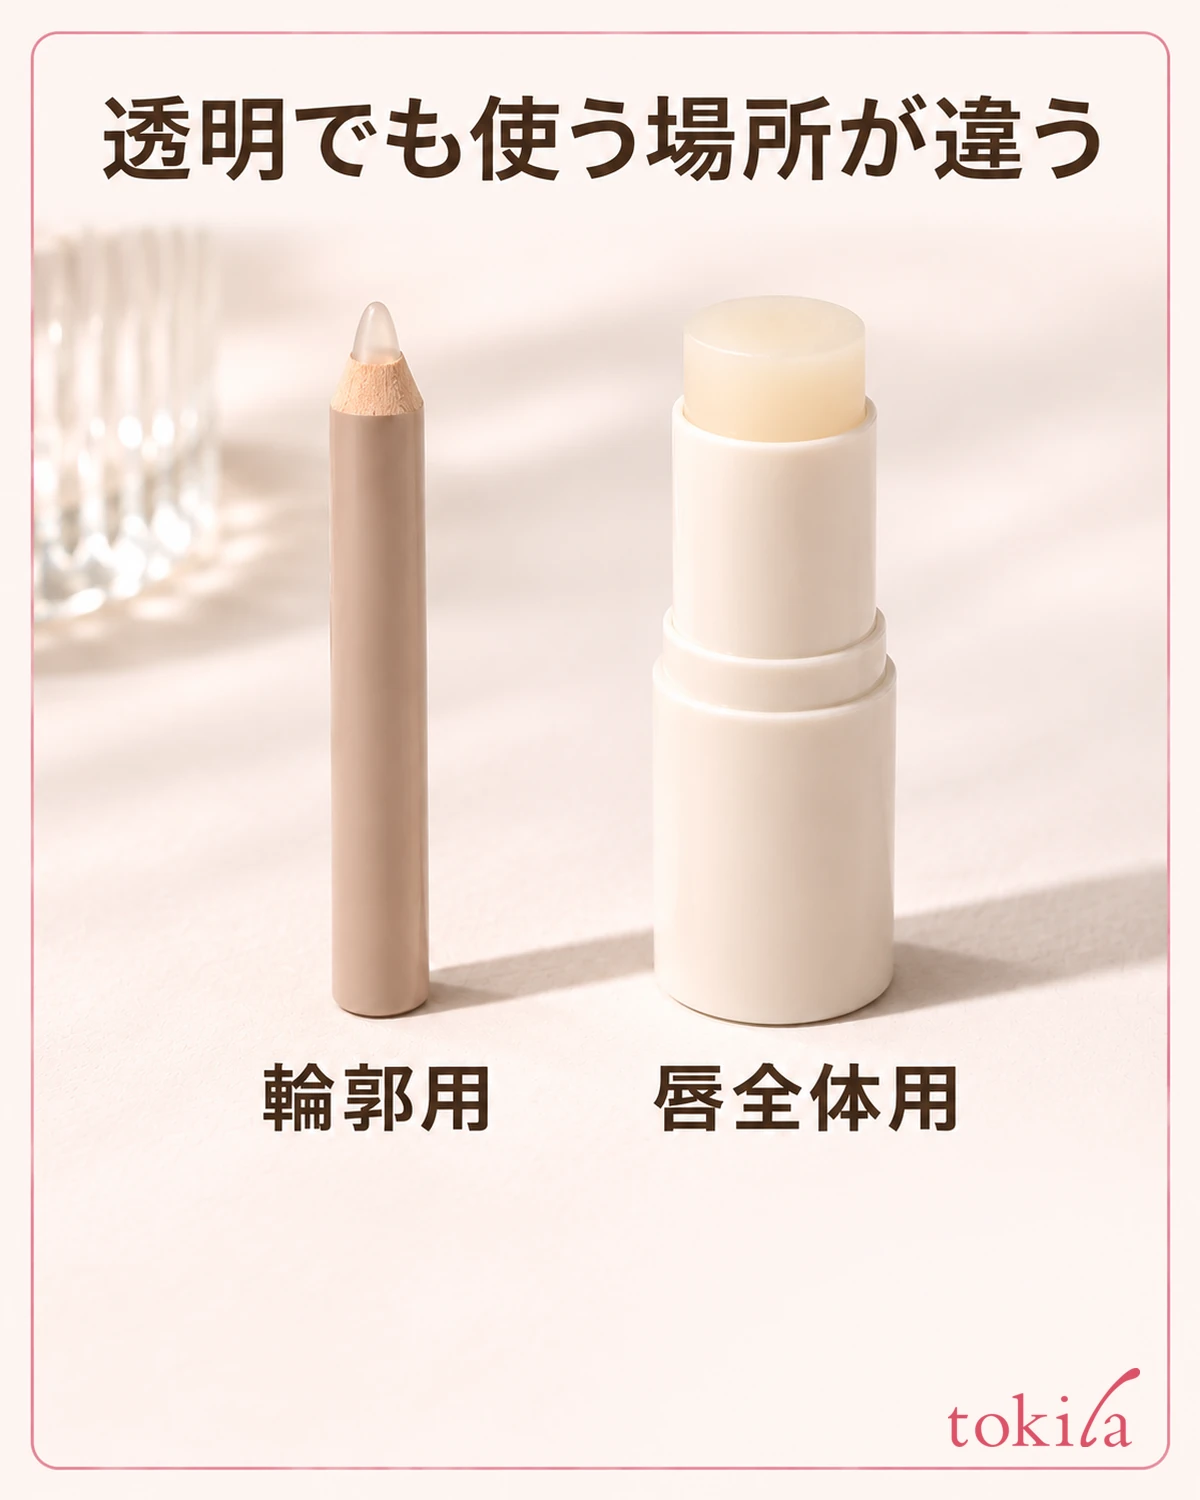
Look first at the purpose and directions on the box, rather than the color of the pencil tip. If the box says lip liner or tells you to trace the outline, it is for the lip border. If the directions say to spread it thinly over the entire lips before lipstick, it is a primer even if it is clear. If the two ends contain different products, check the labels on the pencil to identify the liner end rather than deciding by appearance when you remove the caps.
Some pencil tips look whitish, so a pale appearance alone does not tell you that a product is clear. When looking at shade names in a store, check whether the product is marked colorless or clear, or is meant to add color as it outlines the lips. Consider clear liner if you want to keep your lipstick color and avoid adding a different color at the edge. On days when you want to use color to adjust the shape of your lips, a tinted liner makes the outline part of the finished look.
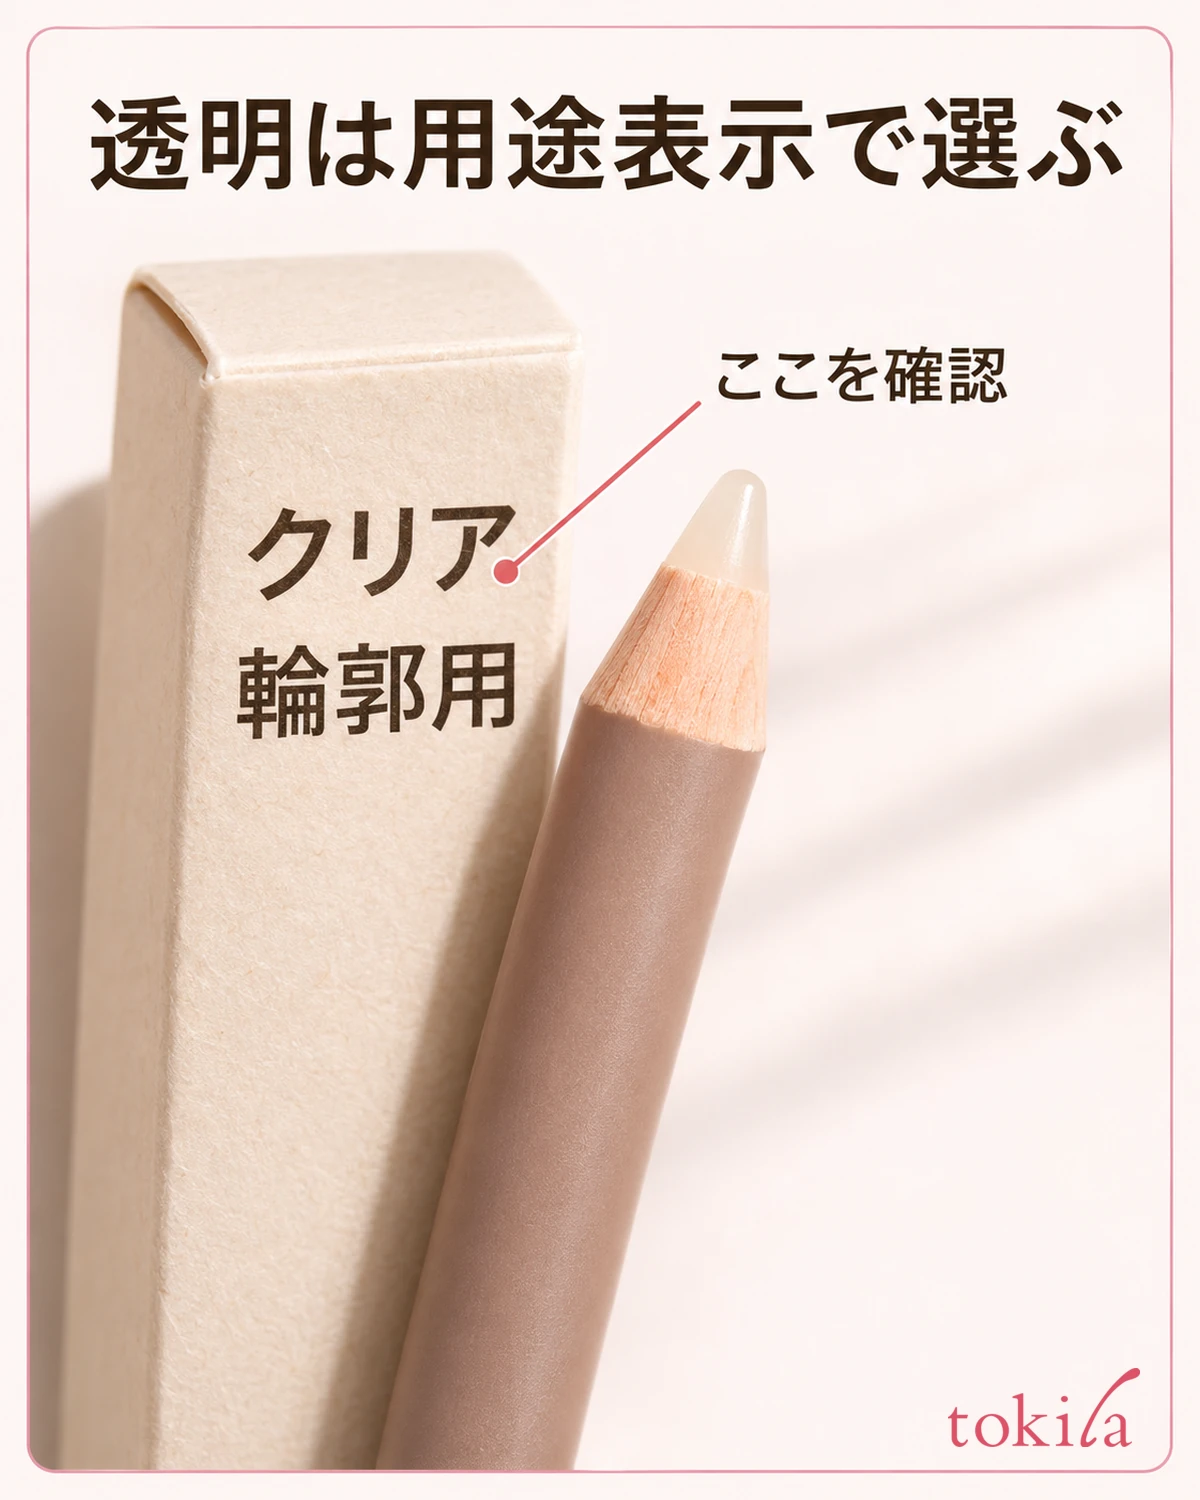
A clear topcoat applied after lipstick is a different product, even if it is on the same shelf as colorless liner. To decide the order, think of liner as going before lipstick because it is for outlining. Being clear does not make a product the first step. If you need a base over the entire lips, see how to use lip primer.
Before buying, check the directions to see whether you can use it with the lipstick or gloss you normally wear. Follow any directions given for a particular finish. A clear label alone does not mean it will look the same with every lip product you own. Start with a familiar shade so you can more easily see what changes in how you apply it.
2. Use the Cupid’s bow and the center of the lower lip as guides for short strokes
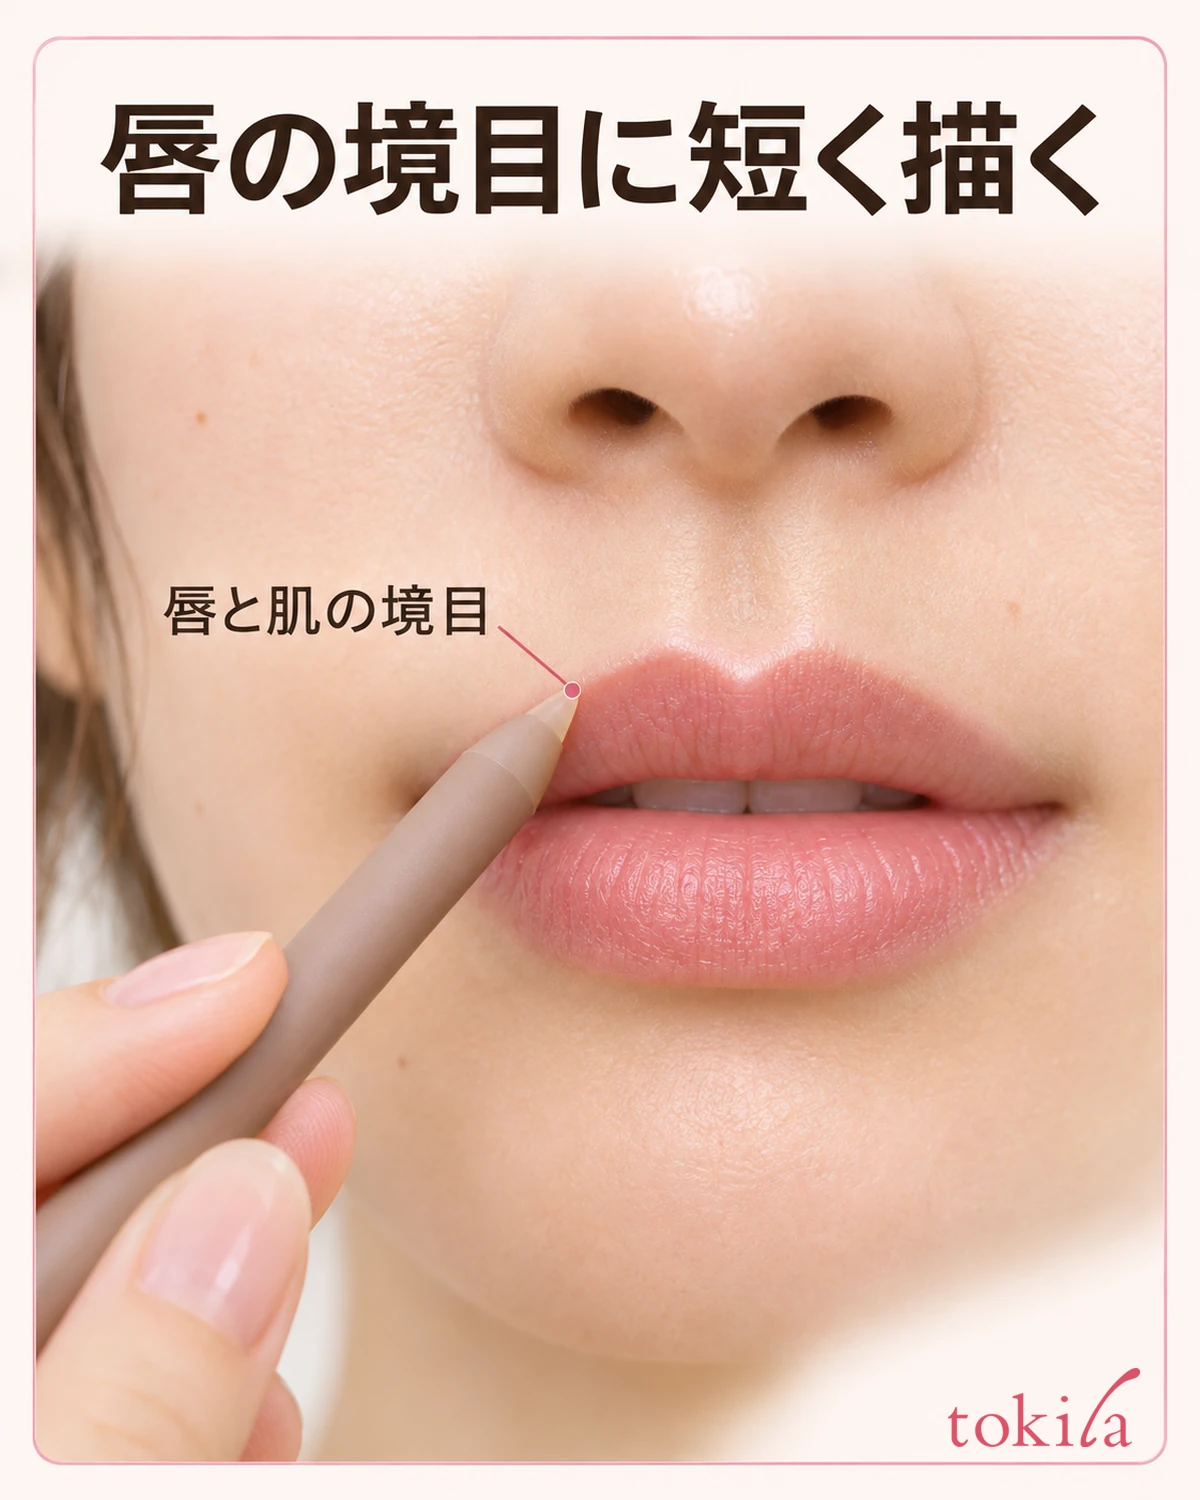
Place a mirror straight ahead and relax your mouth. Find where the lip color meets the surrounding skin at the two peaks of the Cupid’s bow and at the center of the lower lip. If your product calls for tracing the outline, lightly touch the tip to this border and make a short stroke down a slope of the Cupid’s bow. If it calls for drawing outside the lip, check the diagram for the line’s position first.
Trace one peak of the upper lip briefly, then move to the other instead of drawing over both in a single line. Starting at the rounded center of the lower lip makes it easier to tell which side you are working toward. You do not need to draw marks on the skin with a clear pencil. Decide where to start and watch the tip each time you move it.
Opening your mouth wide changes your usual lip shape, so avoid stretching it when tracing the Cupid’s bow or center of the lower lip. If you cannot see where the tip touches without leaning in, adjust the mirror or lighting before turning your face sideways. Looking at the border head-on makes it easier to check where the line runs once your face is straight again.
Follow the product instructions for how much of the tip to expose. You do not need to extend it farther or press harder just because the line is hard to see. If your hand wobbles and the pencil is about to stray toward the middle of the lip, brace your elbow in front of the mirror and try an even shorter stroke.
3. Pause before the corner and check the position
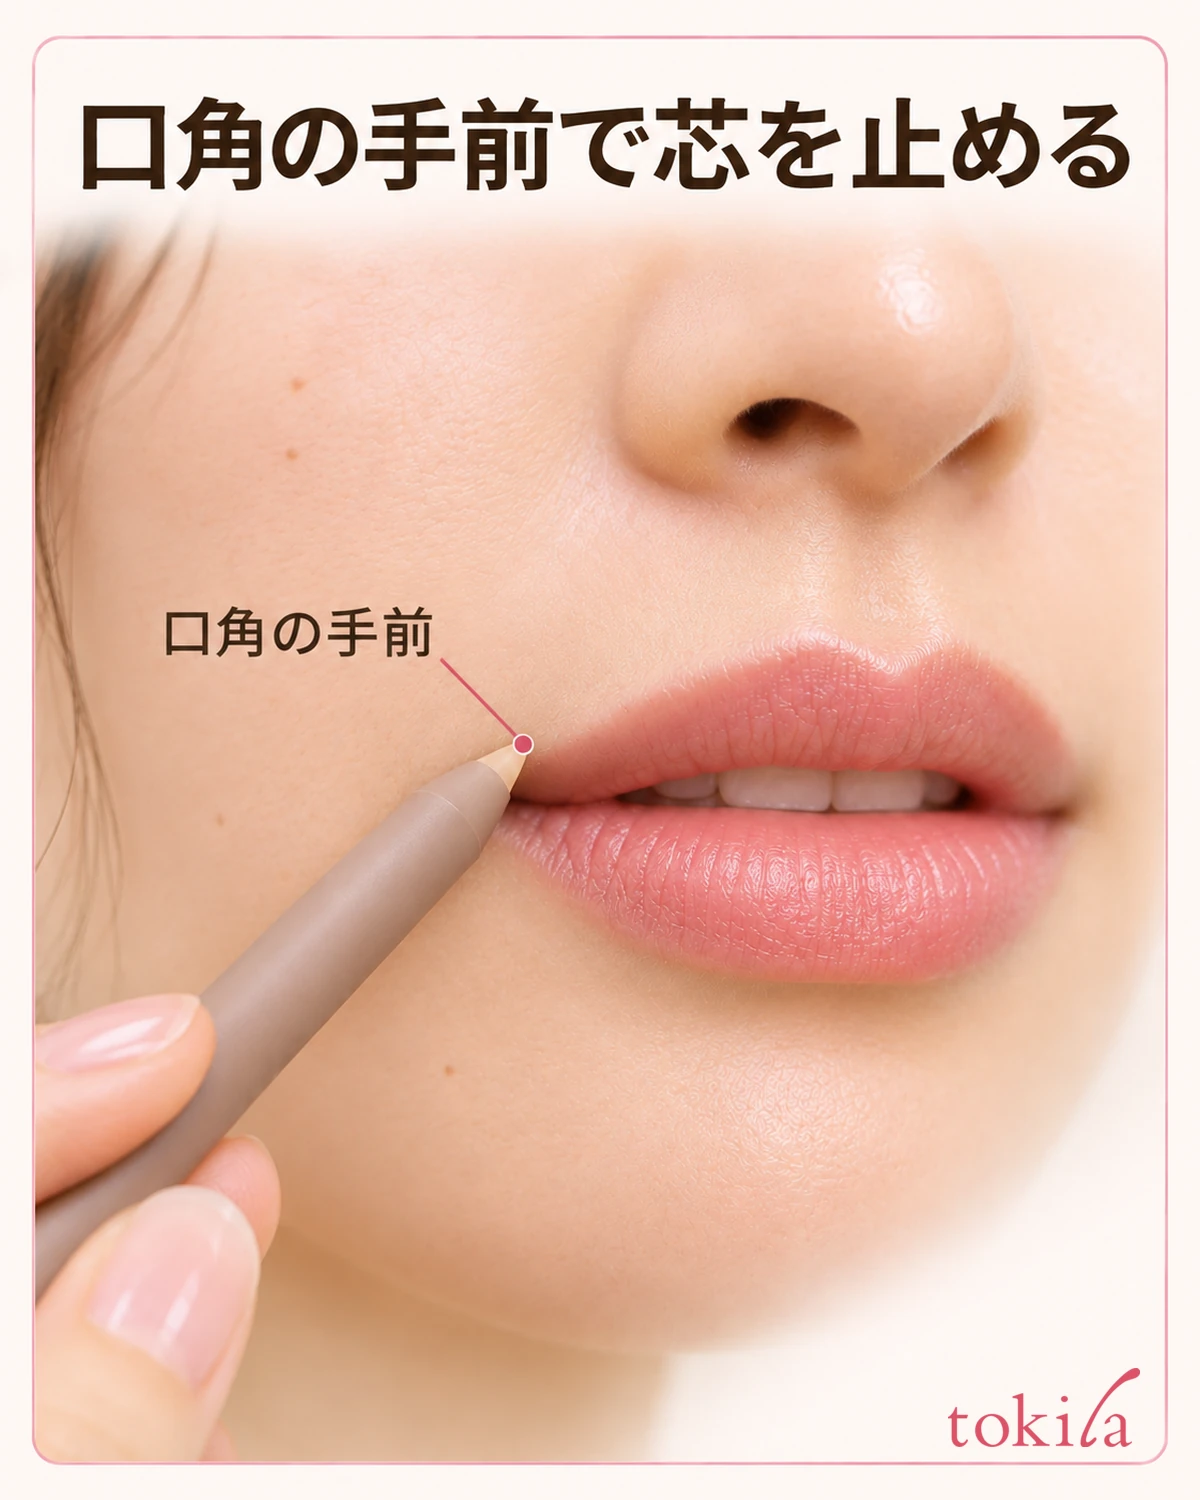
As you move away from the center, the upper and lower lip borders come together at the corner. Rather than keep drawing the same way, stop where you can comfortably reach and look at the remaining distance. If you want to join the lines, open your mouth slightly so you can see the corner and add a short stroke. There is no need to draw inside the mouth.
If the tip does not follow the lip near the corner, shift your hand slightly so you can see it in the mirror. Your hand may block your view at the corner even if it does not at the Cupid’s bow. Instead of pressing in where you cannot see, lift the tip, adjust your grip, and touch it to the short section you can see.
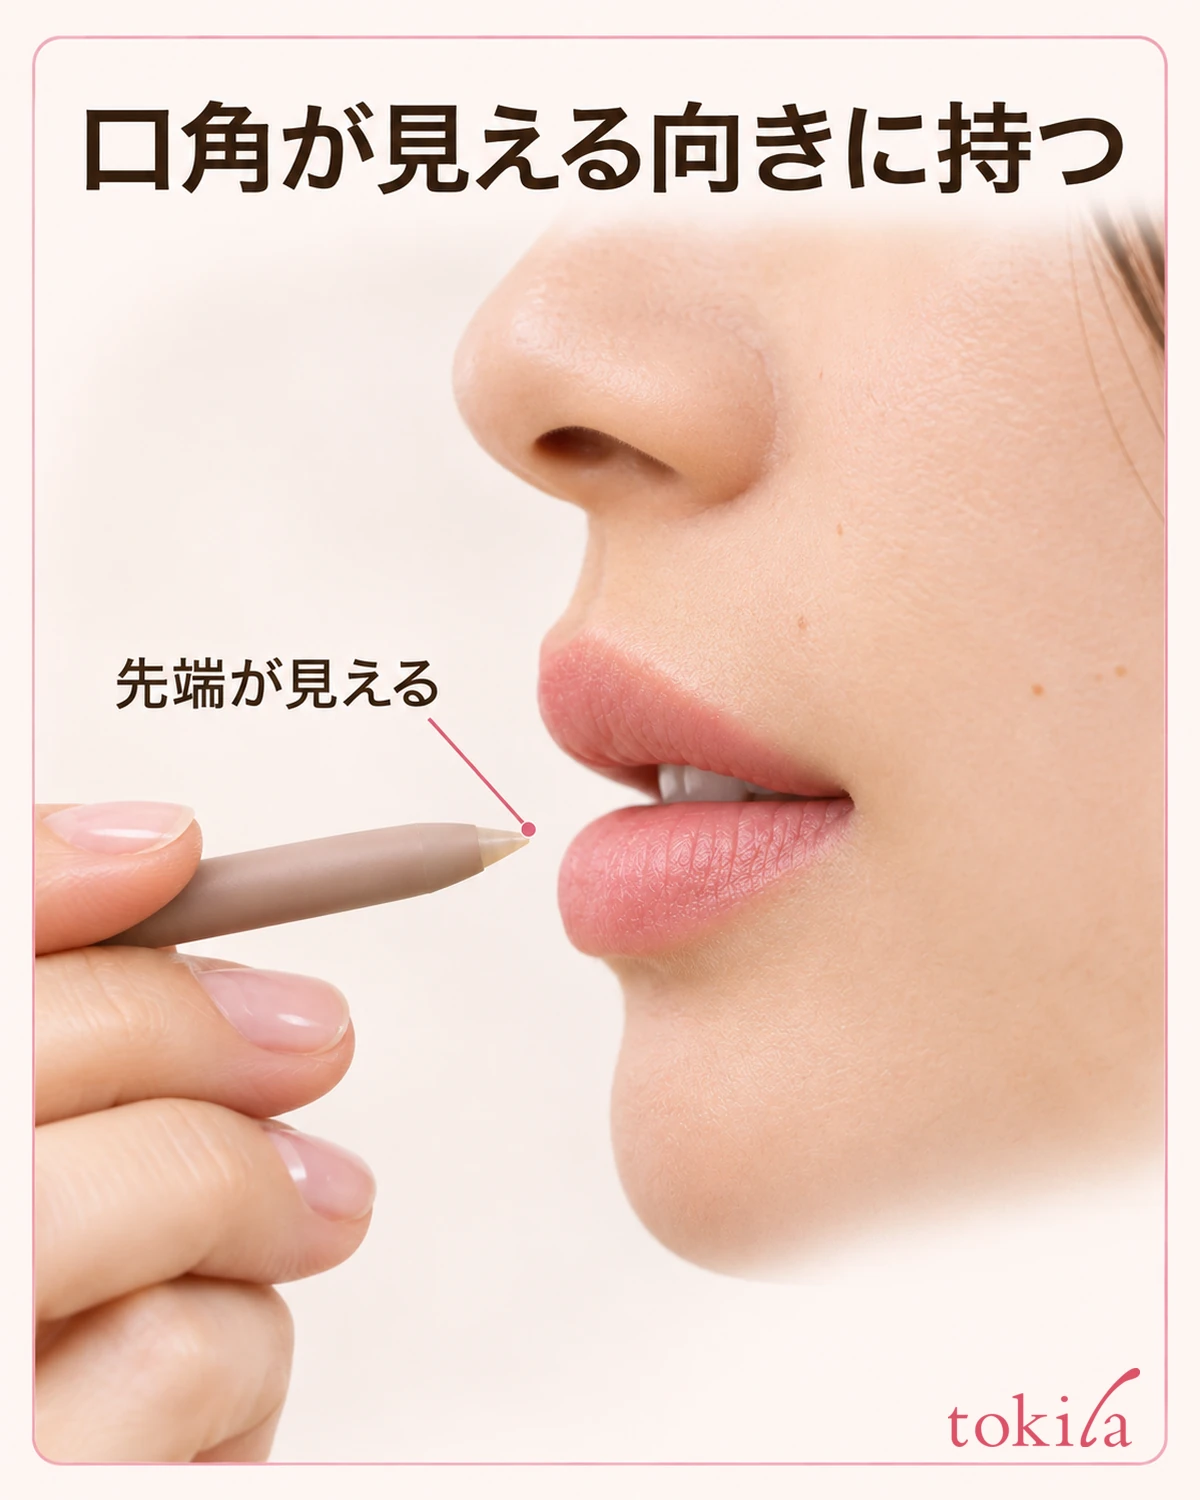
Before doing the other side, face forward again and recall how far you moved the tip on each side. The two sides may have different shapes, so follow each border rather than aiming for lines of equal length. If joining the lines would take you outside your natural shape, stop short of the corner and look at the whole outline.
If the tip catches only at the corner, check for a chip or see whether it needs sharpening, twisting up, or other care specified by the product rather than stretching your mouth. Stopping to check where the tip touches before continuing makes it easier to follow the position than drawing a long line in one go.
4. Start lipstick in the center and use less near the edge
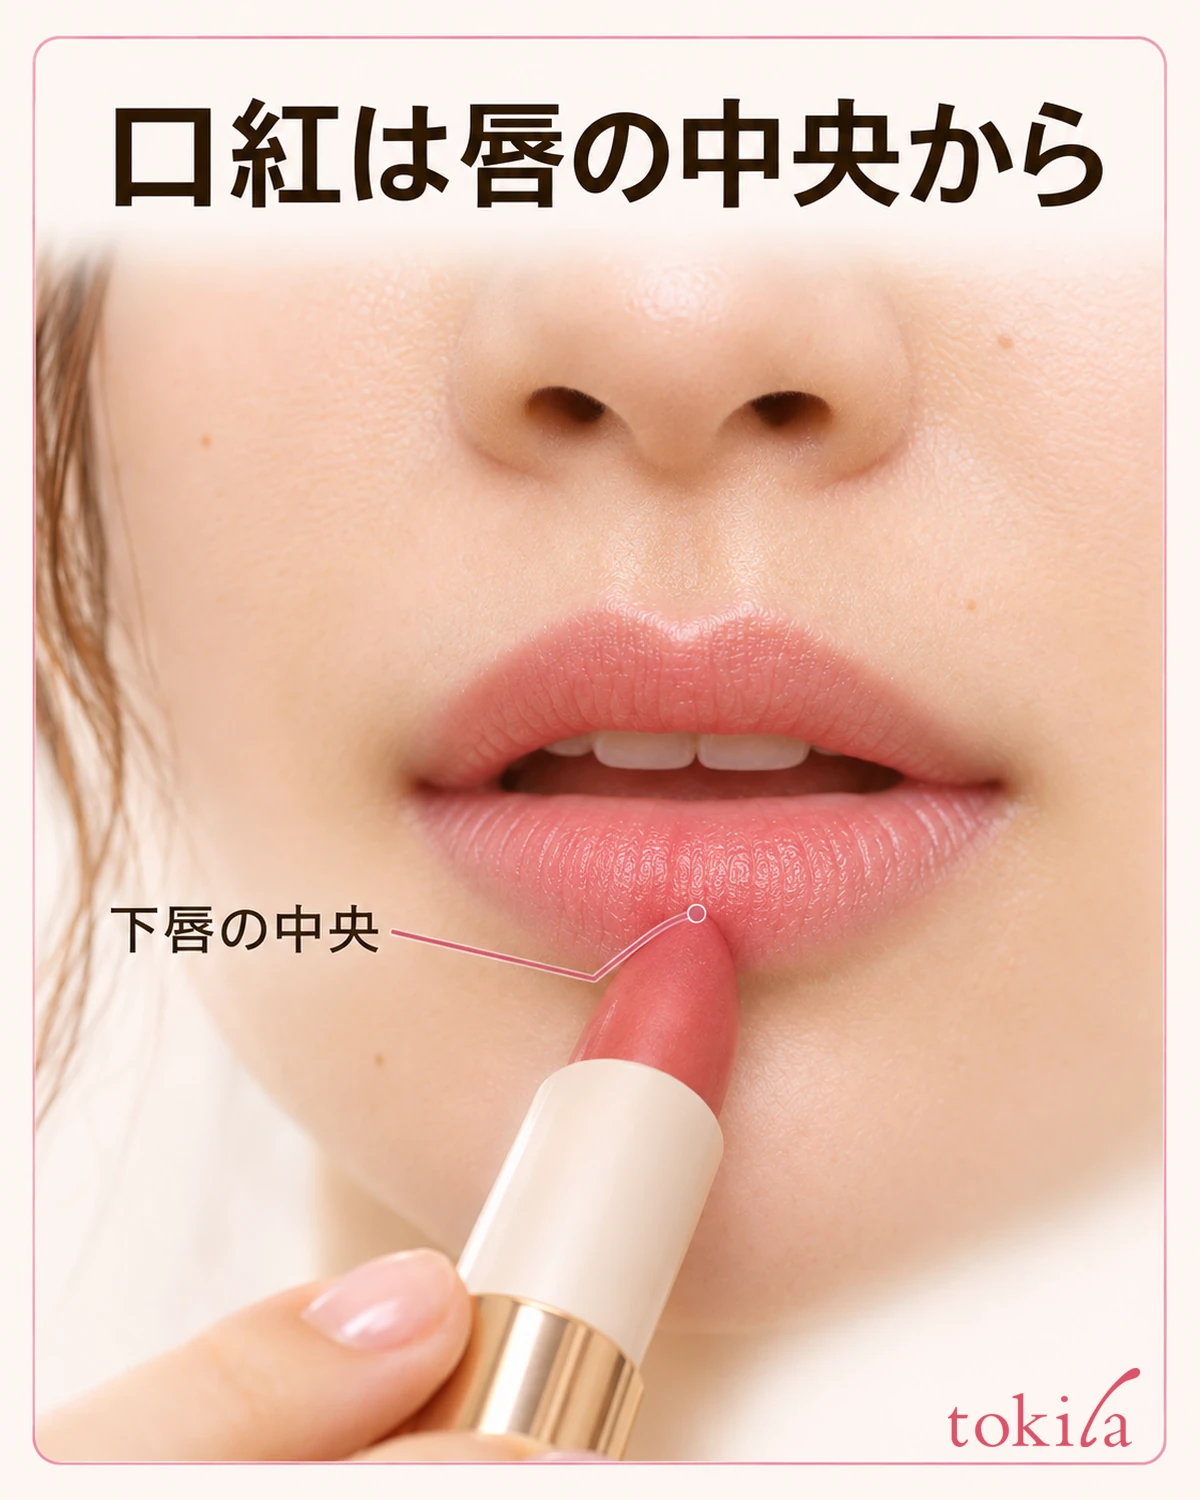
After tracing the border, place lipstick in the center and spread it toward the edges a little at a time. If you look for the clear line itself, it is easy to lose track of where the lipstick goes. Use the natural lip border you checked earlier, moving color a little at a time as you approach it. If the lipstick bullet does not fit in the corner, you can take a small amount on a lip brush you already use.
Even with a bold lipstick, you do not need to fill thickly all the way to the edge from the start. After spreading one layer from the center, face forward and decide where to add more color. Before adding another layer near the border, distinguish between a thin patch and a spot that just looks lighter because of reflected light.
There is no need to extend the lipstick beyond your lips to make the liner visible. If color goes outside the corner, use a clean cotton swab or similar tool to remove the excess bit by bit without redoing the whole lip. For when to use the broad surface or the tip of the lipstick bullet, see how to apply angled-tip lipstick.
If adding gloss over lipstick, start with a small amount in the center and check how it looks before taking it all the way to the edge. Follow any layering instructions for your product. Using clear liner alone is no reason to add extra gloss up to the corners.
5. If you cannot see the line, check where the tip touched before tracing it again
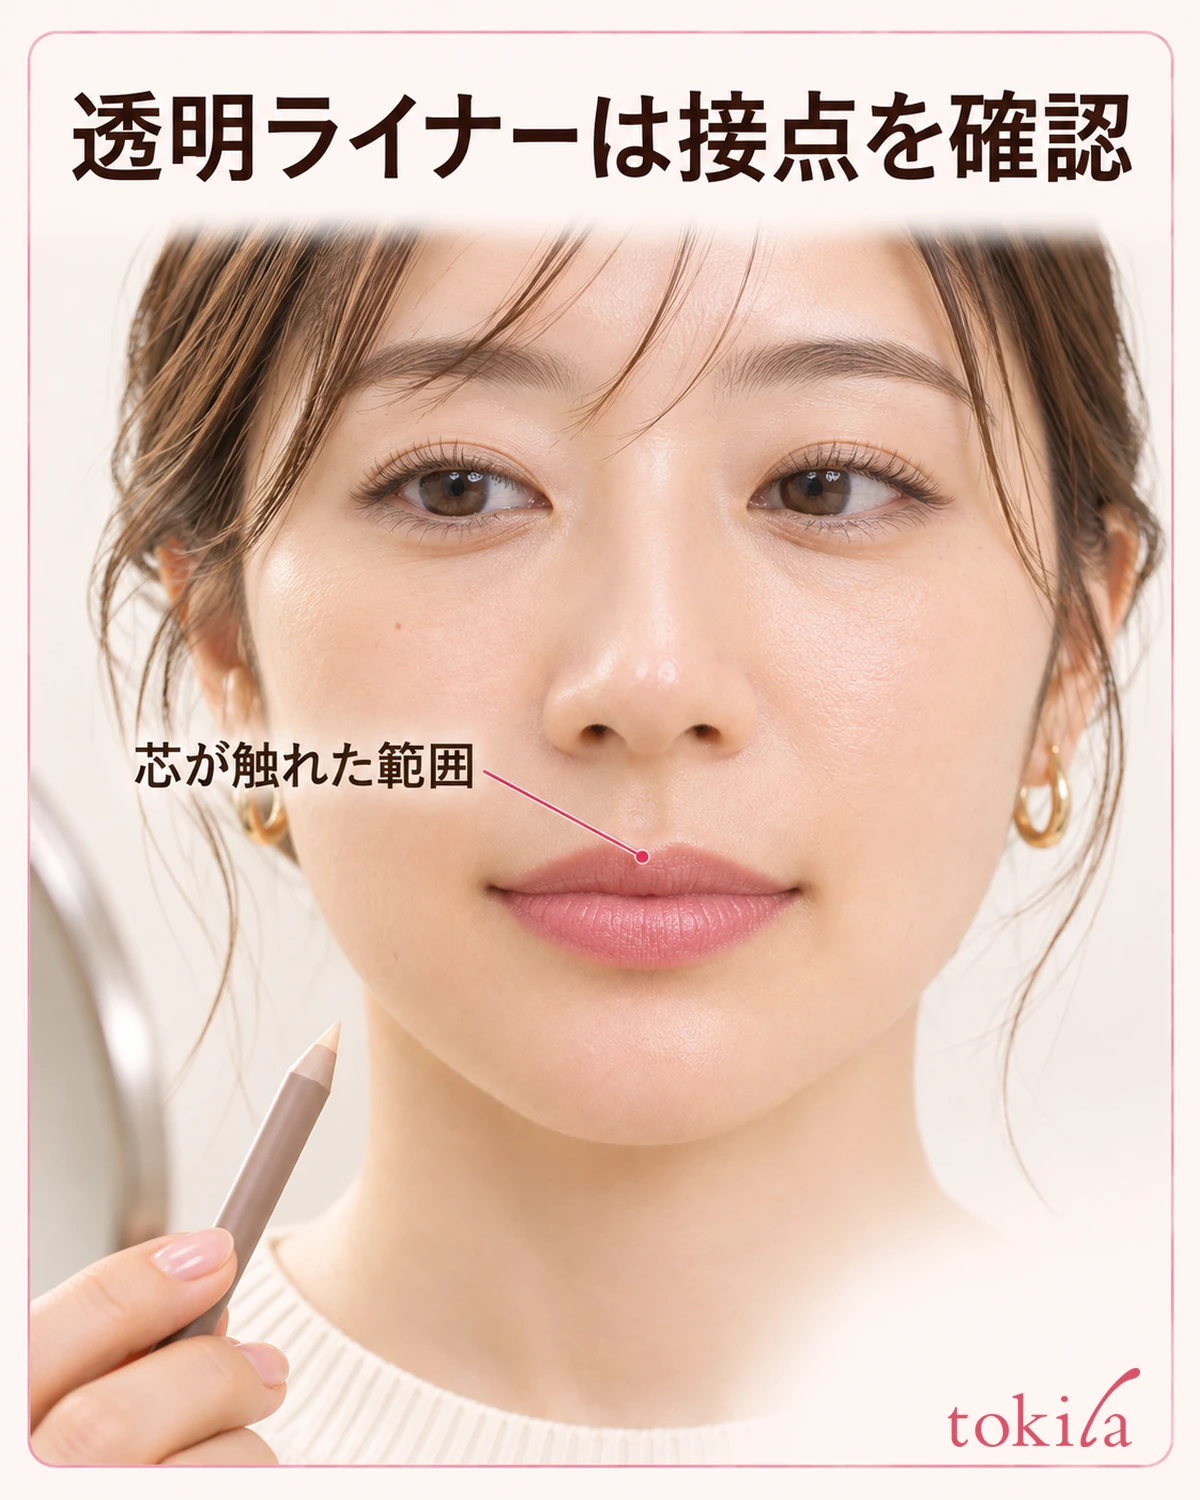
A clear liner does not always leave a visible line the way a tinted one does. Before assuming nothing went on and tracing the same area over and over, check where the tip touched the lip. Relate the end of each short stroke to an easy landmark such as the Cupid’s bow or the center of the lower lip so you know which section to do next.
If the lipstick edge looks uneven, check whether the color went outside the border or whether a patch inside it is too light. Fix only the excess on the outside, or put a small amount of color back in an area that needs it inside. Instead of assuming more clear liner will solve it, choose what to do based on where you can see the color now.
Next time you do your makeup, check one thing at a time: where the tip touches, how much lipstick you use, or how close you go to the border. For example, if color tends to collect at the corners, first use less lipstick there and check both sides straight on. If you also want to choose a separate outline shade to match your lipstick, save that for a day when you use tinted liner.
If unsure, check that the product is for outlining, touch the tip to the lip border in short strokes, and spread the lipstick from the center. Noting where the tip touched makes it easier to decide whether you need to add more than trying to follow a clear line with your eyes.