An eyeliner stamp gives you the shape of a wing with a press. Which end you use and where you press affect how easily you can connect it to the line drawn with a brush. And when one side goes wrong, it can be hard to tell whether you need to darken the other side as well.
The stamp creates the part that extends beyond the outer corner. Check the side and shape first, then stamp just outside each outer corner and connect it to the line along the upper lashes. Open your eyes to check the angle and length before touching up anything that bothers you. Follow your product's instructions for placement and order.
1. Identify the stamps for the left and right eyes
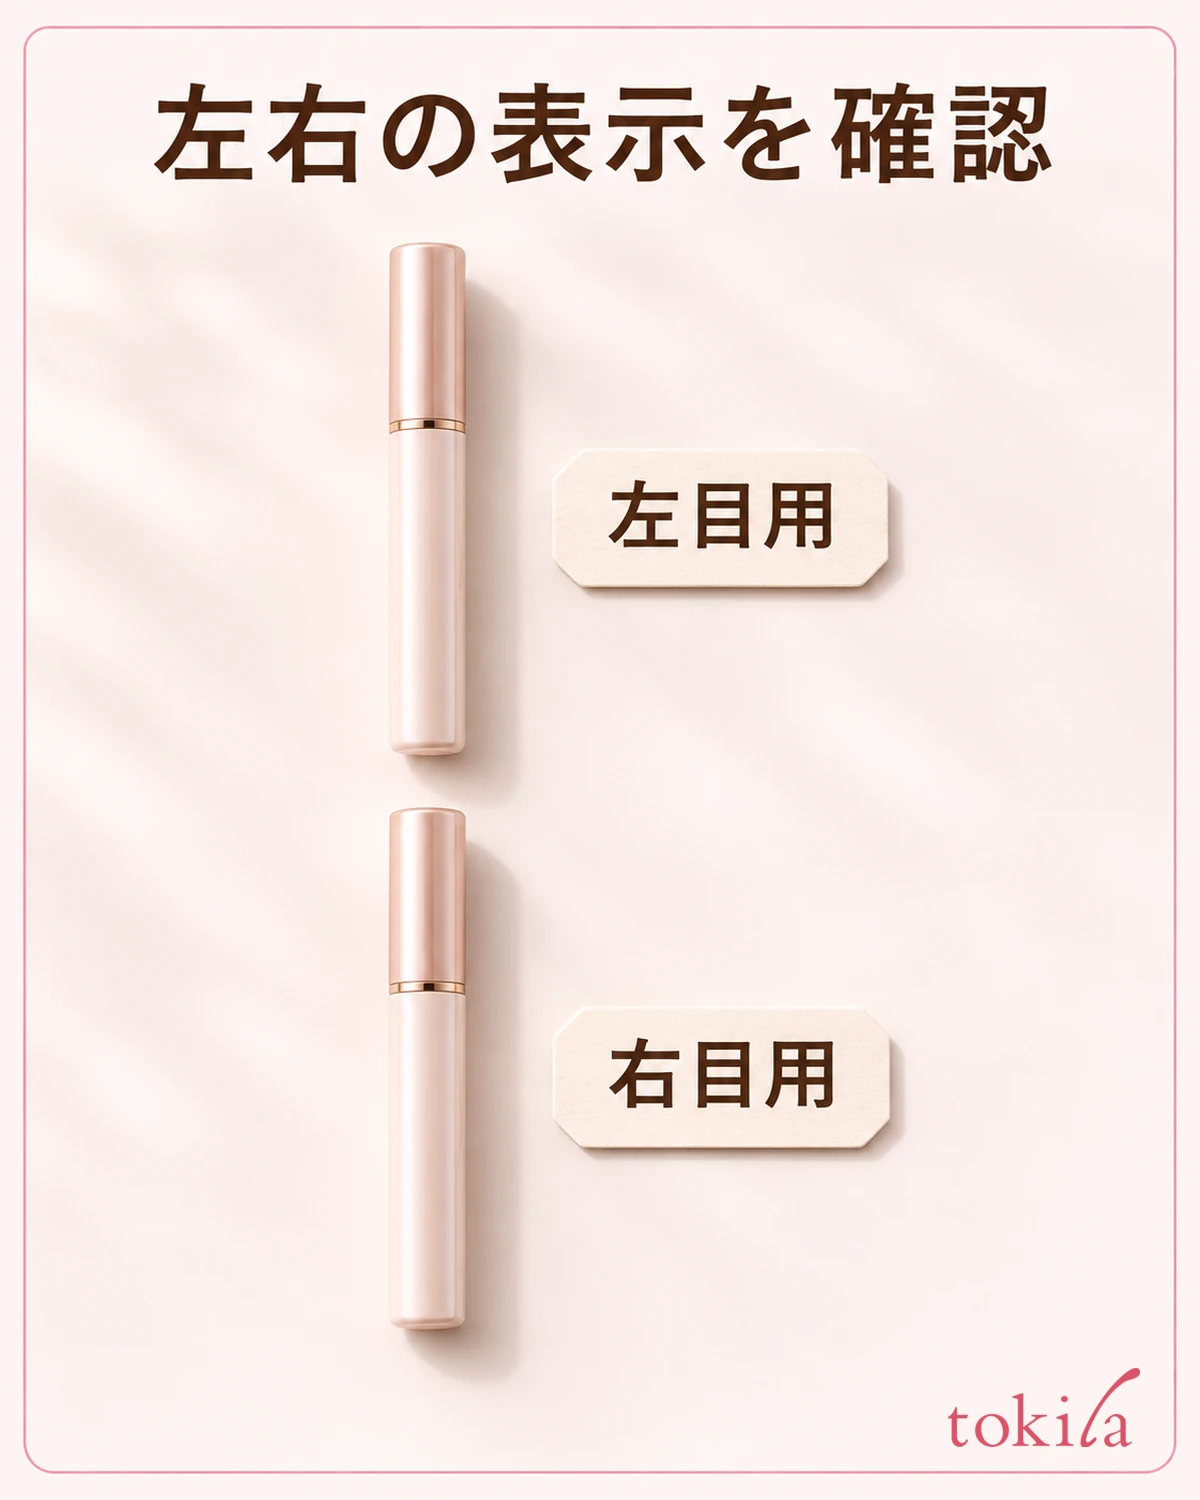
On a double-ended stamp, look for left and right markings on the box, barrel, or near the caps. Some tools have a stamp on one end and a brush on the other, so check the roles of the two ends before opening them. If the left and right stamps come as separate pens, uncapping just the one you need makes them easier to keep straight.
If the mirror makes it hard to tell which side is which, point to your own left or right eye first, then read the marking on the barrel. Turn the stamp so you can see its surface and locate the wide base and tapered tip. With the stamp still away from your skin, check that the base faces the outer corner and the narrow tip points away from your face. Turning the barrel close to your eye can make your hand block your view in the mirror.
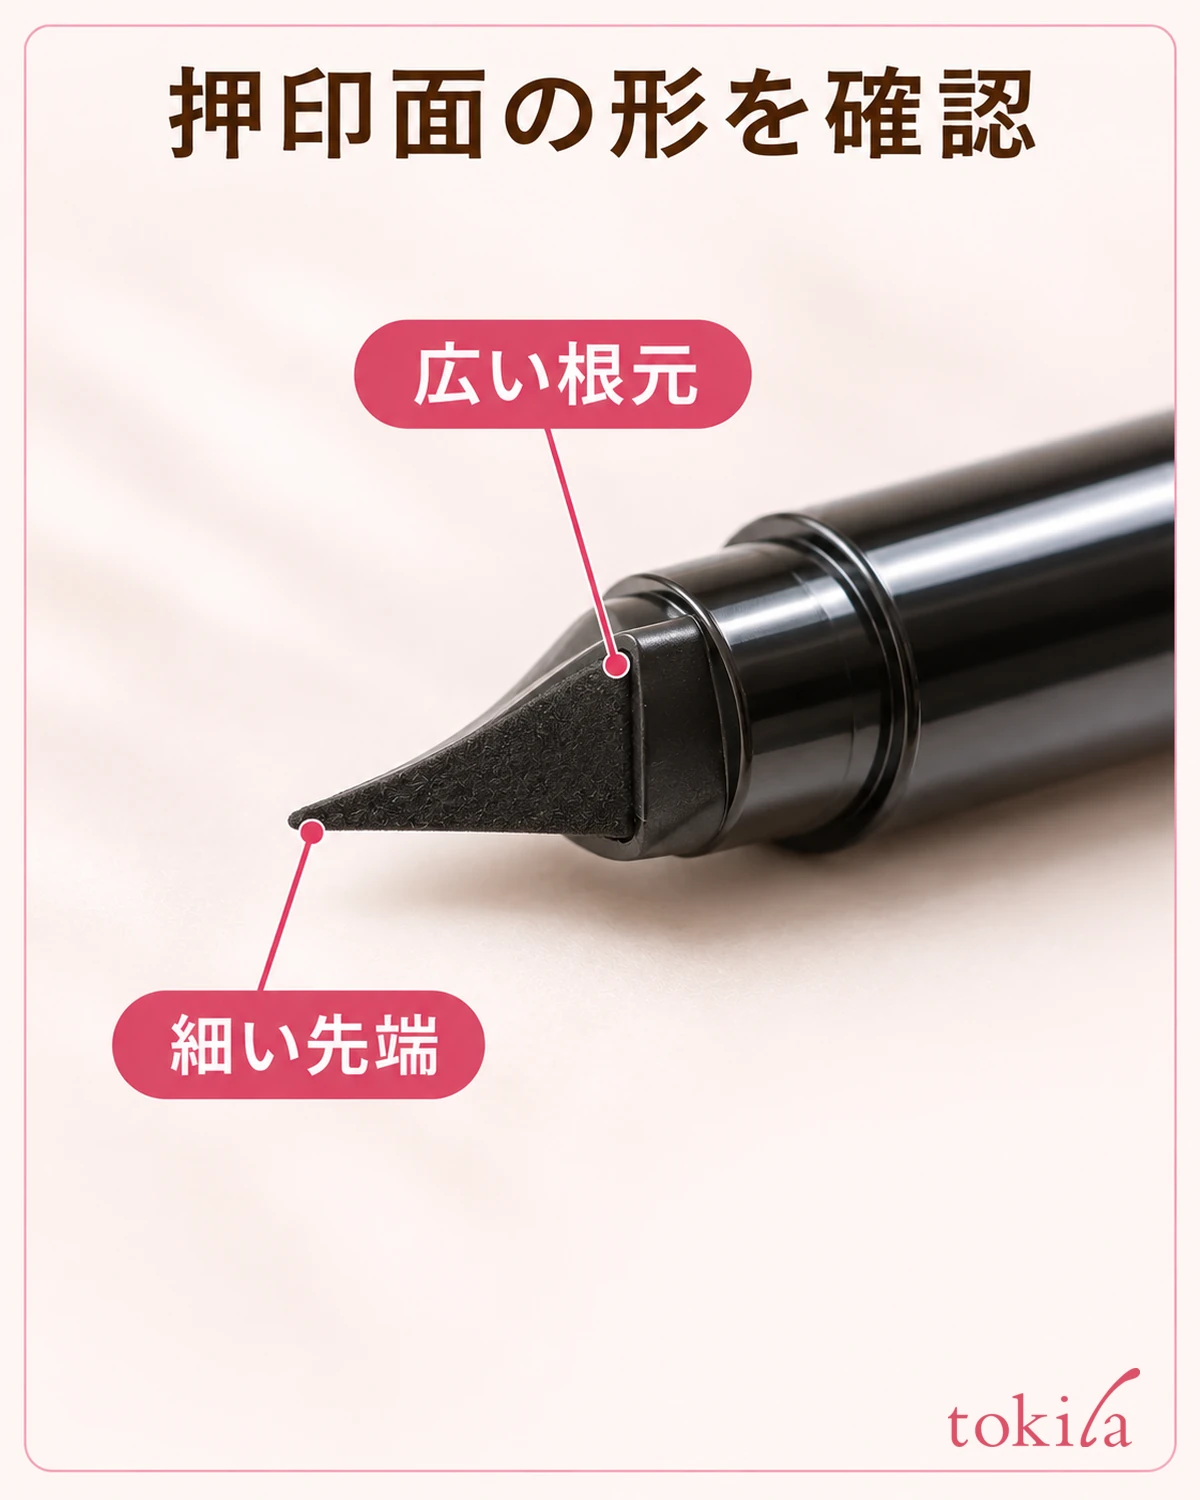
If you only look at the stamp from the side, the narrow tip and wide base can appear to overlap. At a table, turn the stamping surface toward you and look at it from an angle that shows the whole shape. If you have a choice of lengths or shapes, compare them with the wing length you normally draw. Choosing the shape you want first makes the process easier to plan than shortening it once it is on your skin.
If you still cannot tell left from right after uncapping the stamp, orient the stamping surface the same way as the diagram that came with it. If there are no left and right designations, change your grip for the other eye so the narrow tip still faces outward. Work out the orientation in your hand before proceeding, without forcing the same side to work for both eyes.
2. Choose a spot just beyond the outer corner before pressing
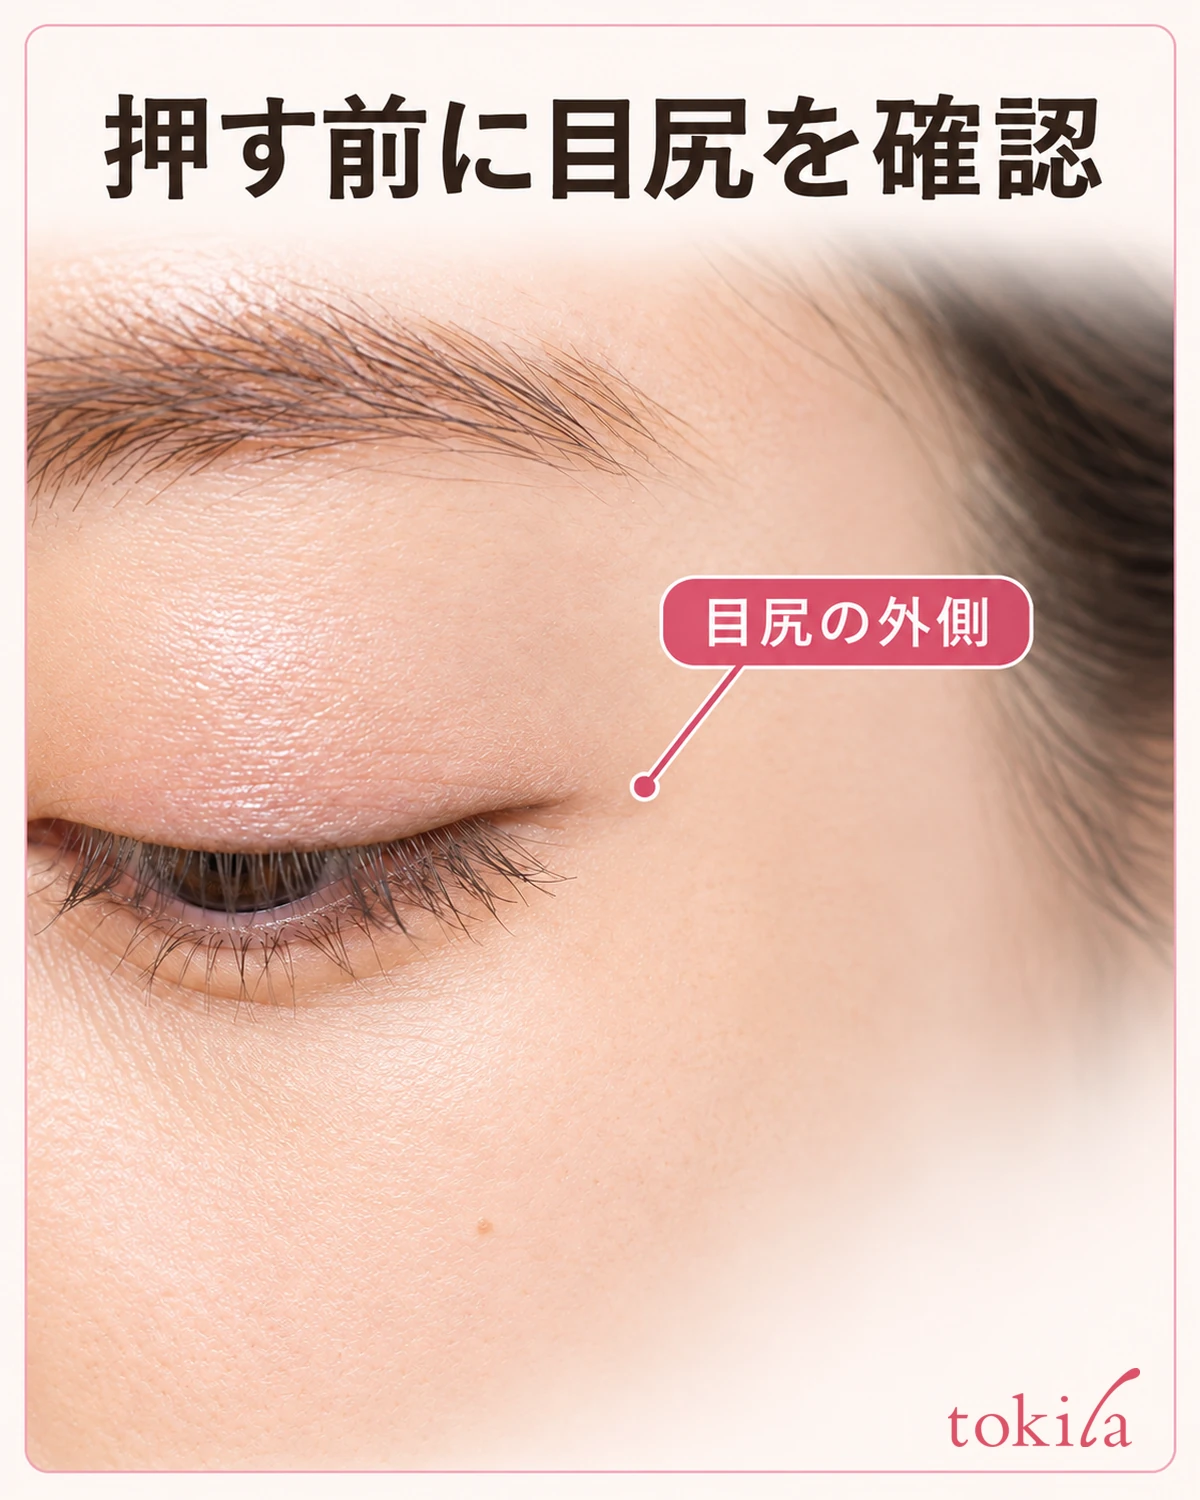
Place the mirror directly in front of you. With your eyes naturally open, find where the upper lash line ends. The stamp goes on the skin just outside the outer corner near that point. Check in the mirror which way you want the narrow tip to point, without touching the tool to your skin. If you choose the angle with your face turned to the side, the wing may look more upturned than expected when you face forward again.
If it is your first time or the stamp shape is hard to read, make a test impression on a flat part of a clean piece of paper if your product instructions allow it. Check whether the whole shape appears from the base to the tip. The contours of your arm or a sheet of paper differ from those at the outer corner of your eye, so you need not use the same angle or pressure on your eye just because it worked on paper.
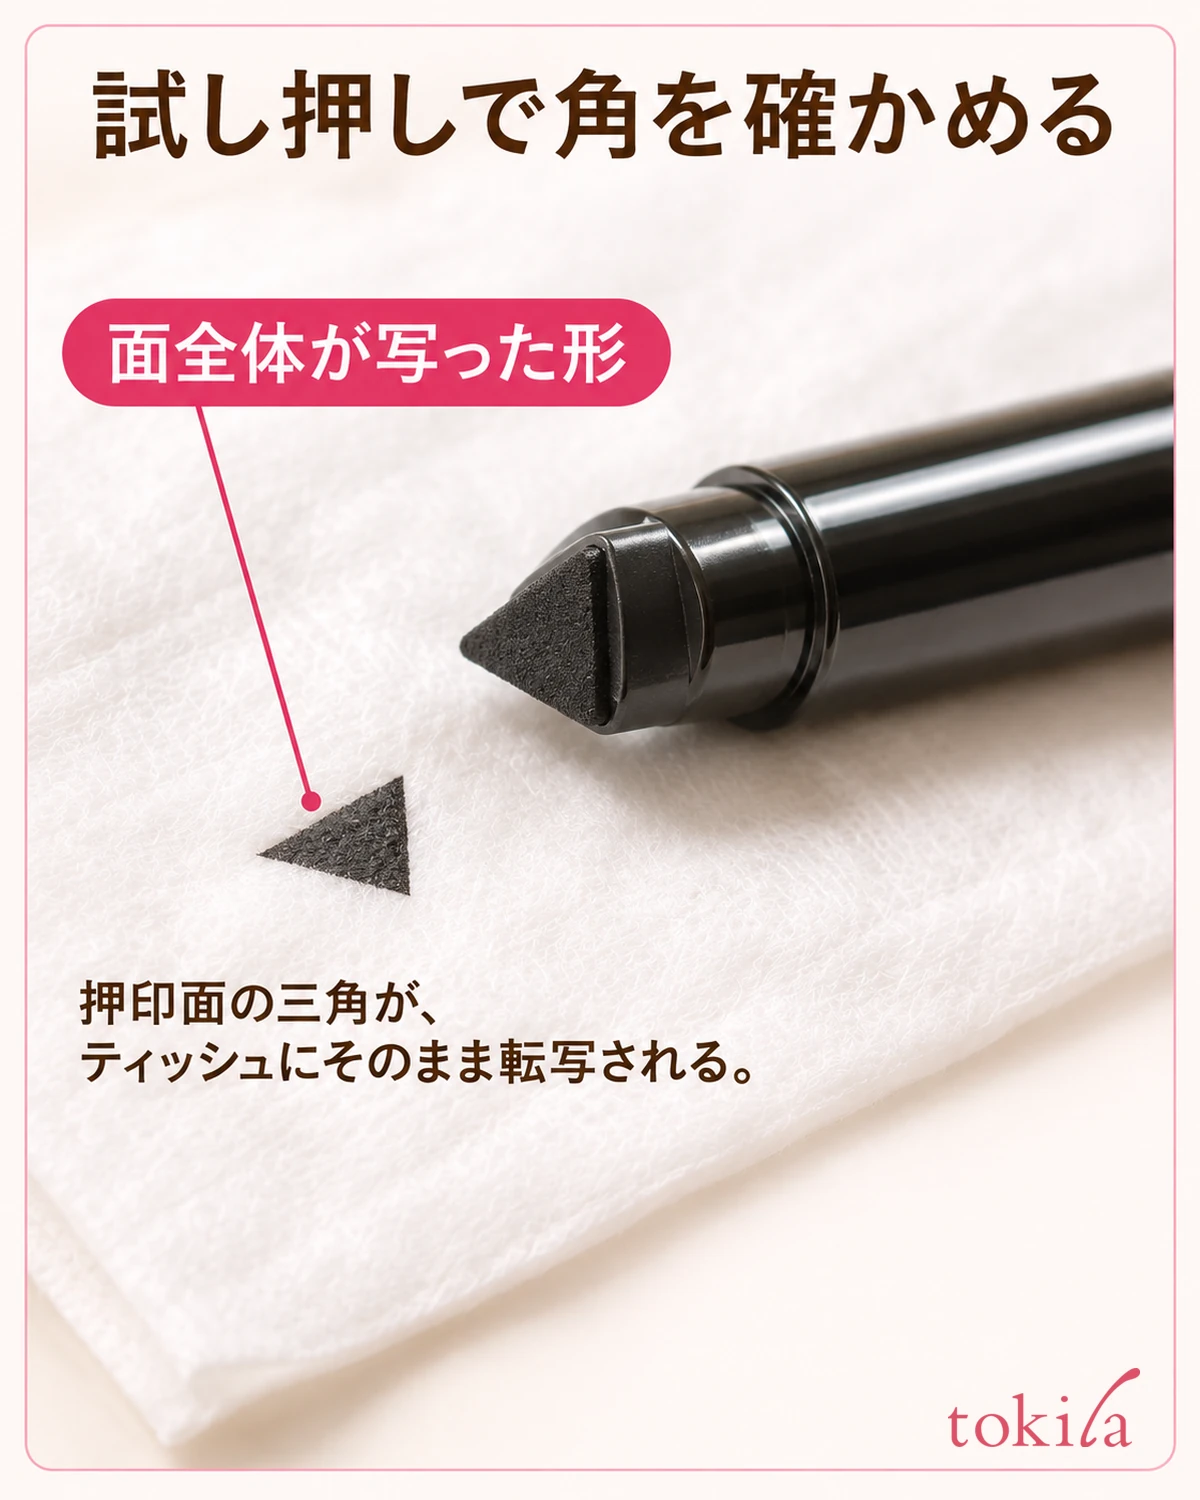
Once you have chosen the spot, bring the stamp toward the skin outside the outer corner while keeping that corner in view in the mirror. Follow the product directions to press the stamping surface against the skin and lift it off, instead of trying to draw with the tip alone. Keep the tool away from the inner lash line and the waterline, and avoid dragging it sideways while it touches the skin. Look at which part transferred before pressing the same spot again.
If your hand tends to wobble when you work on the eye opposite your dominant hand, try holding the stamp a little farther back and check that you can still see the outer corner. At a table, you can shift your seat so you can rest your elbow. Pulling the skin taut can change how the line looks when you let go, so work gradually from the position you can see in the mirror.
3. Connect the upper lash line to the base of the stamp
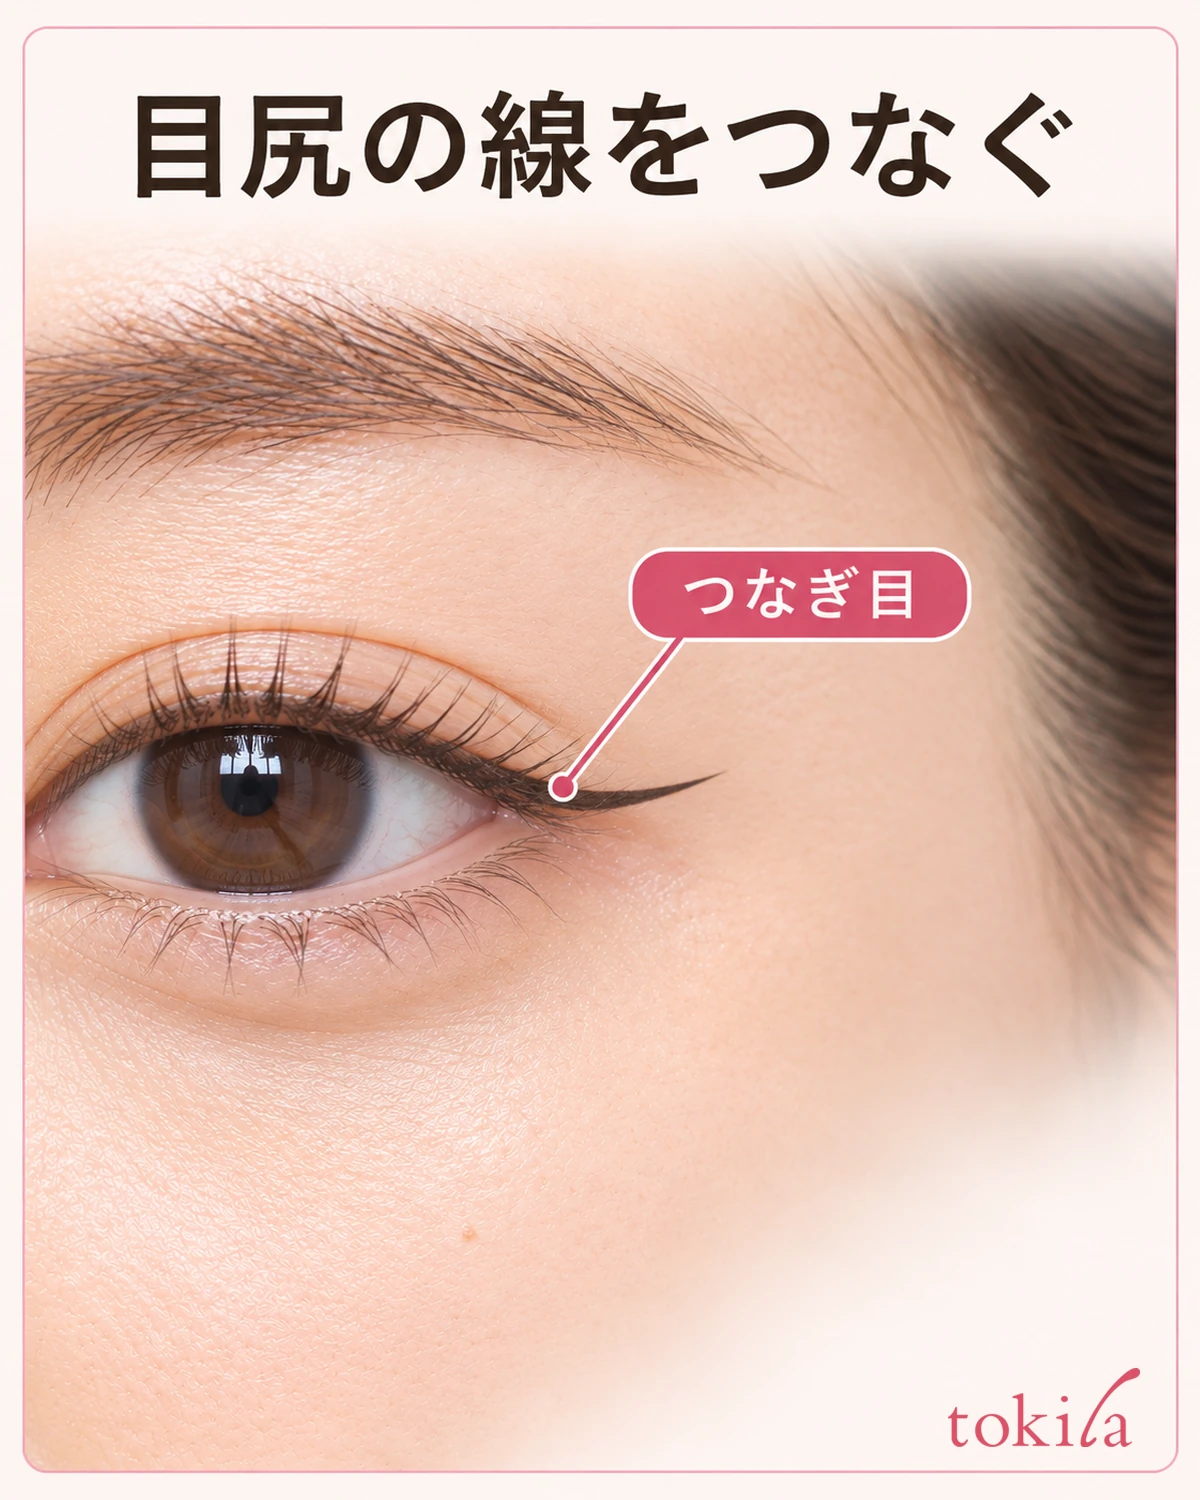
If the stamp and brush are separate or the brush is on the other end of the tool, switch to the end or tool used to line the upper lashes. Find the wide base of the stamped shape closest to the outer corner. Add short strokes from the outer part of the upper lash line toward that base. If you draw all the way to the inner corner in one stroke from the start, it is harder to see where the line meets the wing.
If just one small gap of bare skin remains at the join, fill that gap with a fine stroke. Tracing the whole stamp from the top to the tip can make the wing wider than its original shape. If the base already looks thick, open your eye and check whether the join itself stands out before widening the line along the upper lashes to match it.
For a subtle outer-corner look, you can stop after making a short connection on the outside without extending the liner all the way to the inner corner. If your liner also transfers onto the skin, see what to check when eyeliner smudges and consider placement separately from touching the liner before it dries.
If the eyelid covers the join when you open your eye, avoid drawing farther up based only on what you see when you look down. Check again with the eye naturally open. Separate the end of the wing you want visible from the part along the lashes that can stay hidden, so you only correct the area that needs it.
4. Look straight ahead and check the angle and length separately
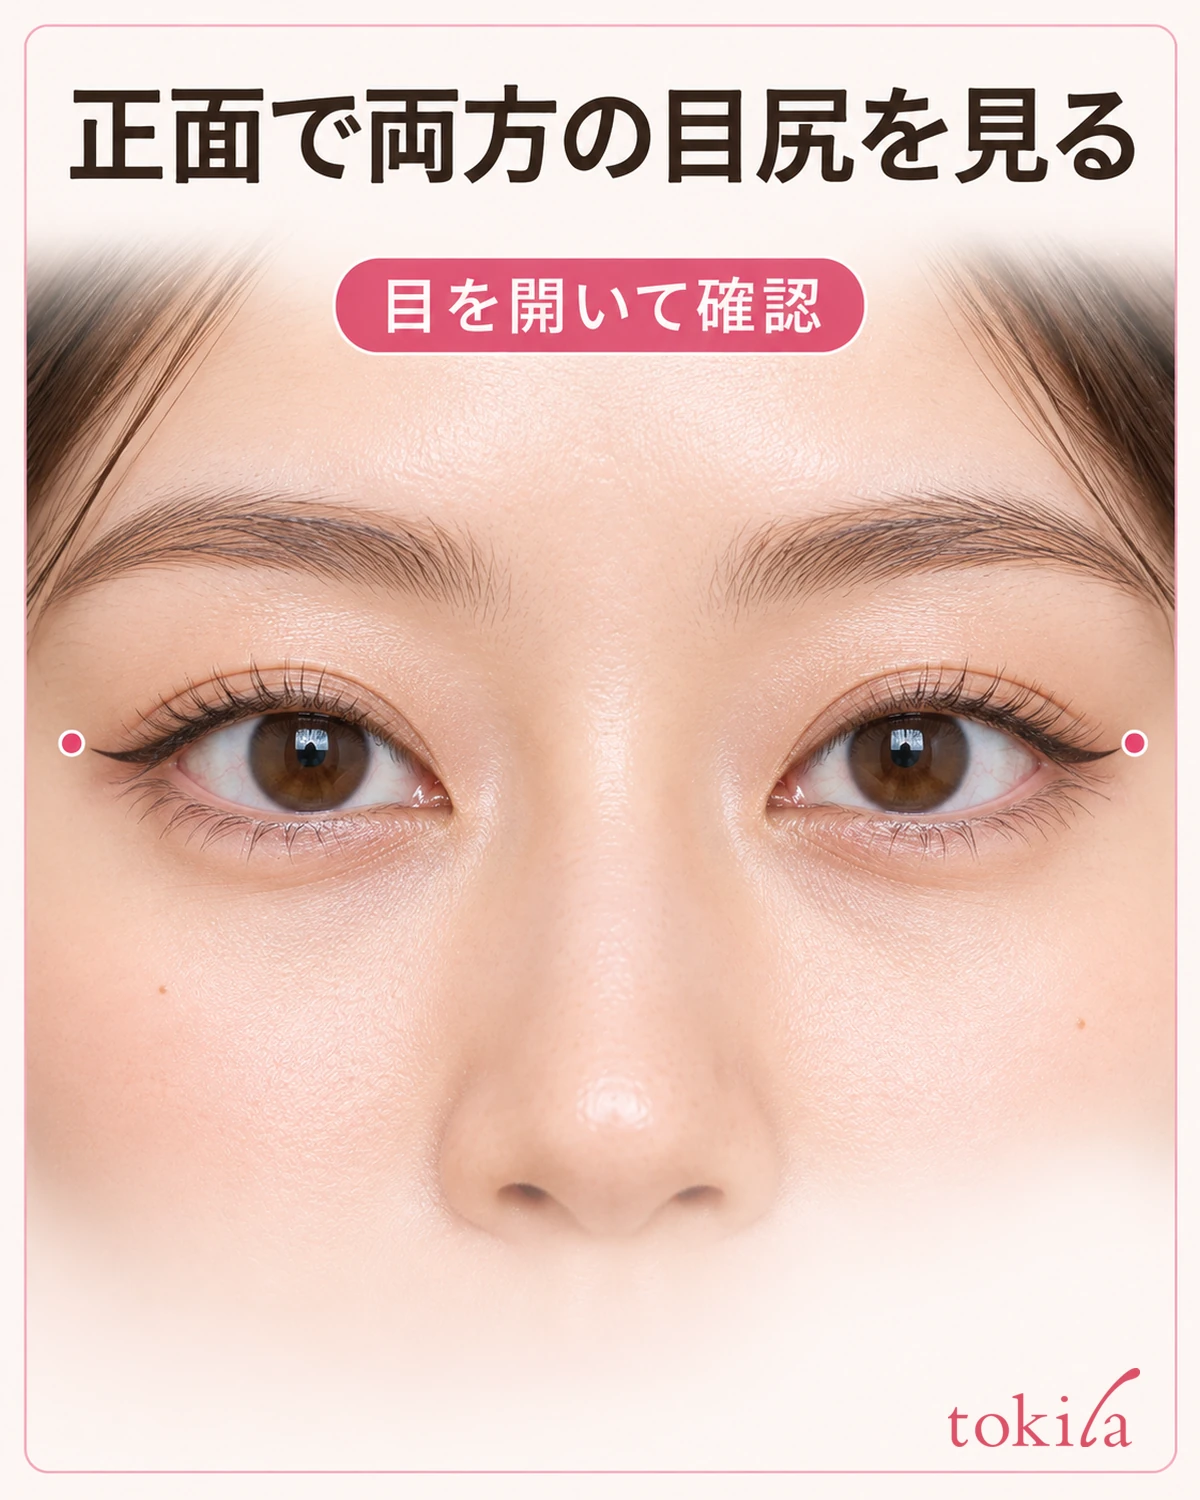
When one side is done, face forward before stamping the other side. With your eyes naturally open, look at which direction the tip extends from the finished outer corner. Moving between a distance that shows your whole face and a closer look at the details helps you assess the angle and the join separately.
After stamping both sides, check the direction of each tip first and then the length visible beyond each outer corner. If the angles are similar but one looks shorter, partially close your eyes to check whether the eyelid covers part of the wing or whether the stamp itself is in a different position. Adding to the tip based only on the visible length can make the difference stand out when you lower your gaze.
If your eye shape or the fold of your eyelids differs from side to side, the same stamp can look different from the front. Choose one priority to check, such as similar angles or a fine line visible only at the outer corners. Before adding more to one side repeatedly to match the other, step back and see whether the difference catches your eye.
5. Choose how much to fix for gaps, smudges, or an off-angle wing
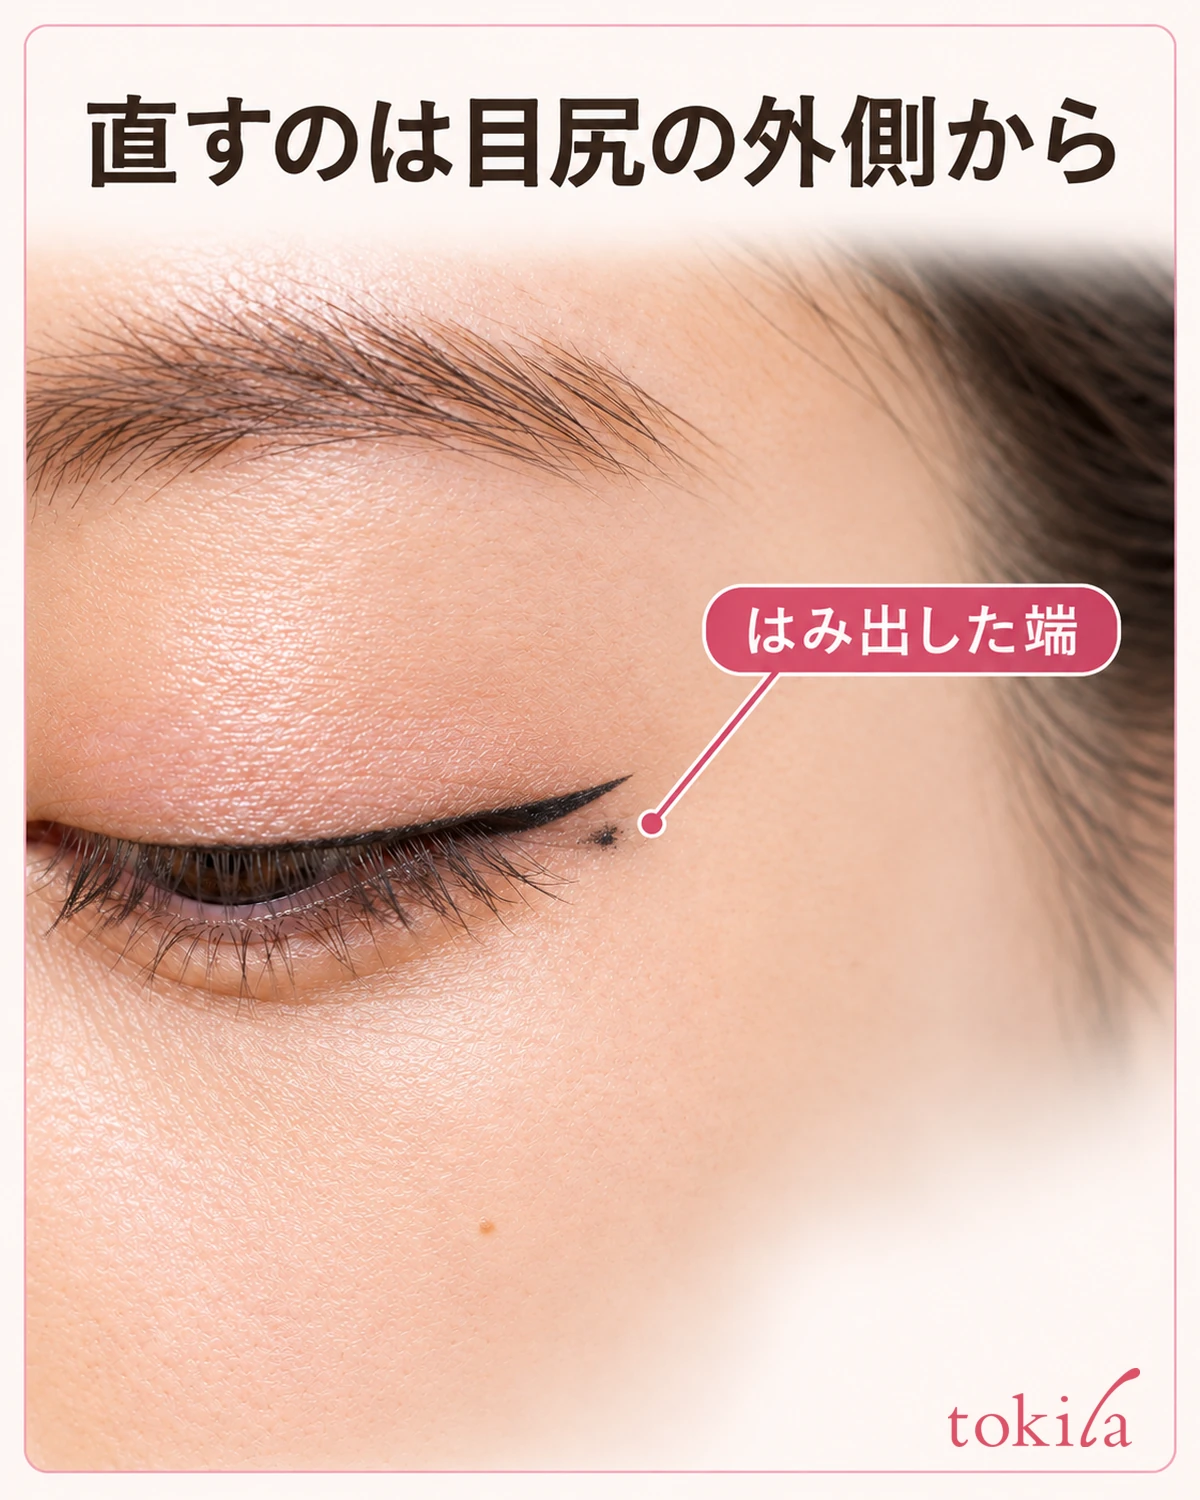
If only the base is missing and the tip is where you wanted it, a little liner at the join with the brush tip may be enough. If the whole stamp is faint and you cannot tell what did not transfer, check the stamping surface rather than stamping over it repeatedly. What you do next depends on whether only part of the stamp touched the skin or whether the shape also fails to show on a test impression.
For a small smudge beyond the outer corner, check how to remove the eye makeup you are wearing and remove just the stray edge a little at a time. Avoid rubbing off the line you want to keep, and keep the tip of the removal tool away from the eye and waterline. If you took off any base makeup too, check in the mirror how much needs retouching before reapplying eyeliner.
If the tip points in the wrong direction or the stamp lands too far away, a long connecting line can make the wing thicker and wider than you planned. Remove just the outer section, then recheck whichever detail caused trouble: the left or right marking, the base placement, or the tip direction. Going back to the checks you made before stamping can help you see what threw off the shape.
When finished, close the stamp and brush caps as directed. If the two ends are for different eyes, set the tool down with the markings facing up so you can see them before opening it next time. When you can tell the direction at a glance, you can focus on placement and the join in the mirror.