Should you spread all the cream foundation taken from its container over your entire face at once? Even with a smooth formula, placing too much on your face initially can make it hard to track where and how much you have applied. Check the amount and tools specified for your product, and work gradually from broad areas such as the cheeks.
This article covers preparation, dispensing, fingertip application, and blending the edges when using cream foundation. It mainly discusses products in jars, but products in similar containers may specify different amounts and tools. Start by checking the instructions rather than deciding how to use a product from its firmness or packaging.
1. Check the primer and tools against your product’s instructions
First, check the container and outer box to confirm that the product is foundation. A facial moisturizer or tinted primer may look similar but serve a different purpose. Do not assume that a product replaces primer or sunscreen simply because it is called a cream formula.
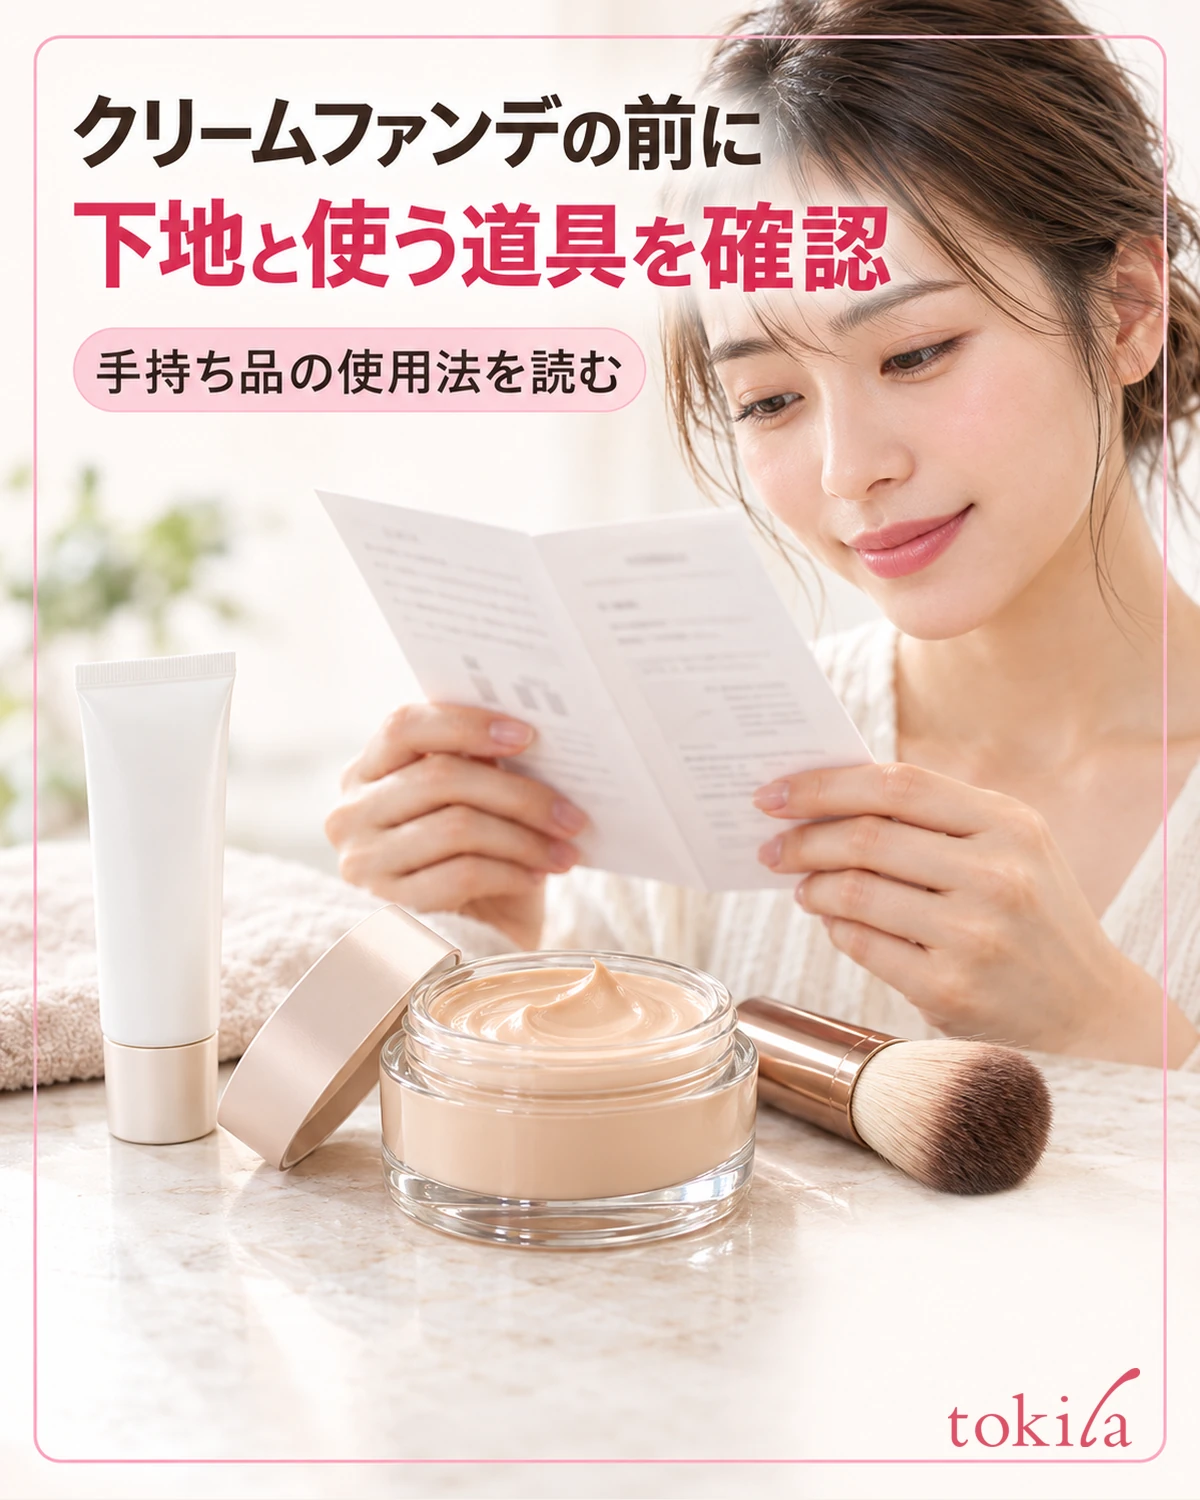
Read the instructions for the application order. If the product specifies use after primer, first apply your usual skincare, sunscreen, and primer according to their respective directions. If a product is described as not requiring primer, you do not necessarily need to add one simply because another cream foundation uses it.
If a thick layer of a previously applied product remains on the skin, review that earlier step before quickly layering foundation over it. Rather than setting a universal waiting time, first look in the mirror for unblended clumps and the areas you will cover. Do not reduce the required amount of sunscreen to achieve a thinner finish.
Next, check whether the product calls for fingers, a brush, or a sponge. Here, we assume that the instructions allow application by hand, using clean finger pads. Some products also allow a brush finish, but do not transfer another product’s damp-sponge method without checking. Tools also specify compatible formulas and whether water can be used.
Do not assume that every cream foundation provides high moisturizing performance or coverage, or suits every skin type, based solely on its form. Choose the color and finish according to the product’s features and the areas you want to assess. Consider color selection separately from the amount applied, and avoid adding thick layers because the foundation looks pale.
Before applying it, check the removal instructions along with the amount. Do not assume that a cream formula washes off with soap. Choose a cleansing method suited to the combination, including any sunscreen and primer. Planning removal in advance also makes it clearer what to review if you later add another cosmetic.
2. Dispense the product and decide how much to spread at a time
Clean your hands and place the mirror and container on a stable surface. Move hair away from your cheeks beforehand so you do not have to keep touching it after opening the jar. Deciding where to place your dispensing tool before starting also makes the process easier to follow.
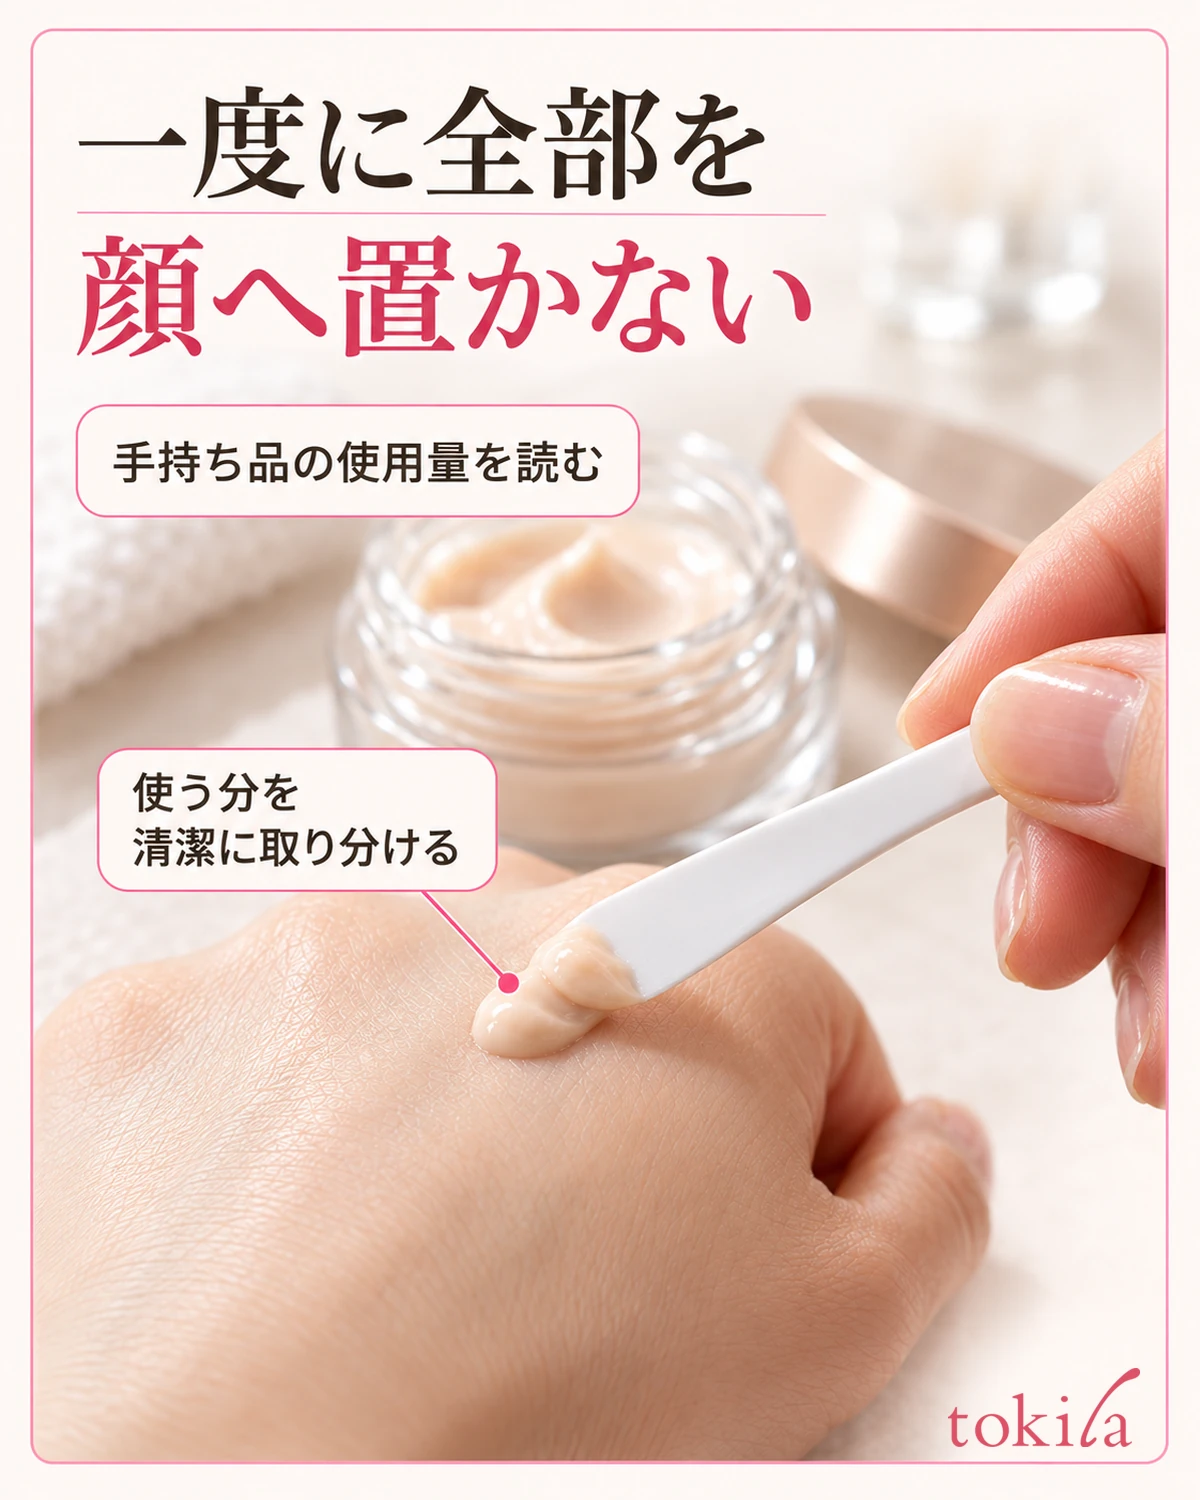
Check whether the stated amount is for the whole face or one side. Even when a pearl-sized amount is suggested, the same number of pearls does not apply to every product. Instructions may change between an older and a newer product in the same range, so consult the directions for the container you are currently using.
If the product specifies the included spatula, use its dispensing surface to take out the foundation. Do not switch to dipping your fingers into the jar without checking. If the tool is missing, confirm how the product should be handled. Avoid returning a finger or tool that has touched your skin directly to the container for more product, and maintain a clean dispensing process.
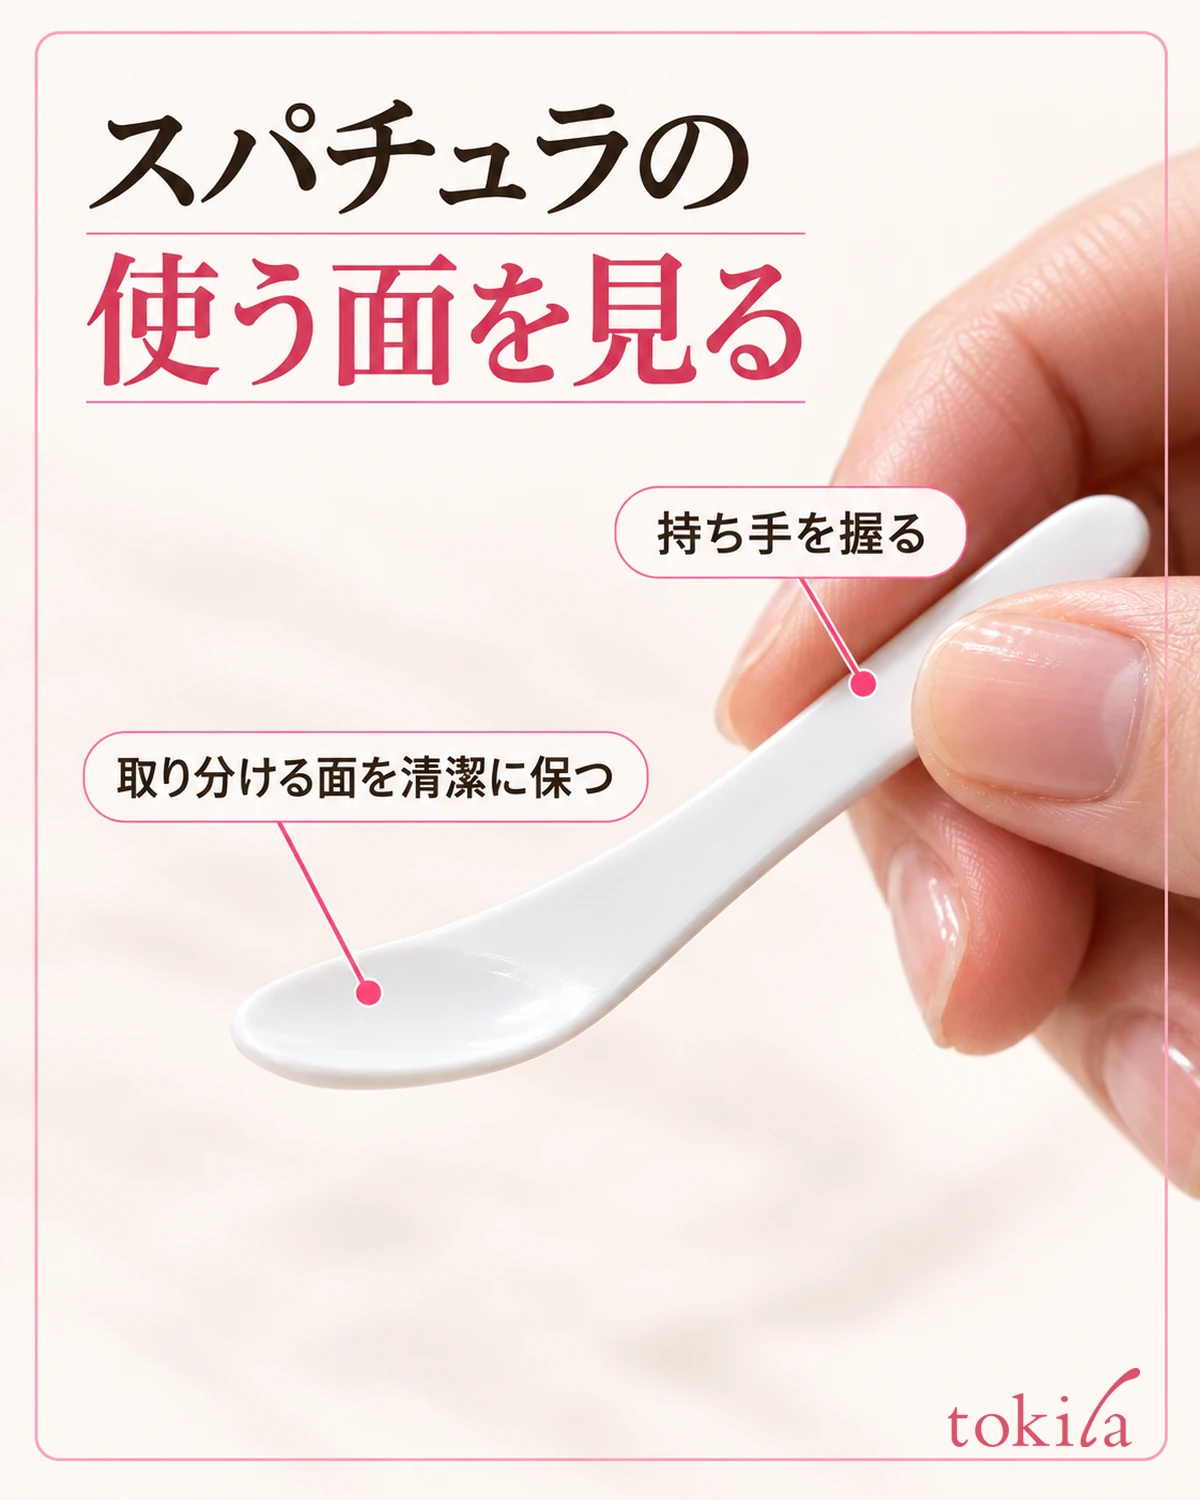
You do not need to place the entire dispensed amount on one area of your face at once. Take some onto your finger according to the instructions and proceed while checking how it spreads. The mound shown in a photograph is not a measuring reference; start with the amount indicated for your product. Do not apply a thick layer over the whole face merely to use up excess product.
After dispensing, close the container as directed rather than leaving it open while moving on to other makeup. Check the product’s instructions for residue on the rim and care of the spatula. Do not add water or toner to the container to thin out a firm formula. Consider difficulty dispensing separately from the amount spread on the skin.
3. Gently spread it with your fingers from broad areas such as the cheeks
For products applied by hand, use the soft pads of your fingers rather than your nails. Follow the instructions for starting with larger areas such as the cheeks or forehead, and gently spread from the center of the face outward. Do not try to reach the edges in a single stroke; position yourself so you can see the area you are blending in the mirror.
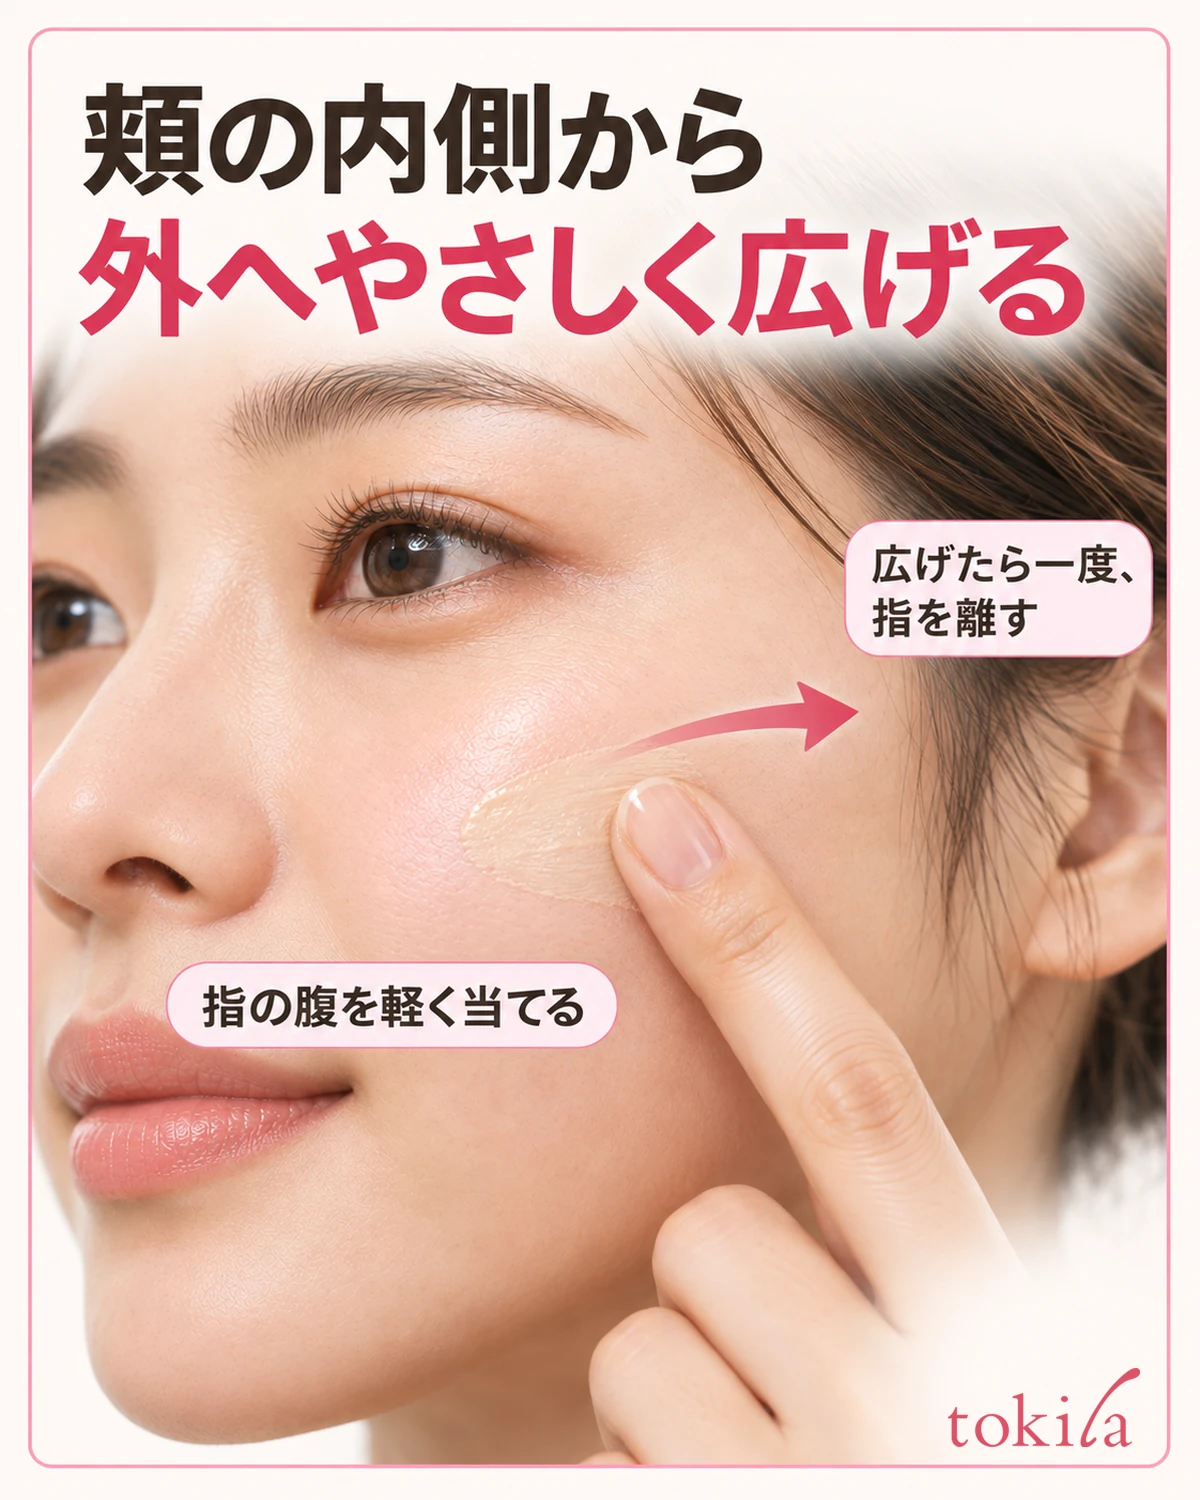
After placing foundation on the cheek, lightly touch it with a finger pad and spread it, then lift your finger to inspect the area. Avoid pulling the skin strongly sideways, touching it with your nail, or rubbing the same place repeatedly. Before taking more foundation onto your finger, check how far the existing amount has spread to decide where another layer is needed.
There is no need to establish a universal number of dots or strokes for the whole face. If the product specifies dotting or working on half the face at a time, follow that sequence. If its spreadability changes during application, lift your hand and check the amount and area covered instead of continuing to drag it forcefully.
If the product allows layering over uneven color, you can first finish the overall layer thinly and then add a little to those areas. Visible skin tone is different from thick streaks of foundation. If you notice streaks or clumps, inspect the existing layer before immediately adding more over it.
Do not automatically take the same amount for the forehead as for a cheek; consider the product’s instructions and the area to be covered. Avoid pushing foundation into the hairline, and check the mirror for product on your hair. When moving to the other cheek, avoid habitually stroking the first side again and again; touch only where needed.
4. Inspect the edges and small areas before adding thick layers
Blend the outer cheeks thinly while looking at how they meet the neck. Do not aim for the same thickness at the edges as at the center. If a band of color appears along the jawline, first check the application area and shade. Do not keep chasing the boundary by spreading fresh, thick foundation down the neck.

For small areas such as the sides of the nose or around the mouth, use fingers or tools confirmed as suitable for that product. Do not use a nail tip or pull the skin strongly to reach deeper simply because the area is narrow. Keep the product out of the eyes and off mucous membranes, and do not extend it beyond permitted areas to reach every edge.
If foundation appears collected in a small crease, first lift your finger and identify where it remains thick. Before layering more foundation over the same spot, check whether the product’s recommended finishing method can smooth it. If a sponge is recommended, use a clean surface and avoid dragging it strongly sideways.
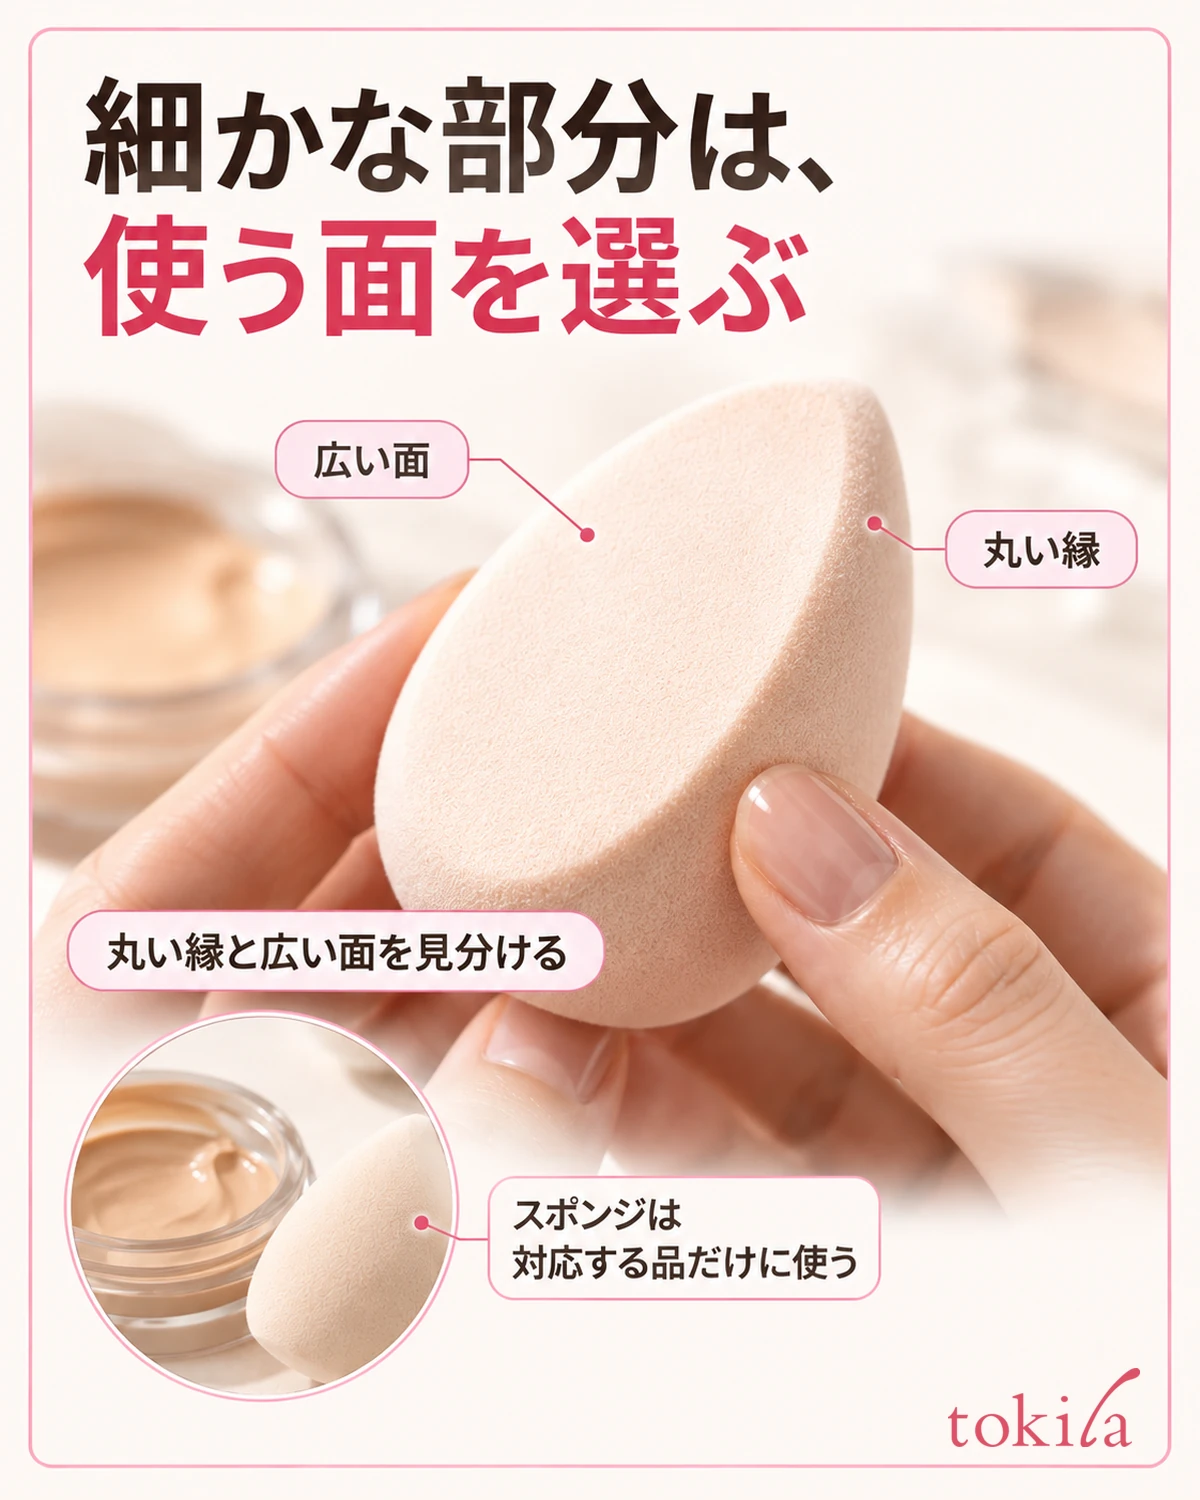
Even if a product applied with fingers allows an additional brush finish, everyone does not necessarily need both tools. Changing tools midway also changes the amount added and the surface that contacts the skin. Instead of repeatedly switching between fingers, brush, and sponge whenever marks appear, confirm one finishing method suitable for that product.
When also using under-eye concealer, check the order and areas needed so that both foundation and concealer are not applied thickly over the same area. For product that collects in creases over time, you can also reviewunder-eye concealer amounts and layering. Distinguish thickness immediately after application from changes that appear later.
Distinguish the finish’s sheen from thick, unblended product. Turn your face slightly to see whether the reflective area moves with the light or a streak remains in the same place. Do not assume you used too much solely because there is sheen, or repeatedly cover reflective areas with powder. Choose the next step based on what you can actually see.
5. Check the finish from farther away and adjust the amount next time
For the final check, move from closely inspecting part of a cheek to viewing the entire face. Look straight ahead and turn slightly to check thick streaks on the cheeks, the hairline, the sides of the nose, and the jawline. Comparing under the same lighting helps distinguish reflected brightness from a boundary in color.
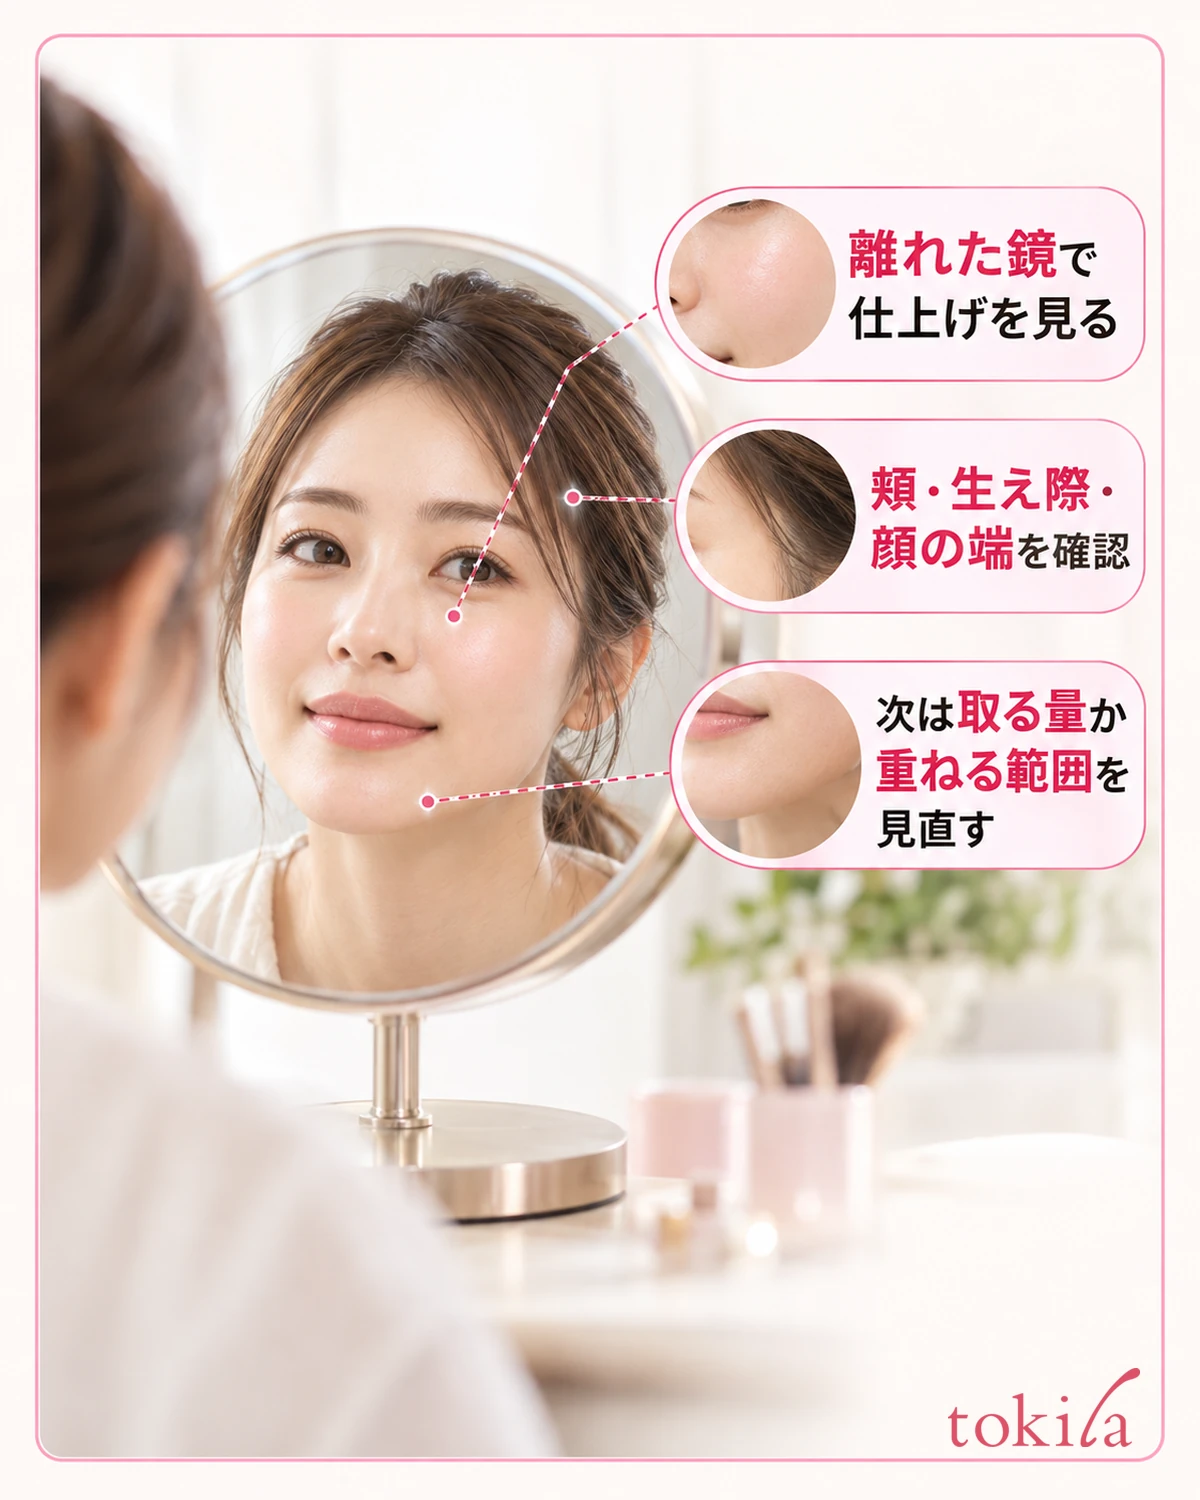
If the intended areas look finished at your usual mirror distance, you do not need to keep applying foundation to cover every tiny irregularity. Add layers only to areas where you have confirmed the product permits it. You are assessing the cosmetic finish of color and texture, not treating pores or dark spots.
Choose face powder according to the directions for both the foundation and powder. Do not assume all cream foundations must be set with a large amount of powder, or that all sheen must be removed. If finishing powder looks pale or thick, reviewhow to identify overapplied face powder, starting with the condition before adding more powder.
If the finish looks heavy immediately after application, next time review either how much you take onto your finger at once or where you add another layer. A short note such as “the second layer on the cheek was thick” can guide adjustment before changing every tool. Rather than aiming to drastically reduce the specified amount, also consider how you distributed it.
Do not apply the product to areas with wounds, swelling, eczema, or other abnormalities. Stop use if redness, itching, irritation, or similar symptoms appear, and follow the product’s precautions. If it gets into your eyes, rinse thoroughly immediately. Do not keep touching an uncomfortable area in an attempt to correct the finish.