When choosing a glitter liner, criteria such as “pink tones” or “a fine brush” alone may not narrow the choices down to one that works with your eyeshadow. Separating the color of the reflective particles from the liquid’s base color, deciding between dots and a short line, and checking the permitted application areas make it clearer what to look for in a product description.
Here we organize the criteria to compare before buying a liquid glitter product for the eye area. This article does not rank specific products or evaluate their actual color payoff. The photographs explain shapes and points of contact. For detailed application amounts and steps, use the directions for your own product as the starting point.
1. Match where you want to add light with the permitted application areas
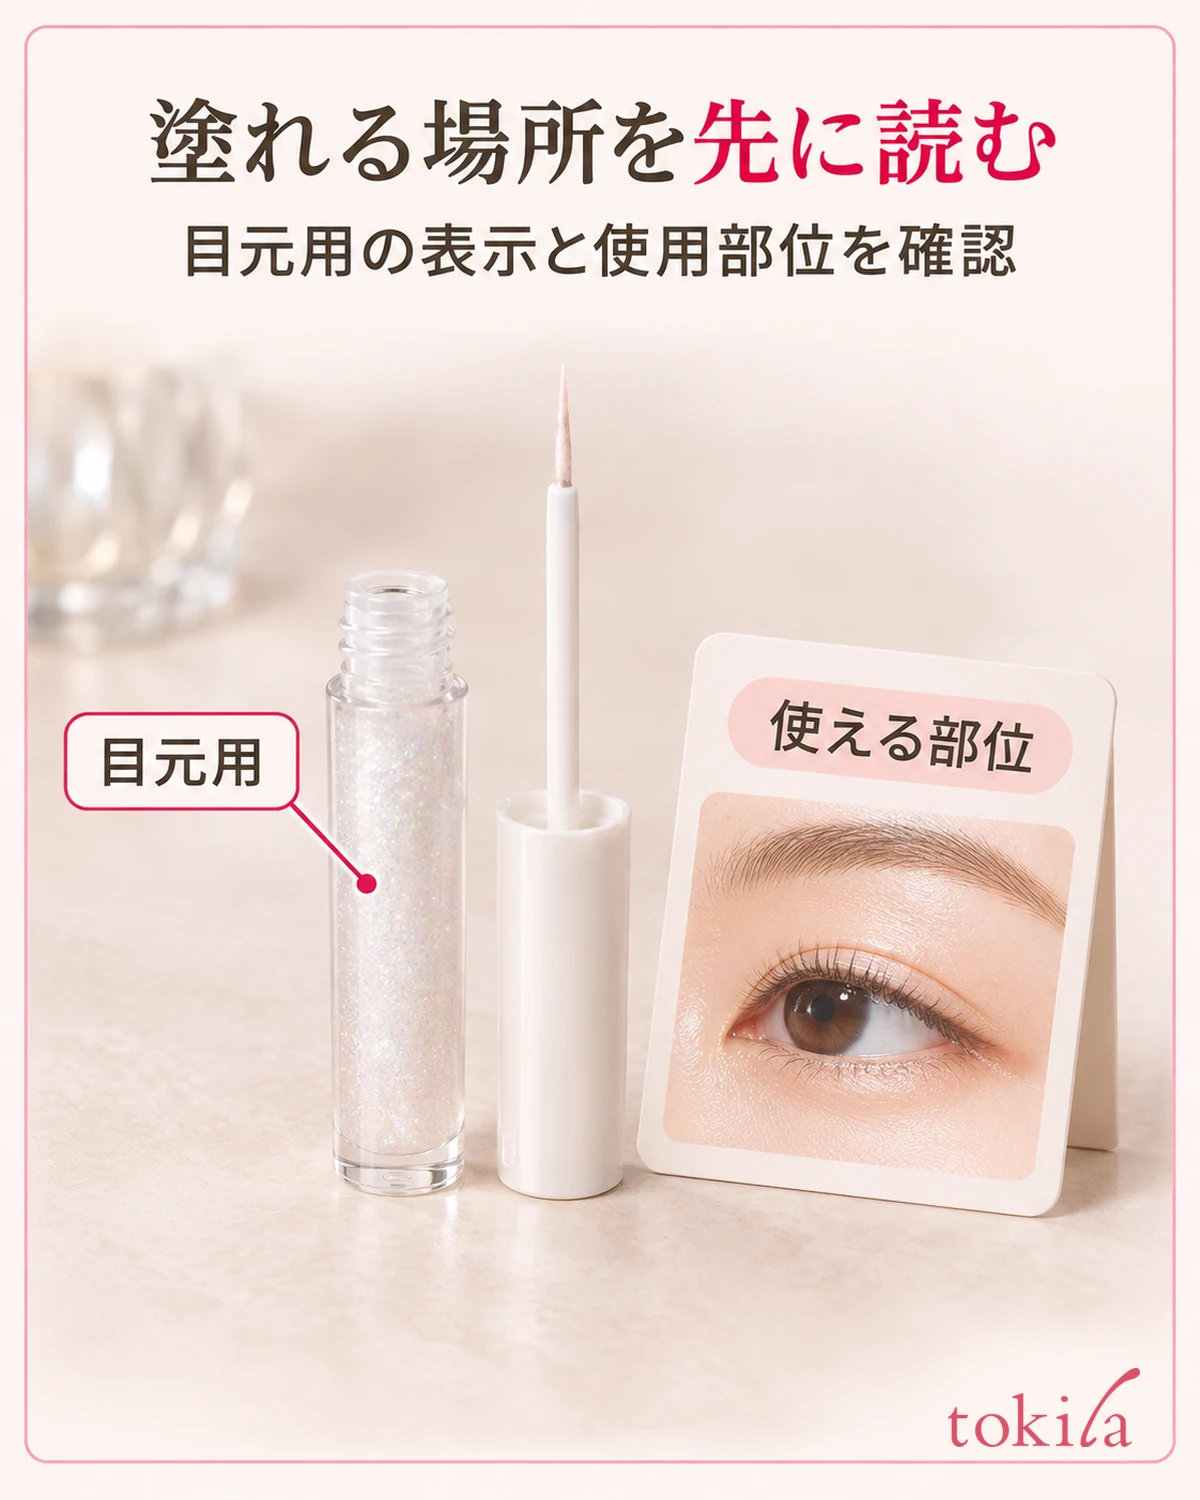
Before looking for candidates, decide whether you want a little light at the center of the upper eyelid or on the skin below the eye. Even products called “glitter liners” do not necessarily share all the same application areas. Finding products whose permitted areas match your desired finish comes before comparing colors.
Check the container, box, or information available when buying to see whether it is a cosmetic for the eye area. Do not substitute craft or nail glitter even if you like the particle colors. Even among eye products, do not assume a product for eyelashes and one for skin have the same purpose just because the packaging looks similar.
It is also important not to interpret the word eyeliner as permission to use it on mucous membranes or inside the eyelid. Check whether the described areas match the skin where you want to apply it. If you only know that it is for the eye area but cannot confirm instructions for your intended location, keep that criterion marked as unconfirmed.
If you have not decided on a location, first consider which colors you want to keep in your usual makeup. You can narrow the choices down by starting with the center only when you want your upper-eyelid shadow to remain the focus, or choosing a product permitted for another area when that is where you want light. A greater number of permitted areas alone does not make it the product you need.
Being able to handle it without getting it in your eyes is another selection criterion. If guiding a brush into small areas is difficult, start with products whose directions let you see the point of contact clearly in a mirror. If you currently have redness or a wound around your eyes, prioritize your skin’s condition and the precautions rather than rushing to try something new.
2. Choose the reflective particles and the liquid’s base color separately
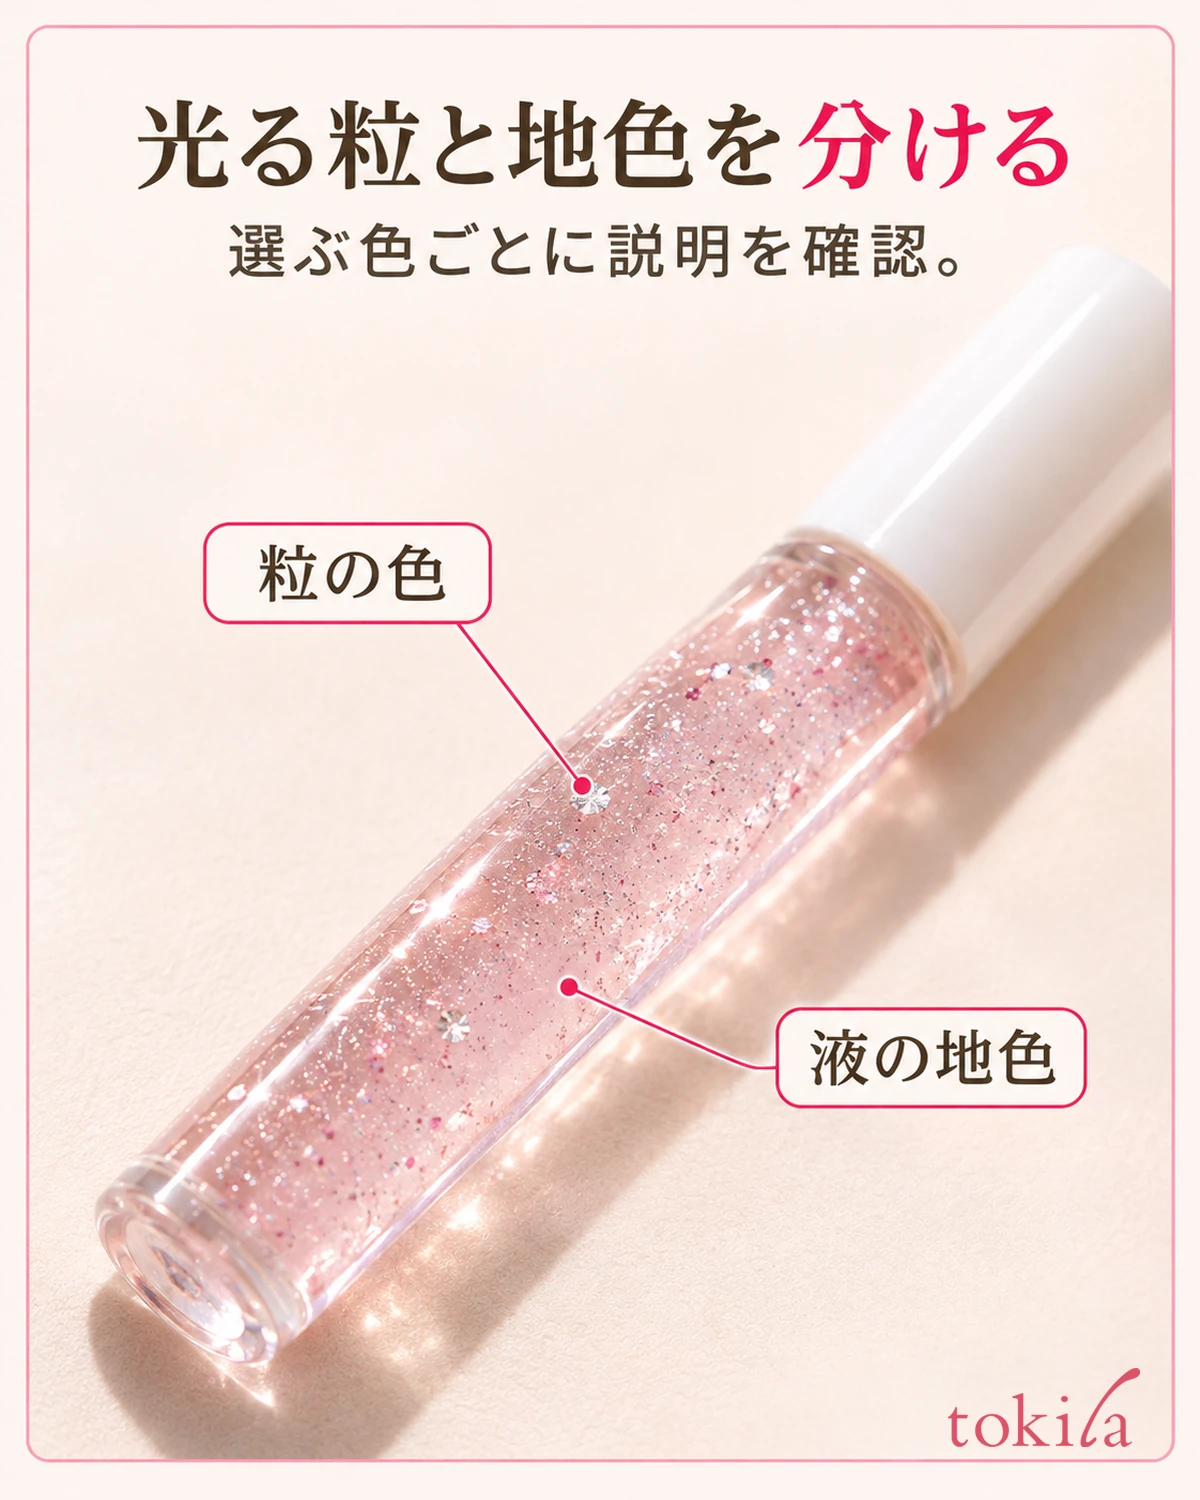
When you see a shade name, first read what it describes. Even with a name like pink, the points to check differ depending on whether the liquid itself is pink or pink pearls reflect light in a nearly clear liquid. Look for descriptions that distinguish the particles from the base rather than grouping them together by name alone.
Next, read about particle sizes and types. Some products contain many small particles, others include larger ones, and others contain particles whose color appearance changes with the viewing angle. Combinations may differ by shade even in the same range, so read the description of the shade you are considering as well as the general range introduction.
If you want to retain as much of your usual eyeshadow color as possible, check how much color the base is designed to add. If you want both color and light, look at both the base and the particles. This is a difference in what you want to change by adding a product, rather than a question of which is better.
Do not determine how strong it will look around your eyes from a photograph showing many particles alone. Lighting, application area, and background color also affect appearance. Use published photographs as clues to color and texture, without assuming the sparkle on screen will be reproduced exactly on your own skin.
Once you have narrowed the choices to two, write one reason for each, such as wanting to add a base color or wanting the particles to look smaller. If both reasons are only shade names, return to the intended area and your usual eyeshadow. Before adding similar shades, you can identify whether there is a criterion your current product does not meet.
3. Check the brush according to whether you want dots or a short line
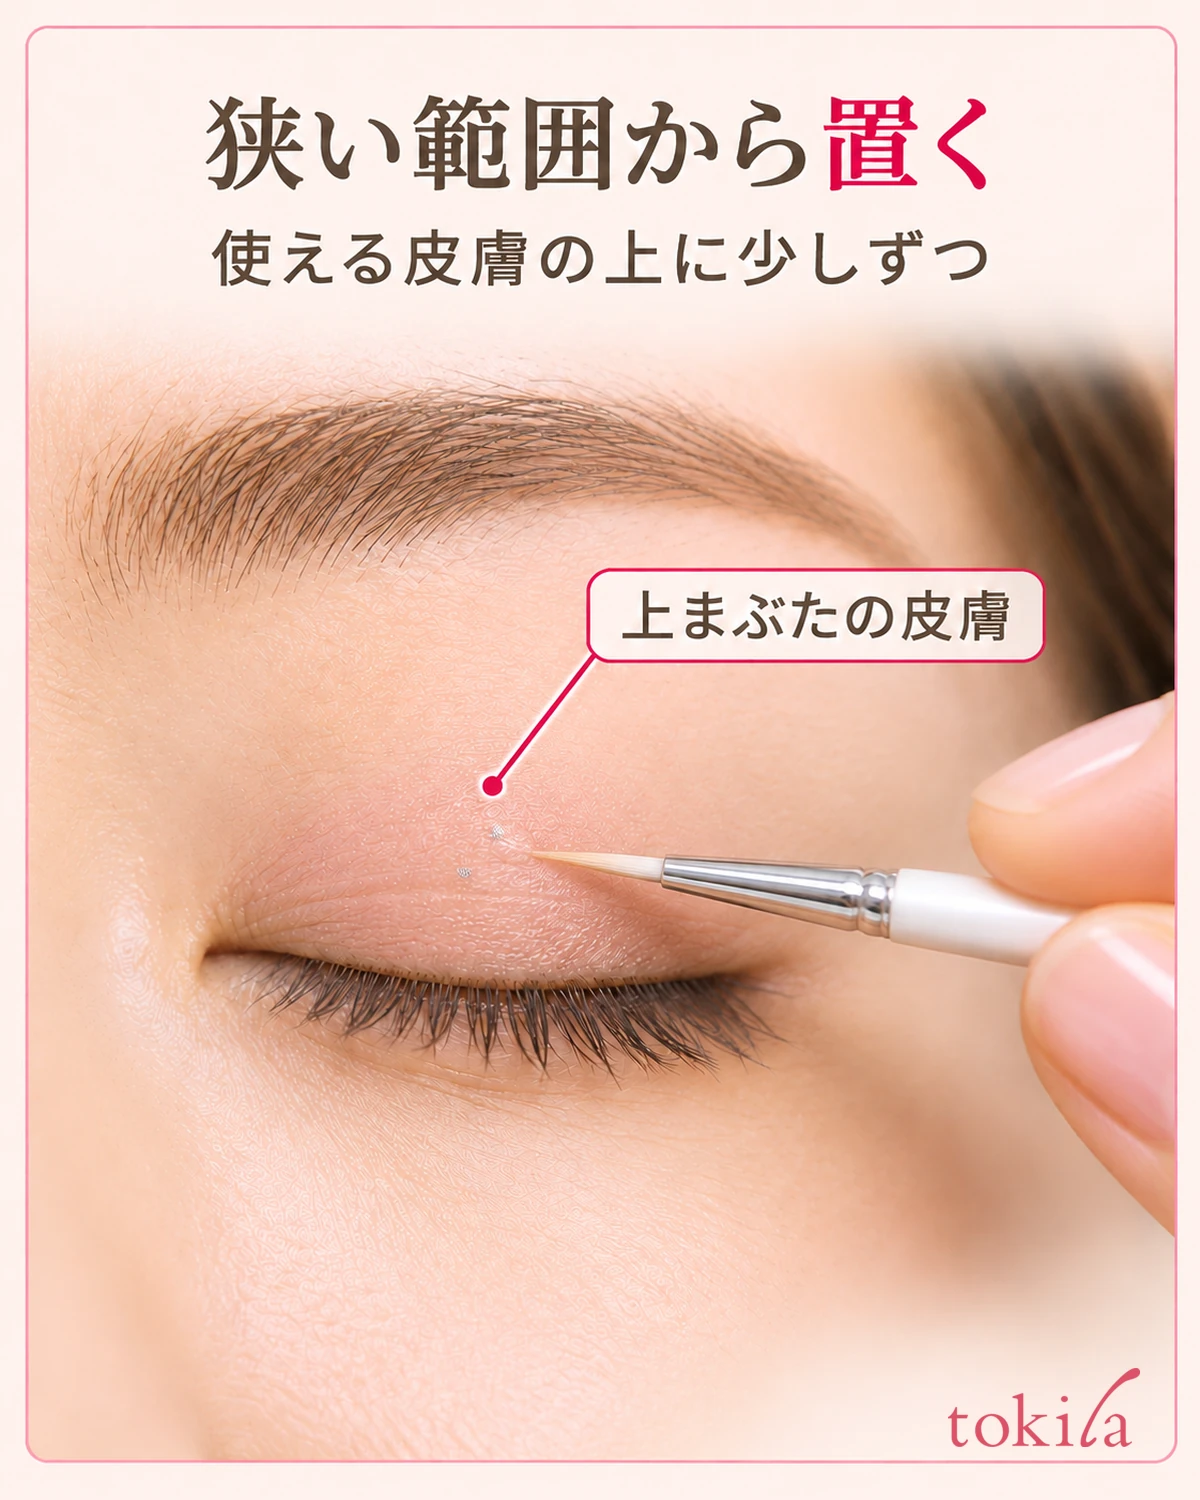
Next, look at the tip that touches the skin rather than how you hold the container. The tip shape to check differs depending on whether you want a small dot in one spot or a line over a short area. Read the tip shape together with the recommended application method rather than deciding from the term ultrafine alone.
The photograph illustrates the point of contact when placing a small amount on upper-eyelid skin with a fine brush. If you want to work in a small area like this, whether you can handle it while watching where the tip touches is a useful criterion. Do not use the particle count or brush dimensions in the photograph as a universal amount or actual-size scale.
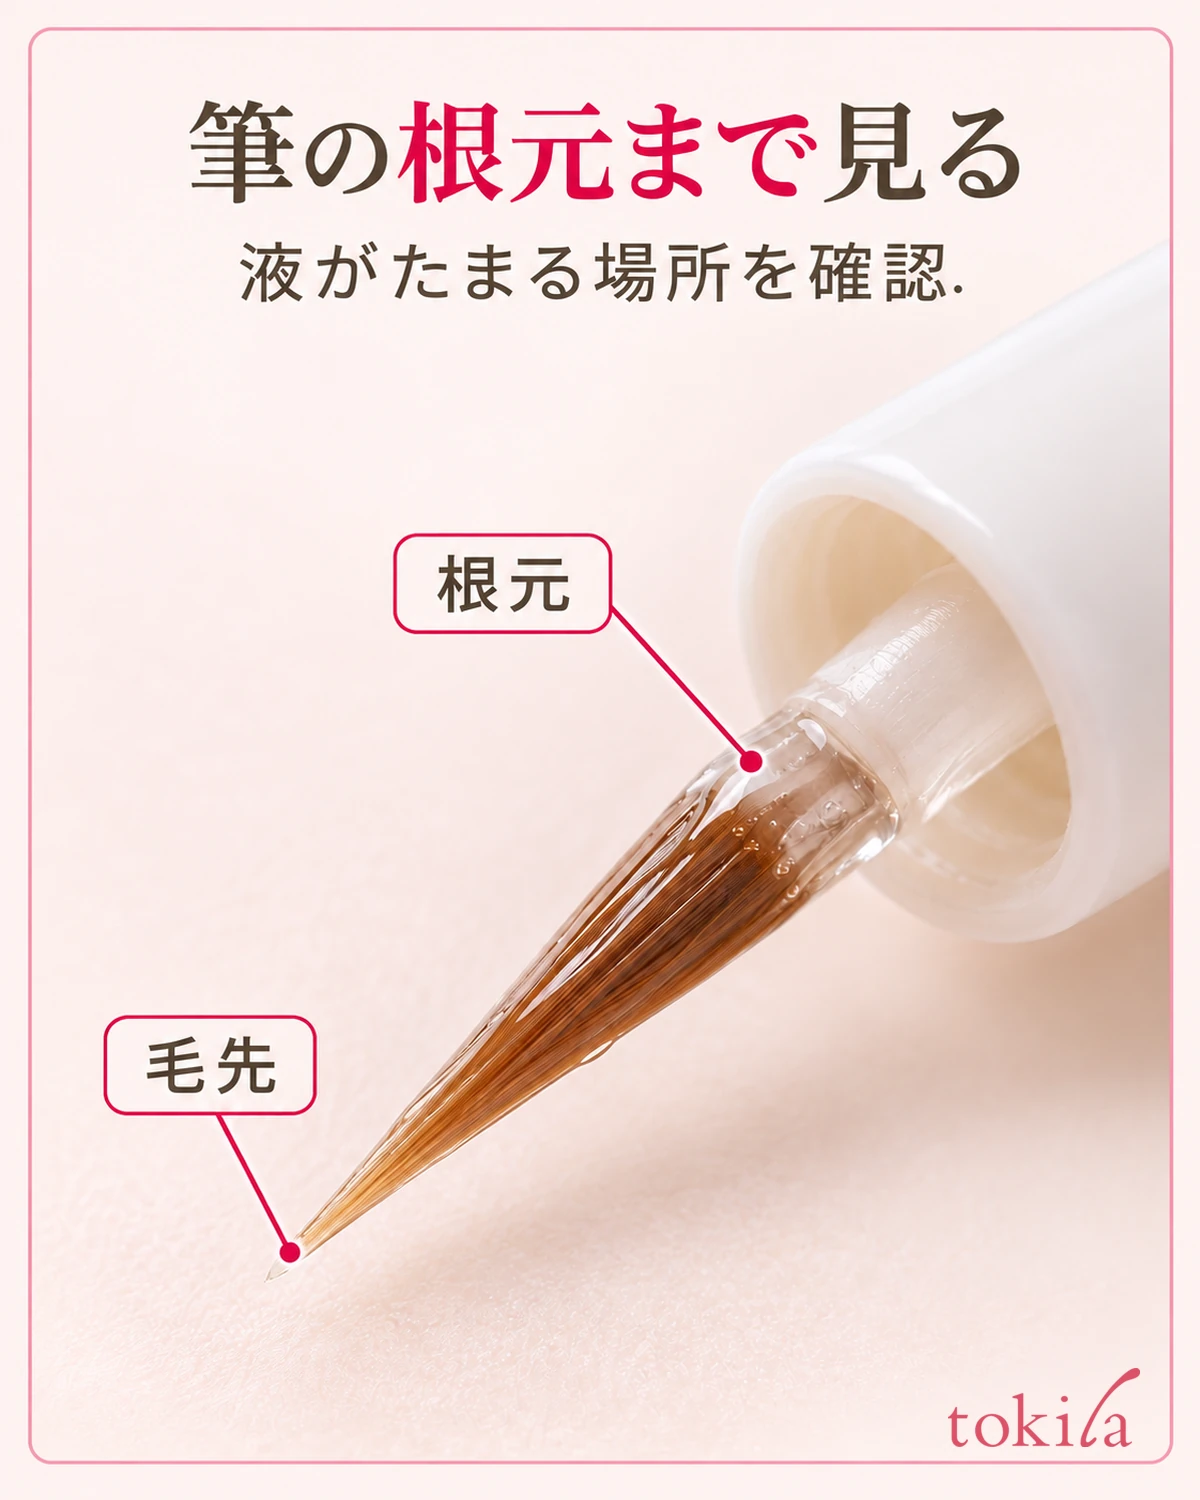
Even if the tip is fine, a design that retains more liquid near the base makes the directions for adjusting the amount worth checking too. Before buying, see whether the available directions describe wiping off excess or otherwise adjusting the liquid. Consider tip fineness and the amount of liquid carried at once as separate criteria.
If a tester is available, check its condition according to the store’s guidance. Find out whether it may be used directly around the eyes and how it is handled hygienically; do not bring a shared brush toward your eyes on your own judgment. Even if you can examine it on your hand, color and application may differ between hand skin and eyelids.
Even if a brush looks easy to use, choose again if its permitted application areas do not match your intended location. Conversely, even if the area matches, look at other tips or methods if placing a small amount where you want seems difficult. Avoid deciding on a single scale that finer always means easier for everyone.
4. Compare candidates in your usual lighting and with the makeup you want to keep
When looking at example photographs, examine not only points of light but also the surrounding eyeshadow color and the area covered. An example spread over the whole eyelid and one only in the center differ in more than particle type. Do not translate one looking brighter directly into product superiority.
For everyday use, consider whether you want to enjoy it in natural daylight or add a little sparkle indoors. You do not need to reproduce every lighting condition before buying; the point is to avoid relying only on strong light in product photographs. Imagine checking it in your usual mirror.
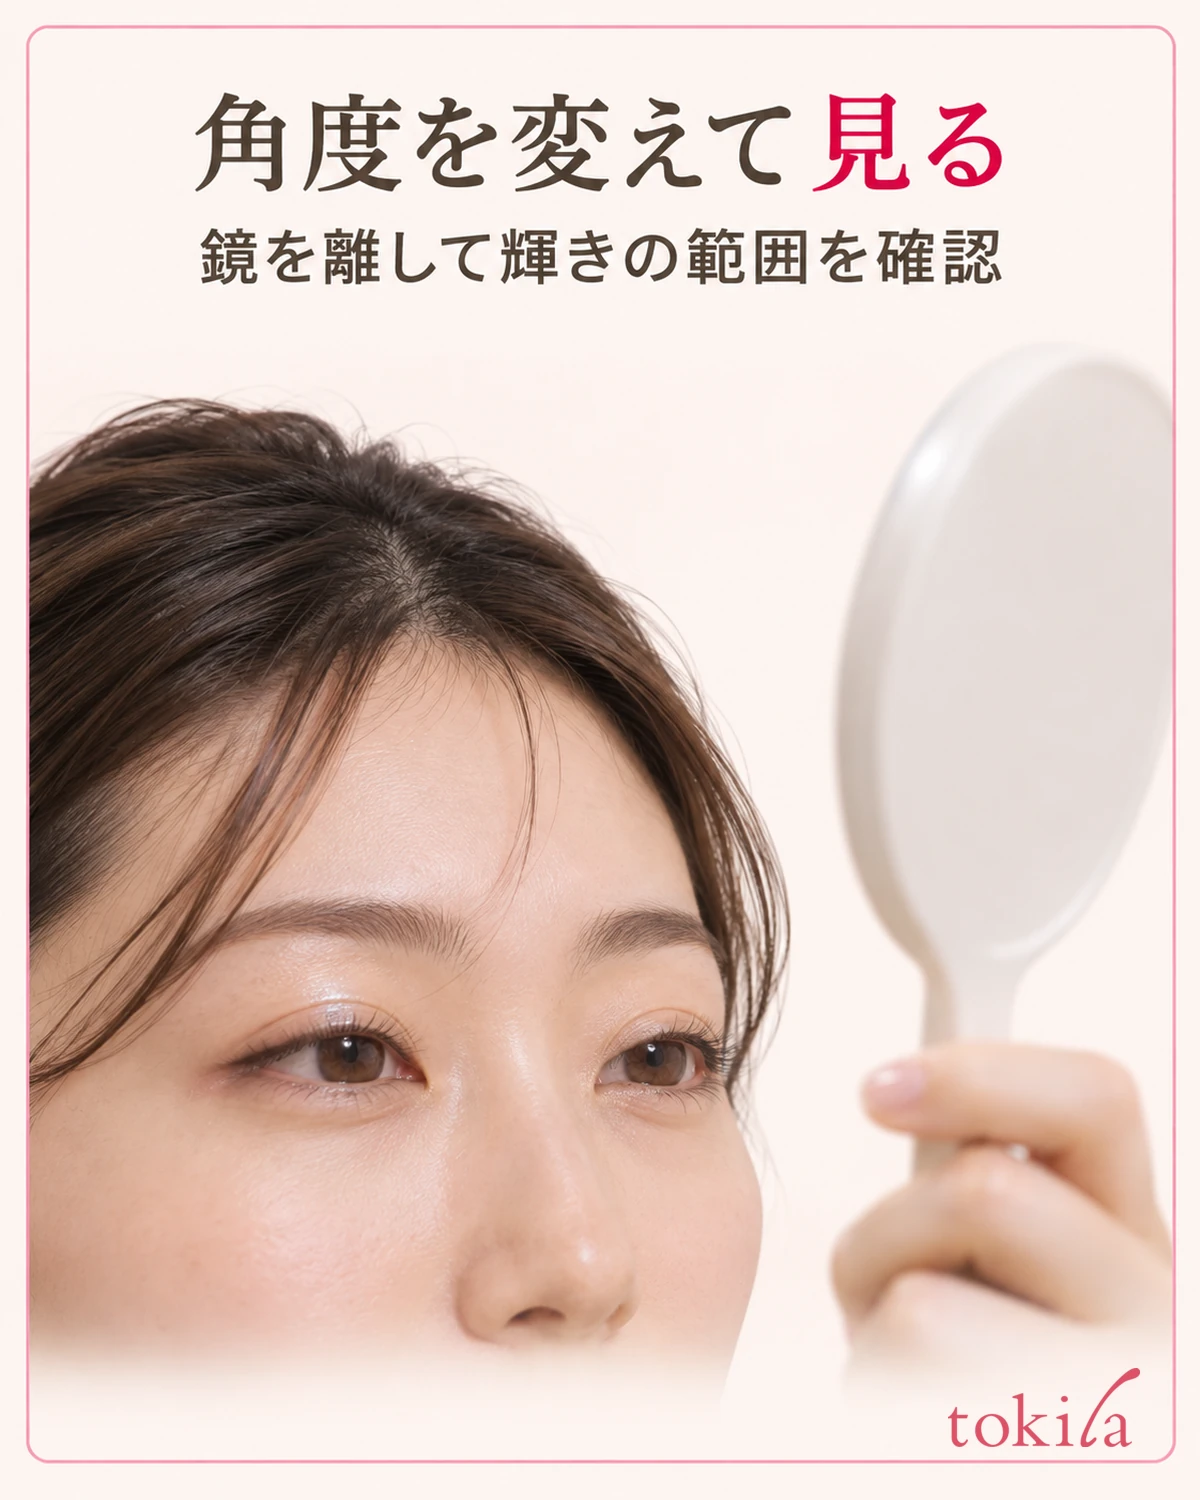
If conditions allow a trial, check it using the instructed method and application area. After examining details close up, move the mirror a little farther away to view the whole face and turn your face slightly. Something subtle from the front may reflect light at another angle, making it hard to choose from particle density seen up close alone.
When comparing sides or candidates, keep your face angle and lighting consistent. Rather than concluding that one sparkles more while only that side is in brighter light, distinguish the differences in conditions. If you cannot tell a difference, leave it unconfirmed rather than filling in unseen features with your imagination.
Bring how much of your existing eyeshadow and eyeliner you want to retain back into the purchase decision too. Would adding particles require changing all your favorite everyday colors, or could you enjoy it over a small area? Connect your comparison of shade names, particles, and tips with the change you actually need in today’s makeup.
5. Decide after checking how to remove the makeup you will layer
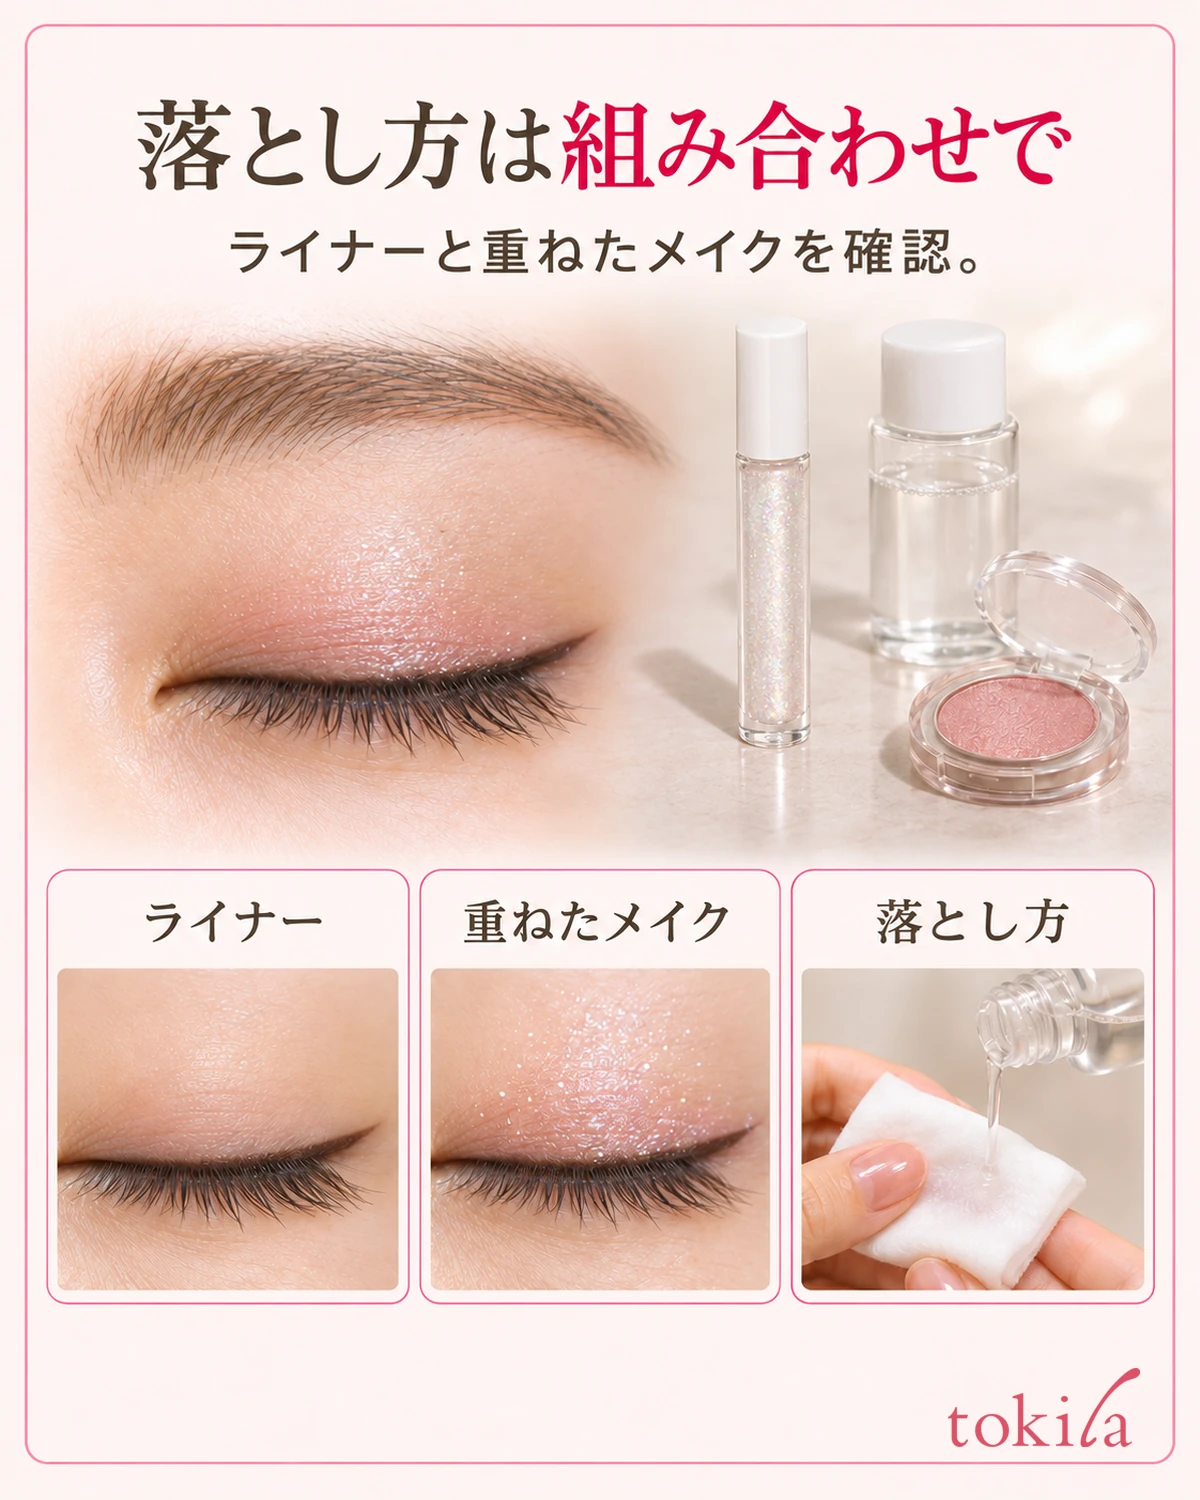
Finally, read the removal conditions as well as the conditions for wearing it. Some products describe loosening with lukewarm water, while others specify another method. Do not expand an impression of easy removal into an assumption that the same steps work with every combination.
If you usually wear long-wearing eyeliner or mascara, consider their removal methods together. Knowing how to remove the glitter alone does not necessarily tell you how to remove all the layered makeup. Confirming whether your existing eye makeup remover is suitable helps you choose while considering anything else you might need to buy.
If you use a targeted remover, compare how to use eye and lip makeup remover with your own product’s directions as well. Rather than choosing a product on the assumption that you will keep rubbing to remove the particles quickly, consider whether you can follow the steps for letting the remover work before handling it.
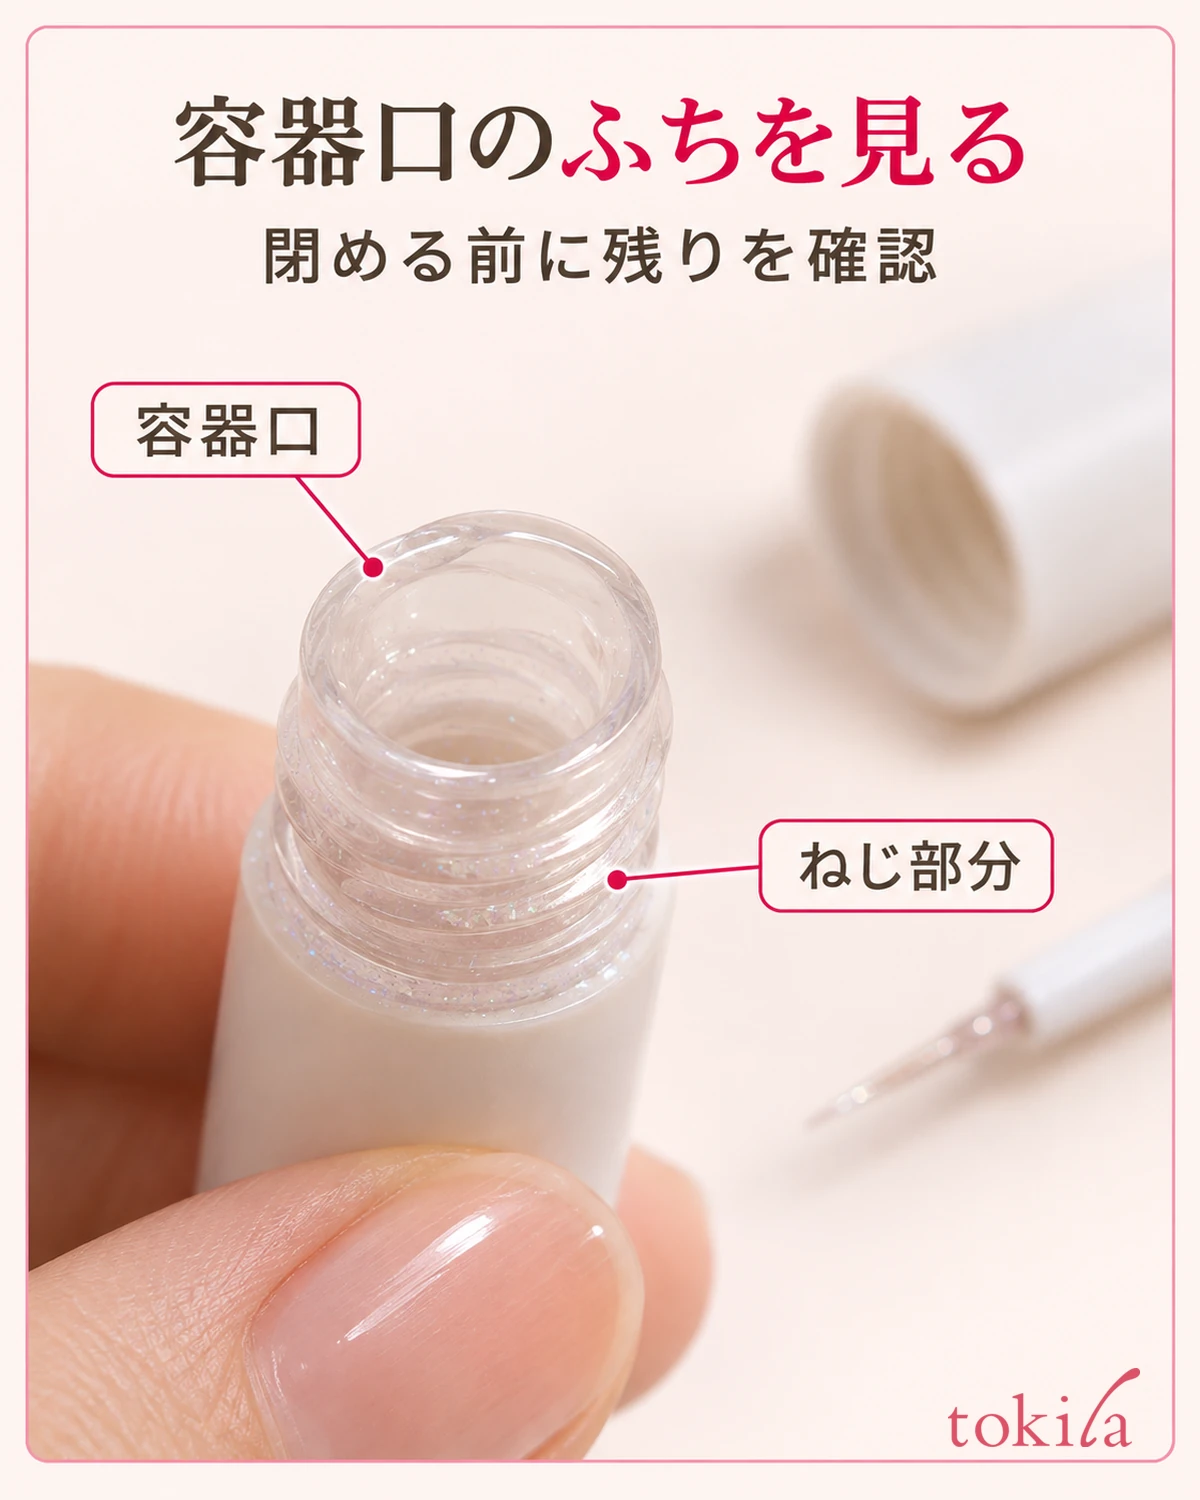
Care of the bottle opening and cap also helps you judge whether you can maintain it each time. The photograph enlarges the rim and threaded area to check before closing. The structure itself does not guarantee cleanliness or lasting wear, but knowing where liquid remains makes the places to inspect during cleanup clearer.
Review the final candidates against five criteria: the application area matches, the particles and base color suit your purpose, you can handle the tip, you want to pair it with your usual makeup, and you can prepare the removal method. Rather than increasing your shades while leaving criteria unknown, narrow the choice to one whose directions you can confirm. Start by considering the enjoyment of adding light to one area as an extension of your everyday makeup.