You buy an emulsion and the directions say to use it “immediately after cleansing.” At first, it’s natural to wonder where your usual toner fits in and whether to finish by layering on the emulsion you’ve already been using.
Here, a pre-toner emulsion means one that is specifically intended for use after cleansing and before toner. The basic sequence is to cleanse, apply the pre-toner emulsion, and then use toner. We’ll go through how to identify this type, how much to put on a cotton pad, how to spread it over the skin, and how to fit it into your existing routine.
1. Look for “immediately after cleansing” or “before toner”
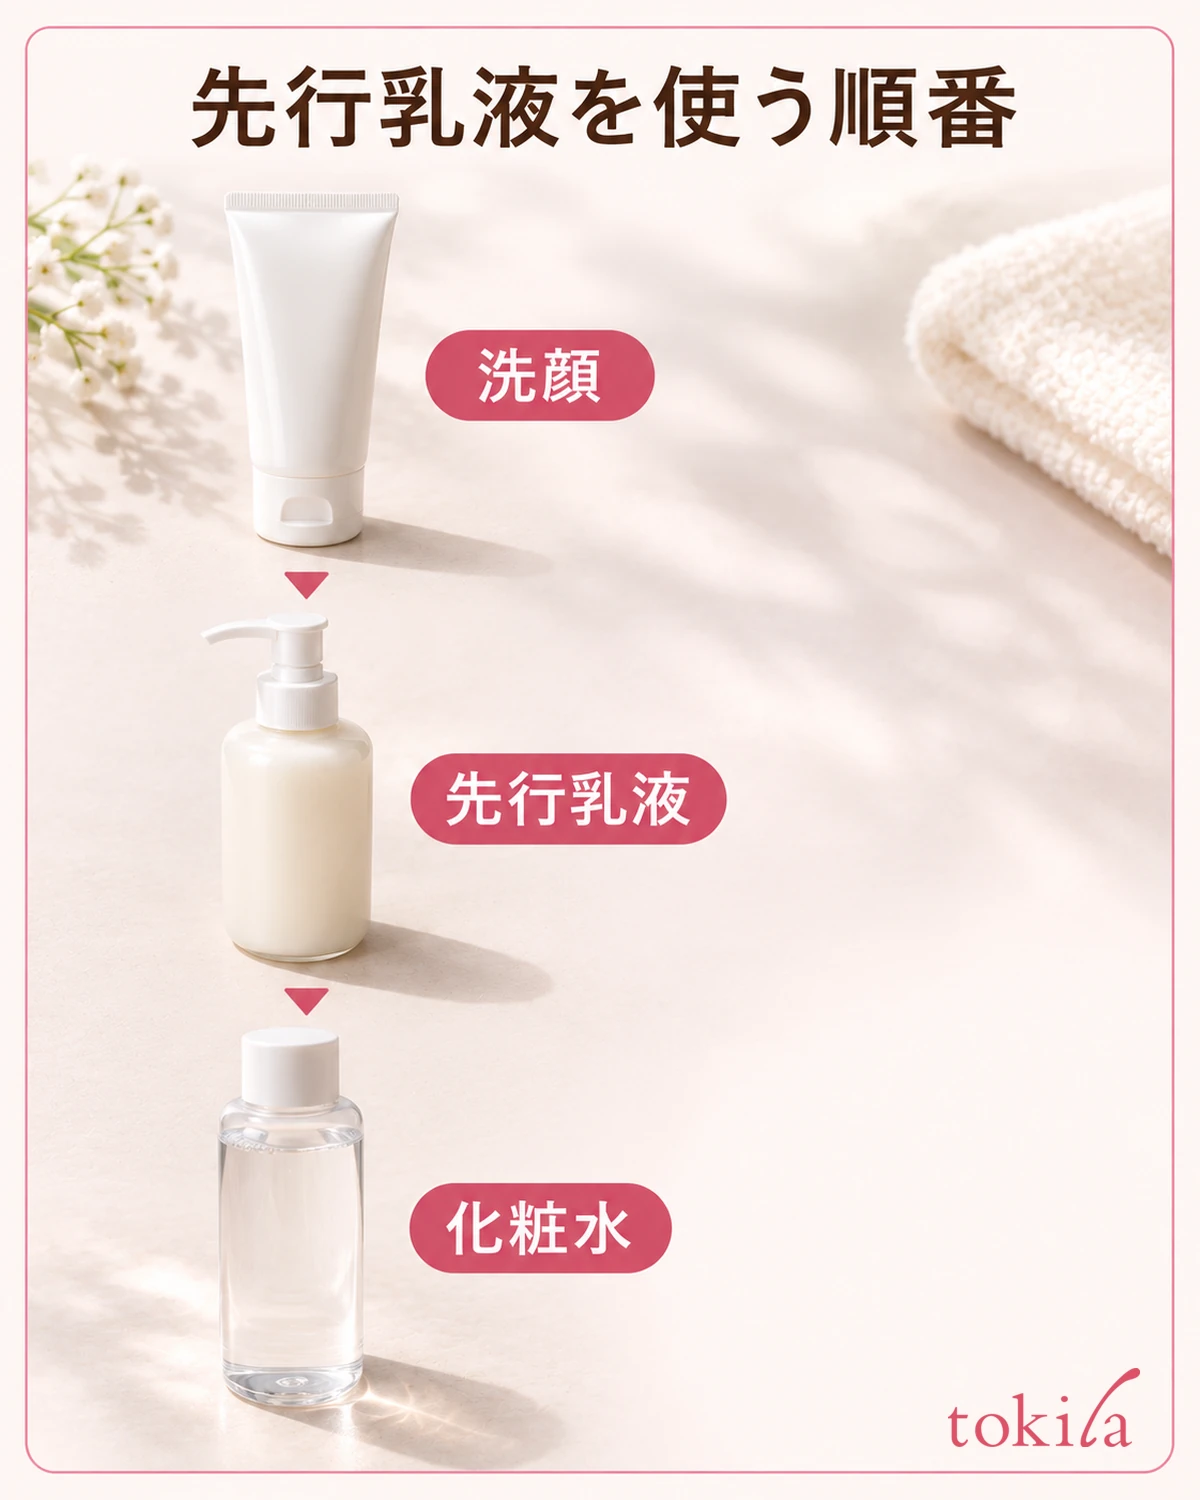
Start by checking the directions on the container or outer box. Look for wording such as “immediately after cleansing” or “before toner,” or a diagram that places the emulsion before toner. If it says to use the pre-toner emulsion after cleansing and follow with toner, set the products out in that order. Judging by the word “emulsion” or the white color of the formula alone can lead you to confuse it with a type meant for after toner.
The container alone may not show the order on a sample size or refill. If you have the original box or insert, make sure the product name and type match before following the instructions. If you can’t find them, you can stick to your familiar routine until you’ve confirmed the directions for the product you’ll use, without borrowing the order from a similar-looking bottle.
If you tend to hesitate right before applying products, try putting the cleanser, pre-toner emulsion, and toner in order, starting with the closest one. Before putting away the box, also check the amount for one application and whether you’ll need a cotton pad. That way, you won’t have to hunt for small print with wet hands after washing your face.
If the label only says “after cleansing” and the order is unclear, read on to see where toner belongs. If there’s a diagram for the range, check the numbered positions of both the emulsion and toner instead of looking only at the product next to the cleanser. If your product isn’t named in the diagram, avoid deciding on an order just because it’s from the same range.
2. If directed to use a cotton pad, put one application in the center
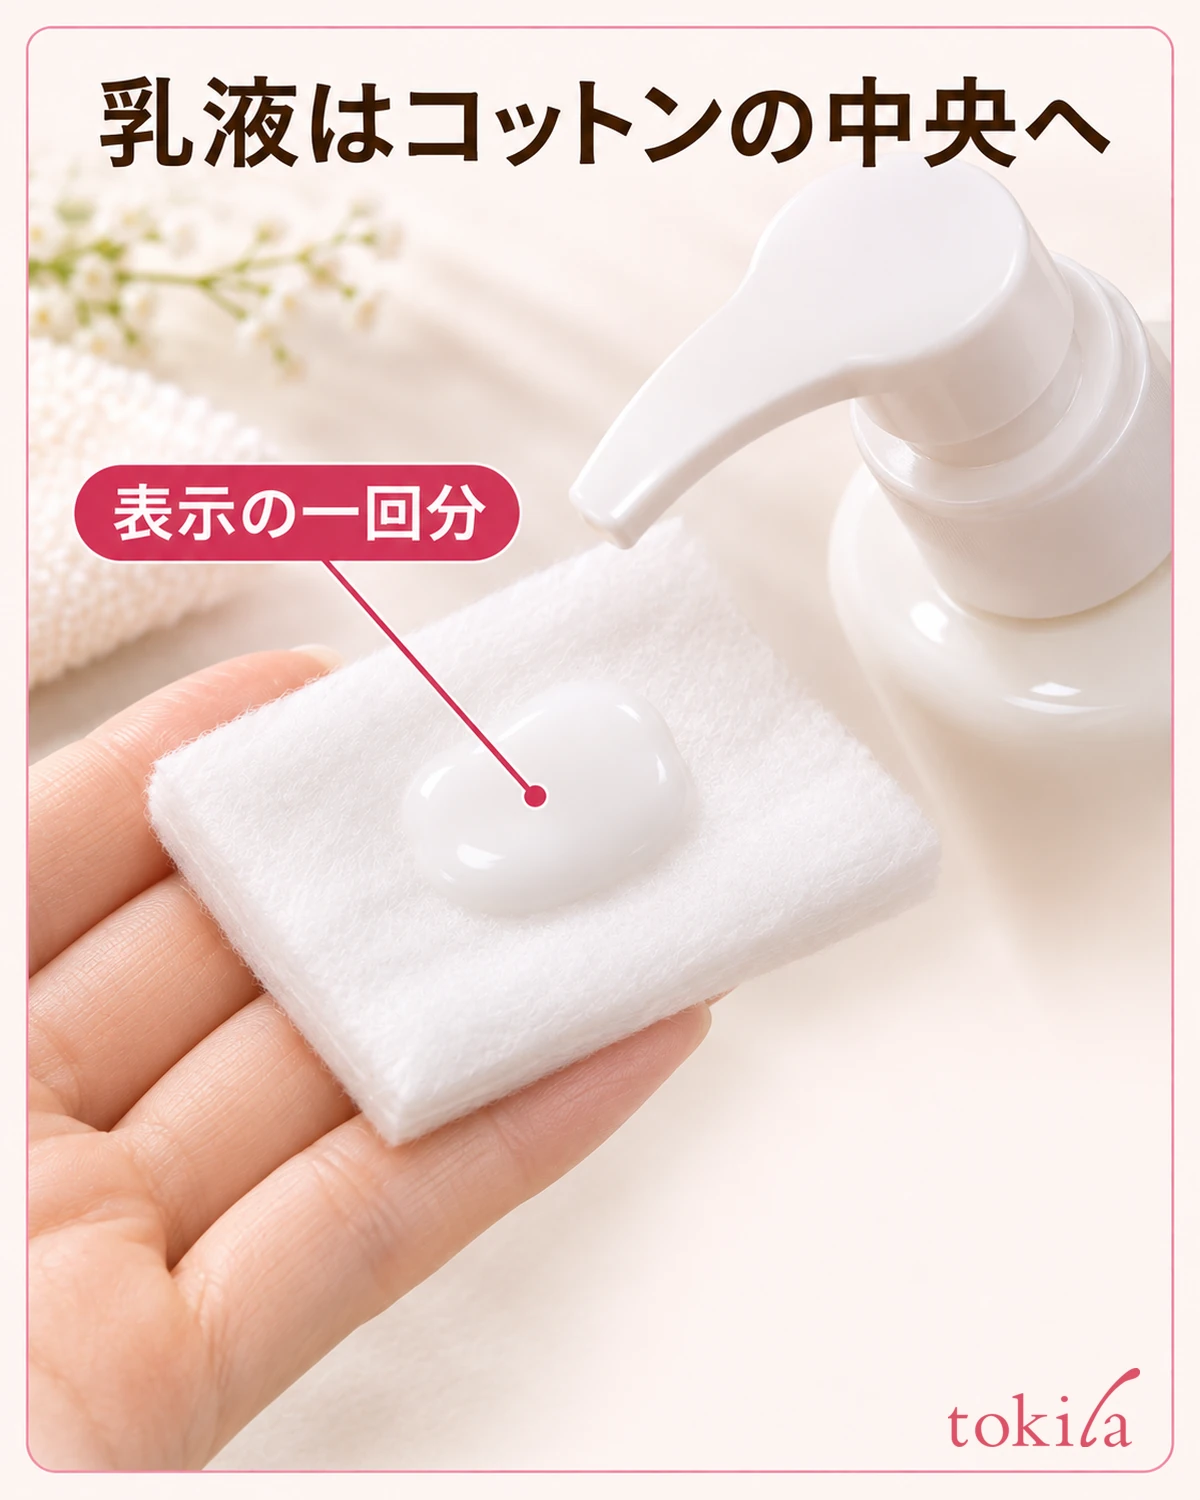
If the directions call for a cotton pad, set out a clean one before washing your face. After cleansing, gently remove excess water from your skin and hands and place the amount indicated for one use near the center of the pad. Even with a pump bottle, the amount per press varies by product. Check the guidance for the one you’re using before following the pump count from your previous emulsion.
Hold the cotton pad with the emulsion side facing your skin and support it from behind with your fingers. Before bringing it to your face, check that your fingers haven’t curled over the emulsion and a dry corner won’t touch your skin first. If the emulsion has ended up near an edge, adjust your grip so the side with the emulsion can meet your skin easily, without squeezing the pad to spread it.
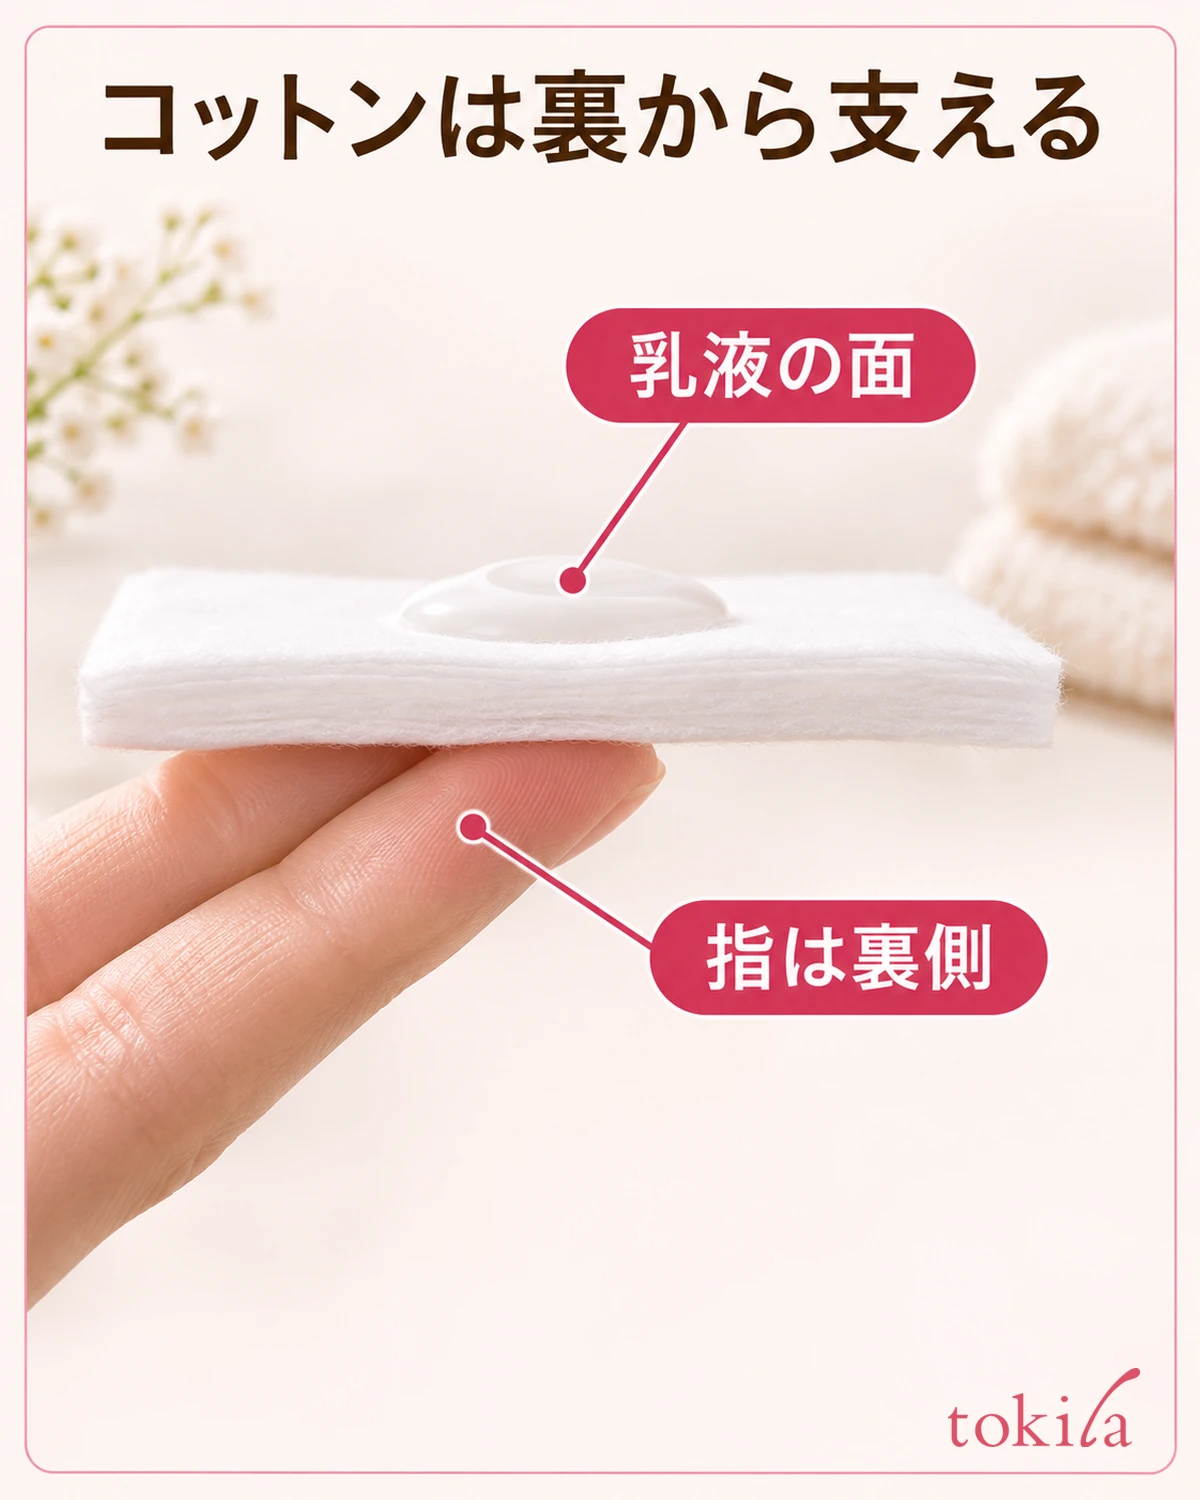
Check the pad from the side as you hold it, as well as from the front. If a corner sticks up, shift your supporting fingers so you can use the flat surface. If you find cotton pads difficult to use, check the directions to see if the emulsion can be applied by hand. The fact that another product can be applied by hand doesn’t mean you need to transfer the same amount intended for a cotton pad to your hand.
If the amount is given as a size rather than a pump count, place the full amount for one application on the cotton pad before spreading it. Keep to the recommended amount and choose a pad you can hold flat so the emulsion is less likely to run off an edge.
3. Use the flat surface of the pad to spread the emulsion where directed
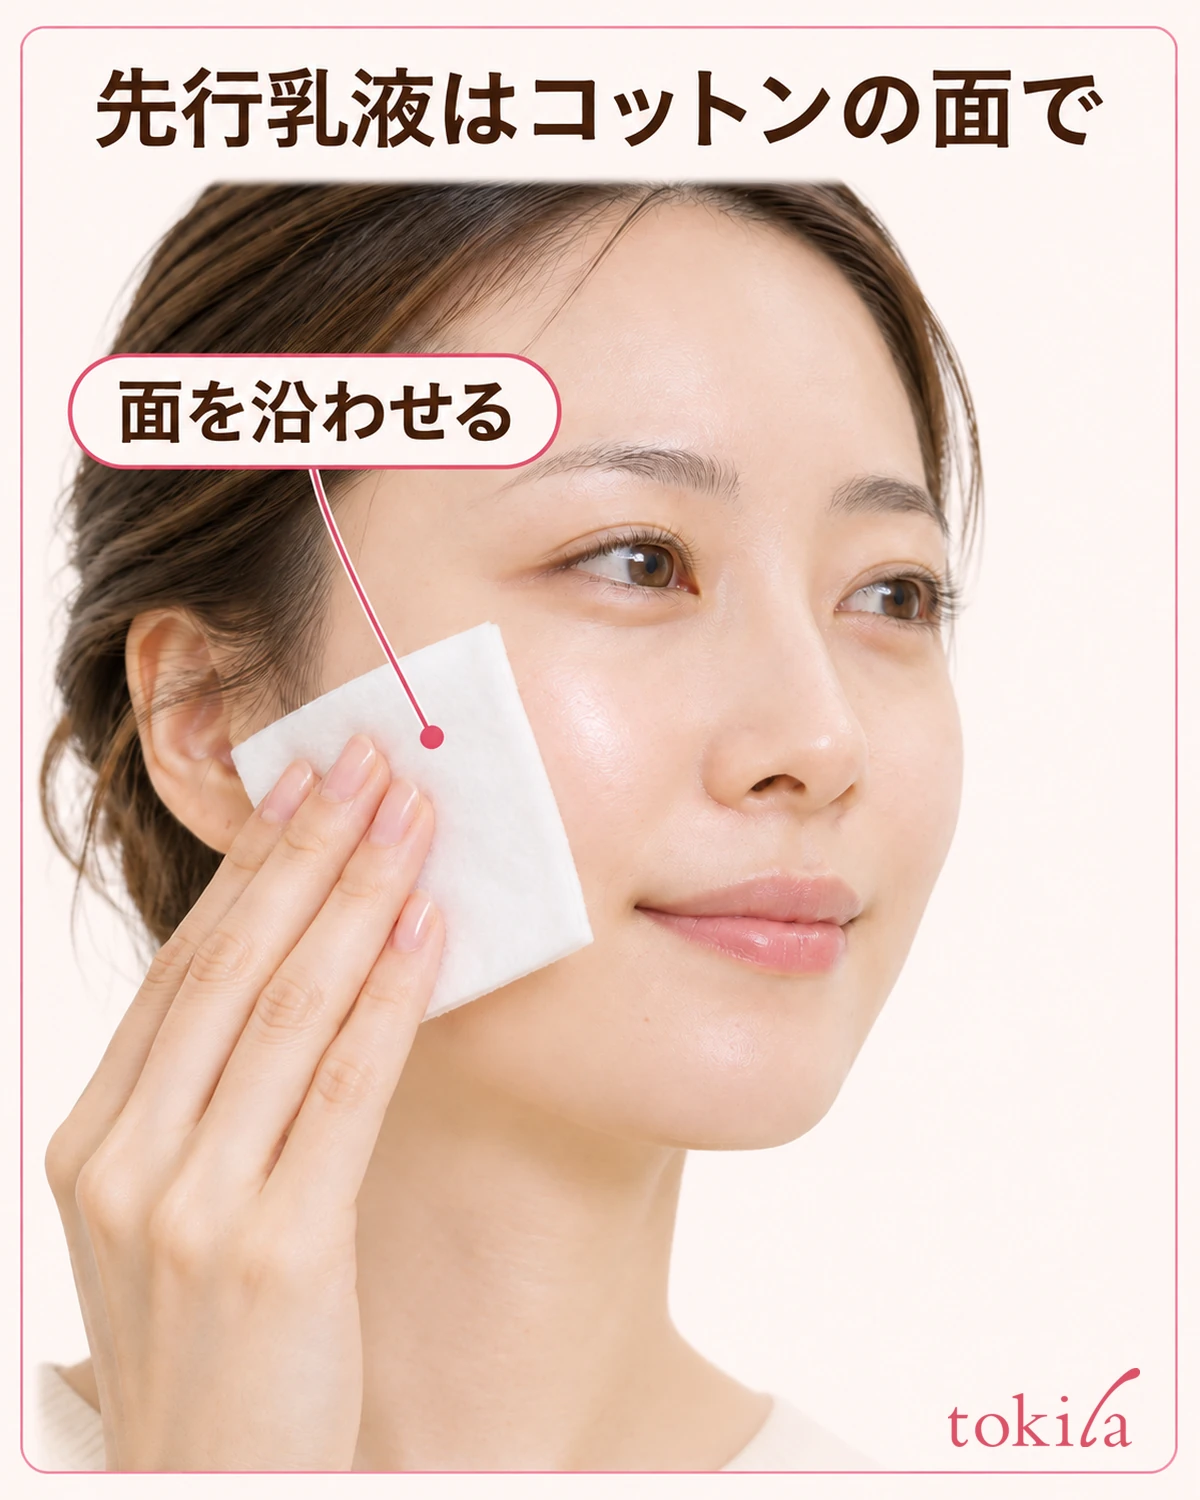
If the product directs you to place the emulsion on your forehead, both cheeks, nose, chin, or other areas, divide the amount already on the pad among those areas. You don’t need to press the pump once per area. Identify all the places you’ll apply it before spreading it so you’re less likely to use it all up on the first cheek. Follow any different instructions the product gives for placement or where to apply.
On broad areas like the cheeks, move the flat surface of the pad along the skin without pressing hard. At the sides of the nose or mouth, change the angle of the fingers holding the pad so it touches only the area you need, instead of pressing in with the full surface. It can be hard to see the side of your nose straight on in a mirror. Turning your face slightly helps you see where to stop your hand.
If the pad catches as you go, check whether the side with the emulsion is facing your skin and whether a corner is in the way before pressing harder. There’s no need to rub the same area repeatedly with a dry part of the pad or keep touching your skin with your fingers to see if the emulsion has spread.
If the emulsion spreads more easily on one side of your face, see whether the pad folds when you use the same hand on the opposite side. When you reach across with your dominant hand, your fingers can disappear from view and you may end up using just the edge. Lift the pad off your skin, turn your wrist, and set it back down where you can see the flat surface.
4. Follow the pre-toner emulsion with toner and consider your finishing emulsion separately
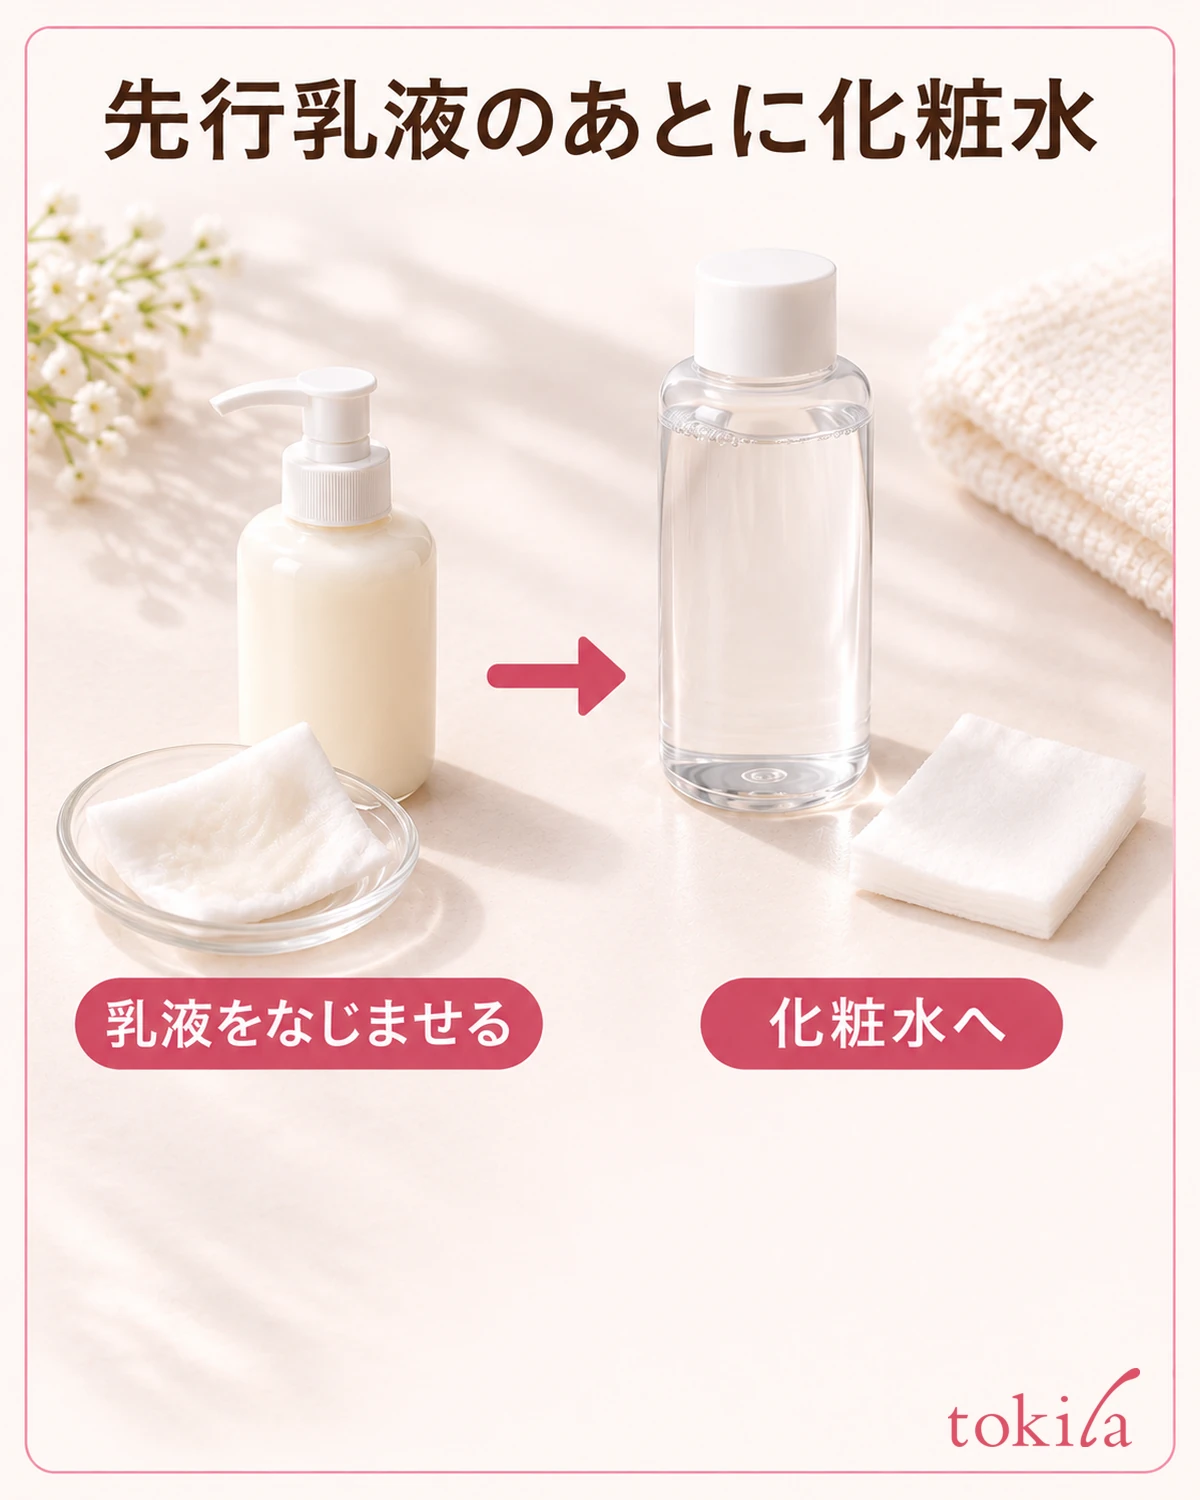
Once you’ve spread the pre-toner emulsion, move on to toner as directed. Follow any stated waiting time. If none is listed, there’s no need to set a long wait yourself. Even if the used pad is still at hand, have a fresh one ready if you also apply toner with cotton, so you can keep the amounts separate.
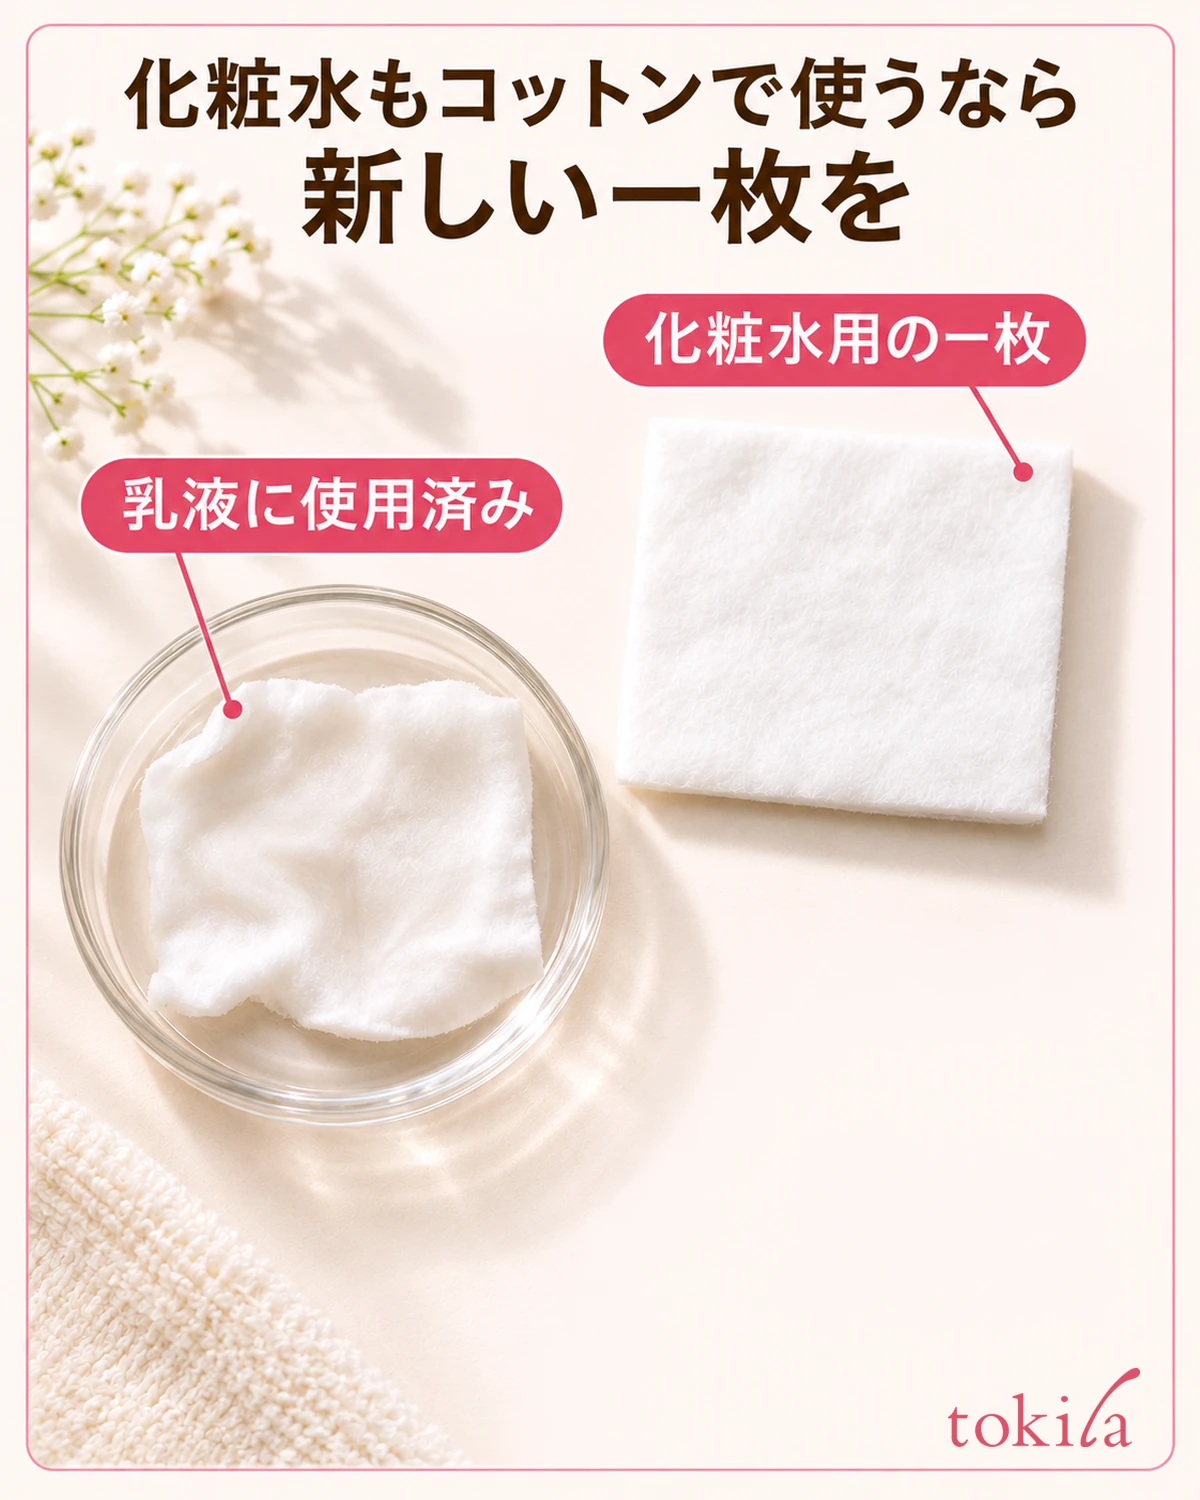
Adding a pre-toner emulsion doesn’t automatically make your previous after-toner emulsion a second step. Check the directions for the product you’re using to see what comes after toner. If you also use a serum or cream, check where that product belongs too. If the directions conflict, start with a combination you can confirm instead of trying to fit everything in.
If you’d like to add another serum, it can help to plan the order before layering serums. Changing several things at once makes it harder to tell which step became difficult. When you try the pre-toner emulsion, also check the label to decide whether to use it in the morning or at night.
If you use a daytime emulsion only in the morning, it may belong at a different point in the routine and serve a different purpose from a pre-toner emulsion, even though both are called emulsions. Avoid carrying the same order over to days when you skip the pre-toner emulsion. If you use different products morning and night, keeping them in separate spots can help you follow the order.
5. Revisit the first step if white residue or uneven amounts remain
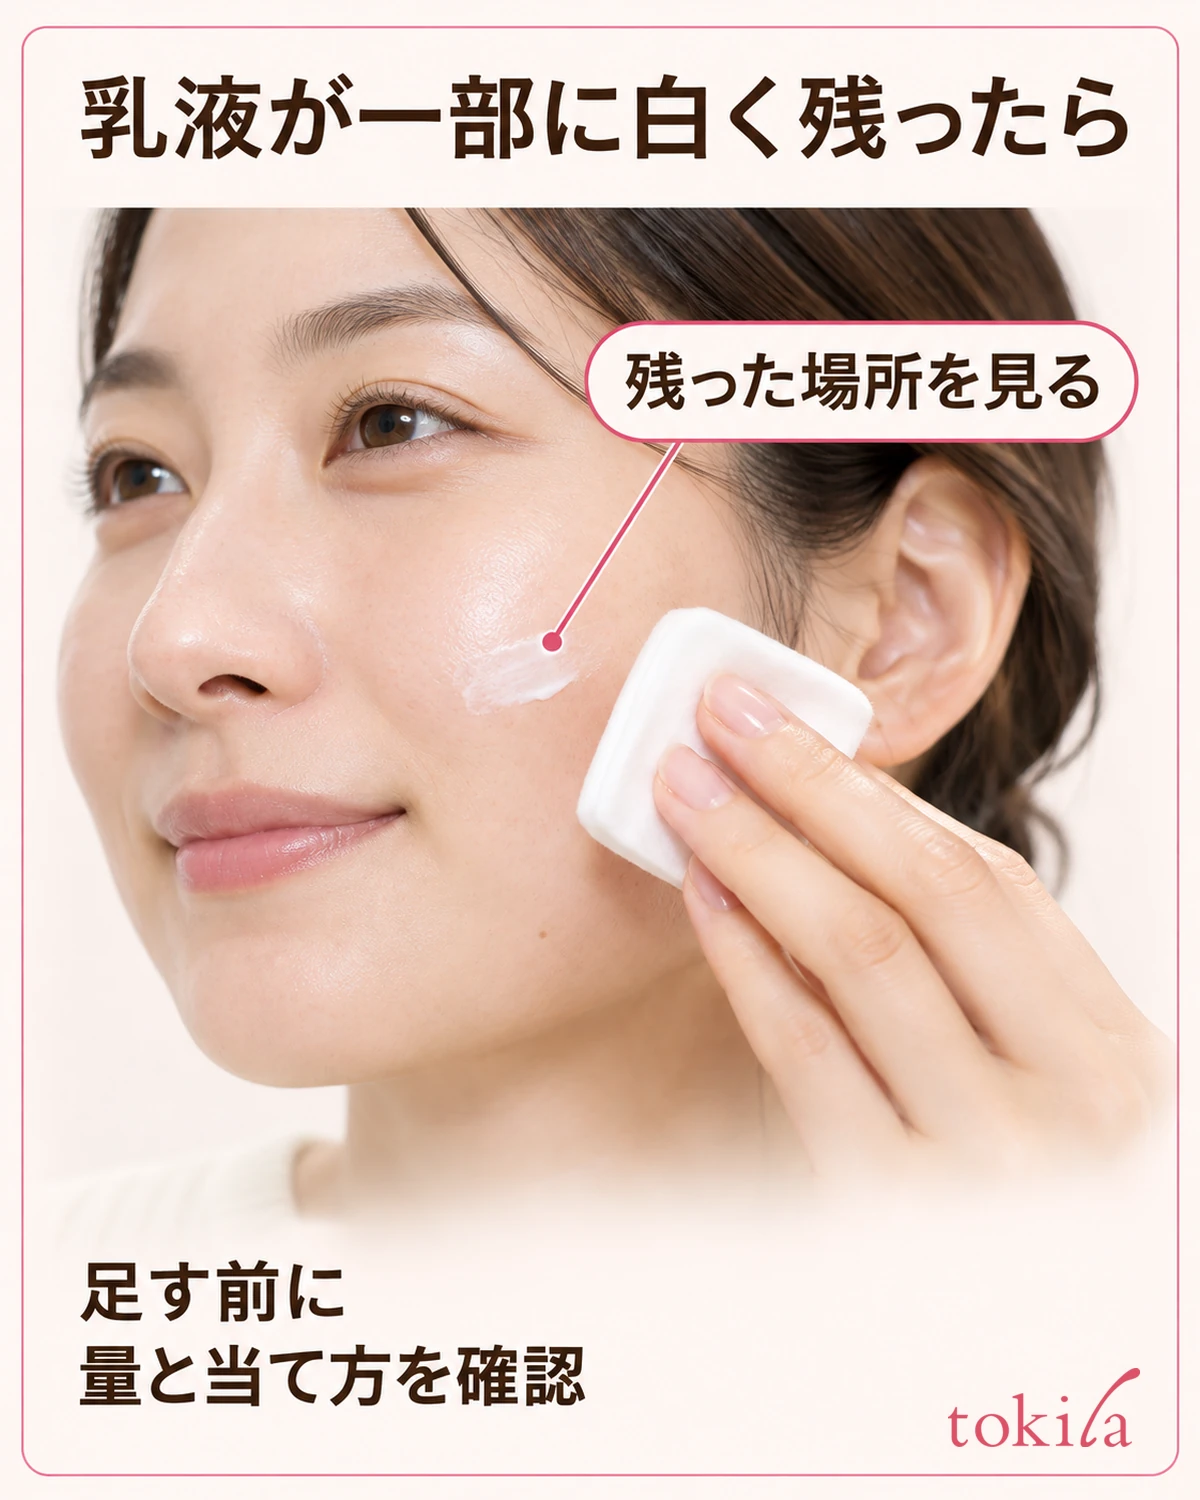
If white emulsion remains only on part of a cheek or beside your nose after spreading, think back to where you first placed it and which way you moved it before applying more all over. The next adjustment depends on whether you put too much in one spot or the pad bent so only a small area touched the skin. If you’re still spreading the emulsion, gently work what remains into the surrounding area, following the product directions.
If a cotton pad corner often touches your skin before you finish, try shifting the fingers that support it next time. If the amounts look uneven, go back to the labeled amount for one use and check whether you distribute it unevenly when you place it on your face. Changing one thing at a time makes it easier to see what happens on the next application.
A white patch and stickiness all over are separate issues. For a white patch, start by checking where you placed the emulsion and which part of the pad you used. For stickiness all over, check the amount against the label and think back to whether you noticed it after applying toner or another product later in the routine. You don’t need to infer the type of emulsion or the condition of your skin from appearance alone.
Finally, if you can’t remember whether you’ve applied the pre-toner emulsion or the toner, check the containers and the used pad before applying the same product again just in case. Moving each finished product to the back of the shelf so the next bottle stays at the front makes it easier to follow the order on busy mornings.