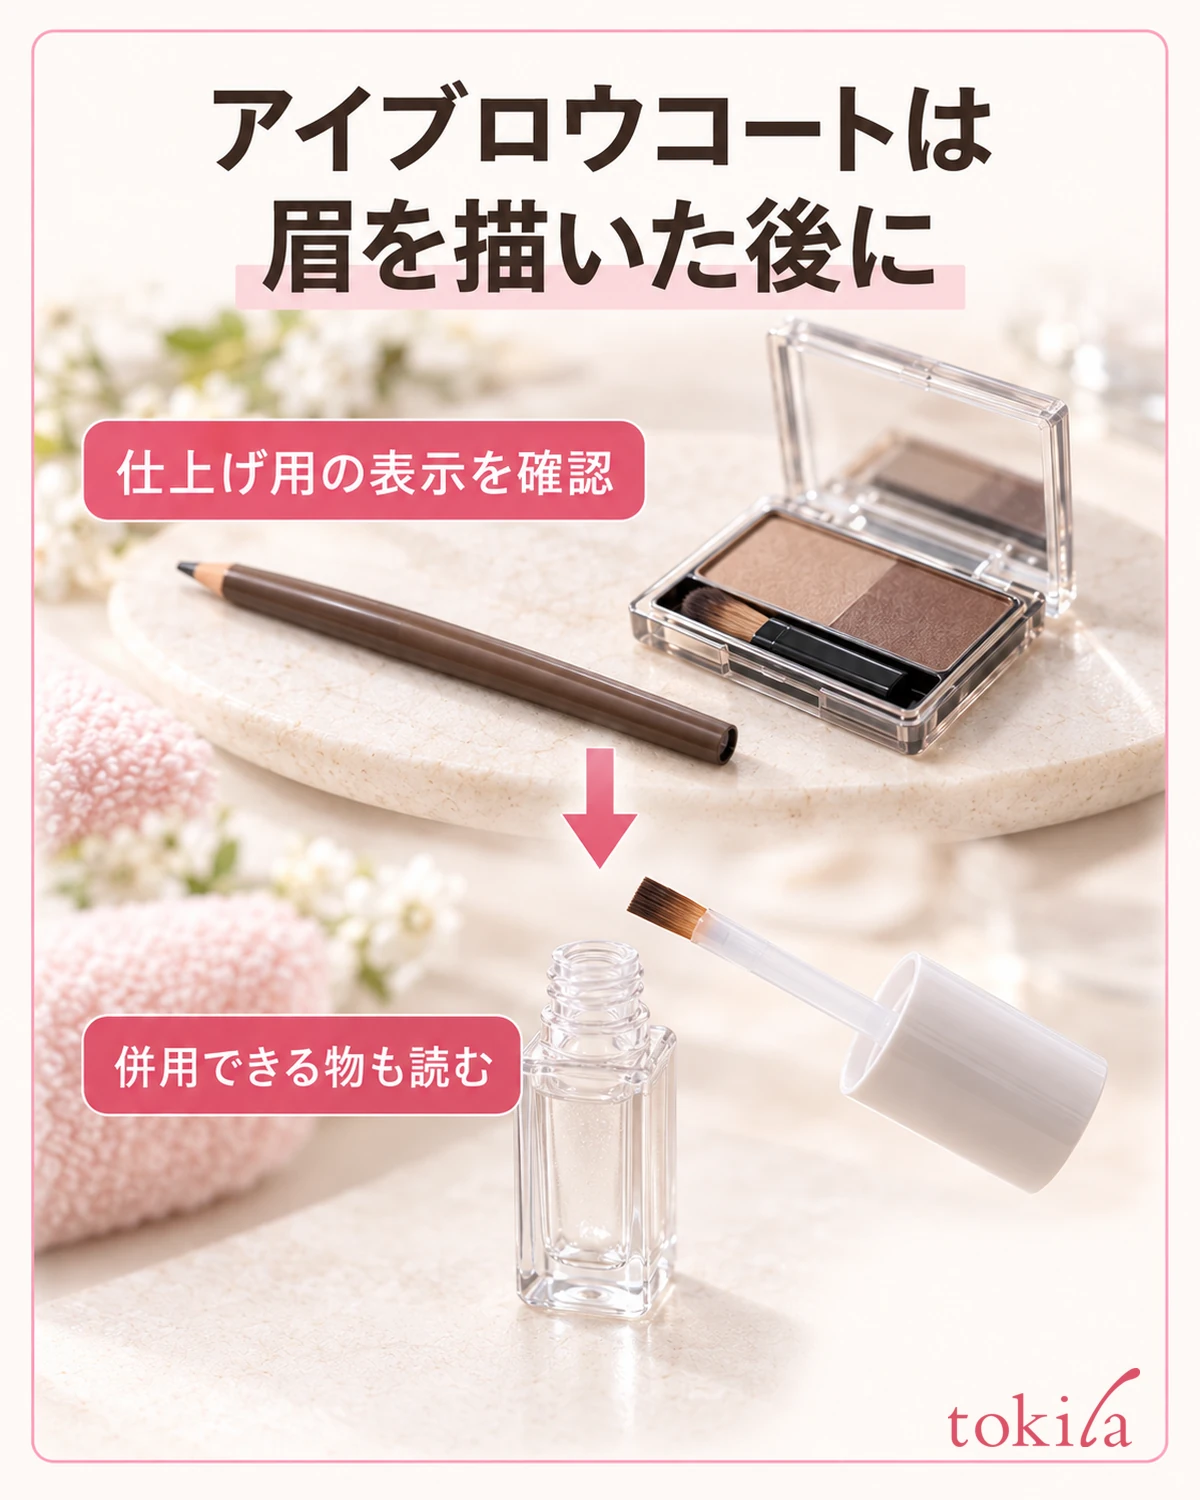
Have you bought an eyeshadow base but found yourself unsure whether to use it before or after foundation, or how much to take? Start by checking that it is intended for the eye area, then follow the labeled order and amount. After spreading it thinly, check the conditions for moving on to eyeshadow.
This article explains preparation and application for an eye-area base itself. It is not an essential step for every eye makeup look; choose it according to how you want your existing colors to look. Read the directions for your product and organize the steps leading up to applying eyeshadow.
1. Check that it is an eye-area base, its color, application area, and compatible makeup
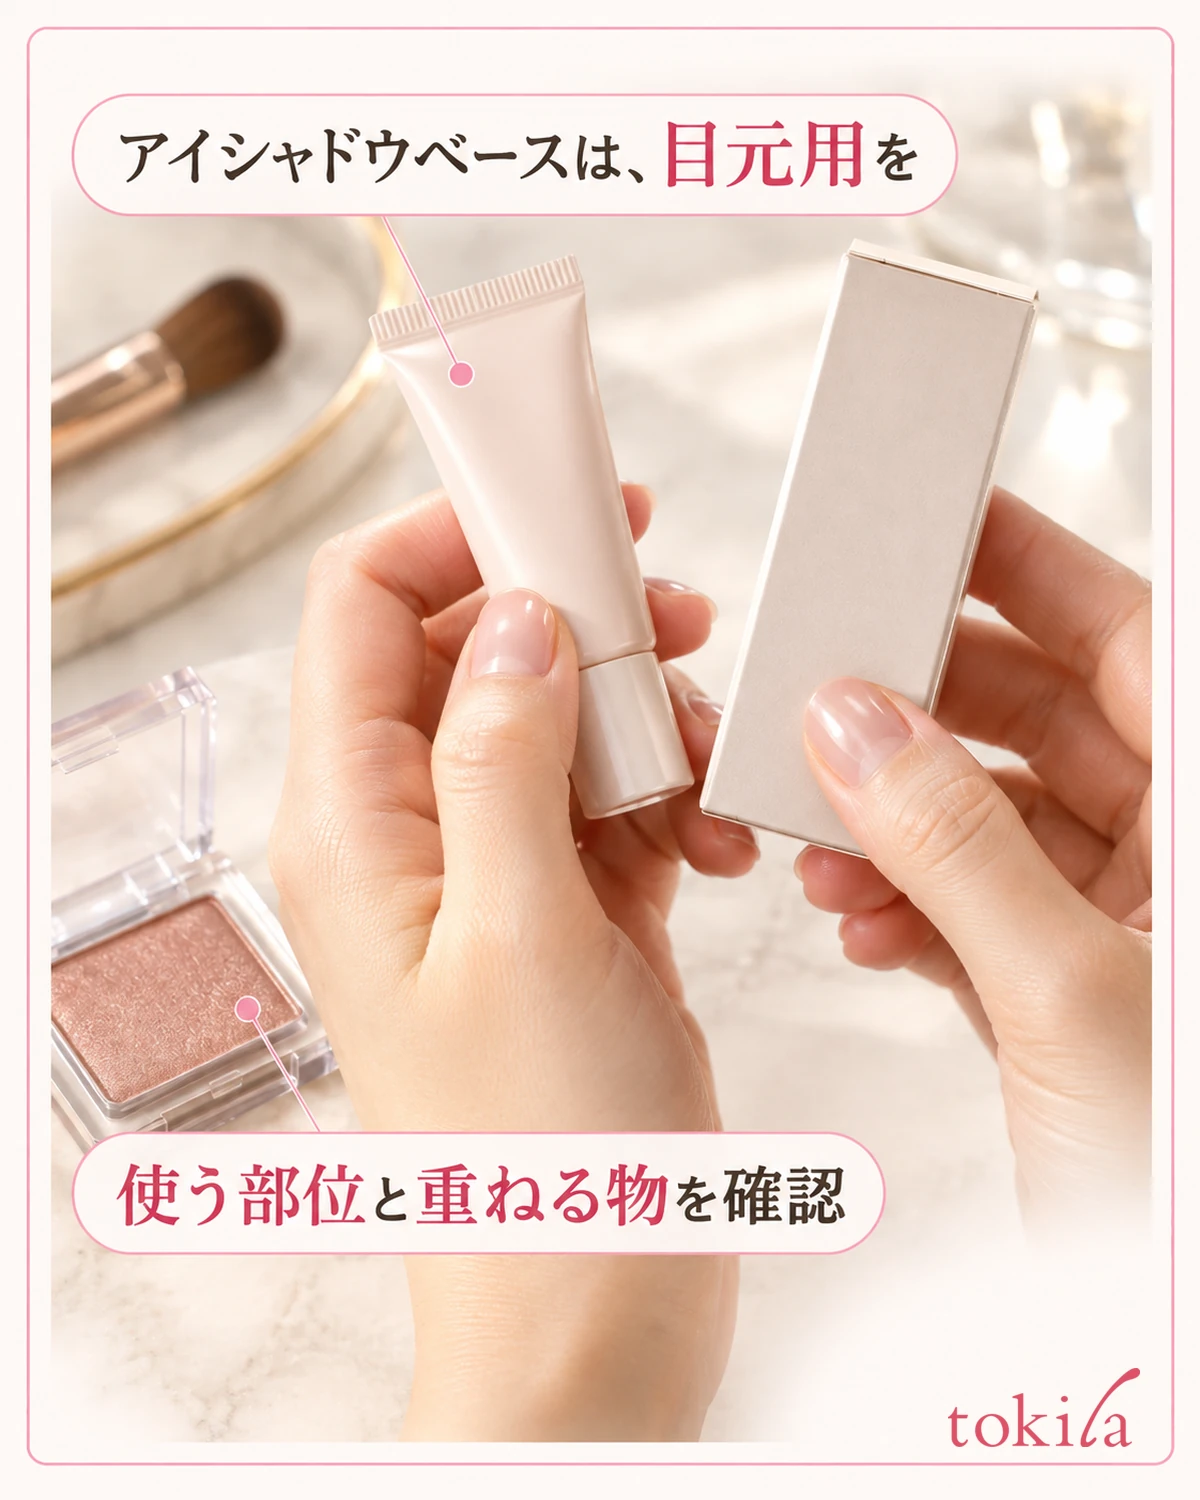
First, read the container or outer packaging to confirm that the product is intended for the eye area. A face primer, a lash primer, and an eyelid base are not the same thing even if their names all contain “base.” Do not substitute a facial primer on your eyelids just because the tubes look alike; distinguish them by their intended application areas.
Some eyeshadow bases become less noticeable when applied, while others contain color or shimmer. Do not assume that anything applied underneath must be colorless. Before choosing one, decide whether you want to enjoy color correction or keep the impression of your current eyeshadow as unchanged as possible.
Also check which makeup can be layered over it. Follow that product’s directions to determine whether it is intended for powder eyeshadow or can also be used with creams and other formulas. Do not automatically apply powder-oriented instructions to your liquid eyeshadow. If unsure, avoid adding more combinations and start with compatible products.
If you want to use it somewhere other than the upper eyelid, do not extend it to the lower eyelids, brows, or lash line simply because it says “eye area.” Stay within the instructed areas, keeping it out of the eyes and mucous membranes. Do not transfer examples for a product also suitable for eyeliner or brows directly to a different base.
Before purchasing, consider not only color but also how the product is dispensed. A solid product picked up with a finger, a tube, and a product with an applicator each require different preparation. Rather than judging which is best from its shape alone, consider the application order and your existing eyeshadow to make your selection criteria more concrete.
Even if you think you bought the same product as before, reread the directions to check for changes to the container or instructions. Check any information found only on the outer box before discarding it. Do not assume that adding more base will always improve the finish; first clarify why you are adding it to your current makeup.
2. Decide the application order and prepare your hands and eyelid surface

Determine the order from the base’s instructions. Some direct you to use it after completing your usual base makeup, but that order is not a rule for every product. Arrange your sunscreen, foundation, eye base, and eyeshadow in the sequence specified for each product and check the order.
Before layering, check whether excess skincare or foundation remains on the surface. Avoid repeatedly covering makeup collected in eyelid creases with a new layer of base. If the previous layer is shifting, adjust it according to that product’s directions, inspect the eye-area surface, and then move on.
You do not need to reduce the required amount of sunscreen or routinely skip moisturizing to make the finish work. Follow each product’s guidance on amounts and layering. Rather than adding powder as a supposed universal solution, check which layer you have completed so far.
If the product is applied with fingers, clean your hands before starting. Find a position that lets you use the pad of your finger rather than digging into the product with long nails. If brushes or sponge-tip applicators are suitable, prepare ones free of previous color and moisture. Do not add water yourself unless the directions tell you to wet the tool.
Position the mirror so that you can see the upper eyelid surface and reach it comfortably. Find a visible angle by tilting your face slightly downward or lowering a hand mirror; there is no need to pull hard on the eyelid with your fingers. Do not proceed by feel when you cannot see the application area, and check shadows cast by the lighting.
When using a hand mirror for a close view, hold the handle without covering too much of the rim with your fingers. Bringing a small mirror too close to the eye can make the applying finger overlap the surface you want to see. Check whether it remains visible from a little farther away, and start somewhere you can set things down calmly.

3. Take the product with the specified tool and spread it thinly over the eyelid
Dispense it in a way suited to its container. For a tube, dispense onto a clean finger or another specified tool; for a solid, take a small amount with the pad of a finger or as directed; use an included applicator according to the instructions. Do not set a universal rice-grain-sized amount for every type or equate one load on an included applicator with the same amount from a different container.
If you initially take too much, do not try to use all of it on your eyelid. Do not assume you will return it to the container either; handle the dispensed product according to its directions. Distinguish starting with a small amount and blending it thinly from using so little that it does not reach the required area at all.
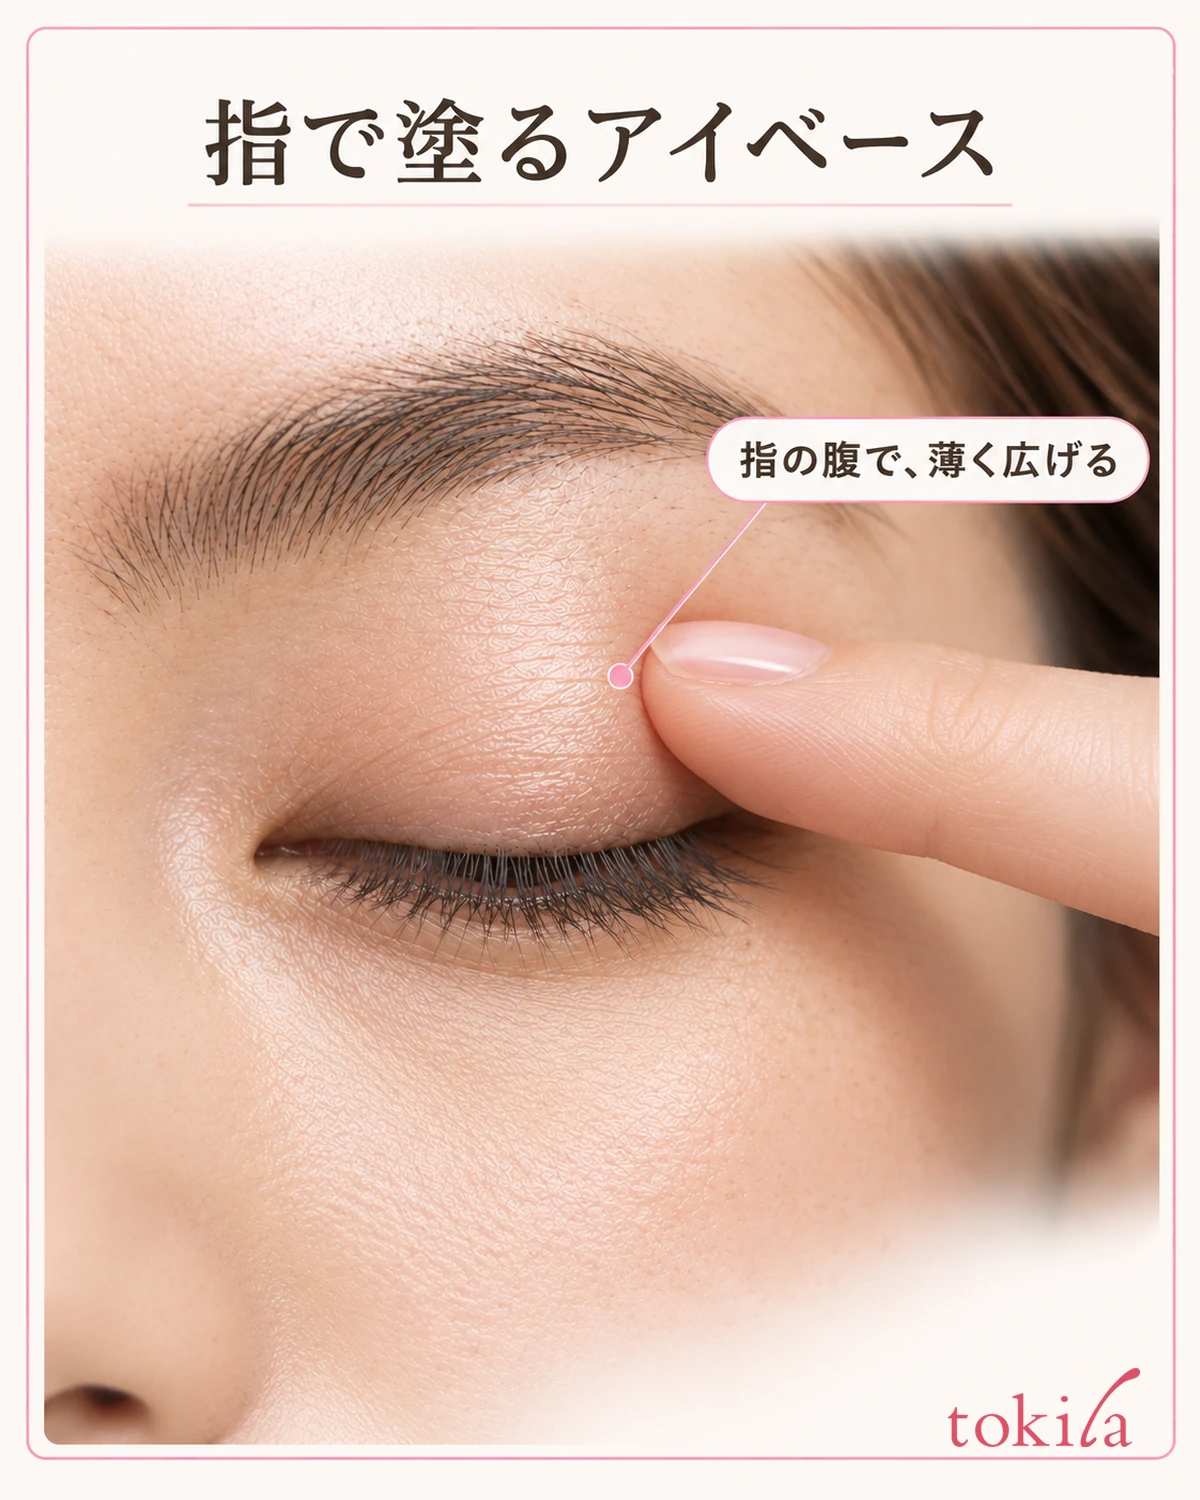
For a finger-applied product, use the pad of your finger to spread it lightly over the instructed eyelid area. Do not press hard enough to indent the skin significantly or dig in with your nails. Do not layer it until a white band remains just to make it visible; spread it thinly while checking where the base has been placed.
For a product that becomes hard to move if applied over too wide an area at once, return to its specified area and spreading method. Some types become harder to spread as they dry, so leaving every base sitting for a long time is not a universal step. At the same time, avoid rubbing continuously in haste; work in a manageable sequence, one side at a time.
Relax when closing your eye, and do not try to flatten the skin by pulling it. Do not insert an applicator tip toward the lash roots or inside the eye. Take your hand away briefly to check that you have not gone beyond the labeled area.
If color gets onto your finger or tool, clean or replace it before taking more base for the other side. Separating the finger or tool used for base from the one used for eyeshadow later helps avoid introducing another color into the container. Clear a place to set down used tools beforehand.
4. Check the base before layering eyeshadow
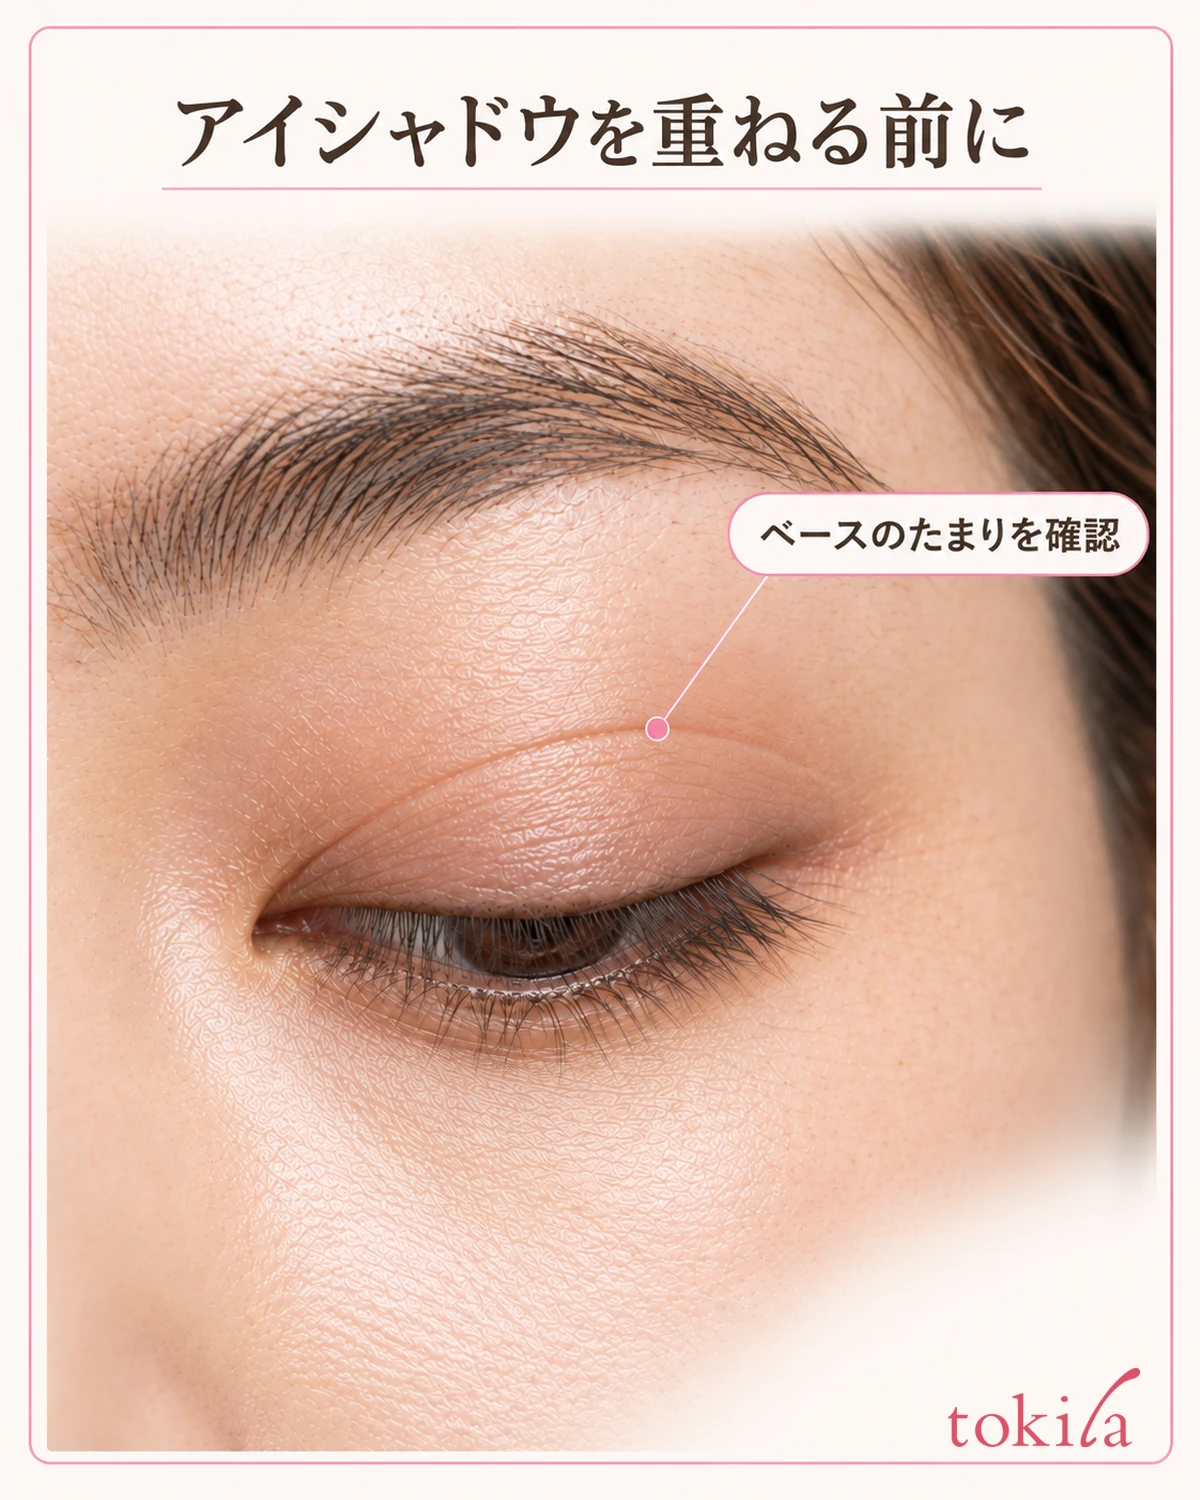
After spreading it, inspect it both with your eyes gently lowered and naturally open. Check for product gathered in lines along creases or a thick patch in one place. Even if the base has visible color, a thick white layer is not the sign that application is complete.
Follow that base’s instructions for when to move on to eyeshadow. Read whether it should be blended first and whether there are drying instructions, rather than setting the same number of seconds for everyone. Adding a large amount of powder to eliminate a tacky feeling is not a universal step either.
Once the base is ready, start with a small amount of compatible eyeshadow. On the first day of a new combination, it can be easier to use one familiar color, check its area and intensity, and then move on to another shade. You can also check application basics in Areas and Blending for Two Eyeshadow Colors.
Even if the color seems stronger than usual, you do not have to apply the same number of layers as always. Check the color visible with your eyes open and its intensity in the context of your whole face. If it seems insufficient, do not add fresh base on top; first distinguish which stage needs attention.
With a shimmery base, visibility changes with angle and lighting. Decide whether you want to assess color intensity or sparkle, then return your face to the same angle under the same lighting. Do not interpret stronger-looking reflection as a measurement of wear time or adhesion.
After checking with your eyes open and closed, stop touching the area and move on to the next makeup step. On a day when the layers work well together, briefly noting the base, eyeshadow, and order is enough. There is no need to take photographs under different lighting on each side and treat them as proof of the base’s effects.
5. If it becomes too thick, stop layering and review the amount and area

Repeatedly adding powder or light colors over a thick base can make it harder to identify which layer needs correcting. First stop and distinguish whether you are still at the base-only stage or have already applied eyeshadow. If you can return to an earlier stage, adjust excess product according to its instructions and redo the necessary area.
If thickness or patchiness remains after a light adjustment, do not keep rubbing forcefully to spread it. One option is to follow the instructions for an eye-area remover, remove the necessary portion, and start again. Keep it out of the eye, and avoid immediately applying powder onto a wet surface.
If your main concern is color settling into creases over time, consider touch-up steps separately in What to Review When Eyeshadow Collects in the Eyelid Crease. Do not assume that simply increasing the base in the morning will correct every uneven patch that develops while you are out.
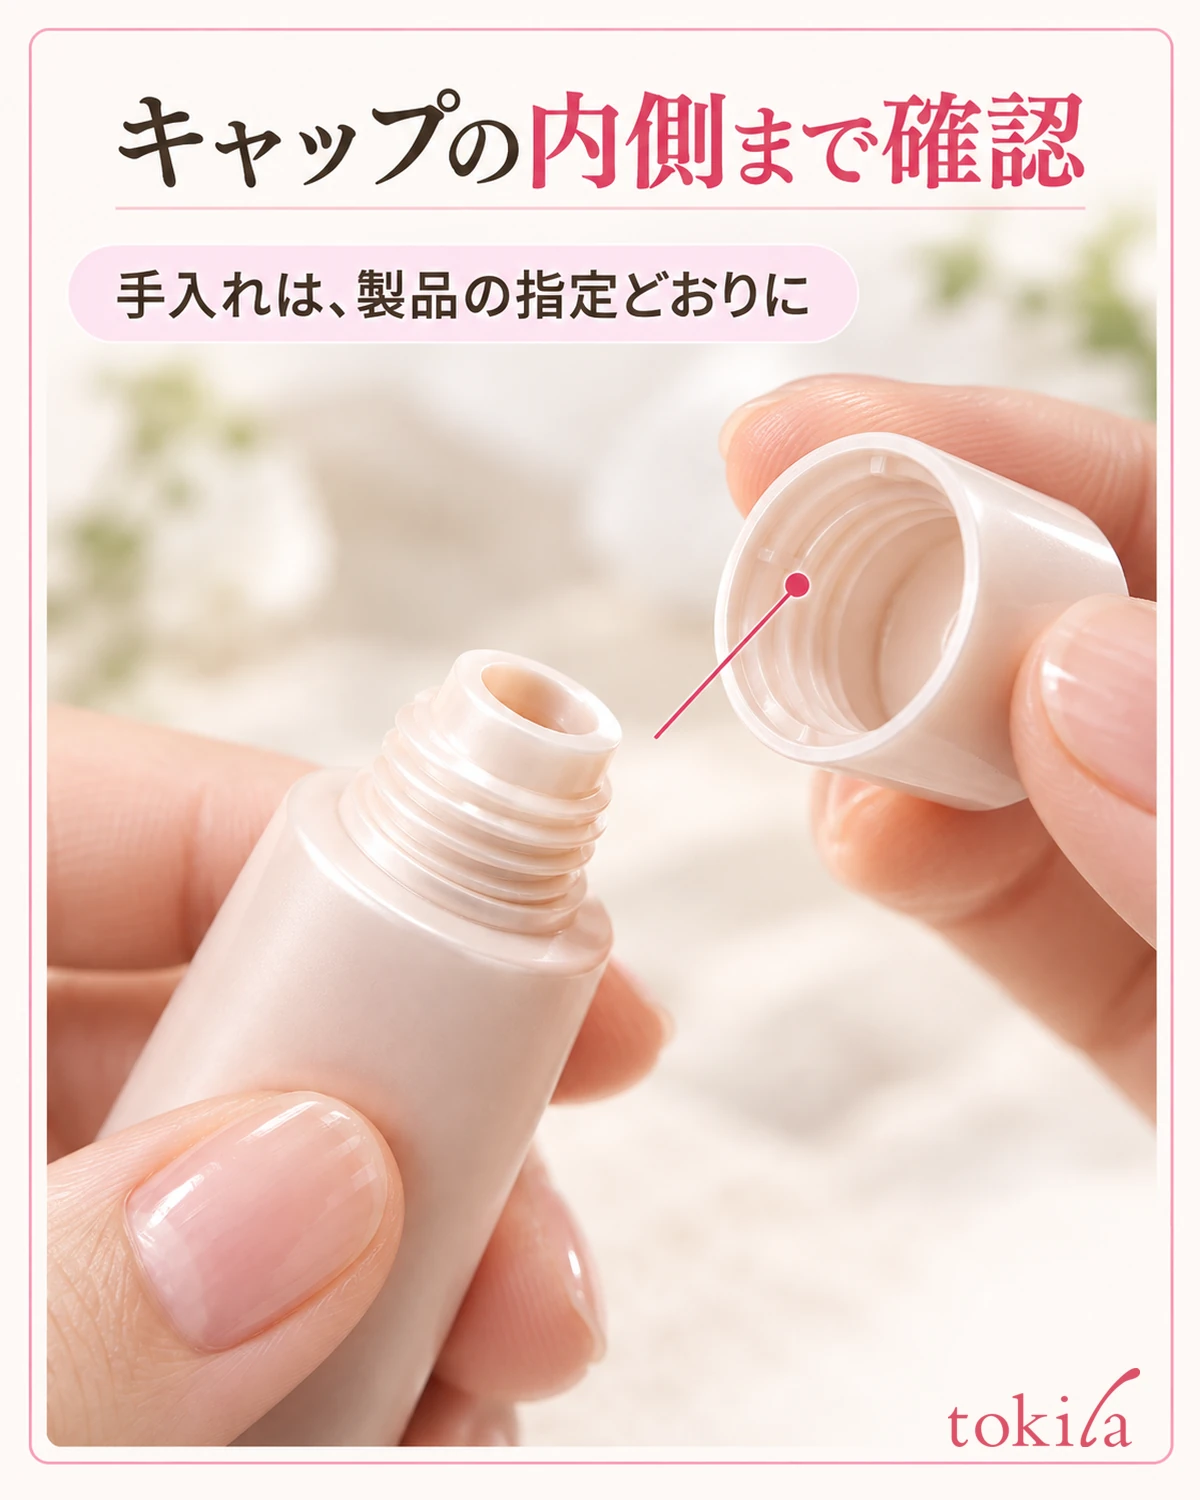
After use, check how to handle the opening, applicator, and cap. If instructed to wipe the applicator before returning it, do so, but do not apply the same care method indiscriminately to other products. If product adheres to the container opening, follow that product’s guidance rather than adding disassembly or washing with water yourself.
If redness, itching, irritation, or other abnormalities occur, stop using the product rather than trying to continue with a thinner layer. If it enters your eye, follow the product’s precautions; seek medical advice if abnormalities persist. Keep makeup appearance adjustments separate from responding to an abnormal reaction.
Next time, first correct whichever aspect of the amount, area, or layering timing departed from the directions. Use a process that makes it clear what you changed rather than replacing colors and tools all at once. Instead of making base an automatic addition, consider whether you need it for your existing makeup, based on its directions and your preferred finish.