When a foaming makeup remover loses its bubbles and starts to look like cream on your face, you might wonder whether it is time to rinse. With a formula that turns from foam to cream, the product does not have to stay foamy until you finish cleansing. Read the directions first, dispense the stated amount, then spread the foam over your face and work it into your makeup.
This guide covers rinse-off products that come out of a manual pump as foam and become creamy on the skin. The steps are different for removers that stay foamy, foaming face washes, and gels that lather on the skin, even if they come in similar pump bottles.
Check the label for a makeup remover that turns from foam to cream
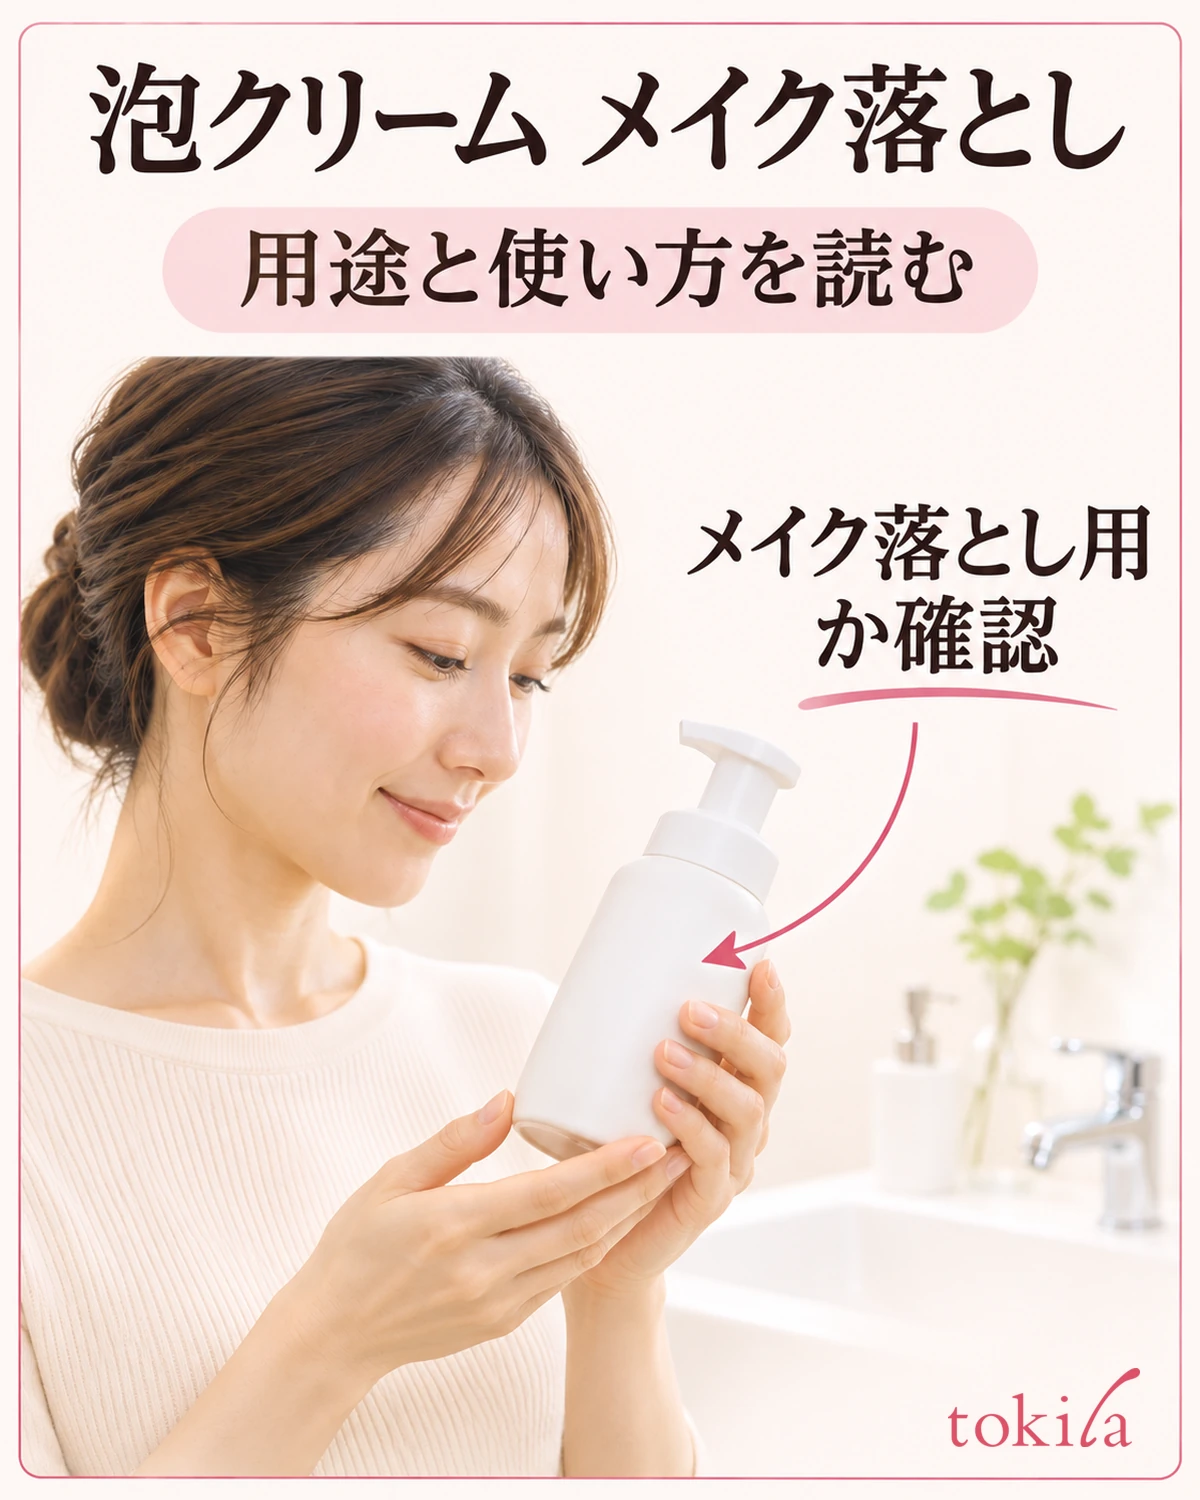
The word "foam" on the front of the bottle does not tell you whether the product removes makeup or washes your face. Read the directions on the back to confirm that it is a makeup remover and turns creamy when spread over your face. Check what to dispense, what texture to expect on your face, and what to rinse it off with. That way, you can keep track of the steps even as the foam subsides.
Your morning face wash and evening makeup remover may come in similar pump bottles. If you tend to mix them up at the sink, check what the product is for as soon as you pick it up. When the makeup you are wearing has specific removal instructions, check them before cleansing your whole face so you can avoid repeatedly rubbing just the eye area afterward.
On days when you wear water-resistant mascara or similar makeup, check that product's removal instructions too. If it calls for a specific removal method, follow it separately from your full-face cleanse. To remove eye makeup first, see how to use a targeted makeup remover.
Check whether your hands should be dry and how many pumps to dispense
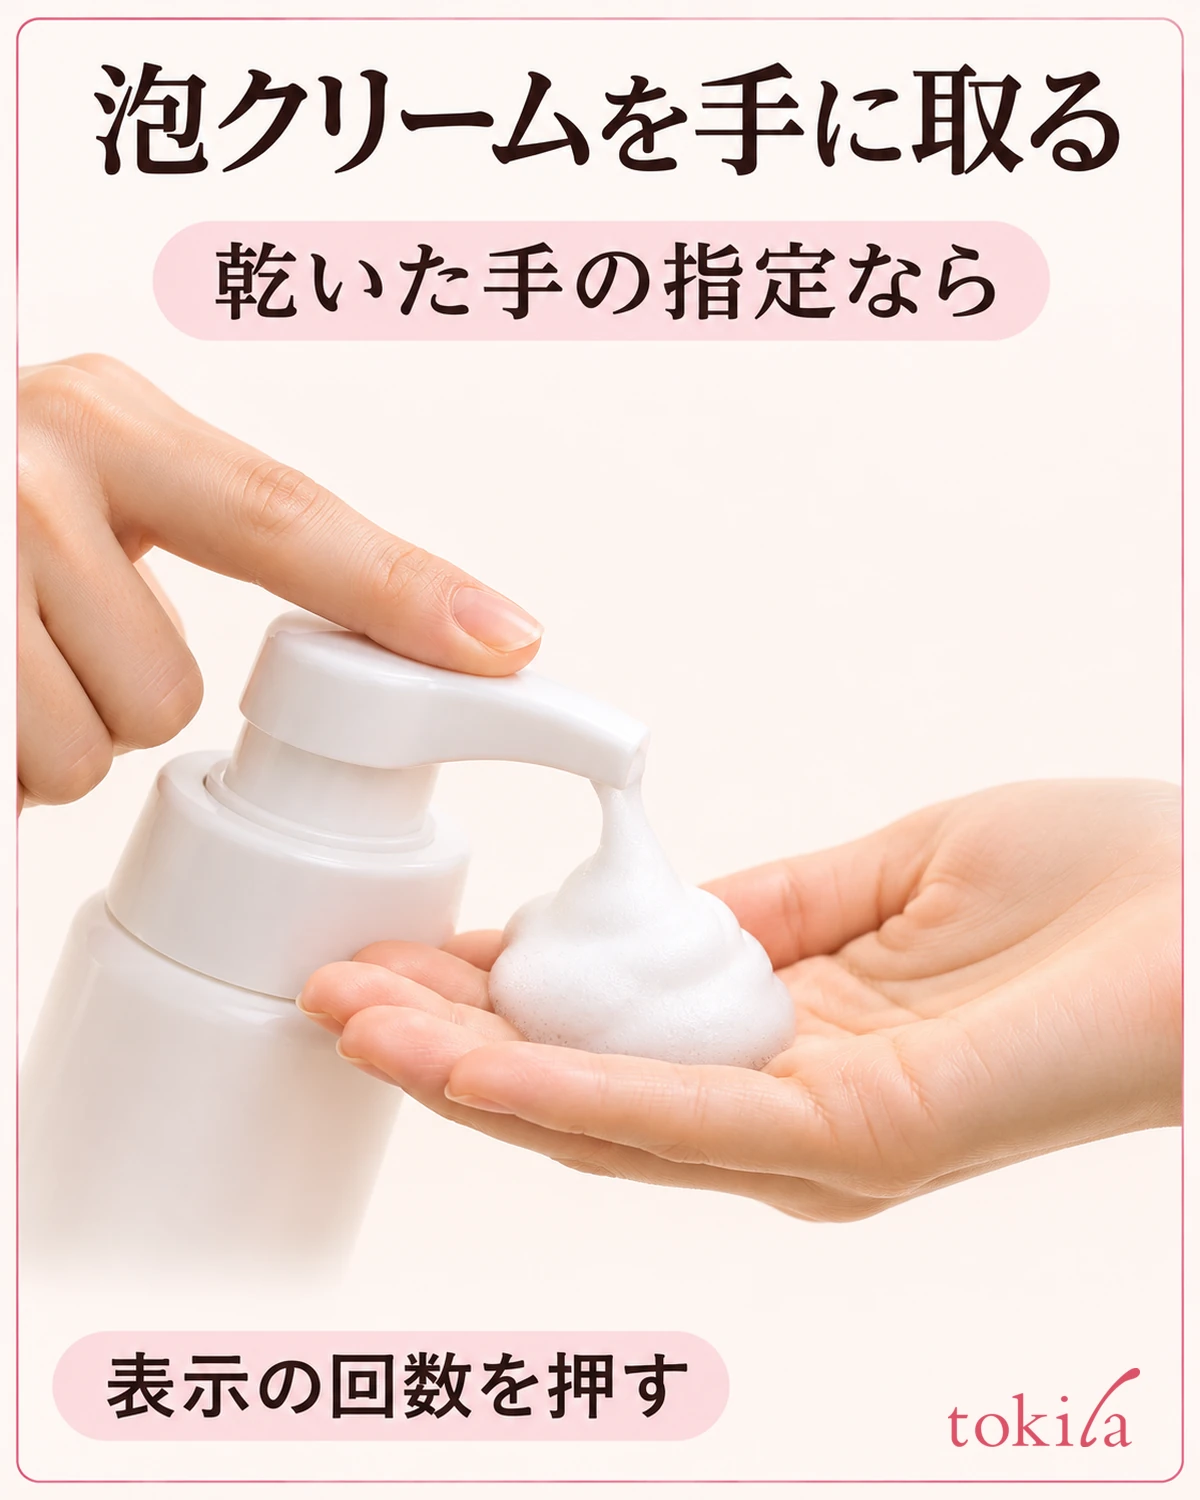
If the instructions call for dry hands, wash your hands and towel-dry your palms and between your fingers. Follow any instructions about whether your face should be wet or dry, too. Some products go on a wet face, and others can be used with wet hands, so do not assume the steps for your usual foaming face wash apply.
Put the bottle on a stable surface and hold your palm directly under the nozzle. Press the pump the number of times indicated on the label. If you judge the amount by the height or puffiness of the foam, it can be hard to compare once you switch products. When the directions specify a number of pumps, start by counting rather than judging the size of the mound in your palm.
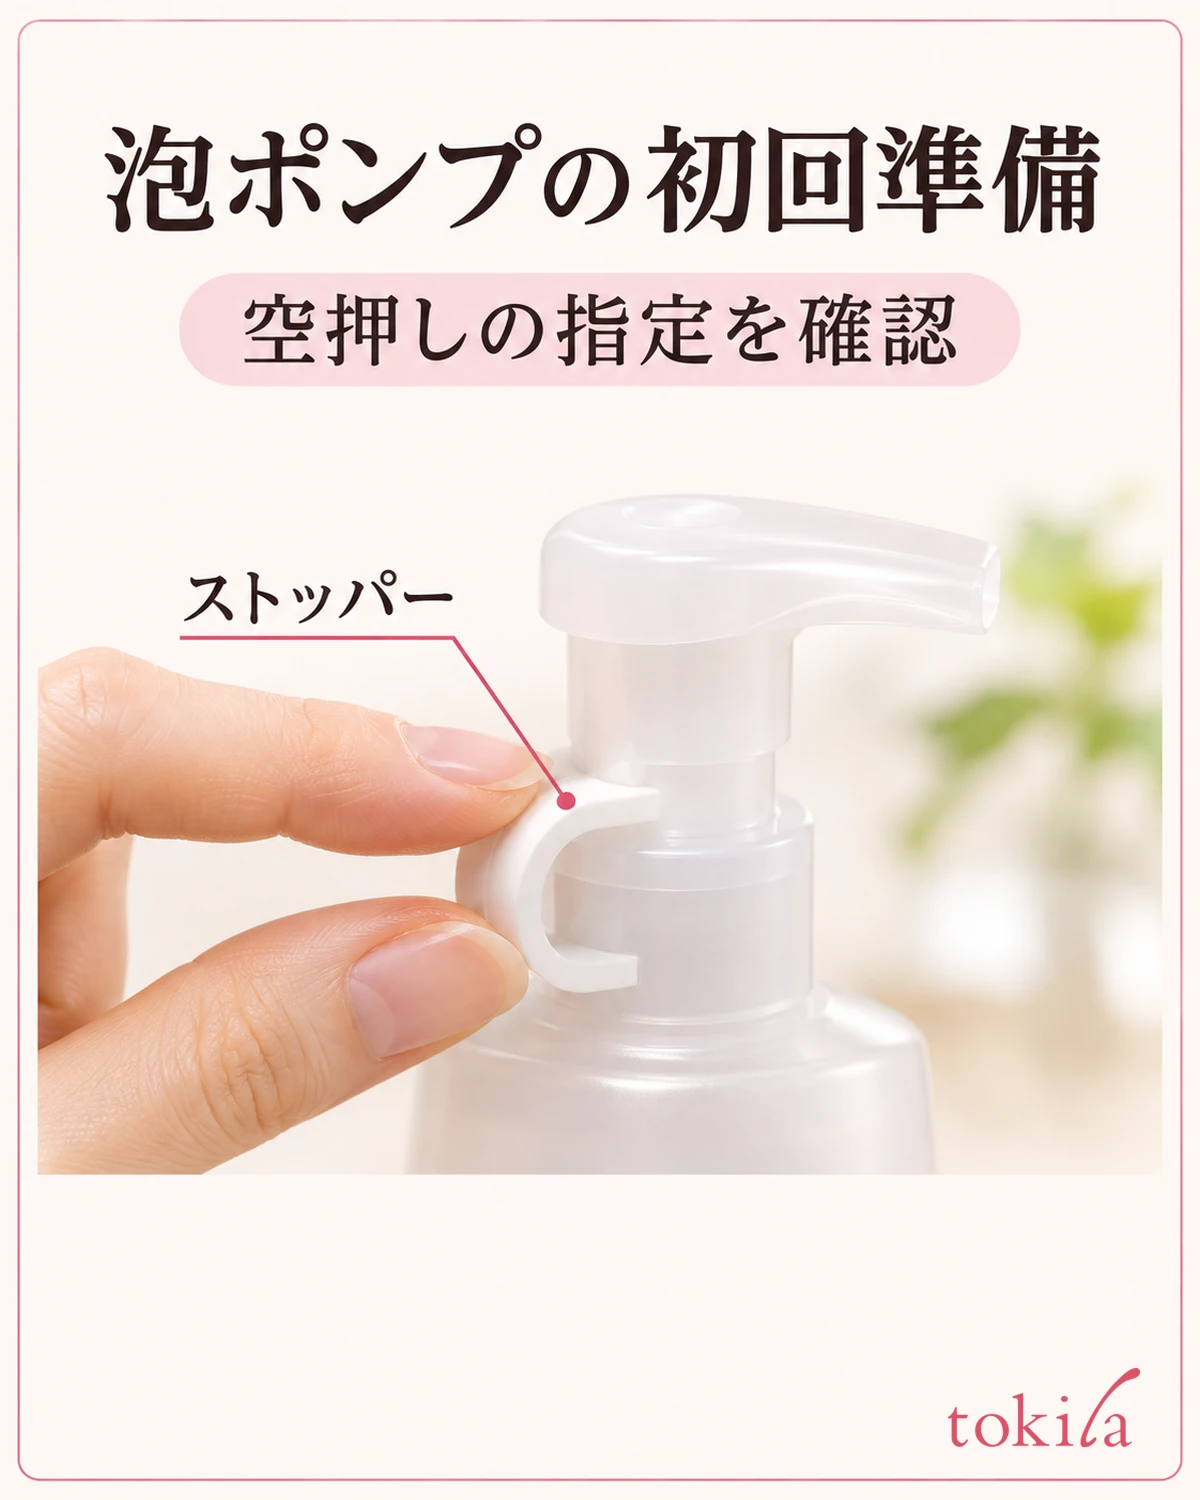
If a new pump will not move, start by checking the neck of the bottle for instructions on removing a stopper or unlocking the pump. The method varies by container. If the directions tell you to pump until product comes out on first use, dispense a full dose once the foam starts to flow. If it becomes hard to dispense after several uses, treat that separately from priming a new pump: check how much product remains and whether the pump is compatible.
Check whether you need to work up any more lather in your hands. If the product is meant to be spread straight from the pump, transfer the foam to your face without adding water or repeatedly rubbing your palms together to build more foam.
Spread the foam and gently work it in until it turns creamy
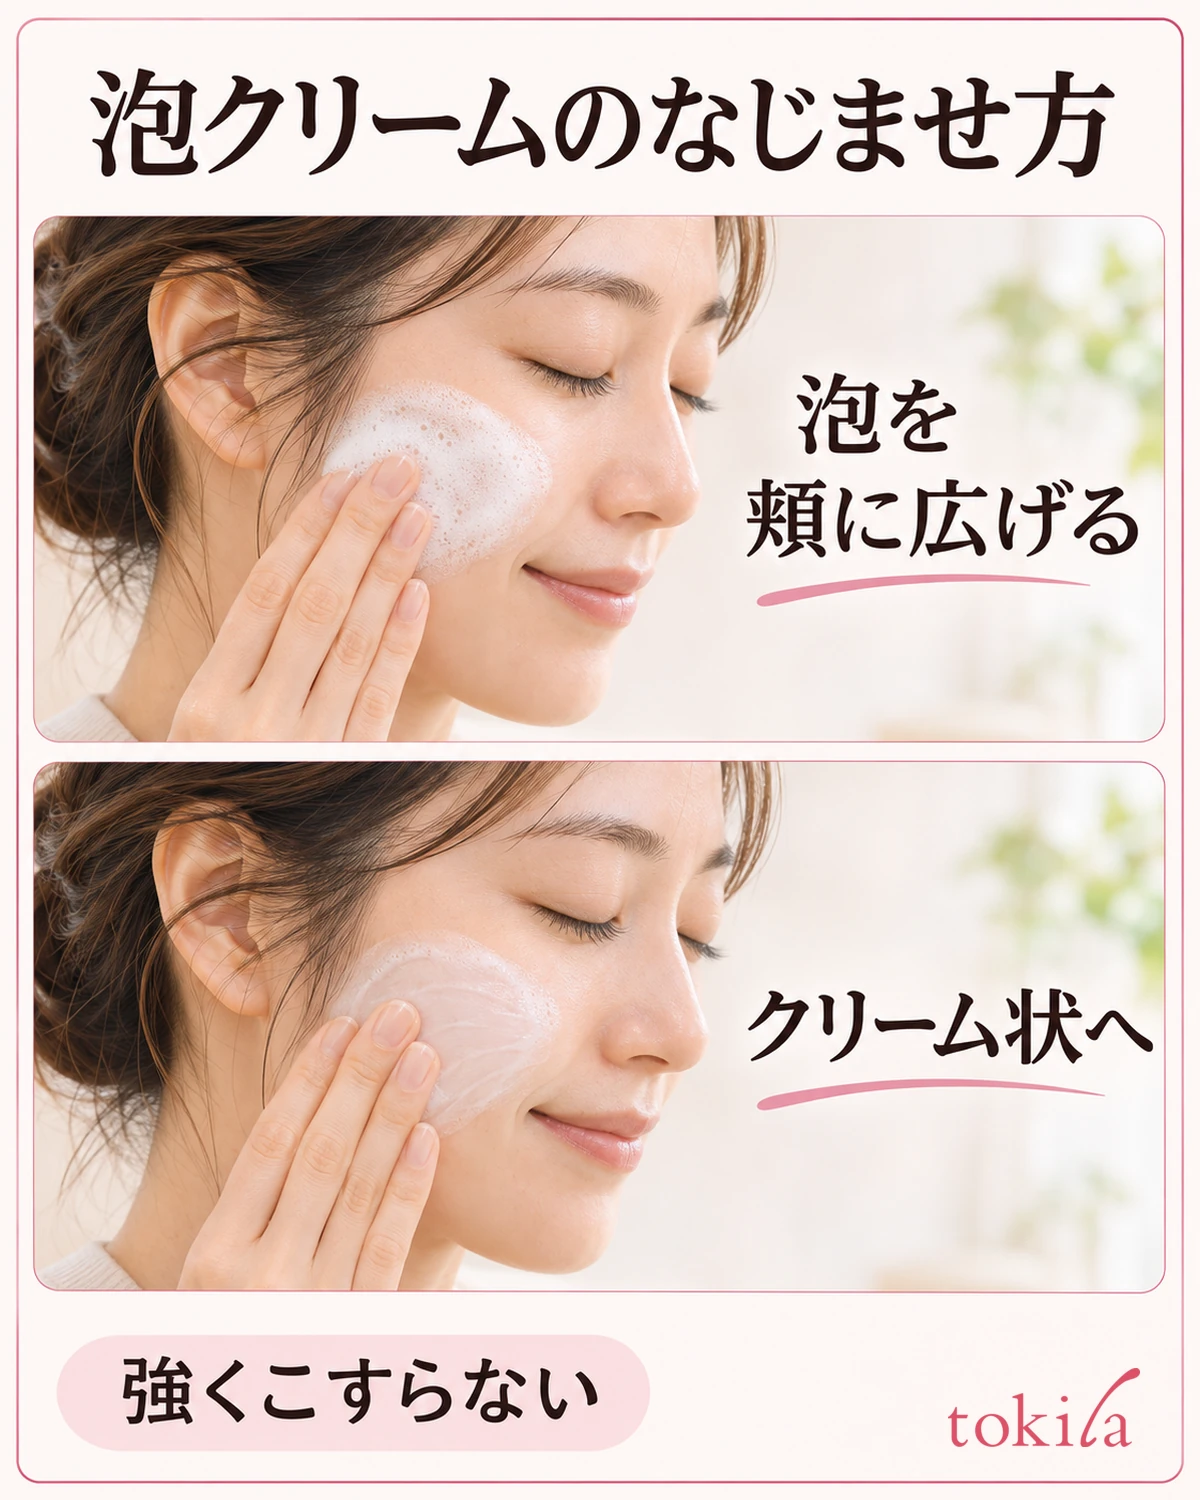
The illustration uses a cheek to compare freshly spread foam with the creamier texture that develops as you gently move your fingers. When using the product, spread the foam over your face as directed. Putting it all on one cheek makes it harder to move it to the other cheek or forehead, so save enough at the start to cover your whole face.
Instead of repeatedly working one spot first, move your fingertips little by little and check that the remover reaches the areas where you applied primer or foundation. If the directions call for circular movements, gradually move your fingers from the inner cheek outward. There is less room beside the nose and around the mouth, so adjust where you place your fingers instead of making large circles.
Before spreading, you can see fine bubbles in the foam. As you work it in, the foam may deflate and look like a white film. You do not need to keep rubbing until the texture is uniform just because some areas look whiter than others. If your fingers start to drag, reconsider how much pressure you are using and how much you dispensed. Finish according to the label without adding steps such as leaving the product on longer or rubbing repeatedly.
Less foam alone does not mean every kind of makeup has come off. The texture change is a cue for the massaging step. Check any areas where makeup still appears to remain after rinsing, and think back to whether any of those products called for a different removal method.
Rinse with cool or lukewarm water and check around the edges of your face

Use cool or lukewarm water as directed. Scoop up the water with your hands and gently bring it to your cheeks and forehead to rinse. If you only rinse the center of your face, water may miss the areas beside your bangs or along the outline of your face. Move your hands and rinse in sections.
Move your hair aside if you cannot see your hairline clearly. Lift your chin a little in front of a mirror so you can see underneath it. If you spot white streaks or foam, rinse those areas again. There is no need to wipe the product off with a towel in place of rinsing or to scratch or rub hard-to-see spots with your nails or fingertips.
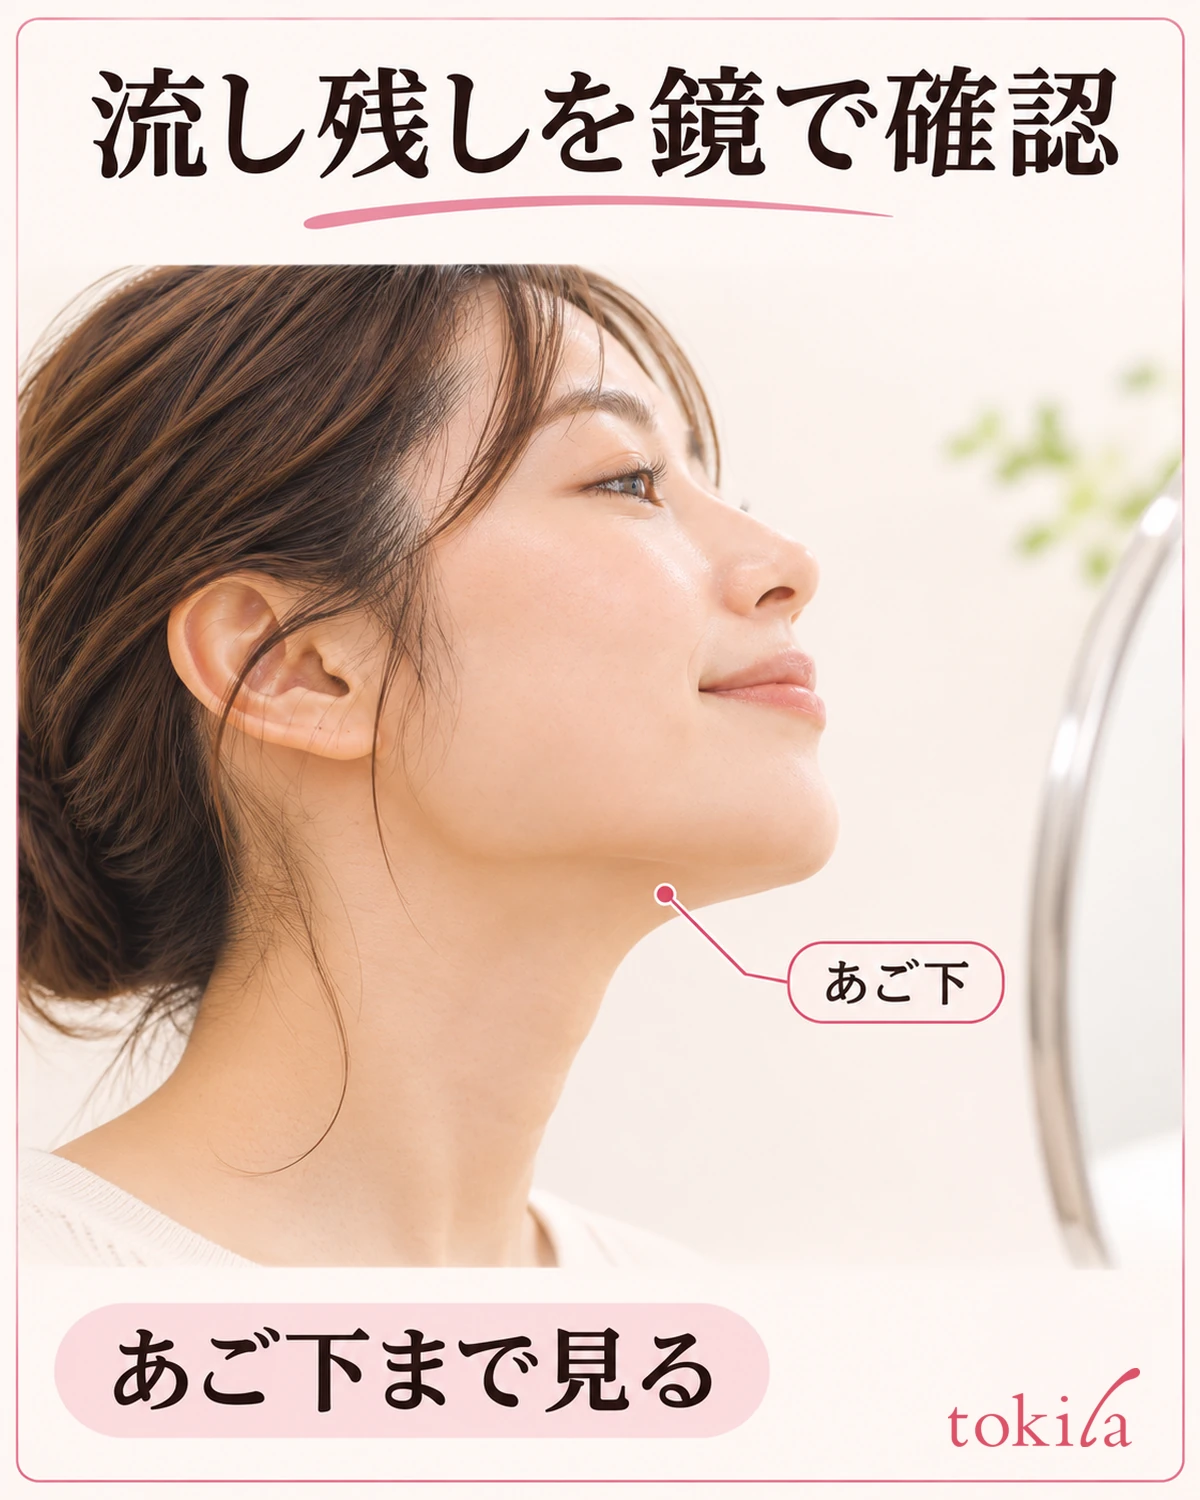
The sides of the nose and the edges of your face near the ears are hard to see when you look straight ahead. Turn your face a little to either side in front of a mirror to tell wet skin from white residue more easily. If the hairline tends to retain foam, see how to check for foam left at the hairline after washing your face.
Use the label to decide whether to wash your face again after rinsing
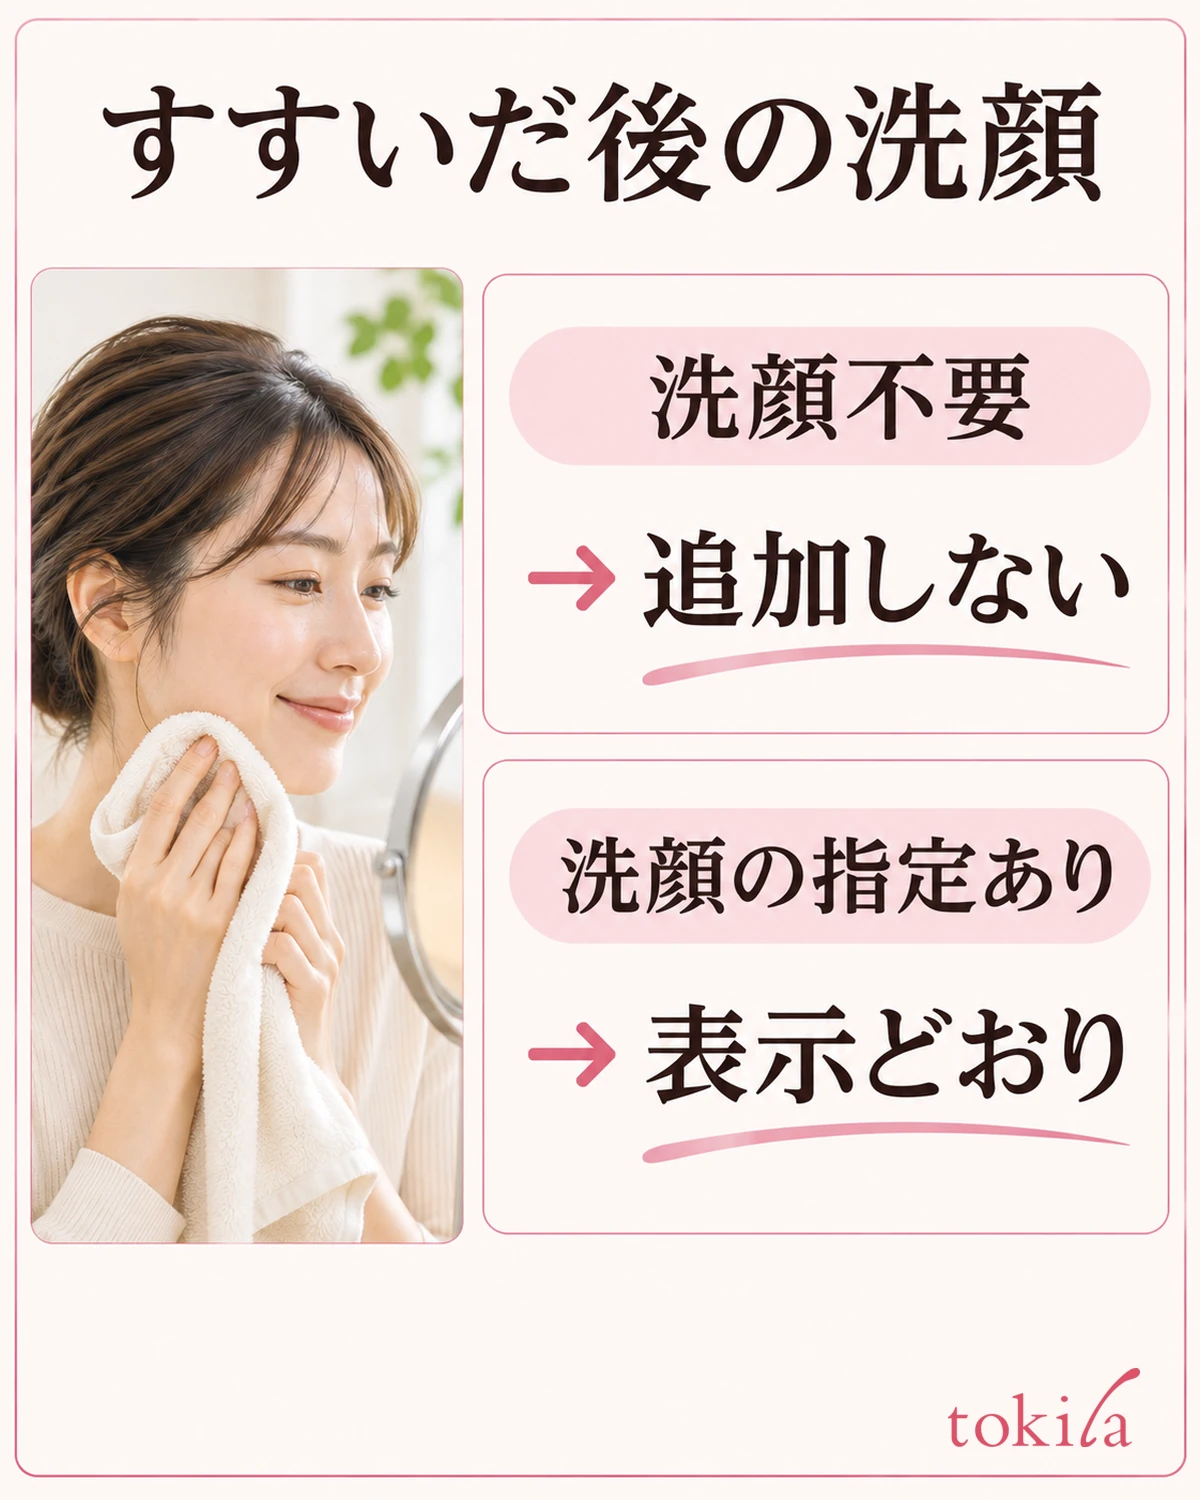
Check the directions on your product to find out whether you should wash your face again after removing your makeup. If it says no face wash is needed after rinsing, the foamy appearance is no reason to add one. If a separate face wash is required, rinse away the makeup remover first, then follow the directions for your face wash.
A bit of color at the outer eye and white foam at the hairline call for different checks after rinsing. For the first, check how to remove that eye makeup and whether your remover is meant for it. For the second, check where the rinse water reached. Before washing your entire face again, identify what remains and where it is.
Next time, adjust just one step that gave you trouble: when you towel-dry your hands, where you first distribute the foam, or where you check during rinsing. Keep following the label and see where the routine becomes clearer. Then, if you switch to another foaming product, you will be less likely to decide how to use it based on appearance alone.