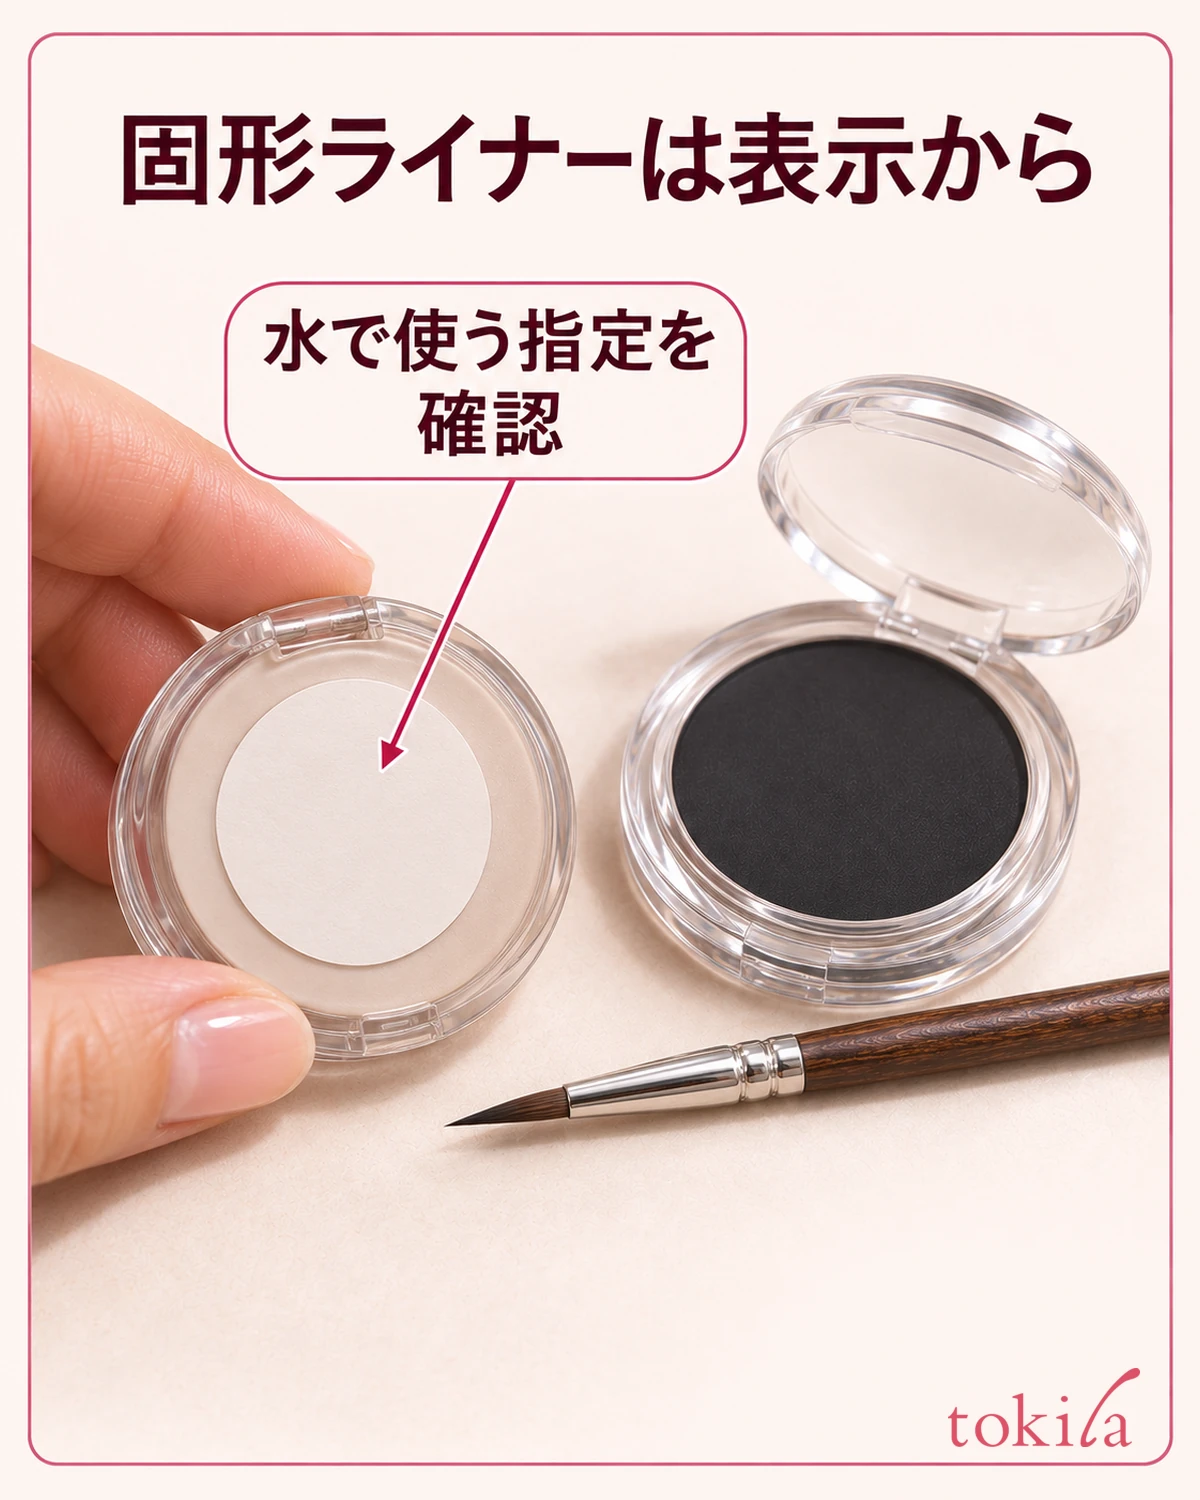
When you start using marbled blush, one cheek may look pinker and the other more beige. Before blending your cheeks, think back to where you placed the brush in the compact. When several shades run together across the surface, the path your bristles take can change the combination of colors they pick up.
To match both cheeks, choose how much of the pattern to sweep across and pick up the powder the same way for each cheek. To change the color, move where you pick it up without suddenly loading more powder. This guide covers pressed powder blush applied with a brush.
Read the pattern and decide where to pick up color
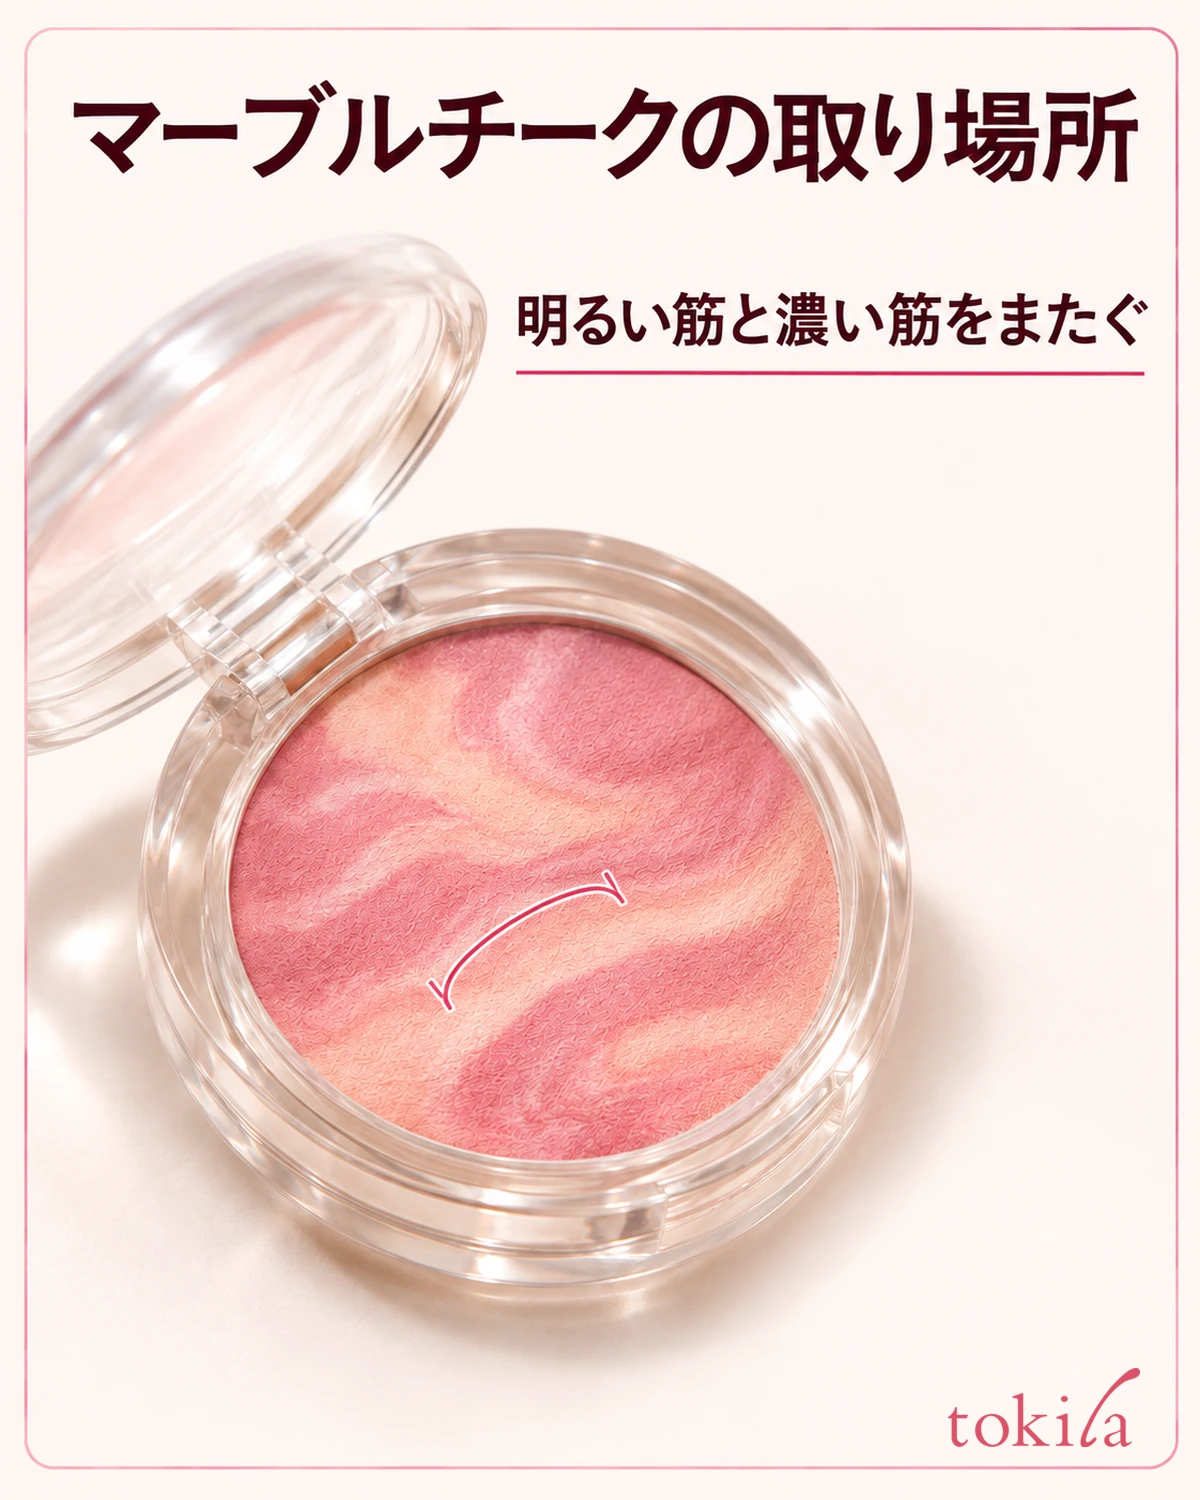
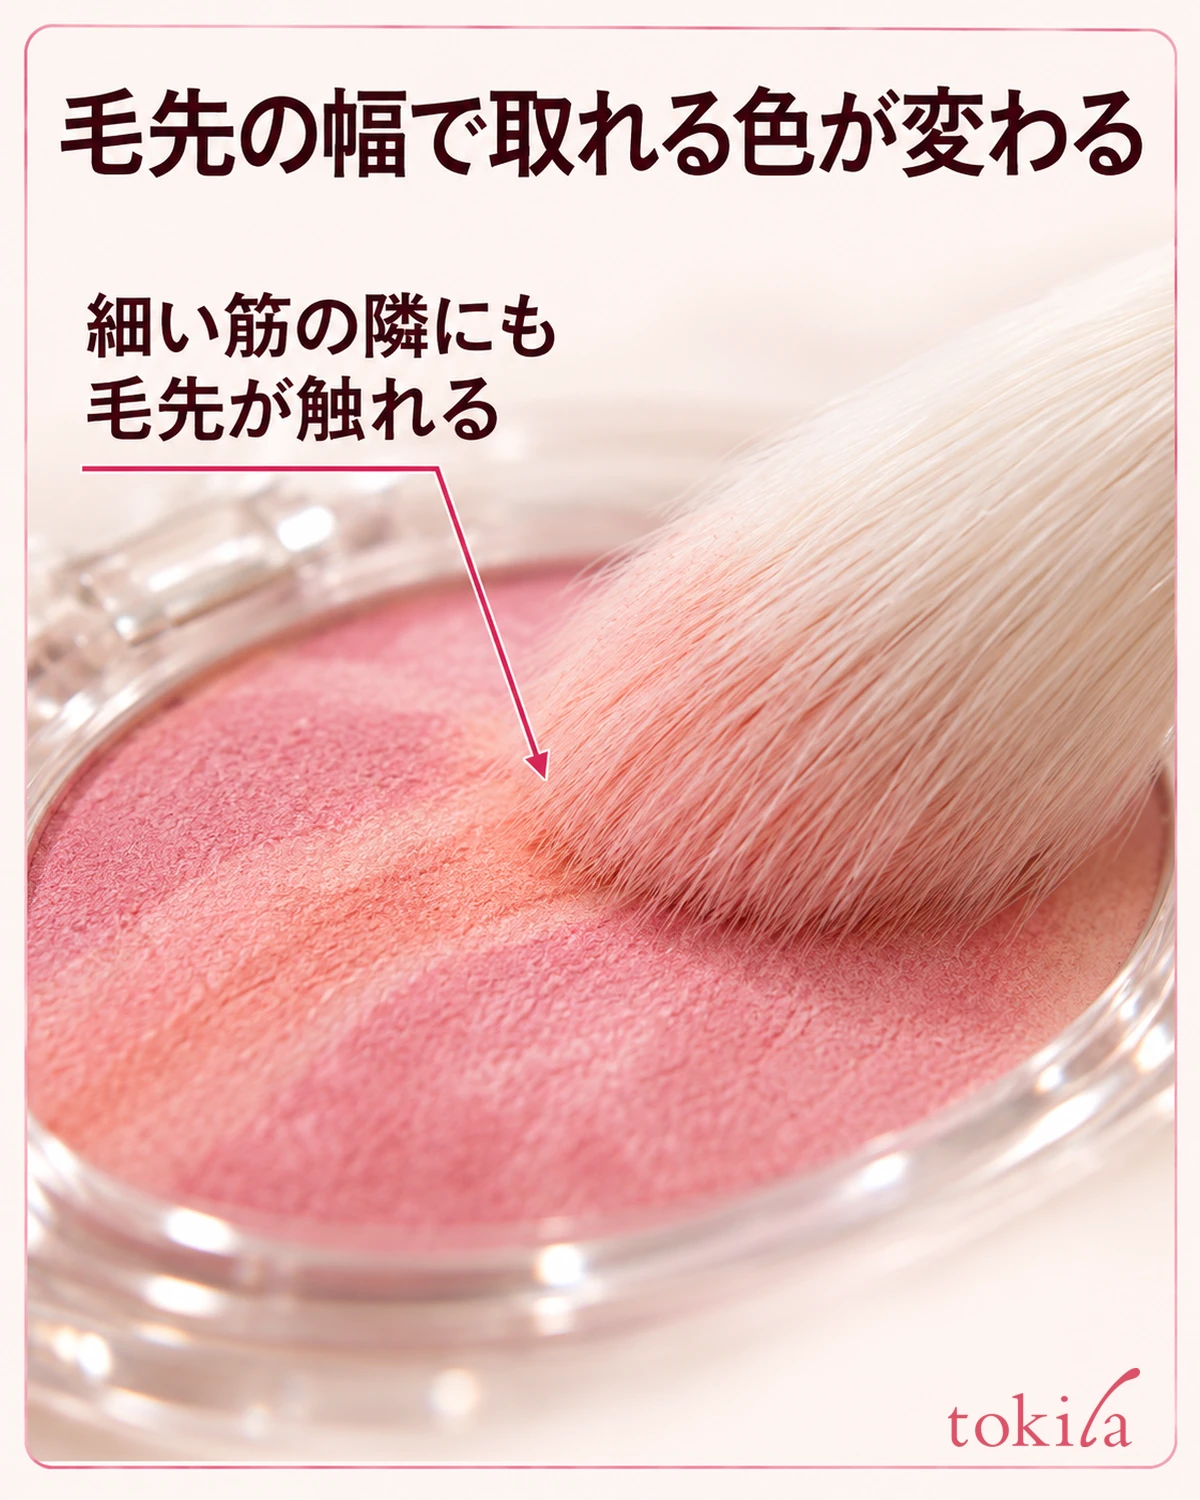
Open the lid and look for light streaks, deeper-looking streaks, and where they meet. In marbled blush, adjacent colors touch, unlike a palette with separate pans. Even if you aim for a single narrow streak, a brush wider than the streak will also catch the neighboring shade. Think about the width of the bristles touching the surface rather than assuming the shades will mix evenly.
Start by choosing one spot that crosses two or more streaks. If the pattern is uneven, with a broad dark area near the edge and more light streaks near the center, use the spot you can most easily return to for both cheeks. The shade you want may not be in the middle. Keep the hinge on the far side so you can find the same spot after finishing the first cheek.
Products that look alike can call for different tools. First check whether the directions specify a brush, the included applicator, or another method. If the colors sit separately, the guide to using a two-color blush palette can help you decide whether to use one shade or mix them.
If the marbling is fine, you don't have to identify each color you crossed. You can choose to sweep across the middle just in front of the hinge, for example, and find the same spot even after setting the compact down again. If there are larger blocks of color, look at which direction would change the mix before you start, so it's easier to pick up a different blend.
Sweep lightly over the chosen streaks without laying the brush too flat
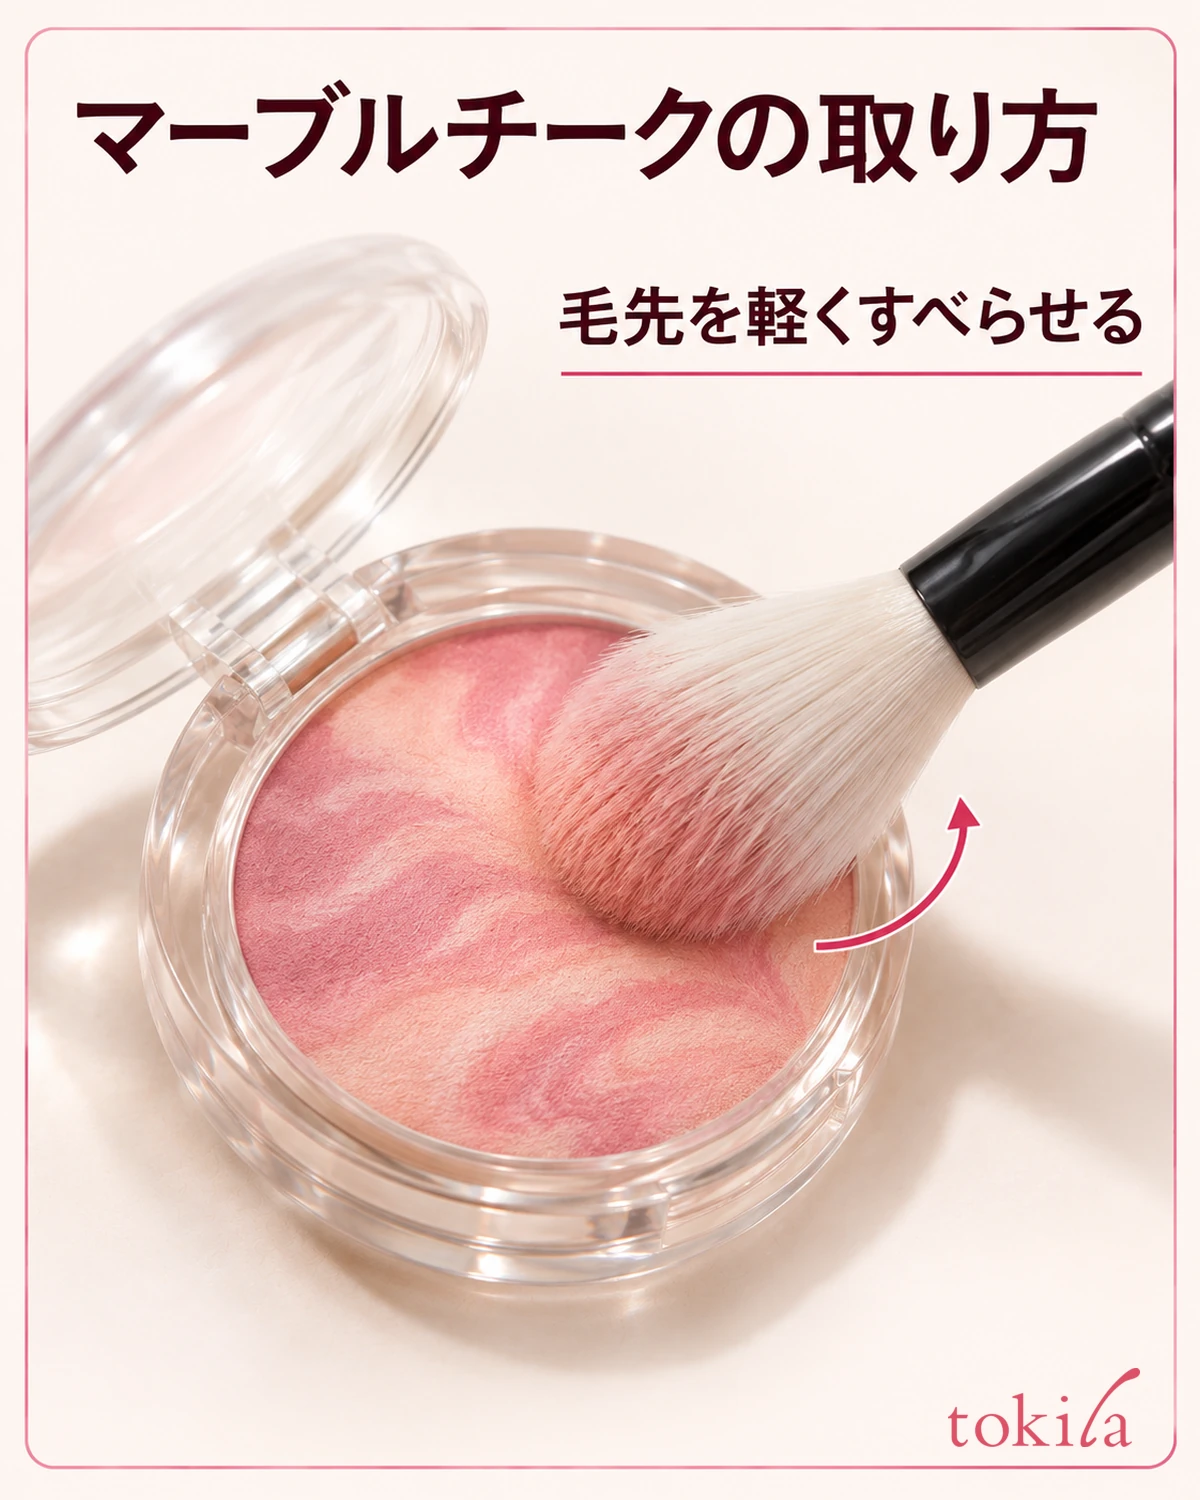
If your product calls for a clean, dry brush, rest the face of the bristles lightly on the surface. Once you've picked a part of the pattern, sweep a short distance without flattening the bristles. A stroke you can trace is easier to repeat on the other side than several large circles before taking the brush to your cheek.
On a rounded surface, pressing straight down may touch only the center of the brush, while tipping it too far can pick up other streaks. Look from the side to see what the bristles touch and adjust the angle of the handle rather than pressing harder. If the product specifies a tool, use that first.
Color left from a previous application can be hard to distinguish from what you just picked up. Start with a brush free of color when you want to compare shades. Avoid rubbing the brush in the compact to remove the old color; clean it according to the tool's care instructions.
You don't need to see several distinct stripes on the brush. If little seems to have changed, don't press harder right away. Check what actually comes off the brush in the next step.
While you're getting used to it, set the compact on a flat surface instead of sweeping the brush while you hold it. If both the case and the bristles are moving, it's hard to tell whether you crossed the streak you intended. Rather than gripping the handle tightly close to the bristles, hold it where you can support it lightly, then move your hand slightly sideways once the tips touch down.
Check how the powder transfers onto the back of your hand
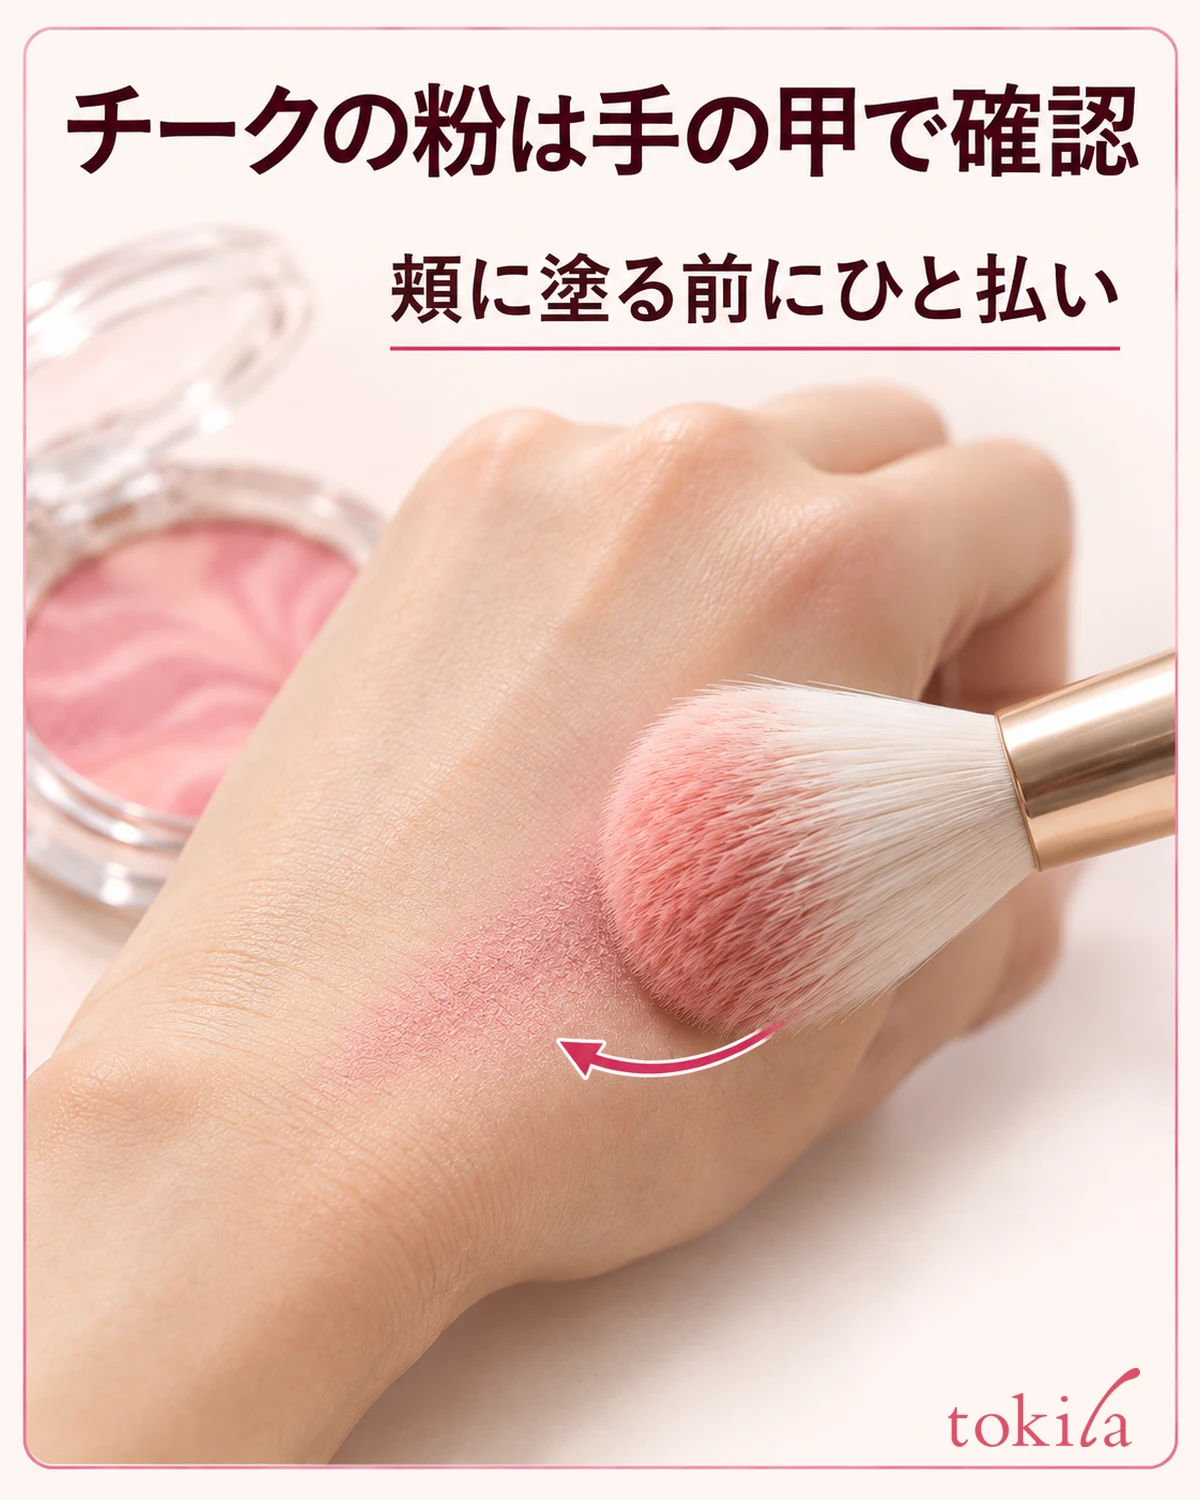
Sweep the brush once over the back of your hand to see whether a strong patch of color comes from just one side of the bristles. If a lot of powder transfers to one spot, you can lightly remove the excess on a tissue before bringing it to your cheek. Your hand and cheek differ in skin tone and base makeup, so use the hand to check for concentrated powder rather than to predict cheek color.
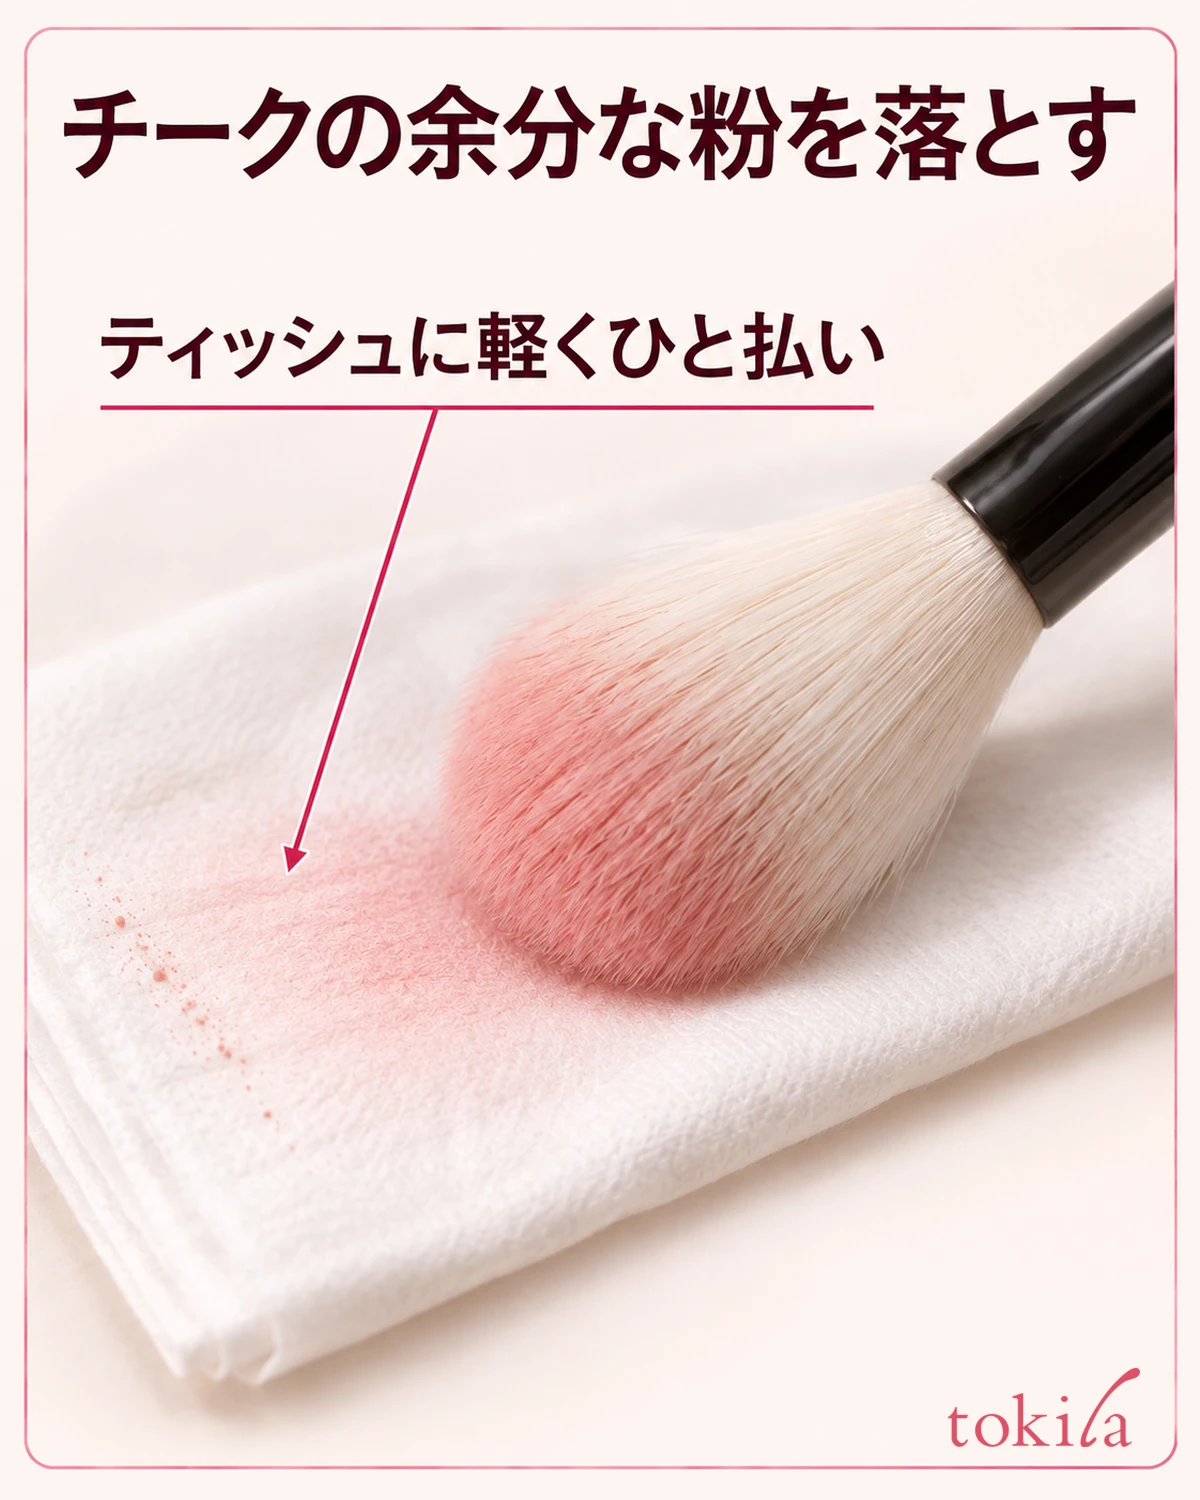
On the tissue, look for powder concentrated in one spot or spread across the width of the brush. If you want a different shade, use the color on the tissue as a clue to which streak to try next, rather than as a preview of how it will look on your cheek. If several sweeps leave too little powder, pick up a little more from the same spot.
If you crossed a pinker streak first and want something a bit lighter, shift the brush so it crosses more of the adjacent light streak. If you change both the placement and the amount, it's hard to tell whether a difference comes from the shade or the amount applied. A small shift followed by a check can help you find a pickup you like.
When checking on the back of your hand, use a spot that doesn't overlap an earlier swatch. Sweeping repeatedly over the same place makes it hard to know whether the new powder is darker or just layered over the previous powder. To compare your pickup for the two sides, make short marks next to each other so the light falls on them the same way.
Pick up powder from the same spot for each cheek and look straight ahead
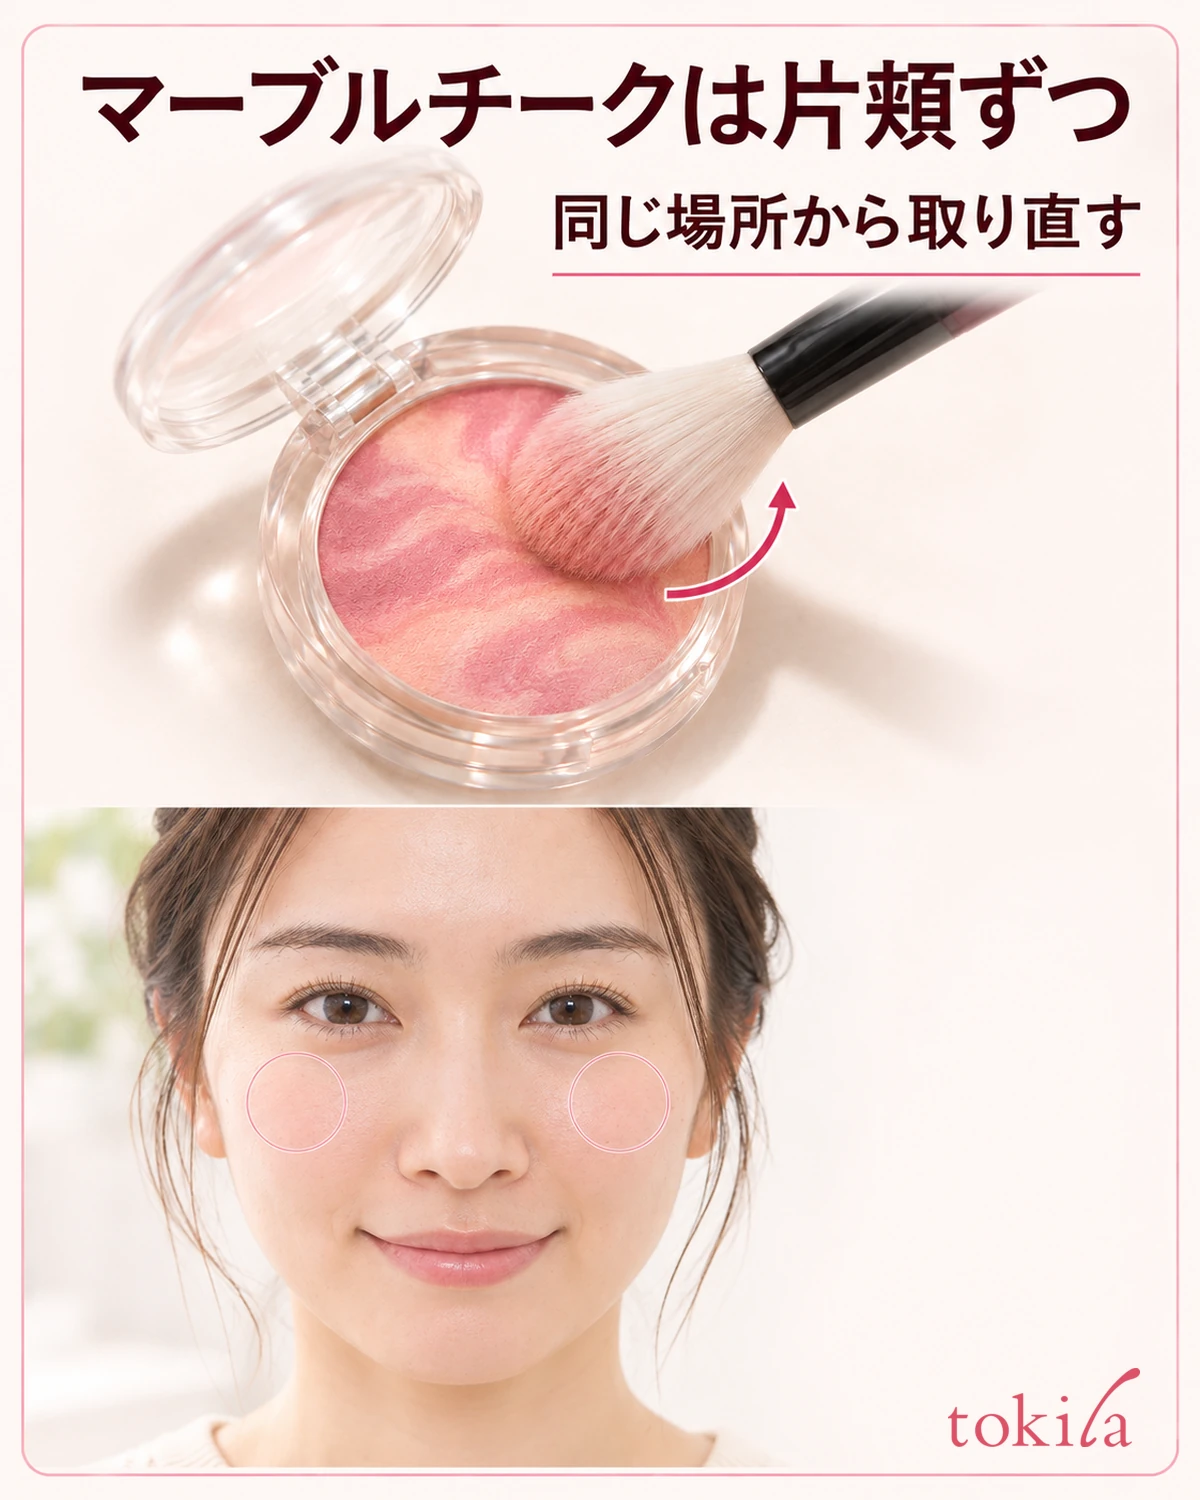
Choose where the powder will first touch the cheek. If you use a light layer high on the cheek and blend outward, it's easier to set a starting point and a direction for the brush. Follow any directions about application order or tools. Lift the brush away before deciding to add more.
For the other cheek, pick up color from the same part of the pattern, using about the same sweep width. If you divide the first load between both sides, more powder may transfer to the cheek you touch first. Loading for each side separately and adjusting the excess before application makes it easier to trace where one side became darker.
After applying, face the mirror straight on and check whether one cheek is closer to a window or a light. The two cheekbones may differ in shape or brightness. Rather than forcing the shapes to match exactly, step back and see whether a patch of color stands out on just one side.
If the brush tends to flip direction between cheeks, check which side of the bristles touches the skin first. Holding the brush upright on just one side can concentrate color in a narrow spot even if you picked it up from the same part of the pan. You don't have to switch hands. Start by matching the angle you see in the mirror and the part of the brush that touches first.
If the cheeks look different, identify the cause before adding more
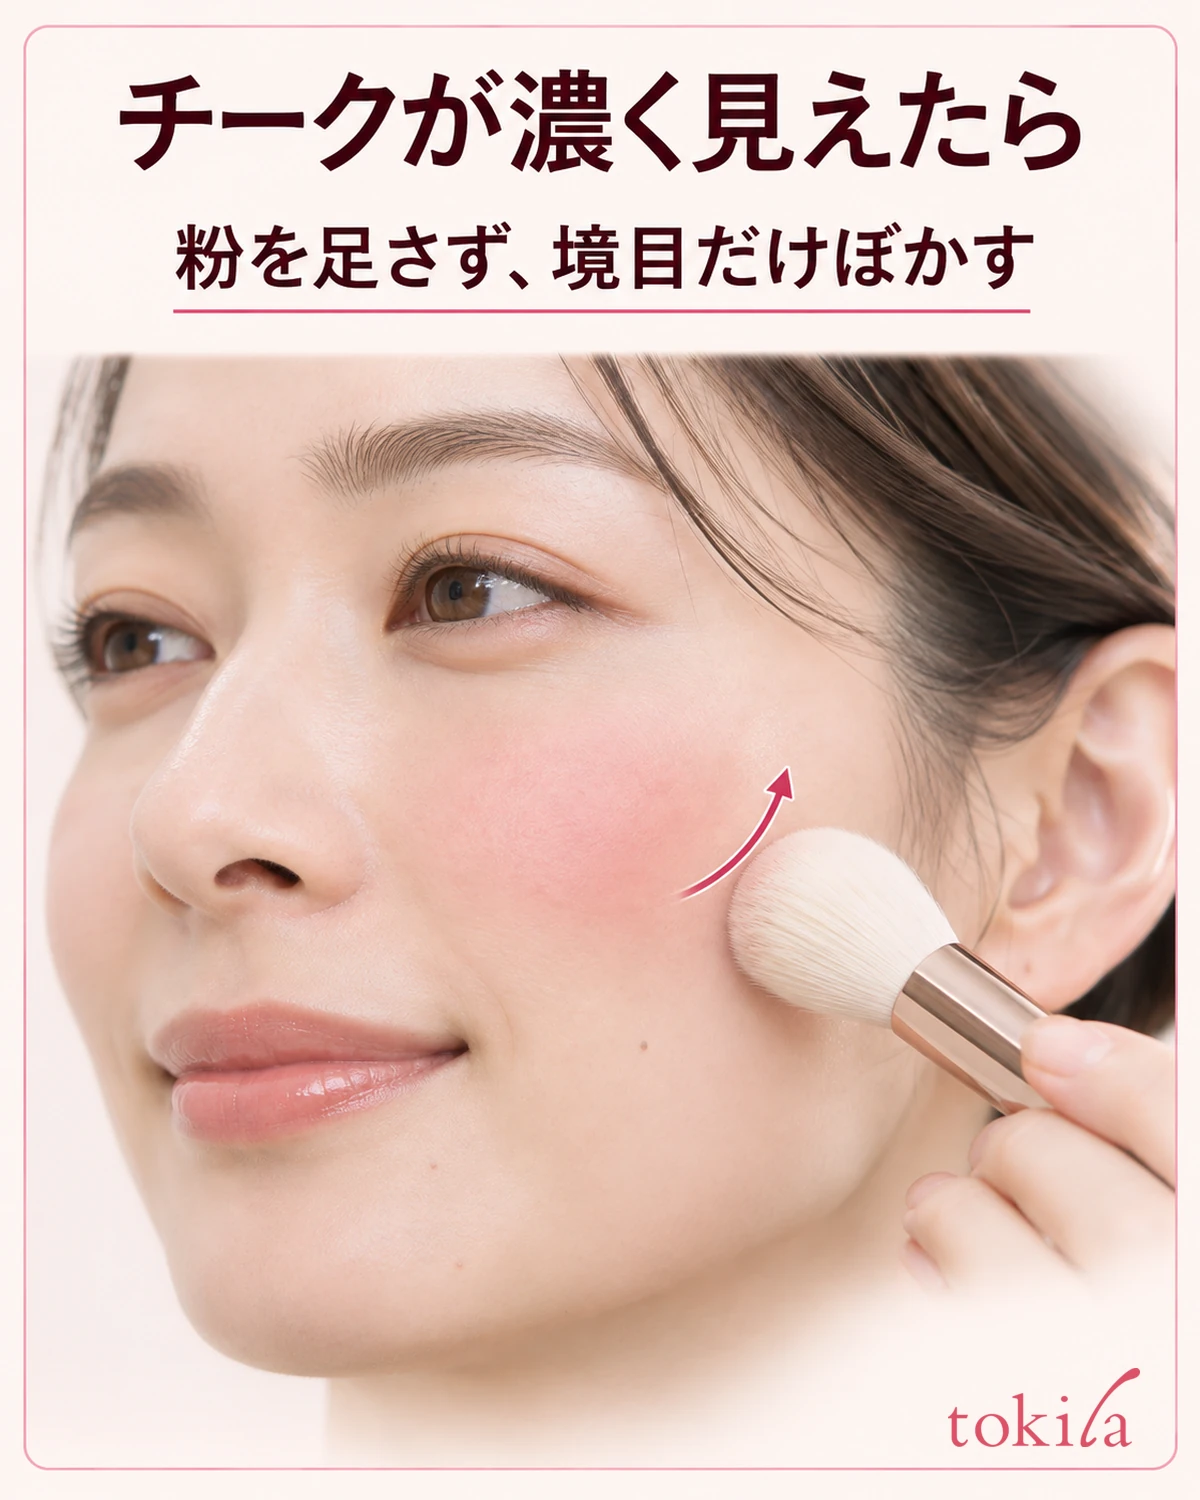
If one side looks darker, check what differs before deepening the other side to match. If the shade is similar on both cheeks but only one edge looks sharp, you can gently sweep that edge with a brush free of powder without adding color. Rubbing the whole cheek can move blush where you don't want it, so work from the edge a little at a time.
If you notice a red or yellow cast more than a difference in depth, look at the compact before reloading. If you crossed more of a red streak for one side and more of a pale streak for the other, go back to the same path, pick up a little, and apply it lightly only where color is still missing. Even if you choose to build up the lighter side, don't try to match it in one stroke. Face the mirror to decide when to stop.
The pattern may look different as you use the blush. If powder from the same spot looks different from before, check which streaks are still there before pressing harder. If it still looks patchy after matching shade and amount, see the guide to fixing patchy blush to check your base and brush as well.
For next time, remember the spot in a short phrase, such as “slightly across the light streak at the back.” On a day when you like the color on your cheeks, note not only where you picked it up but also whether you swept the brush once over your hand or tissue. Even with the same pattern, check the width and amount again when you change brushes.