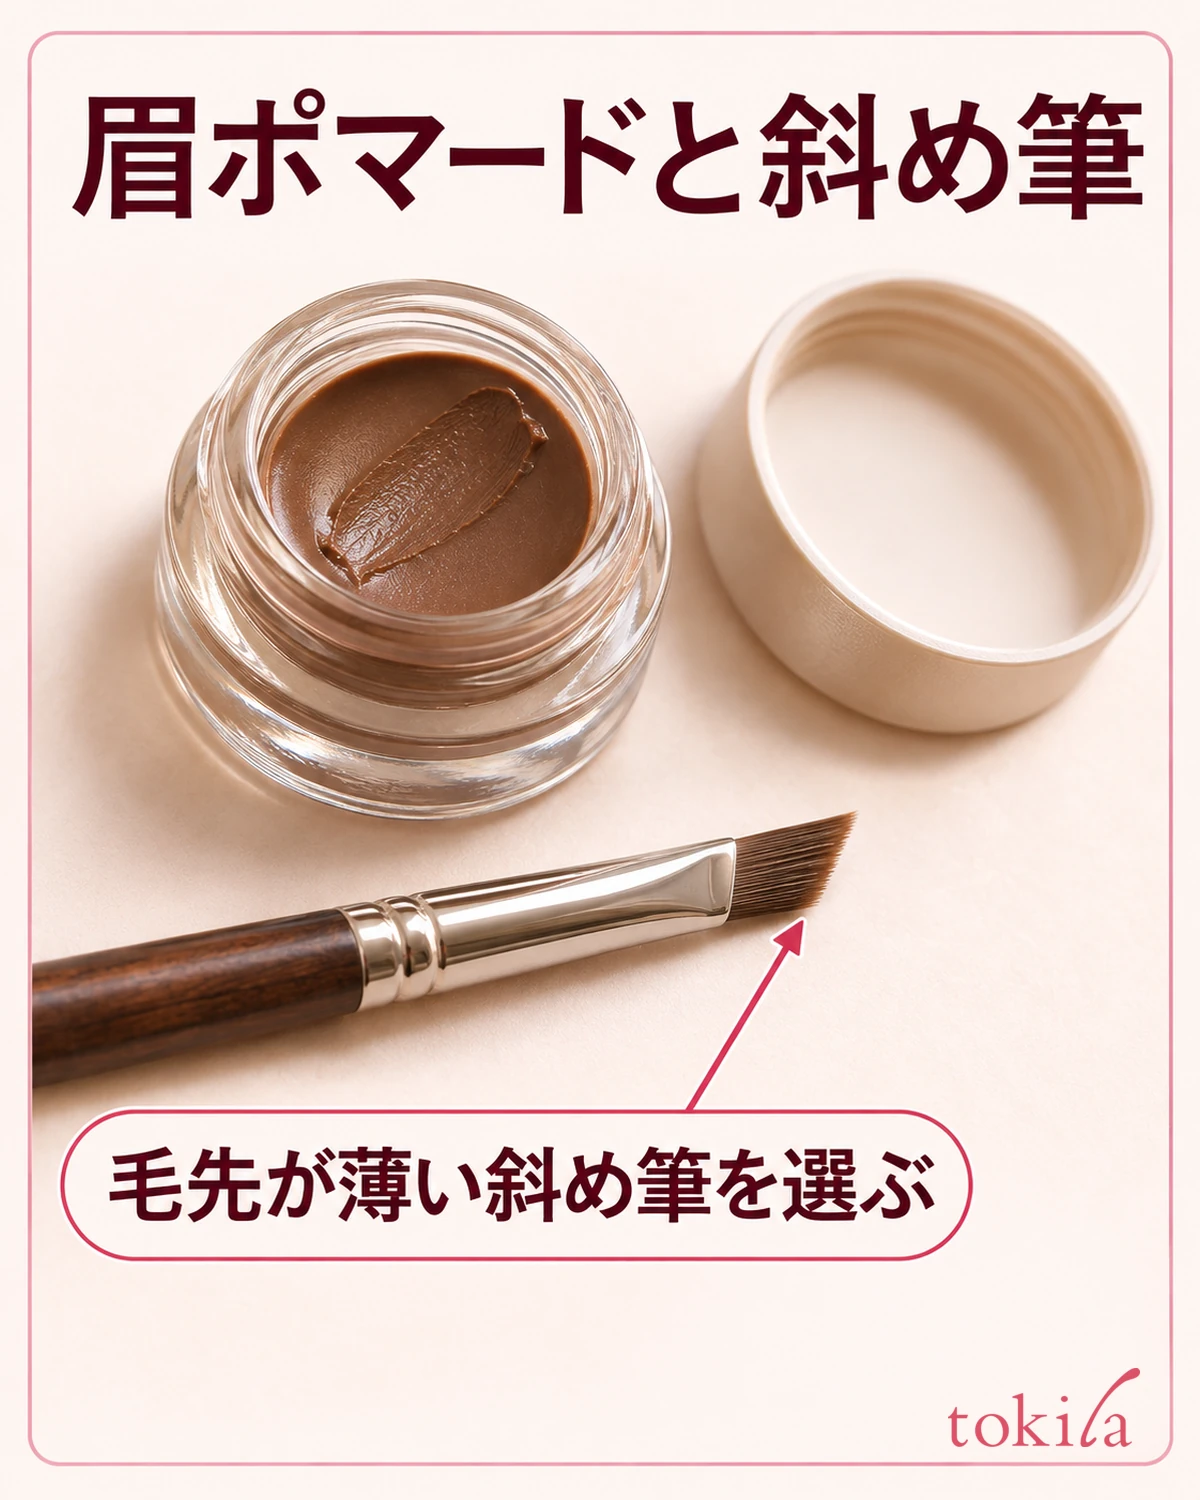
You open the compact to find a solid black surface, but a dry brush picks up almost no color. Before changing the shape of your brush, check the eyeliner directions. If the cake eyeliner calls for a water-dampened brush, dampen the tip, pick up color from the cake, and apply it around the eyes.
This guide covers solid eyeliner designed for use with water. Even if an eye product looks solid, don't use the same method with gel liner, eyeshadow, or a dried-out liquid liner. If your first line is faint, don't suddenly add more water. First check for color on the tip, then see whether the brush makes a line on the back of your hand.
Check whether your cake eyeliner is designed for use with water
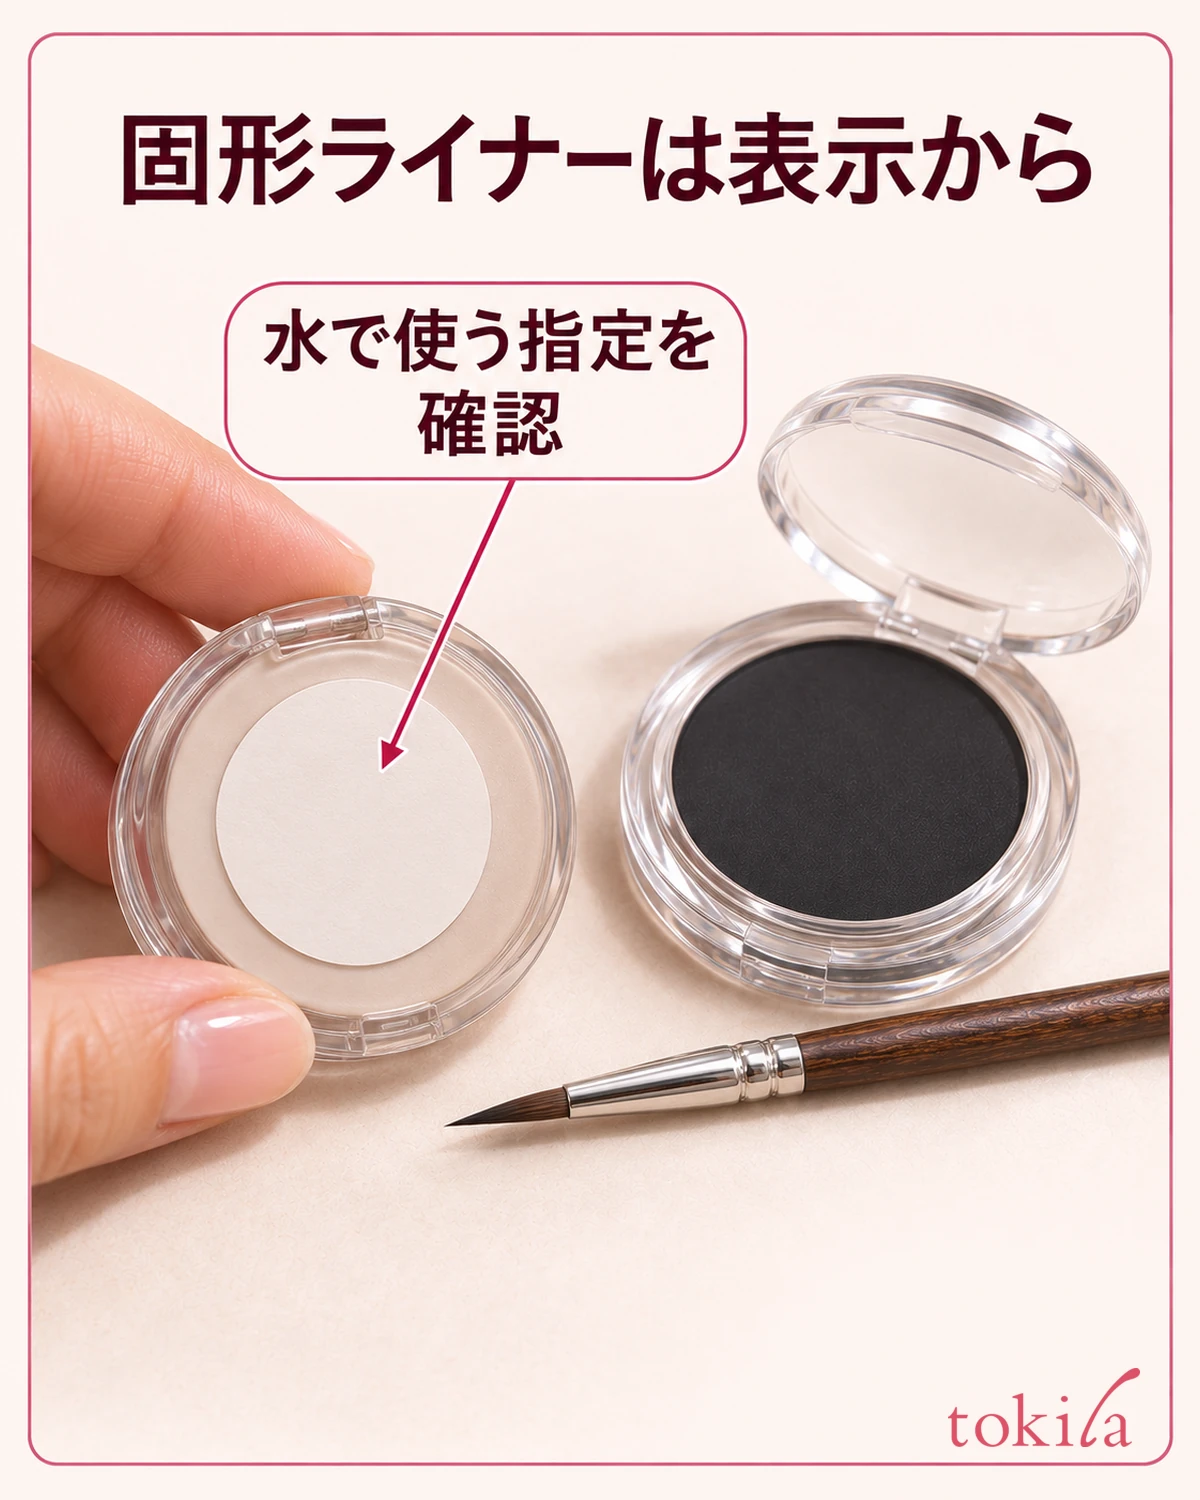
The top of the lid may not tell you how to use it. Check the back of the package or the box to see whether it's intended as eyeliner, what to dampen the brush with, and where around the eyes it can be used. Follow this method if the directions specify water. If they call for a special mixing liquid, follow the product's instructions instead.
If the products look alike, check both the label and the texture: is it a dry cake, or a gel that a brush can pick up straight away? Don't add water to dried gel or mix eyeshadow with water on your own just because it looks solid. A liquid product that used to flow but no longer does is different from a cake that was designed for use with water.
If you have several brushes, start with a clean eye brush. A fine brush with a neat point is a manageable starting place for trying a thin line. With an angled brush, use the corner with the longest bristles to try a fine line. If you're unsure about the shape, see how to tell eyeliner brush shapes apart and compare the tips.
When shopping in store or online, go beyond the word “cake” in the name and read the directions on the packaging or product listing. Check whether the fine brush you already own will work and whether you need another tool or liquid. That way you know how to get started after buying it.
Dampen the brush tip so it doesn't drip
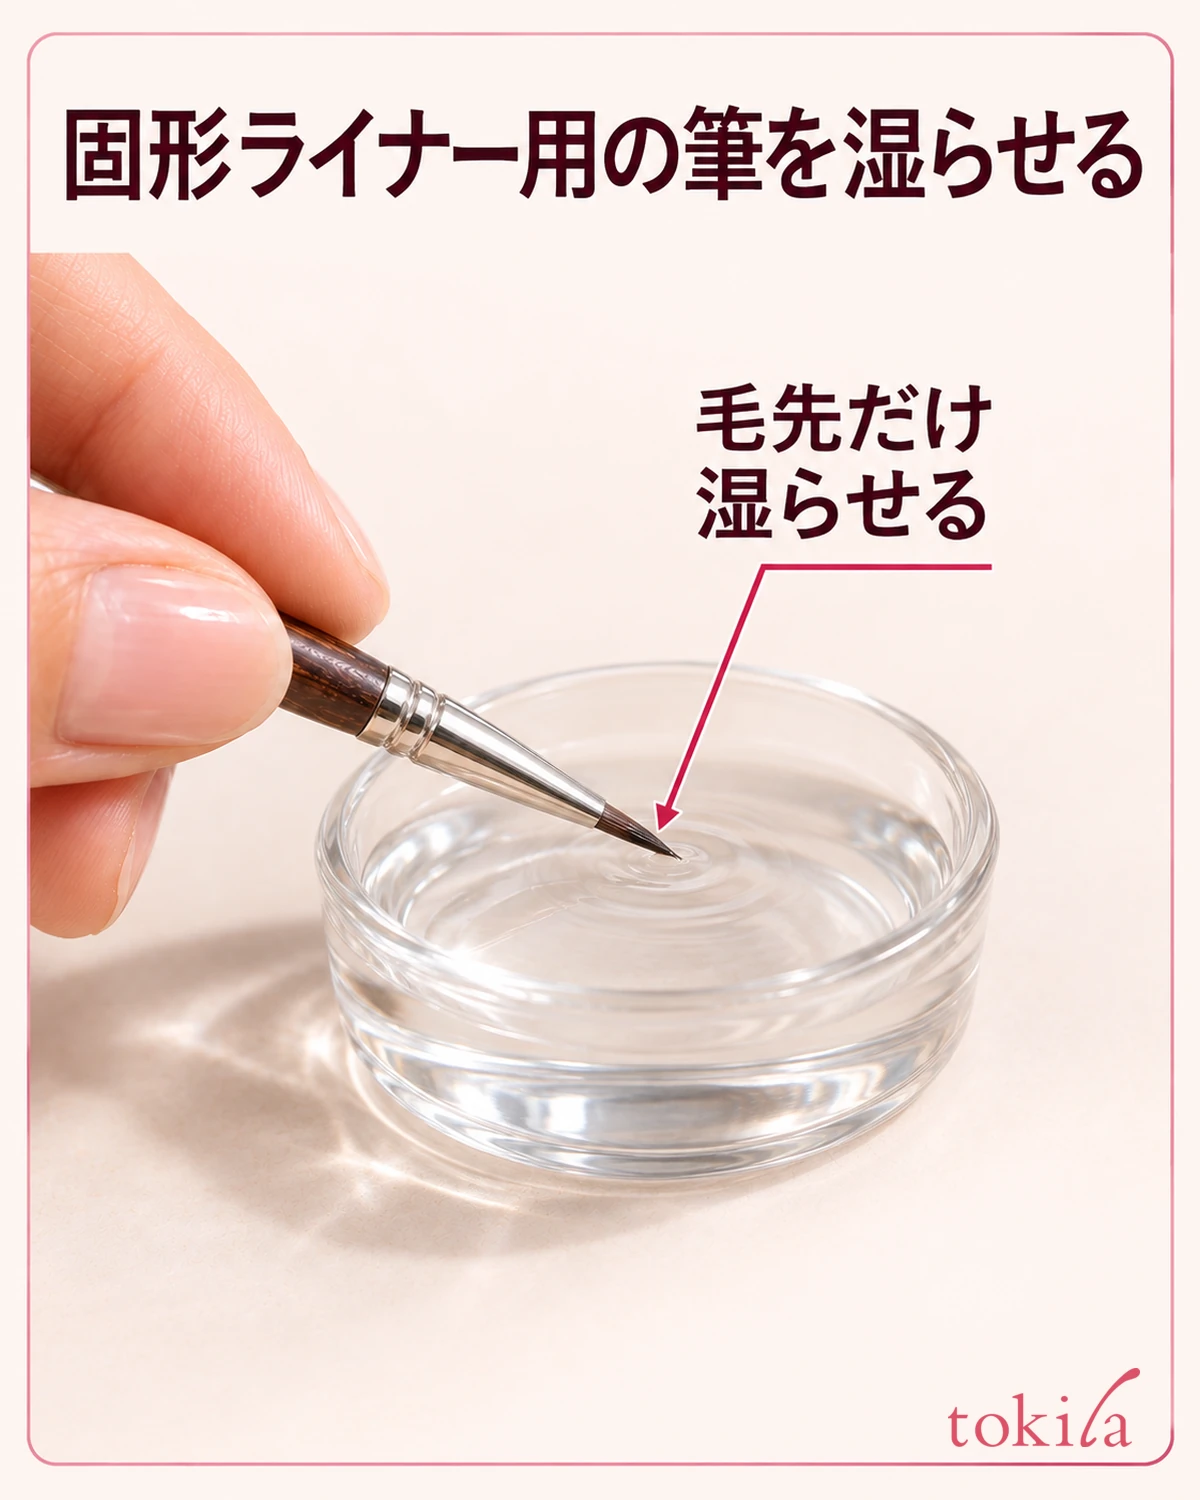
Put clean water into a small dish and touch only the bristles of your fine brush to it. There's no need to immerse the metal ferrule that connects the bristles and handle. If a round droplet hangs from the tip when you lift it, lightly transfer the excess onto a tissue before touching the cake.
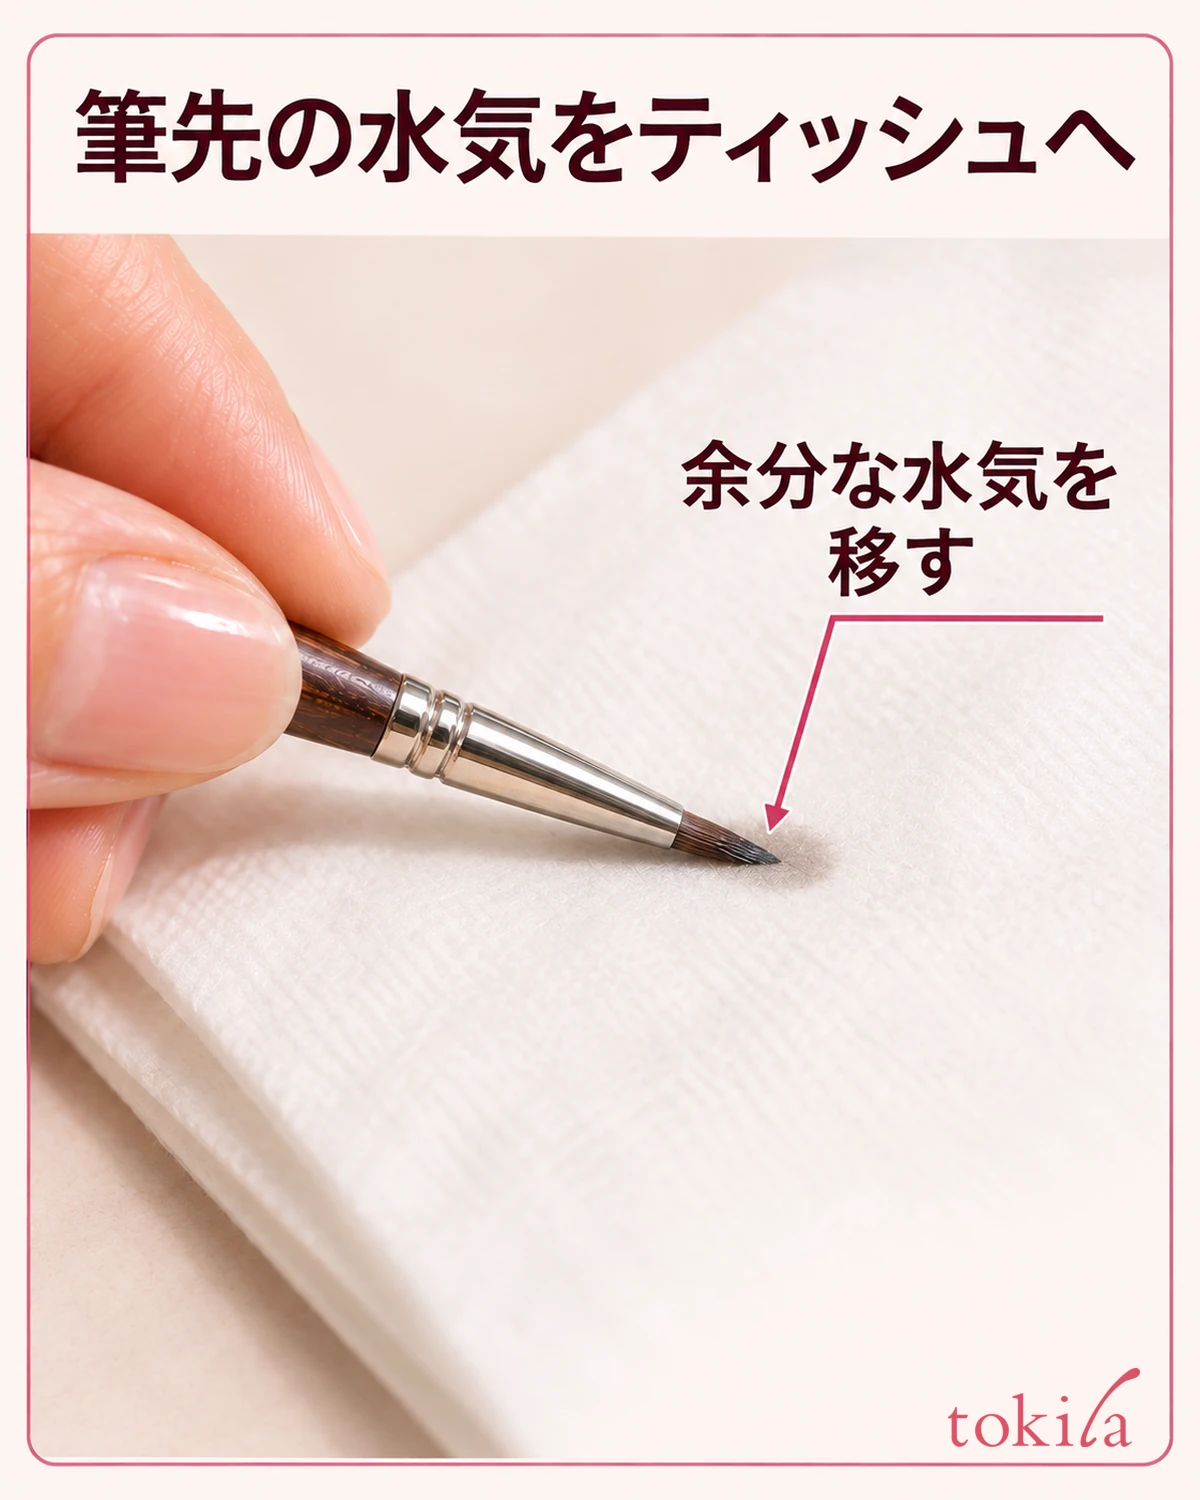
After touching the tissue, the bristles should still be damp, but there should be no hanging droplet. The idea is not to press hard several times and dry the brush. Instead of laying the brush flat and rubbing, lightly touch just the tip where you see the droplet to adjust the moisture without changing the shape.
Checking the bristles right after lifting the brush out of the water is easier than measuring the water. If no droplet is visible, you don't have to use the tissue each time. If droplets keep forming, try dipping less of the bristle length next time before blotting the brush more often.
If the instructions call for dampening the brush first, start with the water held in the bristles rather than pouring water into the container and wetting the entire cake. If you set the brush down while working, keep its tip away from the sink or other cosmetics so you can easily pick it back up.
Pick up color from the cake with the damp brush
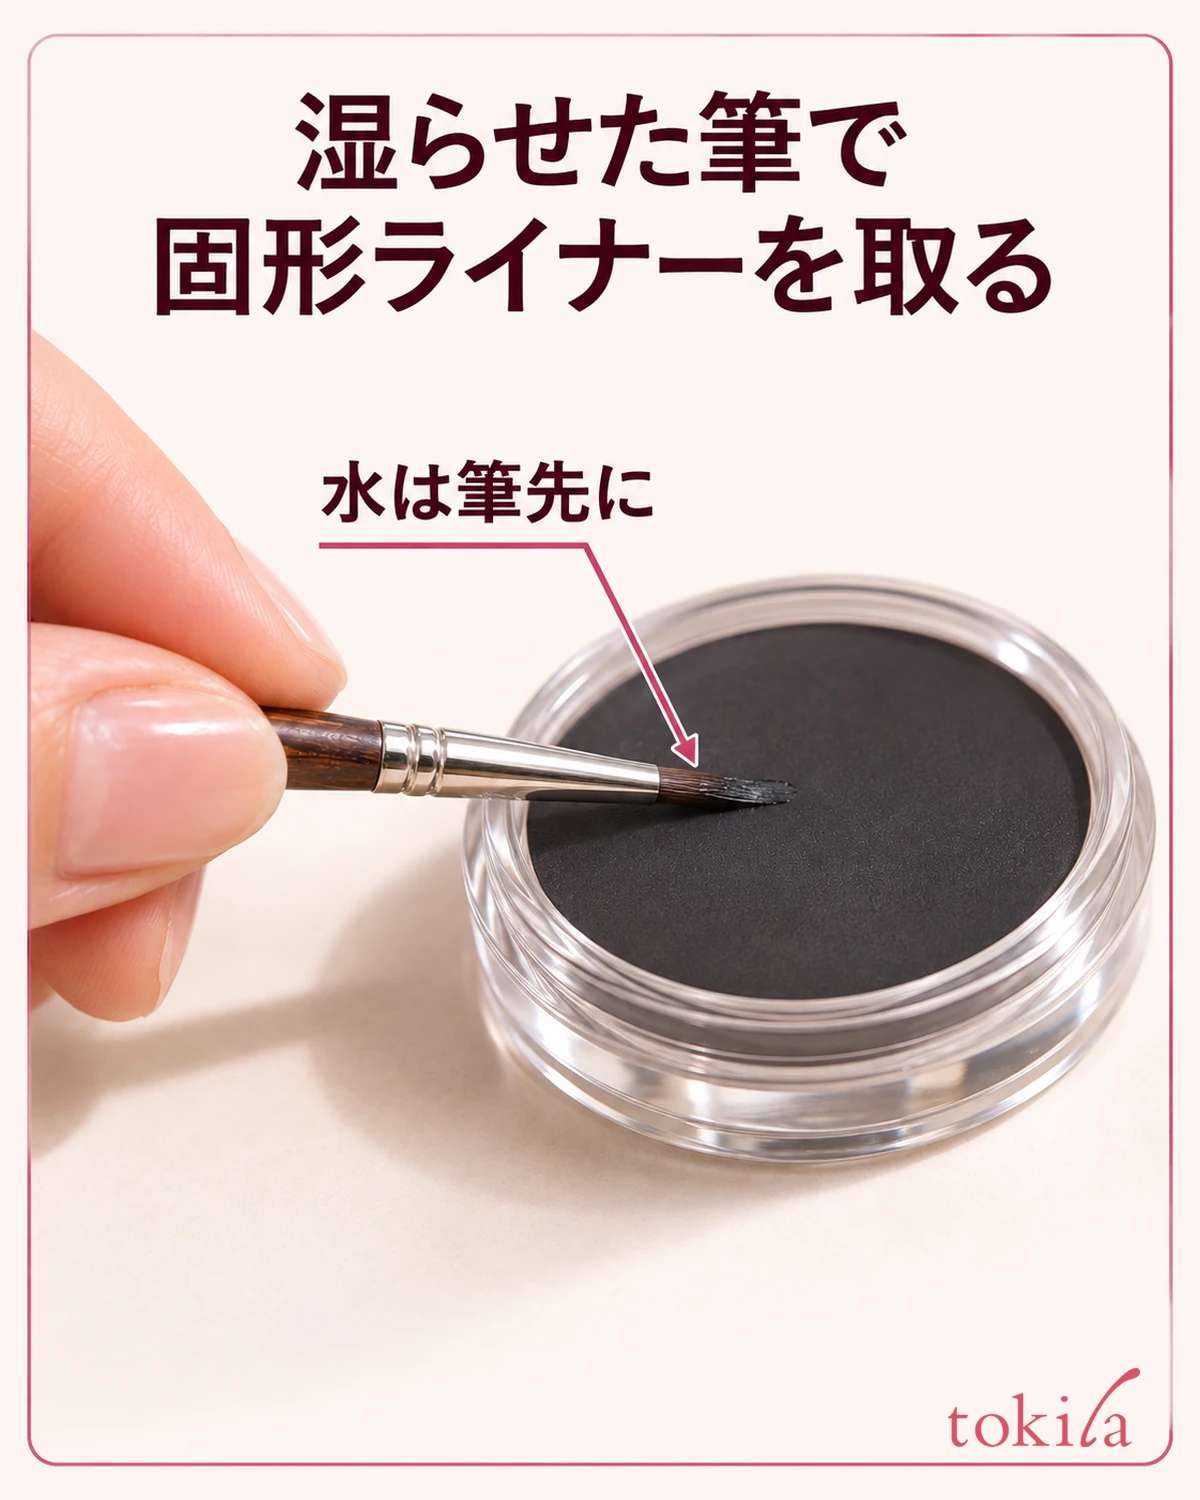
Touch a small area of the cake with the damp bristles and gently move across it in a short stroke. Pick up the color once the water mixes with it to form a creamy consistency the tip can handle. You don't need to turn the entire cake into that texture. Keep the color near the drawing tip rather than coating the brush up to the ferrule.
Look at the tip from the side. If the color sits mostly on one side, turn the bristles in the same spot to transfer a little to the side you'll draw with. If there's a thick clump, lightly smooth it out so the fine point shows. If the bristles disappear under the clump and you're pressing that clump onto the skin, even a very fine brush will make it hard to place the end of the line.
What you do next depends on whether the brush has dried and is just rubbing the cake, or whether it's still damp but hasn't picked up enough color. In the first case, dampen the bristles again and start once the brush no longer drips. In the second, pick up a little more color without changing the moisture. Adding both water and color at once makes it harder to tell which adjustment changed the line.
Test on the back of your hand, then make short strokes outside the upper lashes
Before moving to the eye area, draw a single short line on the clean, dry back of your hand. Look beyond how dark it is: does the starting dot stay neat, does the line continue without a break, and does it end where you lift the brush? The hand test shows how much color transfers from the brush now; it doesn't compare color payoff or wear with the eye area.
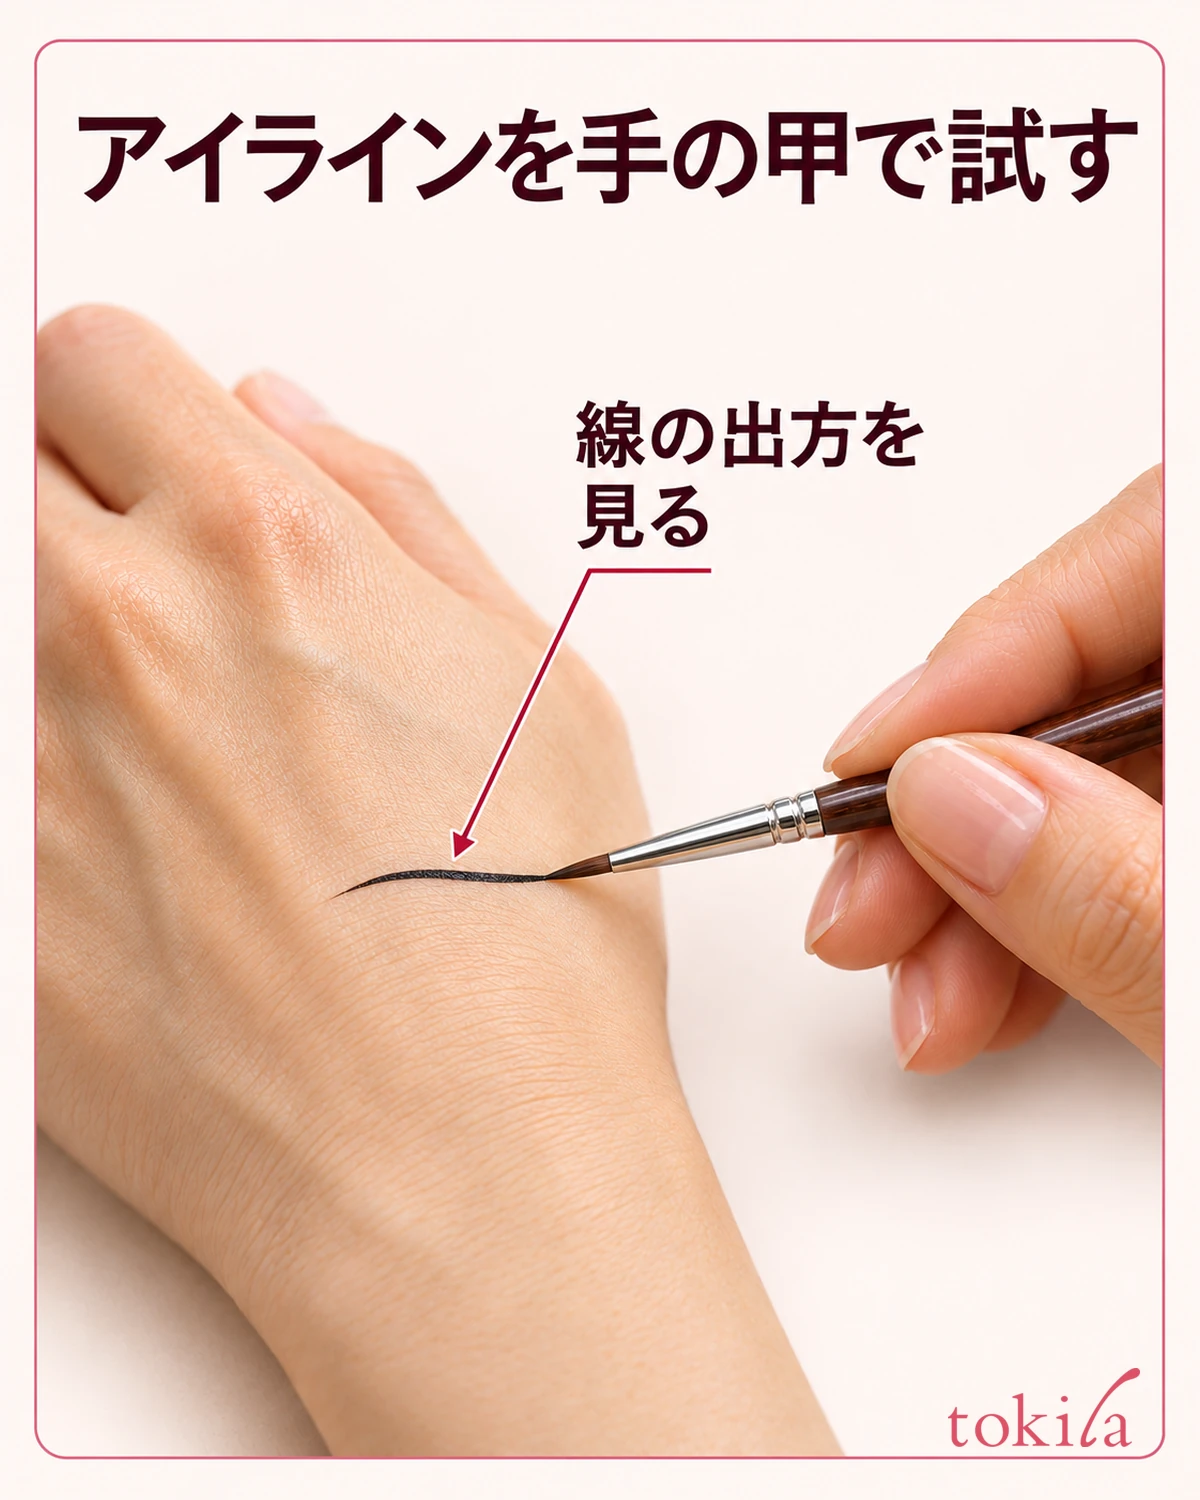
If only the start of the line rounds out, look at the tip from the side for excess liquid or clumps. If it skips only at the end, see whether it still skips when you draw a shorter line instead of drawing one long stroke from start to finish. Looking at whether the problem is at the start, the end, or all along the line helps you decide whether to tidy the point or pick up more color.
After testing on your hand, there'll be less color on the brush. Reload a little as needed rather than going straight into a long line. If you want a stroke similar to the short test line, start with a similar brush angle and light touch so it's easier to see where any change occurs.
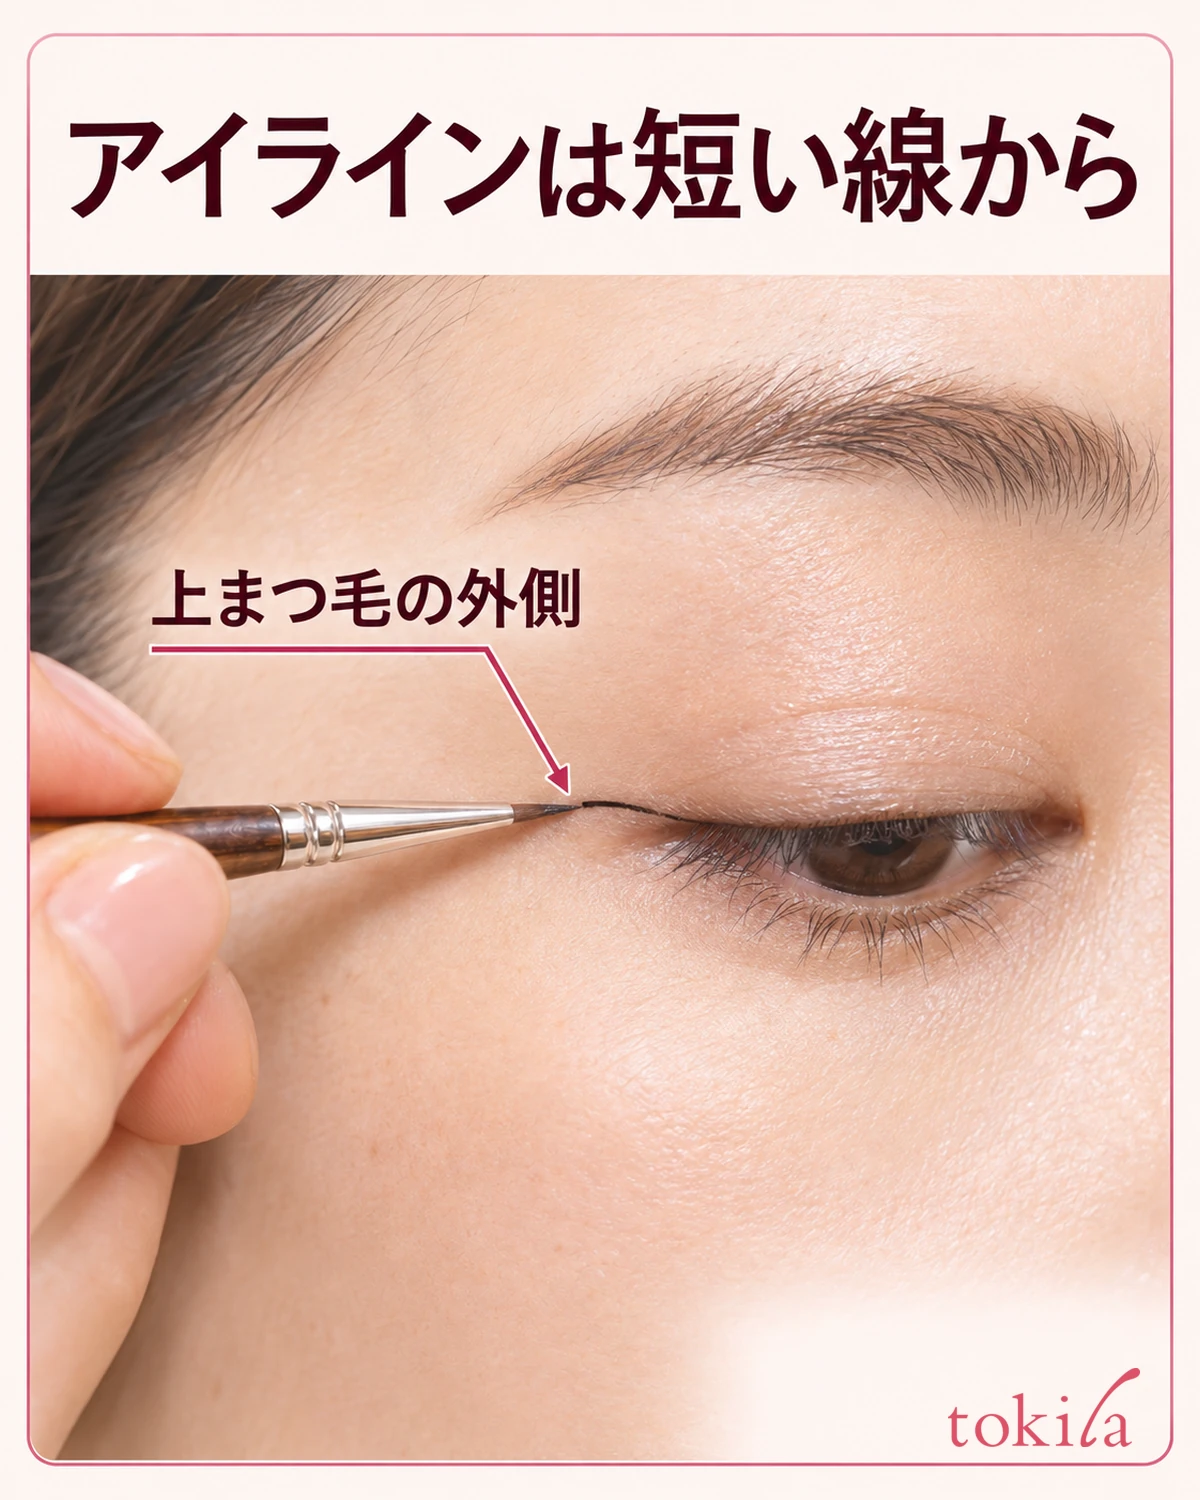
Set the mirror where it won't move, lower your gaze a little, and look at the skin on the upper lid. Touch the tip to the skin outside the upper eyelashes, keeping it away from the inside of the eye and the mucous membranes. Start with a short stroke where it's easy to place, then connect it where needed rather than going from the inner to the outer corner at once. Repeatedly tracing right over a fresh line can widen areas you wanted to keep fine. Move your face slightly away from the mirror and look only for gaps.
If the line is faint or bleeds, adjust the brush before adding more around the eye
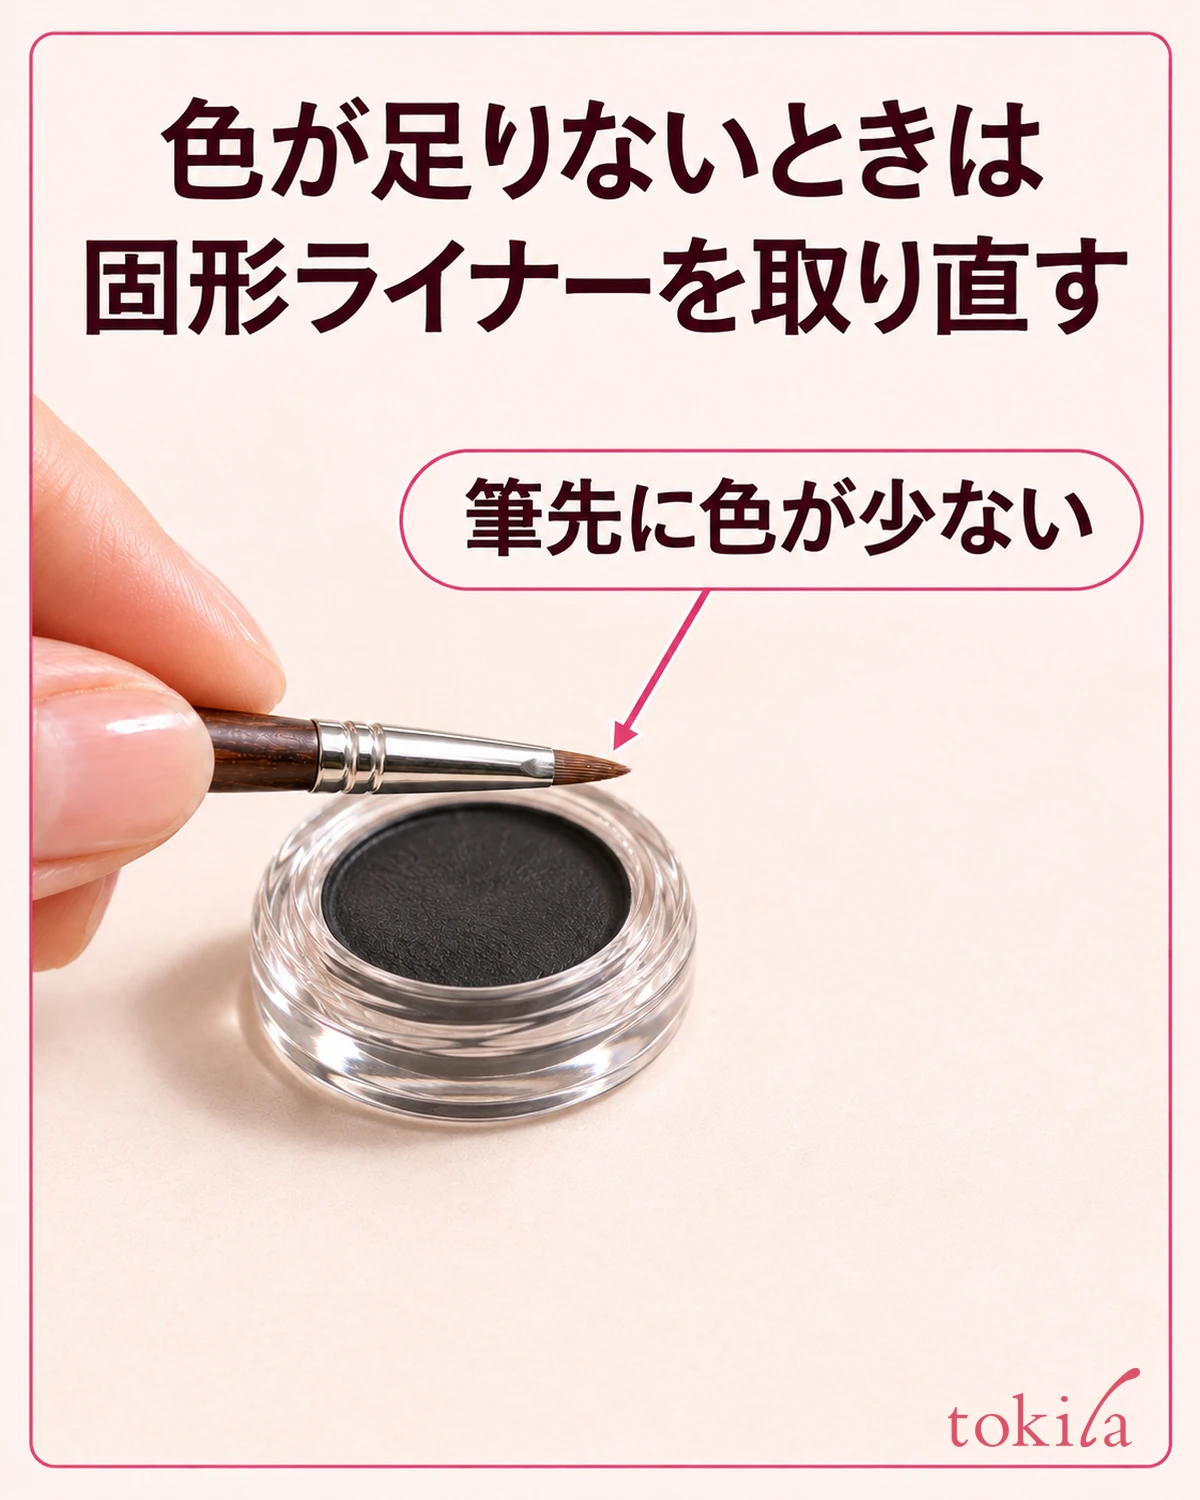
If the test line is faint, look at the bristles first. If you see hardly any color, pick up a little from the cake at a time without changing how damp the brush is. If water beads and the color spreads thinly on the tip or in the test line, take off excess water from the tip before picking up more. If dry bristles touch down and the line skips, go back to dampening the tip.
If the test line is even but the line breaks partway across the eye, check whether you ran out of color while trying to draw too long a line in one go. Work in short sections and check the brush before drawing more. If one part gets too thick, pick out the one place you want to fix in the mirror before widening the rest to match. If the color is still movable, don't rub a broad area; adjust only what needs it using the appropriate removal method for the product.
The first time you use it, change one thing on your next stroke. For example, if a line bleeds, reduce only the droplet on the tip and retest with a short stroke, rather than changing moisture, color, and pressure all at once. If it seems to dry quickly, reconsider the order of your steps between picking up the color and beginning to draw before adding a liquid the product doesn't specify.
Removal and wear vary even among water-activated products. Don't assume water alone will remove it just because water was used to pick it up; follow the removal instructions. After use, check the care directions for both the product and the brush. Next time, start by checking the cake surface and making sure the brush tip is clean.