With a two-part carbonated gel mask, you combine the two contents just before applying them to your face. Some require a cup; others can be mixed in their pouch. Mixing time and removal vary by product, so read the instructions all the way through before opening it. That way you won't have to stop midway after mixing.
Start by checking three things: where to mix, how long you have to apply the mask after you start mixing, and how to take it off. Rather than judging by how much it foams, follow the directions for your mask one step at a time.
1. Match the two parts and lay out your tools before opening
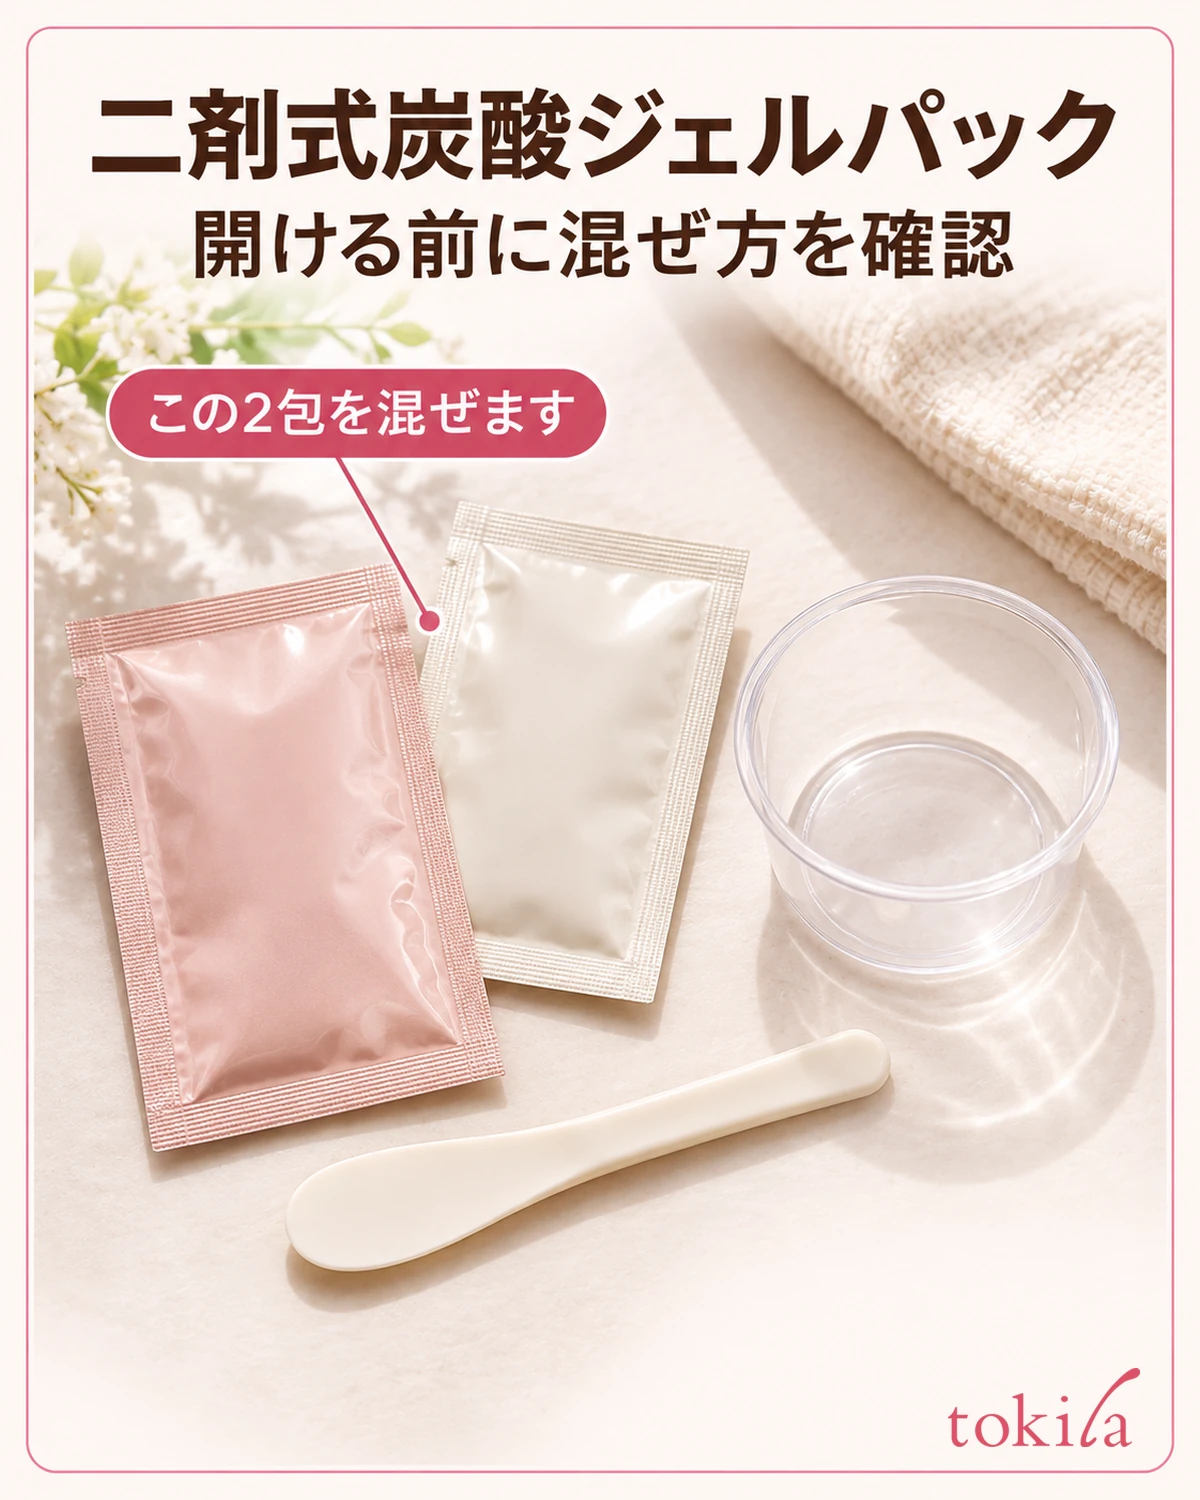
Match the "Part 1" and "Part 2" labels on the box or in the instructions with the pair needed for one application. Some products combine gel and powder; others use two gels. Don't judge the contents by the size or color of the sachet. Choose both parts from the same product set.
If a cup and spatula are specified, put them on a stable spot by the sink. Refills and repeat-purchase packs sometimes omit the cup, so check as soon as you open the box whether you can use the tools you have. If the directions give a capacity for an alternative container, check that requirement. For a product that expands when mixed, a container that only just holds the unmixed contents may be too small.
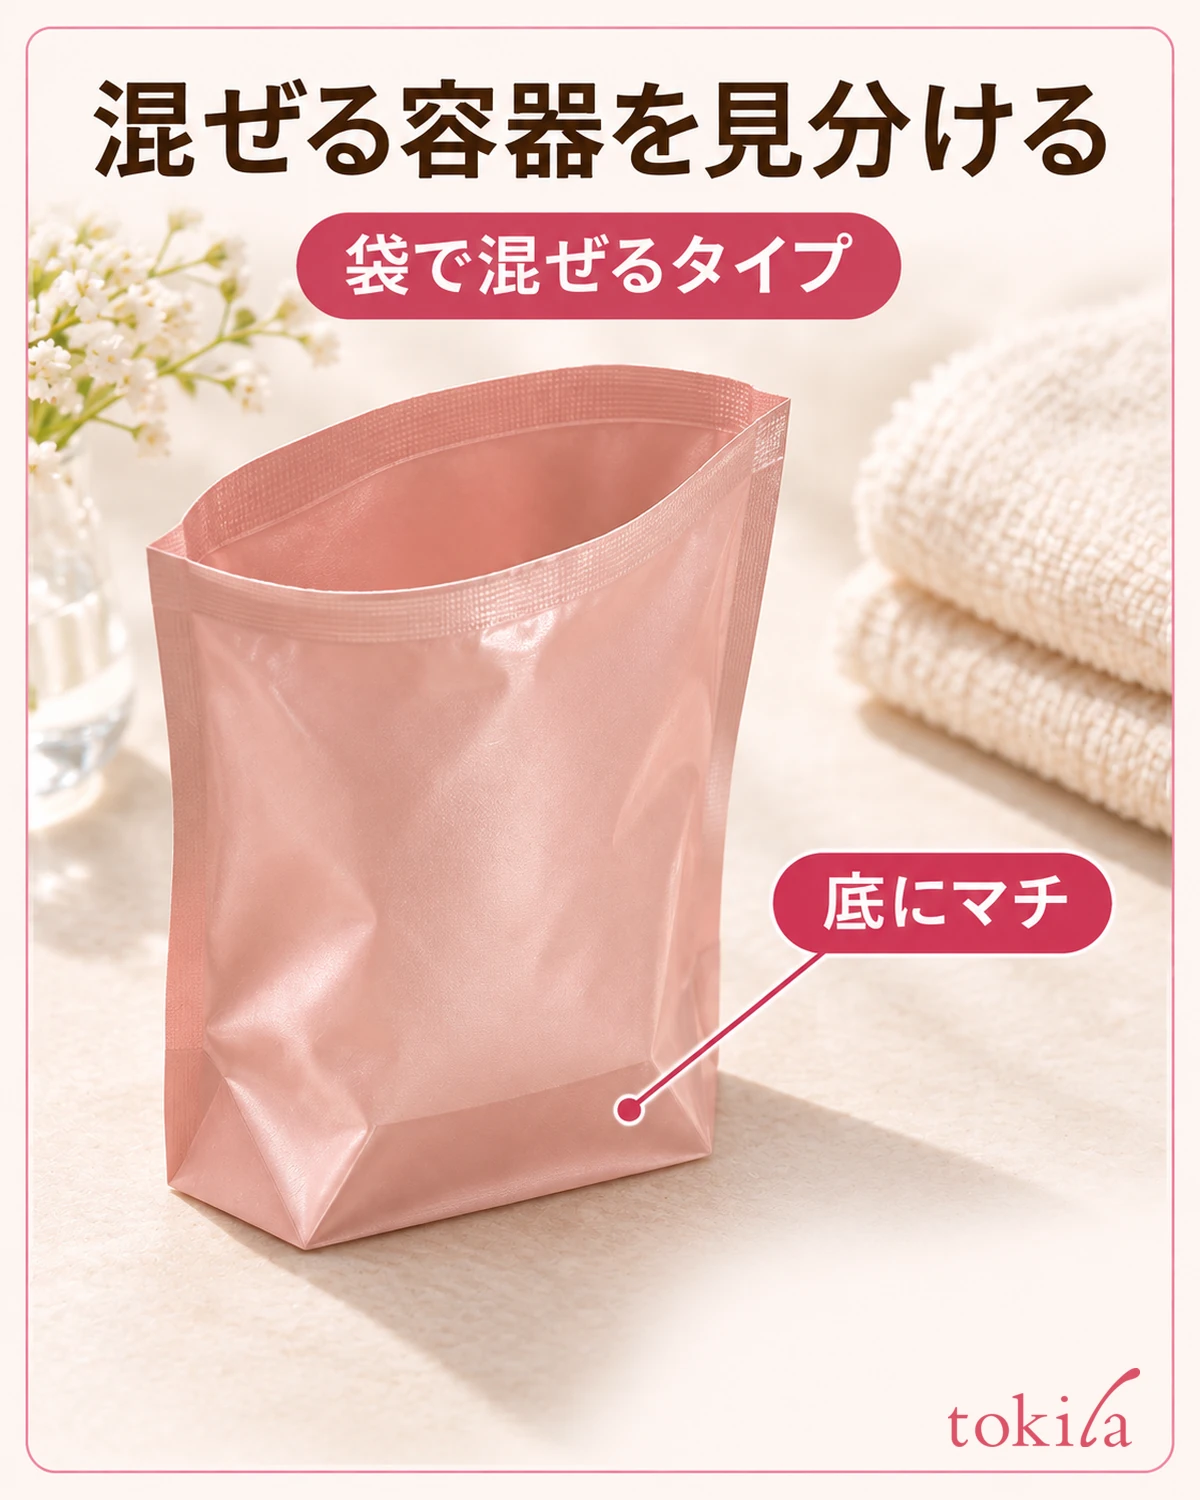
Some products use the gel pouch itself as the mixing container. Even if the bottom expands to let it stand, don't assume you can mix in it from its appearance. Check whether the directions say to add the other part to the pouch.
If the mask is meant to go on after cleansing, wash your face first, move your hair out of the way, and prepare your skin as directed. Keep a mirror and something to tell the time within reach. Read the mixing time and the time the mask should stay on as separate instructions so it's clear when to check the clock.
If a single application comes in one pouch with separate compartments, check the directions to see which side to dispense from. Check what constitutes a full dose for that package so you don't dispense only one side and throw the rest away thinking the two parts come in separate pouches.
2. Transfer both parts for one application to the designated container
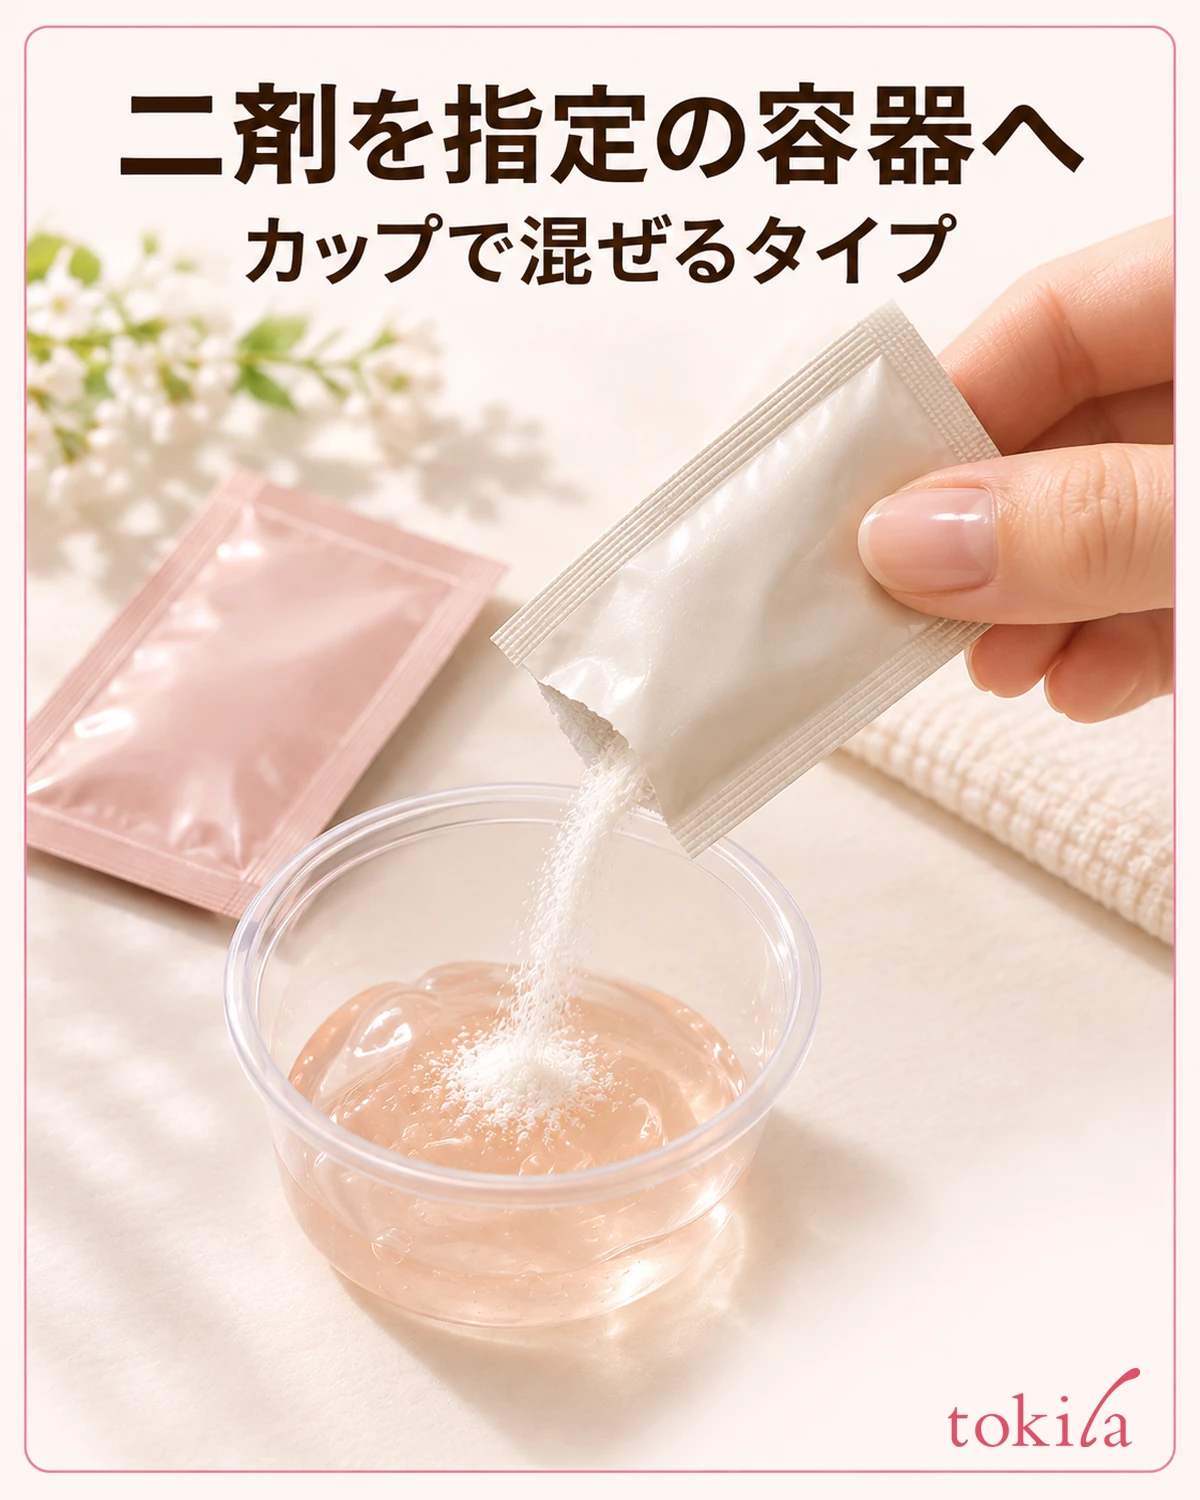
Open the packets only when you're ready to apply the mask as soon as it's mixed. If there is an order for adding the parts, open them in that order. If both pre-portioned sachets are meant to be used in full, combine them as directed rather than saving part of one or eyeballing half of each.
When transferring to a cup, hold the opening close above it and angle it so the contents fall inside. With powder especially, check first that the opening isn't past the rim. If material catches at the opening, check inside the pouch for anything left. Follow any instructions to loosen the contents before opening or transfer them with a spatula.
If the directions say to mix in the pouch, follow the stated preparation steps before adding the second part, such as moving the gel to the bottom and standing the pouch upright. If you start mixing one-handed before the open pouch is stable, it's harder to see where the contents are. Decide where to support the pouch before inserting the spatula.
If you spill one part and no longer have enough for one application, check the directions rather than guessing how much of the other part to leave out or adding water or another cosmetic. Don't plan to store it once mixed. If it's marked single-use, use it for the application you opened it for.
Powder and gel tend to stay behind in different places. Powder can collect in the bottom corners when the pouch is upright; thick gel tends to stick inside folds. Don't judge by what you can see at the opening. If you need the full contents, check that both pouches are empty before mixing.
3. Check the mixing time and what the mixture should look like
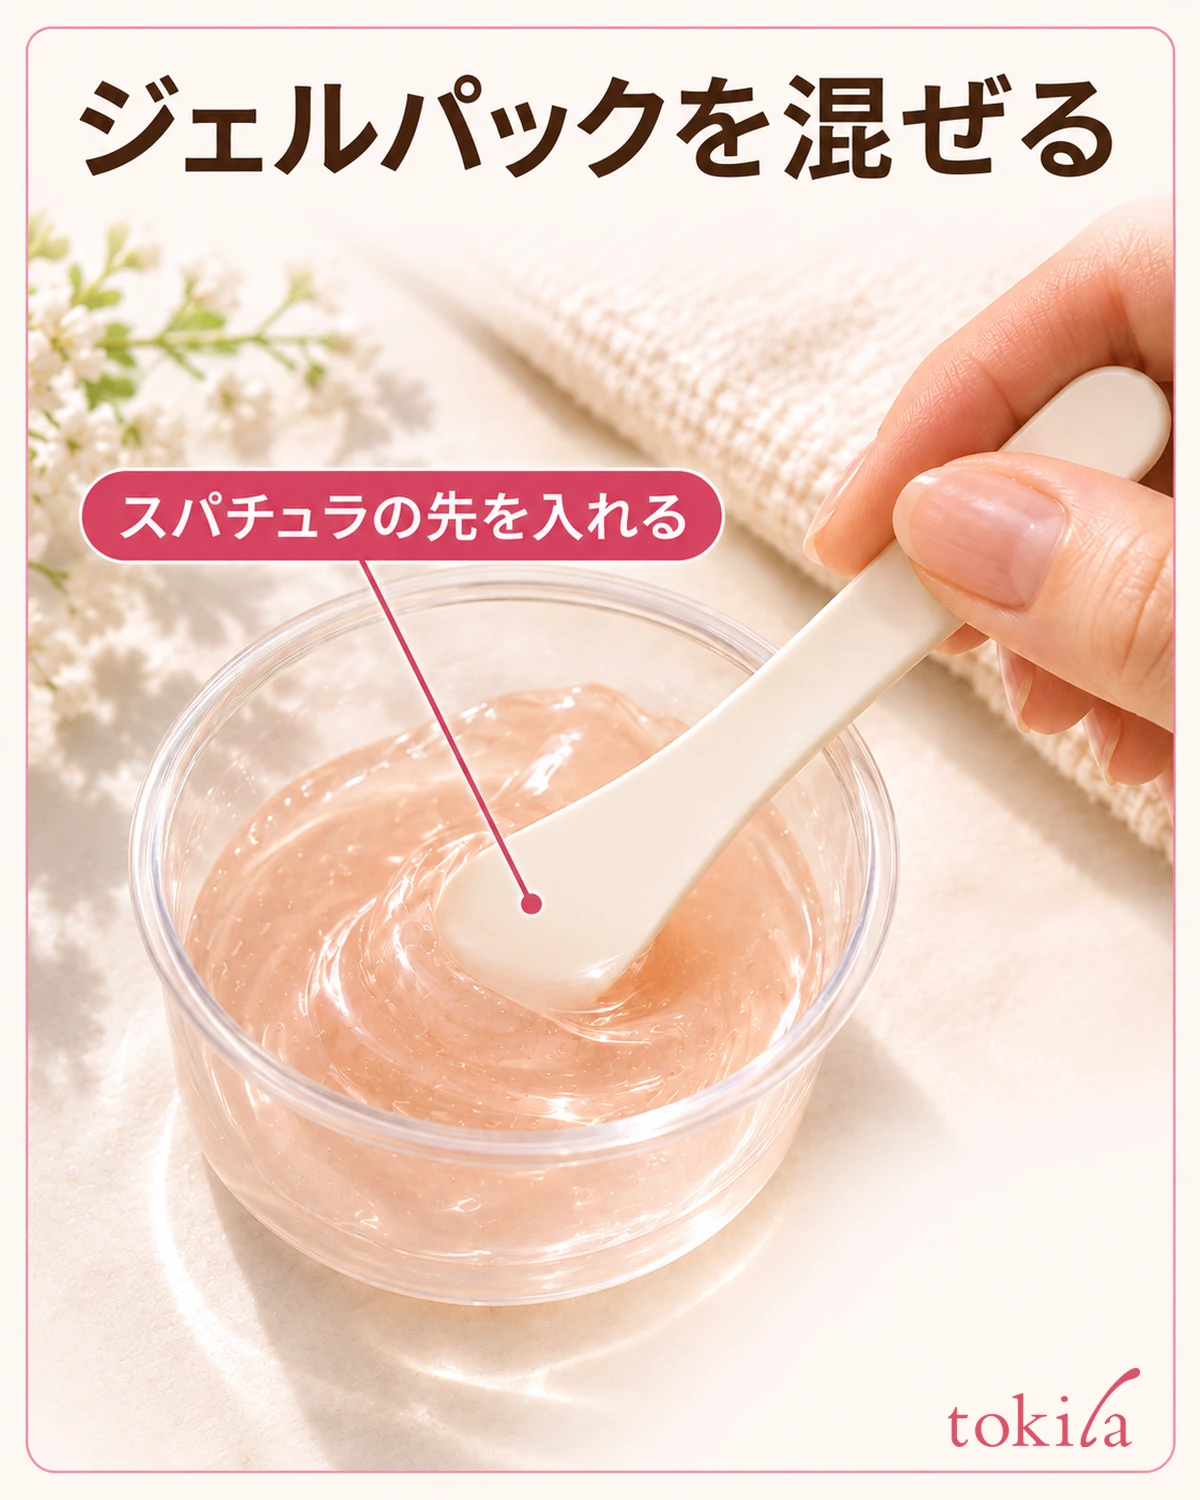
Put the spatula tip into the contents and mix for the time and in the manner described. Even among two-part masks, the recommended mixing time varies. If the instructions describe an endpoint such as "until uniform," check that before looking at the height of the foam. The amount of foam in a photo doesn't have to be your standard.
In a cup, the middle may look blended while powder or gel still clings to the wall. If the mixture is meant to be uniform, also look at the cup from the side for a band of material left on the inner wall. If you've been mixing mainly in the center, incorporate the material near the rim and bottom in the manner directed.
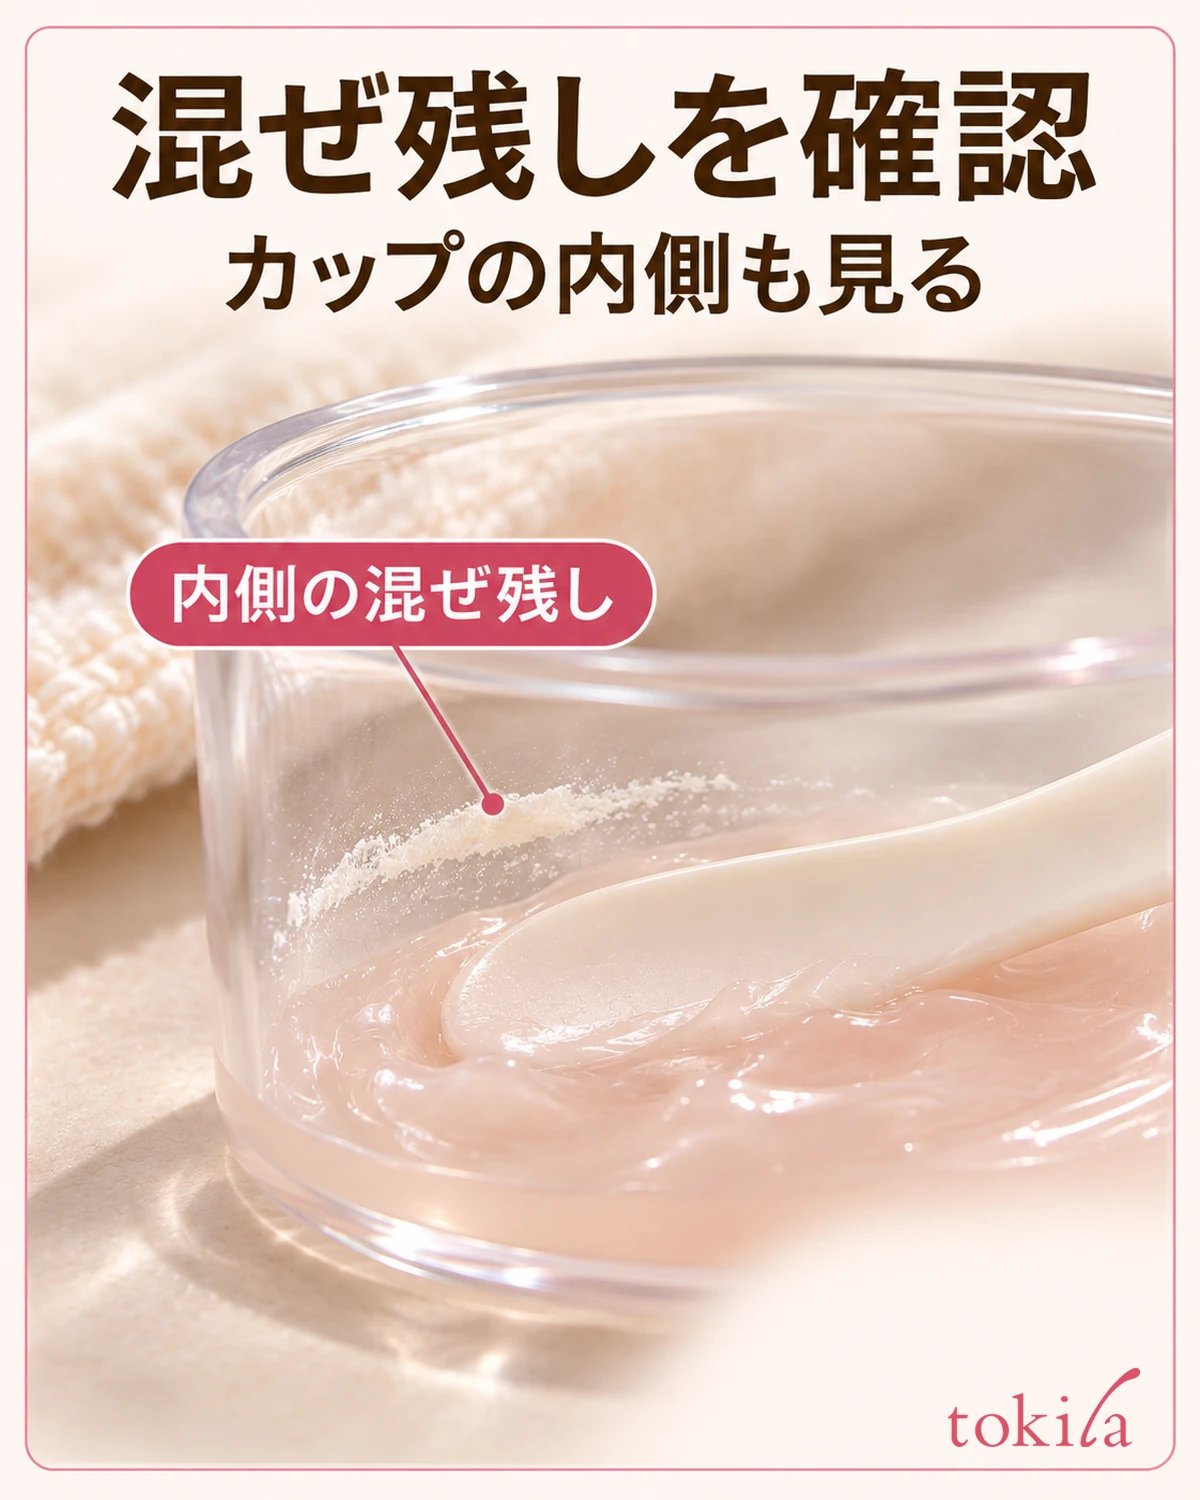
Some products naturally have visible particles, so their presence alone doesn't mean you've done it wrong. Distinguish the endpoint described in the instructions from unmixed powder or gel clinging inside the cup. If it has started to set and is hard to spread, check how much time has passed since you began mixing and reread the directions before trying to spread it with force.
Next time, put the clock where you can see it before you start, so you don't have to look for it while holding the spatula. You can also plan to check the time in one spot while mixing and another while waiting after applying it.
4. Apply within the designated area, then time how long it stays on
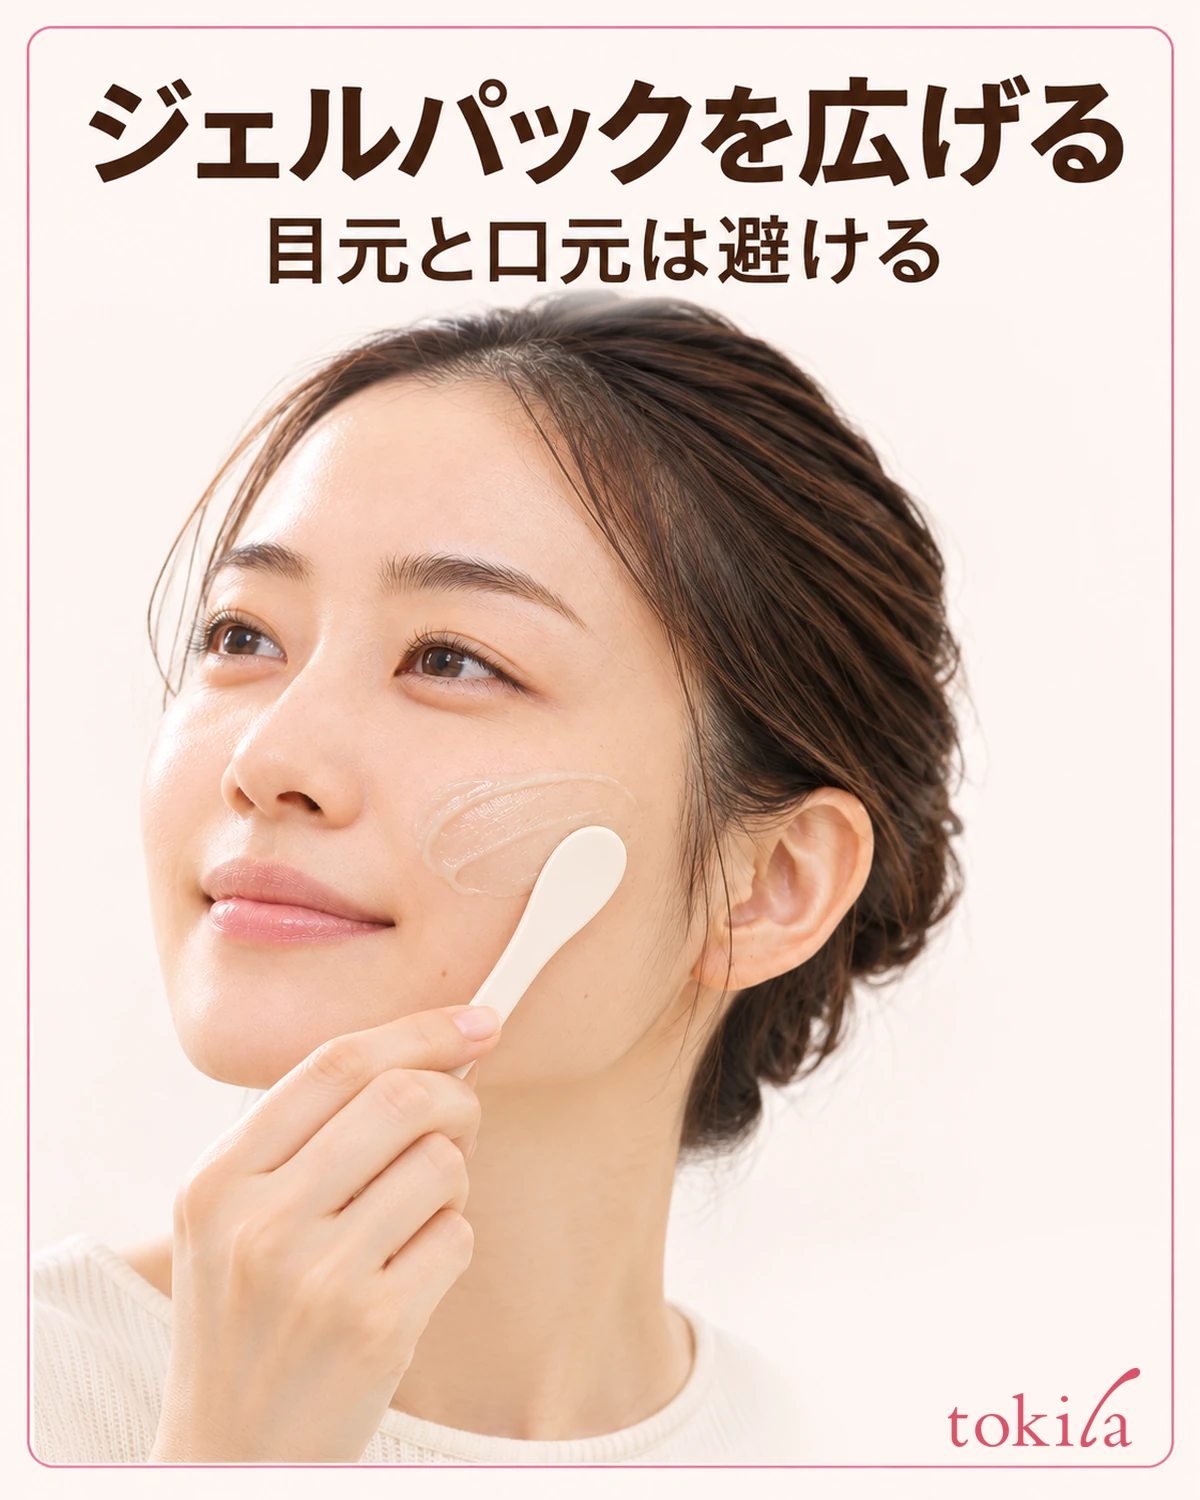
If the product gives a time limit from the start of mixing to the end of application, work within it. Putting your hair up or looking up the wait time after mixing uses up time before you can apply it. With your tools and mirror ready when you start mixing, you can move straight to the next step without setting down the spatula.
Follow the directions for where to apply, how thick a layer to use, and whether to use fingers or a spatula. If the instructions say to avoid the eyes and mouth, identify those areas in the mirror first and leave some space at the edges as you spread the gel. Check whether the product is for the face or for the face and neck, and don't extend it to areas not listed just because you have some left.
After application, check the wait time and the cue for removal. The cue for a mask you leave until it sets differs from that for soft gel you remove after a specified time. Don't use irritation or redness to judge the wait. If you notice anything unusual, stop using the product and follow its precautions.
For the next application, work out where you lost time: before mixing or during application. If you had to look for tools, laying them out first may be enough. If you weren't sure where to apply it, look at the intended area in the mirror in advance. Don't make up for lost time by shortening the mixing or waiting period on your own.
While you wait, set out what you'll need next. If you need to rinse, make sure you have a place to use water. If you need to peel, have something ready to catch the film. Think of this separately from preparing to mix so you don't have to start clearing the sink when it's time to remove the mask.
5. Check the instructions to see whether to rinse or peel
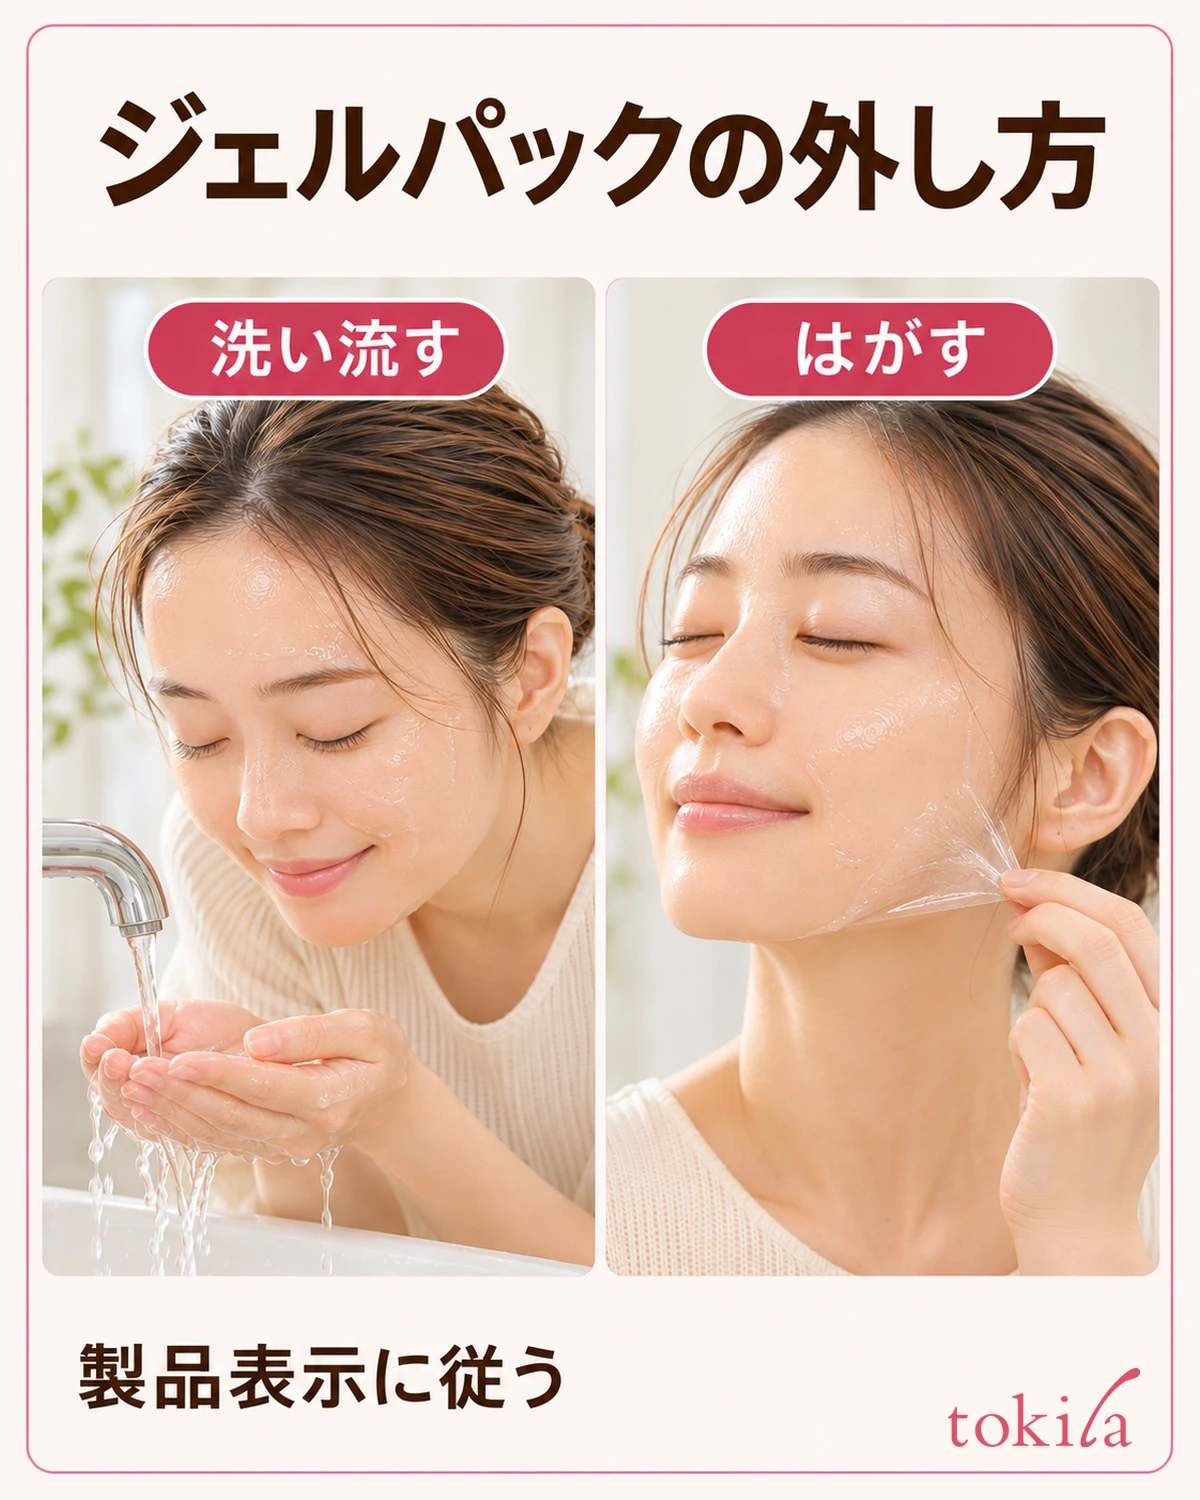
With a rinse-off product, the directions may say to gently remove most of the gel first with a spatula or damp towel and then rinse away the rest. If there are instructions for disposing of the collected gel, follow them. Gel you've removed in bulk may not be meant to go down the drain the same way as a thin residue on your face.
If the instructions say to peel away the set film, wait until it reaches the stated condition and lift the edge slowly. If some remains along a thinly coated edge, check whether to wipe or rinse it off rather than scraping with your nails. If you're unsure about peeling, see how to use a peel-off face mask while following the directions for your own product.
Once you've removed the mask, follow the directions for any skin care afterward. Before the next application, remember four things: cup or pouch, mixing time, when to finish applying, and how to remove it. If you switch to a similar mask, check those four points in the new instructions so you don't carry over the old product's routine.