
Even after layering powder blush, the color on your cheeks is hard to see. The color shows up in a mirror up close, but looks like it has vanished when you view your whole face. On such days, before you keep adding more powder, check in order whether the brush has picked up color, whether you are carrying it to your cheeks, and whether you are blending too widely.
This article is about how to reassess when the color across your cheeks looks faint right after applying. Rather than calling a soft finish a failure, it explains with 5 diagrams how to pick up, layer and stop when you want a little more color from the powder blush you already own.
1. Is the color really lacking? Look at your whole face under the same light
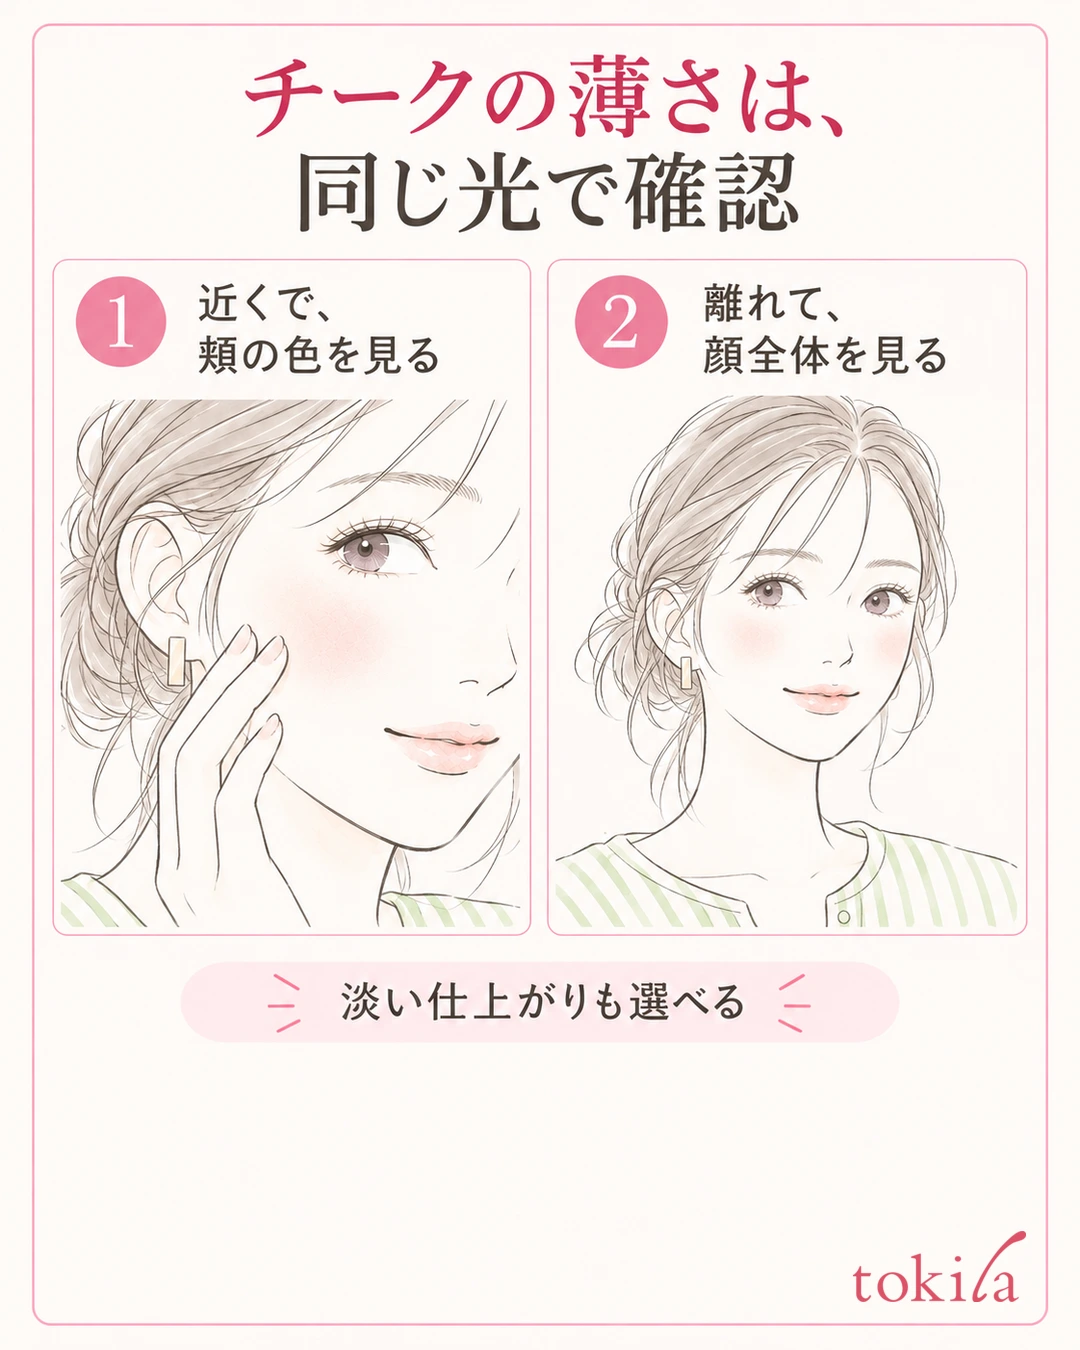
First, put the brush down and look at both cheeks together with your eyes and lips. The color you see when you lean close to the mirror does not need to show with the same strength from far away. Put into words the one thing you want to change: do you want to feel more color on your cheeks, or can you not tell whether it is on at all?
When you check, keep the direction of your face and the lighting the same. Take care not to mistake differences in conditions for a lack of color, such as facing a window with only one side, tilting the mirror a lot, or moving back and forth between the bathroom and a room again and again. First look straight on, then turn your face slightly to the left and right, and return.
With a blush that has pearl, look separately at the color seen straight on and the reflection when you turn your face to the side. If you add powder only to the shiny area because it looks faint, the color can look too strong from another angle. Here, also tell apart whether you want more shine or more color on your cheeks.
On days when you finish your lips in a deeper shade, subdued cheeks may suit your taste across the whole face. Before you finish your eyes and lips, do not decide the depth with the blush alone; start light, intending to check again at the end. For combining colors, matching lip and cheek colors may also help.
A faint color applied evenly is different from a state with colorless gaps and dense patches mixed together. If it is the latter, check how you load the powder and your base with how to reassess patchy blush. This time, the flow starts from a state where the whole looks soft and adds just a little of the color you need.
Smartphone photos can be used as a record, but do not decide how much powder to use from photos that have skin-smoothing retouching or color filters. Screen brightness also affects how things look. If it is close to your taste in the mirror, there is no need to layer more just to make it look deeper in photos.
2. Check whether the brush has picked up color before carrying it to your cheeks
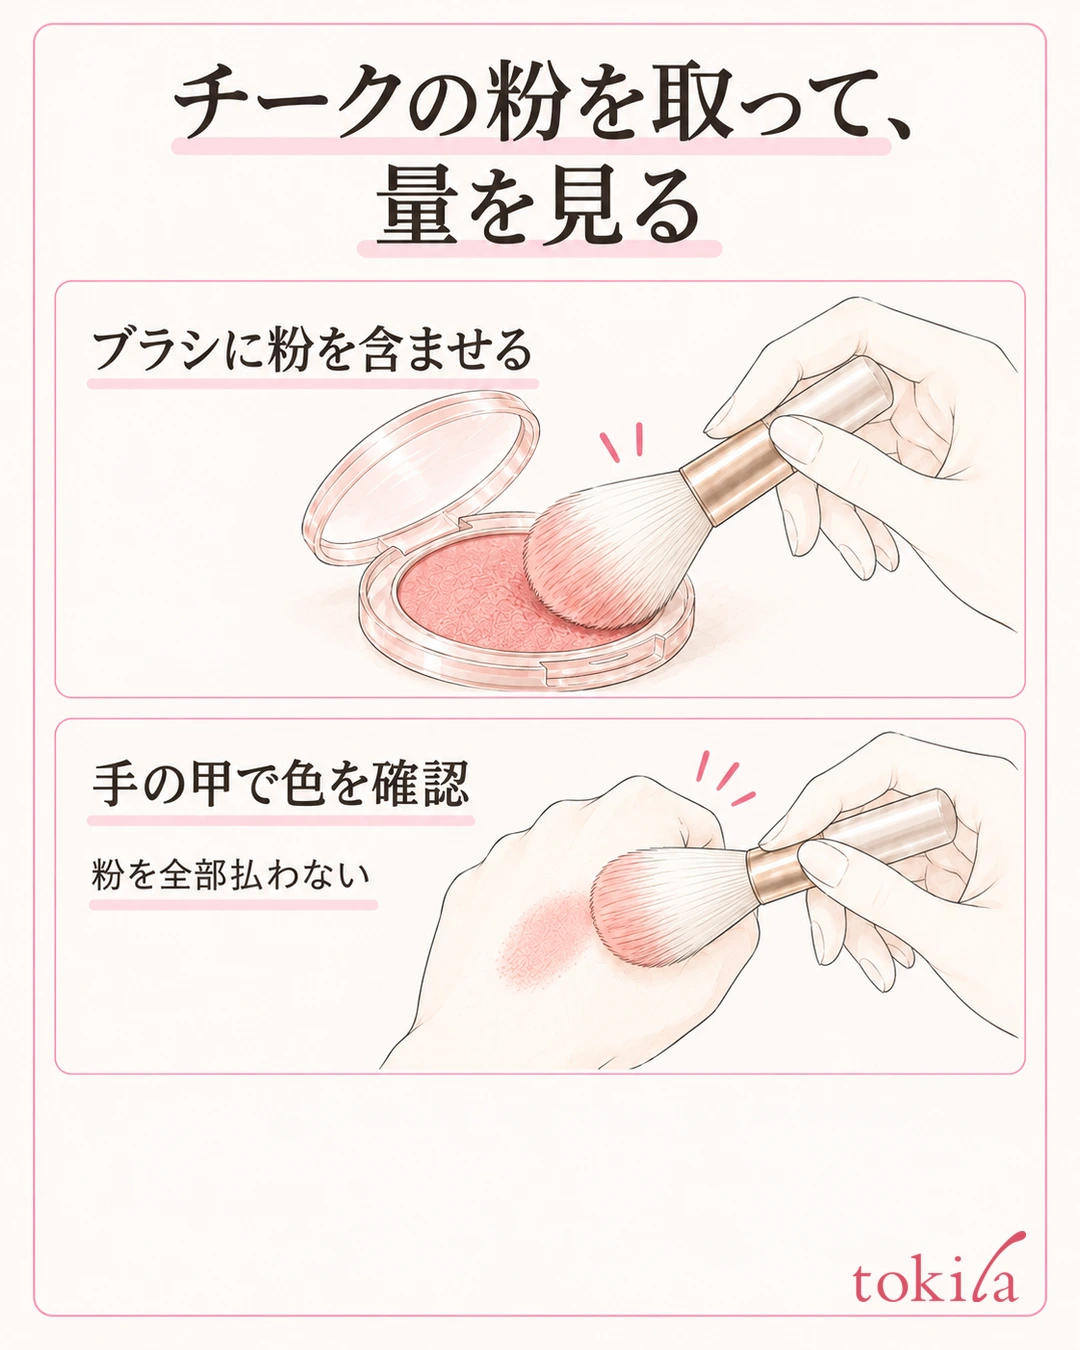
First, check the container or the product's instructions for the tools and the way to pick up the powder blush. Some products have a soft base that guides your finger and layer powder on top, so do not assume that every product is used the same way just because it looks solid. For multi-color palettes, also read the instructions on which colors to take and in what order.
Do not stop after touching only a tiny part of the bristle tips; load powder onto the surface you will use. Think of this separately from pressing the brush hard enough to dig into the container, or releasing a large amount of powder at once.
Next, check how the color goes on, using a clean spot such as the back of your hand. The back of your hand is a place to see how much color is coming off the brush right now. It is not a place to judge that it will match the finished color on your cheeks.
In the name of adjusting the amount, are you flicking the brush hard on a tissue again and again? If almost no powder is left, little color gets carried to your cheeks. This time, keep in mind to "check once after picking up," and go to your cheeks after confirming the color shows. Do not treat flicking the same number of times every time as the standard for the right amount.
If almost no color comes off even on the back of your hand, reassess the combination of brush and blush before you keep rubbing your cheeks. If the bristles are wet, bunched together with other cosmetics, or you are using a tool that does not suit the product, fix those conditions. Do not judge a brush by its size alone; include the accessory that comes with the product among your options.
Dirt on a tool is not solved by picking up more powder. Follow the manufacturer's instructions for care, and after washing, dry it as instructed before use. If you are unsure how to wash it, also check caring for brushes and sponges. Avoid changes of your own, such as scraping the surface of the powder or adding water to the container.
3. Place color lightly where you want it to show, and lift the brush once before spreading
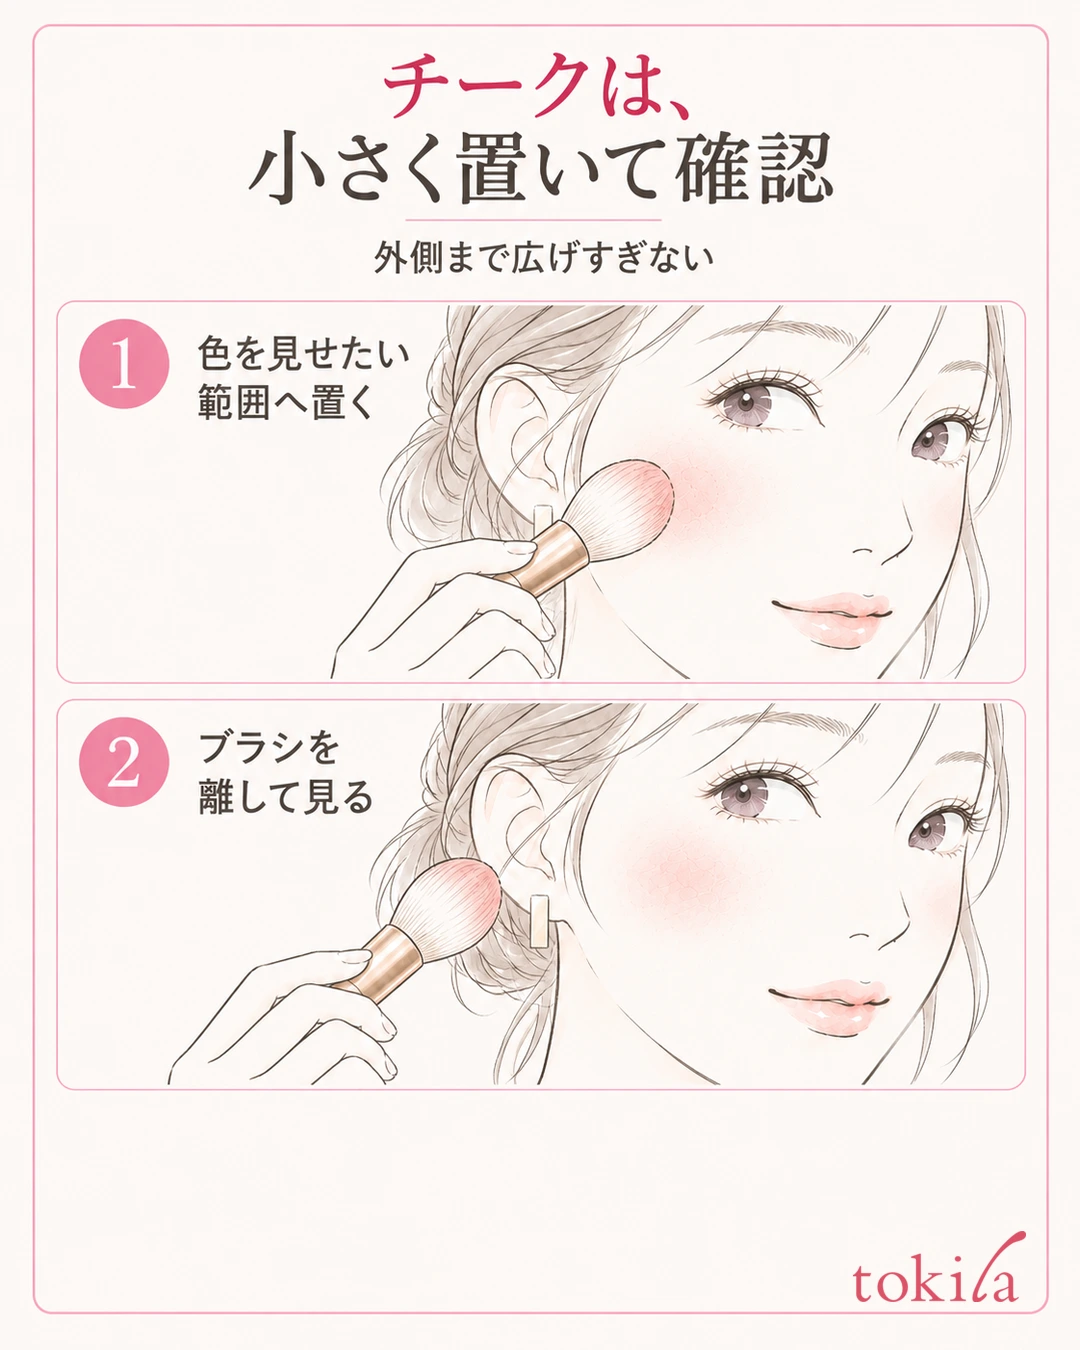
Once you confirm that color comes off the brush, choose a small spot to try within the area of the cheek where you usually apply blush. Instead of fixing a position for each face shape this time, think about where within the area you use now you want to feel the color. Even if it looks faint, there is no need to spread it to under the eyes or beside the nose.
Lightly touch the cheek with the surface of the bristles that the product and brush indicate, and place the color thinly. Do not press so hard that the bristles flatten greatly; blend with short movements and lift the tool away. Take care not to switch to dabbing at a single point with the tip of the brush, or to polishing the whole cheek back and forth many times.
If the color is there but still feels faint, look back and check whether you carry the first color you placed over a wide area every time. If you blend long toward the outside each time you add to the center, it becomes easy to lose track of where you want it deeper. Look first at the stage when you placed color small, and fix only the edges that bother you afterward, in that order.
If you want a little more color, go back to the step of picking up powder and checking the amount. Add in small amounts to the area where you have decided to show color. Do not make the outside the same depth as the center; leave the part that fades gently from the center toward the surroundings. Another point to check is not to move the brush over and over past the edge of the area you applied.
Rather than finishing deep in one go, create chances to stop while it is still light. The colors in the diagrams are a guide for explaining the movements, and are not test results showing the actual color payoff or the right amount for the product you own.
On days when color comes off on the back of your hand but streaks form on the base when it touches your cheek, do not just add more powder. Check the foundation underneath before applying color, any cosmetics left on the tool, and how hard you touch. If streaks increase with every addition, stop working on that part and decide whether the base needs to be fixed.
4. On days when layering does not change anything, reassess the color and the condition of the base
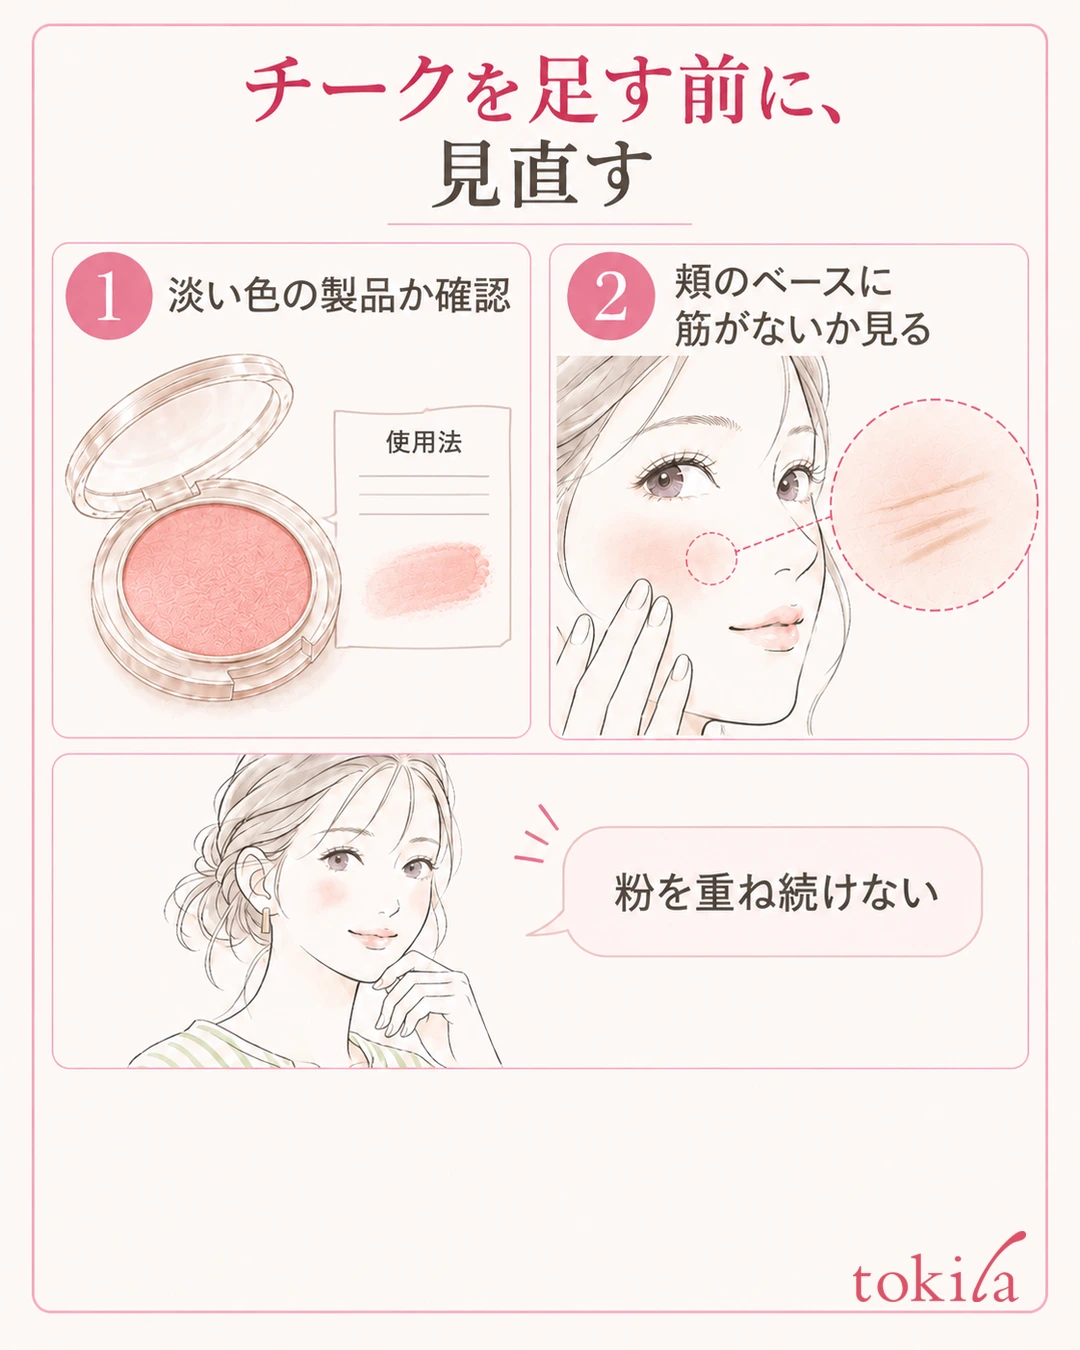
When adding a thin layer does not bring you closer to what you like, stop before continuing the same action. Read the product's introduction for descriptions such as "soft color," "sheer finish," or "color that adds glow." A color that does not show is different from using a product that is meant to give a subtle finish to begin with.
The back of your hand and your cheeks are not the same in skin tone or base. A color that looks vivid on the back of your hand may look blended when applied to your cheeks. If redoing the check by hand does not solve it, view the color of your face under the same light and go back to thinking about which of brightness, tone or glow you want to change.
If you only increase the amount when you want to change the tone, the powdery feel may bother you first. If a gap from your preference remains even after you have checked how to use it, you could consult at a store or elsewhere about ways to try it on your cheeks, before layering a different color onto your current blush without a plan. This article does not diagnose skin tone or recommend the same color to everyone.
If you layer face powder or foundation over your whole cheeks after applying, look back at that step too. Check whether you are going back and forth: covering the color to even out the base, then adding the faded color again. Give priority to the order your own products suggest, and do not skip necessary UV protection just to keep the color.
If there is dry powder or flaking base in some places, do not fill it in with blush. If you need to redo only a part, handle it following the instructions of the makeup remover you use, and then prepare your skincare and base. You do not need to remove your whole face just because the color is faint. Narrow down the place you fix.
If the color fades after some time, separate that from this article's "right after applying." Check things like sweat, places touched by clothes or hands, and parts changed by touch-ups during the day, and go back to the product's guidance on wear. Do not assume the morning brush work is the whole cause; keep a note of when and where the color changed.
5. Stop at the depth you like, and decide your next brush movement concretely
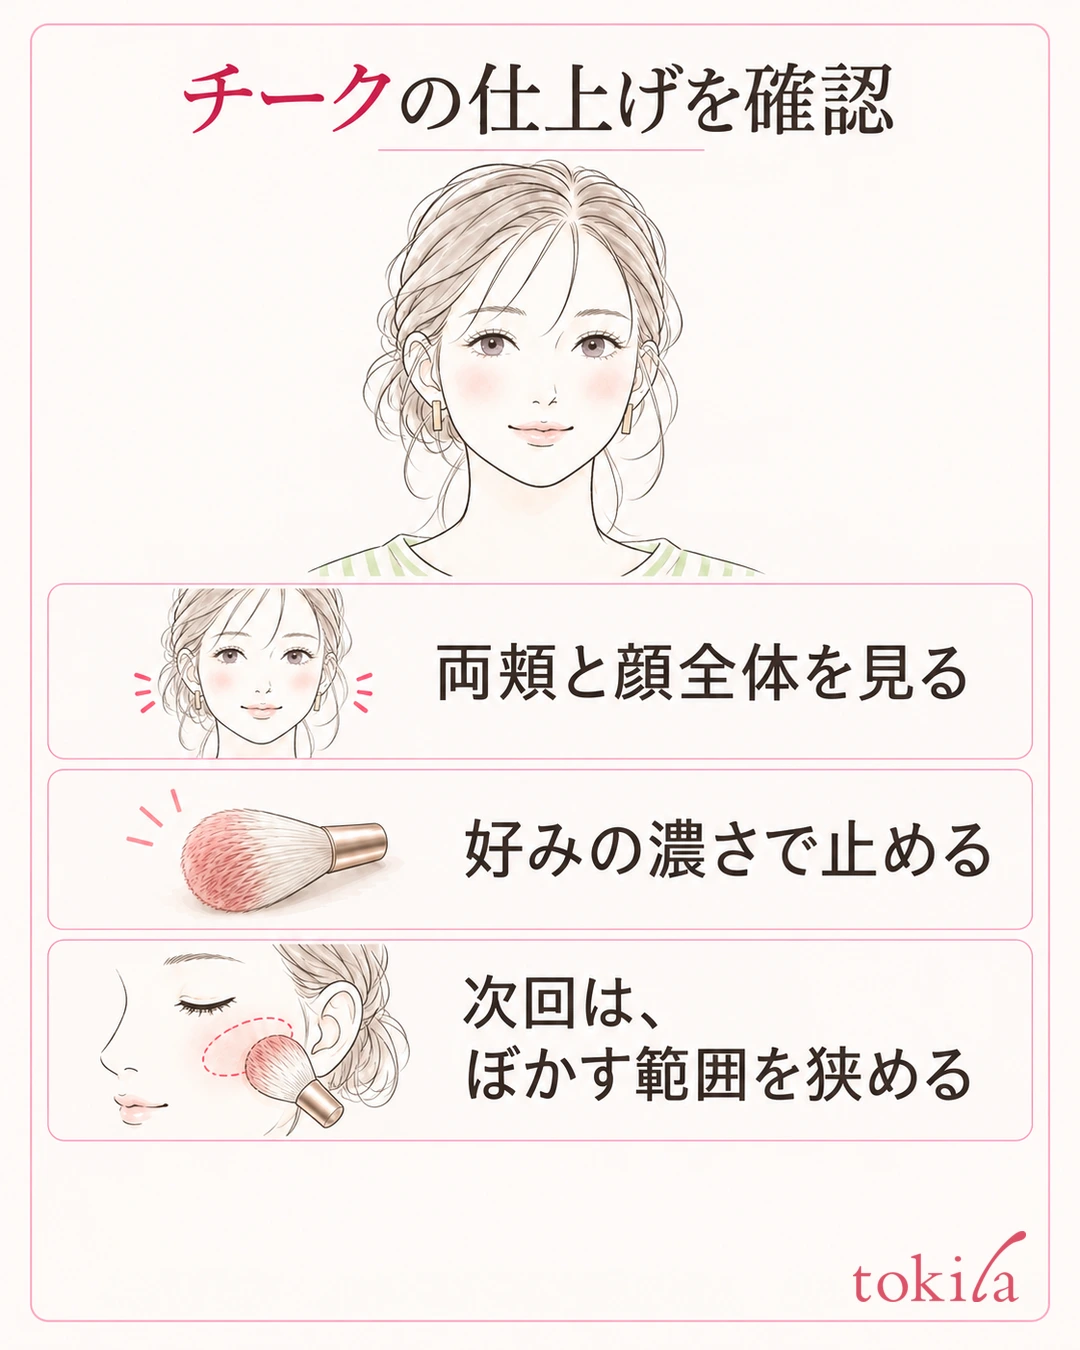
At the end, put the brush down, look at the edges of the color and the base in a mirror up close, then step back and check your whole face. Look at both cheeks under the same light and with the same expression. If you can feel enough color and it also suits your eyes and lips, finish there. A soft color you can see up close does not necessarily have to stand out from far away.
On days when one side looks faint, also check whether the other side is too deep. Do not increase everything to match the stronger side. If you feel you have applied too much, switch to how to fix the depth and edges of blush and do not continue this article's "add" step.
For your notes for next time, pair the state you saw with the action you will change. For example, if you write "No color came off even on the back of my hand. Next, load powder onto the surface of the bristles I use," or "At first there was color. Next, don't blend long toward the outside," you will leave yourself checkpoints other than adding more powder. It is not about creating a right answer for the number of strokes or the amount, but a record for looking back on how you move with your current tools.
If you change the brush, the color and the order of the base at the same time, it is hard to trace which condition affected how it looks. First, within the product's instructions, reassess either the action of preparing the powder or the range you move over your cheeks. If you switch to a new tool or color, do not fix the number of strokes to what you did before; start by trying it lightly.
The aim is not to make the presence of blush itself stand out, but to get closer to the cheek color you like. On days when the color feels faint, look under the same light, check the amount before carrying it to your cheeks, and place it small and lift the tool. If you proceed in this order, you can choose where to reassess before you keep layering powder.



