
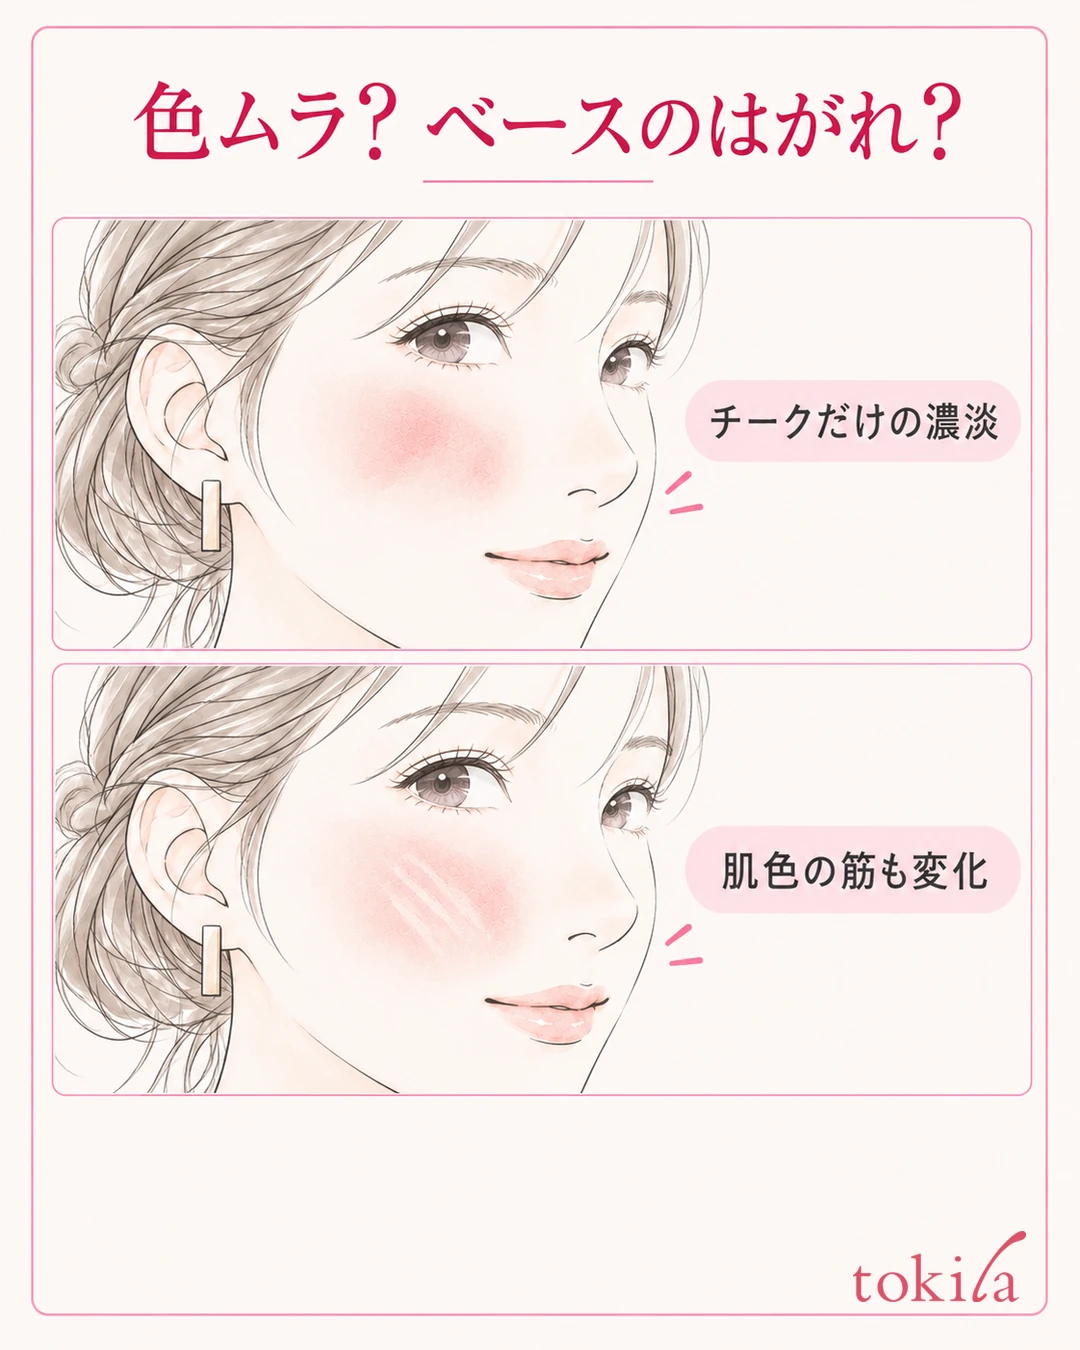
While blending cream blush, the foundation on my cheek got thin too. When adding more color only makes skin-colored streaks increase, check not just how the blush shows up but whether the base underneath has shifted. Before you keep layering, the starting point is to go back to the order, tools and finger technique the product specifies.
This article focuses on cream blush applied with the fingers, and explains the base before application, how to blend in a small area, and how to decide whether to fix the spots where the base has lifted. It is separate from cases where the blush color is uneven overall, and deals with situations where the base moves while you are applying. If the instructions of the product you have differ, follow those directions first.
1. Tell blush unevenness apart from base that has lifted
First, take your fingers or brush off your cheek and look at your face from the front and slightly from the side under the same light. Separate whether only the blush color has shading, or whether skin-colored streaks and gaps have formed. Both look like "unevenness," but adding color alone may not fix them.
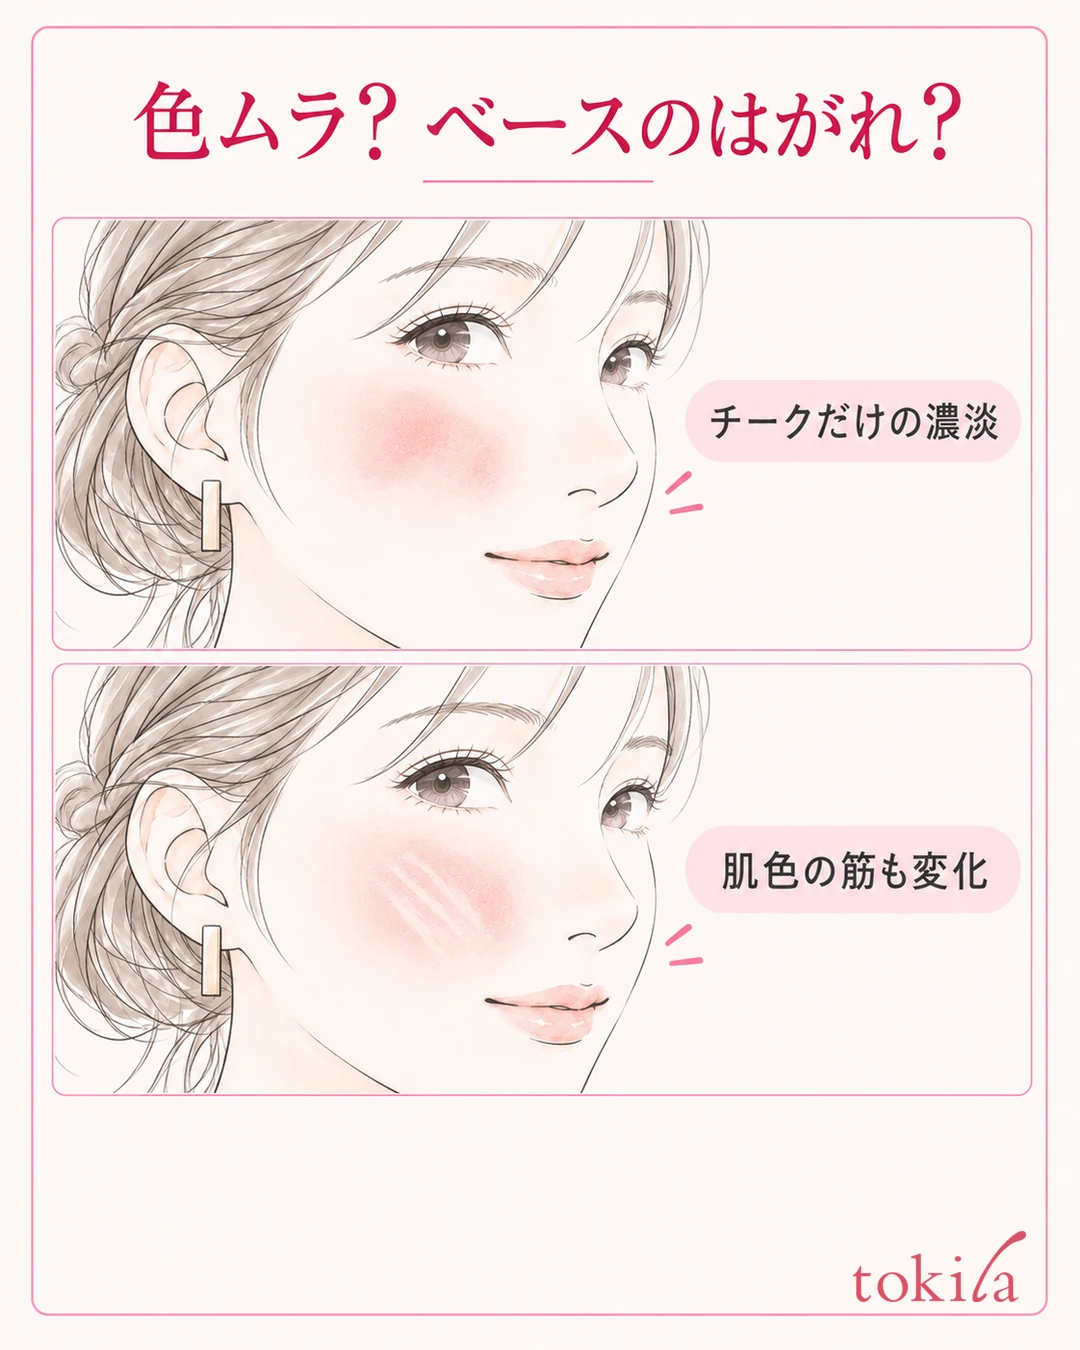
Clues that the base has moved are skin-colored streaks along the path where you spread the blush, and a change in how the areas you had covered look. Do not decide that freckles or similar marks that were there before application showing through is itself a failure; look for the parts that changed after the blush touched them. This is not a check for diagnosing pores or skin condition with a mirror alone.
Also look at whether skin-colored product has transferred to your fingers or tools. However, if the blush color and a color close to the base mix, it becomes hard to tell, so do not treat that alone as proof of the cause. Combining what you saw with what you did, such as "the first spot I placed looked fine, but streaks increased when I moved it sideways," helps narrow down what to review next.
With shimmery blush, the reflection can look stronger when you change the angle. To avoid mistaking a shiny band for a gap with no foundation, check with your face angle and lighting kept the same. If it is only a difference in reflection, first consider whether you really need to layer more foundation there.
If the skin color underneath is even and only the blush is patchy, you can go on to how to fix uneven blush color. This time, the flow is for when the base on your cheek has moved: set up the conditions for application first, then restore only the places that need it.
Limit the area you are concerned about to one spot you can point to in the mirror, rather than the whole cheek. Putting it into words, such as "a thin streak on the nose side" or "the coverage in the center got thin," lets you avoid rubbing unrelated places. Do not try to match both sides to the same intensity right away; first check the condition of the side that changed.
2. Check the order and tools against the labels of the products you have
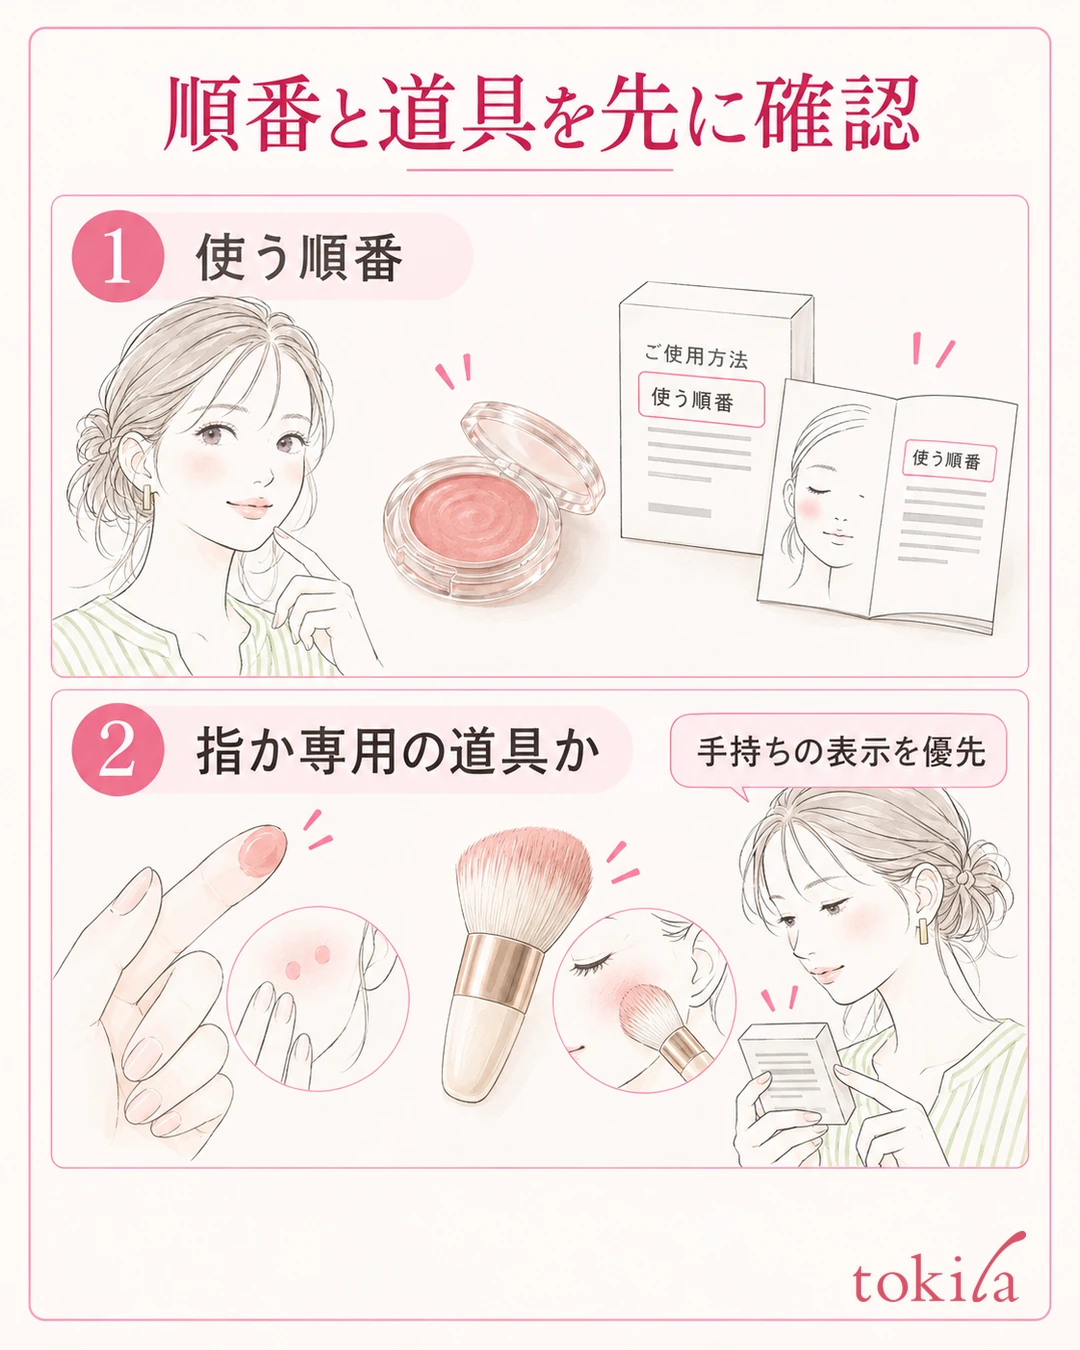
Do not decide, based only on the name "cream," that everything is used before face powder or that everything is applied with the fingers. Check on your container, outer box and product labeling at which stage to layer the blush and which tool to use. Even if they look similar, some products are used with the fingers and others direct you to a dedicated tool.
Check your foundation, concealer and finishing powder together as well. If you do not know which layers are on your cheek now and just swap the order, it becomes hard to track what changed. Try writing down your current routine once, for example "after liquid foundation, before powder."
Even with the same blush, the feel changes if the type of base changes. Before deciding right away that they do not go together, check the usage instructions for both, which tools they support, and the order of layering. Do not decide either that a product can never be used over powder foundation just because "cream" is in its name.
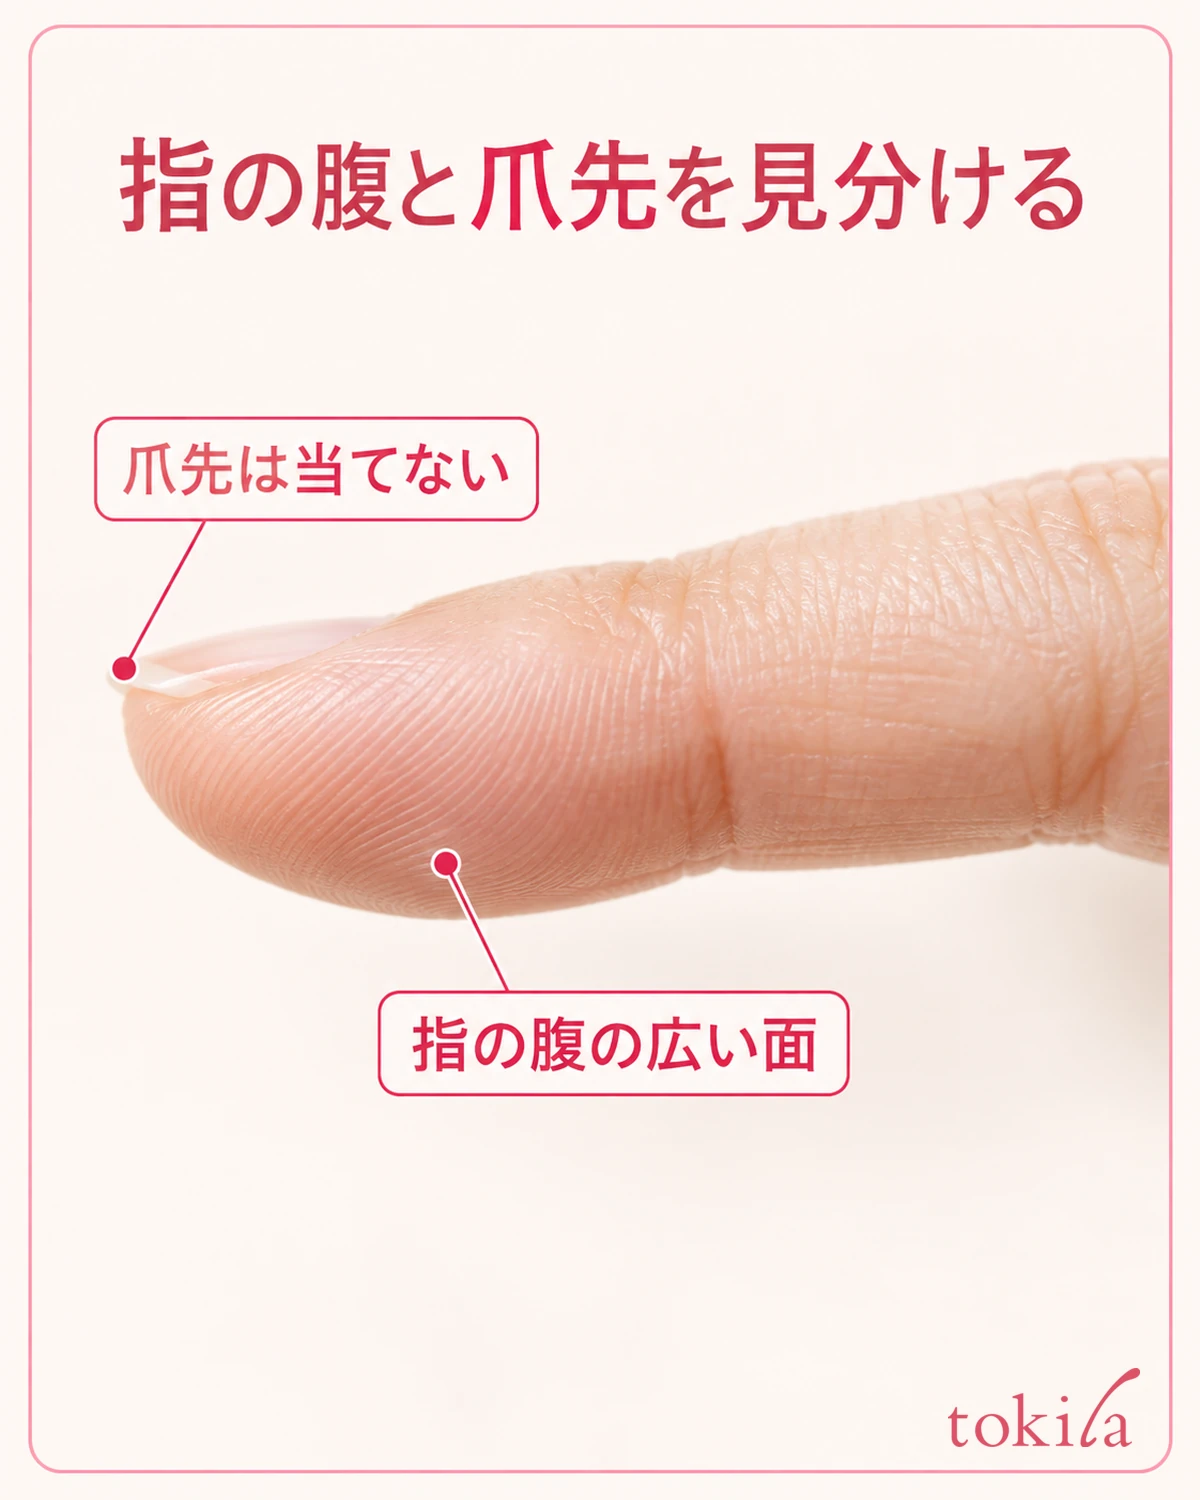
If you use your fingers, make sure your hands are clean and start without leftover foundation or cream on them. If the instructions call for a sponge or brush, check that it supports cream products and prepare the surface you will use. Do not reuse a damp tool that contains powder as it is without a reason.
Do not add water or emulsion to the container to change the texture your own way. Before deciding to buy a replacement, the first step is to go back to the way of using the product that it was designed for.
3. Check the base on your cheek and blend in a small amount in a small area
Before picking up the blush, look at the base on your cheek. If there are patches the foundation missed or thick ridges, do not choose the order of hiding them with color on top. Blend skincare and base in with the amounts shown on their labels, and do not rush to place the next layer while the surface can still move easily.
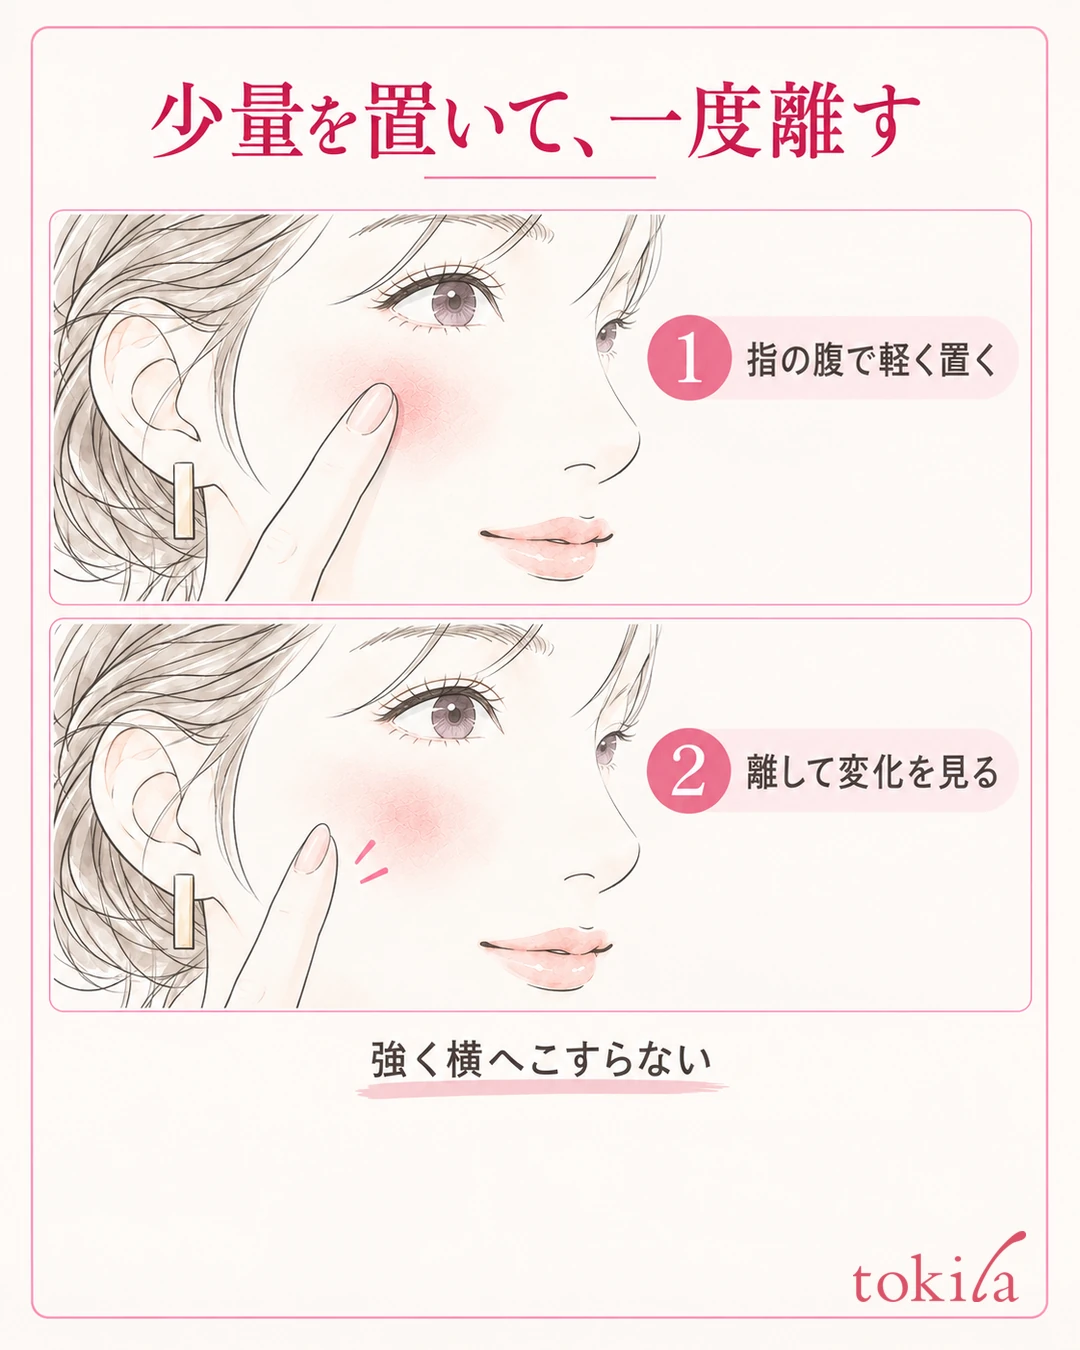
Here, this is not about drastically reducing the base but about using it as material to check the labeled amount and any missed spots. There is no need to apply the same waiting time or amount to every product.
For a product applied with the fingers, pick it up on the pad of your finger and try it little by little within the area where you usually apply blush. Rather than digging deep into the container and moving a big lump to your cheek, place a thin layer and check how the color shows. You do not need to count the number or size of the dots in the illustration as a standard amount for everyone.
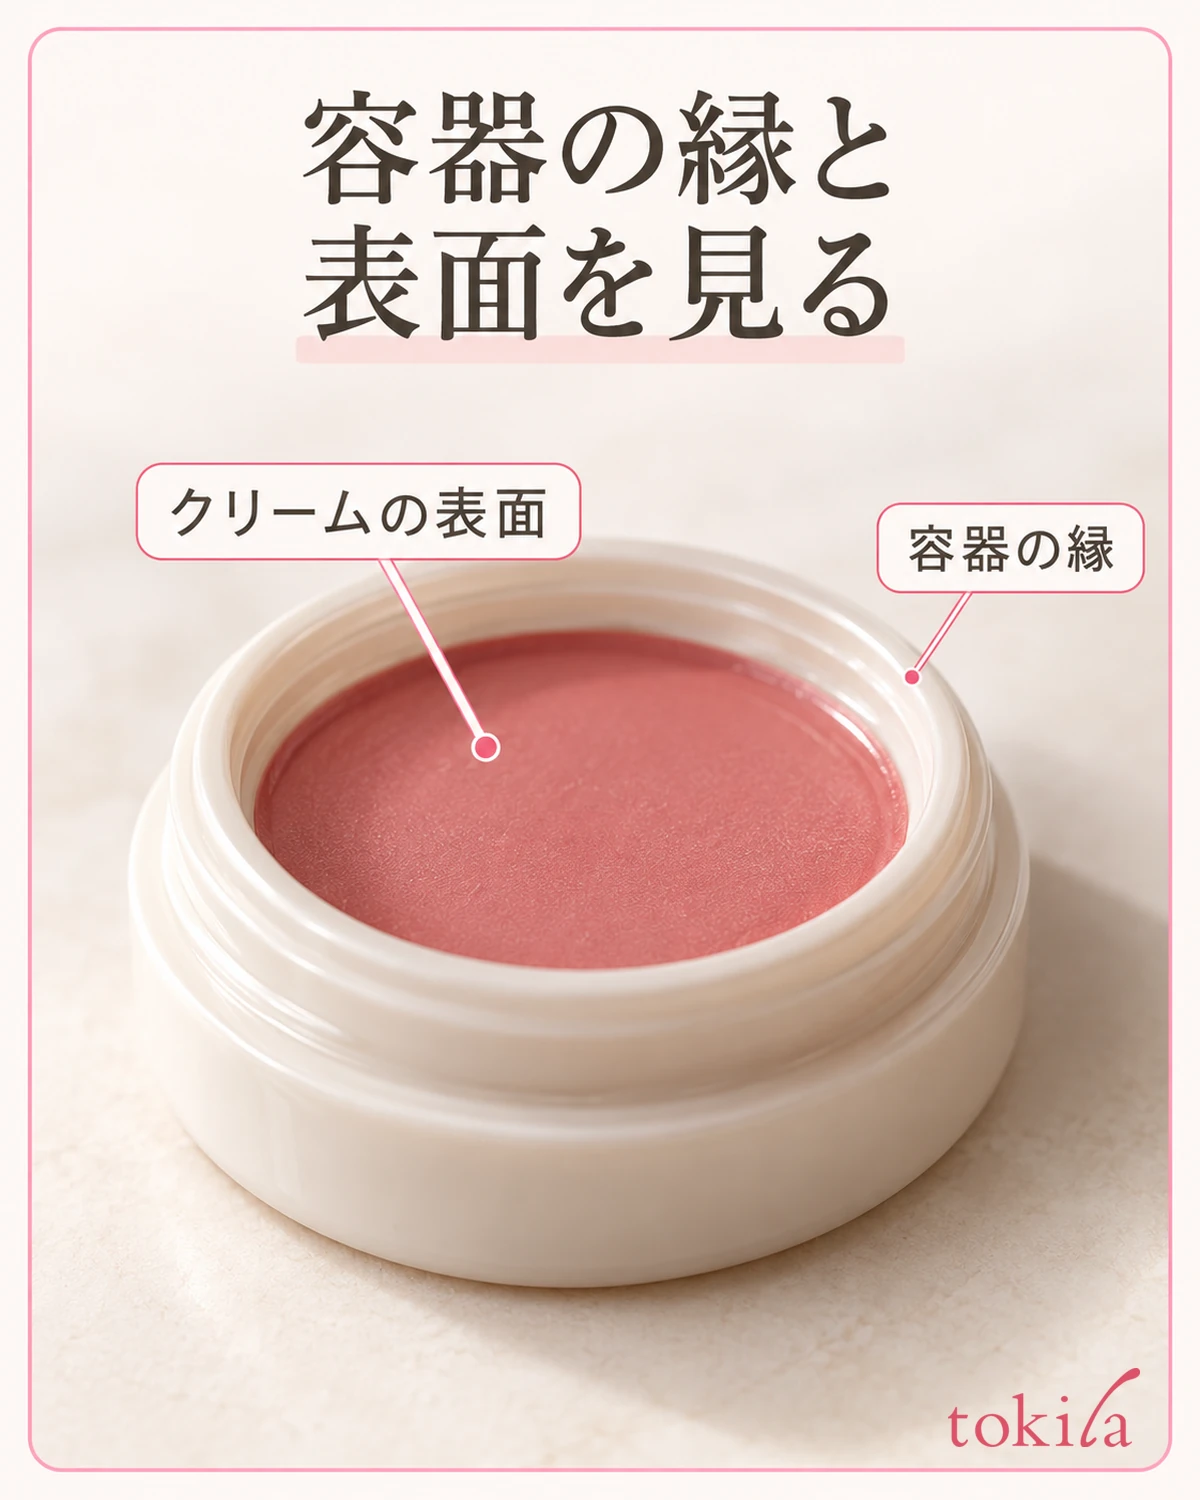
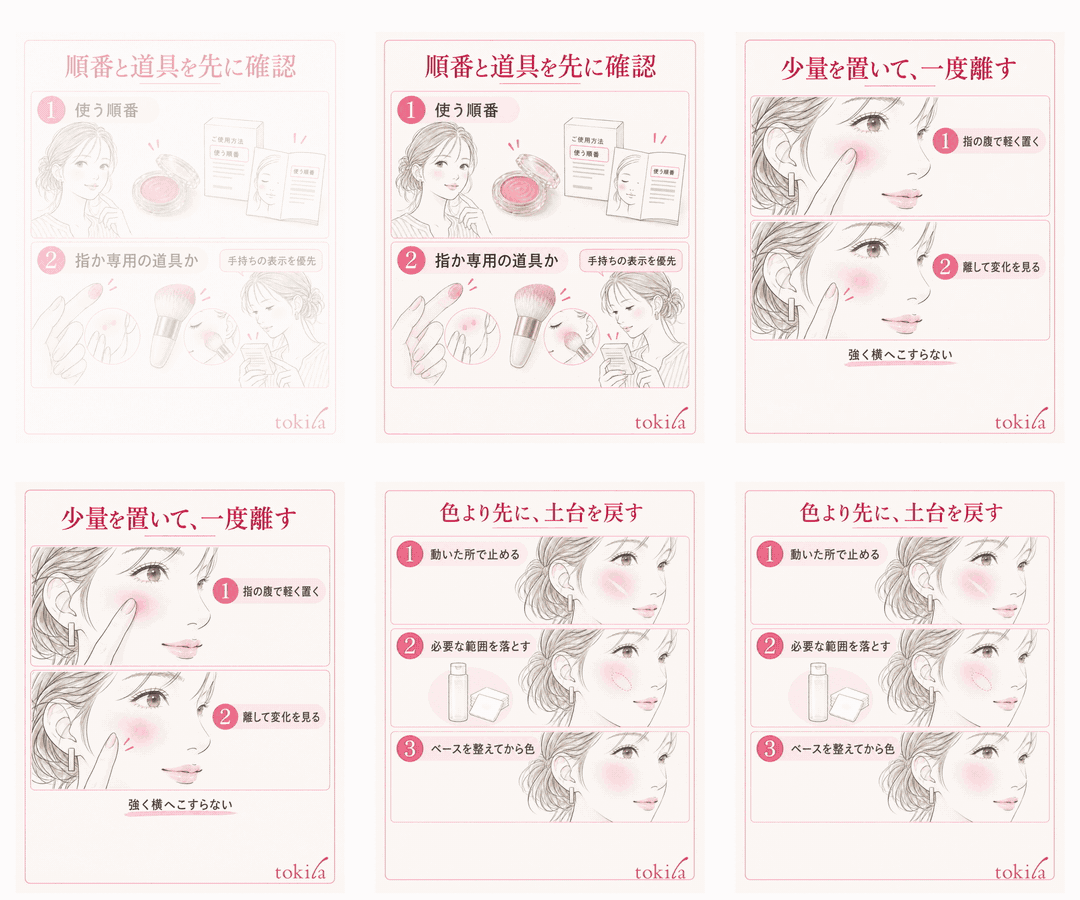
Lightly touch the pad of your finger to your cheek, then lift it once. When blending in the color, follow the product's instructions and connect it gently in a small area. Here, "patting" does not mean tapping hard over and over to press it in. Do not let it turn into a motion that pulls the skin sideways or polishes the cheek with big back-and-forth strokes.
After you lift your finger, look in the mirror for any new streaks in the base and whether the color has blended. Separate whether the color is simply lacking from whether the product left on your finger needs to be spread further, and decide your next step without redoing things needlessly. Checking how to handle it on one cheek before moving to the other reduces the situation of fixing both sides at once.
If the base moves even with a light touch, do not increase force or the number of repetitions on the spot. Re-check the amounts of blush and base, the order, and the tools. This is the point to stop and judge whether the base needs to be redone, rather than adding yet another cream to your cheek in an attempt to fix it with your fingers.
4. Redo the lifted spots partially before adding color
If streaks or gaps have increased in the base, stop before trying to hide them with darker blush. The step you fix differs depending on whether you only want to lighten the color or want to even out the skin-colored base as well. If the surrounding area looks fine, decide whether to restore just the small changed area without removing everything.
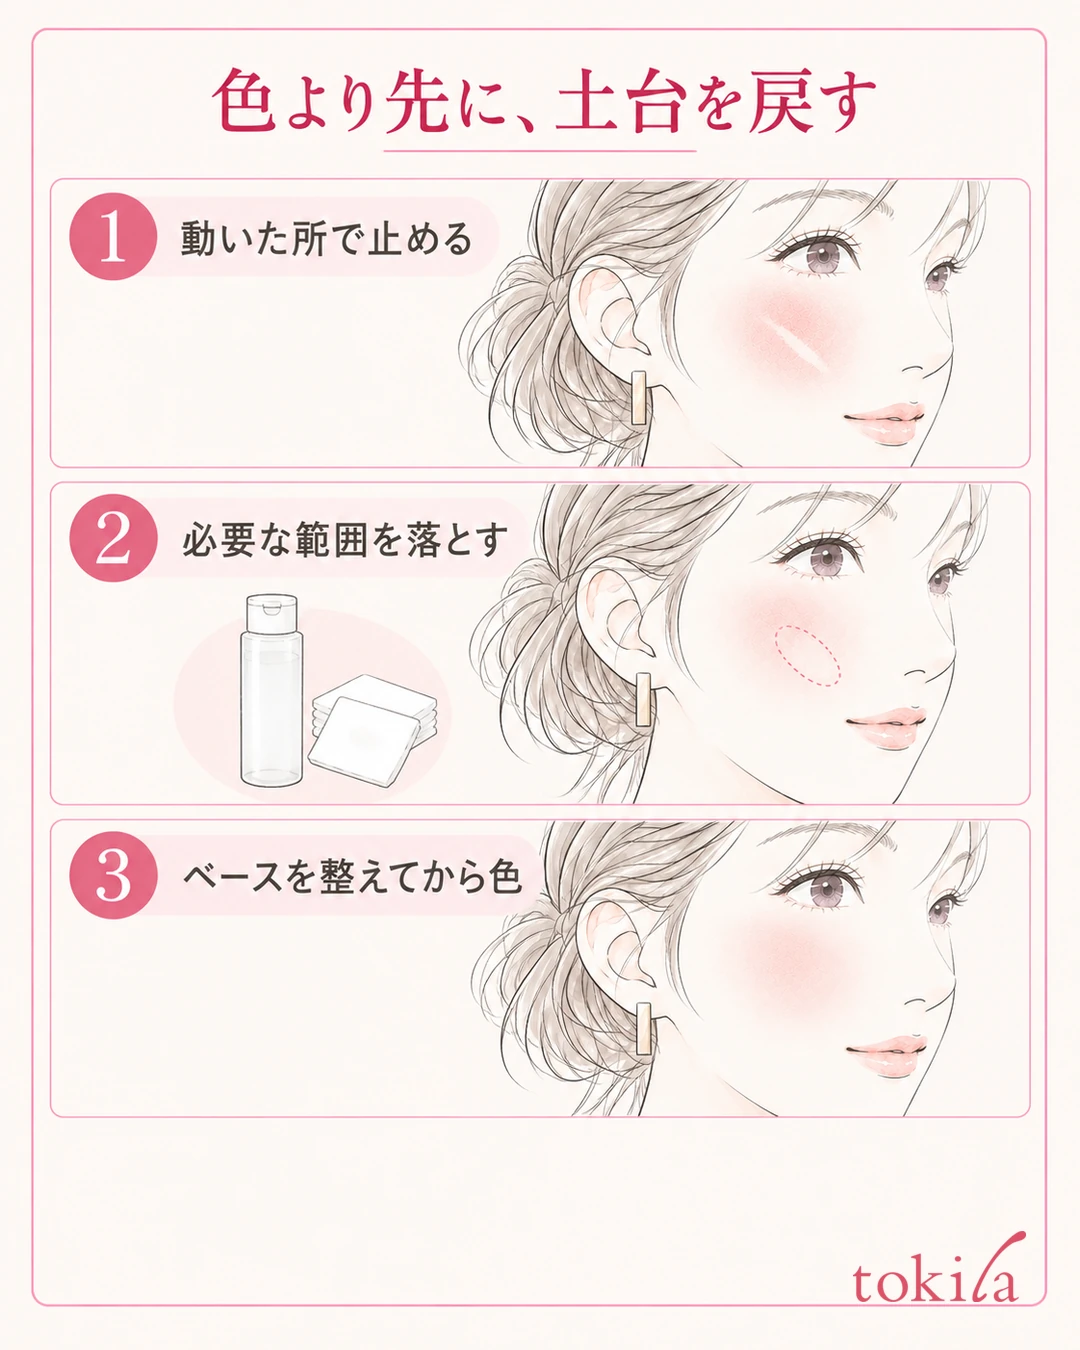
If the base is holding and only the edge bothers you, one option is to lightly blend the outer edge following the product's instructions. On the other hand, when the skin-colored gaps widen every time you touch it, it may be easier to remove the blush and base in that part and rebuild it, rather than layering color on top.
When removing, follow the instructions of the makeup remover you have and blend it gently into the target area. Check the label for whether to wipe off or rinse off, and whether a face wash is needed afterward. Do not rub back and forth hard with a tool soaked in water, or scrape hardened color off with your nails.
After removing, prepare the necessary skincare and base in the product order. If you also removed the UV protection layer during the day, check how to reapply sunscreen and the like. Rather than plugging only the gaps with a big lump of foundation, restore the necessary parts thinly while watching how they connect with the surroundings.
Once the base is in order, decide whether you need to put blush on again. If a little color remains, you can also choose to skip adding more. Do not put the original amount back on the redone spot all at once; place a small amount, step away once, and check whether the same streaks form again.
When you lack time or tools, stop at tidying the borders that bother you rather than continuing to fix even the clean areas. If you feel irritation or pain, do not keep correcting your makeup and stop using the product. If shine or creasing during the day also accompany it, the order for touching up makeup according to how it breaks down may help.
5. Check the finish on the whole face and choose one condition to change next time
Finally, step back from the mirror and look at both cheeks, the eye area and the mouth area under the same light. Up close, check the streaks in the base and the edges of the color; across the whole face, check the strength and spread of the blush. There is no need to build up the clean side to the same thickness as the side you redid. Finish when it connects naturally from a distance.
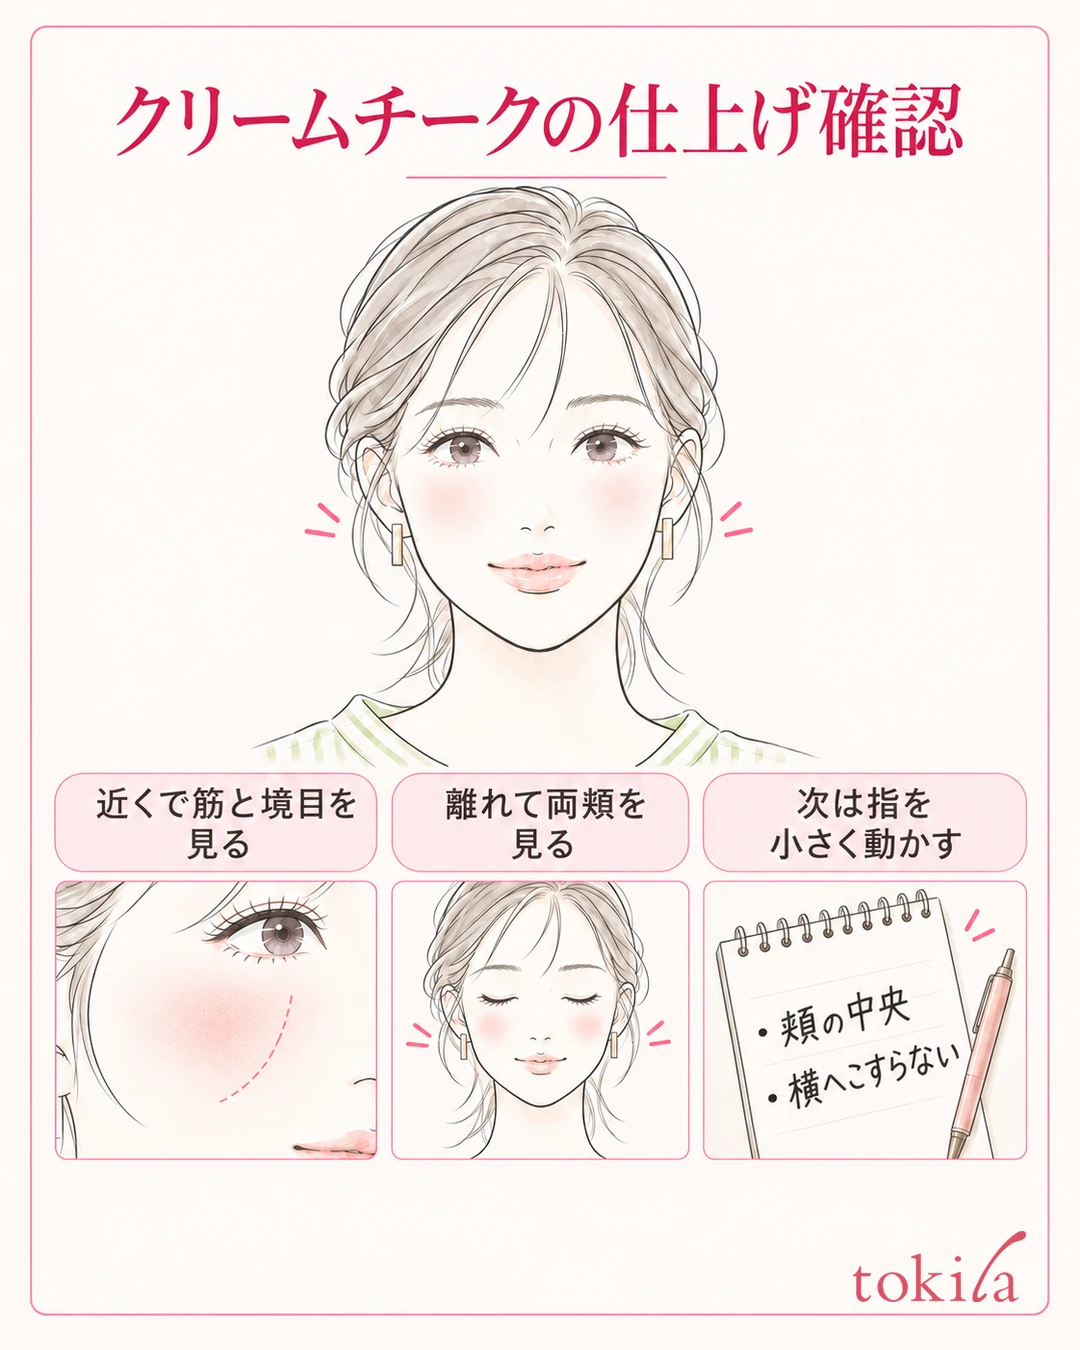
Next time, review just one of these: the amount you bring to your cheek, how far you move your finger sideways, or the stage at which you layer the base. If you change everything at once, it becomes hard to tell which adjustment made it easier to handle. This is not an experiment that goes outside the amount or order the product specifies, but a review to refine your own movements within that range.
Notes of "the base and blush I used," "the places that changed" and "the action to change next" are enough. For example, if you write "center of the cheek, streak after spreading sideways; next, place in a small area and lift," the point to check next time becomes concrete. If you use photos, keep the lighting the same and do not judge differences by filters alone.
If it looks neat right after applying but gets thinner as time passes, think of it separately from the lifting during application in this article. Look back on whether clothing or hands touched it, or whether sweat or shine appeared, and check the product's guidance on how long it lasts. Do not blame only the morning routine; choose your touch-up based on the state when it broke down.
If it is repeatedly hard to handle even when you follow the labels, you can consult the manufacturer or a store, telling them specifically the base you combine it with and the order you use them in. Switching to a powder type is also an option, but changing it does not always solve the problem. For choosing color and placement, check the basics of blush.
The key points this time are to separate color unevenness from changes in the base, to check the order and tools on the label, and to touch lightly and lift once. On a day when the base has moved, do not hide it by adding more color; narrow down the area to fix. For the finish, look at two distances, up close and the whole face, and stop where it is needed.



