When applying foot cream to your heels, looking only at the sole makes it easy to miss the sides that meet the back of your shoe. After bathing or at a similar time, dry your feet and sit in a chair. Working one foot at a time lets you distinguish the bottom of the heel from its sides as you spread the cream. Use the product label as your guide to how much to take, then use what remains on your finger to cover the curved edge.
This guide covers leave-on moisturizing foot cream. Rinse-off scrubs and wound care products are used differently.
1. Look at the bottom and sides of the heel first
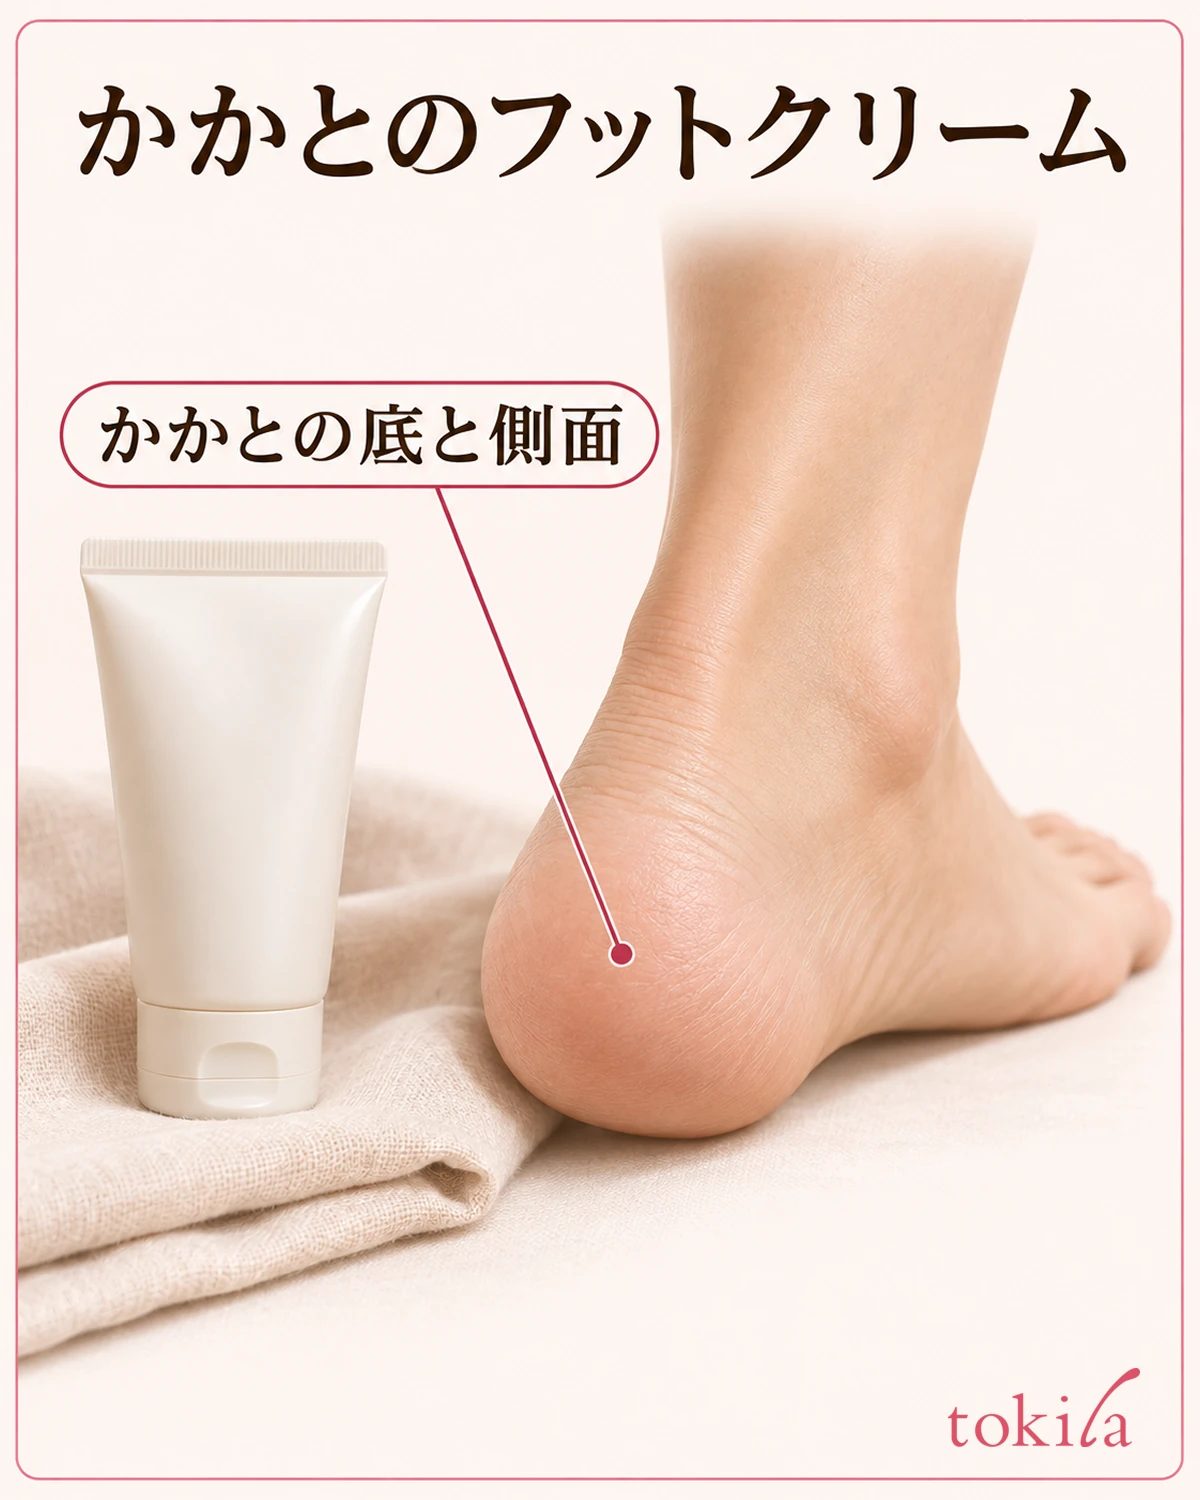
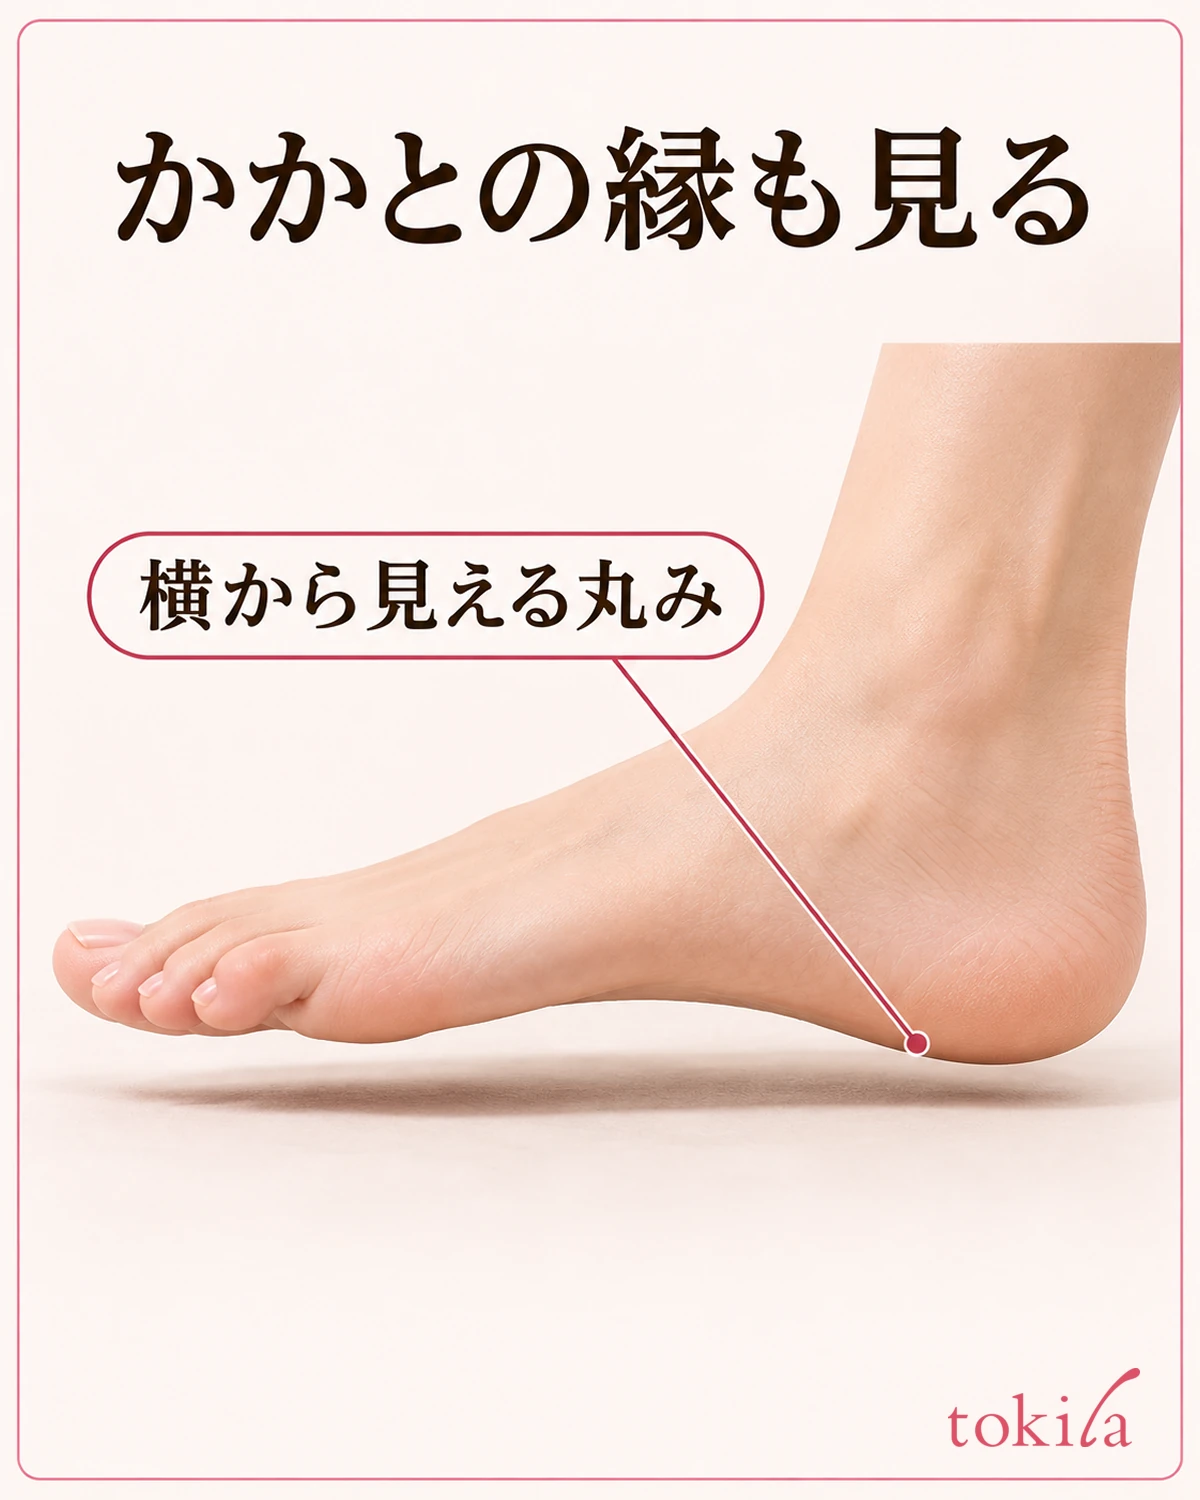
The heel extends from the back of the sole to the back surface and both sides that meet the shoe. Raise your foot slightly and compare the curve that rests on the floor with the curve you can see from the side. Once you know which area concerns you, you can decide whether to apply cream to the whole sole or just the heel.
Check what the product is for, such as feet or heels, and where it can be used. Even if it is suitable for the whole foot, the amount you need depends on whether you start with a spot that concerns you or spread it over a wider area. If the package specifies an amount per use, follow its directions. Do not rub injured or painful areas using this method or apply more layers of cream there to see what happens.
If you use a body cream you already own, check the label to see where on the feet it can be used. To cover a wider area such as the legs, see how to spread body cream evenly.
2. Dry your feet and sit where you can reach your heels
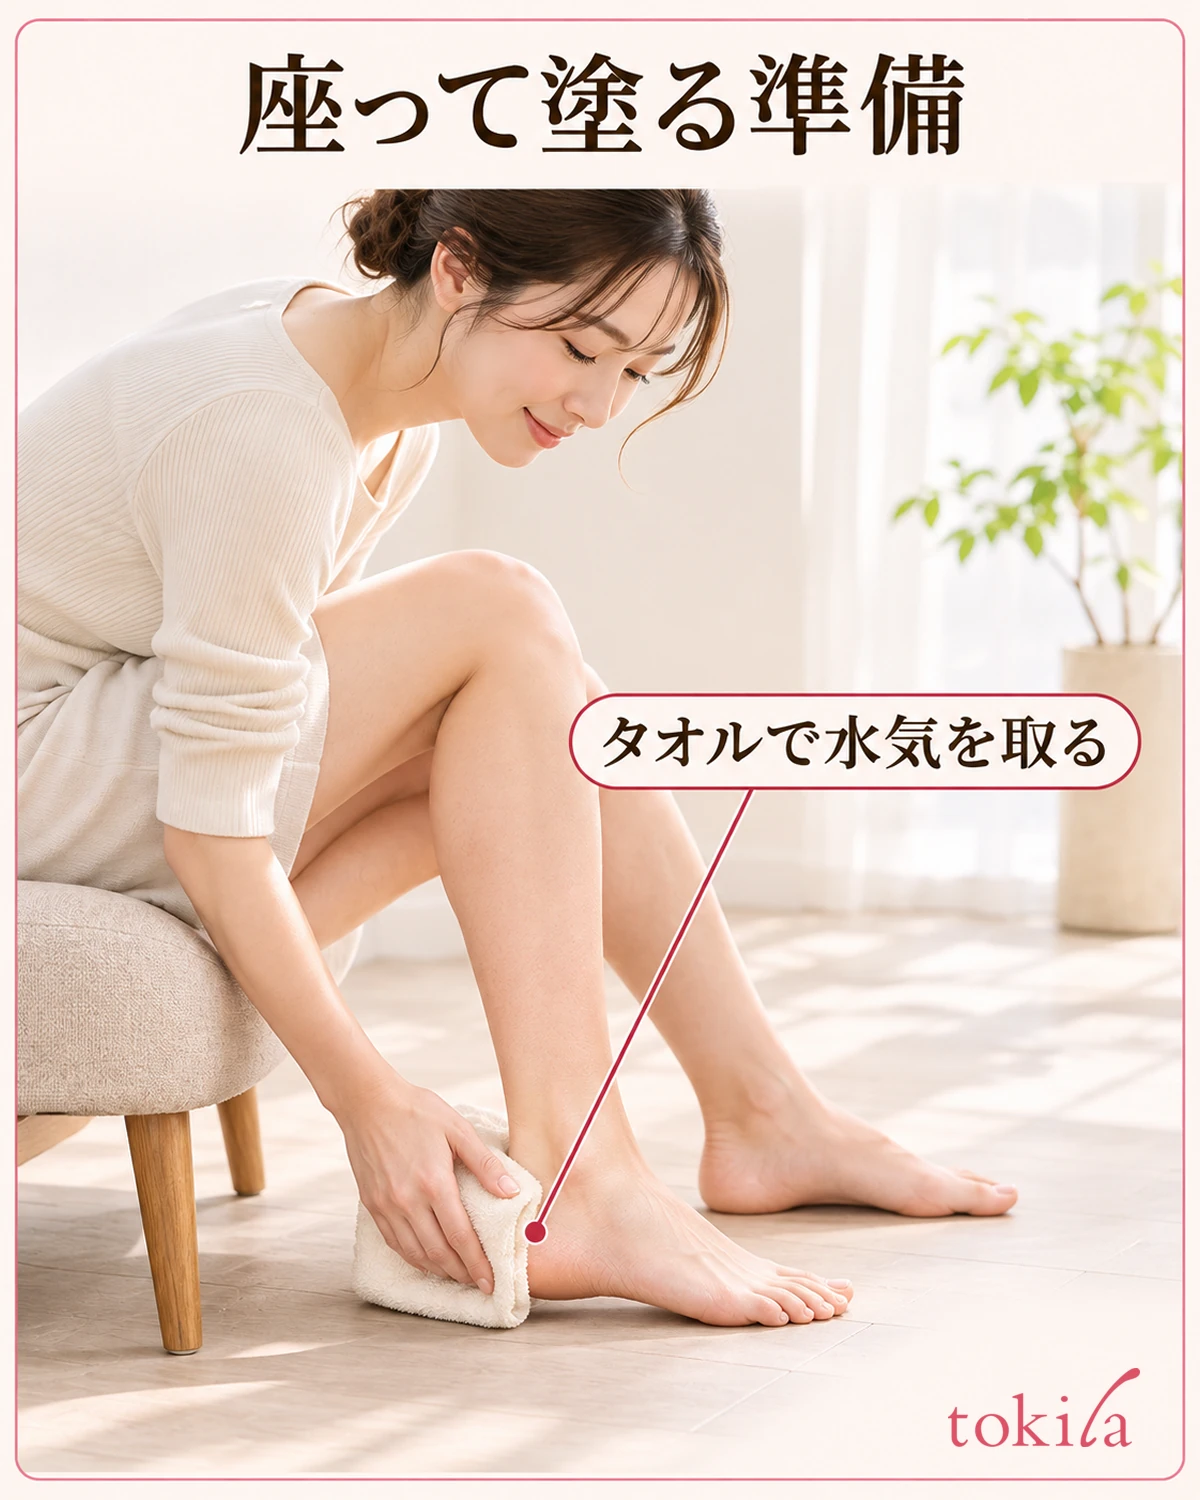
After bathing or washing your feet, press a towel against the bottom and sides of the heel to absorb any droplets. Moving to a fresh part of the towel as you dab makes it easier to see where moisture remains than pulling the towel back and forth to rub the skin. Move somewhere you can reach both sides of the foot without standing on one leg on a wet floor.
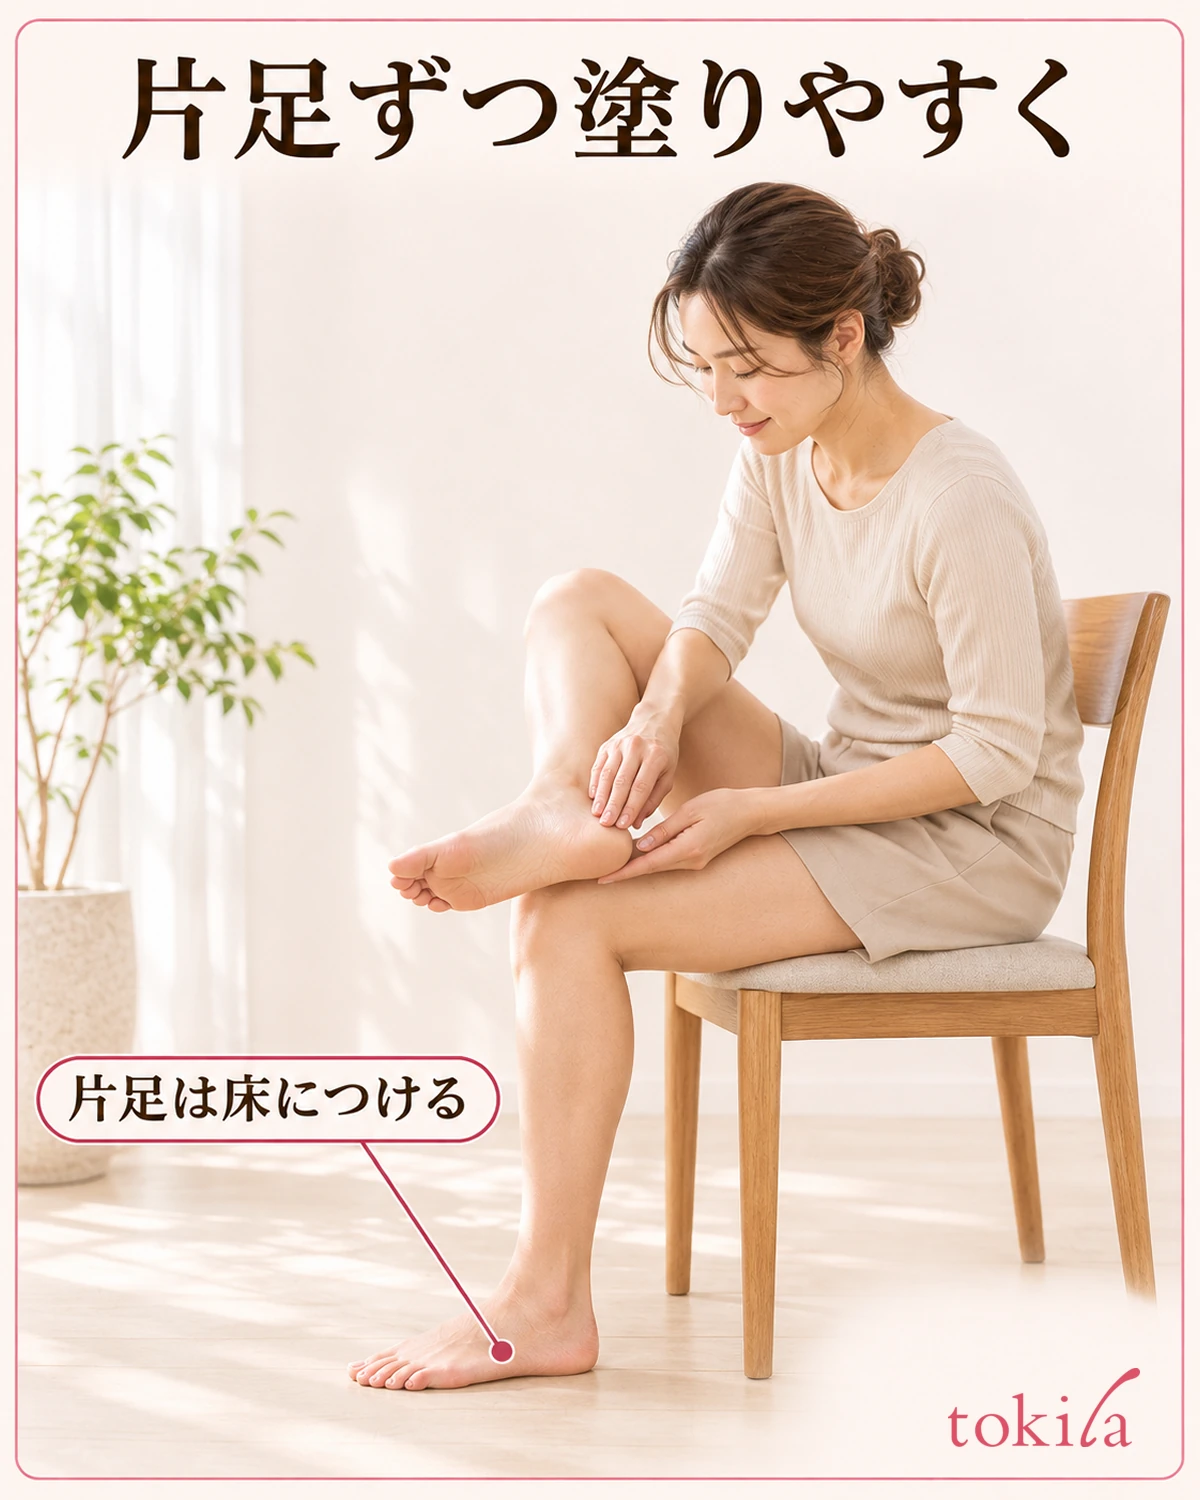
Sit in a chair with one foot planted on the floor. If comfortable, lift the other foot slightly and rest that ankle on the opposite leg so you can see the side of the heel. If crossing your legs is uncomfortable, skip that position and steady your foot on a low stool or another support within easy reach.
Put everything you need within reach first, so you do not have to stand after applying the cream to fetch a towel or socks. Arrange things so you can open the cream without twisting and see where to place your foot again. That makes it easier to switch feet.
3. Take a little cream on the pad of your finger and do one foot at a time
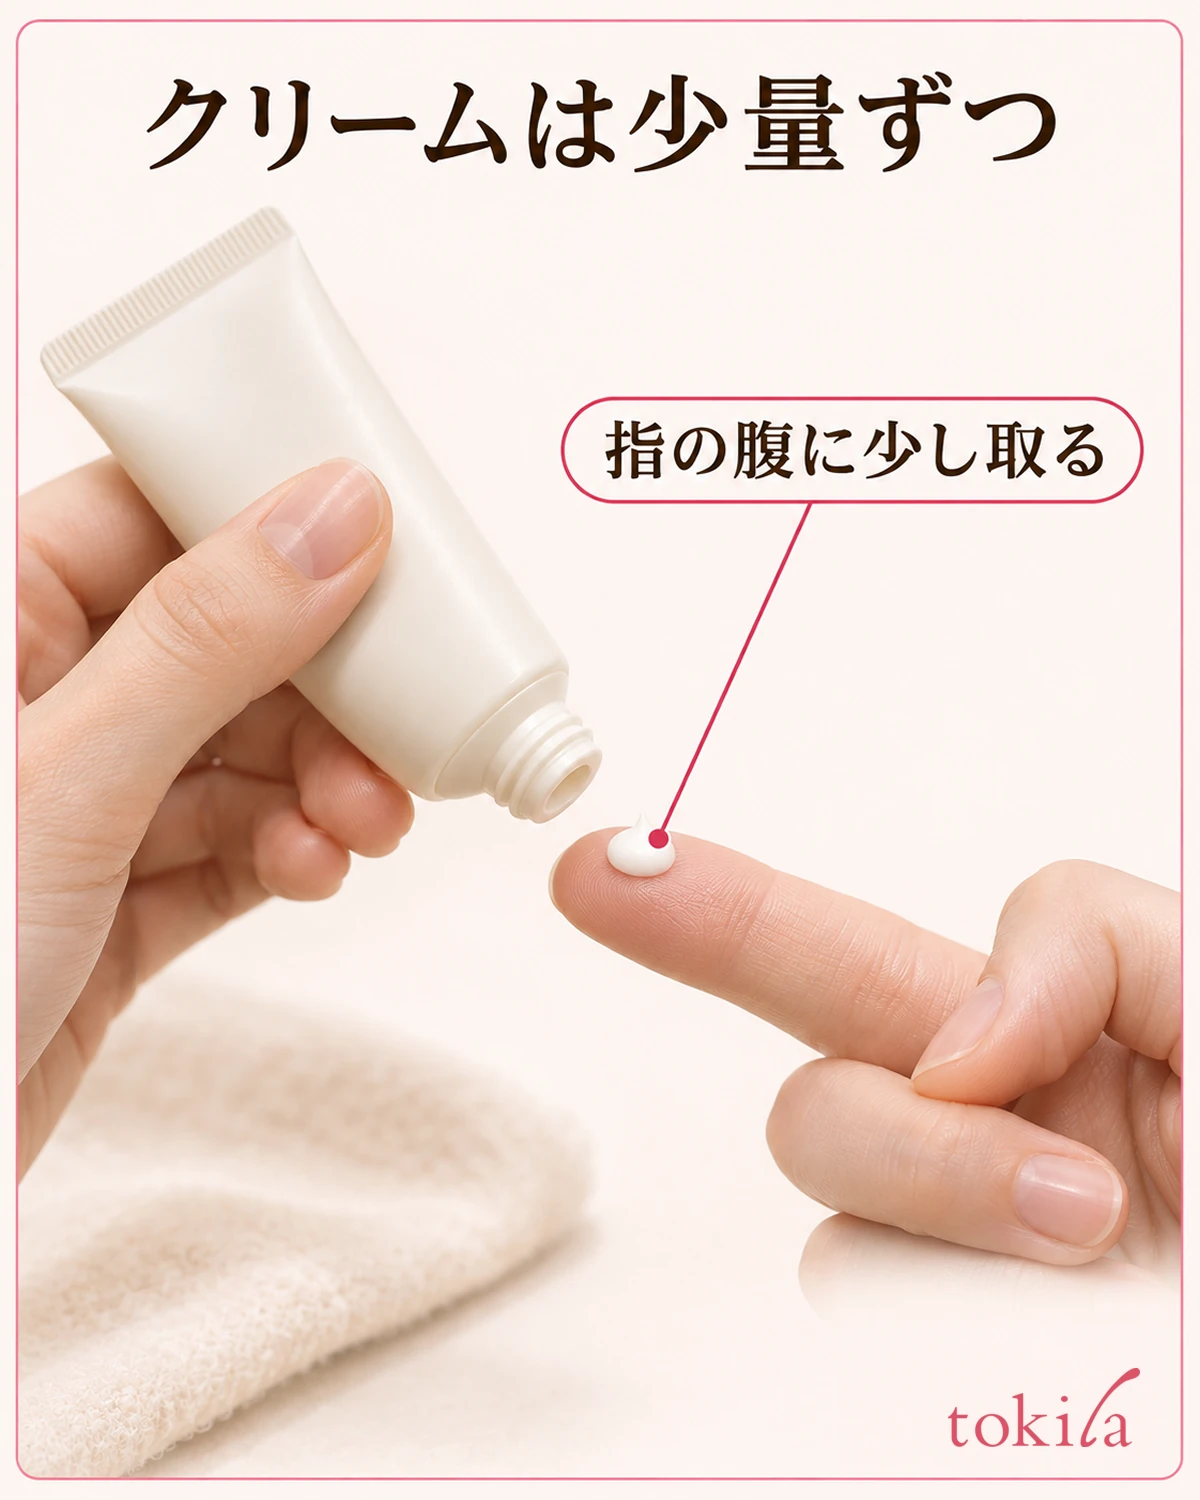
For a tube, squeeze a little cream onto the pad of a clean finger. For a jar, use the method specified by the product, if there is one. Start with one heel, then check whether the cream left on your finger will cover the sides. If no amount per use is given, it is easier to add a little when needed than to dispense enough for both feet at once.
Put the cream on one spot of the heel, then move the pad of your finger slightly to see how it spreads. If a firm cream does not spread readily, use short movements over a small area rather than pressing harder. If a softer cream runs to the sides, steady the foot again before spreading a thin layer.
If a lot of cream remains on your finger, wipe it off instead of using it up where you do not need it. Next time, start with a little less and find an amount that covers both the bottom and the sides.
4. Spread from the bottom of the heel over the edge to the sides
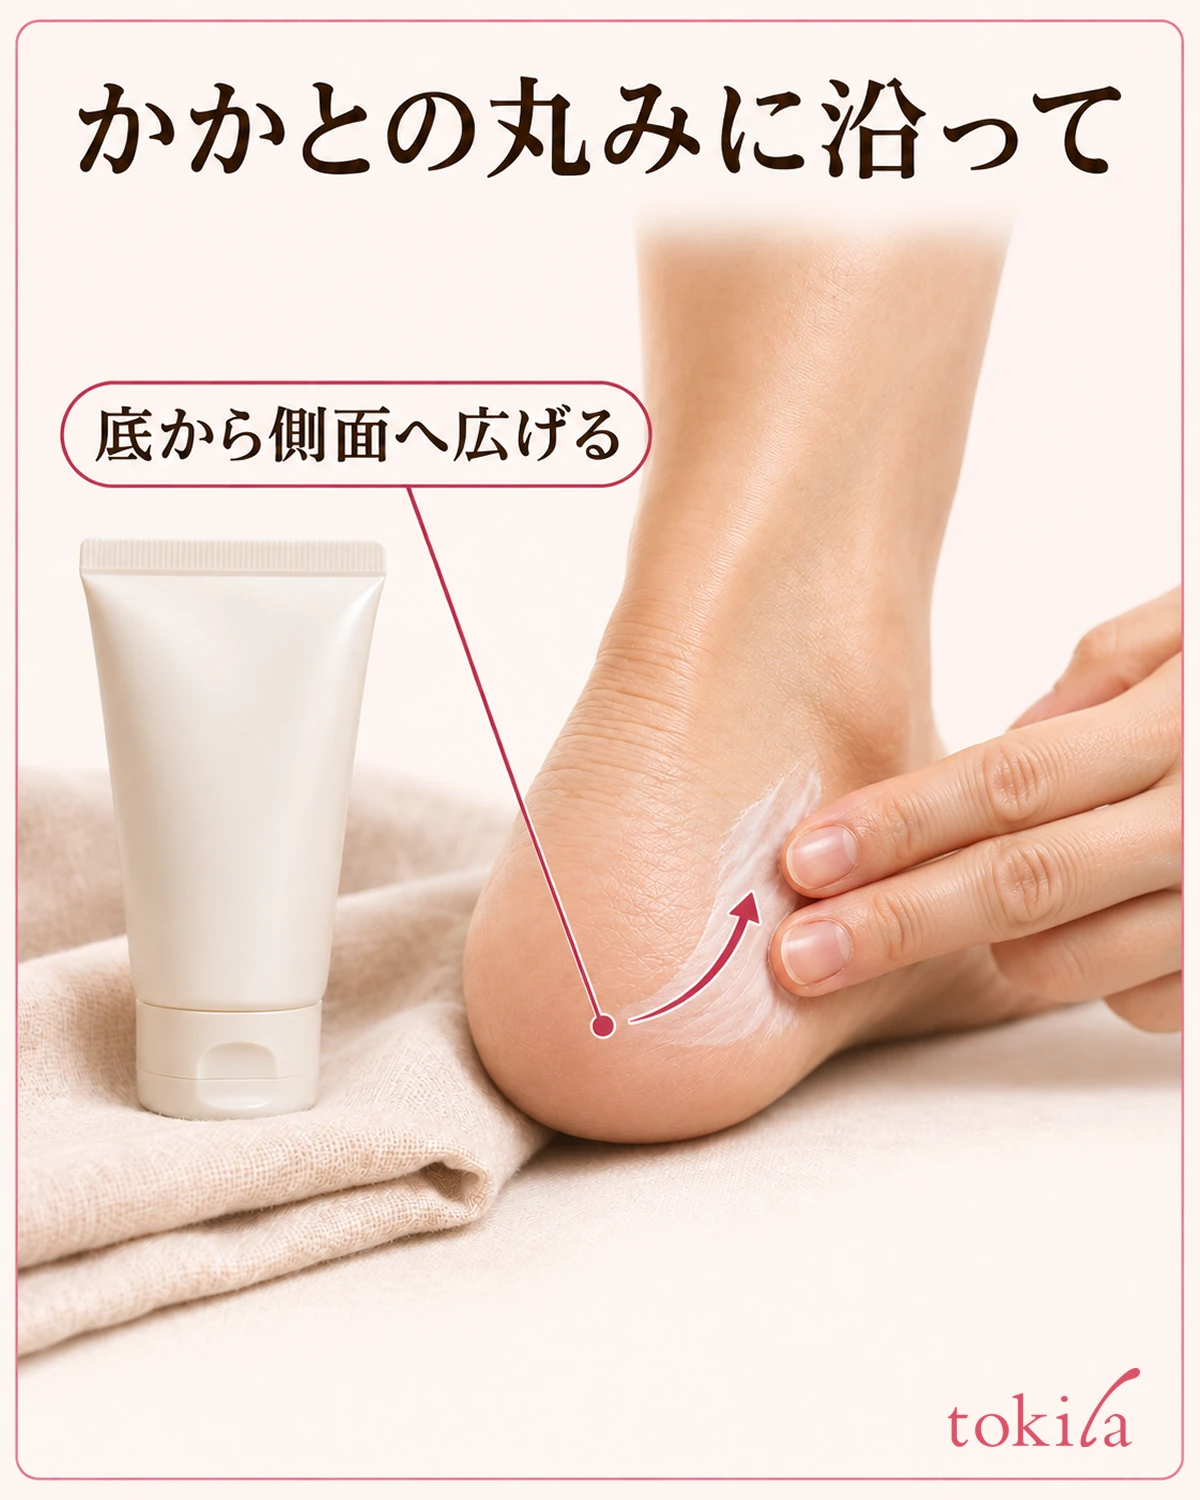
After spreading the cream over the part of the heel that rests on the floor, follow the curve with the pad of your finger and move across the junction between the bottom and the side. The left and right edges are hard to see when looking straight at the back of the heel, so turn your foot slightly sideways. Before adding cream to more spots, see whether you can trace the edge with what is left on your finger.
Looking at your heel from the side shows where the bottom turns into the side. If looking from above does not give you a clear view, turn the ankle slightly to check the inner and outer sides separately rather than bending the leg a long way.
If a white streak remains, use the pad of your finger to distribute it nearby rather than adding more cream. If only a spot you did not reach still concerns you, take just enough for that spot. Check the label to see whether the cream can be used on the toes instead of automatically spreading it between them; this guide stops at the heel. The area to cover and the spots that feel dry may differ between feet, so look at the bottom and sides of the other heel before applying.
5. Check the cream left on the sole before standing
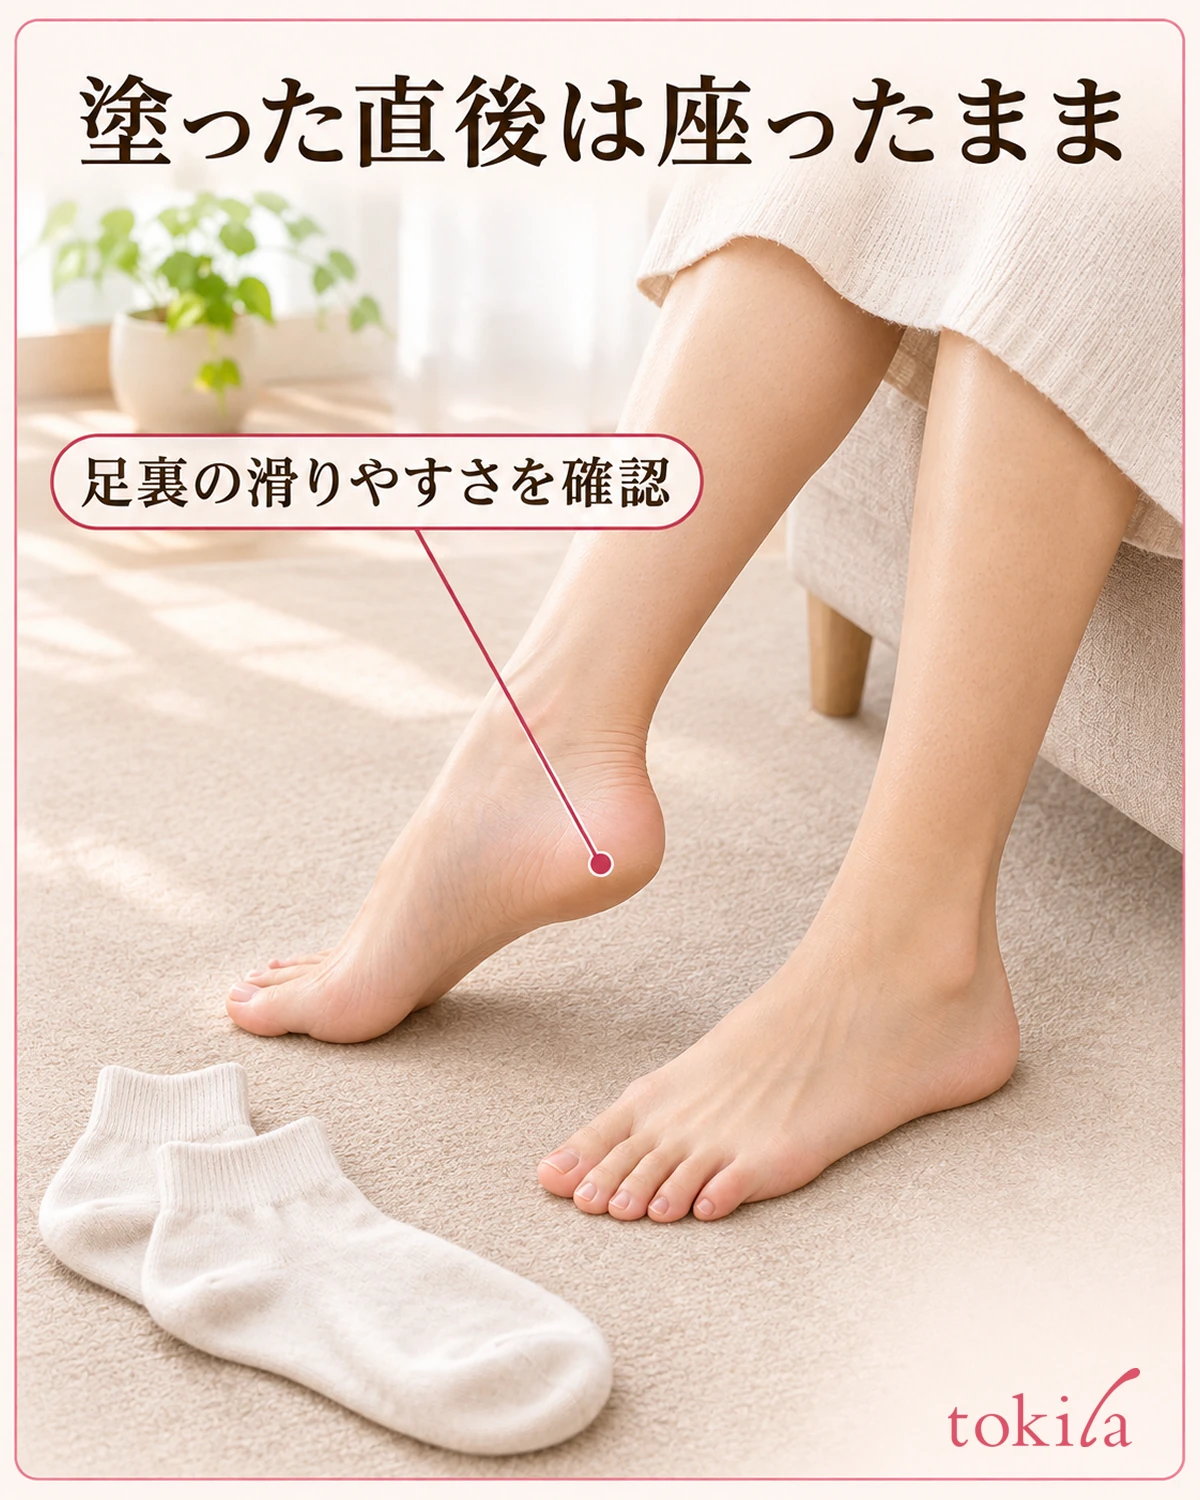
Stay seated and look at your heel after applying the cream. If a white clump remains, spread it over the nearby area you want to cover or gently wipe away the excess. If enough remains on the sole to feel slippery, avoid walking barefoot on wet or slippery floors.
If you put on socks, follow the product's directions if provided and put them on while seated. If cream left on your sole transfers to the fabric, start with less next time. If your morning routine often means putting shoes on right away, consider applying it at a time when you can sit and check your feet, such as after bathing.
Next time, think back to whether you could not reach the edge or ended up with too much cream on the sole, and change either your position or the amount you dispense. A routine of preparing while seated, spreading the cream from the bottom to the sides one foot at a time, and checking the sole last makes it easier to identify what to adjust.