
You glided a stick foundation across your cheek, and only the lines you drew stayed thick. The more you try to spread it, the heavier your whole face looks. When that happens, before adding a new line, try separating the amount you have already put down from the area you blend it over.
This article focuses on stick foundations whose instructions describe applying directly to the face and spreading with fingers or a sponge. Follow your own product's instructions for how far to twist it out and the order of use, and don't treat the number of lines in the diagram as the correct amount.
1. First tell whether it is thick streaks or a difference in color
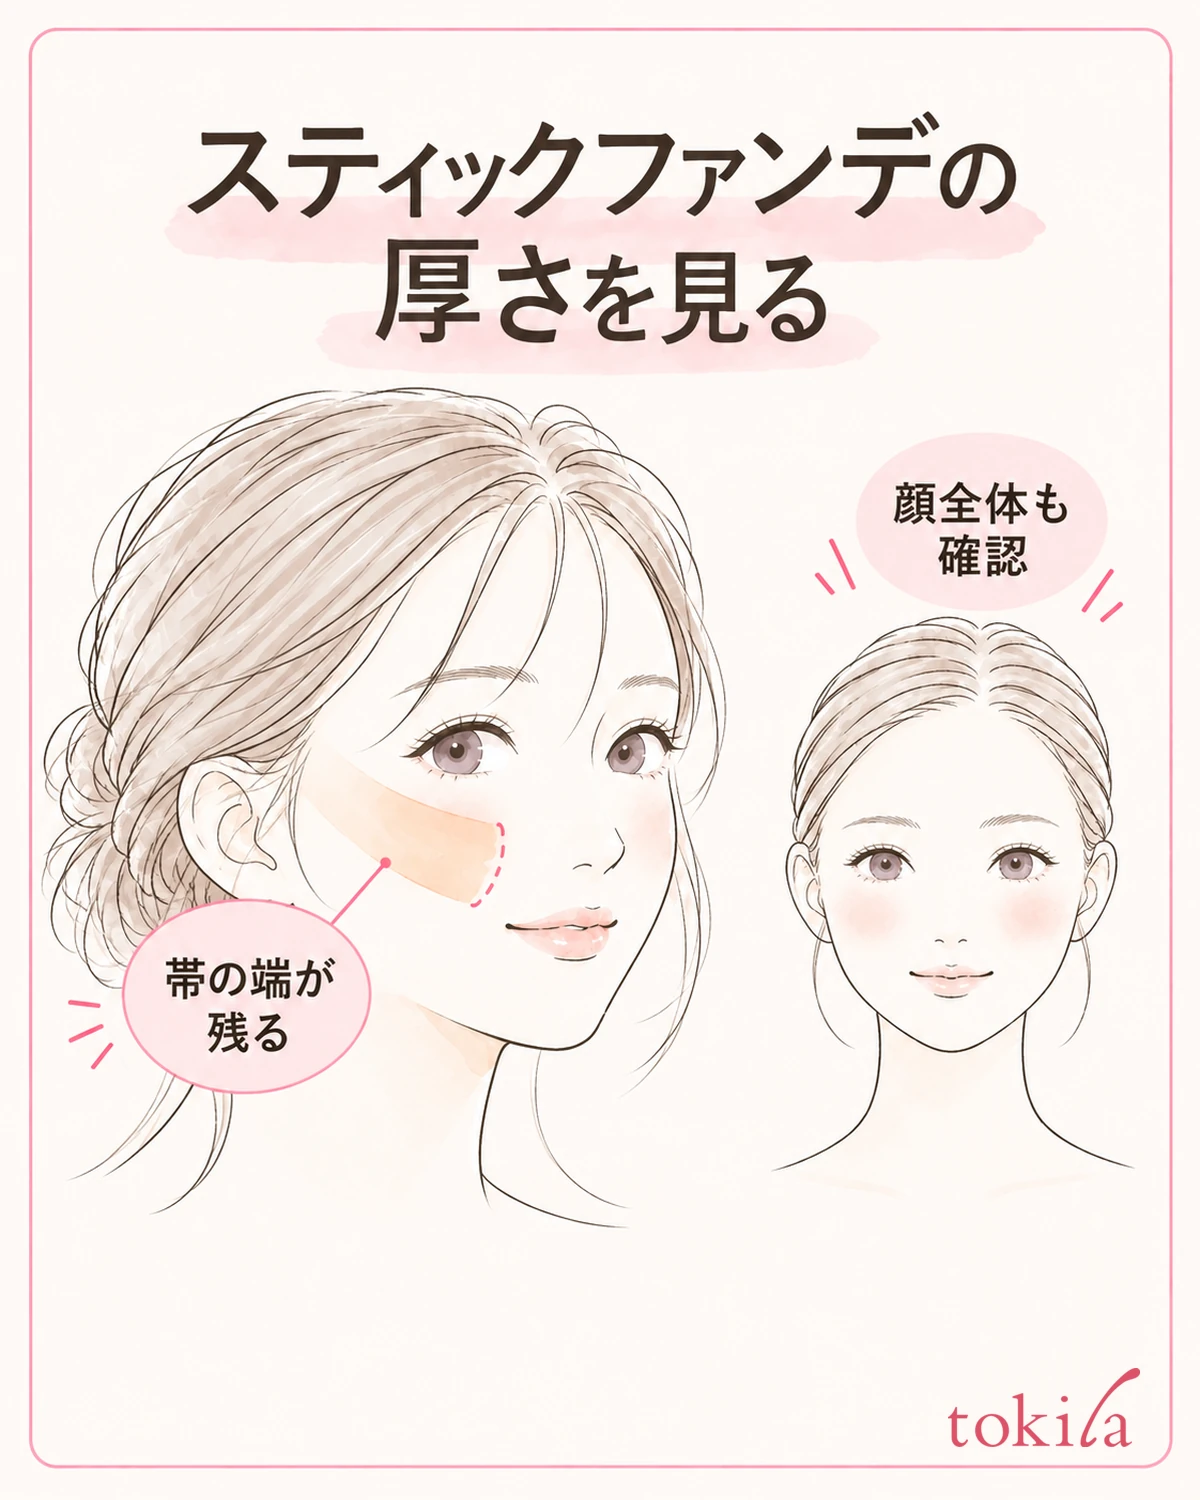
Set the mirror straight in front of you and look at your cheek right after applying. Tell apart whether the places where you ran the stick remain like bands, or whether the whole blended surface looks white. If you can see the edges of the bands, start by checking whether you can spread what you put down thinly, rather than applying more.
Turn your face slightly left and right and look at the same spot from a different angle. The brightness of reflected light and the edge where product has built up thickly are not the same. Don't judge by light from only one side; check whether the streaks are still visible when you turn back to face front.
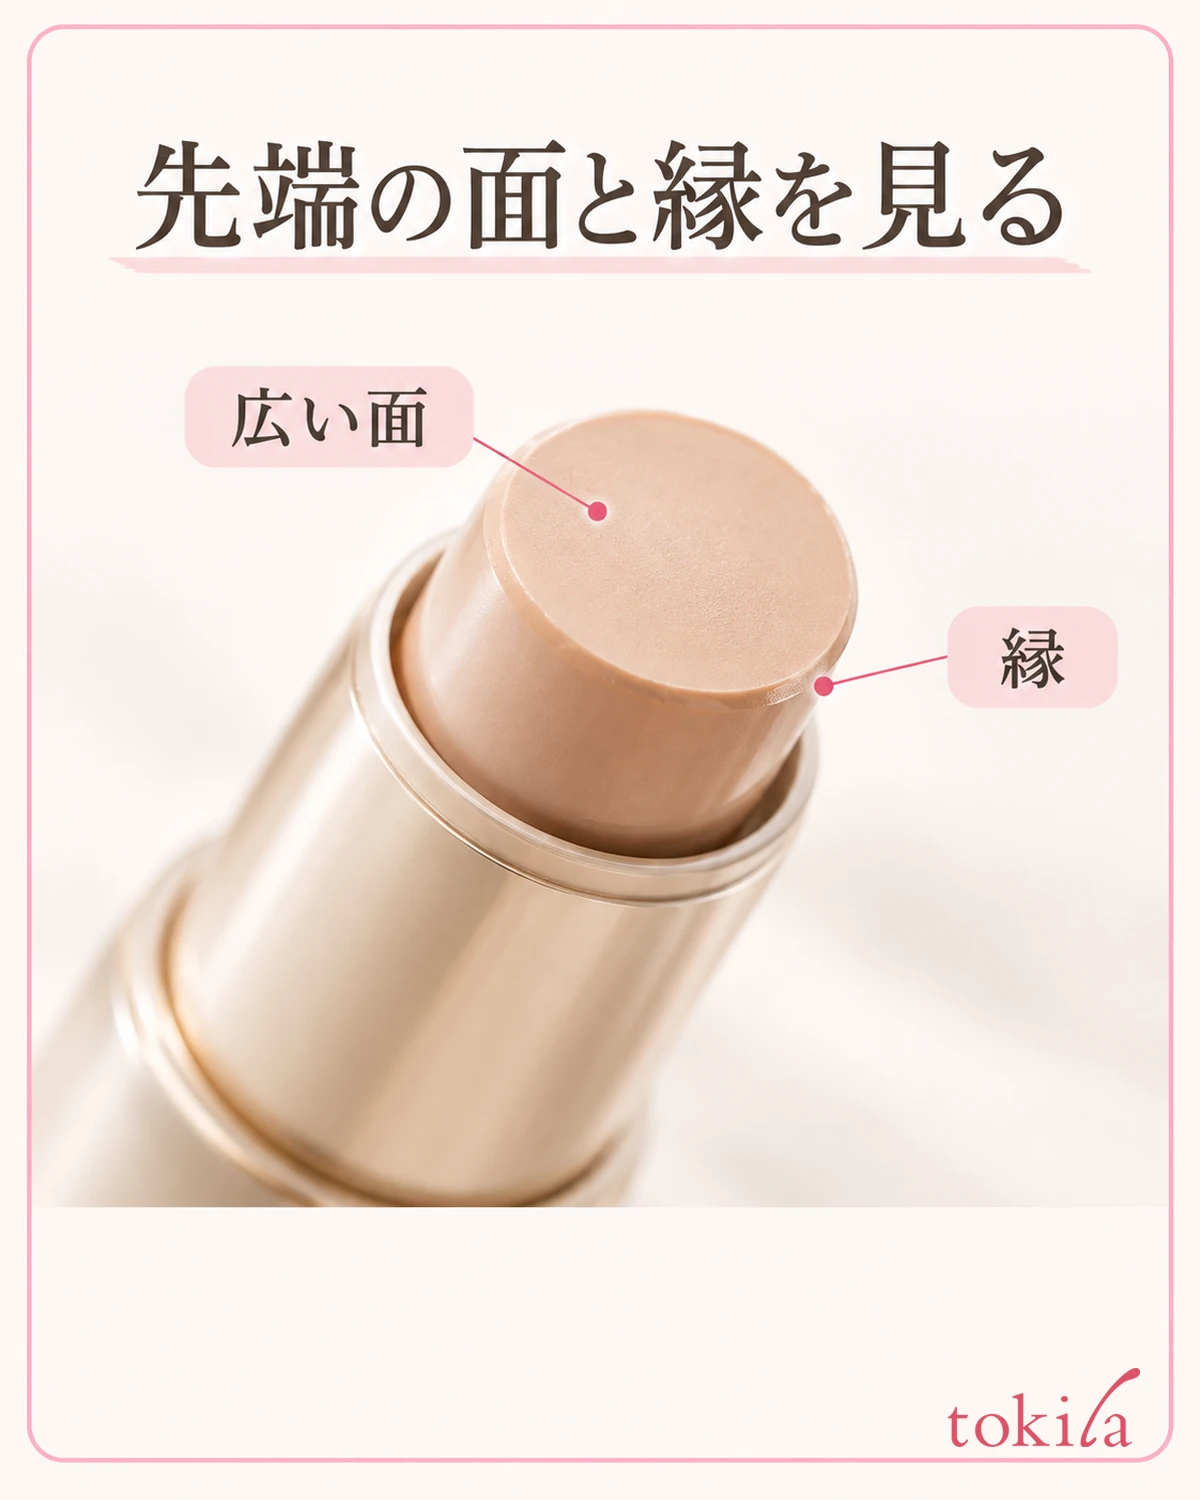
The surface of the stick tip that touches the skin differs by product, such as round or slanted. A line drawn with the wide surface and a line drawn with only the edge differ in visible width. You don't need to press hard on your skin to make a thick line look thin.
If the color difference between your face and neck is large even after blending thinly, don't assume it is only a matter of thickness. Check how to choose a foundation color, and don't try to fill in a color that doesn't match by applying it over a wide area.
Also separate cases where the primer or skincare moves around, or lumps form on the surface, from simple color streaks. If you keep tracing over a base that has gone patchy, it becomes hard to tell which layer you are moving. Stop applying new product and first look at the state of the surface.
When checking, make one cheek a stopping point where you finish it for now. Rather than drawing lines all over your face first and then hurriedly spreading them, you can keep track of the places you have applied and the places you haven't touched yet. To match left and right, avoid adding more to the side that looks thick.
2. Adjust how far you twist out the stick and the base before applying
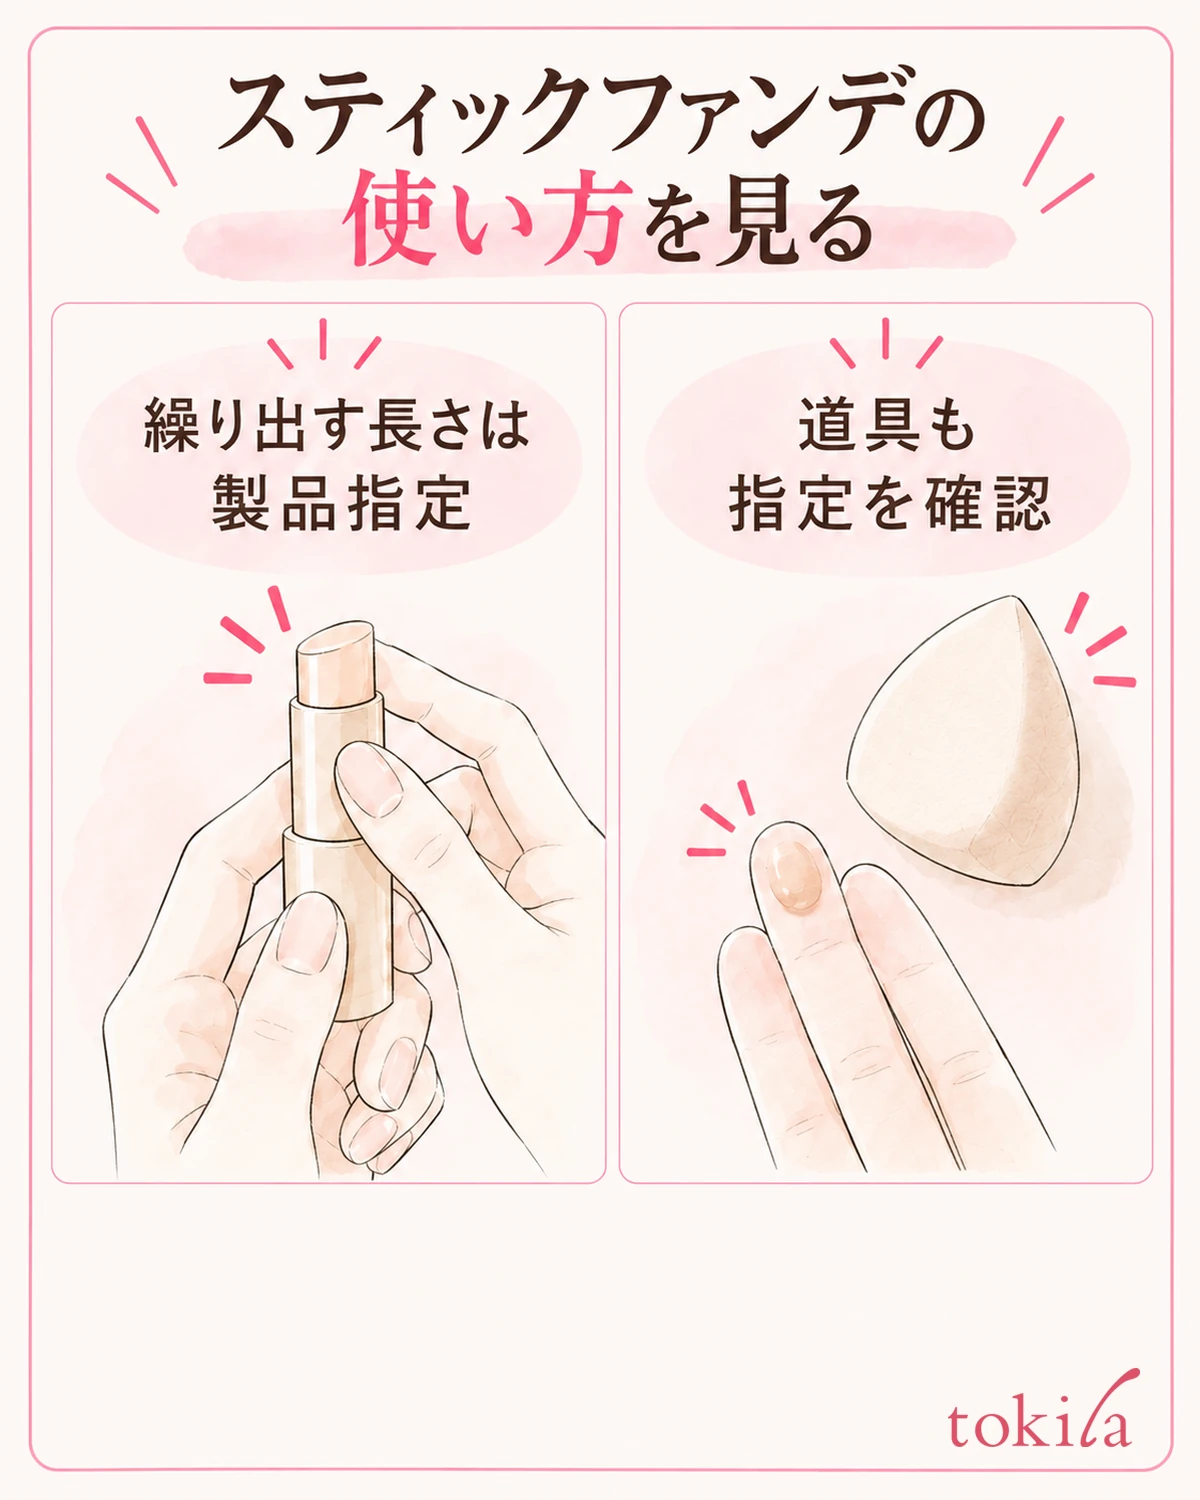
Read the usage instructions on the container or outer box for how far to twist it out, whether it can be applied directly to the skin, and what tools to blend with. Even among stick-shaped cosmetics, foundation, spot concealer, and sunscreen have different purposes. Don't carry the usage of a similar-looking container over as is.
Follow the product's instructions for how far to twist it out. Twisting out more does not mean you can apply it thinly in one go. If the product touches the rim of the container and tilts, or the rotating part won't move, don't push it or pinch it with your fingers; check how that product should be handled.
Blend skincare and primer first, each with its own order of use and amount. Look to see whether liquid or cream is still moving on the surface of your face, or concentrated on part of your cheek. There is no need to apply a particular waiting time to every combination.
Don't pour water or toner directly onto the stick or warm up the product because it doesn't glide well. First review the order of use and the base. Don't remove steps you need on your own, such as wiping your face hard right after applying sunscreen before you start.
If you use a sponge, prepare one that is clean and in usable condition. Check both the foundation's and the tool's instructions on whether to dampen it. Don't assume that dampening will always make it thinner, and it matters not to add another way of using it when you don't know the instructions.
If you blend with your hands, wash them first. If the tip or your fingers have another color of cosmetics on them, don't carry that to your cheek as is. Care for the tip according to the product's guidance, and do not scrape off, melt, or transfer the contents into another container.
When reviewing, also read separately whether the product is one for which you can skip primer. Even if the primer was unnecessary with another stick you used before, don't apply the same conditions to this product. Decide the combination you have, then move on to adjusting the amount you apply.
3. Blend what you put on one cheek from the center outward
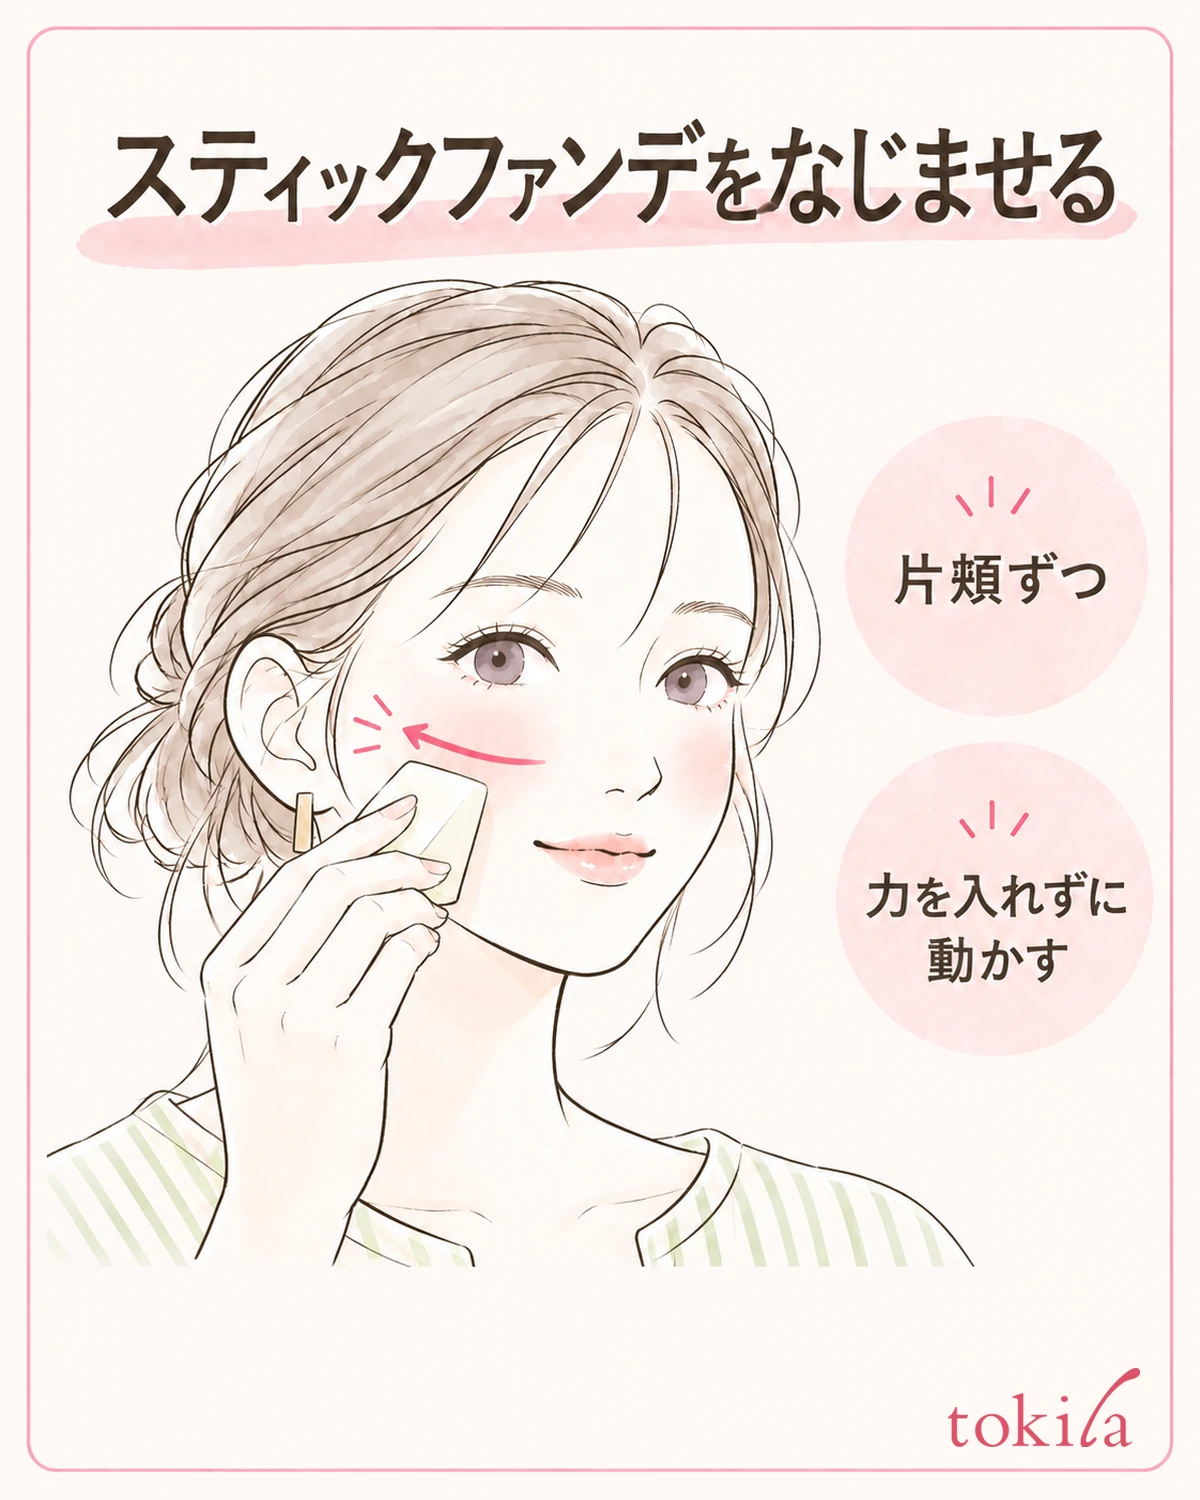
For a product that is specified for direct application, use the position and amount in the instructions as your starting point. Before adding many passes over a place you have already gone over, lift the container away from your face for a moment. The lines in the diagram are a schematic showing the motion, and the number and length of the lines are not an amount for everyone to use.
With your fingers or the specified sponge, blend from the center of your face outward without using force. Start with the broad area of the cheek and check whether the ends of the lines you applied remain. When the lines won't disappear, rather than covering them with new lines, first check how far what is already there has spread.
With a sponge, press the broad flat side against your cheek and move it with a force that doesn't push into the skin. Don't rub a broad area with only the corner, or squeeze it until it collapses. Before using the flat side and the corner separately, notice which part is touching your cheek, and it becomes easier to handle.
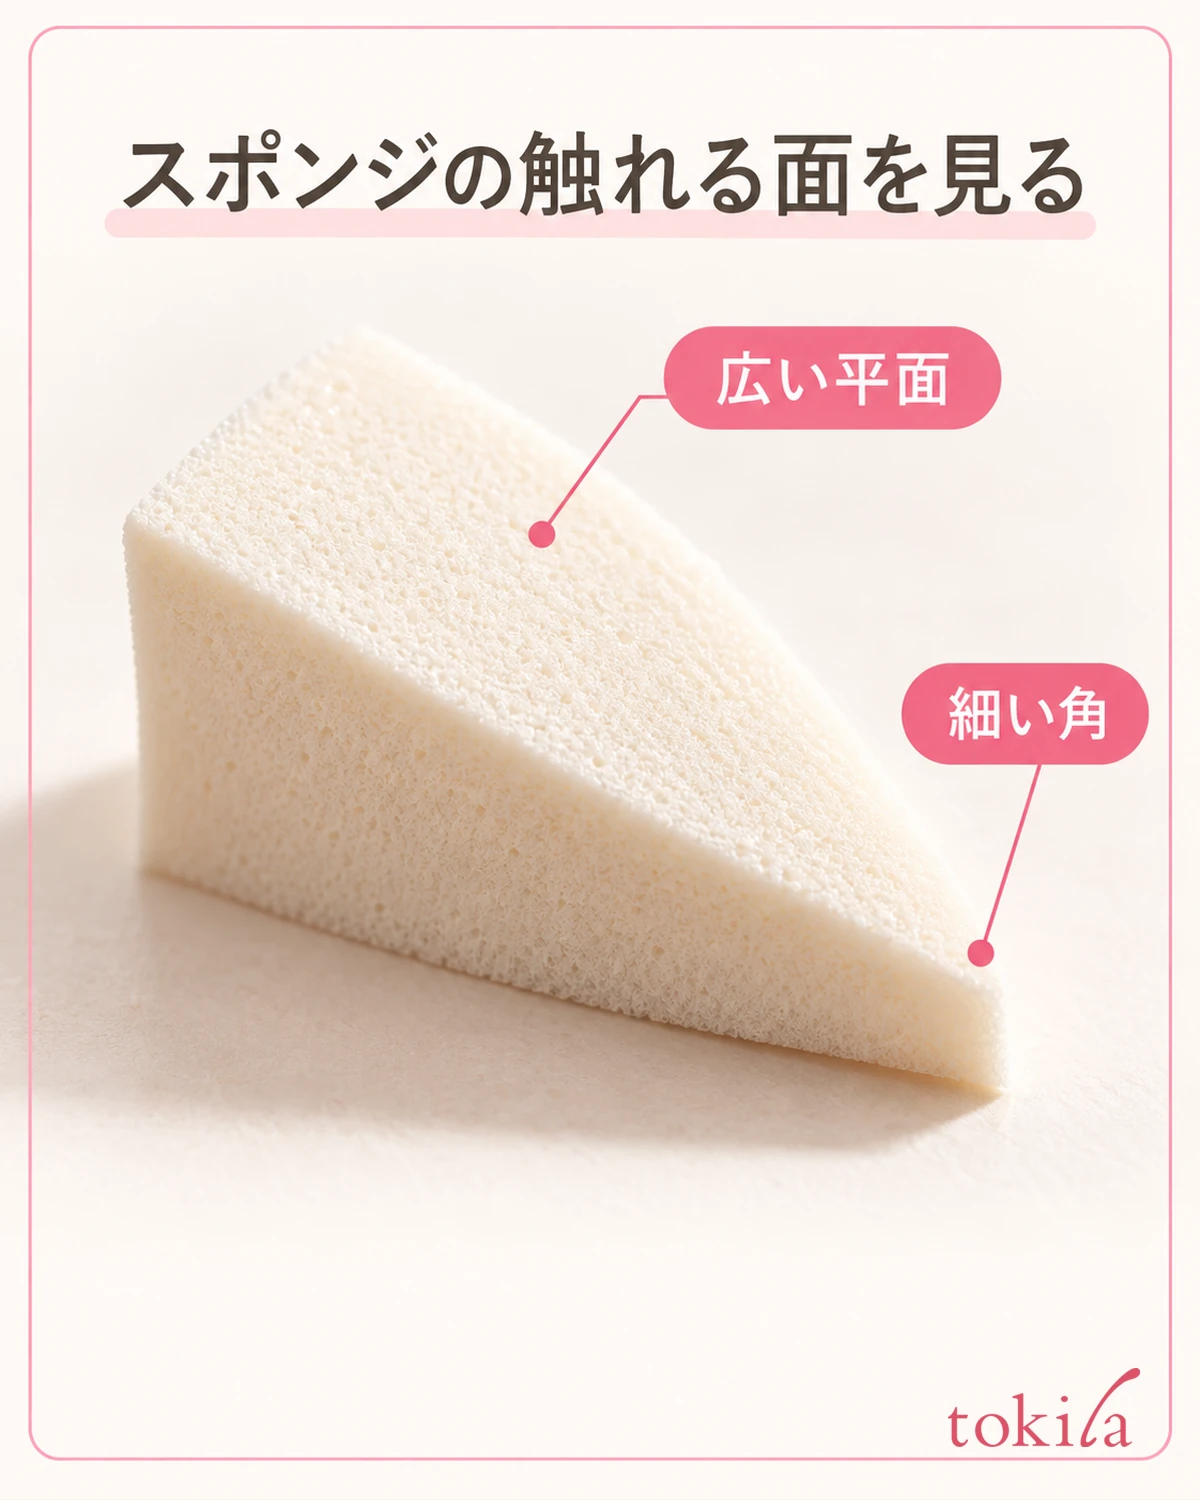
With your fingers, spread gently with the pads, not the fingertips. Rather than moving the skin a lot to erase streaks, blend the edges of the product thinly. If it feels catchy, don't go back and forth over the same spot; return to checking whether the amount, the base, and the tool match the instructions.
At the hairline and the contour, before adding a new thick line, look at the edge with what remains on your fingers or sponge. The goal is not to layer the same amount as the center all the way to the edge. Check from the front whether your whole face looks whiter than necessary, and how it connects with your neck.
Once one cheek is blended, move to the other side and compare them under the same light. The width of the cheeks and the spots you care about differ left and right, so look at the thickness of the finish and the edges rather than drawing exactly the same lines. You don't need to apply the other side thickly to match the thick side.
4. Separate the small areas from the places you want to layer
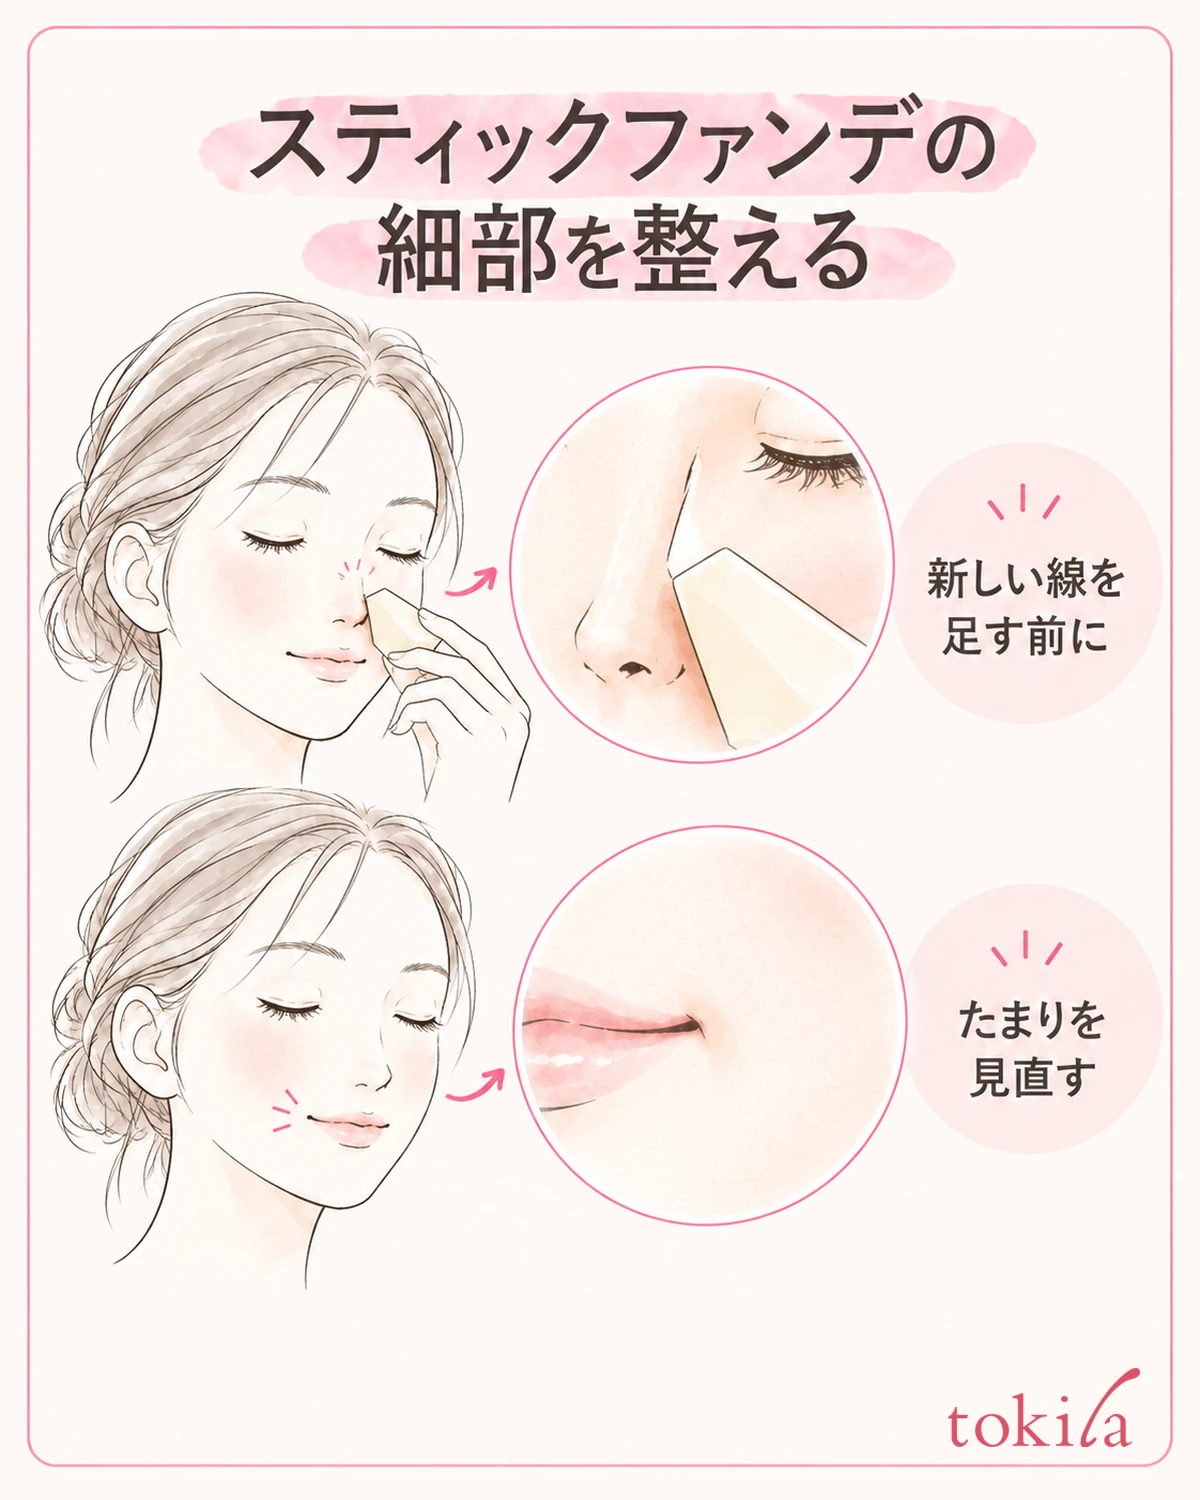
Around the eyes, the sides of the nose, and the mouth, before drawing lines as thick as on the cheek, check whether blending with what remains on your fingers or sponge will do. Stay within the areas the product can be used on, and don't apply it inside your eyes or on mucous membranes. The smaller the area, the less force you should use; proceed bit by bit within what you can see.
At the edge of the nostrils, touch the tool to the skin you can see from outside. Don't push the product in as if to fill the narrow hollow, and check that no dark line remains at the edge. If buildup is your main concern, you can also check how to thin out foundation around the nose.
If there is a place where you want to add coverage, first blend one layer and then narrow down the spot to add to. If you layer on all around the area that bothers you at once, it becomes hard to see where you added. Prioritize the product's guidance for how to layer too, and stop for a moment once you have added a little.
Don't keep layering concealer or powder on a thick band that has not blended in. Covering it from above doesn't mean the thickness has been sorted out. First review the edge of the foundation, and then choose any other product you need. Try not to erase all the streaks with powder.
For a spot that has gone on thick and doesn't settle even after a light blend, redoing the needed area is an option rather than adding more force. Use a cleanser you can use in the specified way, and redo from the necessary skincare, sunscreen, and primer. Avoid rubbing the surrounding area over a wide range.
If you notice an abnormality such as redness or irritation partway, don't continue tidying up the look. Respond according to the precautions for use of the cosmetic. This doesn't mean that a small amount can always be used; on days when it doesn't suit the condition of your skin, you also need to decide not to force a finished look.
5. Look at your whole face, and change just one thing about the amount next time
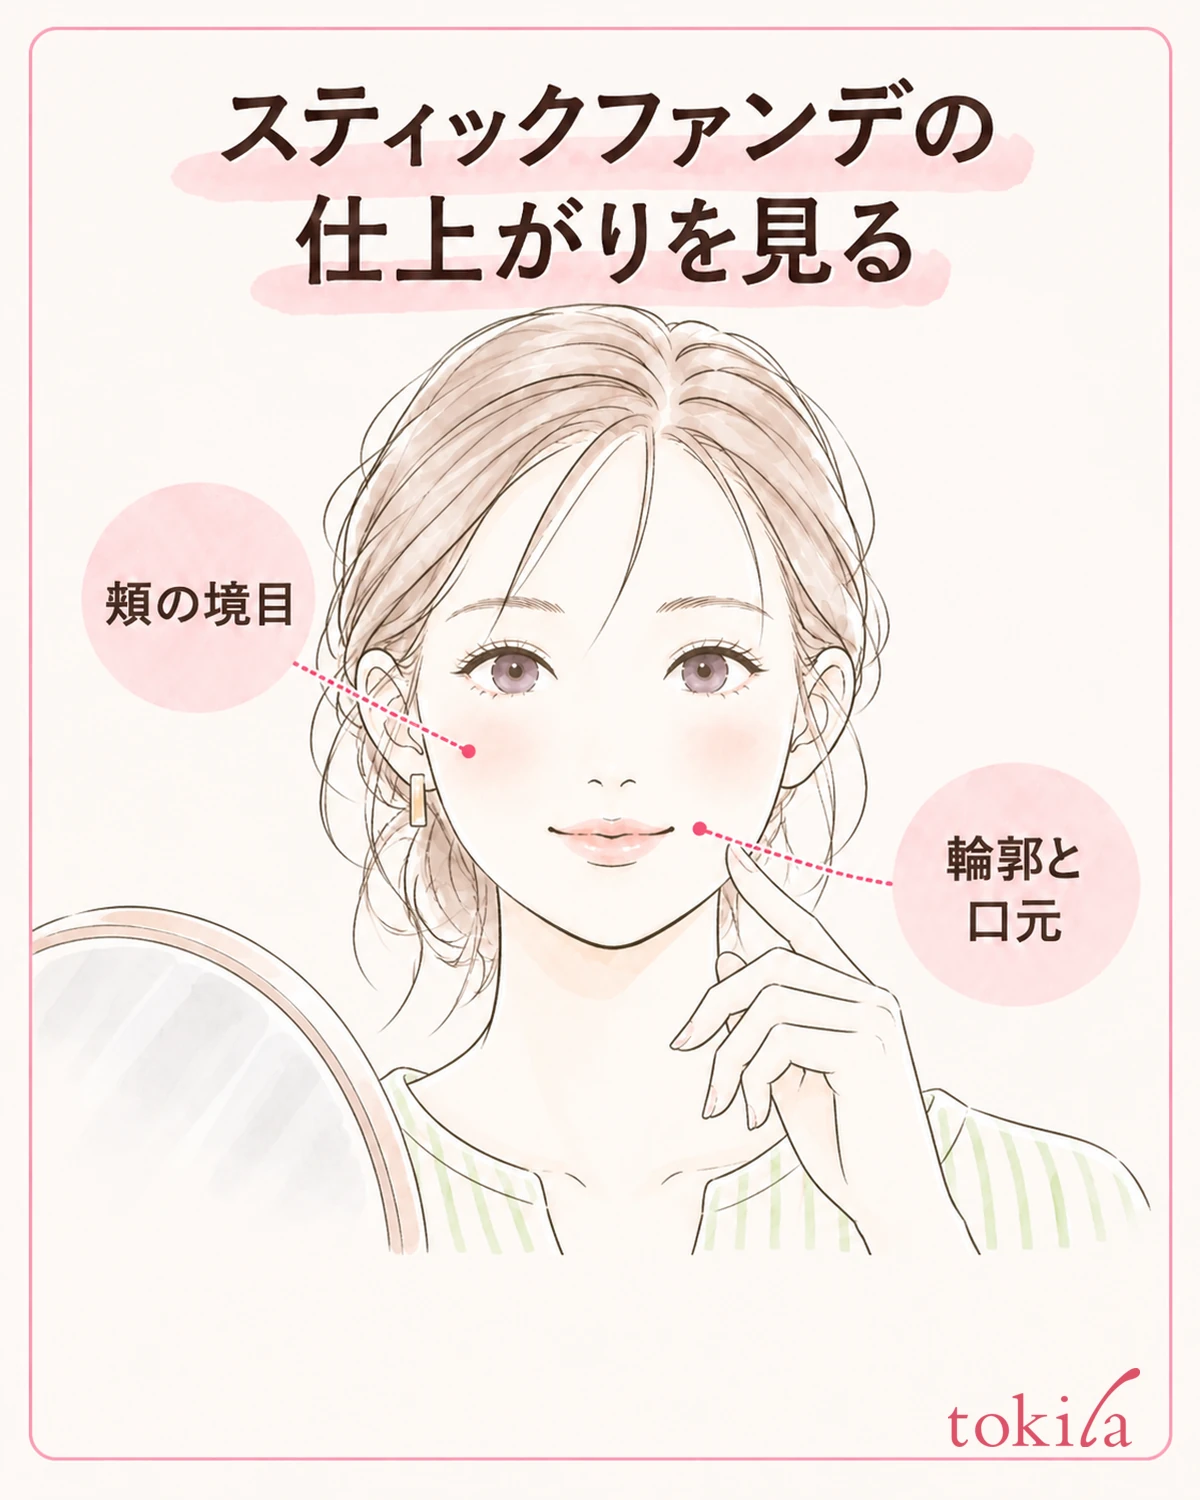
Bring the mirror back to the front and look at your whole face from a little distance. Check in order the ends of the lines on your cheeks, the hairline and contour, and any buildup around your nose and mouth. Rather than covering up every small color difference you notice in a magnifying mirror, look at whether any place looks thick at your usual distance.
Check again after returning to your usual expressions, such as smiling or moving your mouth lightly. If color gathers where it moves, look at the layering in that spot before adding new product. To remove natural lines caused by expression, you don't need to keep pressing foundation into them.
If you change only the direction of your neck or face to compare left and right, the lighting conditions change as well. Look at both the front and a slightly angled view in the same place. Even when checking by photo, correction and brightness change skin tone, so don't increase color or amount based on the photo alone.
Next time, use the same product and tool and choose one thing to change, such as reducing the number of times you run it over your cheek. If you twist out more on your own, or switch the primer and tool at the same time, it becomes hard to trace what made it easier to handle.
When you finish, return the contents following the product's instructions and close it so the cap doesn't hit the tip. If it won't go back in, or the container is damaged, don't force it; check how to handle it. For sponge care, you can follow up with how to wash and dry your tools.
The starting point for a thin finish is not rubbing for a long time, but spreading what you have put down and then deciding whether to add more. Work one cheek at a time, separate the broad areas from the small areas, and return to your whole face at the end. Combine this flow with the usage of your own product, and adjust it to the range you need today.
Record how it breaks down after some time separately from the thick lines left right after applying. Don't judge that tidying the lines in the morning means it won't break down all day; briefly noting the areas and situations where it changed later makes it easier to choose which step to review next.



