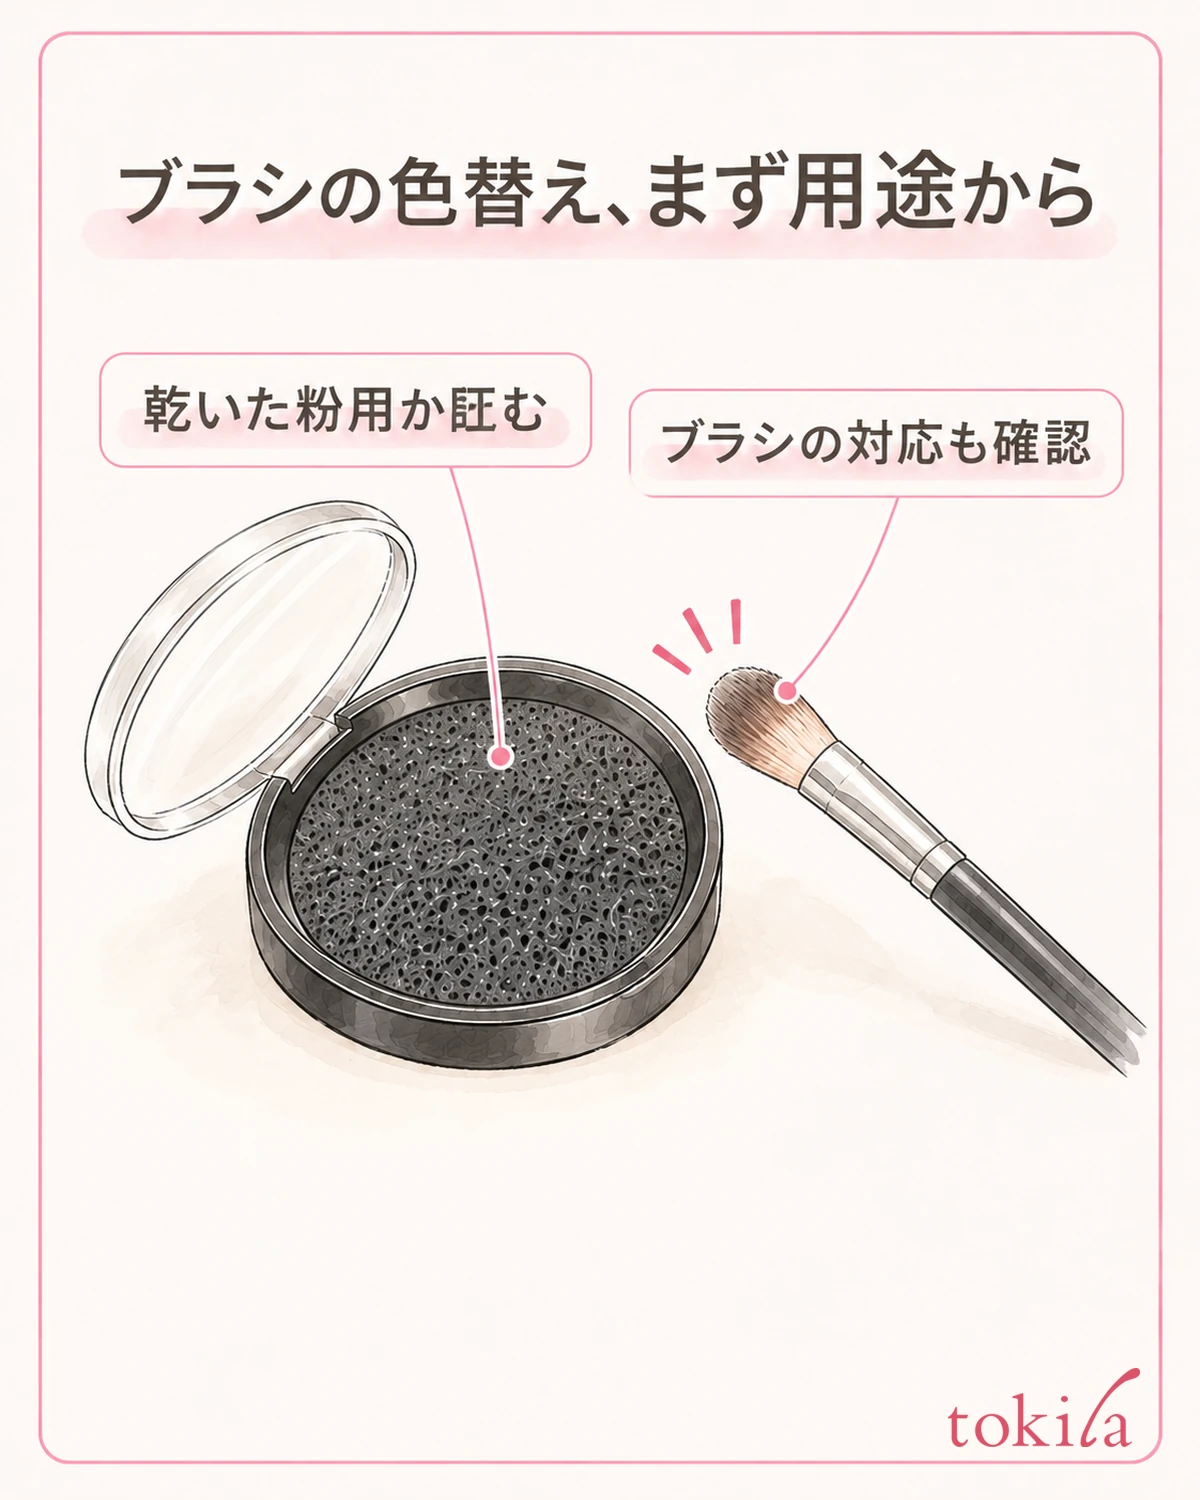
When you remove nail color, the cotton pad may move even after you place it on the nail. Remover clips are tools for holding cotton in place at the fingertips in that situation. However, clamping them on does not make every kind of nail product removable. First check that the removal method suits what is on your nails and that it matches the clips' intended use.
This article covers opening-and-closing, cover-style remover clips, from preparation and placement to taking them off to check the condition of the nails. It does not prescribe one filing procedure for gel or a universal waiting time for remover. Use the clips as holders when the instructions for your nail product, remover, and clips are compatible.
1. Check that the clips are for removal and match the liquid to the nail product

First read the packaging to see whether the clips are intended to hold cotton soaked in nail polish remover or a similar liquid against the nails. Some similarly shaped nail clips are designed to hold extension tips. Choose a product suitable for removal, rather than relying only on the name “nail clips” or its transparent appearance.
Next identify what is on your nails. Nail polish, gel intended to be removed with remover, and a base designed to peel off require different procedures. If a salon applied the product and you do not know its type or removal method, check with that salon before using clips on your own.
Read what the remover is designed to remove, too. Do not assume it works on every coating or adhesive merely because it contains acetone, or does not contain it. Prepare only after confirming that the liquid suits the product on your nails and can be used with the clips.
Clips help secure cotton; they do not change the type of liquid needed or the nail product's removal method. If the instructions specify wrapping with aluminum foil, clips alone may not be a suitable replacement. If you cannot confirm an approved combination for your products, use the originally specified method.
Before buying more, check the width and depth of the part that accommodates the fingertip, and whether the clips are for fingers or toes. A wide opening alone does not establish suitability; compare the intended use and dimensions. Do not apply instructions for a finger directly to the big toe.
If you want to remove nail tips, first identify what was used to attach them.Attaching and removing press-on nailscovers this separately. Do not assume that every removal difficulty comes from insufficient clamping pressure.
2. Prepare to work with one hand before dispensing the liquid
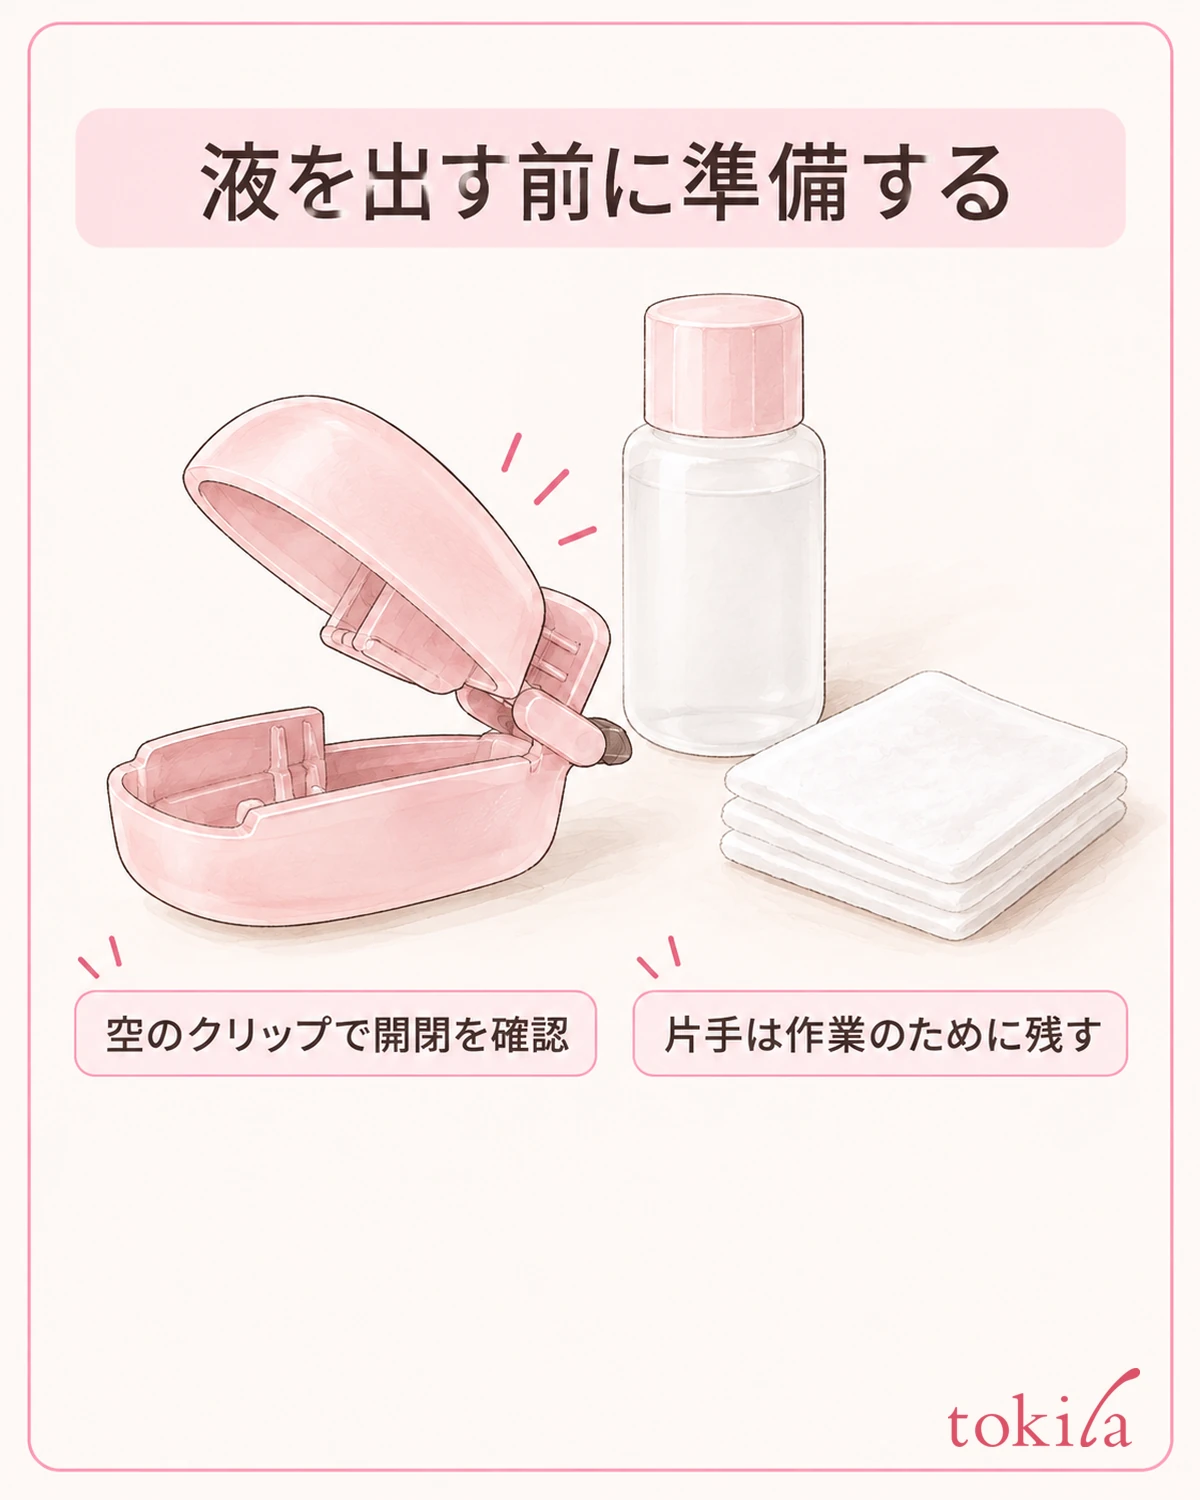
Set out the clips, cotton, compatible remover, and a suitable tray for used cotton as specified in the instructions. Also consider protection appropriate to the product's guidance so the liquid does not touch the desk material. Avoid dispensing the liquid and then searching around for supplies.
Read the liquid's precautions first, including avoiding flames and heat sources and ventilating the area. Enclosing it in a clip does not change the liquid's properties. Prepare the work area without improvising with a hair dryer or warming the container to speed up removal.
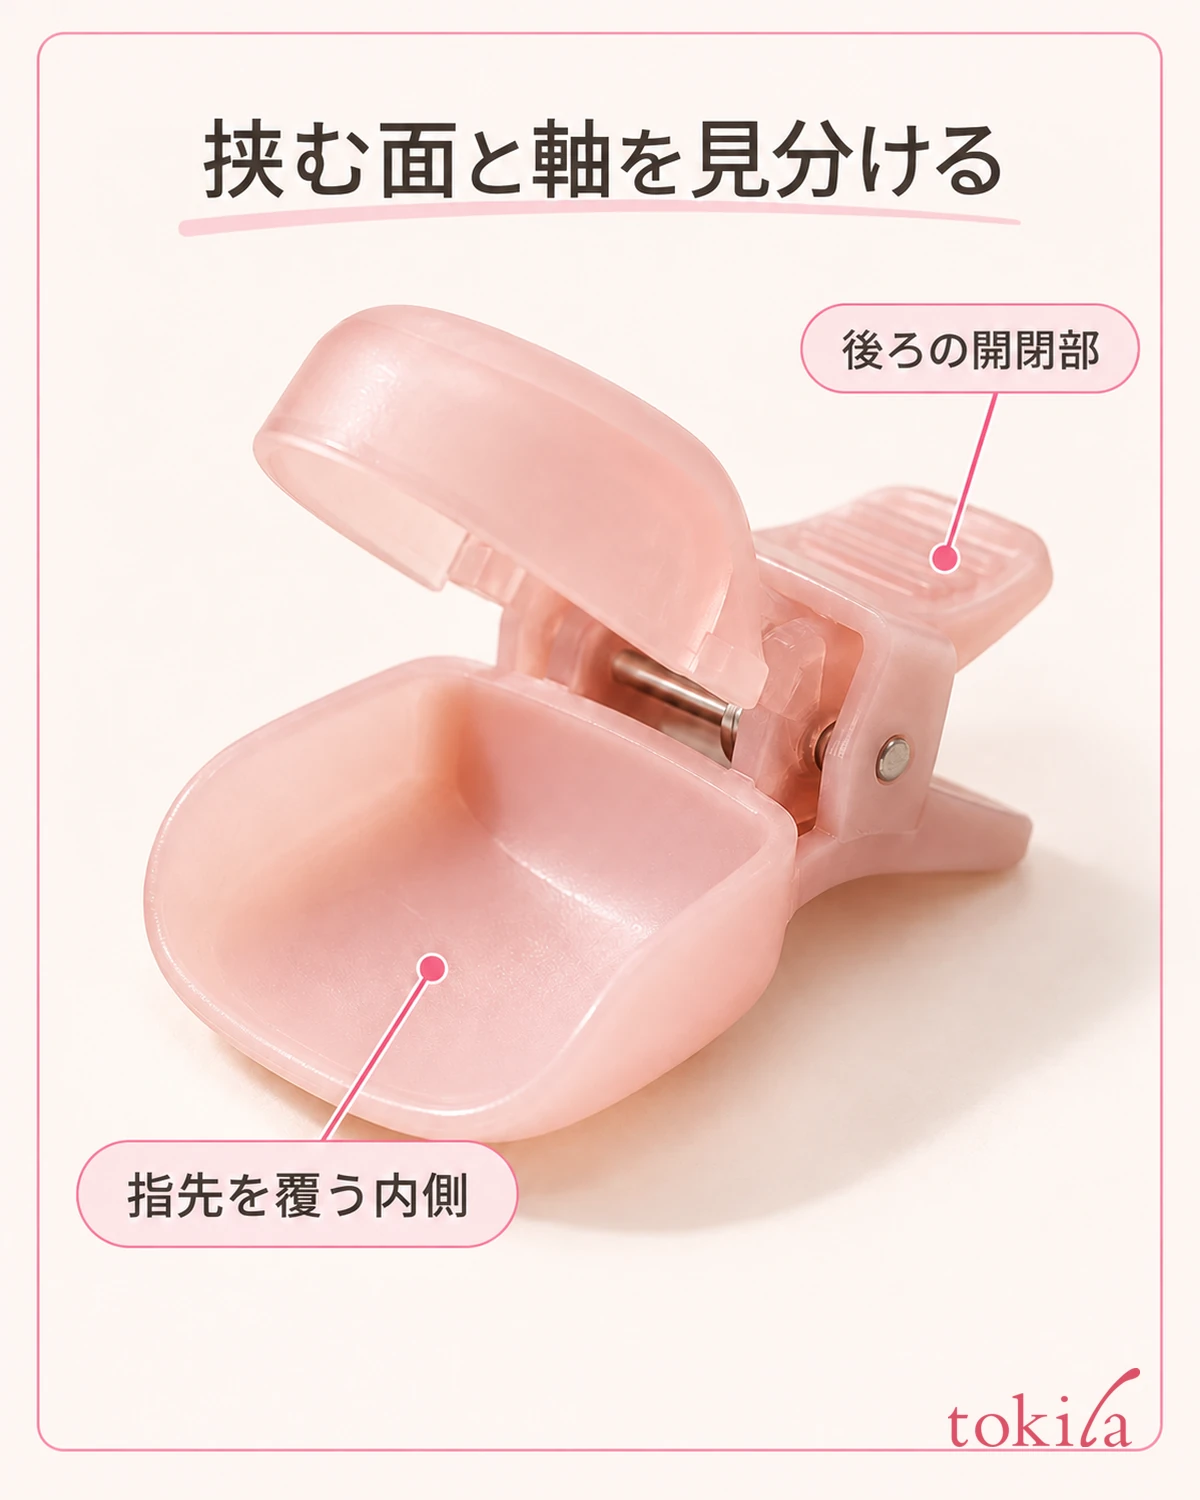
Before using the liquid, open and close the clips and distinguish the part you press from the part that covers the nail. With a spring or hinge mechanism, check while the clip is empty where to press to open the front. If it is cracked, deformed, or catches when opening and closing, do not put it on a finger; return to the product's care or replacement guidance.
Match the cotton's size to the liquid's and clips' instructions, and first check that it can cover the nail. Cotton thick and large enough to wrap the entire finger may not fit inside the cover. If it is too small to cover more than part of the nail, adjust its shape before securing it.
Do not put clips on every finger of both hands from the outset; leave one hand free to work. Arrange things so you can open and close caps, operate a timer, and put away cotton. Prepare so you do not need to hold a smartphone with remover-covered fingers to read the instructions.
If you remove rings or other jewelry, put them in a case away from the liquid. If there is an abnormality in the nails or surrounding skin, do not start; check whether the remover can be used. Having the tools ready and being in a suitable condition to use them today are separate considerations.
Turn the instructions you need to read so they are visible from the desk; this makes the sequence easier to follow. If the procedure appears only on the back of the container, read through the final steps before dispensing the liquid. If something becomes unclear midway, pause and return to the instructions rather than moving clipped fingers around to search.
3. Place the cotton on the nail and align the holding position
Once you are ready, wet the cotton with the amount and method specified for the liquid. Do not determine the amount solely by the clip's size or pour liquid directly into the cover. Avoid spreading dripping liquid around, and follow the instructions for the product you are using.
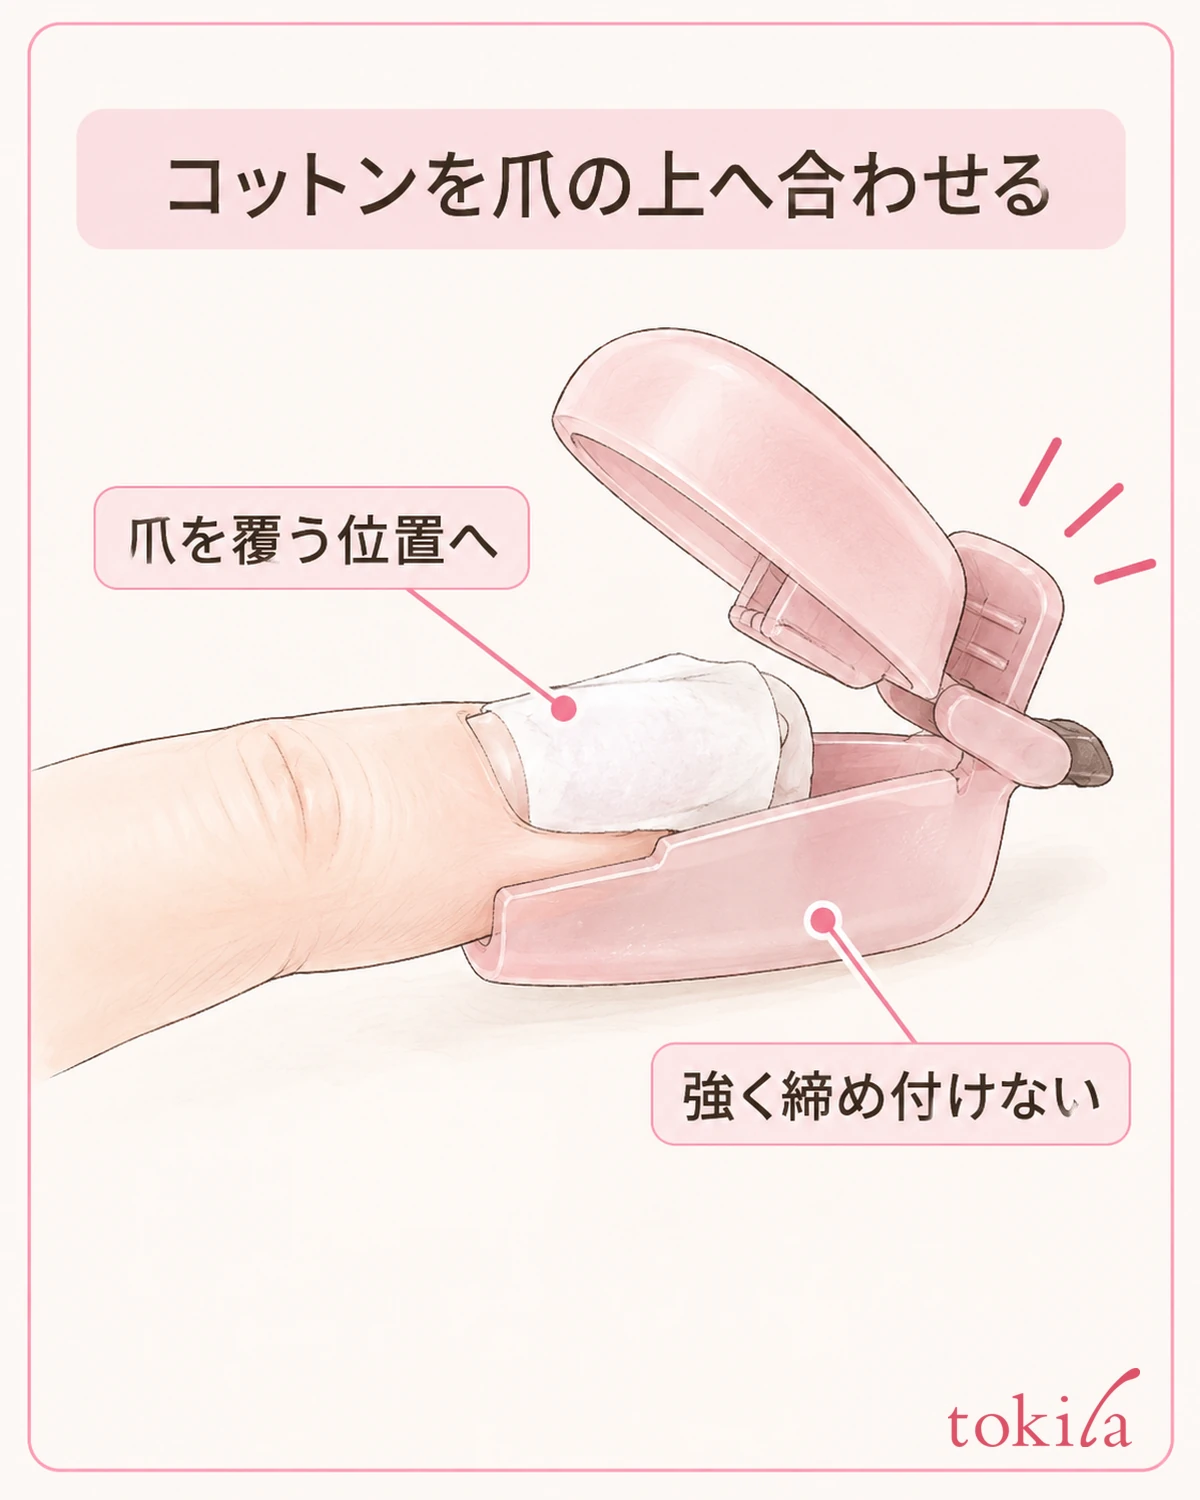
Place the cotton on the nail and check that it covers the required area. Make sure an edge has not folded to leave a gap at the center, and that the cotton has not shifted only toward the tip. The aim is not to wrap a broad area of skin; adjust the shape to contact the nail surface that needs covering.
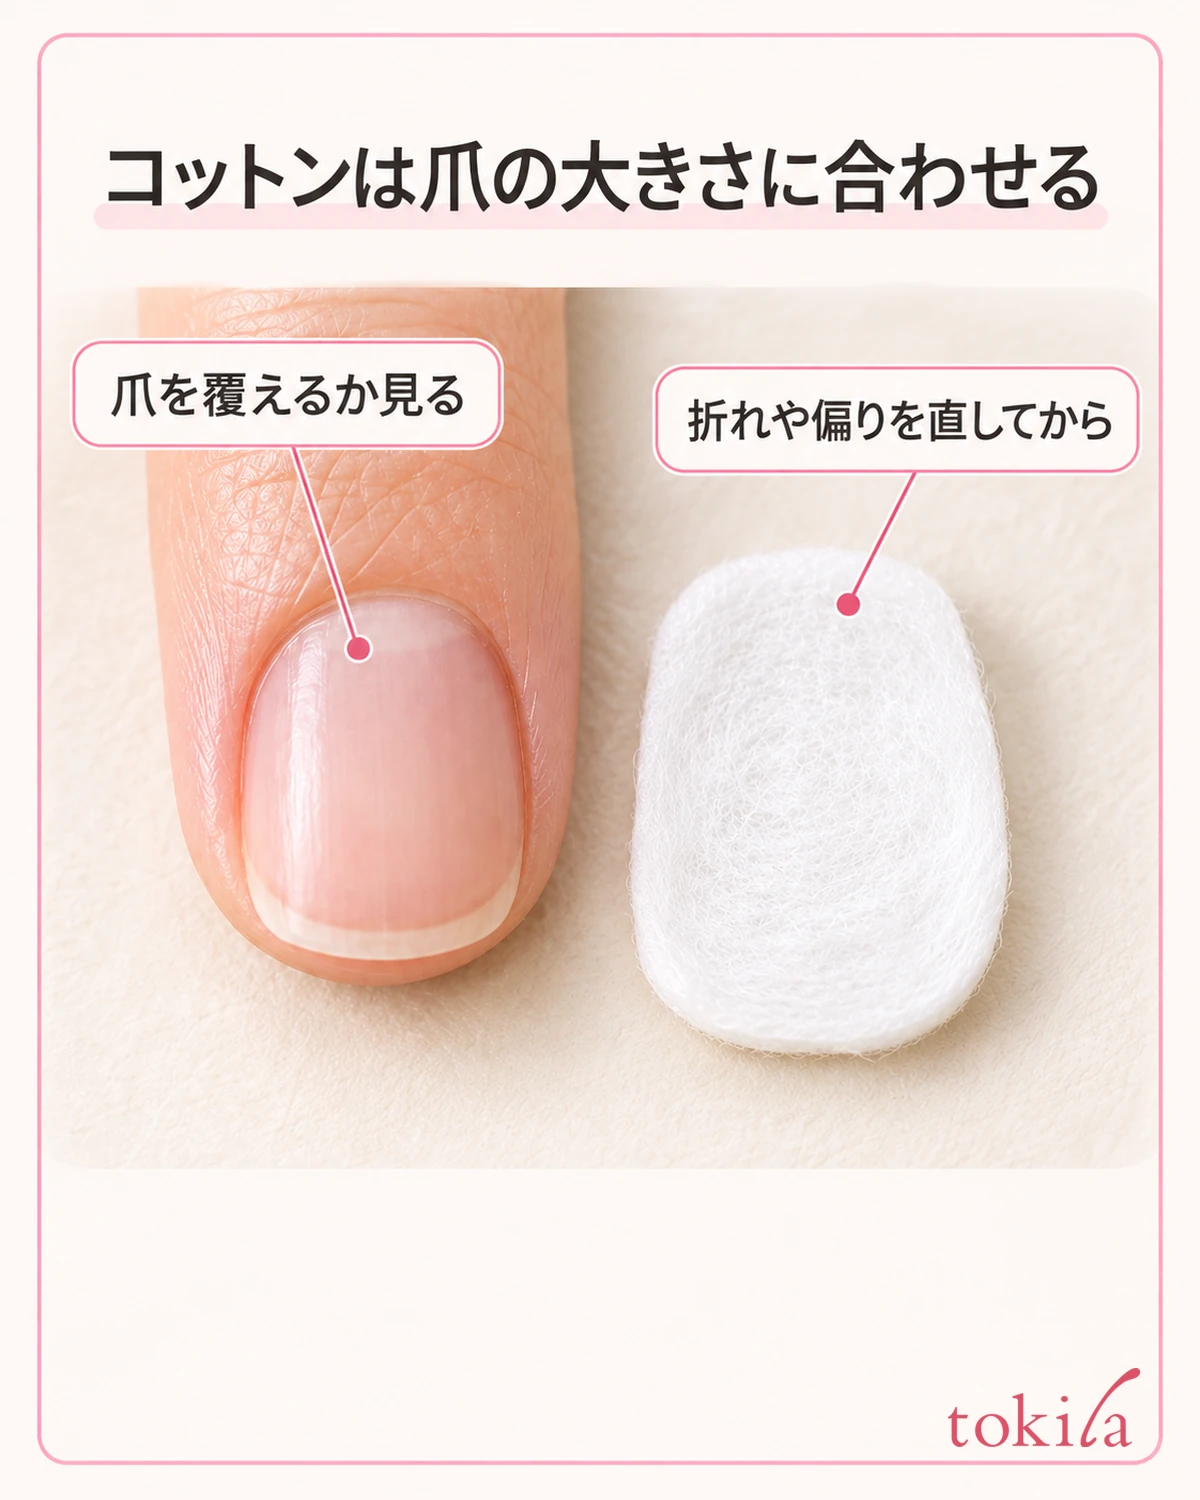
Open the clip as instructed and fit it to the fingertip without shifting the cotton. Rather than forcing the finger deep inside, position the cover over the nail where it can hold the cotton. If closing pushes the cotton out, open the clip and reposition it.
Once secured, look from the side as well to check whether a large amount of cotton protrudes or the clip sits at an angle. Do not assume stronger pressure improves removal. If it hurts, causes numbness, or digs firmly into the finger, take it off and check the size and method.
Rest the clipped finger on a stable surface such as the desk; do not use the clip to grip objects or strike its tip against the desk. If it slips whenever you bend your finger, stop to review fit and placement rather than tightening it further with rubber bands or tape.
Determine the waiting time from the instructions for both the liquid and the product on your nails. Do not assume clips shorten the time or that leaving them on longer will always remove the product. If pain, irritation, or another abnormality occurs, stop using them without waiting for the time to elapse, and follow the product's guidance.
4. Open and remove the clips, then check what remains before deciding the next step
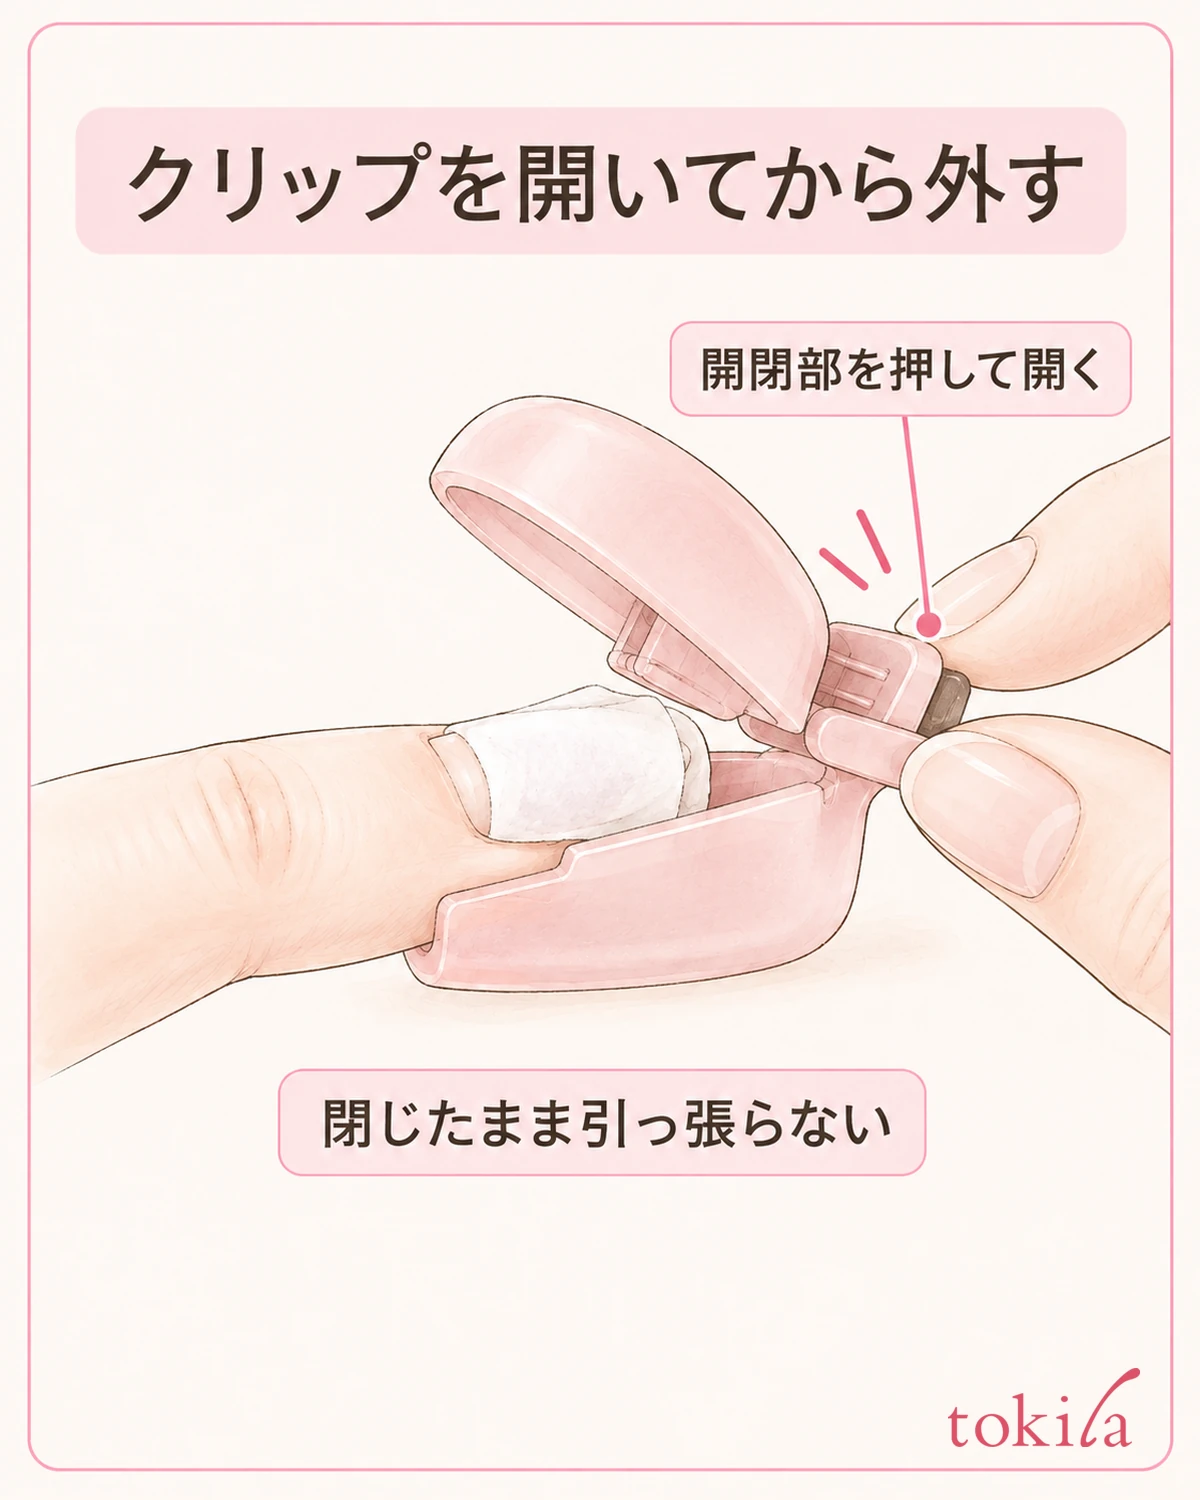
At the specified stage, use your free hand to press the clip's opening mechanism and release pressure on the nail and cotton. Do not pull it forward while closed to scrape the nail surface with the cotton. Open the cover sufficiently before moving it away from the fingertip.
Follow the liquid's instructions for handling the removed cotton and for the subsequent removal procedure. Being able to take off the clip does not mean all the nail product has been removed. Check what remains on the surface and decide whether to proceed to the specified next step or stop.
If some product remains, do not force off hard areas or scrape them with the cover's edge. If the instructions specify wetting and placing cotton again, follow that procedure and timing. Avoid repeatedly clamping it on for long periods when you do not know the conditions for repeated use.
When reviewing only a difficult-to-remove finger, consider the coating's thickness, the cotton's contact, and the liquid used. Do not mix in a different liquid midway for comparison or keep filing areas where product remains. If the task goes beyond what you can manage yourself, keep consultation with the salon or another appropriate provider as an option.
Follow the remover's guidance for final steps such as washing hands, wiping, or moisturizing. Avoid touching the eyes or mouth with hands that still have liquid on them, and prepare the nails as needed before applying another color. Removing the clips and finishing the cleanup are separate steps.
5. Check the inside and opening mechanism, then follow the specified care instructions
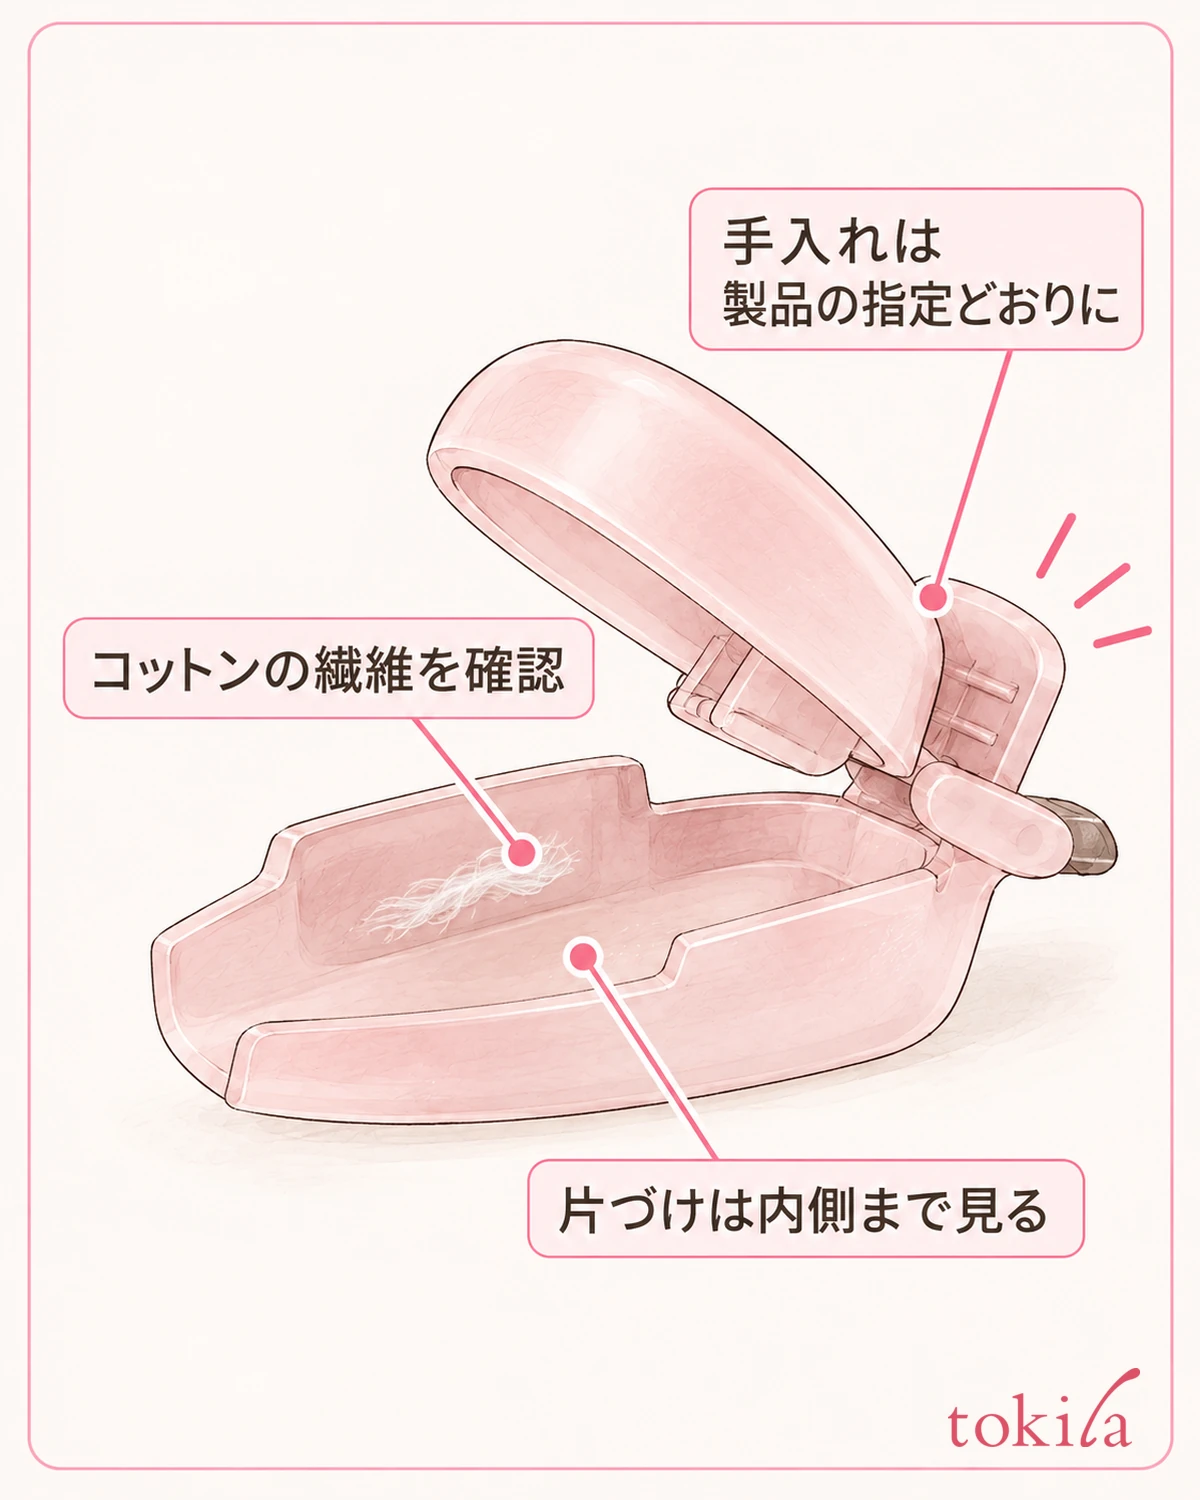
After use, look for cotton fibers or pieces of nail product left inside the clips. Check the opening mechanism, the surface that touches the finger, and the cover's edge separately. Do not decide they are ready to reuse merely because they look clean from the outside.
Follow the clips' instructions for washing, wiping, and drying. Even if their material can come into contact with remover, this does not necessarily mean they can be stored fully immersed in it. Do not add unspecified care methods such as using boiling water or alcohol, or removing a metal hinge pin to take them apart.
If the cover turns whitish, cracks, or the spring moves differently, do not force continued use. Include changes in the tool itself, as well as the liquid amount and timing, in deciding whether to use it next time. You can also set aside one damaged clip and work on one hand at a time with the remaining clips.
Dispose of used cotton and leftover liquid according to the remover's disposal instructions and local sorting rules. Keep tools separate from disposable items rather than leaving damp cotton inside the clips' case. Close the liquid container as instructed and return it to storage out of children's reach.
For next time, briefly record the combination of liquid, nail product, and clips that fit. Do not turn a particular number of minutes into your own universal guarantee of removal; reread the labels when a product changes. Check their intended use when incorporating these tools into the routines before and after enjoying nail color.