
You want to switch eyeshadow colors, but the previous shade is still on your brush. A dry makeup brush cleaning sponge is designed to remove dry powder in this situation. Before using one, distinguish the types of brushes and residue it supports, then start by touching the bristles lightly to the sponge and lifting them away once.
This article explains how to remove powder with a sponge in a case before moving on to the next color. It is a different tool from a sponge used to apply foundation to the face, or cleaning with water and cleanser. A lighter color alone does not mean the brush has been washed or disinfected; use the tool within its intended purpose.
1. Check that the tool removes dry powder, and confirm its uses and compatibility
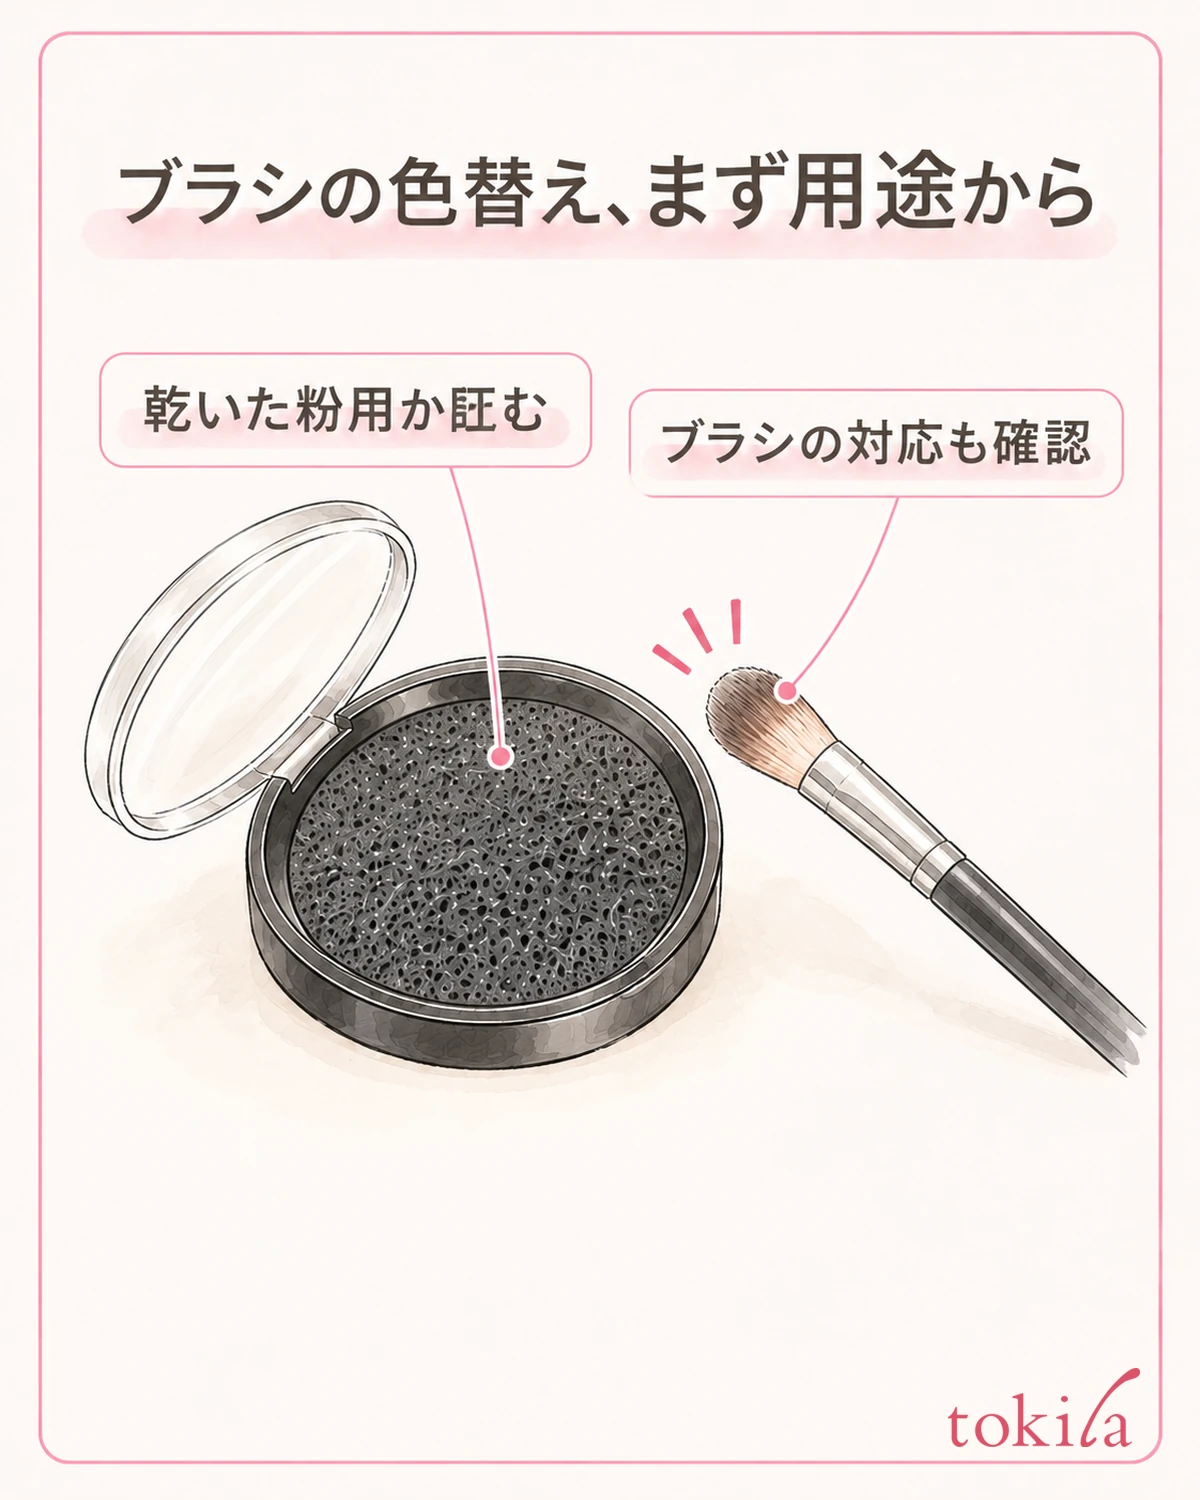
Read the directions on the packaging or in the instructions, looking for wording such as “no water or cleanser” or “removes powder.” Even products called cleaners require different steps depending on whether they are cleaning liquids, washing mats, or dry sponges. First identify what the tool you are about to use is intended for.
Next, look at what is on the brush. Distinguish switching dry eyeshadow or blush powder from dealing with a brush coated in liquid foundation or lipstick. Do not extend instructions for dry powder to removing oily cosmetics.
Check the brush's care instructions as well. Care requirements vary with the bristle type, glued sections, and shape. Do not assume from appearances that synthetic bristles work with anything, or that short bristles can be scrubbed hard. If you cannot confirm compatibility from both sets of instructions, switching to another clean brush is an option.
Keep makeup sponges used on the face separate from sponges that remove powder from brushes. Similar shapes do not mean the same purpose. If the tool has a removable insert, case, and lid, understand each part's role and avoid stacking removed parts on cosmetic containers.
Avoid removing dark powder directly over a palette from which you want to pick up a light shade. Separate the case from open cosmetics first, and arrange your workspace so the brush does not strike lids or containers whenever you change your grip.
Before buying another tool, compare the width of your brush with the available surface. If a large brush would hit the case rim, do not force its bristles inside. Check the product's dimensions and construction to see whether the tips can rest comfortably on the powder-removing surface before choosing it.
Instructions that do not use water do not mean washing will never be needed. Treat everyday color switching and the timing of brush washing as separate tasks. For overall care, you can also check Caring for makeup brushes and sponges.
2. Stabilize the case and choose an area with less powder
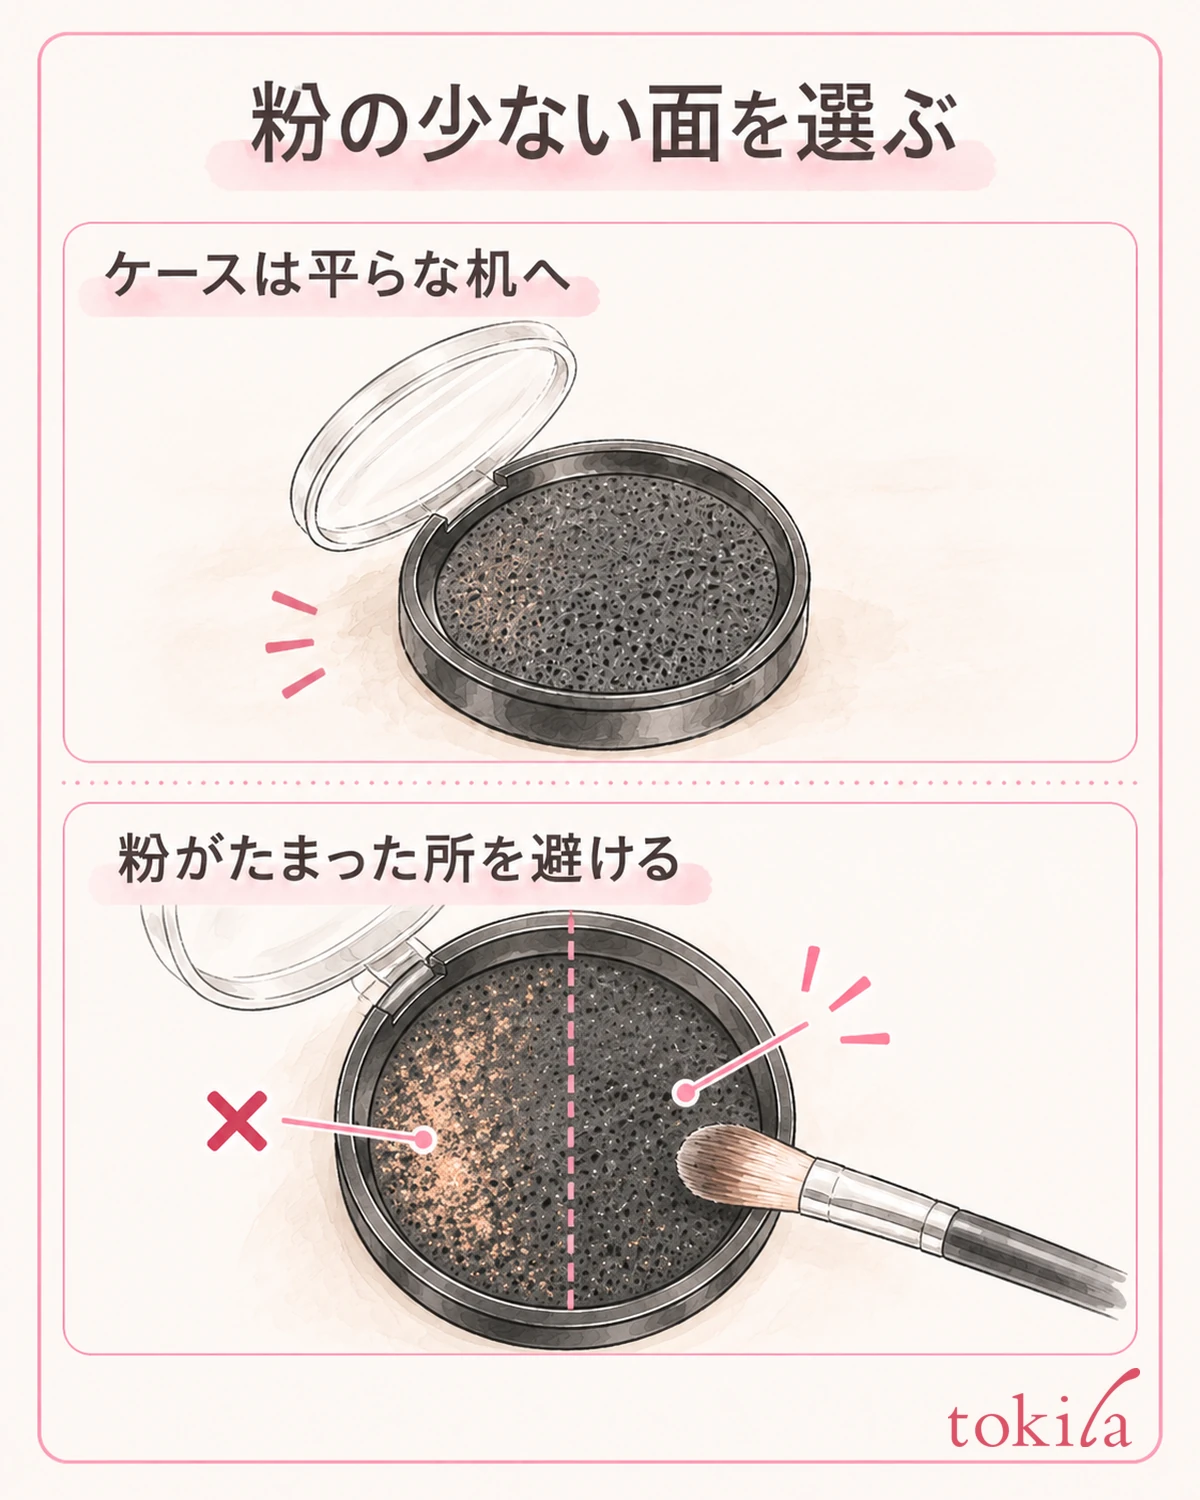
Use a stable place, such as a flat table near a mirror. Put clean paper or something similar underneath that can catch powder, and keep it a little away from open palettes. If the case wobbles when held in one hand, put it back on the table before continuing.
After opening the lid, check whether old powder has accumulated over much of the sponge's surface. Choose a section with less powder rather than repeatedly using the same spot. An absence of visible color does not guarantee cleanliness; if the sponge feels sticky or is damaged, stop using it and return to the care instructions.
If the sponge is lifted inside the case or its edge is turned up, do not press it down with the brush. Check that it is seated in the correct orientation. Even a removable design may not allow the underside to be used as the top, so follow the product's instructions on whether it can be flipped over.
Some of these tools have visible small holes and an uneven surface. Their role differs from smooth sponges used to apply makeup, so do not repurpose them for direct contact with the eye area or skin. Also avoid substituting kitchen or cleaning materials based only on their surface appearance.
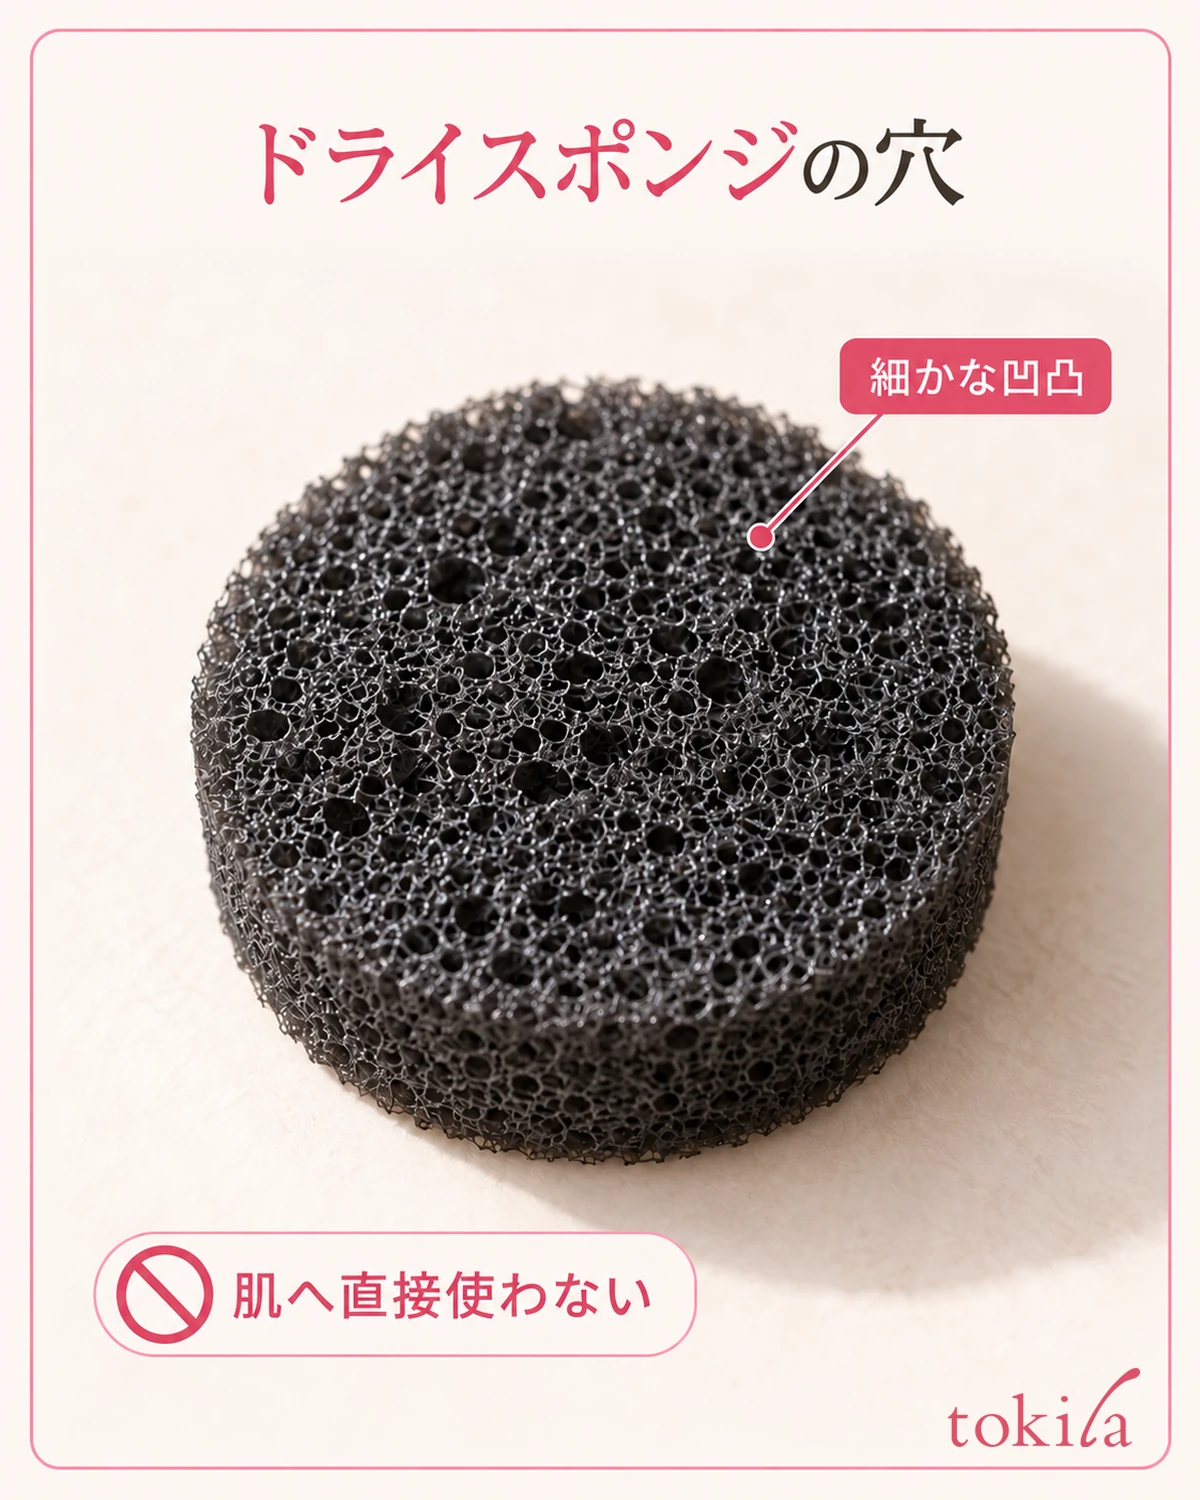
If the insert's edges crumble, fine pieces come off, or its smell changes, do not keep searching for a usable area. Check whether it can be replaced or cleaned, and if you are unsure, prepare another clean brush. Inspecting the tool before use is part of getting ready to switch colors.
3. Move the bristle tips lightly, lift the brush, and check what remains
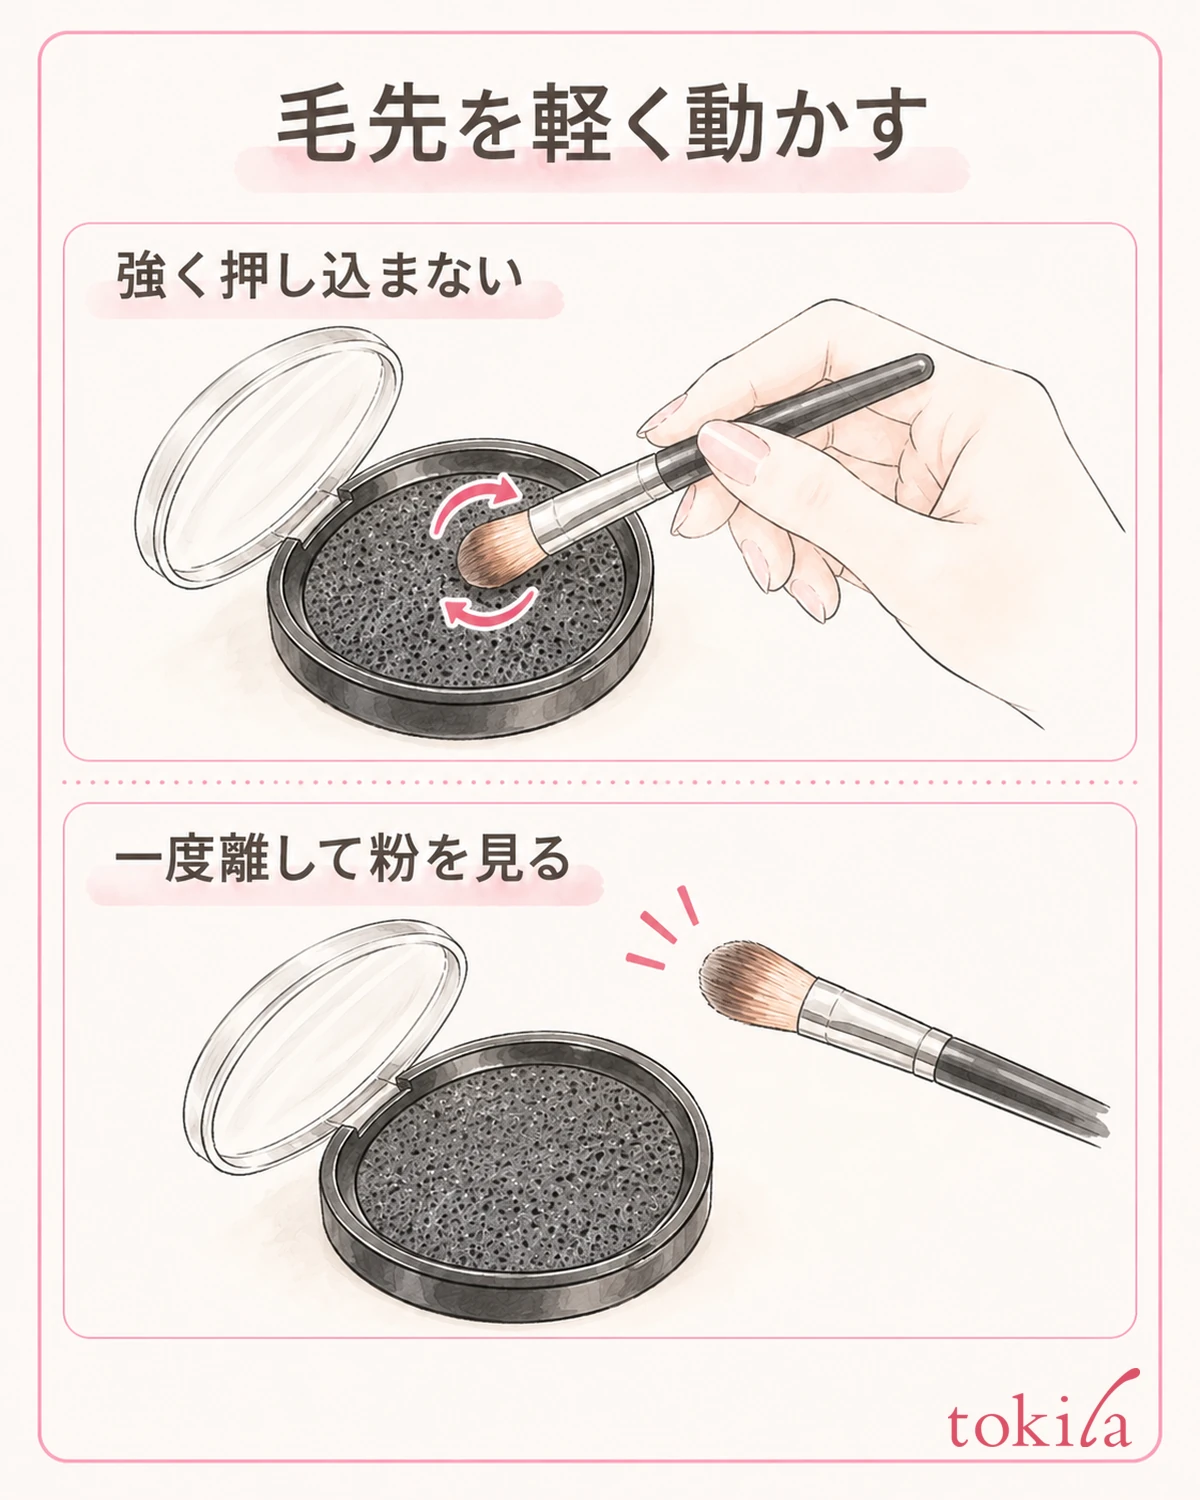
Once you have confirmed that the combination is suitable for dry powder, hold the brush handle and touch the bristle tips lightly to the sponge. If circular motions are specified, make small movements and lift the brush once. There is no need to push deeply to the roots or apply enough force to bend the bristles sharply.
Watch the tips touching the sponge as you move them, and avoid striking the ferrule against the rim. Do not rotate so fast that you cannot see the bristles spreading, or push down to the bottom of the case; work in short, light movements. There is no fixed number of repetitions for every product.
Lift the brush once and check for clumps of powder or a strong trace of the previous shade. If powder remains, move to an area of the sponge with less powder and repeat briefly as instructed. Do not switch to beating the brush hard against paper to scatter the powder.
Stop if the bristles catch, pieces of sponge cling to them, or hairs fall out with each movement. Do not increase force to pull through; lift the brush and inspect both tools. Avoid treating incompatibility or damage as merely a problem of powder being difficult to remove.
You do not need to keep rubbing until the bristles return completely to their original color because glitter or dark pigment remains. What the tool can remove, and how much, depends on its specifications. If color mixing would be a problem in the next step, you can choose another clean brush instead of forcing one brush to do everything.
When lifting the brush to inspect it, keep holding the handle rather than pressing the tips against the table. Do not leave it resting on the sponge in a way that bends the bristles. If you need to do something else midway, prepare a clean place to set it down first.
Do not add water or toner midway and turn a dry process into a wet one. If you realize the residue is not the intended type, stop the color-switching task for now. If using a liquid cleaner, follow the separate procedure specified for the brush and cleanser.
4. Pick up a small amount of the next color and reassess the finish
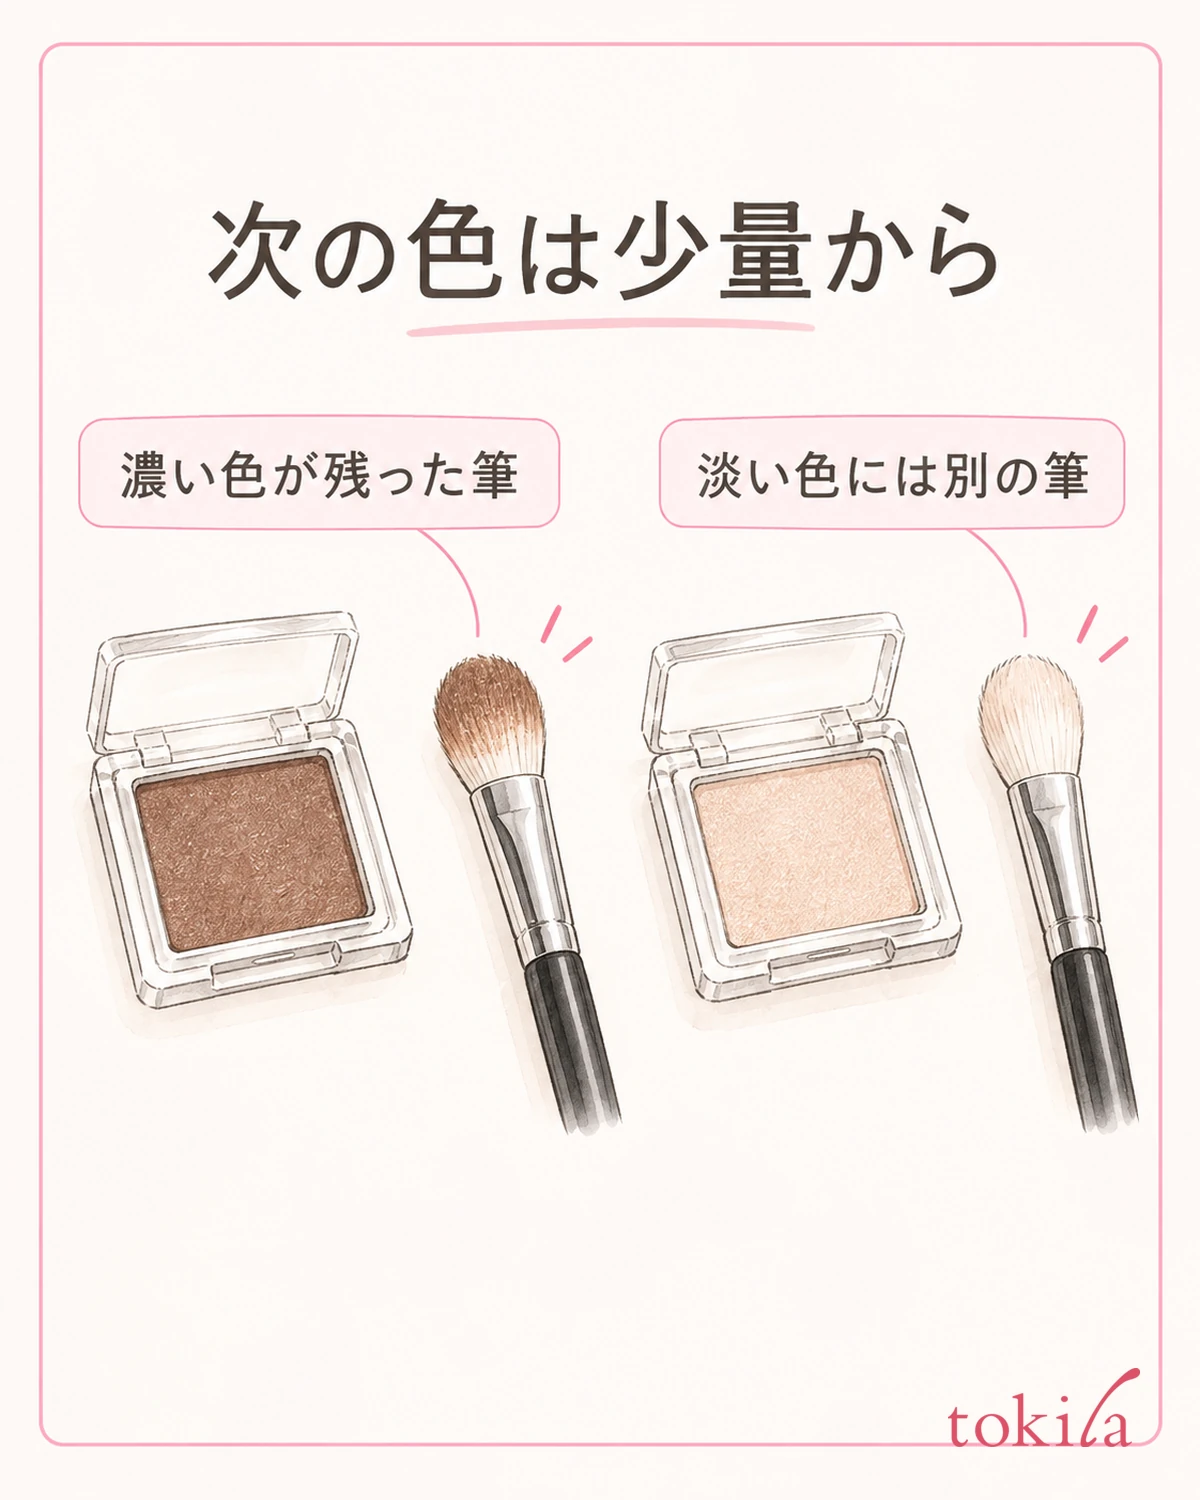
After removing powder, check the shape of the bristles before picking up a small amount of the next shade. Consider whether some previous color would be acceptable for the area and finish you want. If you will apply a light shade widely after a dark defining color, keeping a separate brush for light shades is one option.
Before returning to the palette, check for conspicuous remaining color or attached fragments. With dark bristles that make pigment hard to see, do not judge by bristle color alone. Recall the previous and next shades, and draw the line at switching tools when mixing would be unwanted.
Rather than picking up a large amount to cover the previous color, begin with an amount that follows the cosmetic's instructions. If you use separate brushes to place color and blend its edges, keep track of which shade remains on each one. After applying color, pause and reassess it in the mirror.
If the finished color is not what you expected, do not assume that using the sponge removed every trace of the previous shade. Review the color left on the brush, the color already on the skin, and the amount picked up separately. If only lightness or intensity concerns you, Eyeshadow tools and application may also help.
Use the dry sponge to switch brush colors, not to rub color directly off eyelids or cheeks. If you need to correct makeup on your face, switch to a touch-up method suited to the cosmetic used. Keep repeatedly rubbing the brush separate from adjusting color on the face.
5. Return the sponge and brush to their separate care routines
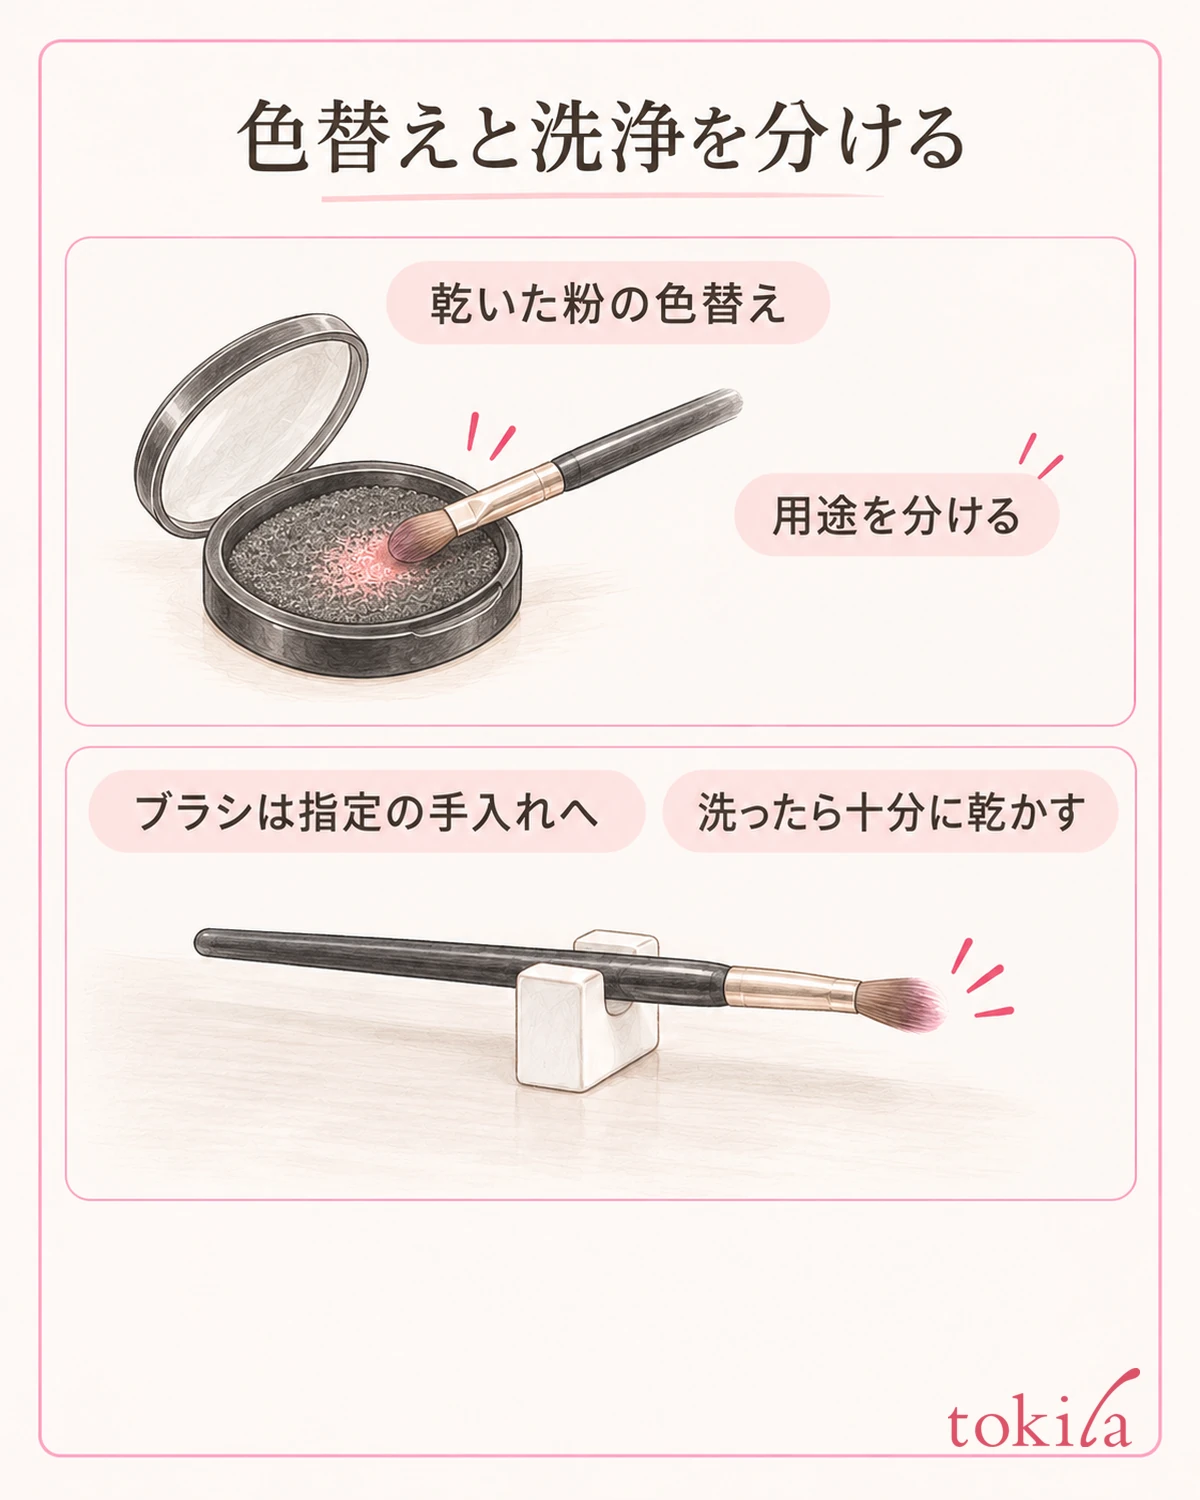
After use, check for powder on the rim and outside of the case. For a product with a lid, close it with the insert properly seated and not caught in the rim. Keep inserts waiting to be washed separate from dry ones ready for use so you can tell them apart.
Some sponges can be washed and reused, but check the cleanser, rinsing method, and drying method individually. “Washable” alone does not mean the whole case can be immersed, or that boiling water or alcohol can be used. Check whether parts are removable before cleaning them.
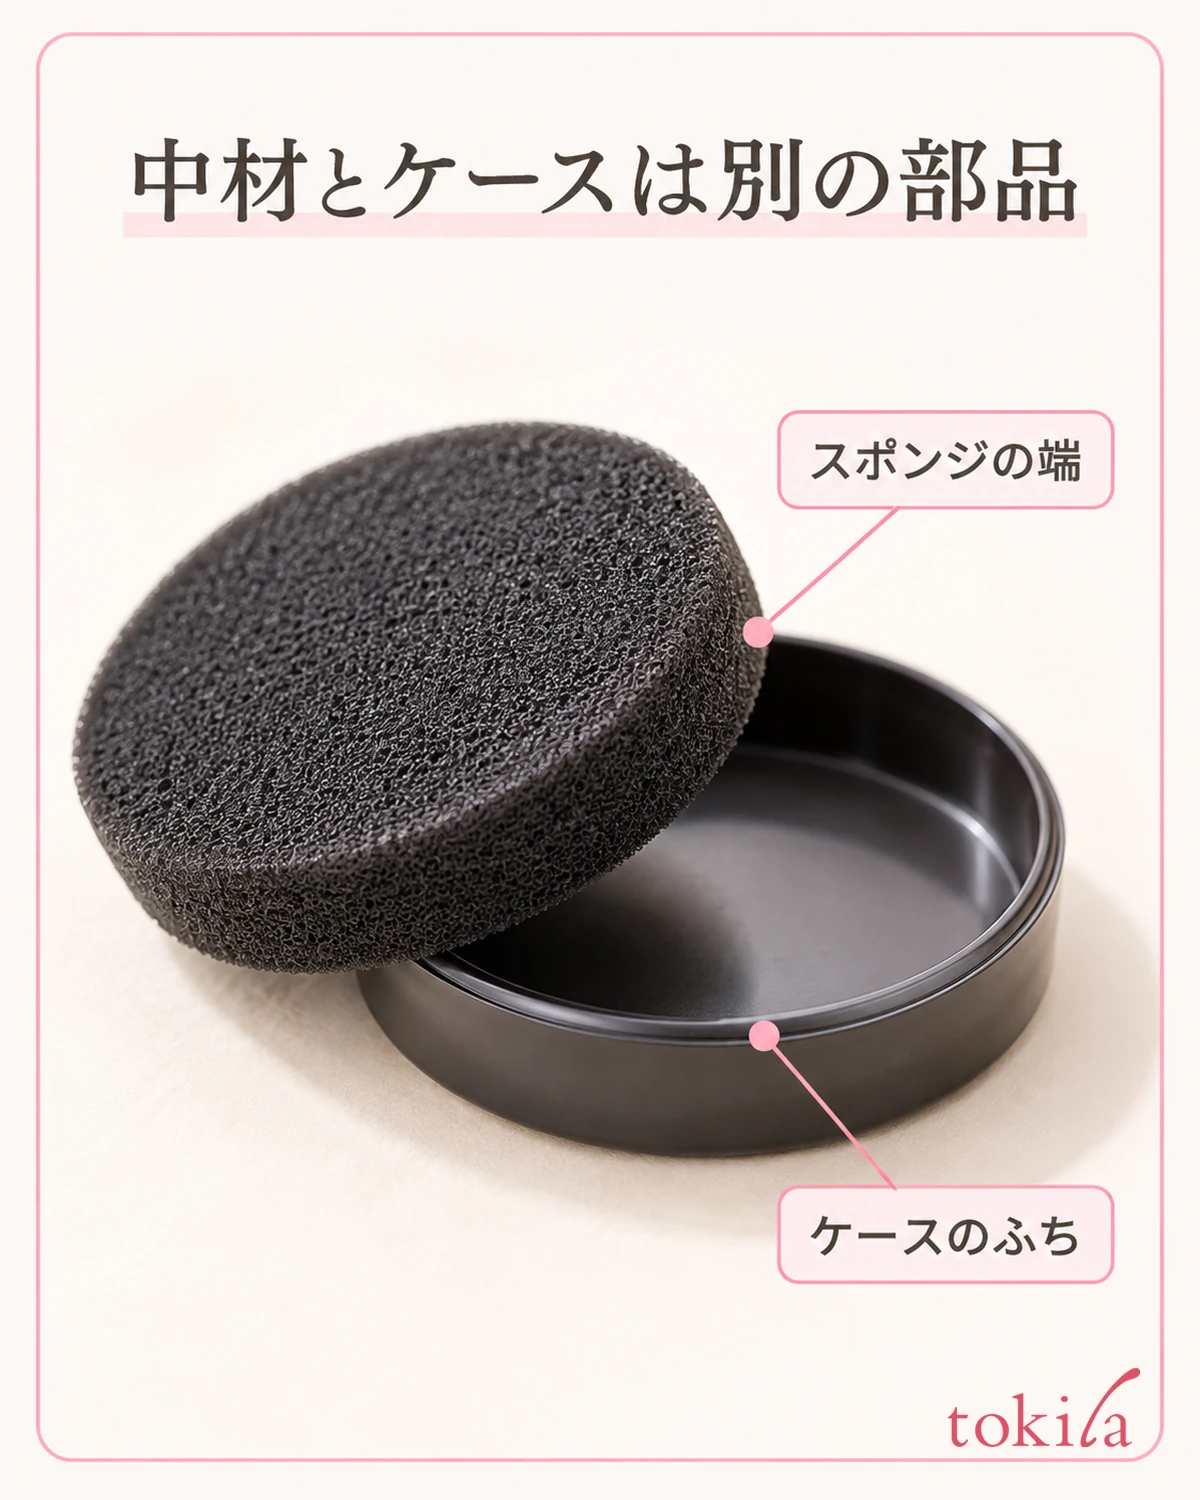
After washing, dry the parts thoroughly as instructed before returning to dry color switching. Even if the surface appears dry, do not use them in a dry powder procedure while moisture remains. Instead of fixing a drying time such as overnight, check that they are actually ready to use.
Wash the brush separately according to its own instructions. Even if surface powder is less noticeable after using the sponge, do not assume there is no longer a need to remove sebum and grime. Do not try to resolve odor or stickiness simply by more dry rubbing; follow the specified care routine.
If the case insert stays thinner, torn, or unable to regain its shape, check the replacement guidelines. Do not assume that cutting another commercially available material to fit will allow the same use. When choosing a replacement, check both the compatible product and dimensions.
If you want to apply makeup while a washed insert dries, using another dry brush is an option. Without assuming you need more tools, choose the brushes for placing and blending color to suit that day's palette so you do not need to rush back to a damp insert.
For next time, a short note of the sponge's product name, compatible brushes, and care method can be useful. The aim each time is to assess whether you can move on to the next color, rather than repeatedly rubbing to make the brush white again. Use color switching and washing for their separate purposes, and choose tools suited to the colors you want to enjoy.



