With a lipstick that has a dark and a light color side by side in one bullet, its orientation determines where each color goes. For a product designed to make the inner lips darker, point the darker color toward the mouth opening and the lighter color toward the border between lip and skin. When moving from the lower to the upper lip, take the lipstick away first and change your grip.
This guide explains how to align the two colors on both lips using a stick whose application surface lets adjacent colors touch at the same time. If your product specifies different inner and outer positions or a different application surface, follow its instructions.
1. Identify the dark and light colors on the tip of a two-tone lipstick
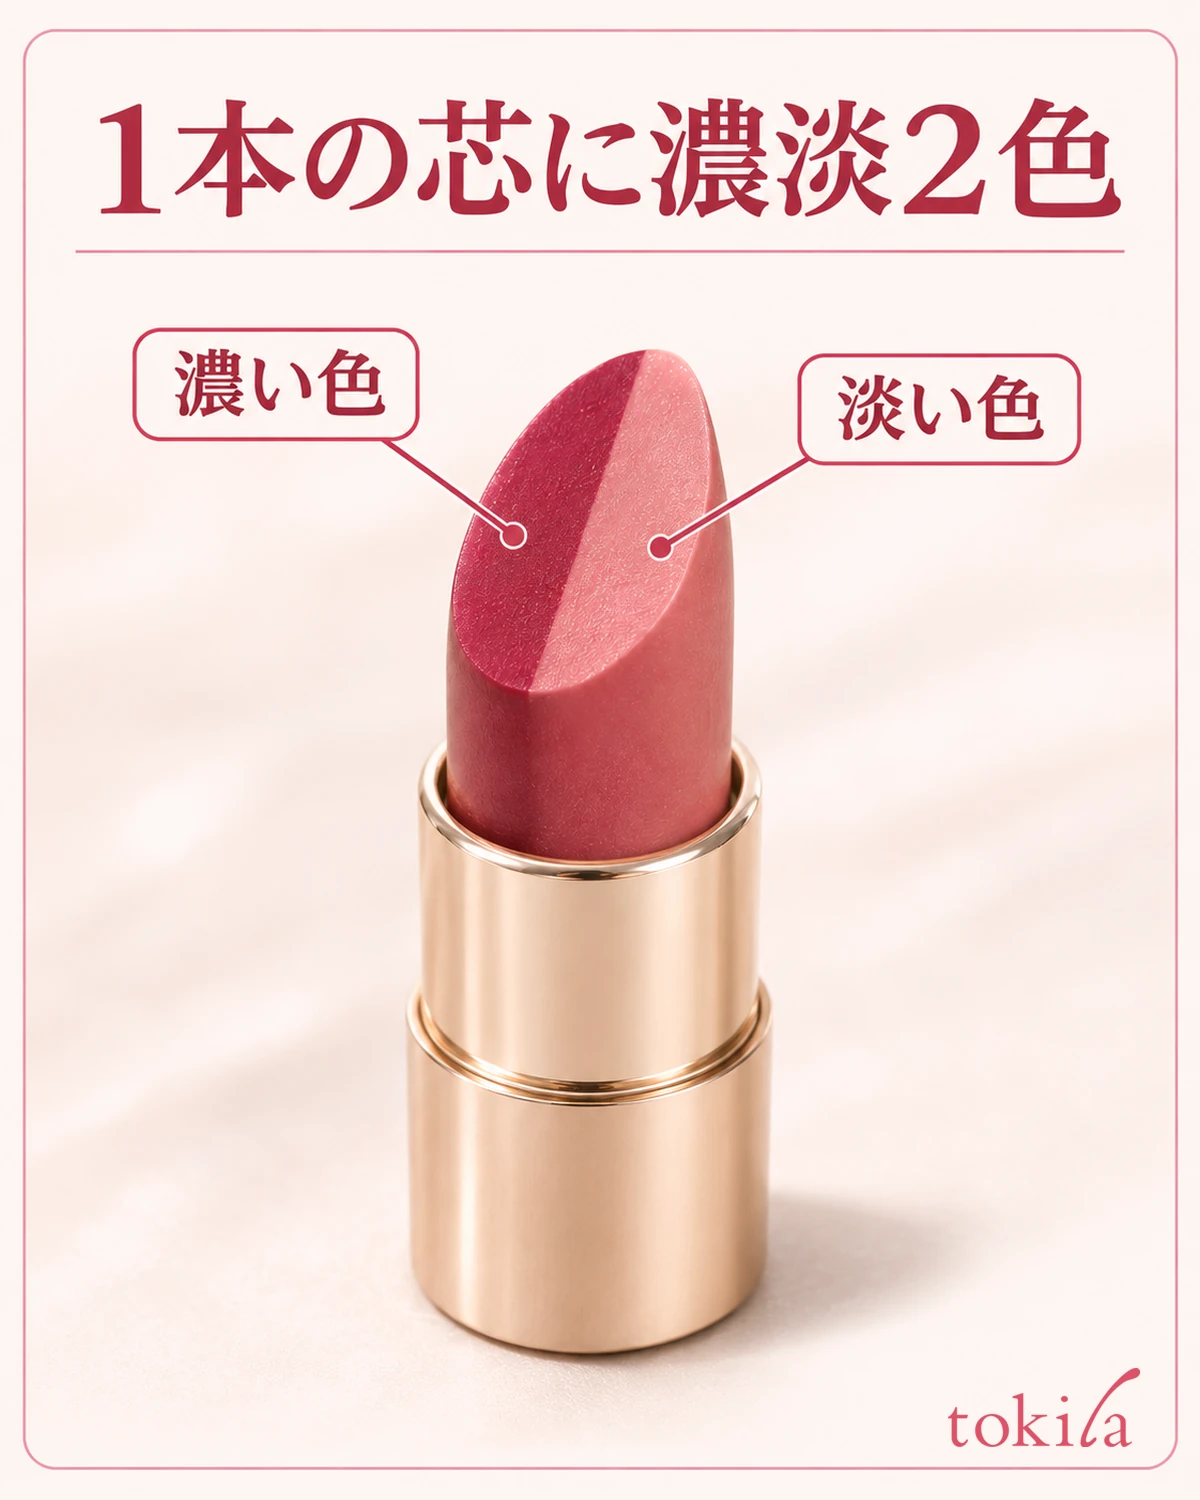
Remove the cap and inspect the surface that touches the lips in good light. If the dark and light colors sit next to each other at the tip, you can check which should face the inner lip. Bullets with a central color surrounded by another, marbled colors, and lipsticks with separate colors at opposite ends of the container do not apply the same way simply by changing their orientation. Look at the bullet shape and instructions instead of relying only on the words “two colors” on the packaging.
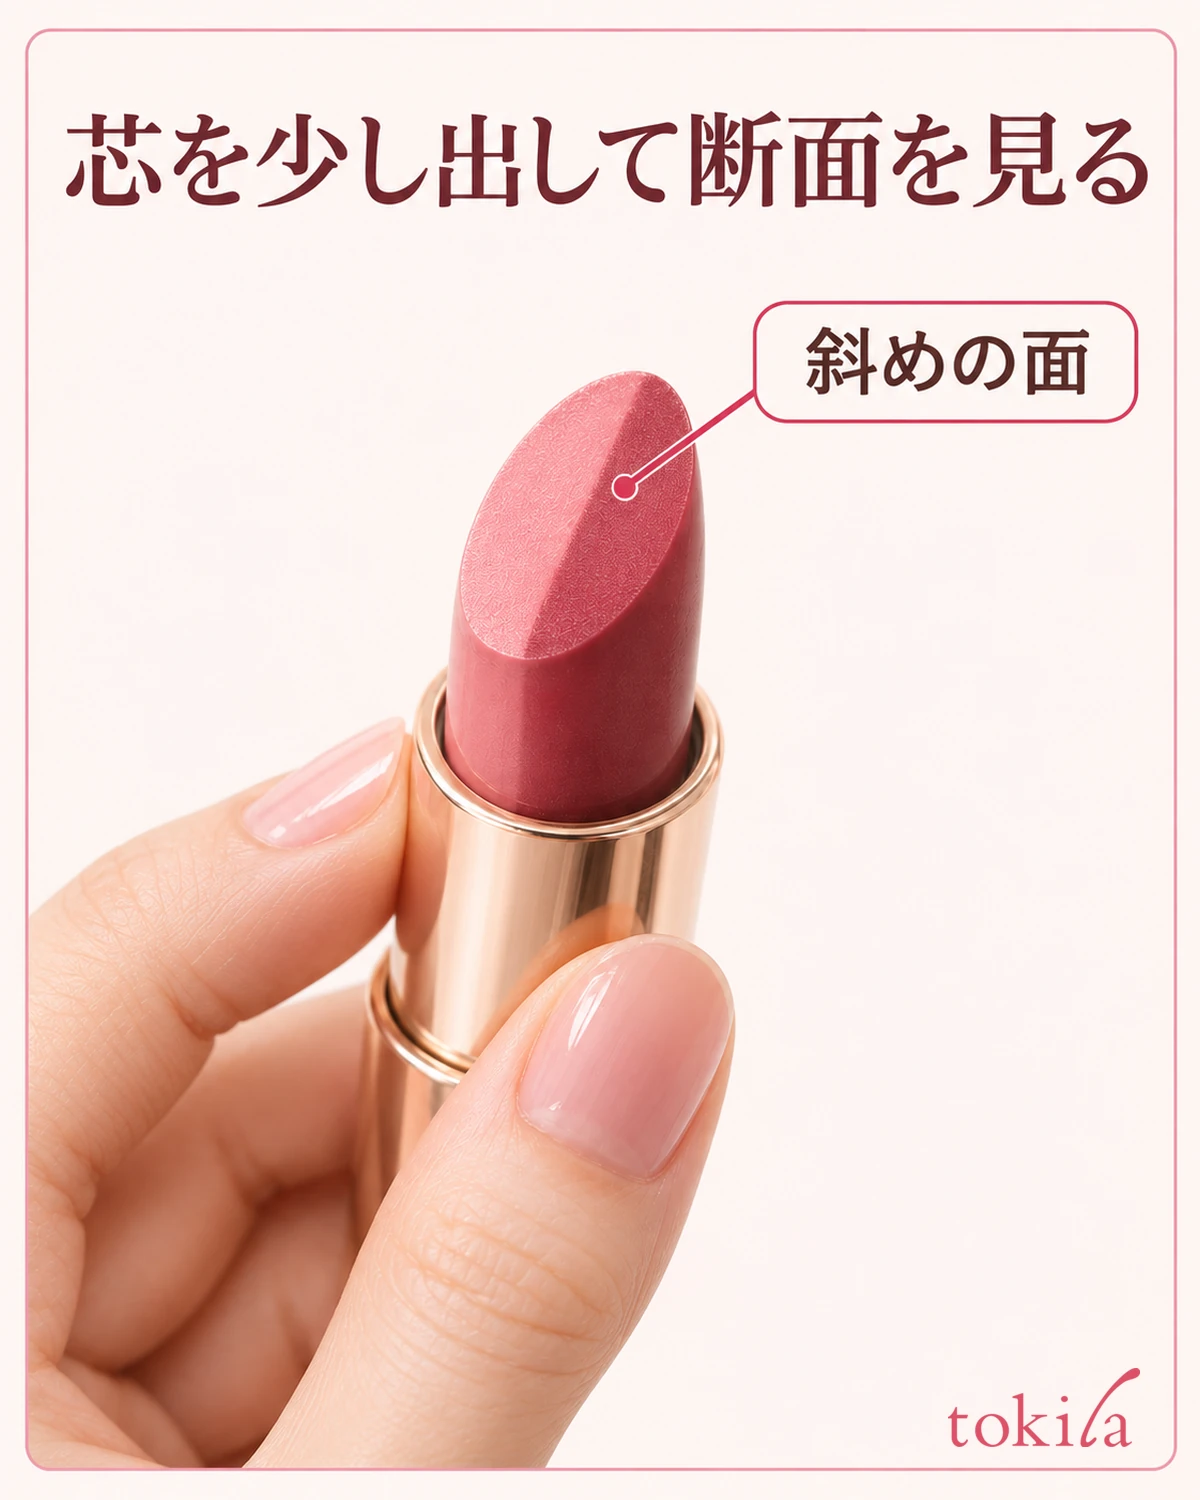
If the colors are hard to distinguish, turn the container toward the light before extending much of the bullet. With a slanted tip, looking slightly down from above rather than directly from the side makes the border and the actual application surface easier to see. You do not need to mark the tip or carve it into a different shape. The difference between the slanted surface and narrow tip is also explained in how to use angled-tip lipstick.
When choosing colors, consider your preference for each shade separately from the contrast they create together. For a subtle border, consider related shades with a small difference in lightness. To emphasize the inner color, look for a pairing in which the darker shade is easy to identify. Contrast on the bullet may look different on the lips, so when viewing swatches, also consider examples applied to lips.
2. On the lower lip, point the darker color toward the mouth opening
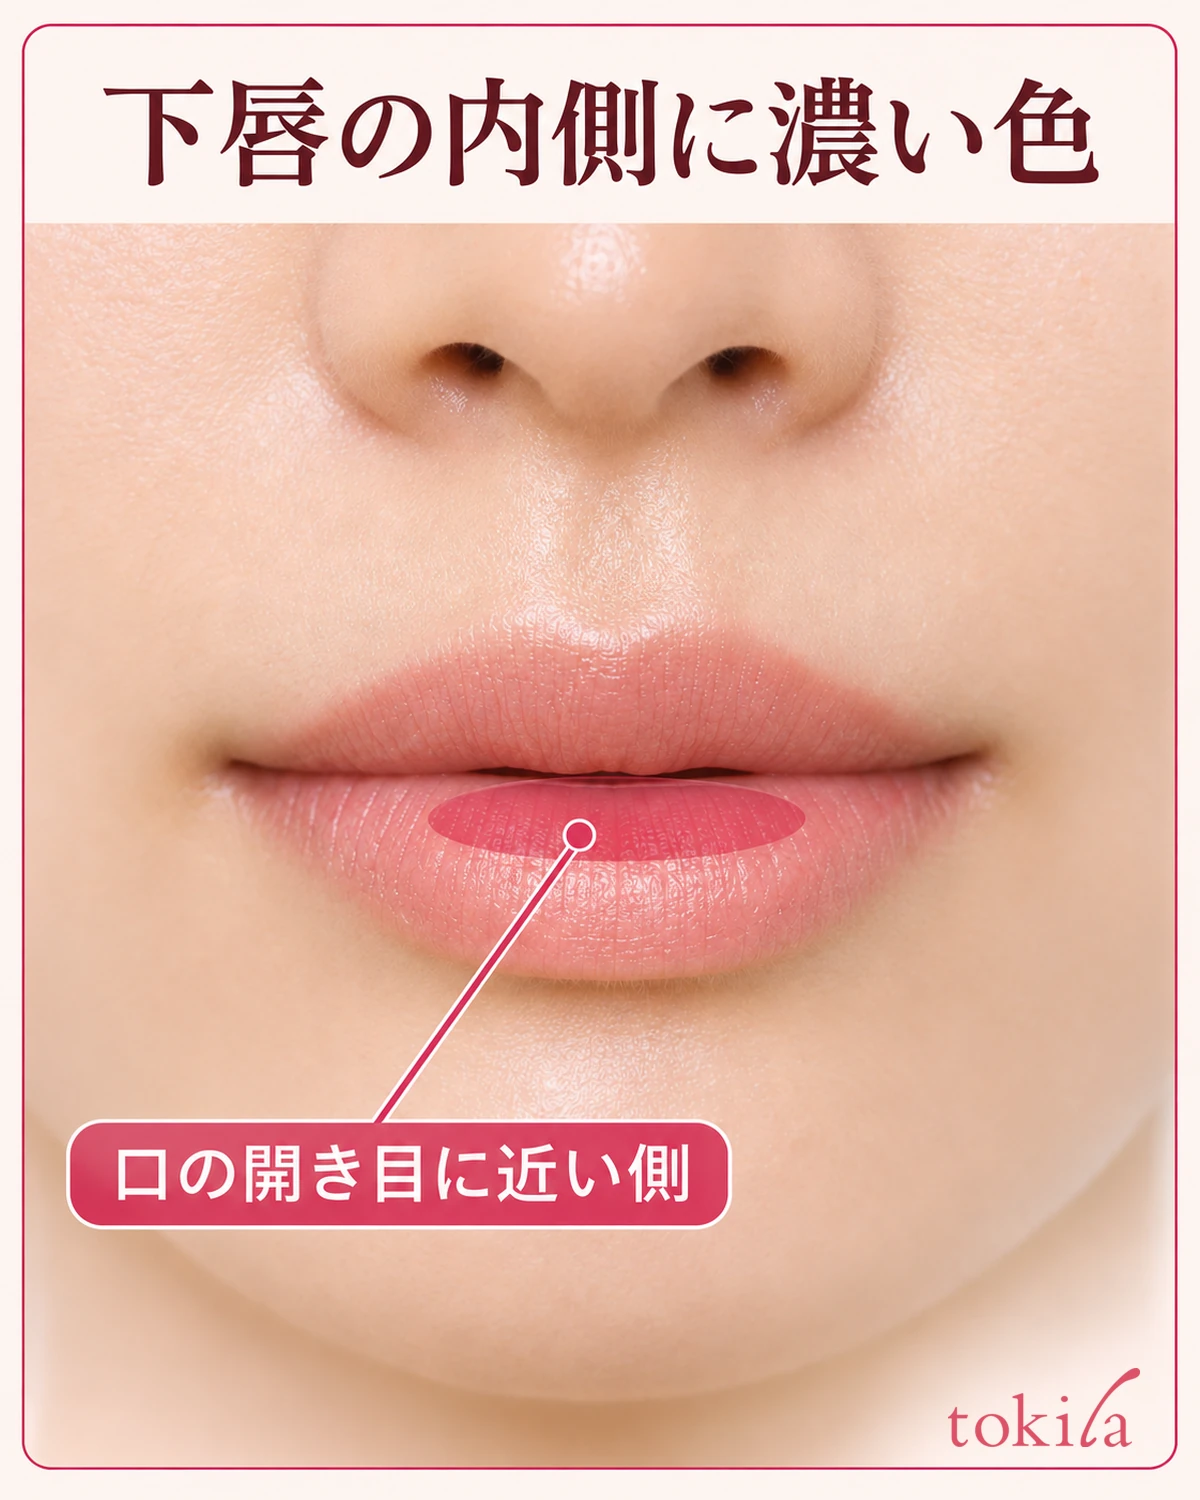
Place a mirror straight ahead and part your lips slightly. On the lower lip, the inner side is near the line where the lips meet; the outer side is the opposite border with the skin. If the instructions call for a darker inner lip, hold the lipstick with the darker color on top and the lighter color below. This does not mean applying the darker color inside the mouth. Keep it within the colored area of the lower lip visible in the mirror.
Start with a short stroke in the center of the lower lip, using the application method appropriate for your bullet. Touching only a corner can deposit just one color, so for a product intended to apply both simultaneously, check that both colors on the same surface touch lightly. You do not need to extend the bullet far or press it forcefully into the lip. If only one color stands out, lift the lipstick away and check the cross-section and angle before the next stroke.
Once the orientation is right in the center, maintain it as you work gradually to either side. Although the center of the lower lip is broad, it narrows near the mouth corners, so pressing the same surface all the way to the edge can put color on the skin. Stop the tip and inspect from the front. Whether to apply all the way to the corners depends on the lipstick shape and its instructions.
3. Lift the bullet before moving to the upper lip, then turn the darker color inward
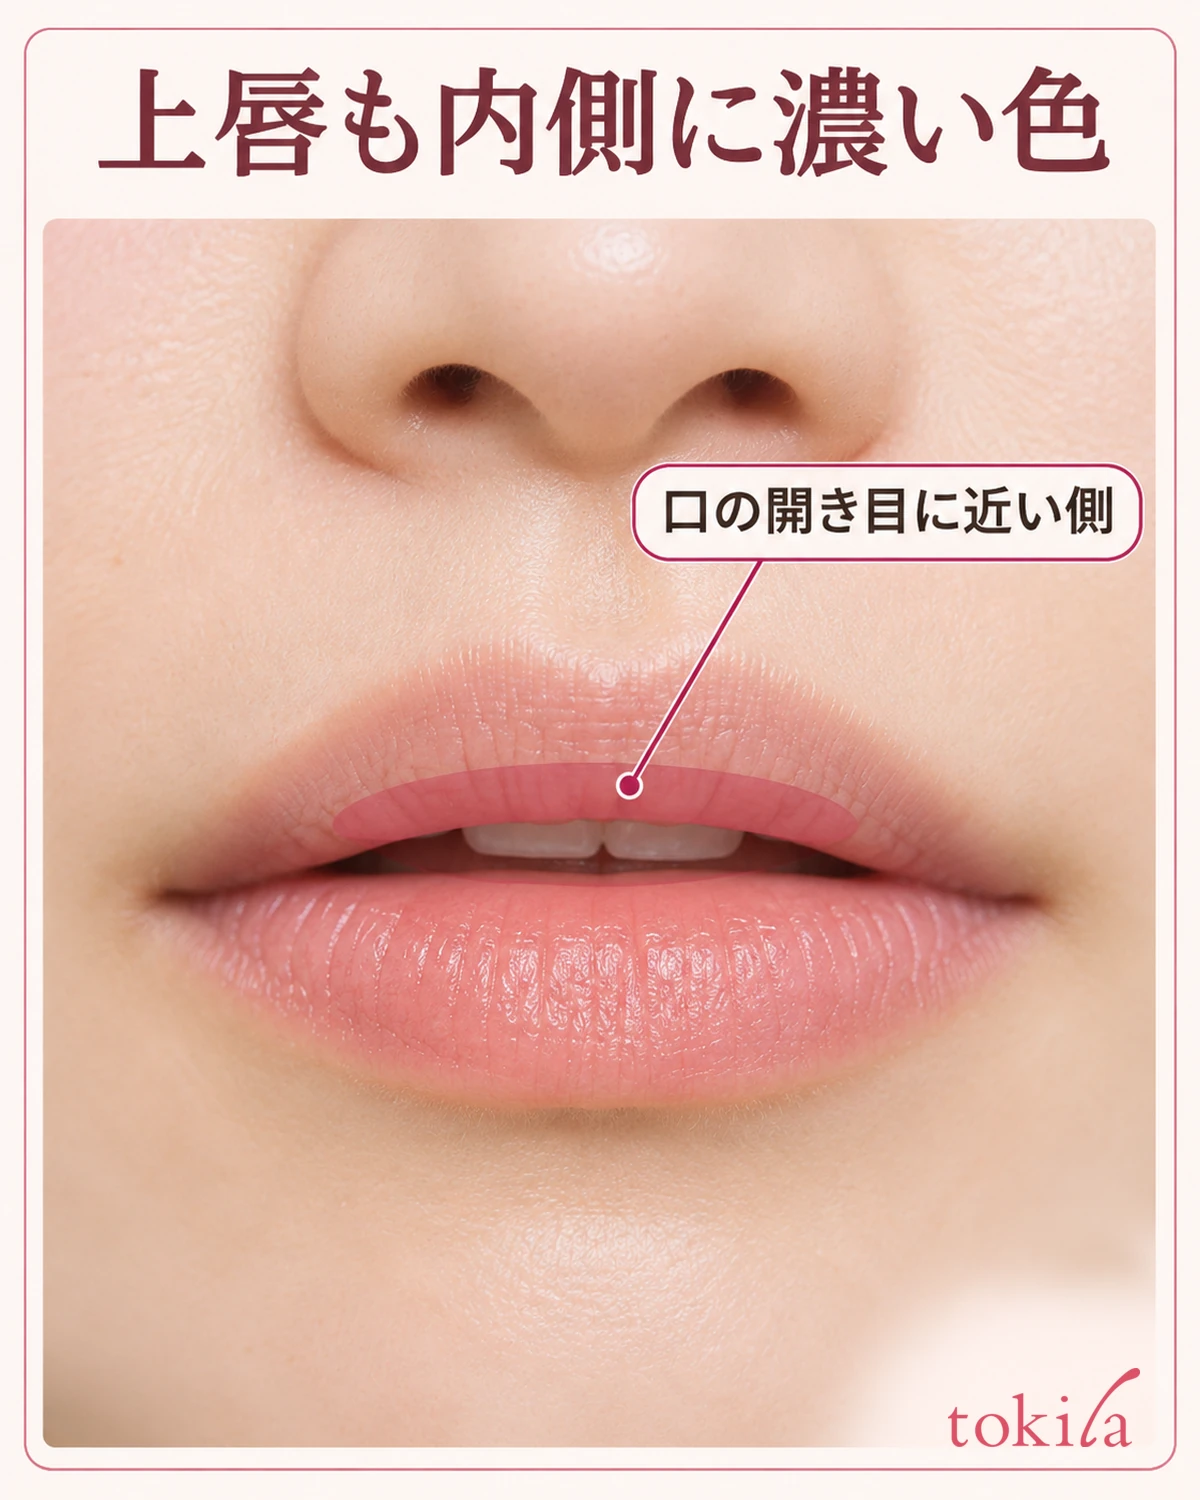
On the upper lip, the lower side is closer to the mouth opening. Applying in the same orientation as on the lower lip may put the darker shade near the Cupid’s bow. Lift the lipstick off the lip, inspect the cross-section in the mirror, and adjust your grip so the darker color faces the mouth opening. Checking its direction immediately before contact is easier to repeat with different grips than memorizing a rotation angle.
On the upper lip too, first check the color position within a small area at the center. The Cupid’s bow is part of the outer outline, so starting the darker color there places it differently from the intended darker inner area. If the bullet does not fit the bow or mouth corners, shift the contact point little by little instead of trying to trace the whole outline in one stroke. If the product instructs you to refine the outer edge with a narrow corner, also check which color is on that part.
The color bands on the upper and lower lips do not have to be exactly the same width. Lip widths may differ, so first check in the mirror that both darker areas are near the opening and both lighter areas are near the skin border. Pursing or opening your mouth wide can obscure the positions; relax your mouth before checking.
4. If the border between the two colors looks like a line, blend only that border
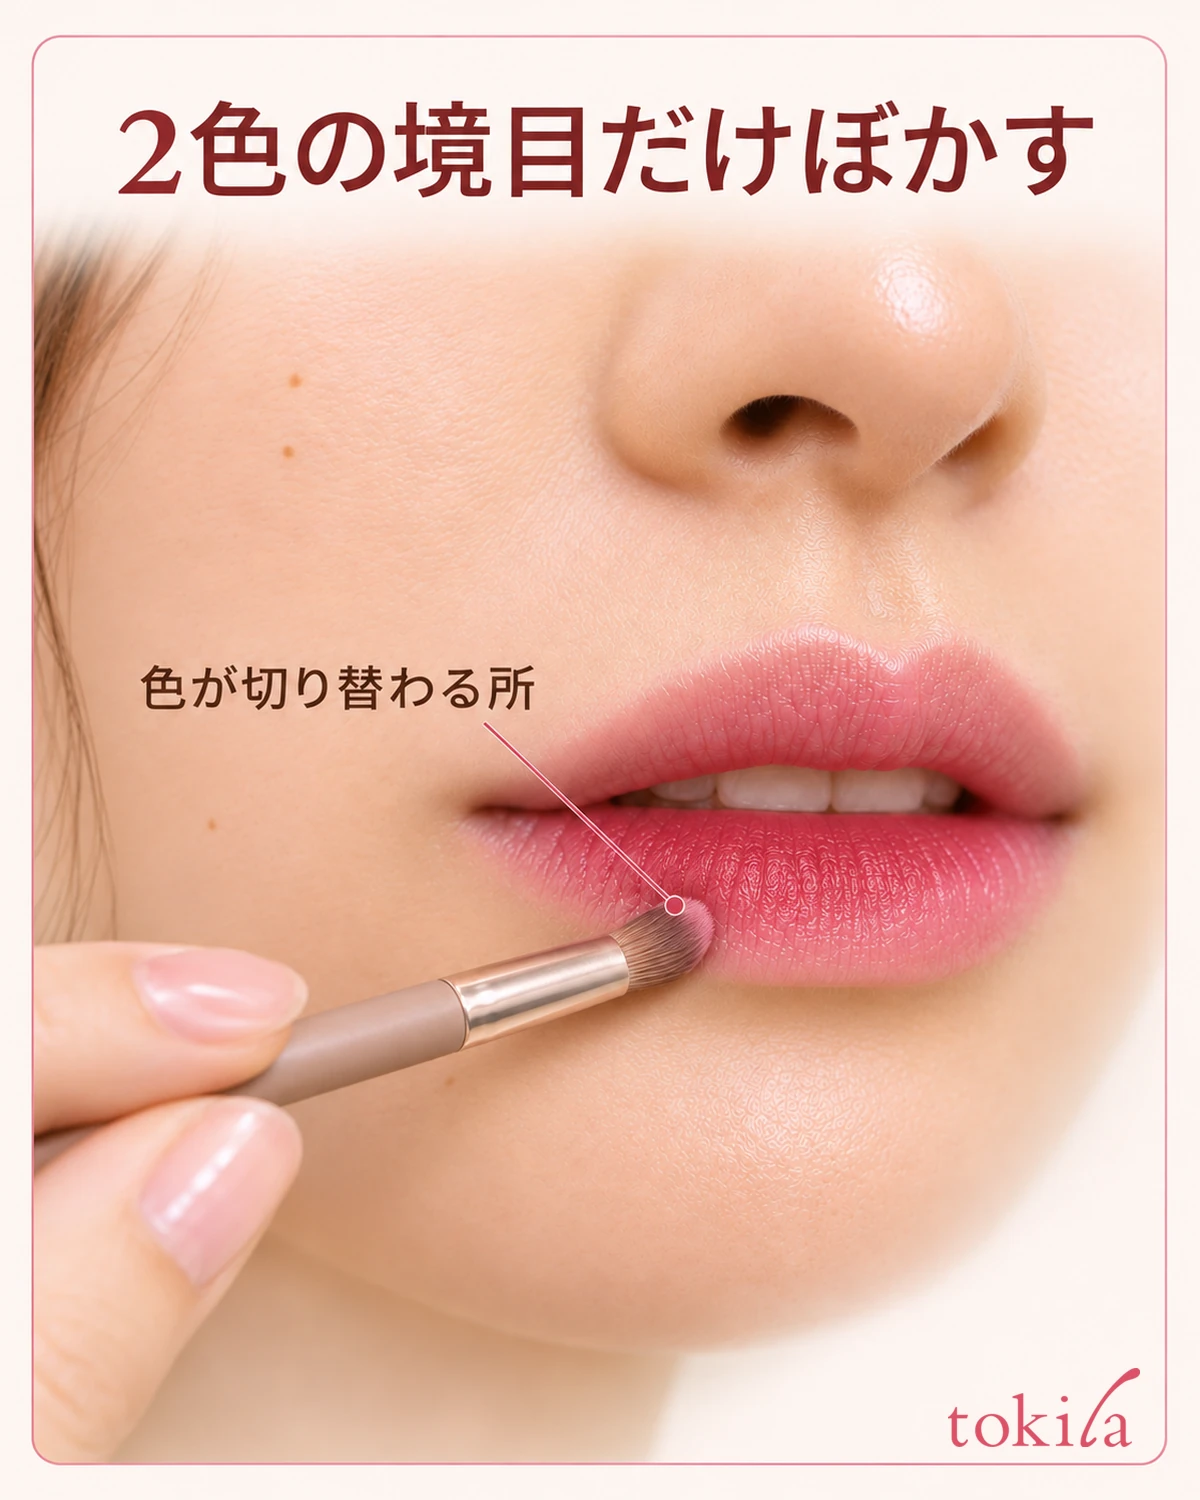
If the boundary between the dark and light bands looks sharp, first check that the darker color is where you intended. If the position is right and only the line bothers you, lightly blend where the colors meet with the tip of a clean lip brush, provided the lipstick texture allows blending. You do not need to move the brush out to the lip outline. Work from the center on one side at a time, checking the line in the mirror.
If the lighter color on one side is about to disappear, stop spreading the darker color outward. Continuing with dark color on the brush can carry it onto the lighter area. To adjust both sides, remove the color from the brush first and touch only the areas where a line remains. If the product is difficult to blend after setting, avoid repeated rubbing and reapply according to its removal instructions.
If the darker color ended up outside, blending the border alone will not reverse the positions. If only the upper lip was oriented incorrectly, check which part needs reapplication before removing the lower lip color too. If you want to pick up and adjust the two colors separately, see how to use a lip palette.
5. Check the darker color and mouth corners from the front

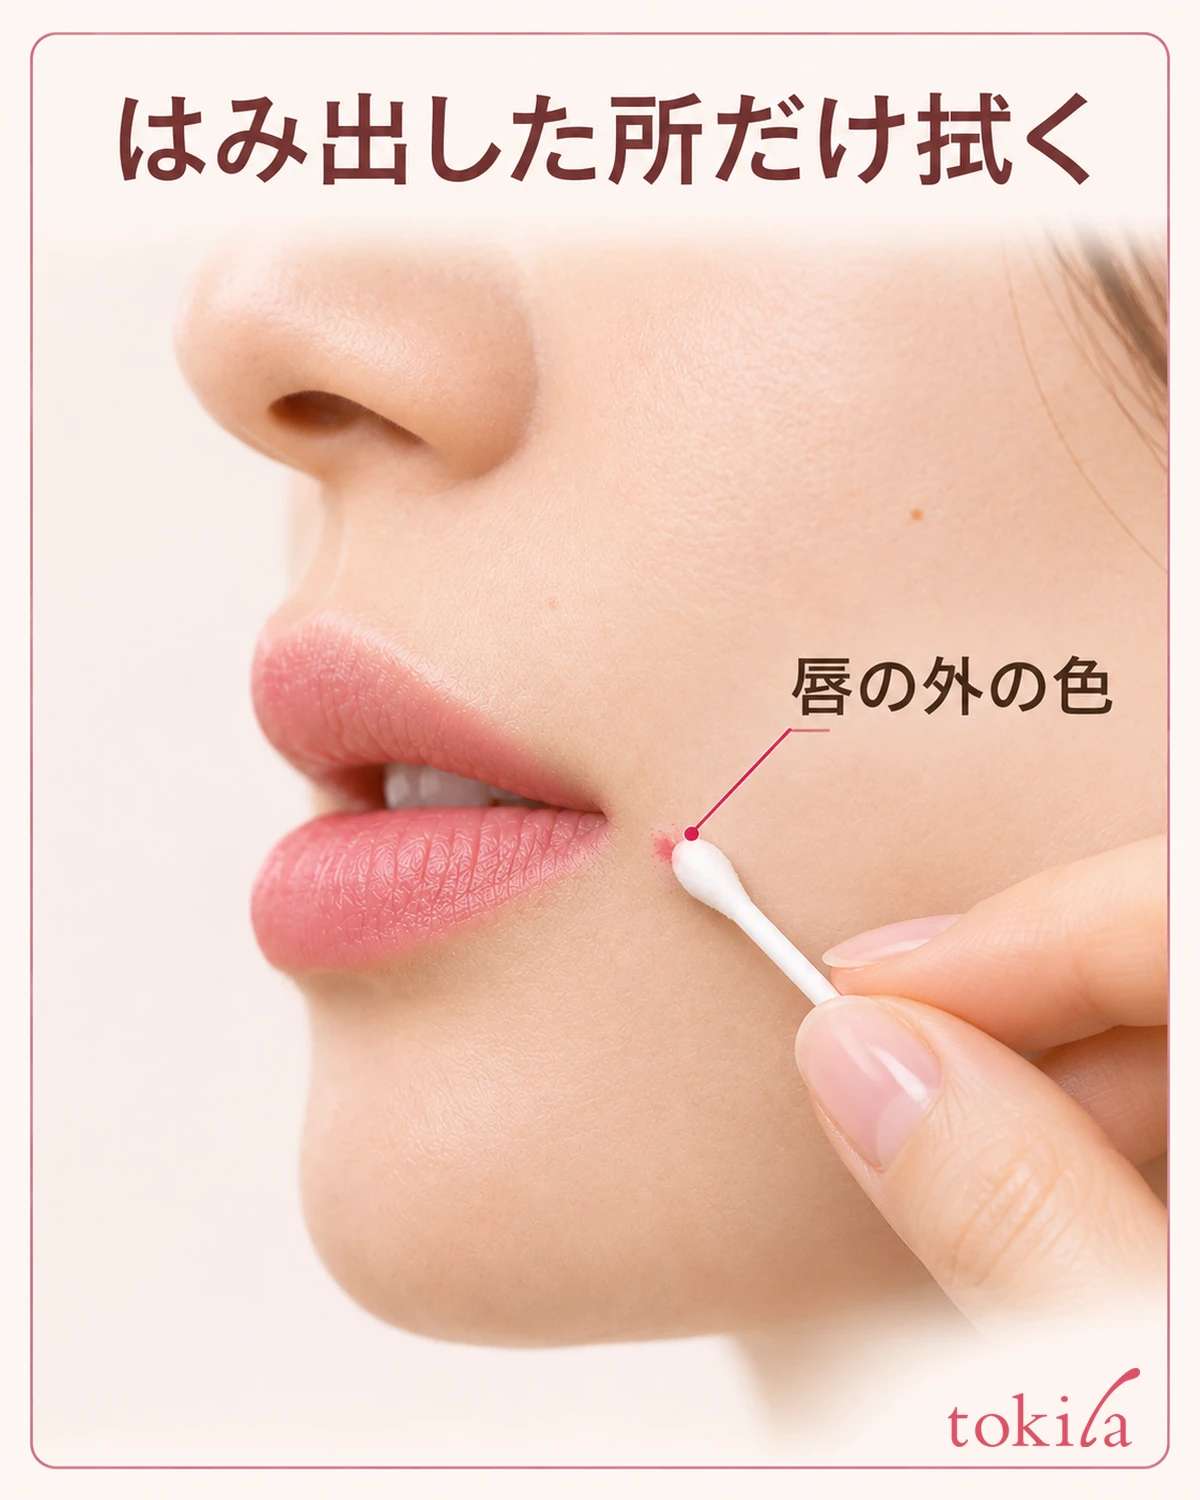
Immediately after application, move the mirror slightly away and check that the darker color is inward on both lips. Next, part your lips slightly and inspect both mouth corners. If a little color is on the skin, use a clean cotton swab or similar tool to wipe only the overrun. Rubbing along the entire lip outline can remove the lighter color you want to keep, so use small movements.
When touching up away from home, first check which color remains. If the darker inner color remains and only the outside has faded, applying both colors again may add more dark color near the area you want to fix. Based on the remaining color and product characteristics, either touch up only where both colors are needed or remove and reapply when you want an even result.
If it did not work well, choose just one thing to change next time. If the darker colors are reversed between lips, check the bullet orientation; if only one color appears, check surface contact; if only the corners overrun, check where you stop. Whether you want distinct colors or a softly blended finish, checking the same cross-section first makes adjustment easier.