
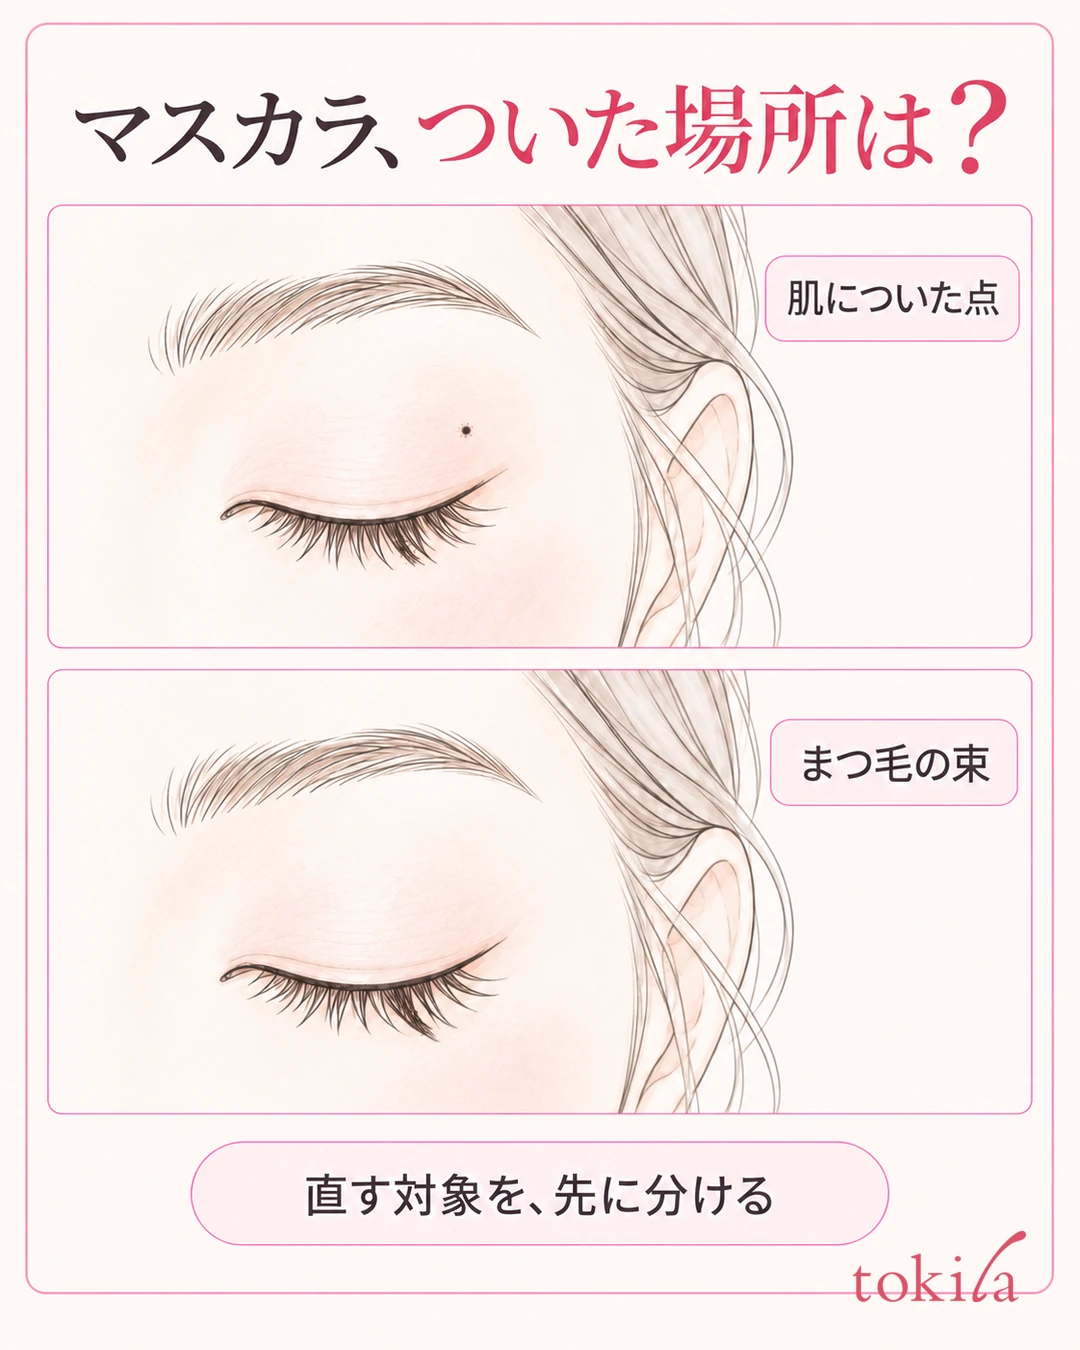
You are putting on mascara when a black dot lands on your eyelid. You hurriedly wipe it with a finger and it turns into a streak, and even eyeshadow over it does not hide it. When that happens, first move the brush away from your eye and check separately the product that got on your skin and the product that is on your lashes.
This article covers steps for reducing brush contact while applying and smudges right after application, and for redoing small marks on the eyelid. It treats these separately from smudging that spreads under the eyes as time passes. Check the instructions for your mascara and for the eye makeup remover you use, and proceed only as far as you can see comfortably.
1. Check where and when it got on, and stop before rubbing
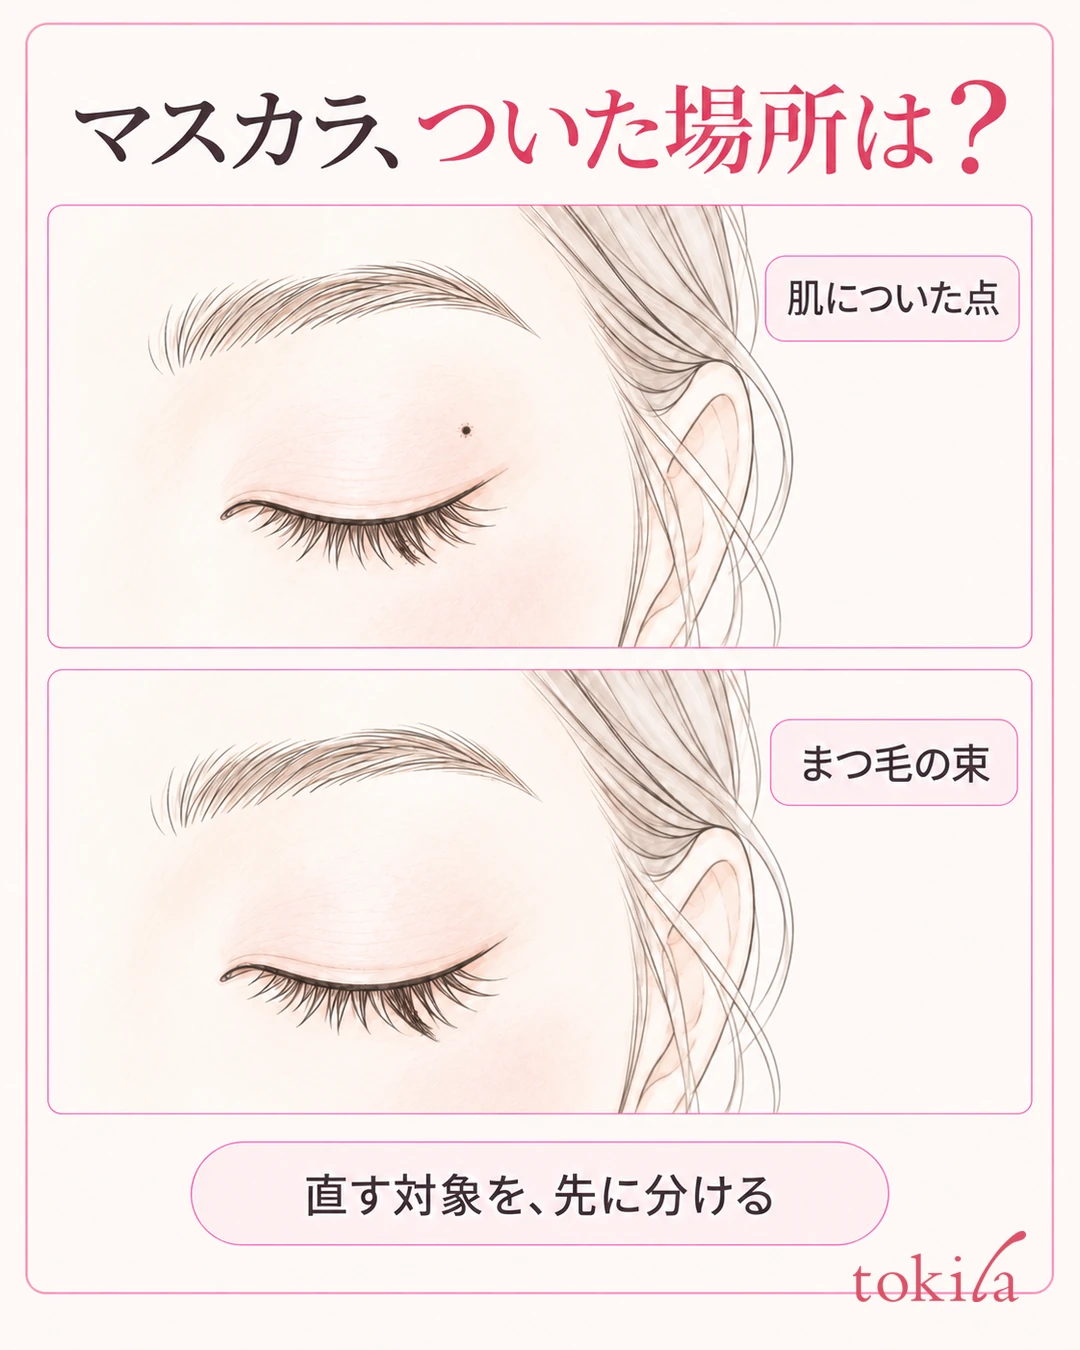
Think back: did the dot appear the moment the brush touched your eyelid, or did color transfer to the upper lid after you applied and opened your eyes? The former is a clue to review the brush position; the latter, to review contact between lashes and skin. Do not settle on a single cause from appearance alone; consider which motion to change at the next application.
In the mirror, check whether the mark is in the center of the upper lid, toward the outer corner, or on the lower lid. A clump of lashes and a dot on the skin are different targets. If clumped lashes bother you, see how to deal with mascara clumps. There is no need to comb your lashes repeatedly in order to remove a dot on the skin.
If you rub the product with a finger or tissue right after it gets on, it may spread to the surrounding area. Rather than fixing a set number of seconds, stop applying more and see how your product dries.
The reason to wait here is to avoid spreading a small mark on the skin. The target and purpose differ from the step of shaping a clump of lashes before it dries. Trying to fix both at once keeps your hands busy, so put your tools down once and choose what you are handling now.
If time has passed since you applied it and it has smudged onto the lower lid, it is a stage to review also sweat, sebum and how it interacts with your base. See also preparing for and fixing smudged eye makeup. This article does not treat dotted marks and breakdown over time as having the same cause.
If there is just one black dot, consider whether you can fix it in a small way before removing your whole eye makeup. However, if it gets into your eye, or if there is pain or irritation, do not keep trying to fix how it looks; follow the product's precautions.
2. Steady your mirror and hand, and find a position where you can see the tip of the brush
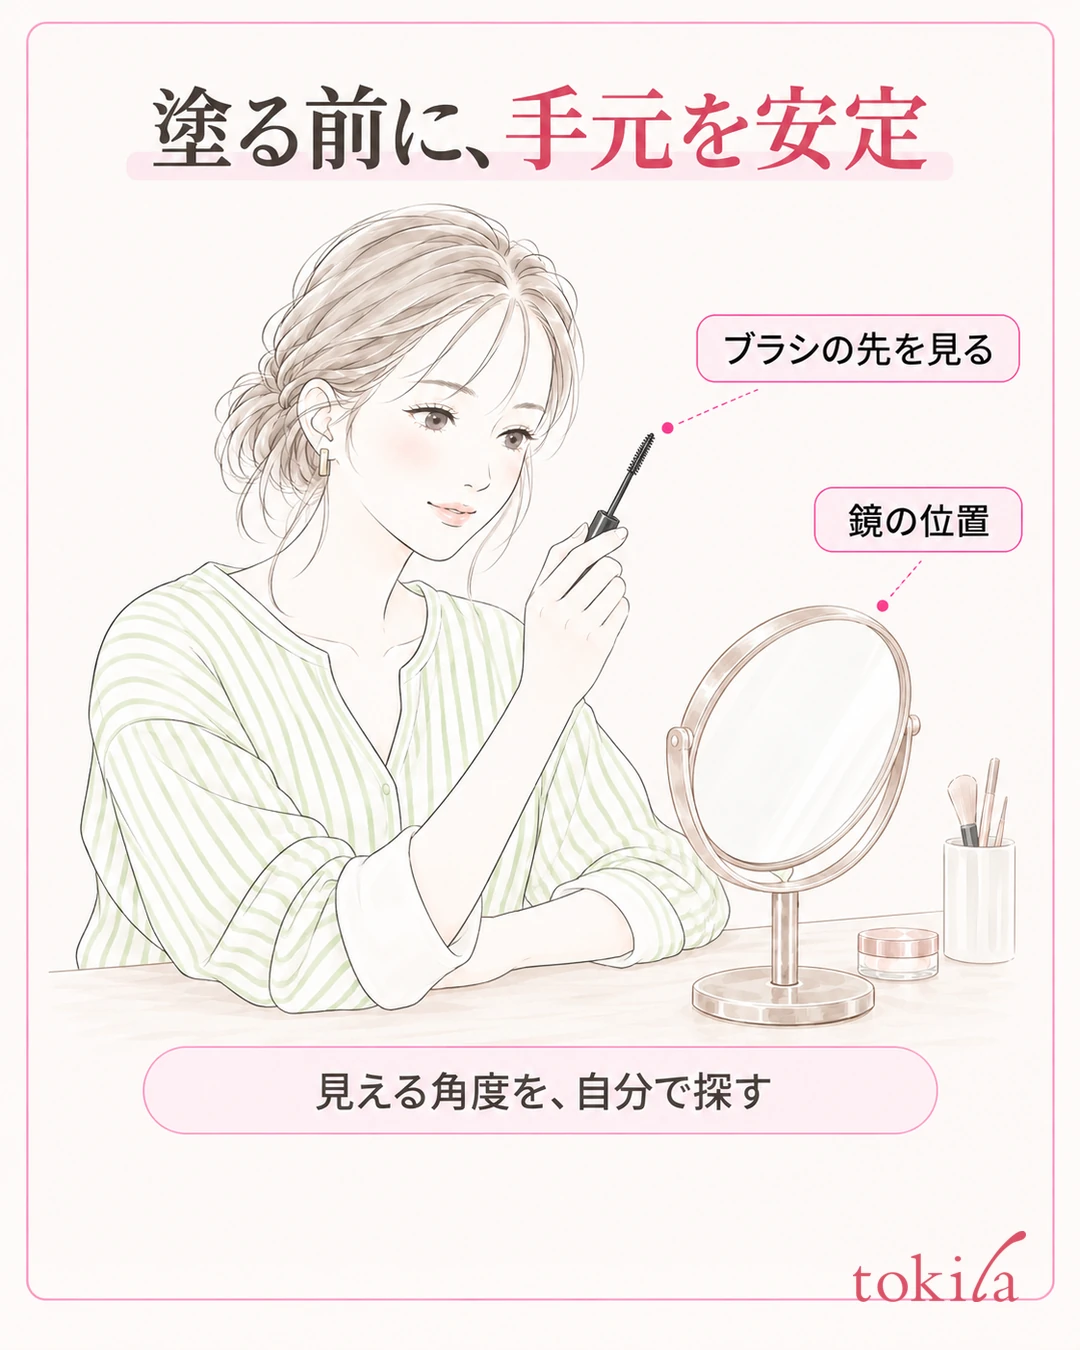
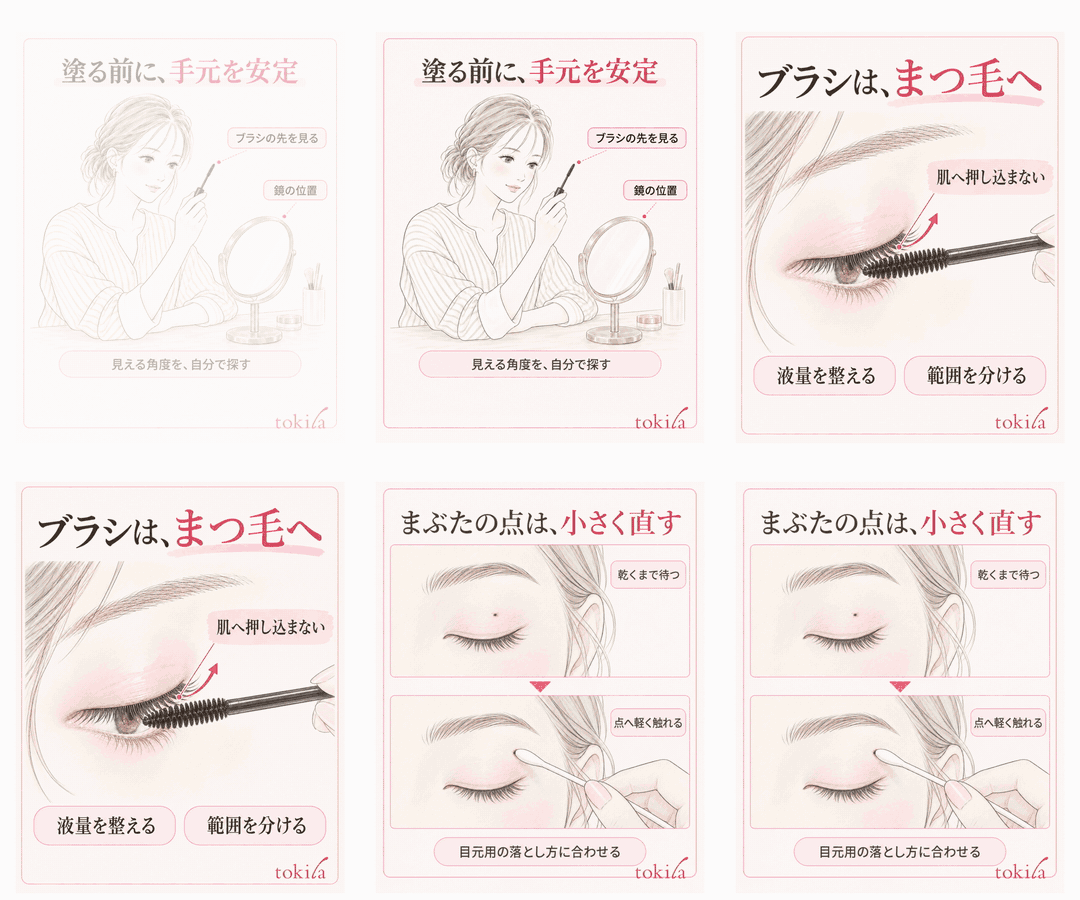
Place the mirror on a stable surface, and rethink the posture of holding the mirror in one hand while forcing yourself to apply. Keep a distance at which you can see both your eye and the tip of the brush at the same time. If you can lightly rest your elbow or forearm on a stable surface, it may help reduce large wobbles of your hand. There is no need to tense your shoulders and press your face toward the mirror.
For the upper lashes, your lashes may be easier to see when you direct your gaze slightly downward. Make small changes to the height of the mirror and the direction of your face, and find an angle at which you can follow the brush. This is not a method that imposes the same posture on everyone, such as lifting your chin high or pulling the eyelid hard.
If the tip is hidden by your eyebrow or eyelid, do not keep applying as it is; move the tool away. Check the lighting too, and move the mirror from a position where only one eye is in shadow. If the handle of the brush blocks your view, change where you hold it or the angle of the mirror, and look again before touching the skin.
If you use an eyelash curler, as a rule shape your lashes before applying mascara, following the tool's instructions. Do not try to prevent marks by forcing already-coated lashes back into the curler. If the main concern is lashes that do not lift, check the position and pressure of the eyelash curler.
Do not keep enlarging the mirror on one side only; from time to time return to a distance where both eyes are in view. Up close, look at where contact happens; from farther away, look at the range you need to apply. Do not try to finish the weaker side at the same speed; leave yourself room to move the tool away and hold it again.
Keep the cotton swab and the remover in a separate place within reach. The point of organizing your actions is not to brush skin marks away with the application brush, or to bring your hand close to your eye while searching for a tool with the other hand.
3. Adjust the excess product and apply lash section by lash section
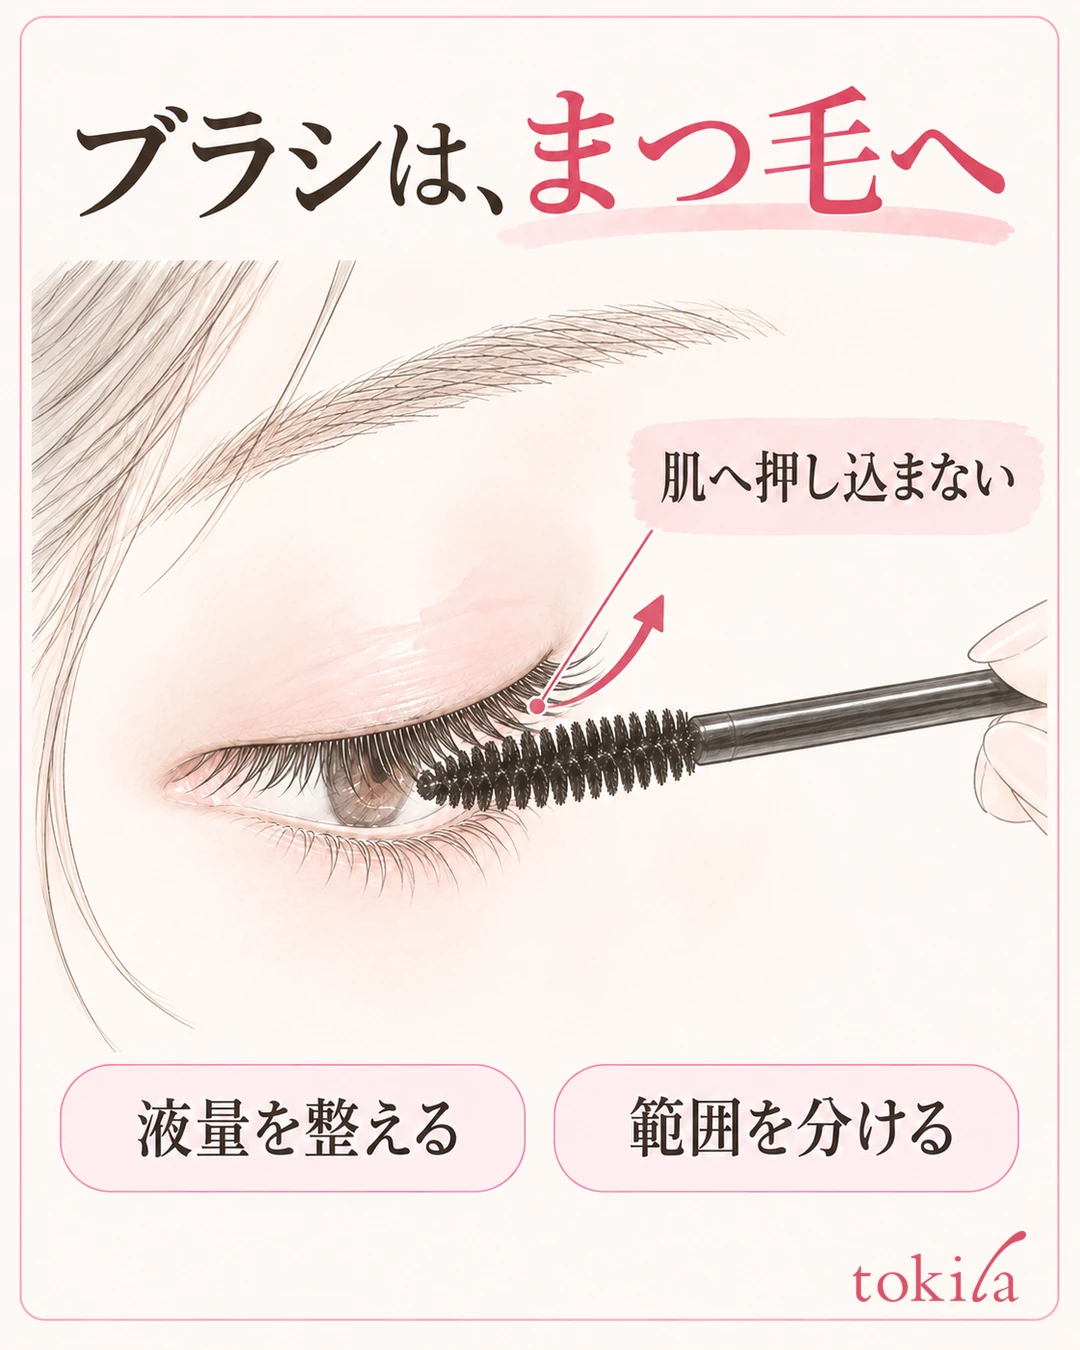
After taking the brush out, look for a clump of product on the tip or on one side. If your product specifies a way of adjusting the amount, such as at the rim of the container or with a tissue, follow that guidance. Rather than wiping the brush completely dry or squeezing the bristles flat, reduce the excess product and start with a small amount.
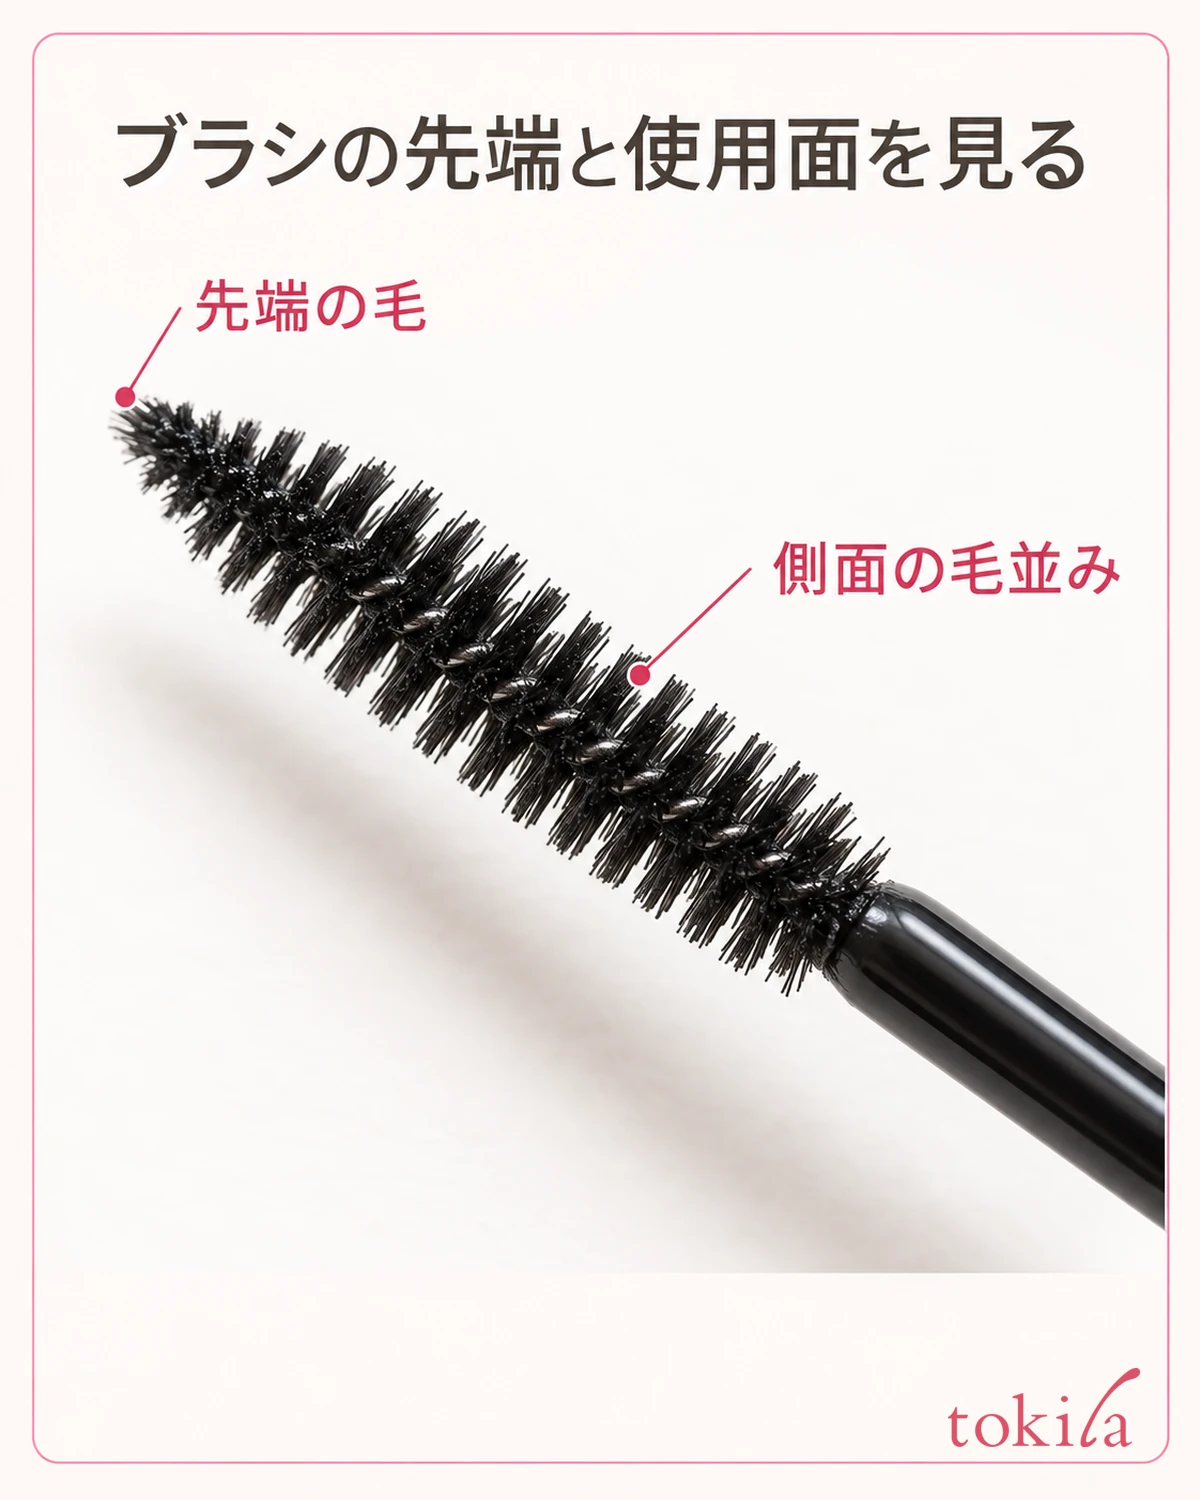
For the upper lashes, set the working face of the brush against the lashes and move it from the base toward the tips without pressing into the skin. Give priority to the shape and the face of the brush that your own product uses.
Even when you want to place color at the base of the lashes, do not touch the inner mucous membrane of the eyelid or the eyeball with the brush. Rather than pushing deeper when you cannot see the base, handle the visible outer lashes with a small amount. Use being able to confirm the position of the tip as your marker, not opening your eyes wide.
Do not swing it widely from the center to the outer corner in one go; divide the lashes into sections the brush can reach comfortably. Before moving to the inner or outer corner, pull it away once and check the amount at the tip. Continuing the same motion as in the center on fine lashes may bring the brush too close to the skin, so make the movement smaller.
For the lower lashes, handle the short lashes a little at a time with the designated part, such as the tip of the brush. Using the tip is not a rule common to all products. If a large brush is likely to touch the skin, do not force it sideways; check the visible lashes and the face to use before going on.
Right after applying, move the brush away and check that your lashes are not touching the eyelid. Because drying and the timing of layering differ by product, do not immediately reapply to everything just because it looks sparse. Do not make it a method of holding back blinks; once you have applied the necessary range, return to a natural state and check.
Rather than changing both the amount and the motion, first try one step, such as reducing the clump at the tip.
4. Remove dried marks in a small way, and restore only the makeup that came off
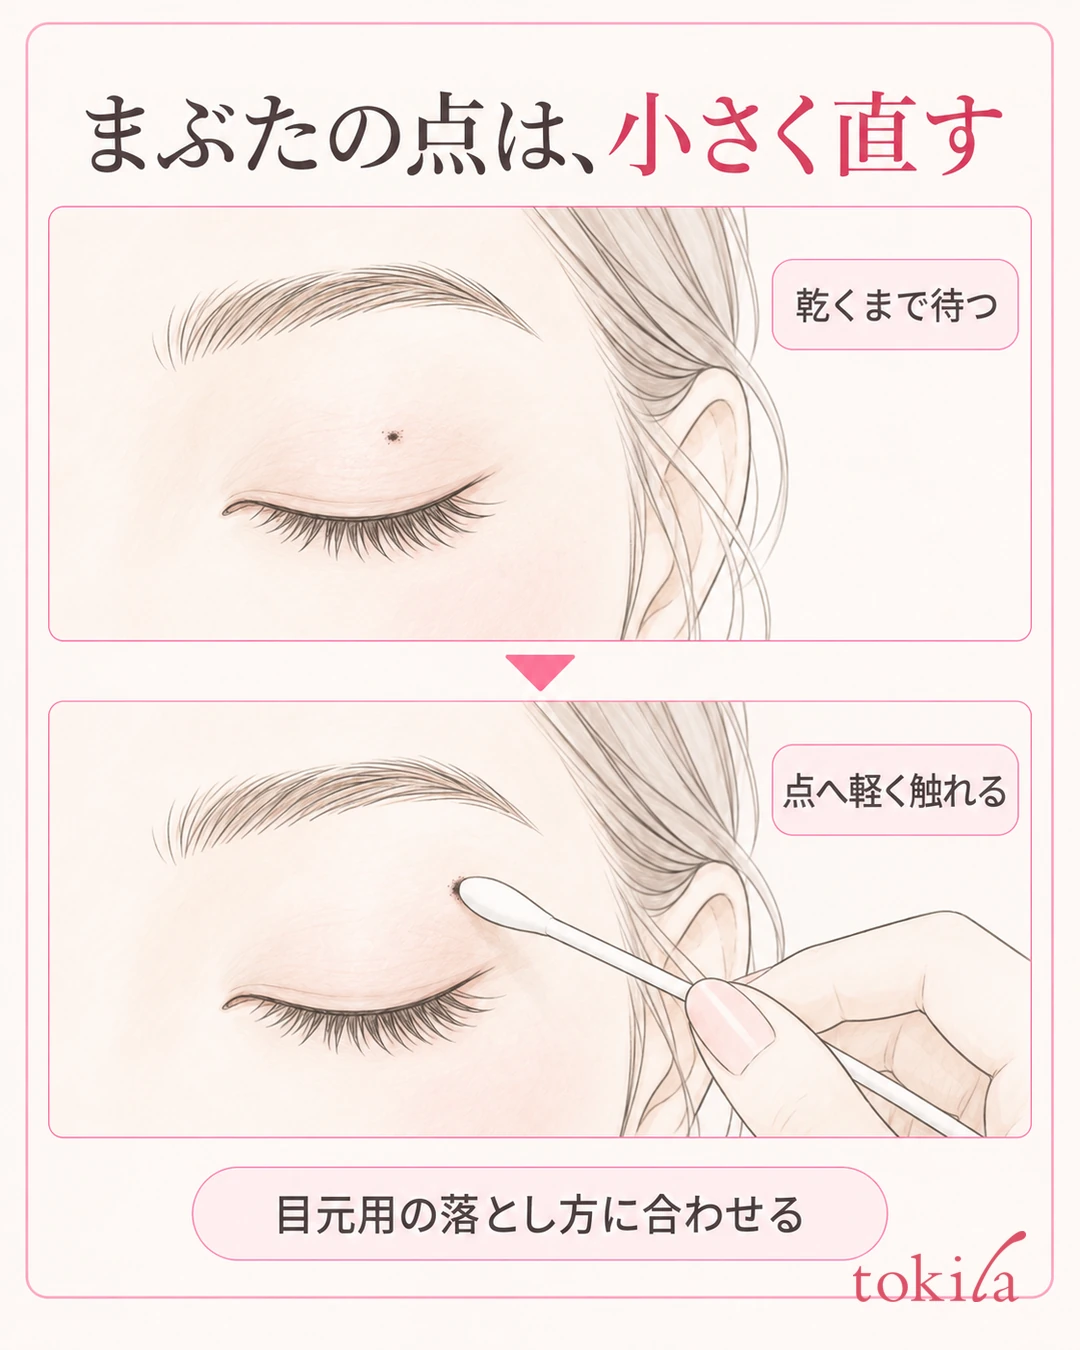
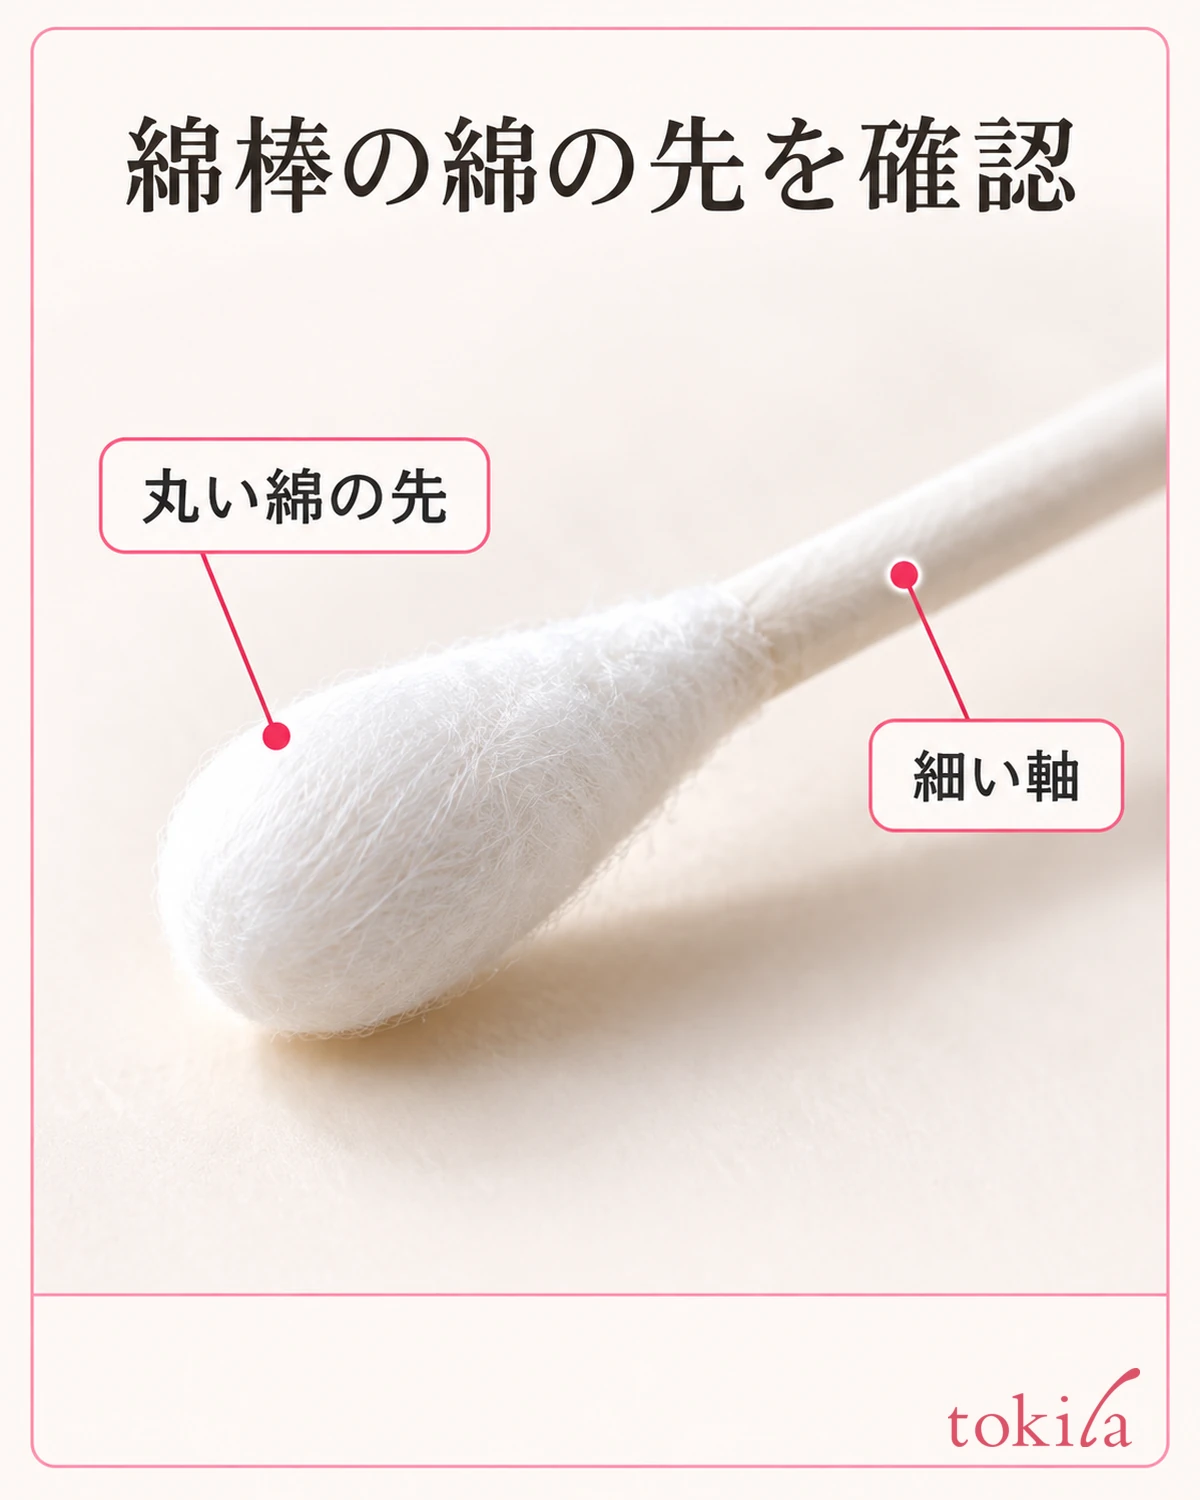
Once a small dot on the eyelid has dried, prepare a makeup remover that can be used around the eyes and a clean cotton swab. Match the way of removing to the labels of your mascara and remover. Some beauty explanations remove it with oil, but do not assume that any emulsion or oil you have on hand can be used near the eyes; check its purpose and precautions.
Moisten the cotton tip of the swab with the amount the product directs, so that it does not drip. Close your eyelid naturally and lightly touch the tip to the dot on the skin. Do not press toward the base of the lashes or into the eye; handle only the small area of skin where it got on. Look at how it comes off once, and repeat only as much as needed.
It is also important not to go back and forth around the area with a dirty tip. When color transfers to the cotton, switch to a clean side or a new swab, and do not trace over a wide area of eyeshadow. Rather than rubbing hard, use the step of blending with the makeup as directed. If it does not come off, do not increase force or liquid; check your method.
Even with products that come off with warm water, do not remove a small dot with hot water or strong friction.
After removing the color, follow the remover's after-use instructions and tidy up any remaining liquid or oil. Rather than hiding the excess with foundation or powder, restore them once your skin has settled. Touch up only the base and eyeshadow that came off, in small amounts, and stop when you are close to the original intensity.
If you only removed a small dot, there is no need to add mascara to your lashes again. If it has become a wide streak and the local fix is creating more uneven color, there is also the option of redoing that area with a method usable around the eyes. If you lack time or tools, decide how far to fix it before covering it thickly.
5. Check both eyes, and decide on one condition to change next time
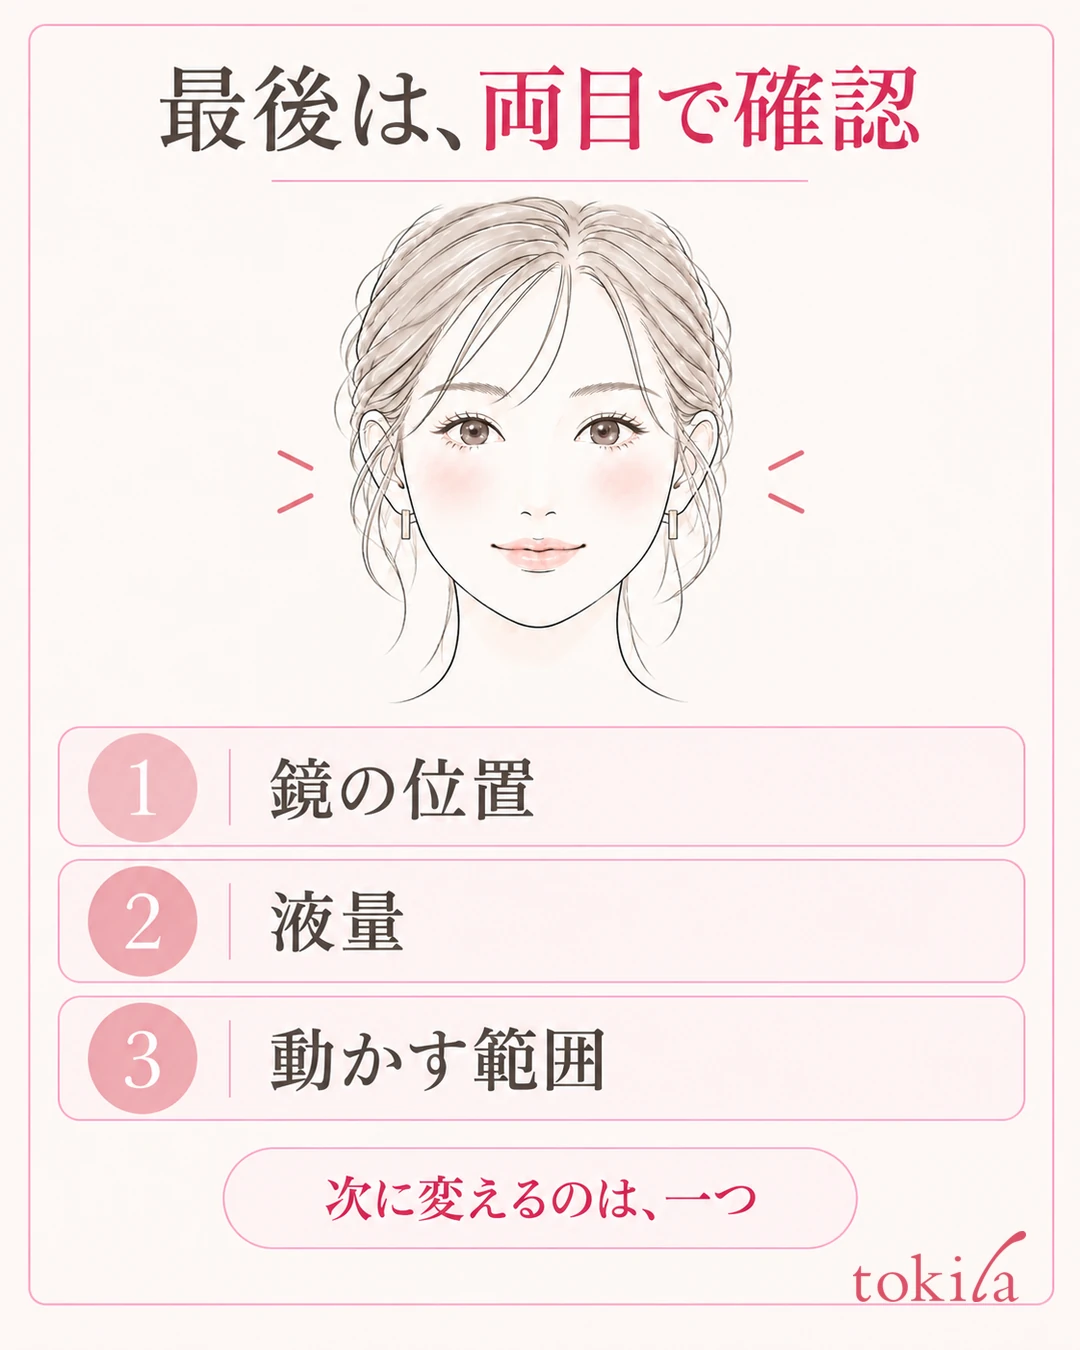
To finish, check marks on the skin in a close mirror and the balance of both eyes in a distant one. With your eyes naturally open and lightly closed, look at dots on the upper lid and smudges on the lower lid. Without adding product to the tips with each check, separate once more whether the remaining problem is a mark on the skin or the amount on the lashes.
If it keeps happening on one side, do not blame your dominant hand alone. Note the motions you actually saw: the handle blocked your view, you swung widely toward the outer corner, or the coated lashes touched the skin when your eyes opened. Because the growth of lashes and the shape of the lids differ left and right, do not make applying with the same number of strokes and angle the only condition for completion.
Next time, change one of three things: the mirror position, the amount of product on the brush, or the range you apply. For example, if it got on the center of the upper lid, review your gaze and contact; if there is a dot at the outer corner, review the amount at the tip and the distance you move. Before switching to a new product each time, you can sort out which moment of the application is hard to handle.
If the size of the brush does not suit fine lashes and it is hard to place even when you look at the tip, refer to the official description of its shape or ask at a store. Buying a thinner brush does not necessarily eliminate marks. Putting into words the places that are hard to use and the working face you need makes it easier to think about the relationship between tool and motion.
When you are done, tidy the rim of the container, close the cap and store it. Do not put a used swab back; keep your touch-up tools clean. When you want to see the types and basics of mascara, see the basics of eyeliner and mascara.
On days when it gets on your eyelid, keep this order in mind: stop and look at where it is, steady your mirror and the amount, and redo only the marks on the skin in a small way. Separating the target before redoing everything makes it easier to choose the steps you need.



