
Every time you paint your toenails, color gets onto the skin of the next toe. Or the polish went on neatly, but while you wait, your toes touch and leave marks. For toenail polish, besides how you move the brush, it helps to first set up the angle at which you can see the nail and the spacing between your toes.
This article focuses on applying air-drying nail polish to toenails, and explains how to tell when the contact happens, how to position your foot, how to prepare to keep your toes apart, and how to wait after painting. Keep it separate from curing gel and from treating nails, and proceed according to the labels of the cosmetics and tools you use.
1. Tell whether the brush touched or the painted toe touched

First, recall where and when the color got on. If a line got on the next toe while you were carrying the brush sideways, check the path of the brush and how the nail looks. If color transferred to the side of a toe after you finished and lifted the brush, consider that the nail and the next toe may have touched while you were waiting.
Contact while painting and contact after painting call for fixing different things first. Both can happen together, so it is important not to try to solve everything with the amount of polish alone. To observe color that is already on, you do not need to deliberately push freshly painted toes together to check.
Place your foot comfortably and check whether you can see the side edges of the nail. If the skin of the next toe overlaps the nail surface, or a small nail is pointing downward, the brush is more likely to stray outside as you try to paint edges you cannot see. Do not twist your foot to the same angle as for your fingernails; first create a range you can see.
Distinguish the color on the nail from the color transferred to the skin, and see which toe and which side has more. For example, if it is only the outer side of the little toe, you can narrow down whether you need to move the whole foot or just change how the brush goes in. Do not start from the assumption of applying the same force to spread all the toes.
If the skin is already injured, painful, red, or otherwise unusual, do not try to cover it by painting; hold off. Do not self-diagnose illness or foot-shape problems from the reason your toes touch; use this article only within the scope of reviewing posture and contact during application.
If you repaint, first confirm which step involved the contact. If you remove the color and hurry to paint in the same posture, the brush may hit the same spot again. Change where you place your foot and your tools, and start over from the preparation before painting.
2. Support the heel and place your foot where the nail surface is visible

Sit on the floor or a stable chair, in a position where you can see your toes without rocking your body much. Rest your heel on the floor or a stable platform, and do not keep painting with your foot lifted in the air. You do not need to bring your face close to your nails in a posture that strains your knees or back.
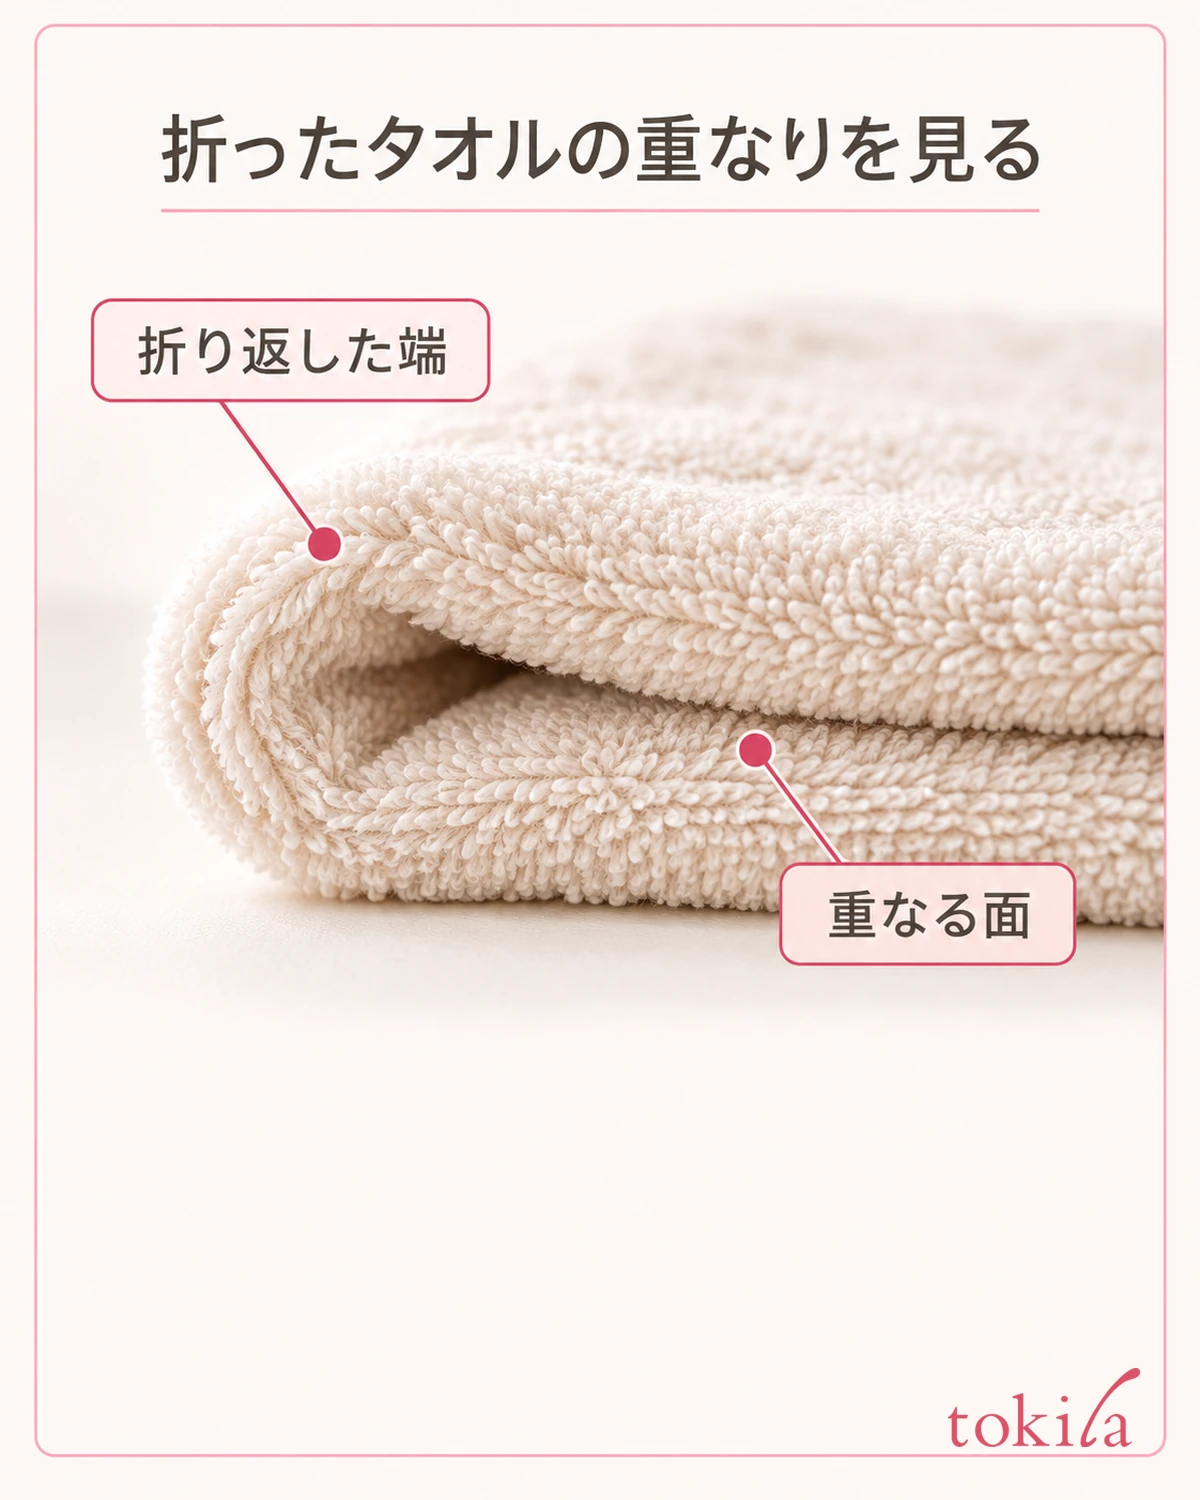
For the surface that supports your foot, prepare a clean mat that you do not mind getting stained. If the nail surface faces down and is hard to see, you can place a folded towel under your foot to adjust the angle. Do not press the towel against the nail; use it to create a position that supports your foot before painting.
A higher pile of towels is not necessarily better. Keep it to a height at which your foot does not roll and your heel does not slip, and check that you can rest comfortably even when you let go with both hands. If it feels hard to reach, bring where you sit and where your foot is closer together before bending your body deeply.
Place the bottle on a flat surface where you will not kick it. Decide beforehand where to put the brush, the tool for tidying up overflow, and the remover if you use one, so that you do not have to reach across your foot to fetch them after painting. For volatile products, ensure ventilation and do not use them near open flames.
Arrange the light so that you can see the nail surface and the boundary with the skin on both sides. If your own hand casts a shadow that hides one side, change the lighting or the direction of your foot before picking up the brush. Rather than suddenly turning only your foot while painting, lift the brush away, reposition, and then resume.
It is enough to see one nail surface at a time. Instead of aligning all ten toes to the same direction at once, prioritize being able to see the side of the nail you are painting now and keeping your heel and body stable. Once the position is set, prepare the tool that separates your toes.
3. Separate your toes comfortably and check the fit before painting

If your toes are close together and hard to paint, you can use a tool that keeps the toes apart, such as a pedicure toe separator. Check the product instructions for the direction of the tool, where to insert it, and how long to use it. Do not assume that any toe-spreading product is suitable for use during application.
Put it on before applying base coat or color. Place your toes in the direction that matches the instructions and check that the nail surface does not touch the next toe or the tool. Even after putting it on, keep supporting your heel and confirm that inserting the tool has not lifted your foot.
Do not spread your toes so far that it hurts, or push the tool in deeply. If there is pressure or discomfort, remove it and reconsider whether you can use it comfortably. The purpose of separating the toes is to avoid contact between the nail you are painting and the neighboring skin. The goal is not to spread them to the maximum or to change the shape of your foot.
If you have no dedicated tool, you can also roll clean tissue or cotton into small pieces and place them between your toes. Do not stuff in large lumps; keep your toes comfortably apart and make sure no fibers stick out over the nails. If the paper is likely to touch wet polish, reposition it before painting.
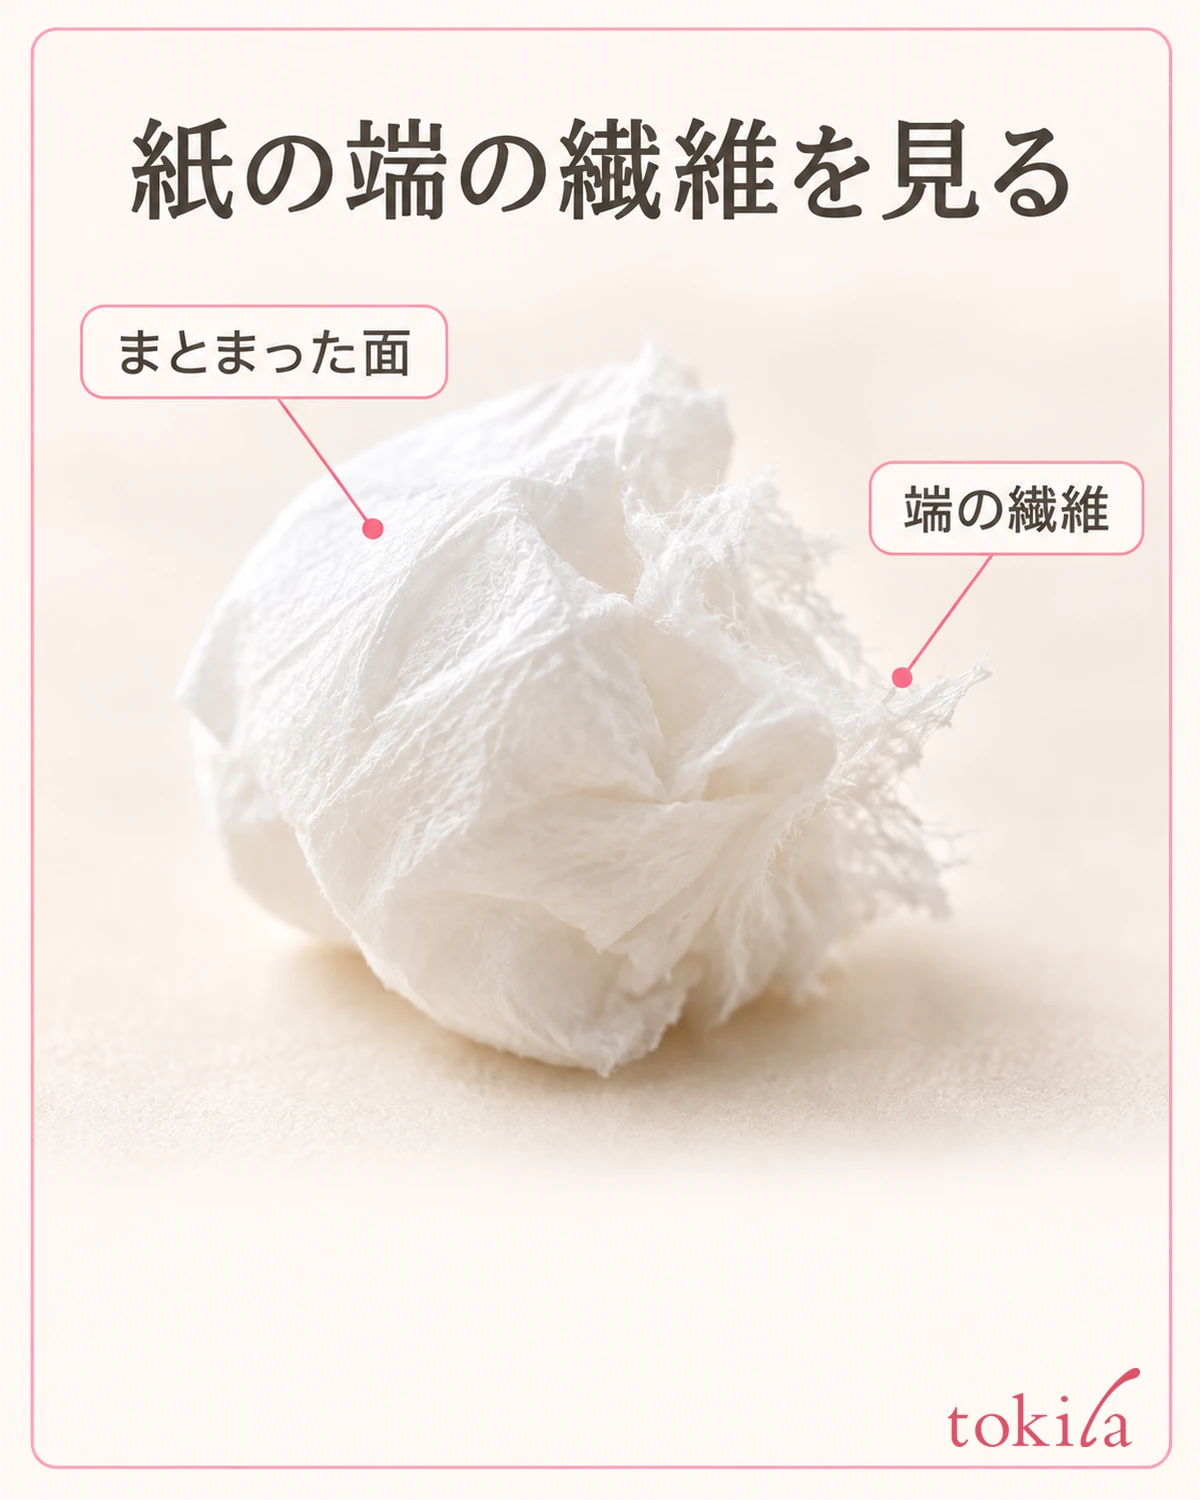
Even with tissue, you do not need to wrap it tightly around your toes or fix it with tape. See whether you can keep the spacing with your foot resting naturally. Rather than forcing it onto a toe where it does not fit, reconsider your tools and posture before continuing.
If you try to add tools after painting, your hands or the paper may touch the nails. Check the movement of your toes and hands once without holding the brush, and keep everything you will use within reach; this reduces the need to redo the setup midway.
4. Decide the brush path and apply thinly without spreading beyond the nail

Before painting, check the order of base, color and top coat for the polish you use, and the conditions for layering. Once you take out the brush, adjust the excess liquid at the neck of the bottle, and do not carry it to your foot in a state where drops might fall. It is also important not to put the same amount on a small nail as on the big toe.
As one example, you can paint from the little toe toward the big toe. What matters more than memorizing the order is creating a path where the brush and your hand do not cross over nails you have already painted. Check where your hand passes given how you sit, and lift the brush away from the nail when you reposition your foot.
Carry the brush from the center of the nail toward the tip, and paint the sides by looking at the width that remains. Do not force yourself to fill the thin boundary with the skin, and work within a range where the bristles do not splay outside the nail. Rather than tilting the brush flat to avoid the next toe, first try going back to an angle where the nail surface is visible.
If you apply thickly to finish with deep color in one go, you need to check again whether the liquid has spread to the edges even after lifting the brush. Follow the product for the number of layers and the waiting conditions, and do not keep going over a surface that is starting to dry. Checking nail polish bubbles and thickness explains the difference between the state of the liquid and layering.
If color gets on the skin of a toe, do not try to wipe the whole foot; check how to remove it for that part. For a product removed with remover, there is a method of tidying a narrow area with a tool wrapped in cotton moistened with a small amount. Do not press the tip into the skin, and do not rub the polish film on other nails.
For a nail that has broken down over a wide area, you can also choose to remove that one nail and redo it before painting on more thickly. Refer to how to remove nail polish without spreading the color, and replace cotton that has picked up color. Do not apply the same method to products that specify gel or another removal method.
5. Avoid contact until dry, and move slowly when removing tools

Even after you finish painting, do not immediately bring your toes together or put on socks; follow the drying instructions of the product. For a tool that separates the toes, also check its conditions of use. If it is specified to remove after the polish has dried, do not pull it out right after painting and let your toes return.
Do not judge that it has dried inside just because the surface is shiny. Do not set a common number of minutes for every product; follow the layers you applied and the product instructions. Avoid checking dryness by pressing a painted nail with a finger or touching it to the next toe.
While you wait, keep supporting your heel and keep a position where no towel or clothing touches your nails. If you pull your foot in to reach your phone or a drink, your toes may move. Finish any errands that involve walking or changing clothes beforehand, and prepare so that you have no plans to move your toes much after painting.
When removing the tool, follow the method described and move slowly in a direction that does not rub the nail surface. If you used tissue, remove it while checking that the paper is not caught on the nail. Do not pull it out forcefully while it is caught, and if the polish film is damaged, check its condition rather than hurrying to add more polish.
Finally, rest your toes naturally without pressing them together, and check by eye whether any residue remains on the sides of the nails or the neighboring skin. If a contact mark appears, noting which toe and whether it was during painting or while waiting helps you prepare next time. Next time, review whichever step gave you trouble first: the position of the towel supporting your foot or the preparation to separate your toes.
Whether you can maintain and reuse a tool depends on its material and product labeling. Replace the paper you used, and put away items with polish or remover on them so they do not mix with clean spares. For pedicures, rather than relying only on the thinness of the brush, first create an angle you can see and a path where nothing touches; this makes it easier to see what to adjust next.



