
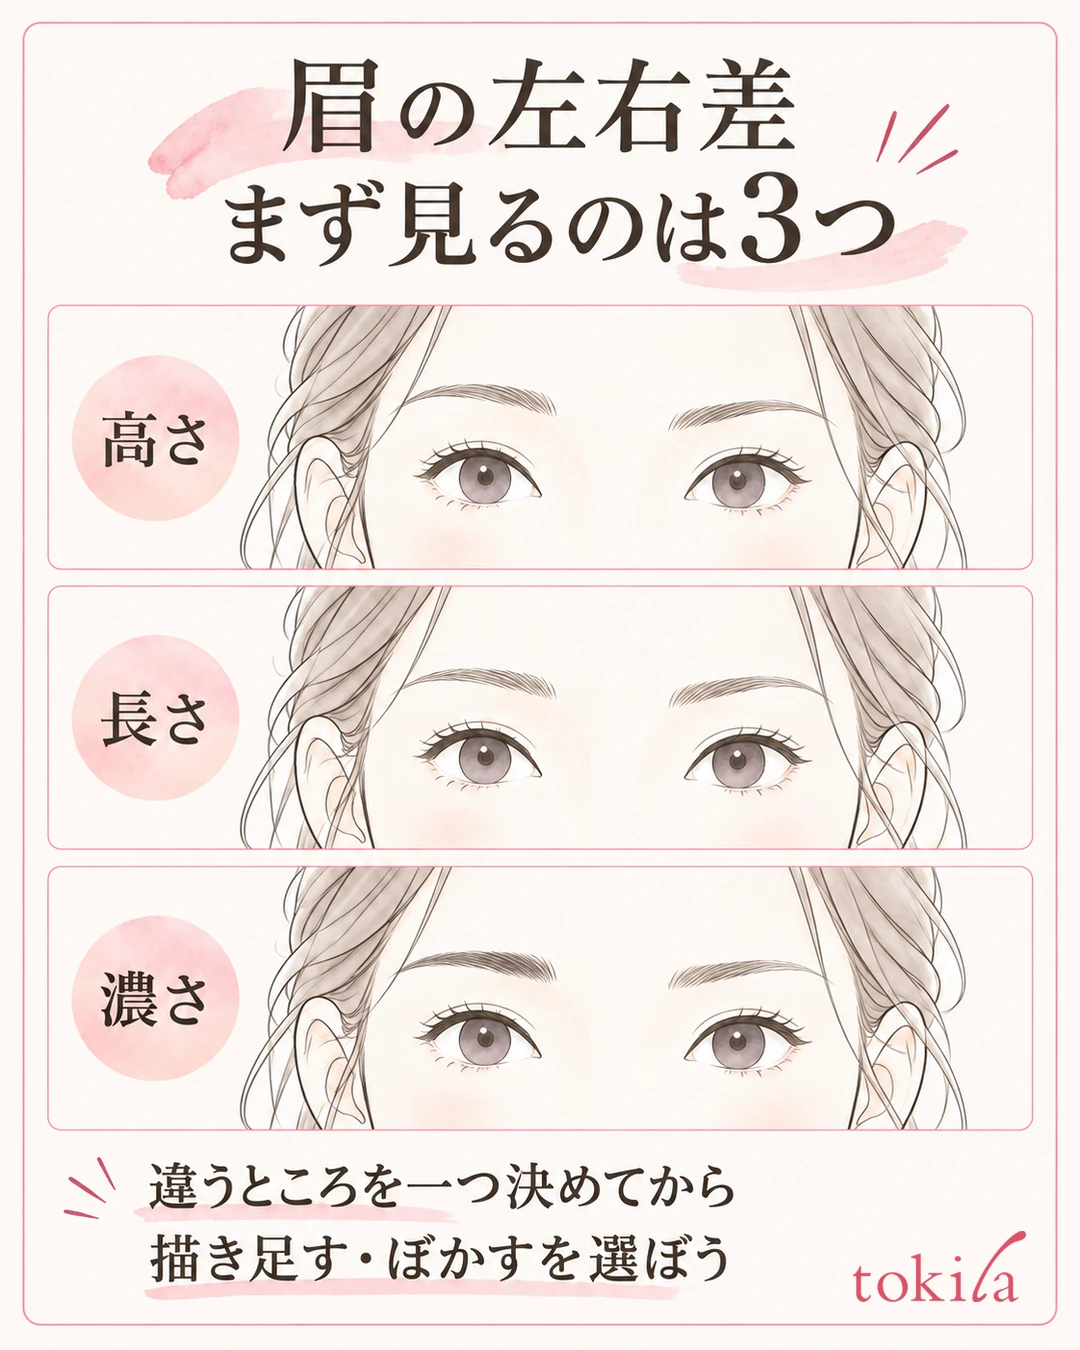
You add color to match one brow, and suddenly both are thick. Before you redraw one brow completely, look at whether the difference is in height, length, or density. You don't need to make the natural growth pattern or expression identical on both sides.
This article walks you through working with your natural brows: shape them with a brush, draw short strokes only where they are sparse, and check the whole face. It is not a general guide to plucking, shaving, or trimming; it is about adjusting today's brow makeup little by little. Don't chase tiny differences too far, and aim for a finish that feels comfortable to you.
1. Before You Draw, Look at Height, Length, and Density Separately
In a mirror facing you, look at the inner end, the arch, and the tail in that order. Put the difference into one phrase: for example, only the left tail is shorter, or the upper side of the right brow is darker. Rather than thinking "the shapes are different" in a broad way, this makes it easier to decide what to add or blend. If your bangs fall over your brows, move them so both brows are visible.
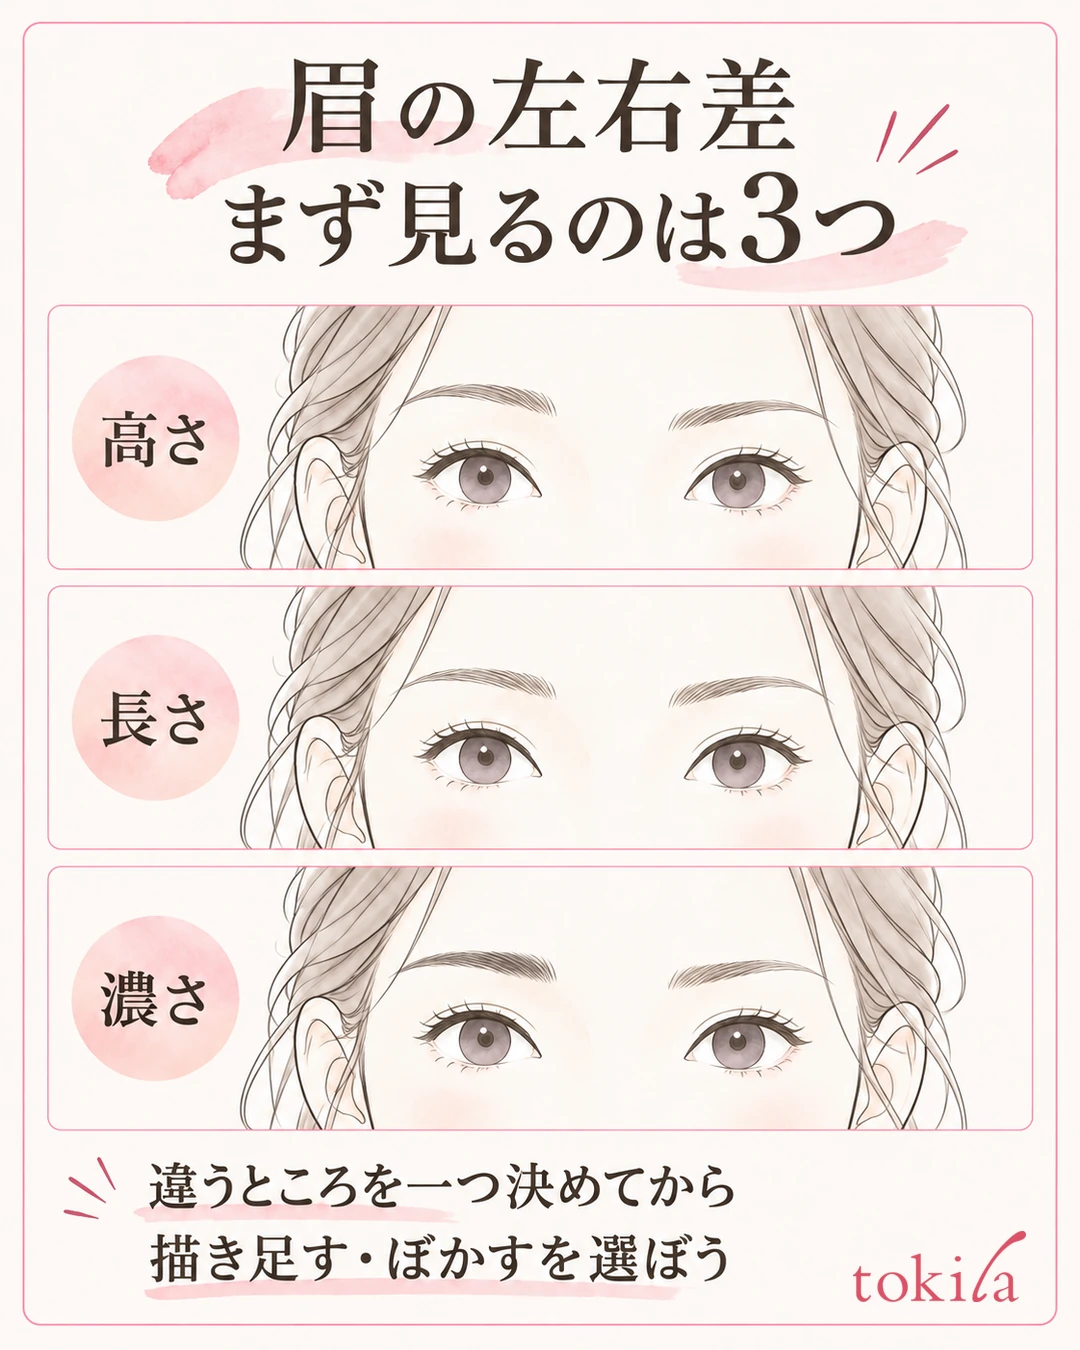
Start by looking at the area where your hair grows before makeup. If you compare only the lines you drew, you may feel that even areas with hair are lacking. Before outlining the whole shape at once, check the sparse parts of your natural brows separately from the parts where the hairs are just lying flat.
Align Your Face and the Mirror Angle, and Relax Your Expression
If you look while one brow is raised, you will want to adjust the height to match that state. Relax your forehead, don't tilt your face, and place the mirror straight in front of you. If you turned your face to check one eye at a time, bring it back to the front once. Check whether the difference you noticed in a photo looks the same in the mirror.
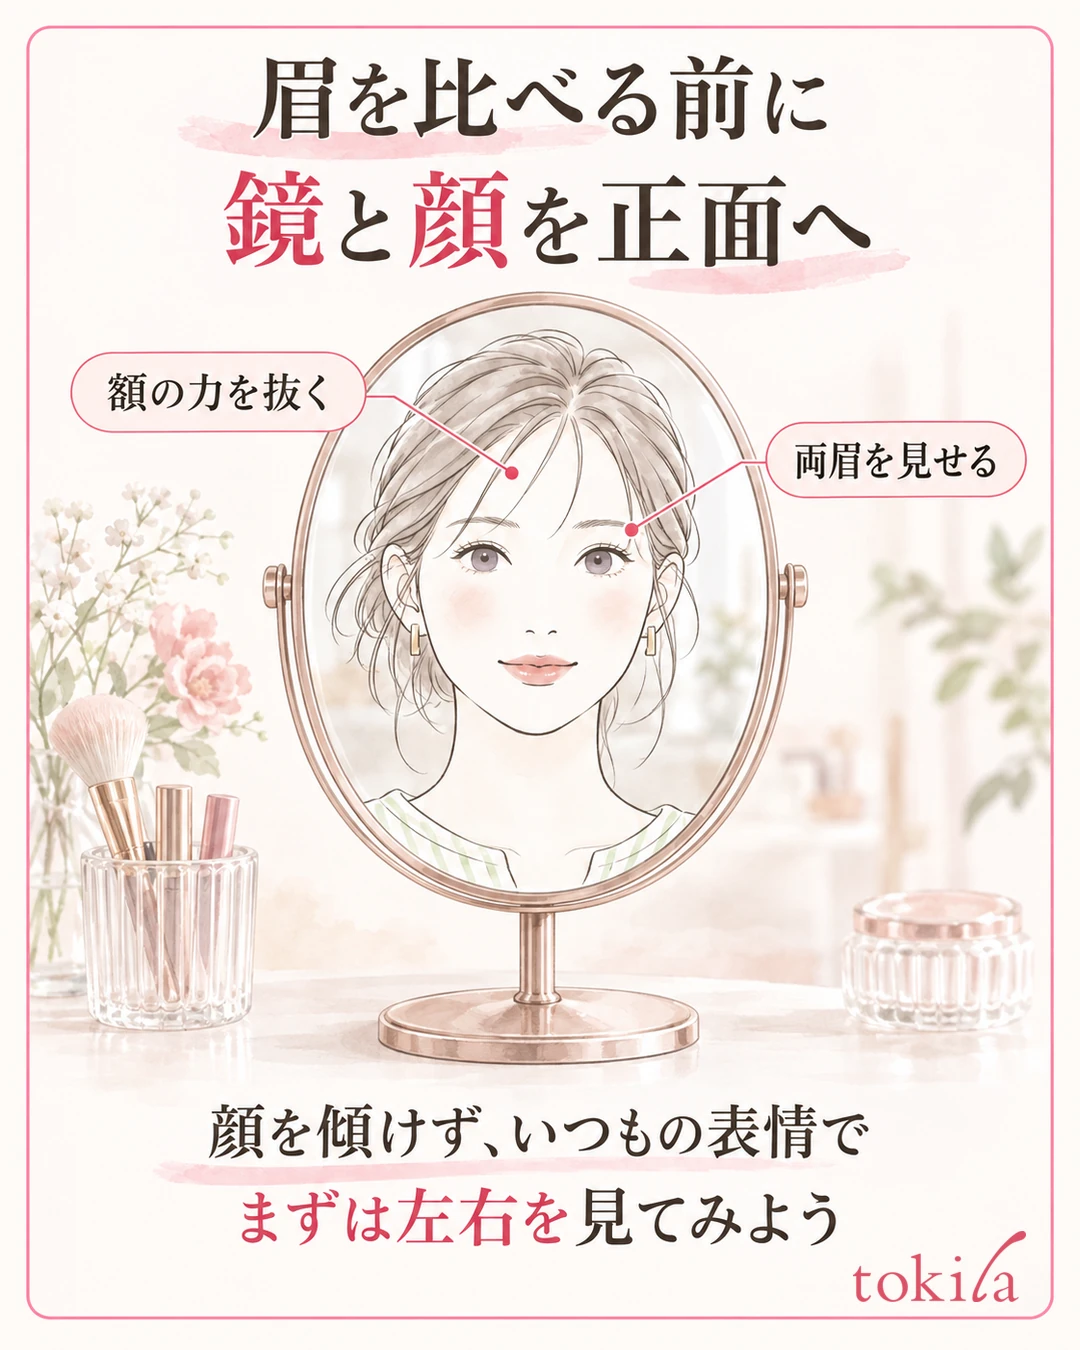
It helps to use one mirror for brow details and another that shows your whole face. If you follow a single hair in a magnifying mirror, you may lose sight of the overall thickness.
Even if the shapes look very different, change only one thing first. On days when height bothers you, keep the length as it is for now; on days when density bothers you, blend without changing the outline. This makes it easier to see the difference after each adjustment than fixing everything at once. You don't need to aim to erase the natural left-right difference completely.
2. Shape the Hair Direction with a Brow Brush, Then Choose Your Tools
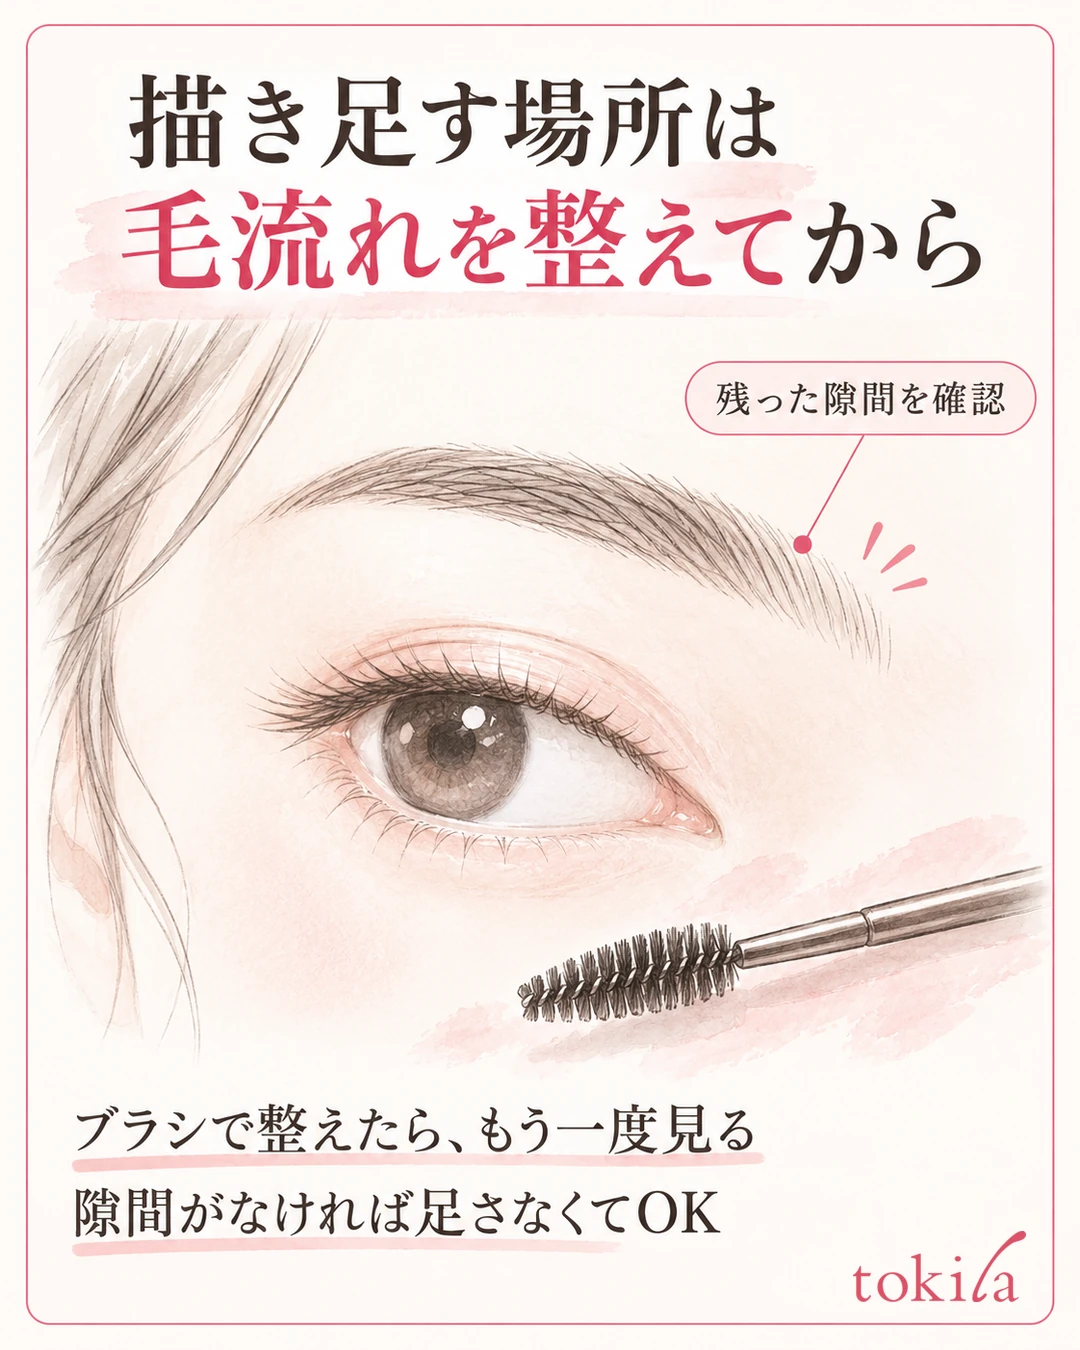
If the brow hairs point up or sideways, it is hard to judge where to draw. Use a clean spoolie brush or similar to arrange the hair direction and look at the shape again. Don't press hard; move it according to the instructions for the tool you use. Just aligning the hair direction can make the difference that bothered you look smaller.
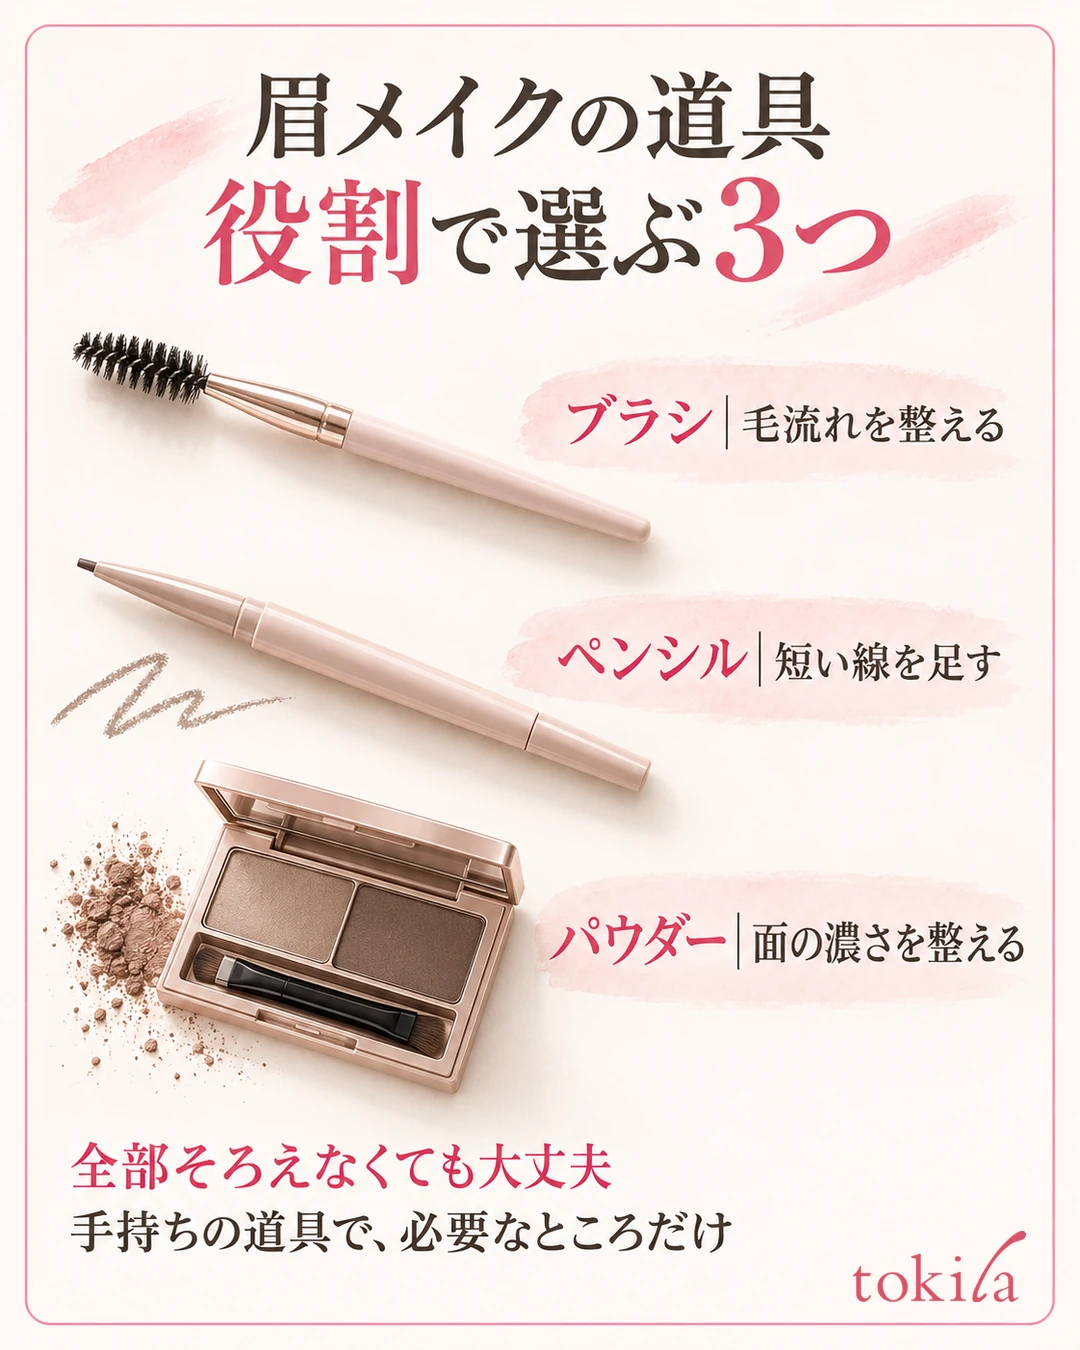
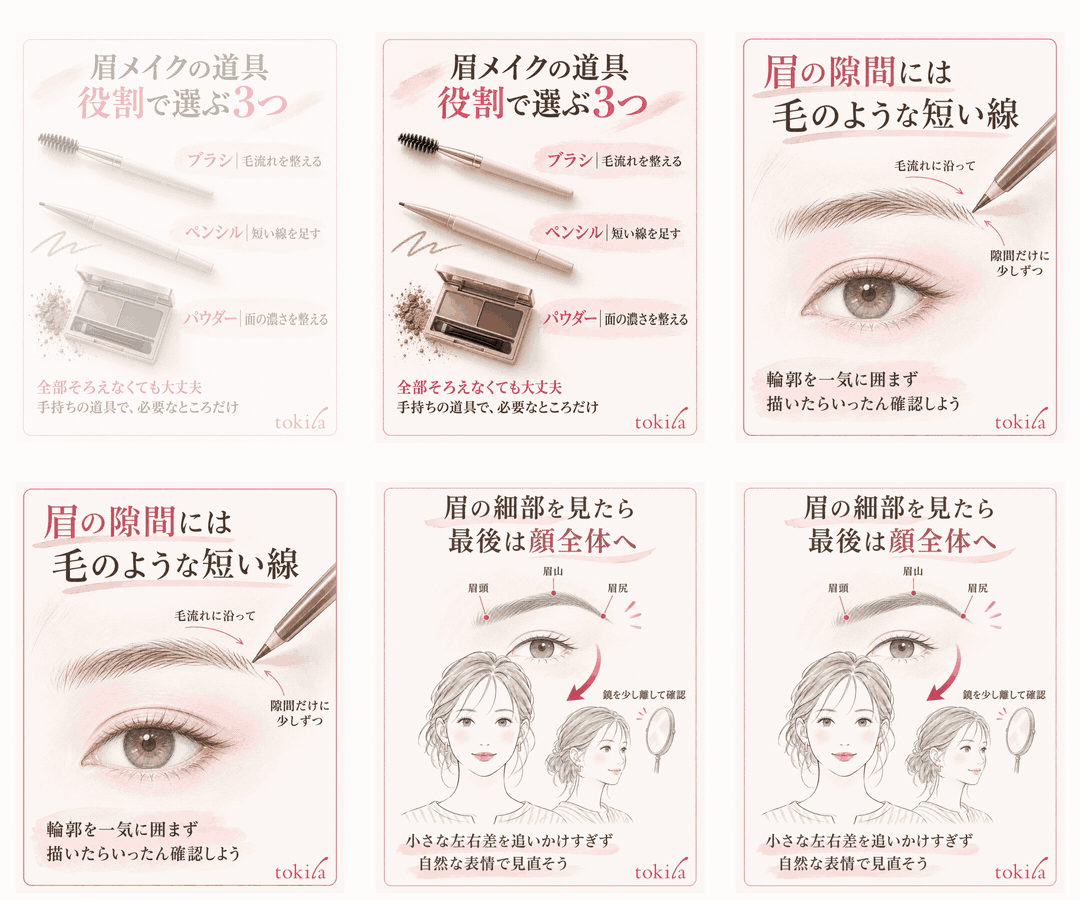
It is easier to choose if you separate their roles: use a pencil where you want to add short lines and a powder where you want to even out density over an area. You don't have to buy both. Try whether the tools you already have can make thin lines or a soft fill, and add only what you need.
With the Hair Shaped, Decide Again Where to Draw
Gaps you found before brushing may not stand out after you shape the hair. Don't add color based on your first impression; choose where color is needed once the hairs are aligned. The inner end in particular tends to have overlapping hairs, so check how it rises and how dense it is before adding color.
Check the pencil color against your hair and natural brows across the whole face. If you extend the lead too far or fill in with strong pressure, the line may become thick or the lead may break, so follow the length and pressure specified for the product. If you test line thickness on the back of your hand, use it only as a guide to how much to draw on your face, and don't assume the color payoff is exactly the same.
With powder, check how much you have picked up and use it little by little. If one side is darker and you apply the lighter side up to the same darkness at once, only the brows may look strong. Keep the option of blending the darker side. Even without changing height or length, adjusting density makes it easier to balance the brows.
If you can't find anything that bothers you once the hair direction is aligned, it is fine to finish for the day without adding anything. Checking left-right differences is not about hunting for something you must fix. On days when you wear bangs down or keep your eye makeup soft, go back to the whole face and see whether it is needed before automatically adding your usual amount.
3. Add Hair-Like Short Lines Where They Are Lacking
Don't outline the whole brow in one stroke; place short lines where there is little hair. Here, supplement only the places where you confirmed a difference, and don't add anything where there is enough natural hair.
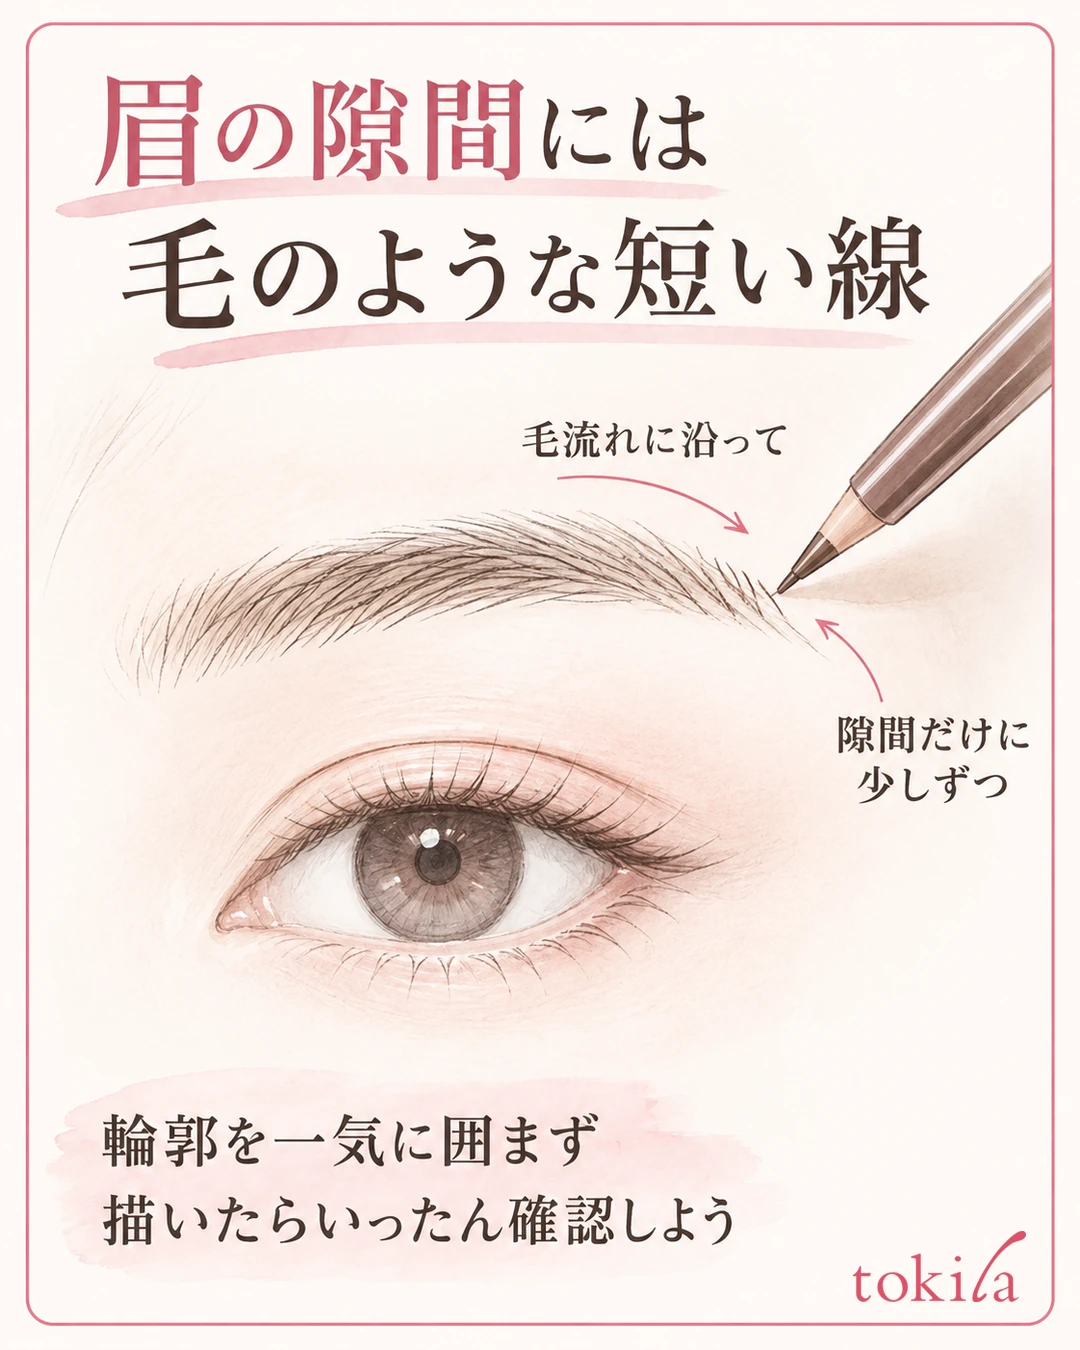
If the tail looks short, extend it little by little along the flow of the hair. Before adding lines on the upper side to change the height, look at the position of the original tail. Because the angle of the eyes and the bone structure differ, you don't need to move every point to the same position as if using a ruler.
Start with the Side You Find Harder, and Adjust the Two Sides in Turns
If you finish the side that is easier to draw first, you may keep adding more to the other side to match it. Try drawing a little on the left tail, then looking at the right tail.
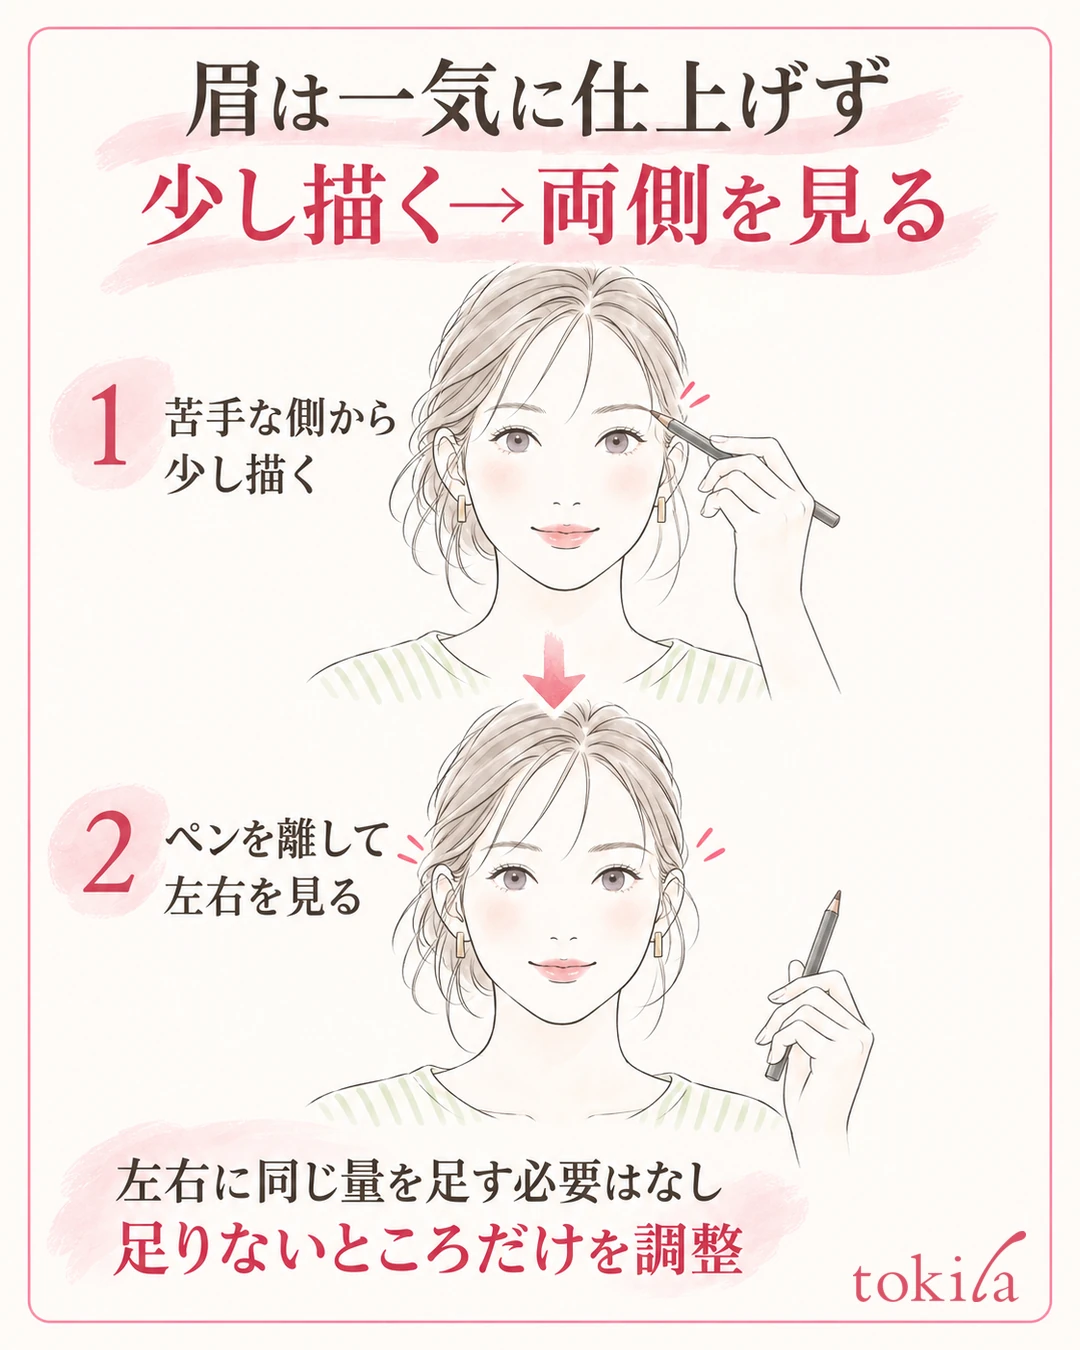
Each time you go back and forth between right and left, you don't necessarily add the same amount. If only one side has a gap, fill only that side and then look at both. If you keep thinking while holding the tool, you may add lines without noticing, so lift the pencil away from your brow to check. The key is to separate the time for drawing from the time for looking.
If the end of an added line looks too distinct, blend it lightly with a brush. Repeating small units of drawing, blending, and looking at the whole face keeps you from changing the outline too much. On rushed days, you can also keep your usual shape and tidy up only the noticeable gaps instead of trying to make a whole new brow shape.
4. After Checking the Inner End, Arch, and Tail, Return to the Whole Face
After drawing, look at height, length, and density in the same order you checked them at first. Before adding more thin lines, check that the inner end hasn't become square and dark on one side only, and that the tail hasn't suddenly become thick. When you find one point that bothers you, keep everything else as it is for now.
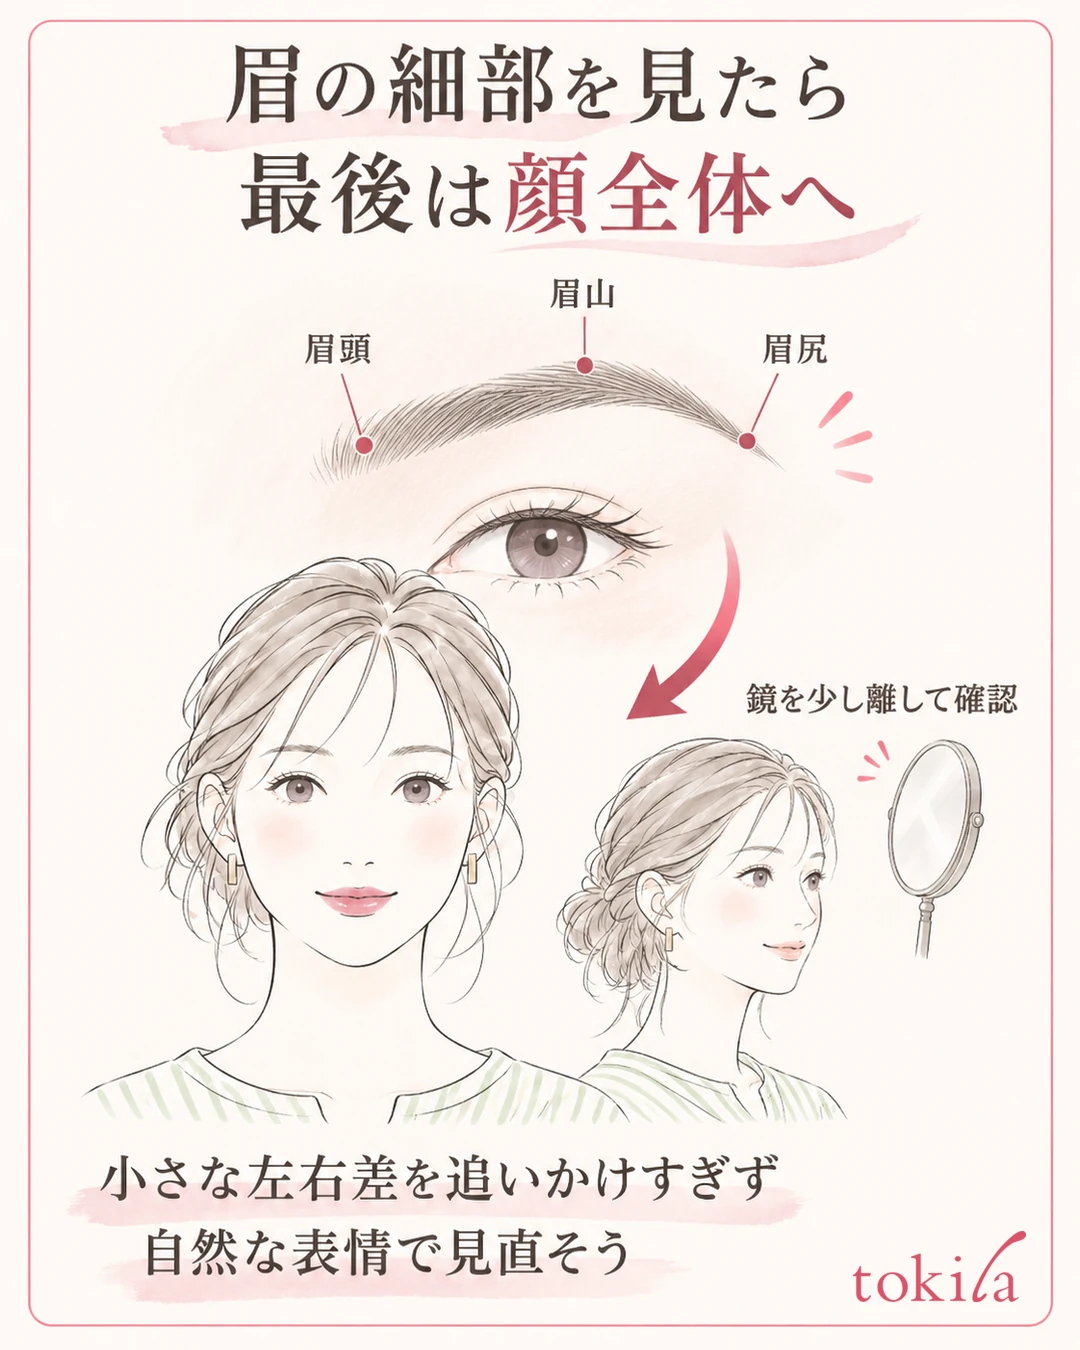
When you have finished looking closely at the brows alone, move away from the mirror and look at them together with your eyes and hair. Don't keep fixing small differences that don't bother you when you see the whole face, only inside a magnifying mirror. In addition to the front view, also check how the tail connects when you turn slightly to the side.
When Heights Differ, Check Density Before Adding to the Upper Side
If only the upper side of one brow is dark, it can look higher than the actual height of the hair. Before adding lines to the opposite side to lower the brow, blend the dark part with a brush and check. Even when you fill in the sparse lower side, do not fill a wide area; add short lines to the gaps that need them.
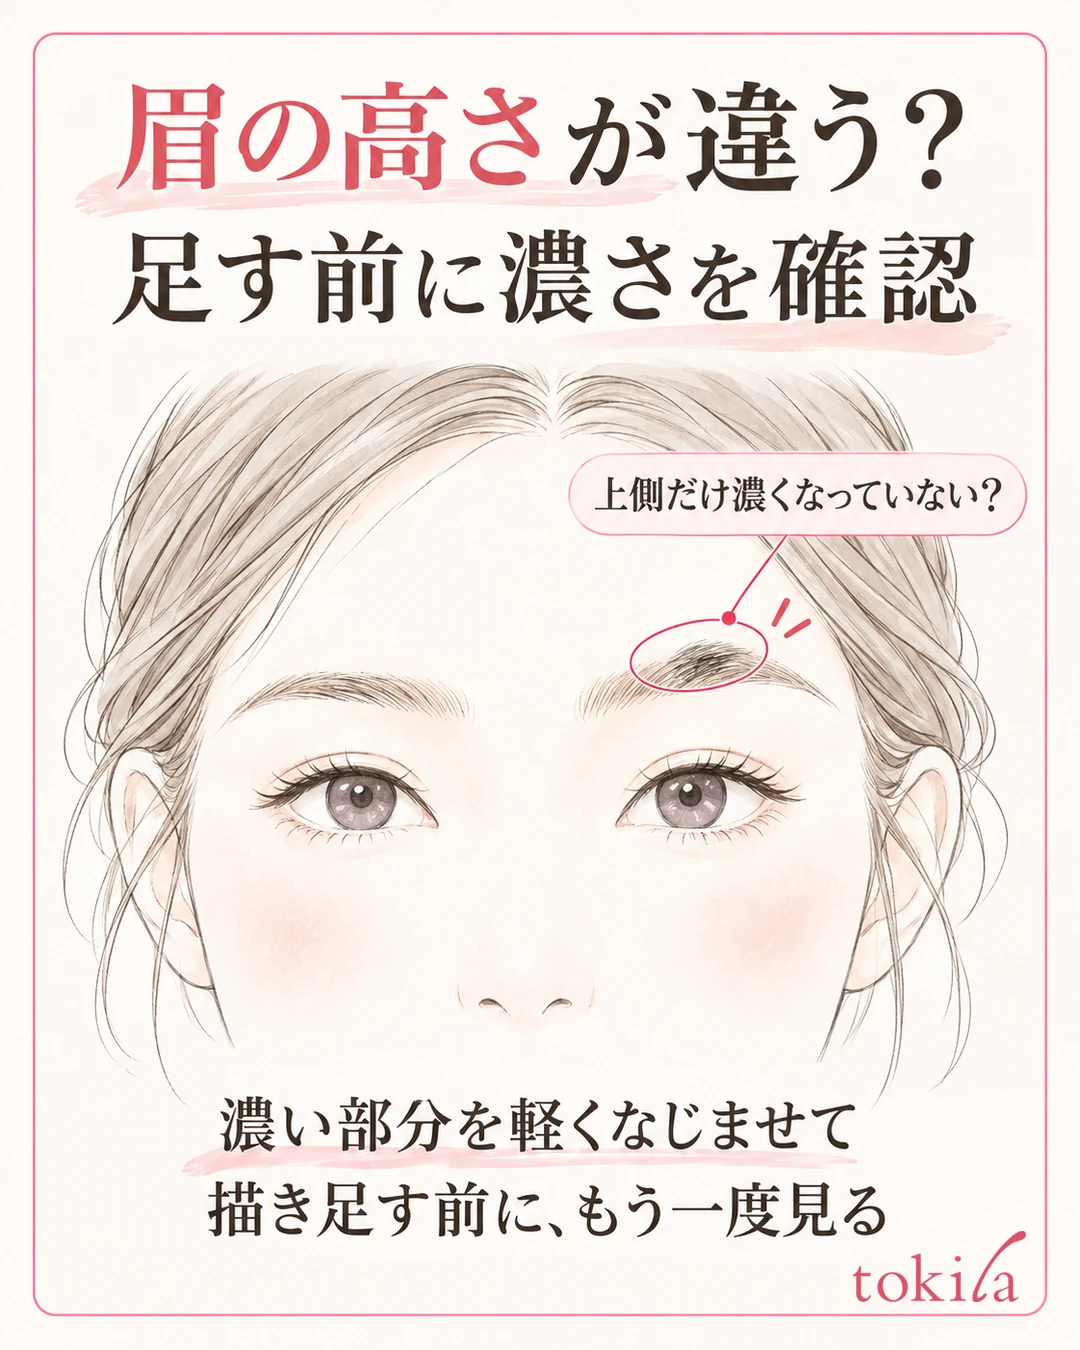
For the position of the arch, look at the range of the original hair together with how it connects in profile. If a line you drew looks unnaturally angular, you can blend just the corner a little. Making the inner end thicker to correct a difference in height may create a different sense of awkwardness, so keep the area you change small.
Finally, look with your usual expression too. Even if the points line up with a blank face, your brows won't move identically when you talk. If you use "nothing feels off with a natural expression" and "only the drawn lines don't stand out" as your stopping point, you can finish without chasing perfect symmetry.
When the finish in the morning and the impression in the evening differ, check which part has faded before changing the shapes of the left and right. Partial touch-ups, such as adding only to the faded tail and leaving the remaining inner end alone, make it easier to keep the shape. If it is hard to judge the whole with only the small mirror in your pouch, look again in your usual mirror when you get home.
5. If You Drew Too Much, Fix It by Blending Only the Dark Part
If you drew one side too dark, blend the overdrawn side before making the lighter side darker. Blend the color with a clean brush and look at the parts that remain strong. Don't keep rubbing your skin; if you need to remove color, tidy it partially with a method suited to the product you used.
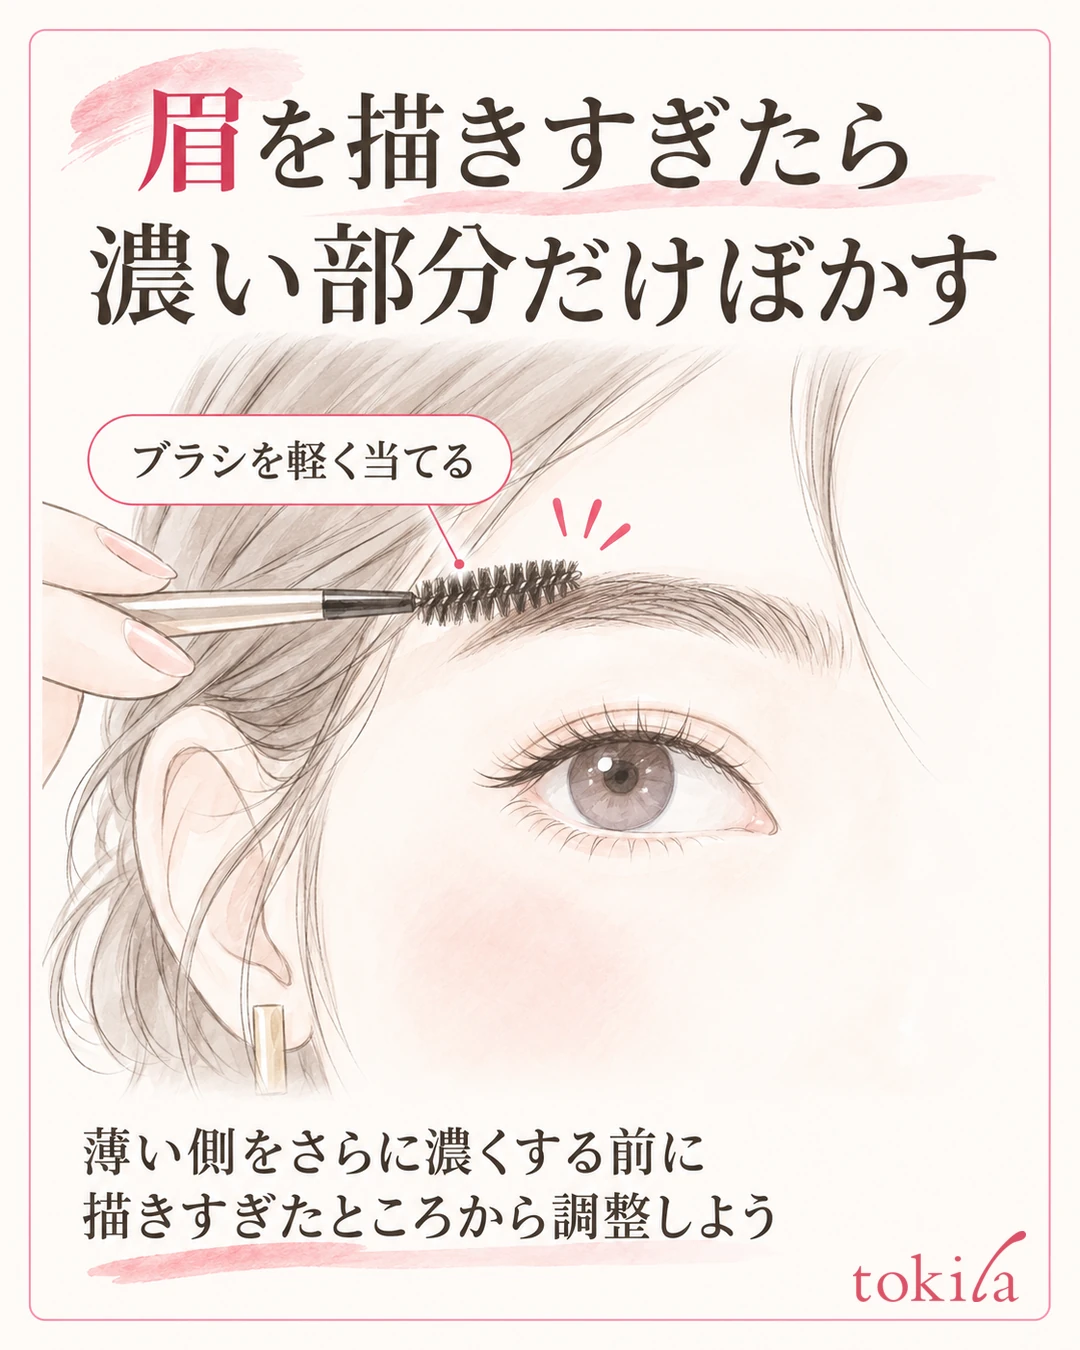
If the line at the tail extends too far, correct only that line without erasing the inner end. If your base makeup also came off, lightly tidy the boundary with the surrounding skin before redrawing the brow. If dry powder keeps building up the more you correct, tidying that area first makes it easier to judge the shape.
For Next Time, Note One Thing: "Where I Fixed It"
Once the finish settles, write down the place and the action you changed, such as "added short lines to the left tail" or "blended the right inner end." Rather than deciding which side is always harder, noting that day's hair direction and how much you drew will tell you where to look first next time.
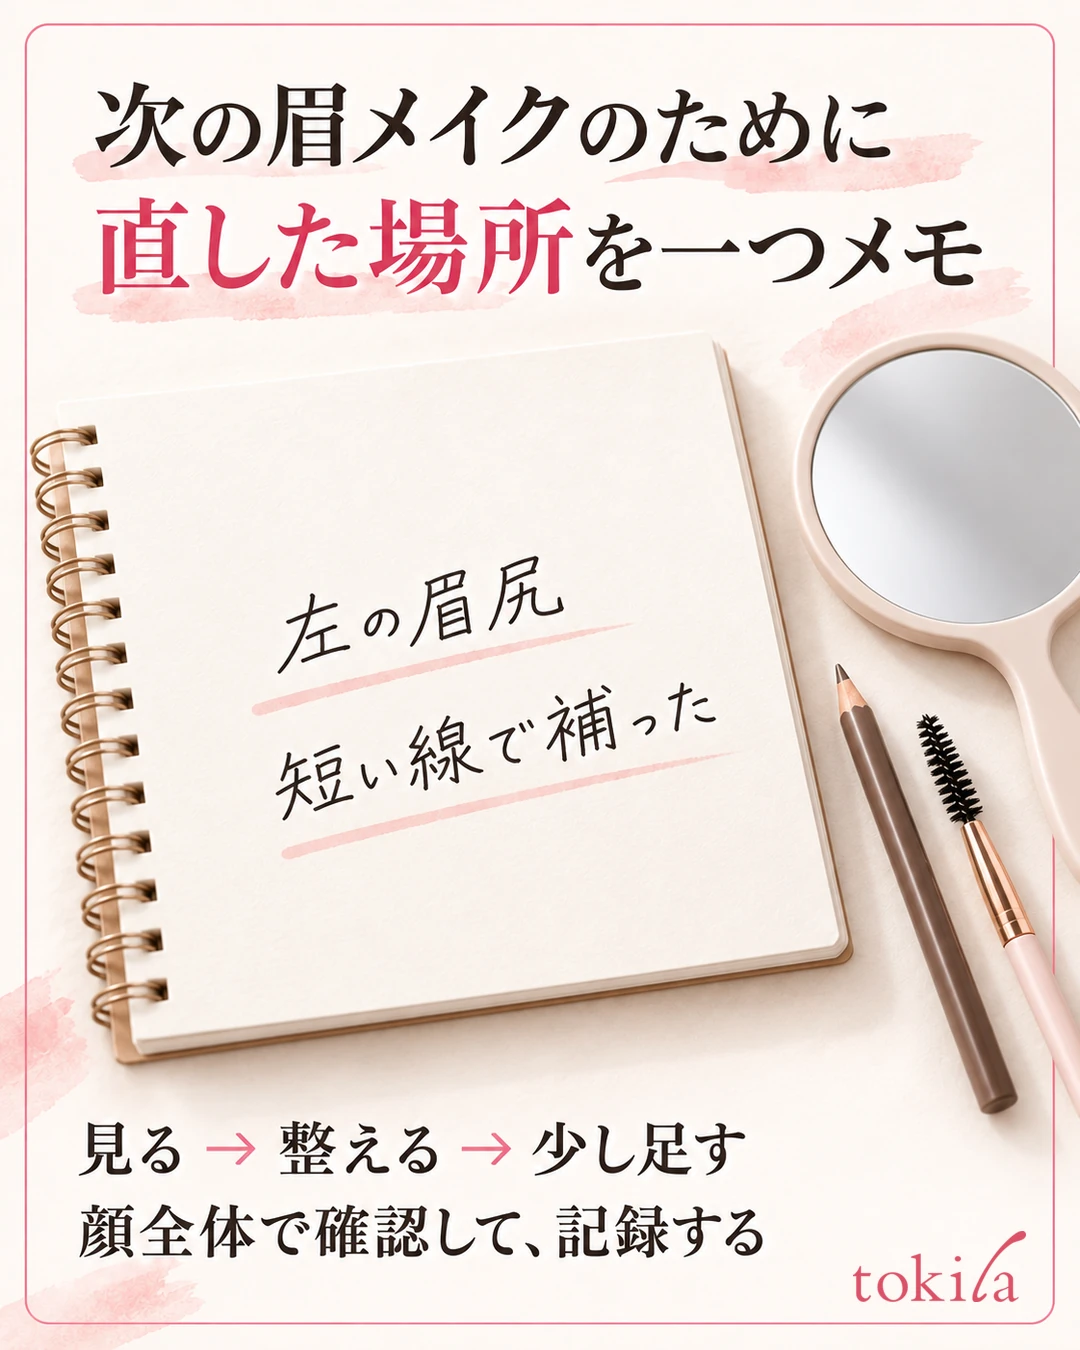
If you record with photos, take them with the same mirror position, light, and face direction. A flipped image or a tilted face makes comparison harder, so don't judge from edited photos alone. You don't need to fix tomorrow's brows to exactly the same shape as today's. On days when your hairstyle or eye makeup changes, look at the whole again.
The order for balancing brow differences is observation, hair direction, partial additions, and a check of the whole. If you drew too much, try blending the darker side instead of adding to the other side. When pairing with colored eye makeup, also refer to the lead and balance of the three makeup parts, and check that only the brows don't look too strong.
Written by the tokila editorial team. The editorial team organized adjustment steps you can try with tools you already have.
If brow mascara gets on your skin, see how much brow mascara to use and how to fix color that has gotten on the skin.
If you drew the inner ends of your brows too dark, see where to blend the inner-end boundary and how to rethink the amount you add.
If brow tails you drew in the morning fade over time, see the base to prepare before drawing, and touch-ups that fill in only the short faded section.
If the pencil slips, catches, or makes thick lines, see how far to extend the lead, which skin to draw on, and how to lighten your pressure.



