
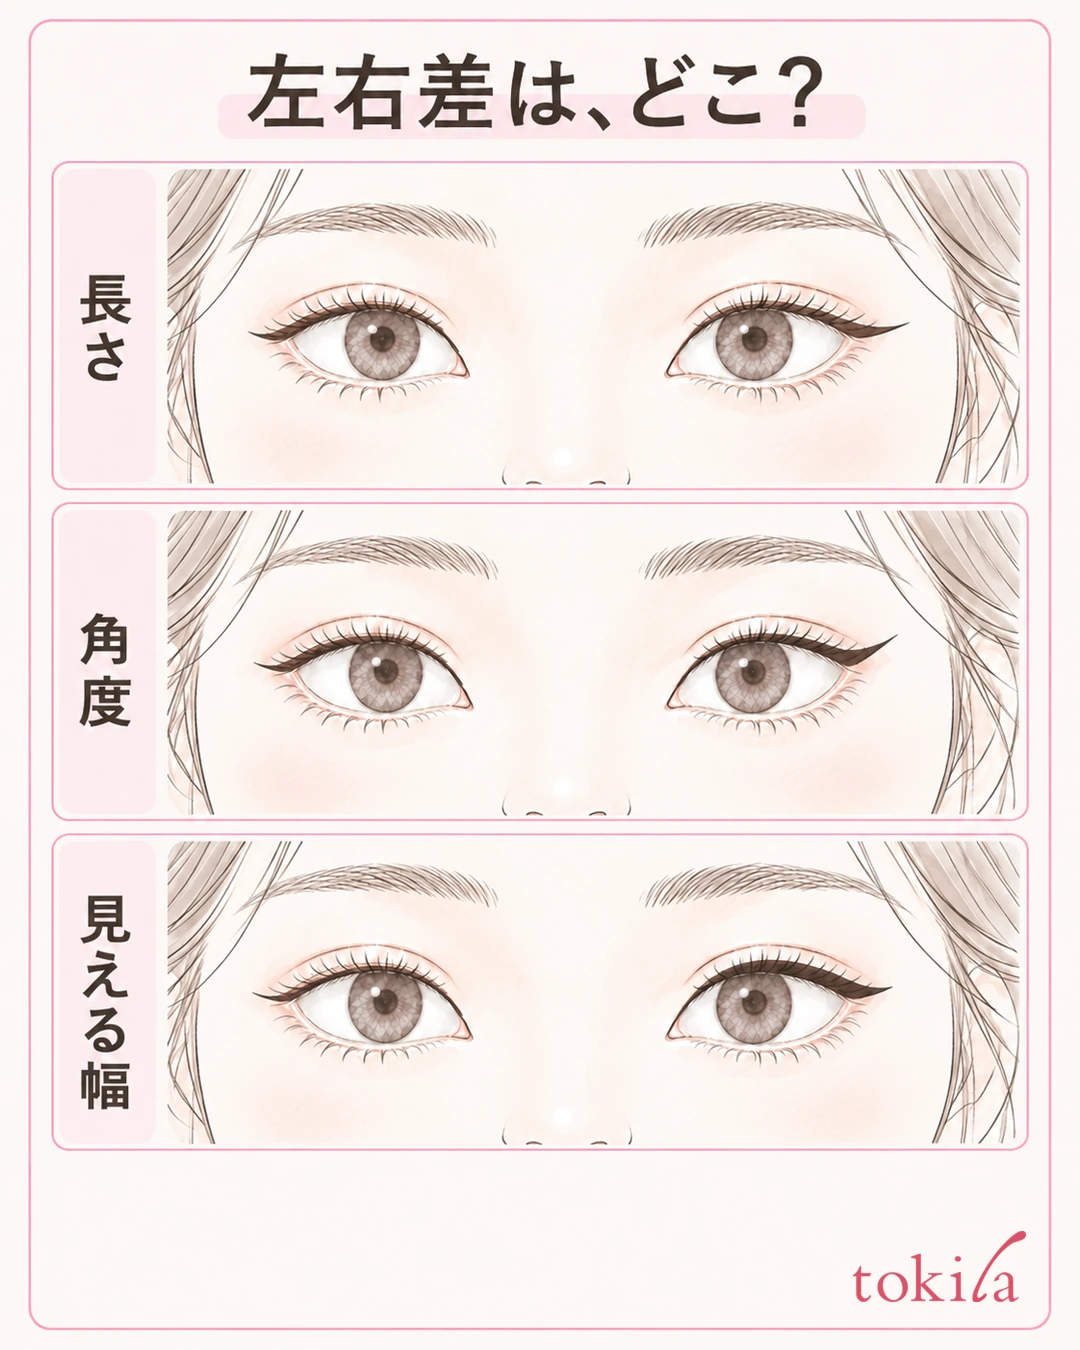
One outer corner is longer than the other. As you keep adding to match the angle, both sides end up thick. When your eyeliner looks different left and right, before adding to the other side, check length, angle and the width you can see with your eyes open, separately.
This article covers eyeliner drawn on the skin of the upper eyelid, especially the left-right difference at the outer corners. Faces and eyelids differ naturally, so you do not need to aim for a perfect mirror image. The steps go in this order: decide the impression you want, try a short line, look at both eyes, and fix only the places that need it.
1. Tell apart length, angle and visible width from the same posture
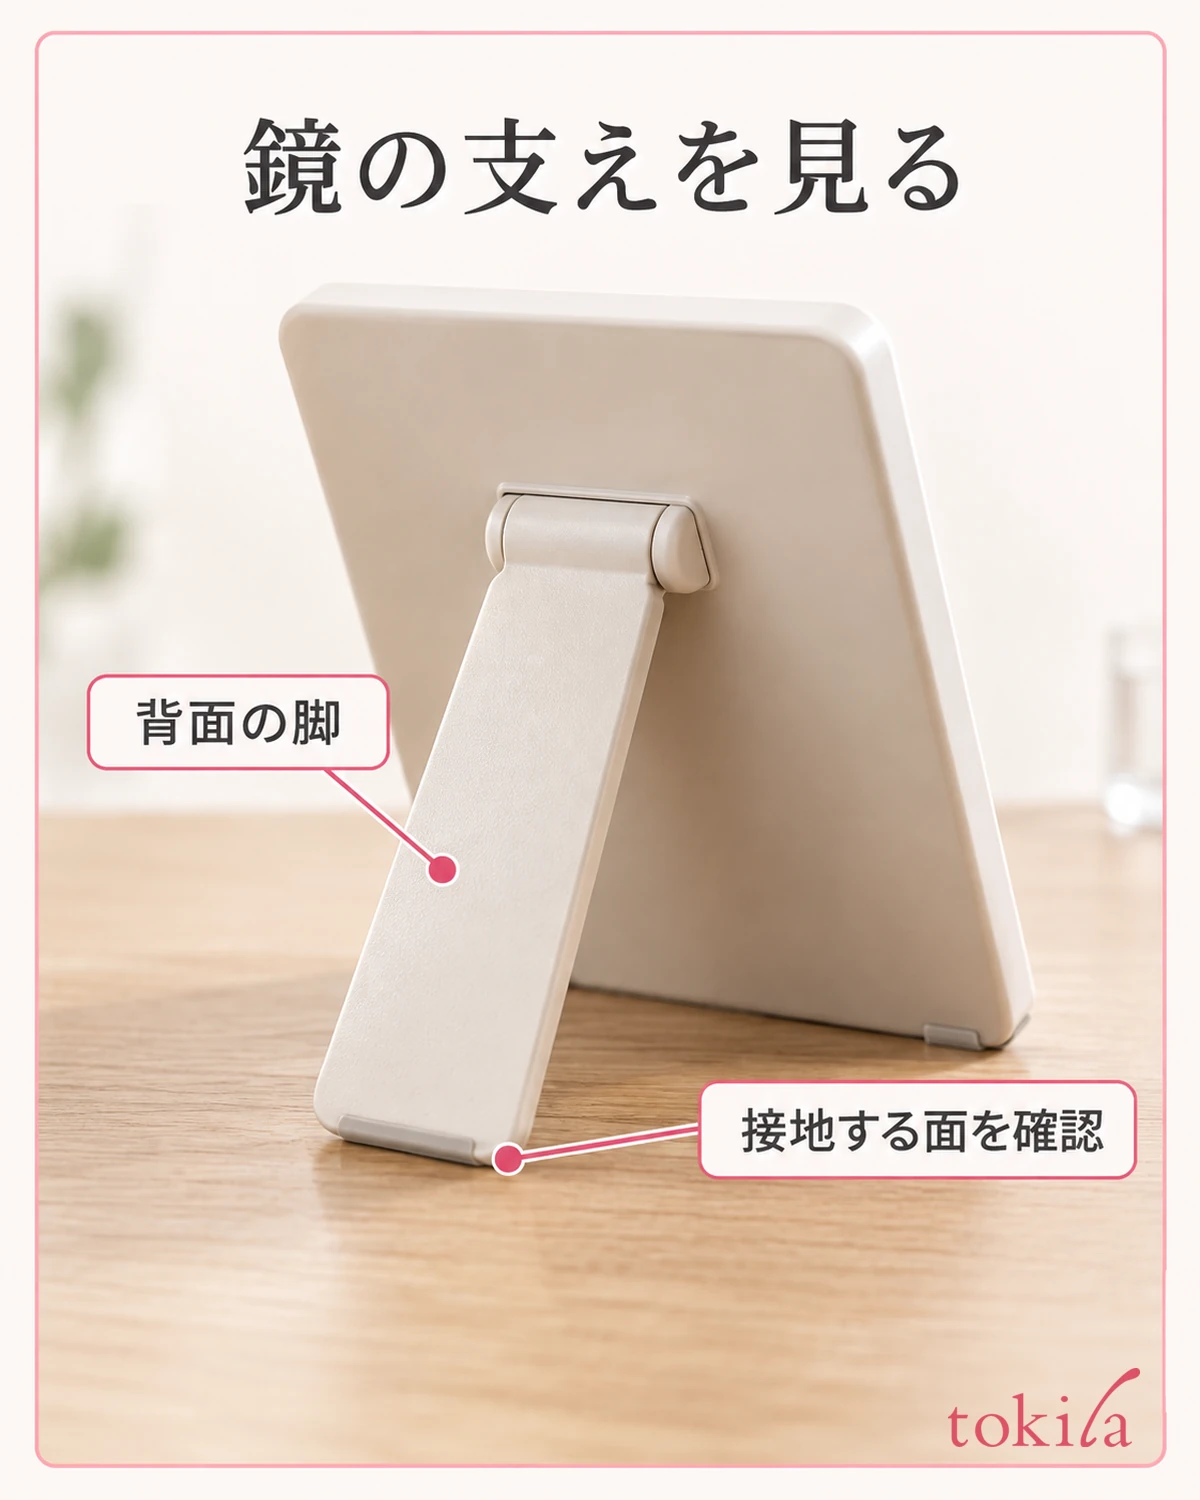
First, take the tool away from your face and place the mirror directly in front of you. Without raising your eyebrows or tilting your face to one side, open both eyes naturally and check. Separate the posture of looking down to draw from the posture of checking the result with your usual expression. Comparing only by closing one eye at a time tends to miss the difference when the eyes are open.
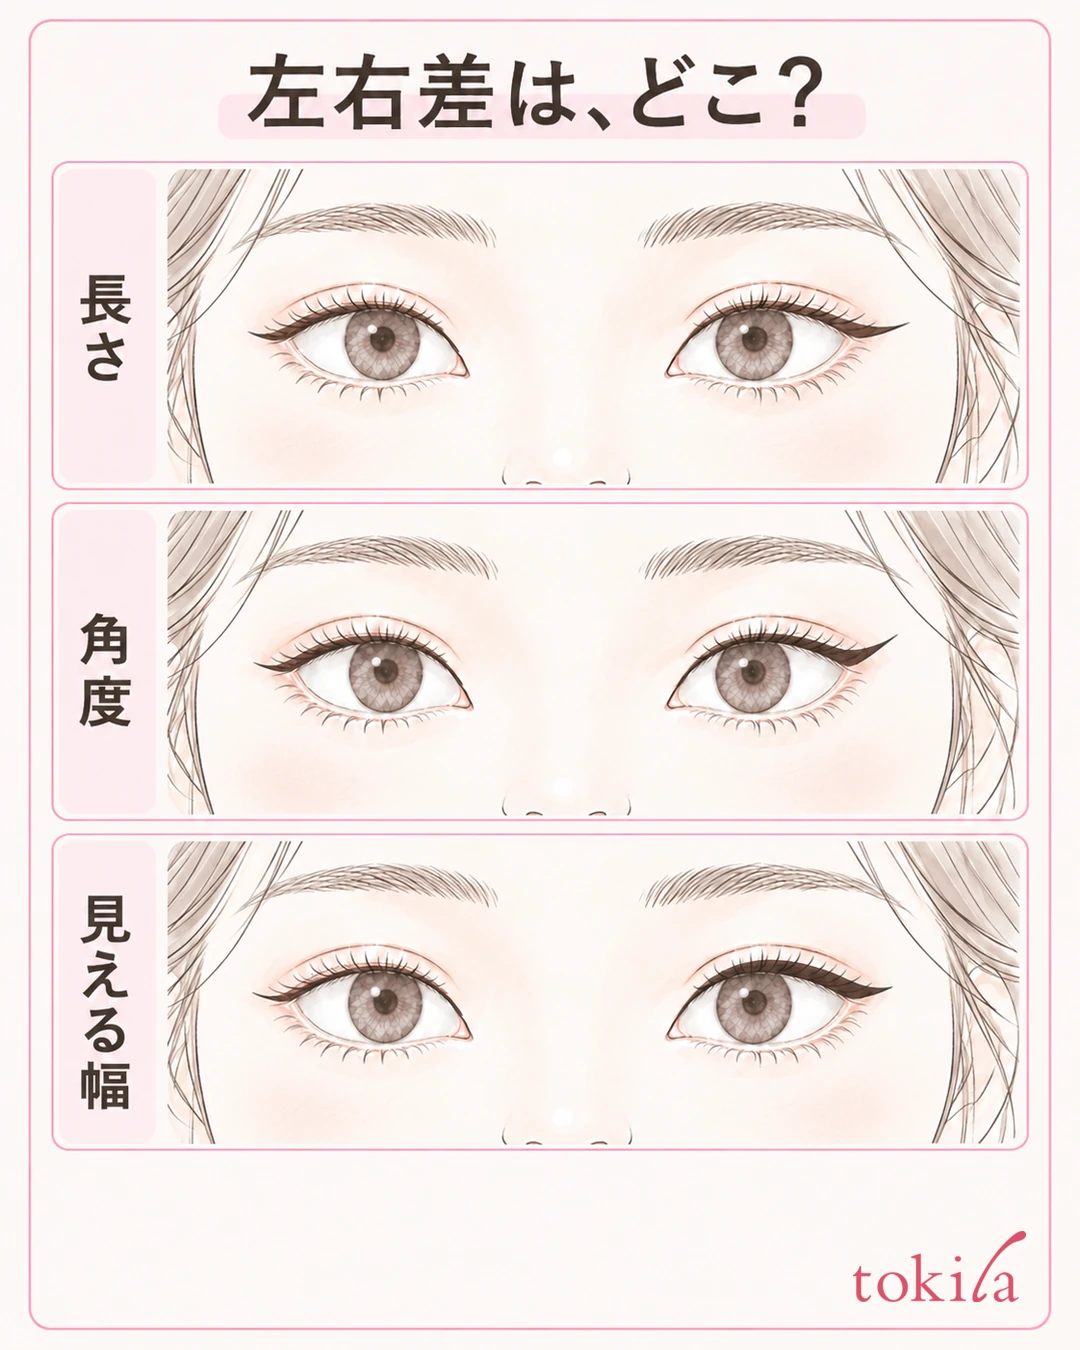
First, look at how far the line extends from each outer corner. Next, look at whether the tip points up, continues sideways or points down. Last, check how much width you can see from above the iris to the outer corner. Do not try to match everything at once; pick the one that bothers you most.
The position of the outer corner of the eye itself and the end point of the line you drew are separate things. If you force the end points on both sides onto a single line parallel to the floor, you may be trying to cover even the difference in the original position of your eyes with makeup. When you look at length, use each side's outer corner as the starting point and do not judge by the height of the tip alone.
Even if you draw the same length, how much shows can differ depending on how the eyelid folds. If one side looks hidden, before you hurry to fill it in thickly, look at the direction of the outer corner and the crease of the eyelid. The starting point is not to treat a difference in how the two sides look as the same thing as a line you drew wrong.
In a close mirror, look at the end of the line; at a distance where the whole face fits, look at the impression of the eyes. You do not need to keep correcting small differences that you no longer notice from a distance. Decide whether you want a restrained look today or an emphasized outer corner, and use "does it look close to what I want at my usual distance" as your standard.
If your main issue is bumps along the top edge of the line, go to how to draw eyeliner without wobbles, in short sections. If the color spreads after you draw, check preparation and touch-ups for smudging. This article focuses on reviewing the shape on both sides right after application.
2. Choose the direction of the outer corner first, and try a short end point
Before you fix the left-right difference, decide what impression you want your outer corners to give today. There are options for how to end the line: extend it naturally sideways, tilt it slightly upward, or soften it downward. If you raise one side while extending the other sideways, they look different even when the lengths match. The idea is to match the direction first.
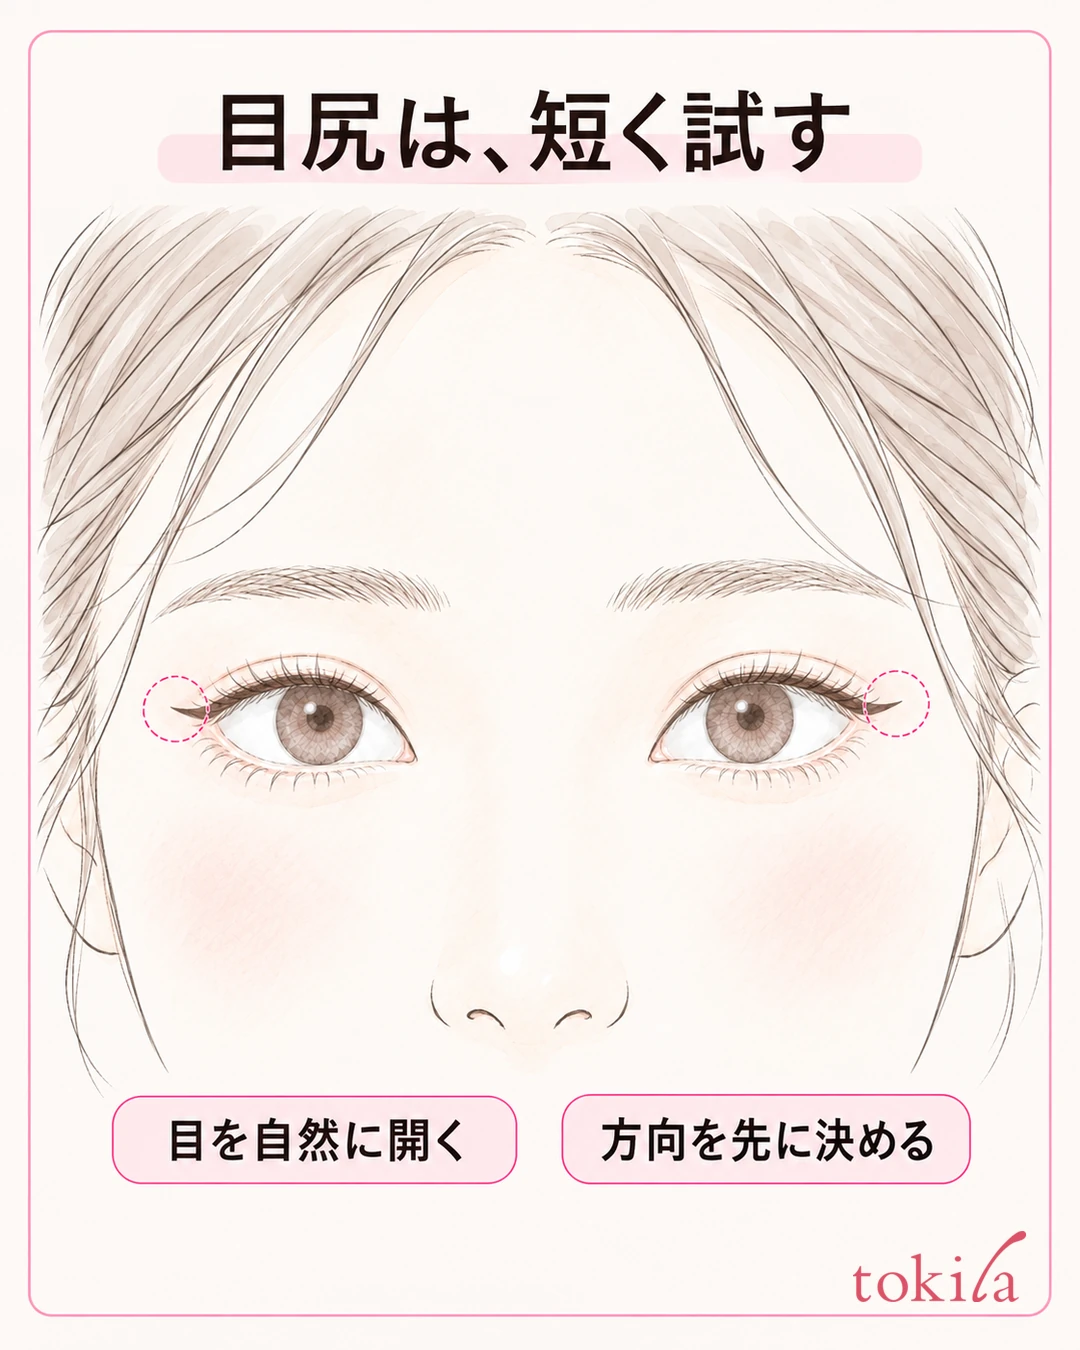
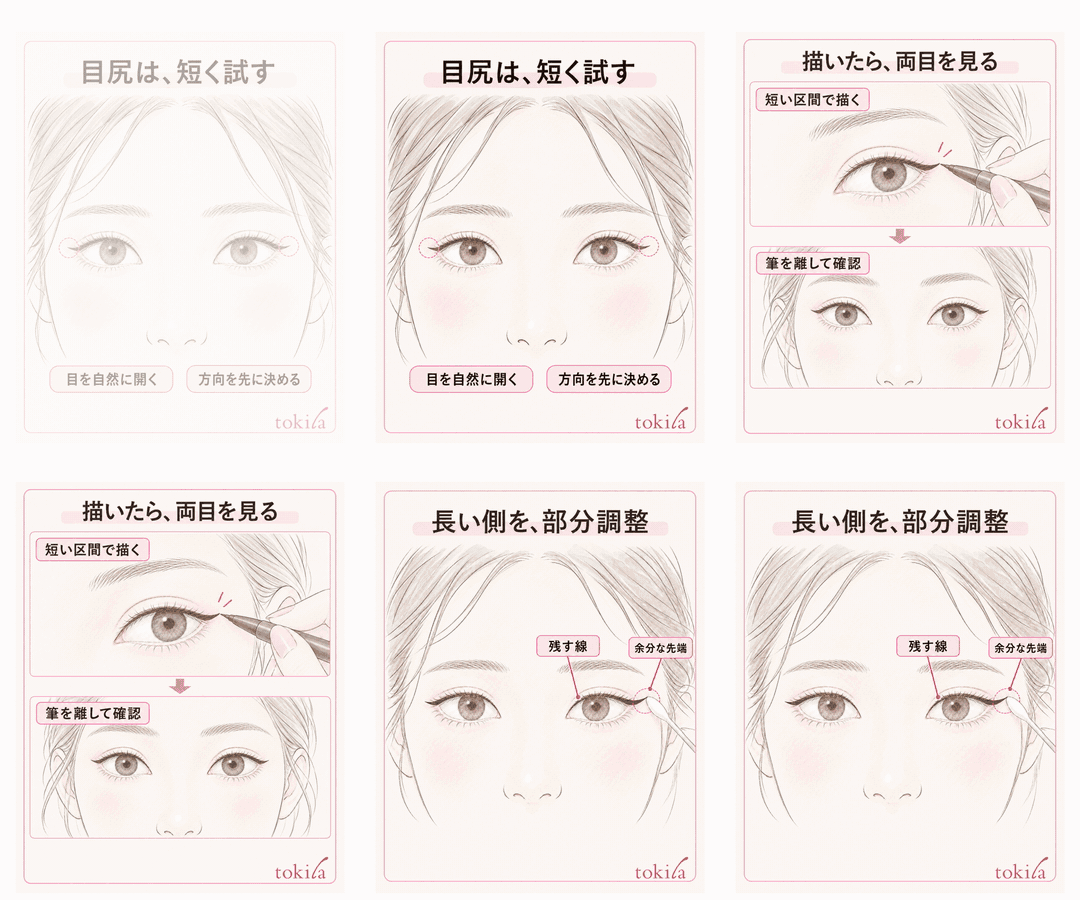
The lengths used there are examples for each style. Do not make them a condition that everyone should draw the same number of millimeters; try a short range first, using the tools you have and how your eyes look when open.
With your eyes naturally open, look at the outer corner of each side and the skin beyond it. Check whether the line is likely to run into the crease of the eyelid, and whether the tip is likely to be hidden when you move your eyes. Decide where you want to look before the brush touches your skin, and if it is hard to see, adjust the angle of the mirror instead of adding more lines.
Do not decide how to draw each side from labels like monolid or double eyelid alone; use them as a reference for checking the positions you can see on your own two sides. You do not need to copy the long lines in the article as they are.
Keep the first end point modest. Comparing both sides with a short line lets you judge whether you want to extend further, more easily than finishing it long and then redoing it shorter. Rather than making a mark by putting a large dot beyond the outer corner, try a small line where you can see the tip, and then take the tool away.
If the shape of one side is close to what you like, use that impression as a reference for the other. However, do not use the shape with the skin pulled as your standard. Look at the direction even with your pulling finger released, and return to how it looks on your usual face. The angles in the diagram are examples for explanation, not a template for changing the shape of your own eyes.
3. Do not finish one side completely; check both eyes alternately
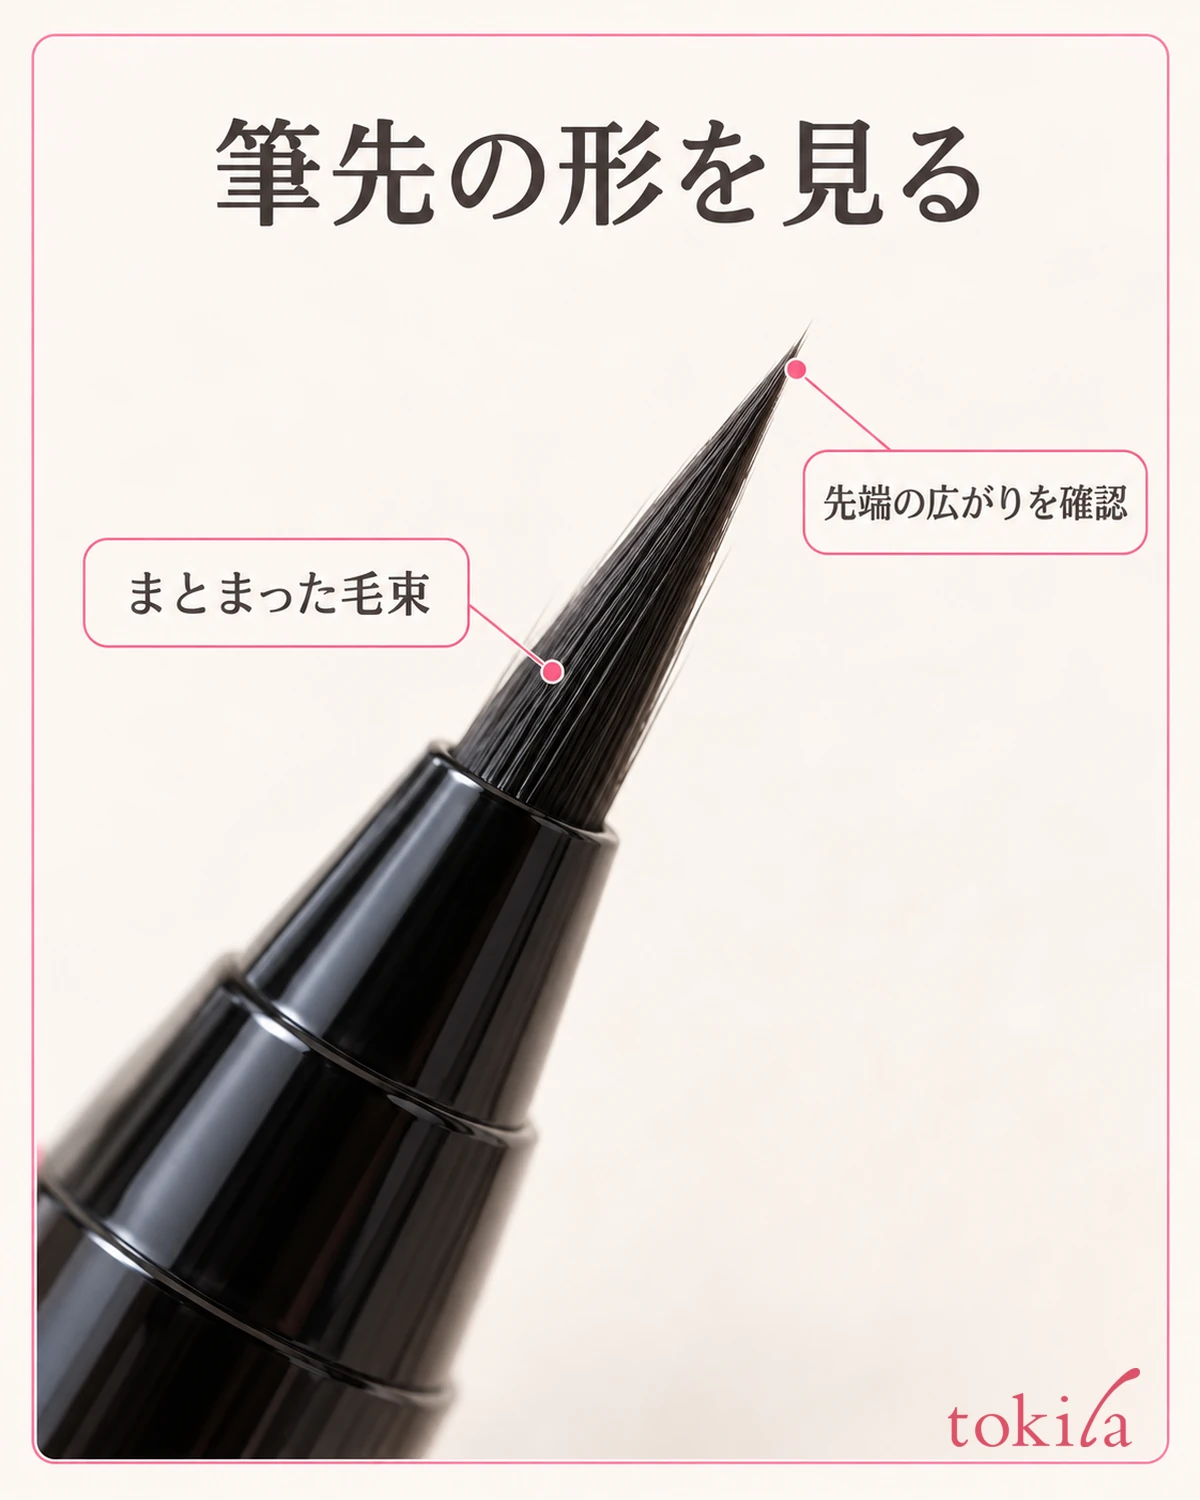
Before you start drawing, check that the mirror does not move and that you can support your arm without strain. Follow the product's instructions for the condition of the brush tip or lead, how far to extend it, and how to handle it before use. On days when one side tends to take more pressure, do not try to match the thickness with strong pressure; start by adjusting your posture to one in which you can place a short line.
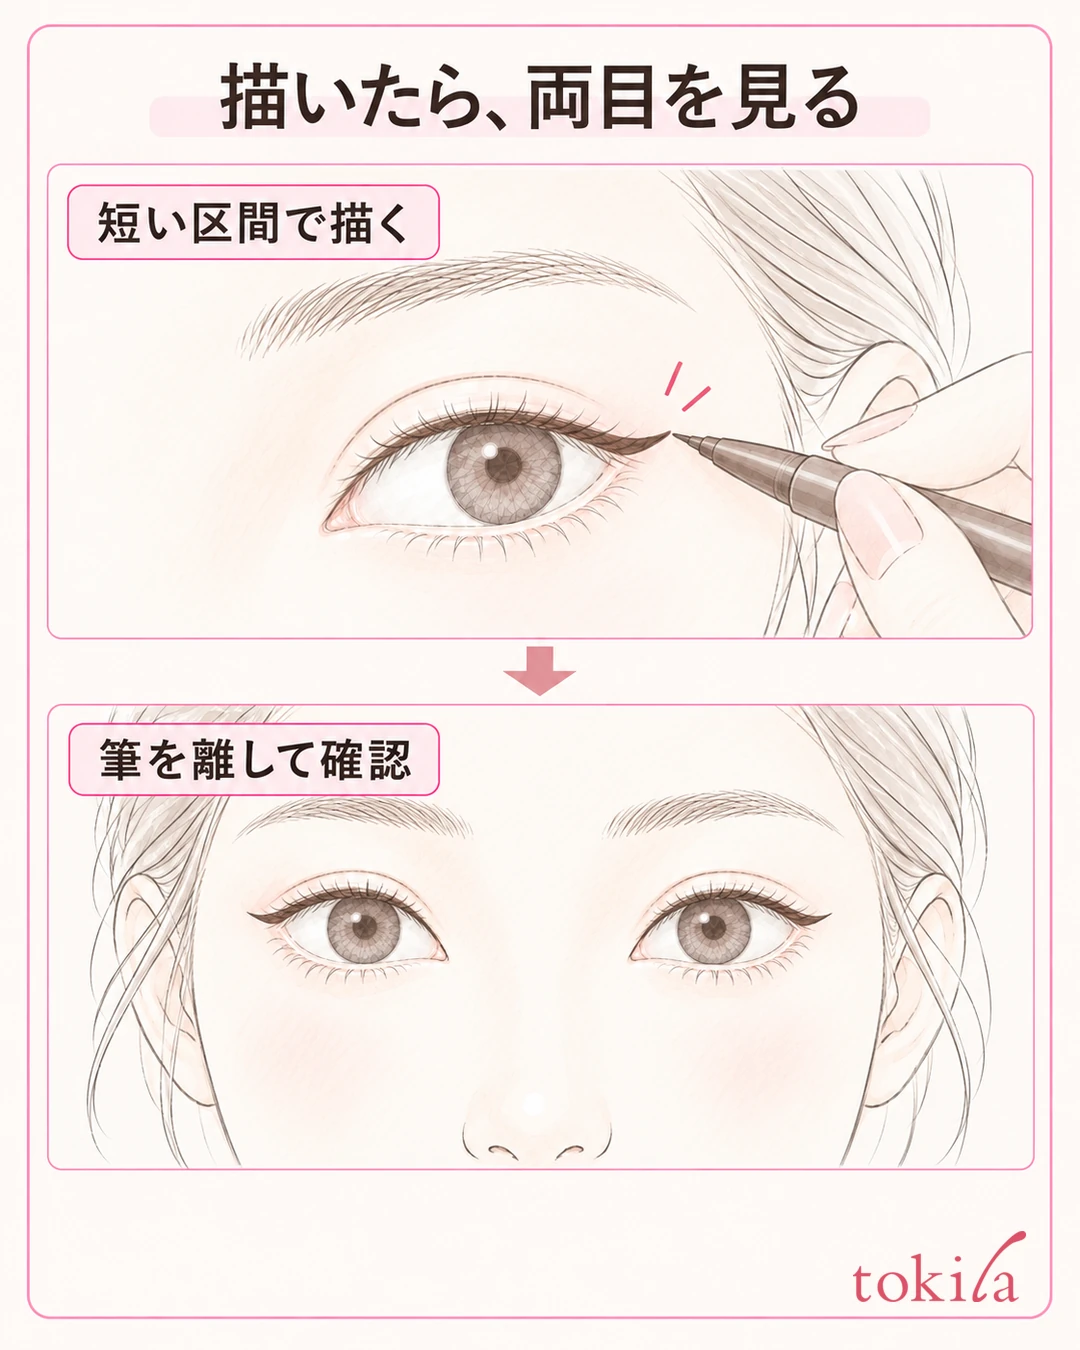
On the skin outside the upper lashline, draw with a small amount while checking the tip. This is not a step in which you apply it to the mucous membrane or the inside of the eyelid. Instead of finishing everything from the inner corner to a long outer corner at once, divide it into short sections you can handle. Also check the direction the product recommends and how to handle it until it dries.
After drawing a short line at the outer corner on one side, take the tool away and open both eyes naturally. Try the other side briefly too, then look at both sides again. Making this break makes it easier to avoid going back and forth on one side, adding color and width. Checking alternately does not mean adding exactly the same amount every time.
When you add, decide one place that is lacking. If the length is slightly short, add to the short section on the end-point side; if the connection is broken, fill that gap. Extending only the tip while the angle is different will not match the direction. First judge whether the direction needs a rethink, and then choose the range to add.
When you rethink the width, do not judge only by the thickness of the line with the eyelid closed. Compare the area of color you see with your eyes open and the strength of the outer corner. Rather than copying the thickness of the other side to make up for a side that is hard to see, check whether both sides give the impression you want.
Whether you can trace a line that has started to dry to tidy it also depends on the product. If the liquid moves, goes patchy or the tip is not visible, stop once instead of layering on top. Separate the step of trying a short line from the step of shaping the brush tip, and do not make strong back-and-forth strokes around the eye to test how the liquid flows.
4. Do not chase the longer or thicker side by adding to the opposite side
When only one side has become long, you do not need to extend the shorter side so that both are long. Look at which side is longer than you wanted, and you can choose to tidy the excess end point in part. Even when the angles differ greatly, retaking that short section can be easier to handle than adding color to the tip again and again.
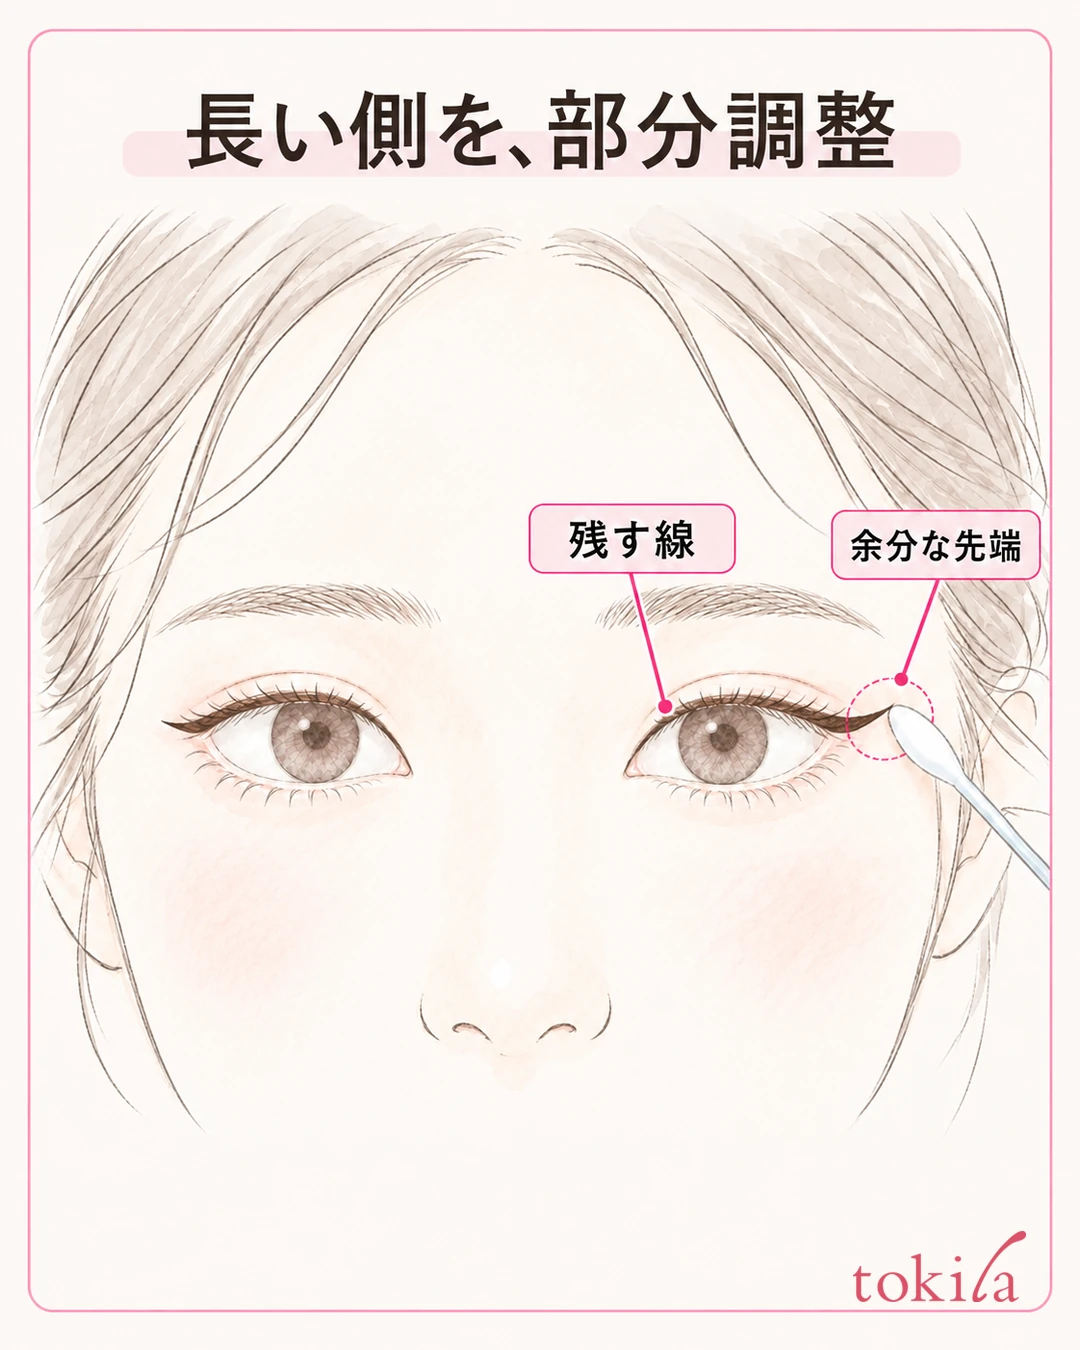
Before adjusting, separate the line you want to keep from the color on the skin that you want to remove. If it is only the tip of the outer corner, you do not need to remove the line across the whole upper eyelid. Some products can be tidied lightly with a plain cotton swab, while others need a dedicated remover, so choose according to the instructions for the product you have.
Do not treat all products the same way for fixing just because of their form or a name like waterproof. Check the products that can be used around the eyes and the specified tools and amounts, and handle them so that no liquid or tip gets into your eyes.
If you use a cotton swab or similar, do not drag the color around with a dirty surface; tidy a small area and then lift it away. Do not press a dry cotton tip hard and rub it repeatedly. If it is hard to remove, the color moves over a wide area, or you feel strain on your skin, stop fine corrections and switch to a gentler redo.
Follow the remover's instructions for what you do after removing. Add the moisturizer and base you need, and add UV protection to places where you took off sunscreen. Do not hurry to redraw while the surface is still wet; return only to the range that joins the line you kept with the short end point. Do not rely only on layering concealer thickly to hide the line.
Once you have fixed it, open both eyes and check on the whole face. If you start going back and forth, adding to the side that became a little shorter and then fixing the other one, look again at whether you have lost sight of the impression you want. On days when chasing small differences makes both sides darker, deciding to stop there is also important.
5. Decide when to stop on the whole face, and change just one thing next time
Finally, bring the mirror back to the front, and open both eyes naturally without moving your eyebrows. Look in order at the direction of the outer corner, the length visible from each outer corner, and the strength of the line. If it is close to what you want at the distance of the whole face, you do not need to keep adding in pursuit of a perfect match as if measured with a ruler.
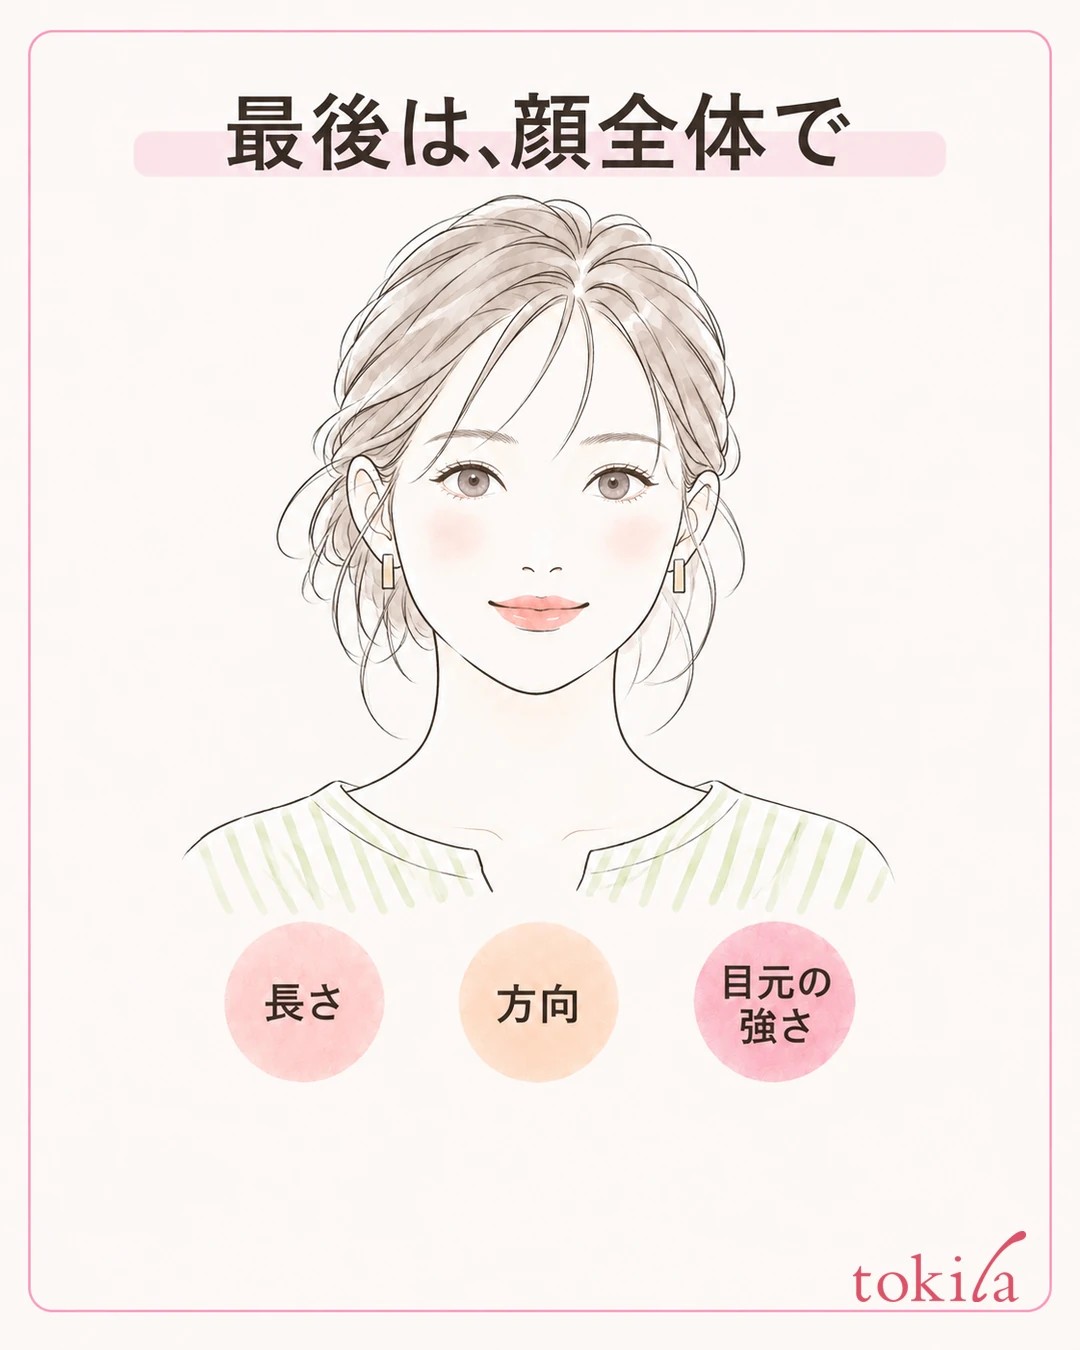
Also open and close your eyes lightly to check whether the eyelid overlaps and hides the line, or the tip looks as if it bends partway. Even if only the closed-eye view differs from what you like, if it looks natural with your usual open eyes, you can choose not to add width to fix that difference. This is not work to make the shape of the eyes themselves identical on both sides.
On days when you also use eyeshadow and mascara, look at the whole after finishing those. Differences other than the eyeliner can affect the strength of the eyes, such as the lashes on one side being more gathered or the eyeshadow being darker. Do not blame only the line; tell apart which color or shape bothers you.
What you change next time is one of these: the first end point, the posture in which you look in the mirror, or the check before adding. For example, if "I looked at the other side after finishing one side," make a break to check both eyes midway. If "the end point became long," try a short one first. You do not need to change the tool, the color and the angle all at once.
Before buying something new, check whether you can place a short line with the tip you already have, and whether it is in the condition described in its instructions. Changing the product does not always make the left-right difference go away. If you want to sort out the characteristics of each type, also see the basics of eyeliner and mascara.
On days when the left-right difference bothers you, stop adding and, from the same posture, tell apart length, angle and visible width. Try a short end point, check both eyes alternately, and tidy only the excess. Try this as one flow, up to finishing once the whole face gives the impression you want.
Written by the tokila editorial team. We organized the judgments and adjustment steps you can review with the tools you already have.



