
You bought a refill for an eyeshadow you love, but you can't tell whether it fits the case you already have. The old pan won't budge when you try to take it out. In that situation, before you force anything in just because the shape or size looks similar, check the compatibility and the replacement instructions.
A refill is sold as a replacement insert that you set into a case. Some come as a single pan, others as several colors in one piece, and the way to remove and secure them is not the same for every product. Here we introduce the order for confirming a compatible product, replacing the parts in separate steps, and checking the fit. We do not cover crushing pressed powder to transfer it, or taking apart containers that are not meant to be refilled.
1.Check the case and the refill names together as a set
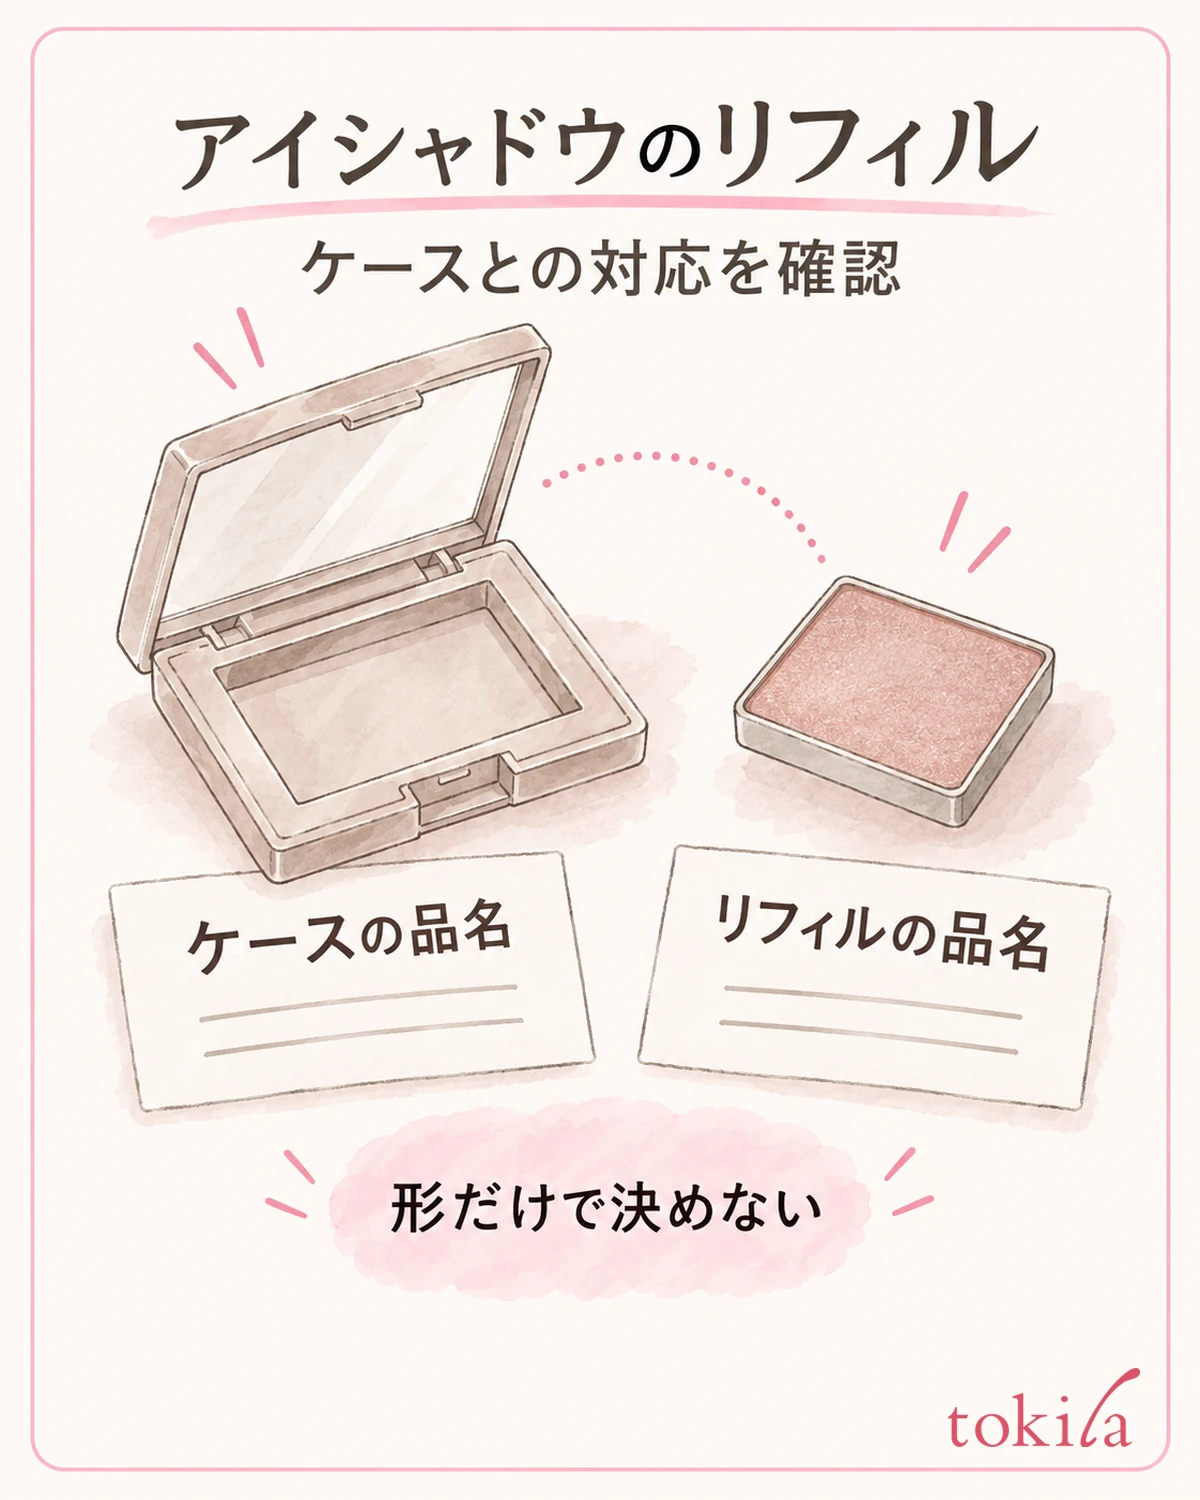
First, take out both the case you want to use and the refill. Look at the product name or model number on the outer box, the underside, or the included instructions, and confirm that the case is listed as compatible with that refill. Do not decide it fits just because "it's the same brand" or "the pan is square."
If the case comes in types such as one-color, two-color or four-color, check the compatible series as well as the number of colors. Even cases that hold the same number of pans can differ in their inner dividers or fastening positions. Even if the width and depth seem to match, the height and the gap with the lid may not.
Before buying, note down the product name of your current case first and compare it with the labeling on the refill you plan to buy. If you have already thrown away the box, check a visible part such as the underside of the case. Do not pick a similar-looking case in a store, thinking it matches, when you don't know the name.
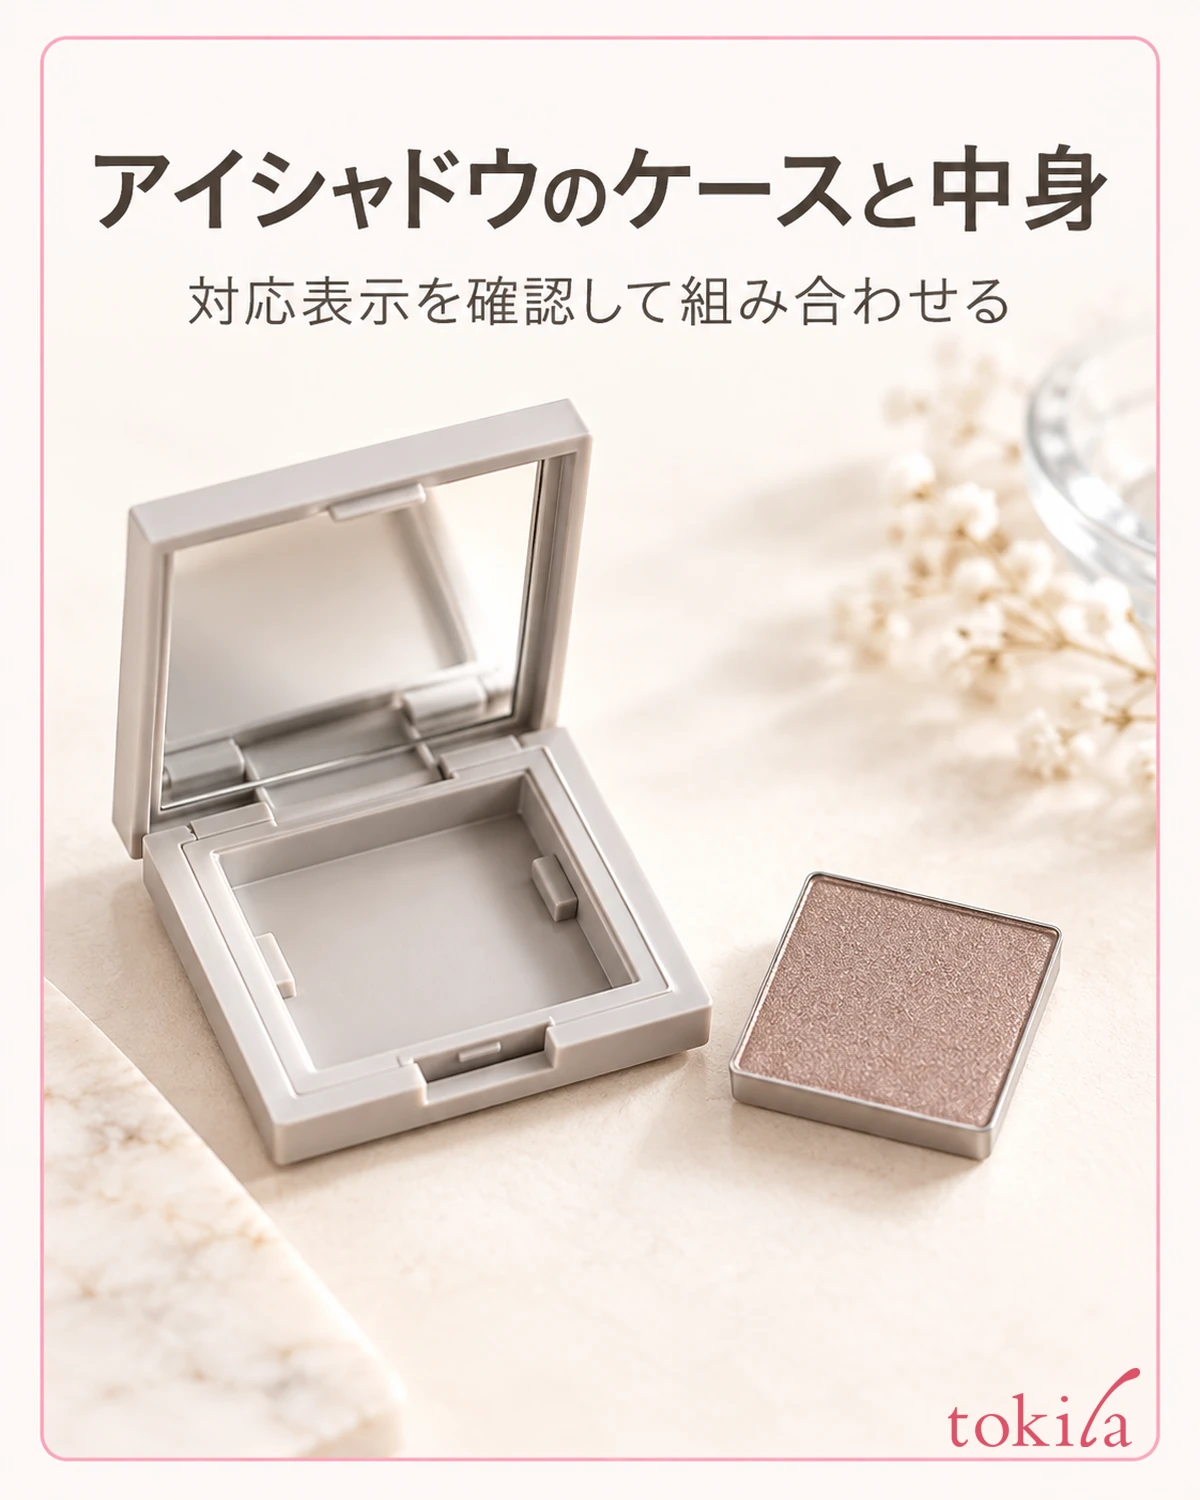
It is easier to sort things out if you read the case's labeling first and then the refill's. When similar product names line up, write them down in full, to the end, without abbreviating. Write the information on the case you own and on the refill you want to buy on separate lines, and leave anything you don't know blank.
Even if a name looks the same as a refill you bought before, check whether the case compatibility changed before and after a renewal. Do not treat limited-edition cases or sizes different from what you own the same way; check them against the case you actually have. Prioritize whether the combination is specified as compatible over the outer color or decoration.
If compatibility cannot be confirmed here, put opening and swapping on hold for now. The information to confirm is three things: the name of the case, the name of the refill, and what exactly is unclear. To confirm compatibility, you do not need to press the pan in or remove the dividers.
2.Read the removal and fastening methods separately before you start
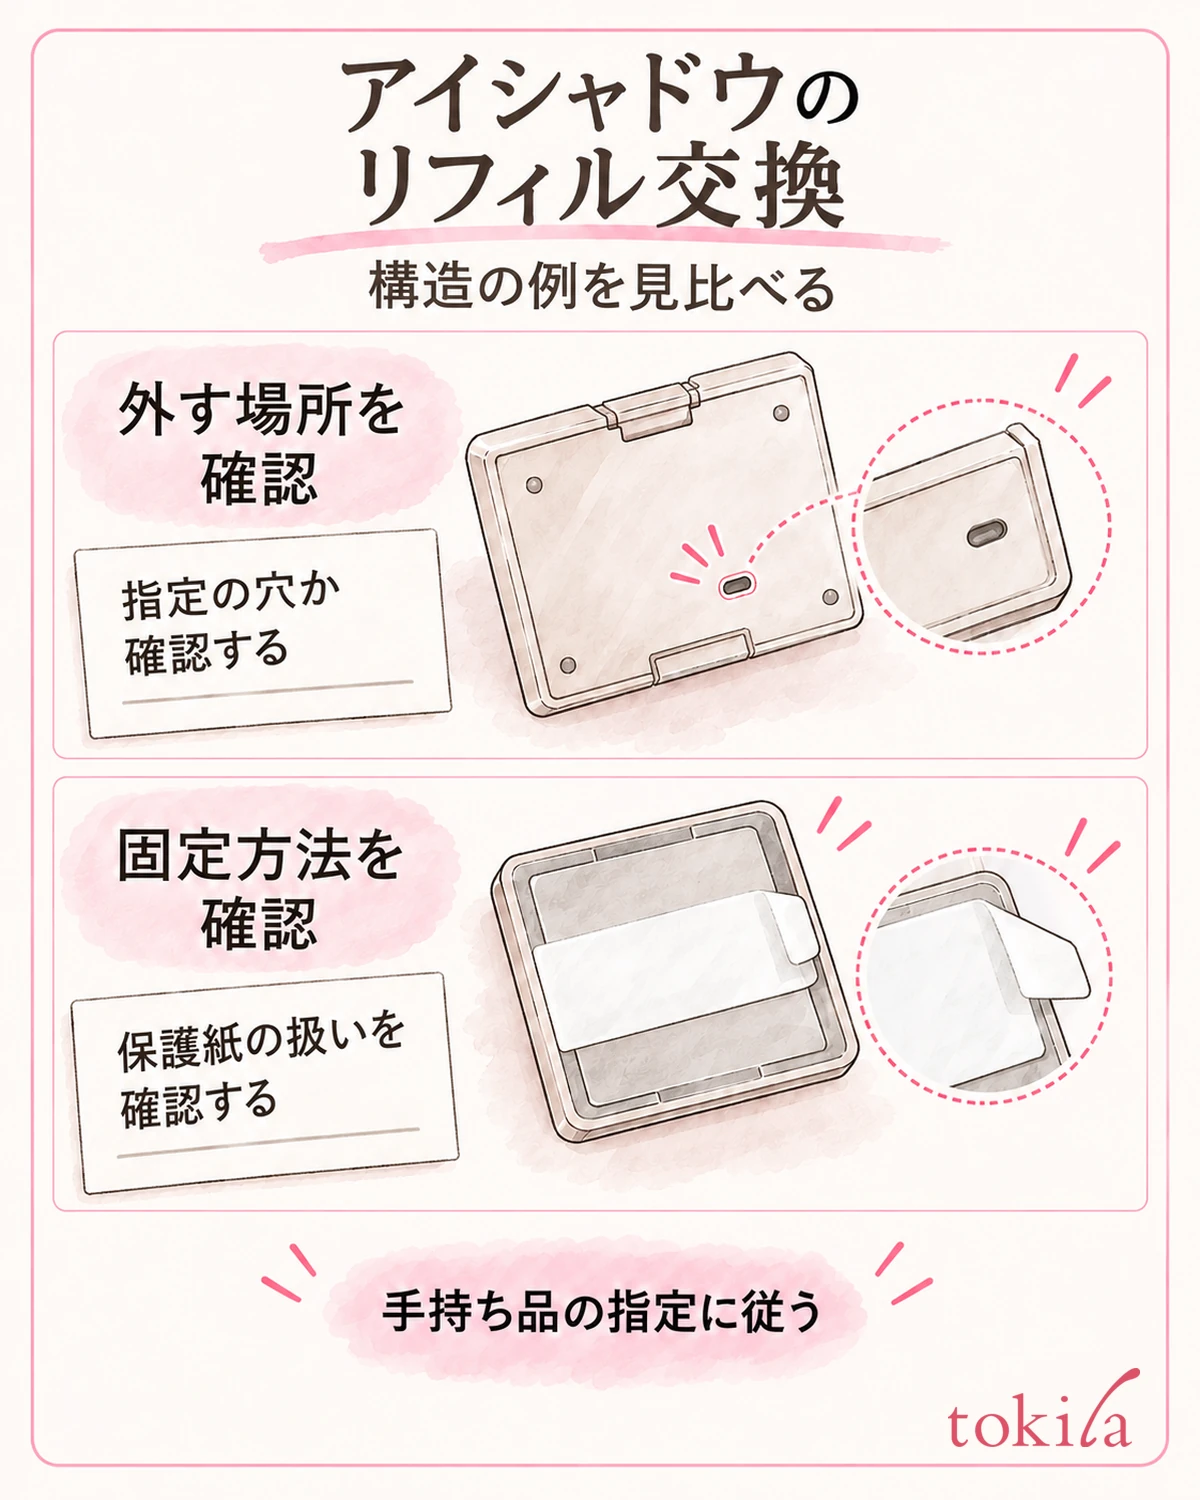
Once you know the combination is compatible, read the instructions for removing the old refill and the instructions for inserting the new one separately. Do not look only at the installation diagram and assume that removal is just pulling in the same direction. Also check whether a tool is specified, and whether there is a designated place to hold.
For example, what you check differs between a type that you push out through a designated hole on the back and a type that is fixed by peeling the protective paper off adhesive tape on the underside. The steps that use a hole apply only to products whose instructions describe it. Do not decide that any hole you find is for replacement.
For the tape type, confirm in both the diagram and the actual item which one is the protective paper to peel off. Do not treat stickers marked with colors or numbers, transparent containers, or parts that cover the powder as things to throw away together. Do not pull off stickers that the instructions don't mention; handle only the parts indicated for your product.
Also check whether the installation instructions specify parts to keep. Read carefully whether a frame or container that comes with the pan is just packaging or a part needed for fixing. Even if reducing only the powder part to a smaller size seems like it would fit, do not change the replacement unit on your own.
The number of times a refill can be swapped, and how re-fixing is handled, are also not the same for every product. Before attaching and removing it many times to try your favorite arrangement, confirm that this use is intended. If the adhesive looks weaker, do not switch to adding household glue or double-sided tape.
If the instructions don't make clear where to hold, do not test it by placing a finger on the powder surface. Stop at the stage where the case and the new insert can still be kept apart, and sort out the product name and your questions. It is also important not to apply to your item the way to remove a different container that you saw online.
3.Prepare a flat workspace and keep the new and old inserts apart
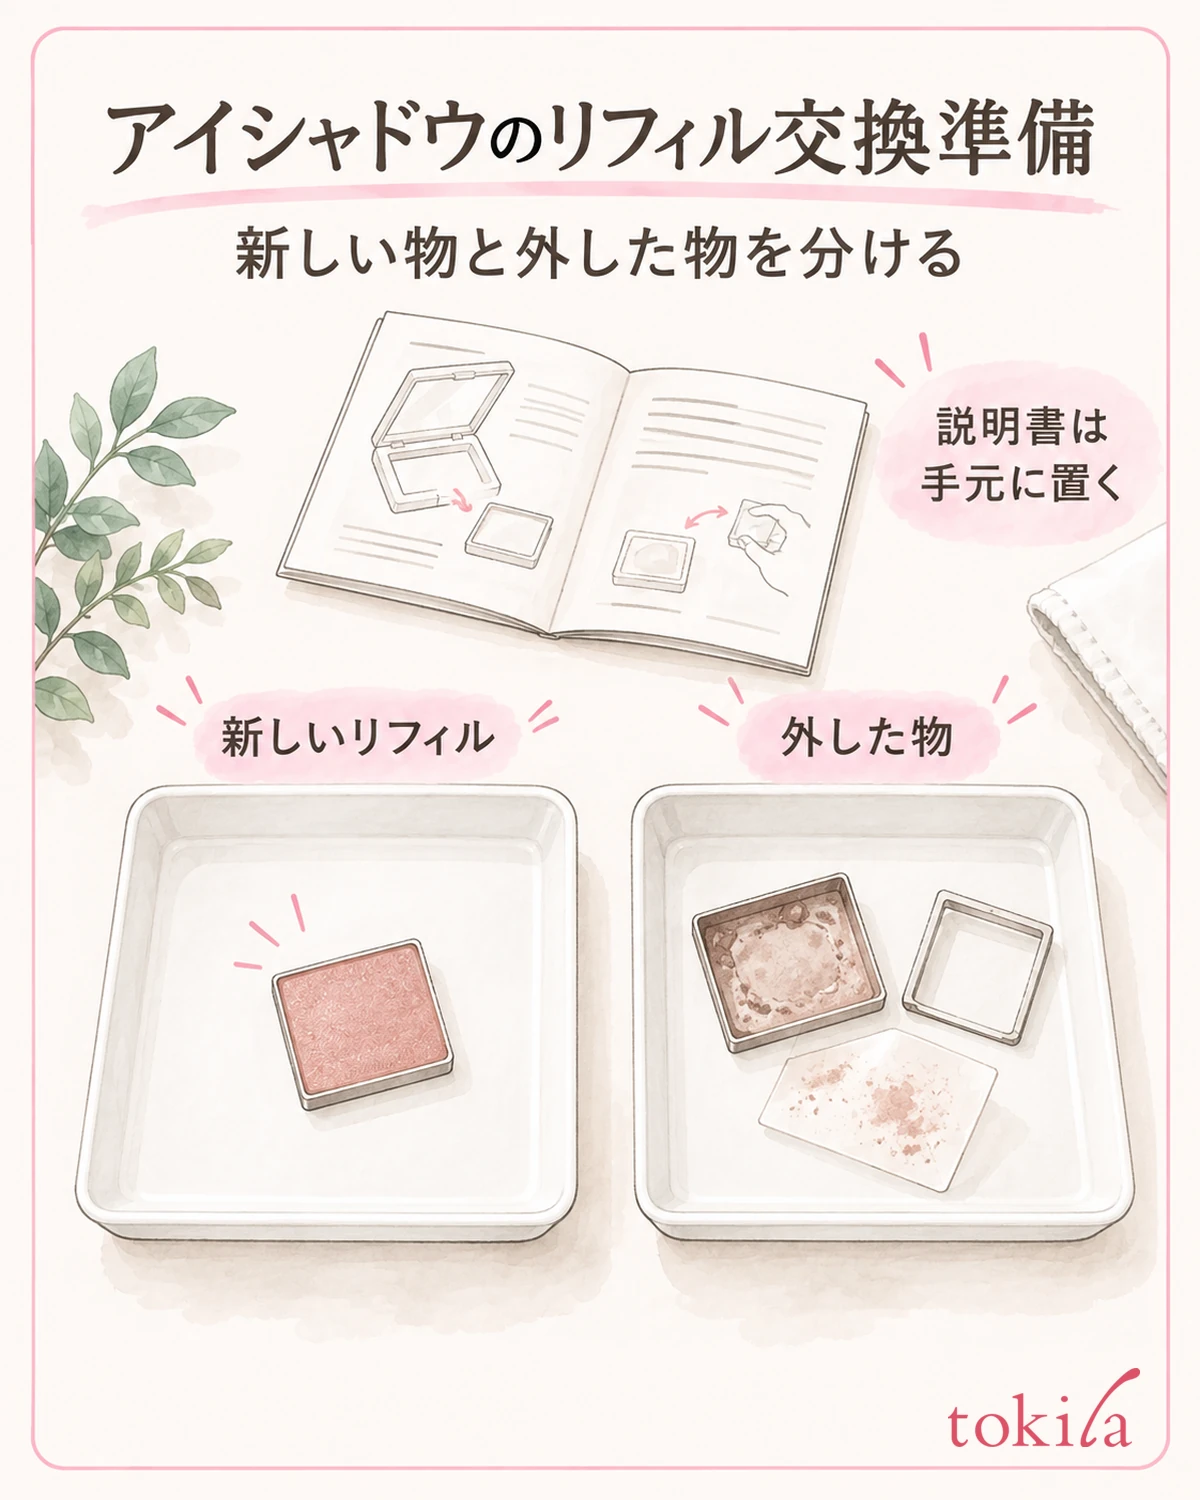
Do the swap at a bright desk where the case sits stably. Avoid doing it on your lap or with the case still inside a pouch, and make a spot where you won't lose the parts you take off. Clean your hands, make sure no moisture remains, and then line up the items you will handle one by one.
Put the case, the new refill and the instructions within reach. Prepare a tool only if one is specified for removal. Do not reuse powder brushes or face sponges to clean the workspace or to press on parts.
Open the packaging of the new refill, following its labeling, only once you are ready to install it. Keep it away from the old insert and the protective paper you removed so they don't get mixed up. To follow the order calmly, there is also an approach of not opening all the colors or other cases at once.
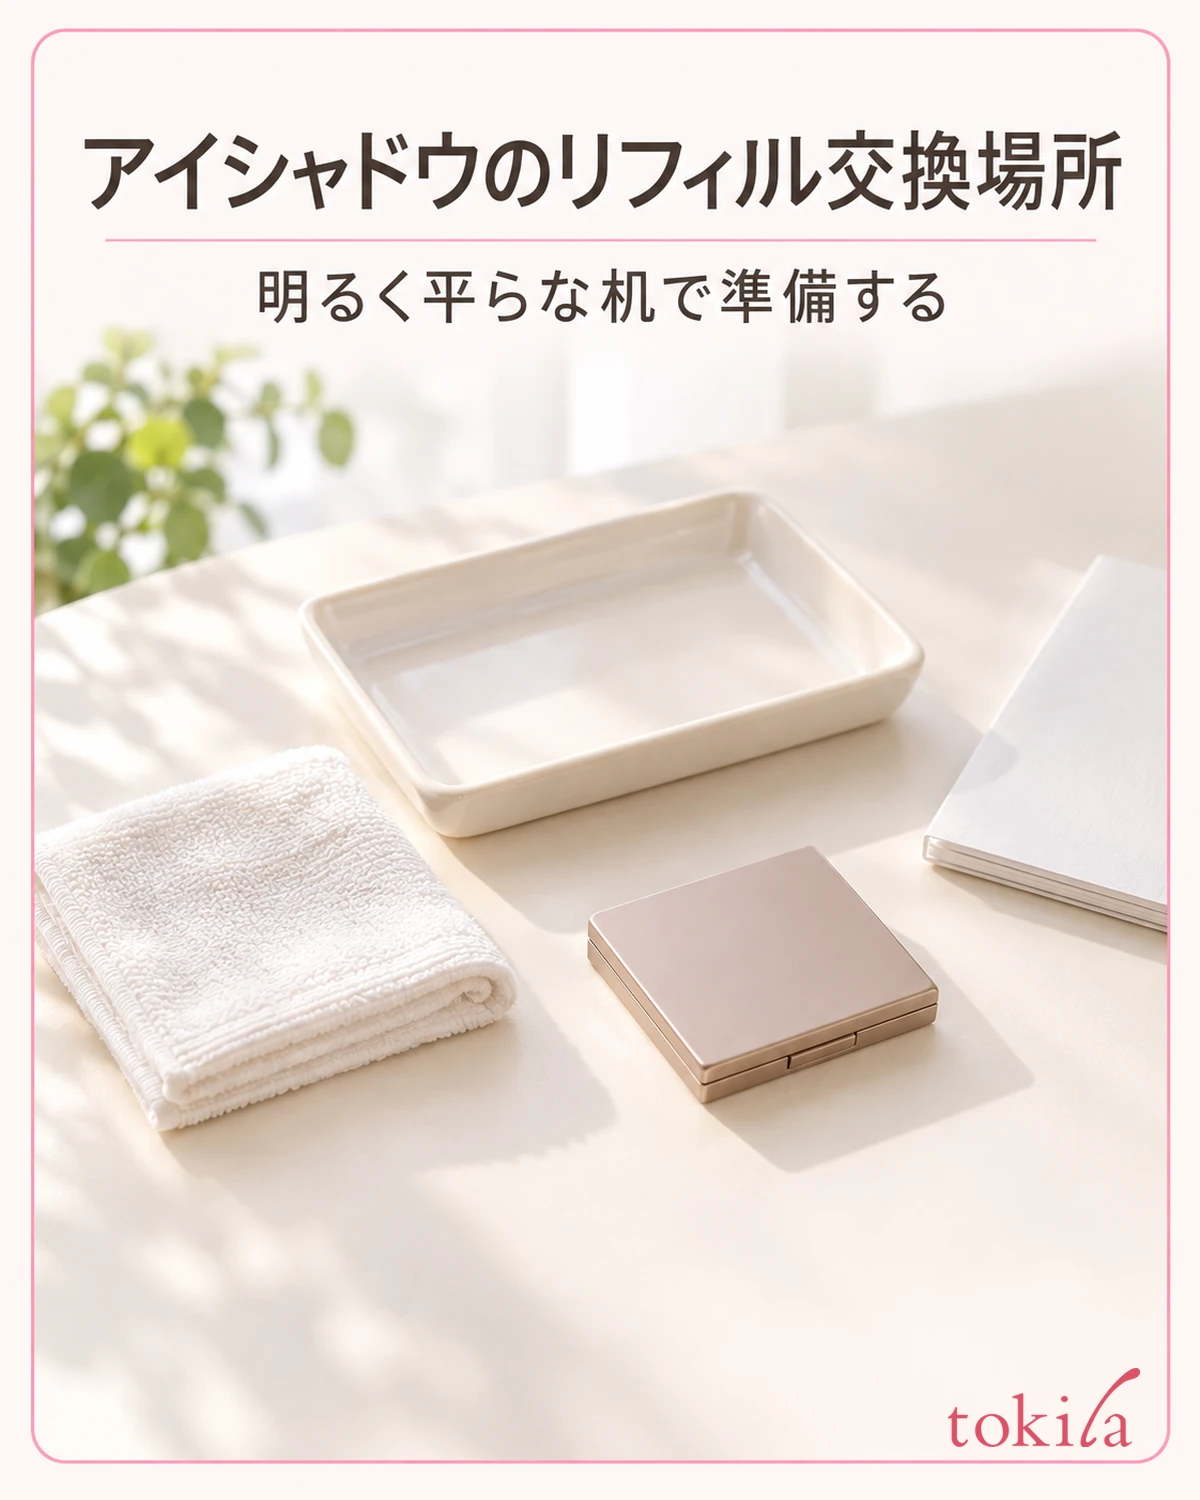
If you use packaging material or a shallow tray as a place to set things, make sure it is clean and stable. The tray in the photo is an example of separating work areas. Do not place the refill with its powder surface facing down, and do not set the new insert directly on paper that still has old powder on it.
Even if you can see powder inside the case, do not rinse it with water right away. Because of the mirror, fasteners and adhesive parts, check the container's care instructions to find out whether it can be washed and what it can be wiped with. Do not pour liquid over it with the insert in place; finish only the care that is permitted, and then set the insert in.
If powder spreads during the work, first move the new refill away from the mess. Checking powder stains and containers in a makeup pouch also explains the idea of keeping dirty items apart from clean tools. Do not go as far as picking up spilled powder and putting it back into the pan.
4.Remove at the specified spot, then check the orientation and fastening in order
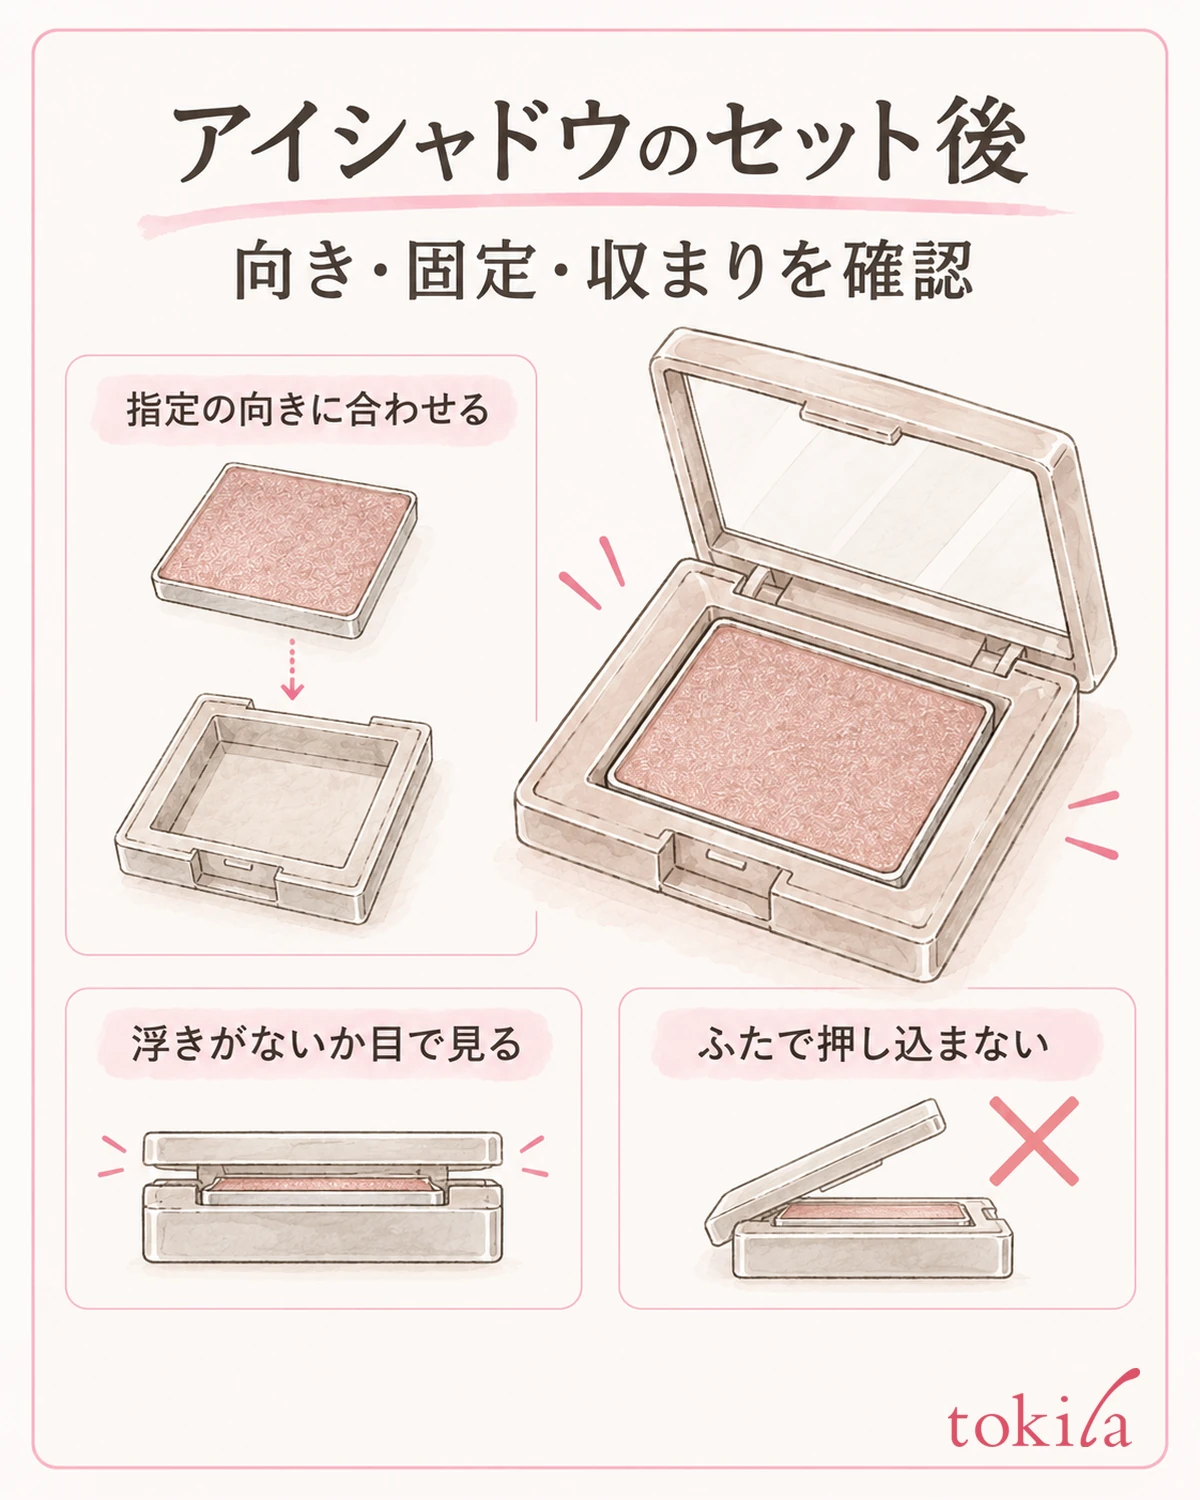
When taking out the old refill, use the way of holding the case, the place to push and the tool specified for that product. If the instructions say to push through a hole on the bottom, match the hole shown in the diagram with the actual item. Do not change the method to inserting a tool into the powder surface or prying at the rim of the pan like a lever.
If it doesn't move even when handled as instructed, if a part seems about to crack, or if the tool seems to slip, stop before using more force. Do not add improvised disassembly such as enlarging the hole, heating the case or loosening the adhesive with a solvent; instead check whether you have mismatched the compatible product or misread the steps.
Handle the new refill by the part of the container that the instructions specify, rather than by pressing on the powder surface. If there are marks on the orientation or corners, line those up first. Avoid using the force of closing the case lid to push in an insert that is sitting at a slant.
If the instructions say to peel off the protective paper of the adhesive tape, remove that paper and then set the insert at the indicated position. For other fastening methods, give priority to those instructions. Do not reduce everything to a single method such as snapping everything in until it clicks or pressing hard.
Put the removed pan away from where the new one will go. If you clear away the powder and packaging that came off during removal before moving on, it is easier to avoid getting it on the back of the new insert. If the care or installation guidance includes conditions such as drying, proceed only once they are met.
Check the fit by eye, with the case left on the desk. Look for conditions such as one side being higher, the insert sitting on a divider, or being off the specified position. To check, you do not need to shake the case upside down or press the powder surface with a finger to test the fastening.
For a case that holds several colors, move on after confirming that each one has settled as specified. Think of the order in which you arrange the colors and the order in which you fix the parts as separate matters. Even if you want an easy-to-see color layout, do not push pans in at orientations or spacing that are not intended.
5.If a lift or a lid that is hard to close remains, review it instead of taking it out
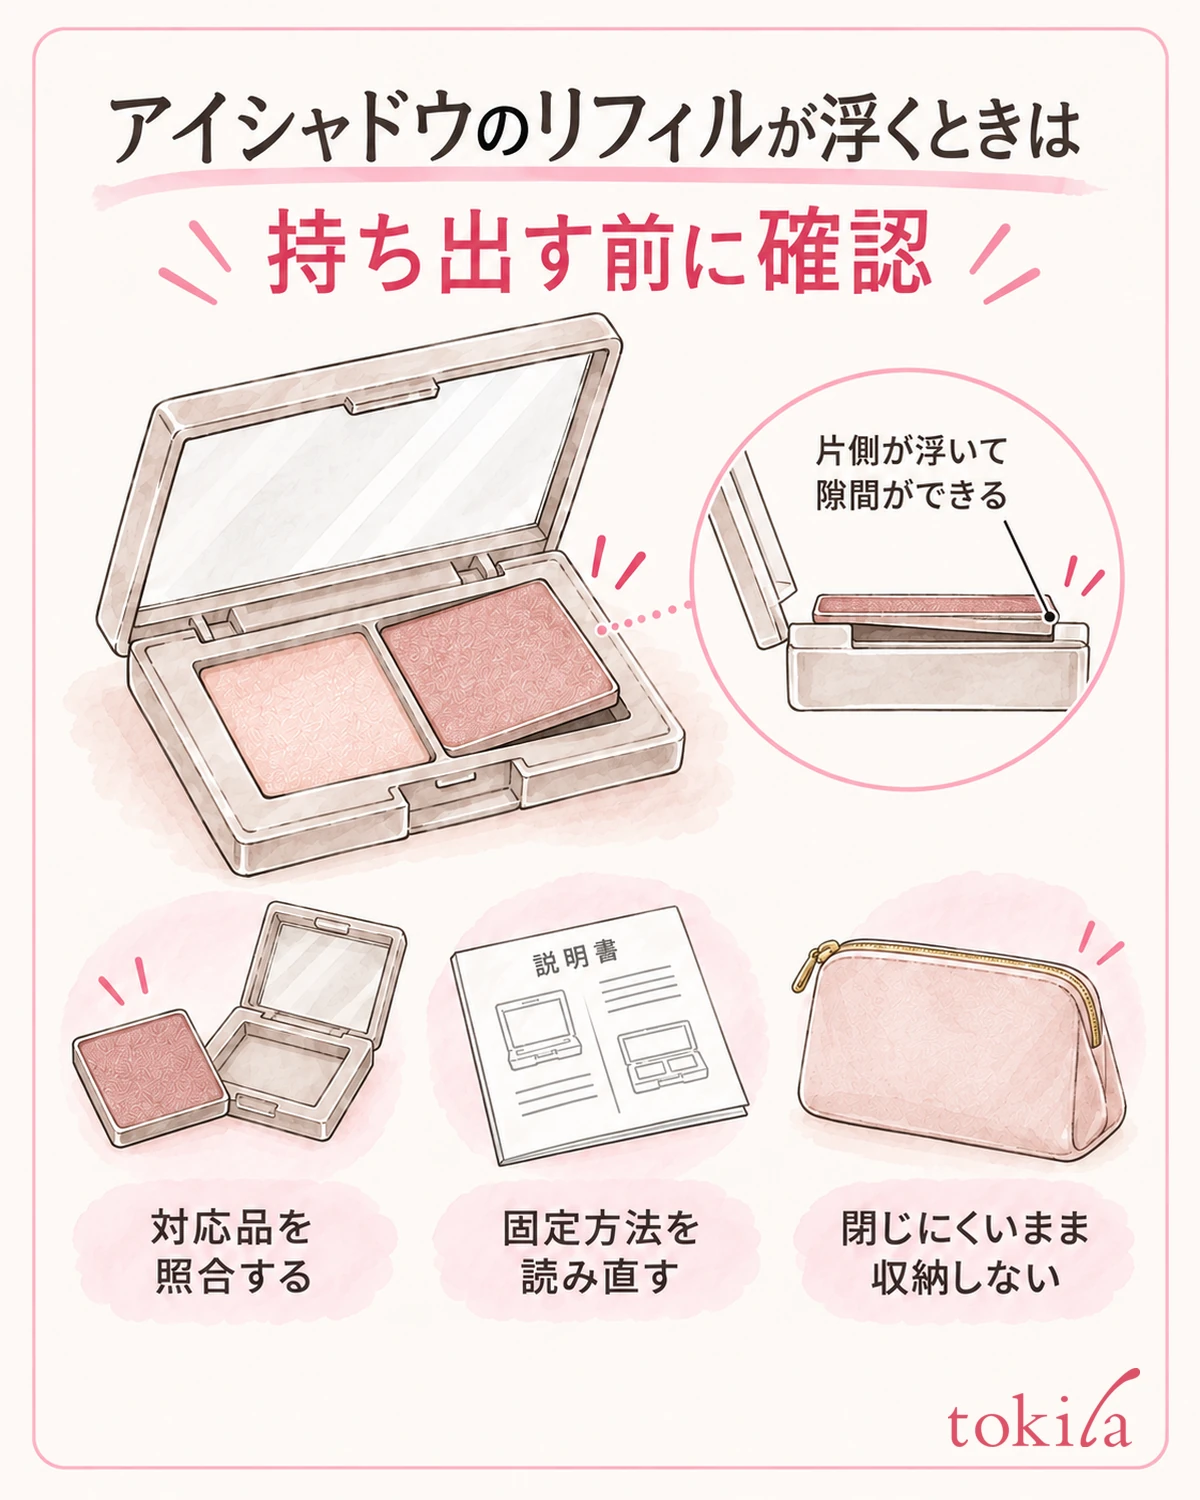
Once it is set, return the tips or brushes you will use and any parts that are specified to be kept to their proper places. If there is a storage position, put them there, check that nothing is caught in the lid, and close it in the specified way. If it has become harder to close than before you changed the insert, do not push it shut by force; review the fit.
If the refill lifts, a gap remains at the edge of the case, or the lid and fasteners don't engage, do not put it in a pouch in that state. Also check for damage to the case itself and for a mix-up of compatible products. Do not treat it as secured by tightening the outside with a rubber band or the like.
Also separate a closing problem from a state in which the powder has cracked or the container has chipped. Do not keep using a damaged item by gluing it, or by moving the powder into another pan to tidy it up; refrain from using it and check how to handle it. Also do not modify a container that is not meant for replacement into a form whose insert can be removed as a refill.
For next time, record the product names of the case and its compatible refill, keep the instructions, and note the date of the swap. The date is a record of the replacement, not something to use to set a uniform expiration date. Keeping information that identifies the case model, not just the color number, lets you check it before your next purchase.
If you keep the instructions or product names as photos, take them with readable brightness and orientation. Rather than photographing only the color of the powder, keeping the outer box and the case labeling separately makes it easier to look up the combination later. Do not mix information you confirmed in hand with compatible products you only guessed at when recording.
Confirm compatibility, separate the removal instructions from the fastening instructions, and check the fit on the desk. In this order, you can sort out why something won't fit without trying to solve it by force. Once your preparation is done, think about how to layer colors separately, as a makeup step like how to apply two eyeshadow colors.



