
You applied nail stickers, but the edge at the base or the tip lifts slightly. It seems to settle back when you press it, yet when you move your finger, a gap opens up again. When that happens, before you keep pressing hard, check separately where it is lifting and which step you are at now.
This article deals with lifting right after applying nail stickers that cover the whole nail. Products that are finished just by sticking them on and products that are cured with a light differ in the stages at which you can make adjustments. Attaching hard nail tips and repairing gel applied at a salon are separate tasks. Open the instructions for the product you have, and proceed while confirming the steps you need.
1. Check where it lifted, and the stage of application and curing
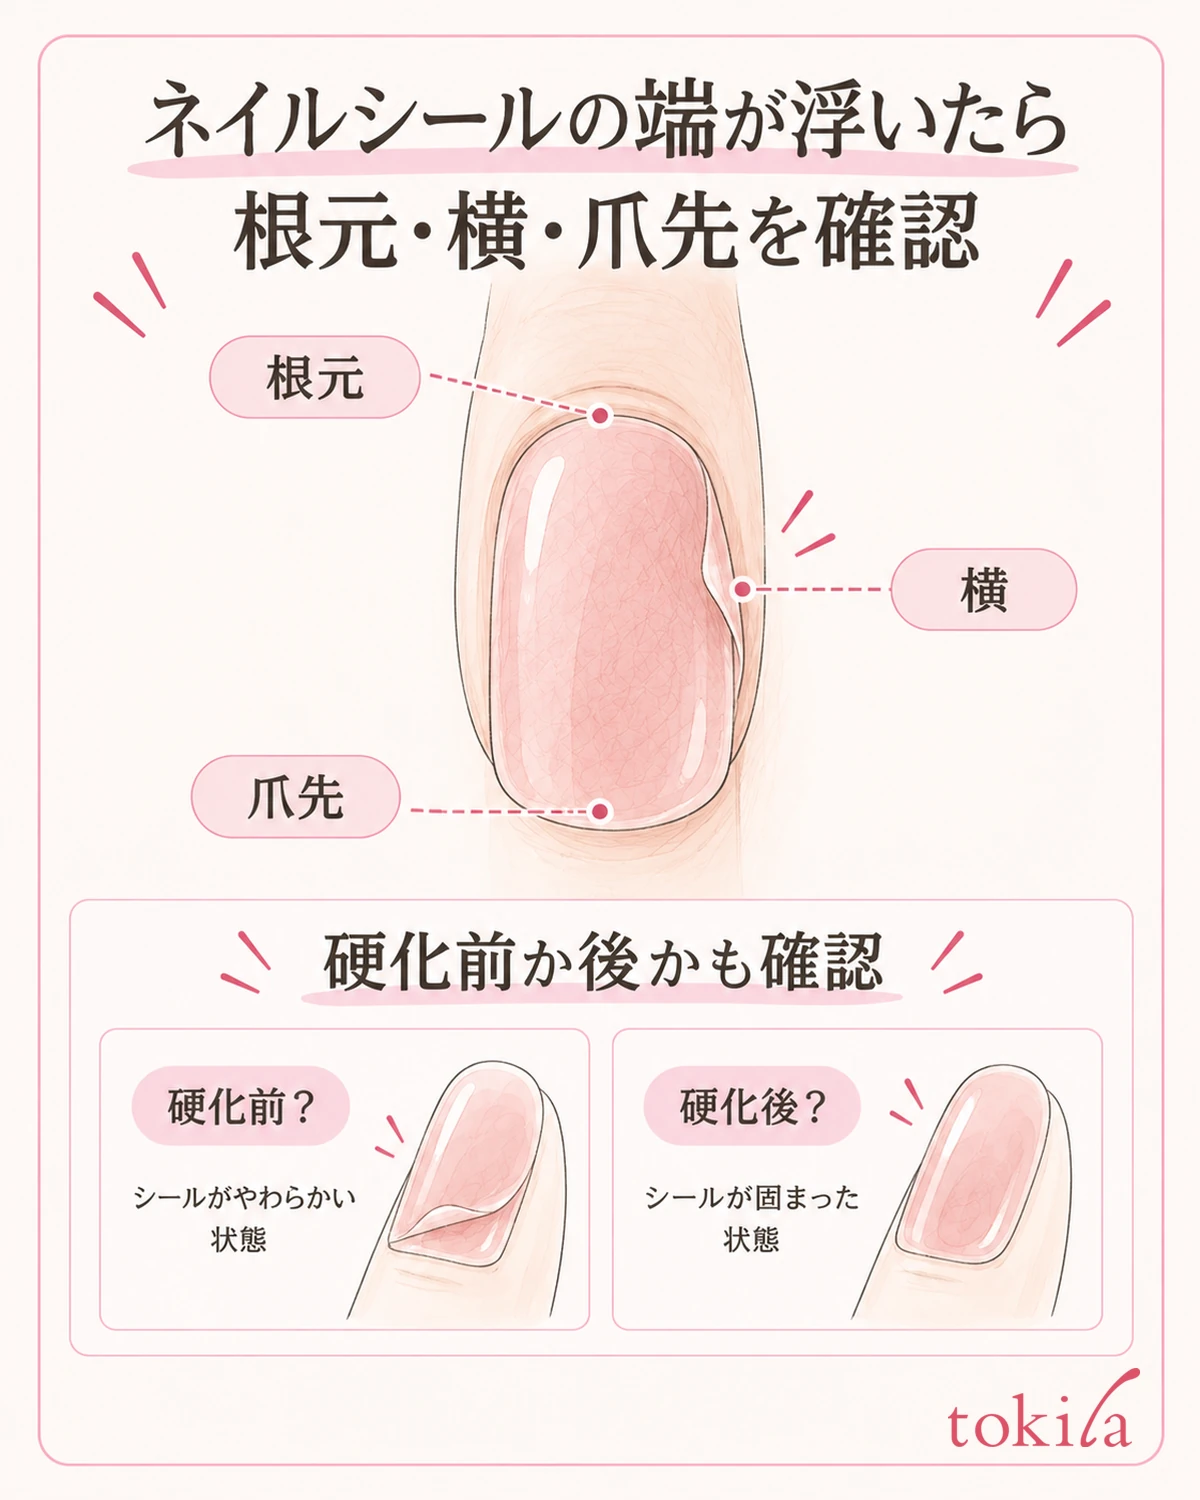
First place your hand on the desk and tilt the finger in question little by little. Look at whether the gap is at the base, at the left or right edge, or at the tip. Distinguish a white line caused by glossy reflection from an edge where the sticker has actually lifted. There is no need to slip a nail or a tool into the gap to check, which would only widen the lift.
Next, check whether you are in the middle of applying it or after finishing. If it is a type that uses a light, think about before curing and after curing separately. Even if the instructions describe adjusting the position before curing, that does not necessarily mean you may move a sticker the same way once it has hardened. First sort out at which stage you noticed it.
Also look at whether only part of the tip is excess or whether it has come away widely from the base. Rather than summing it up as "it doesn't stick anywhere," putting the location into words, such as "only the tip of the right index finger" or "only one side of the base," makes it easier to decide whether to reread the instructions on size, position, or preparation.
Even when it happens on several fingers, do not press them all again at once; look at one finger first. Do not assume the same cause just because it is the same finger on the left and right, and compare whether the places that lift differ. Adjusting with your hand held up makes the contact area hard to see, so put the hand you are checking back on the desk before choosing your next step.
If it catches on hair or fabric right after applying, avoid continuing to work on that finger. Also avoid running it through your hair many times to test the snagging. If the lift comes back every time you press the edge, treat it as a signal to move on to the next check rather than pressing harder.
If there are cuts, pain, redness, or the like, stopping use takes priority over reviewing adhesion. Do not cover it with an additional sticker or hold it down while enduring pain. You also cannot diagnose the condition of your nail from a visible lift alone.
2. Review how it overlaps the skin, and the moisture and oil before applying
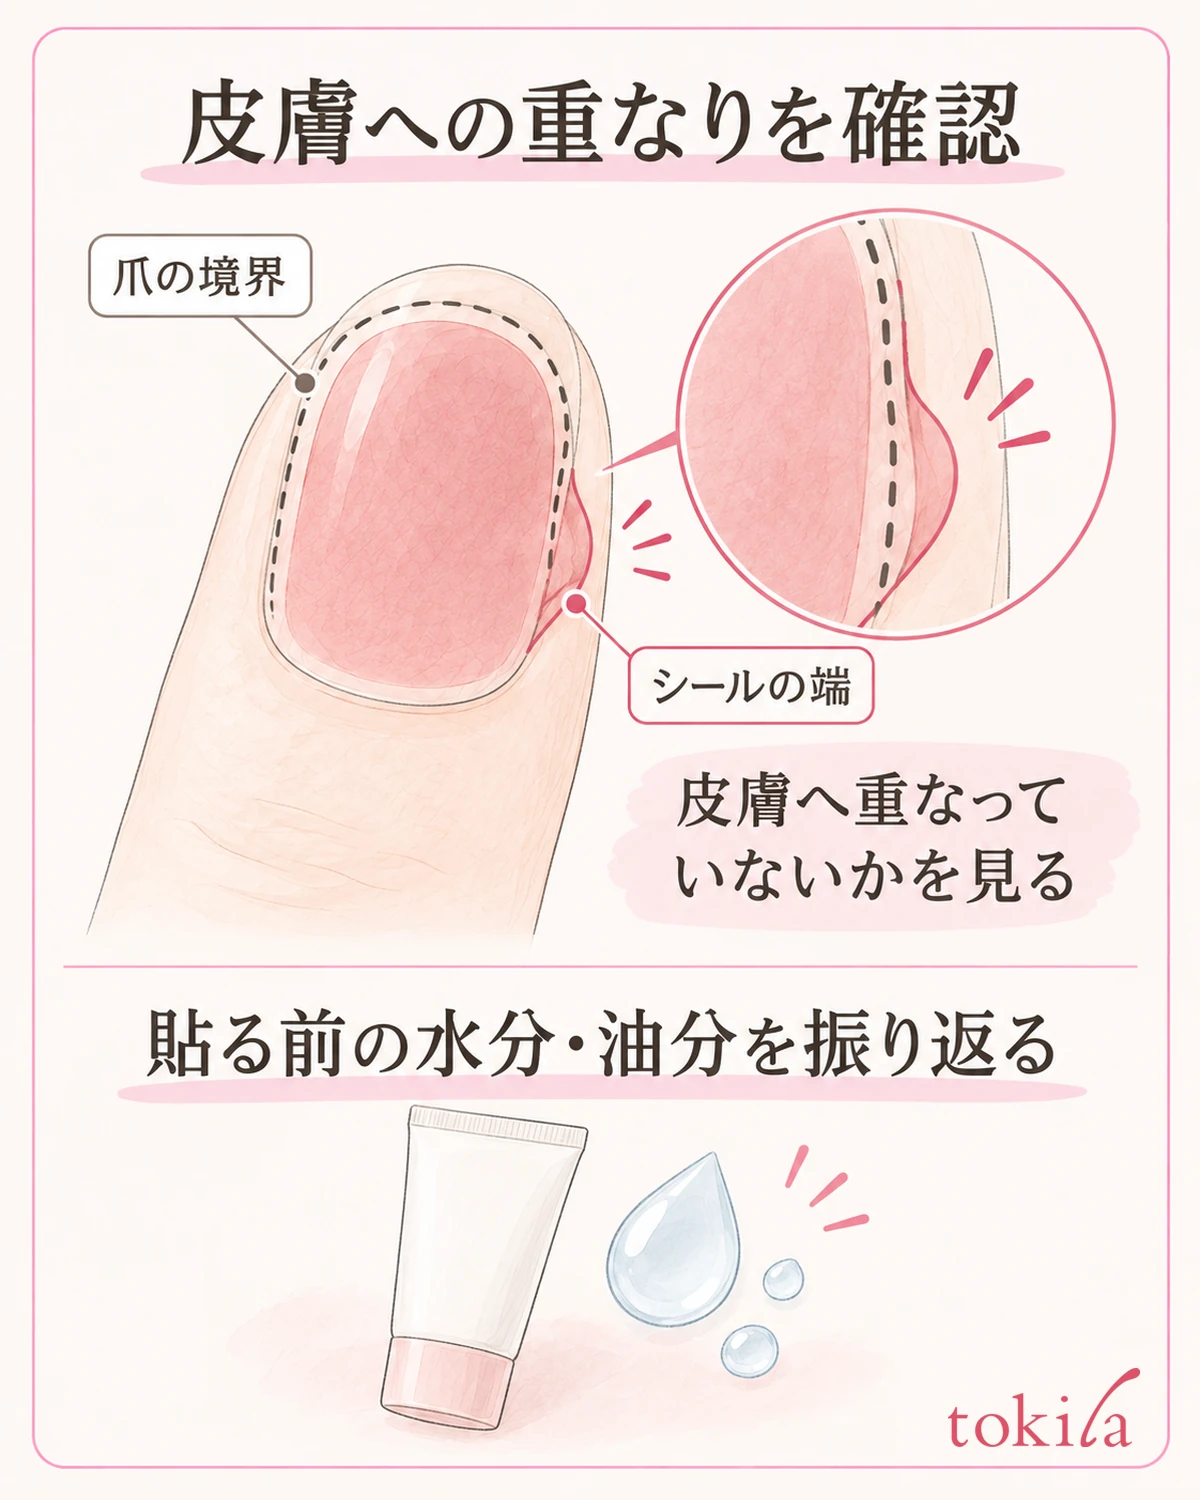
If the base or the sides lift, check whether the edge of the sticker is resting on the skin or cuticle outside the nail. Trace the boundary between the nail surface and the surrounding skin and confirm how far the sticker covers. Instead of pushing it further in to remove the margin, aim for it to sit at the position the product specifies.
If the sticker is wide and both edges overlap the skin, do not try to solve it through how you press. If it is at a stage where it can be reapplied, check the position or a different size. For how to choose, see checking how to match nail sticker width. Here we do not go as far as filing down the shape of the nail to fit the sticker.
Also look back at whether you washed your hands before applying and whether any moisture remained. Check the preparation you actually did, such as whether it was right after hand cream or skincare, or whether you touched the adhesive side many times. What matters is not to conclude that oil is the cause just because it looks lifted.
If the instructions for your product include a step of wiping the nail surface, match what you use and the order to those instructions. Do not pour alcohol or cleaning liquid into the gap of a sticker you have already applied to try to clean the inside. If you redo the preparation, first check the specified way to remove it, take the sticker off, and then do it.
Even if the unevenness of the nail surface bothers you, avoid filing it again and again on the spot to flatten it. Whether a filing step is needed differs by product, and the thinness or damage of a nail is hard to judge by yourself. Do not settle on a single reason it will not adhere; check the position and the preparation separately.
3. Match the pressing action and the treatment of the tip to the order in the instructions
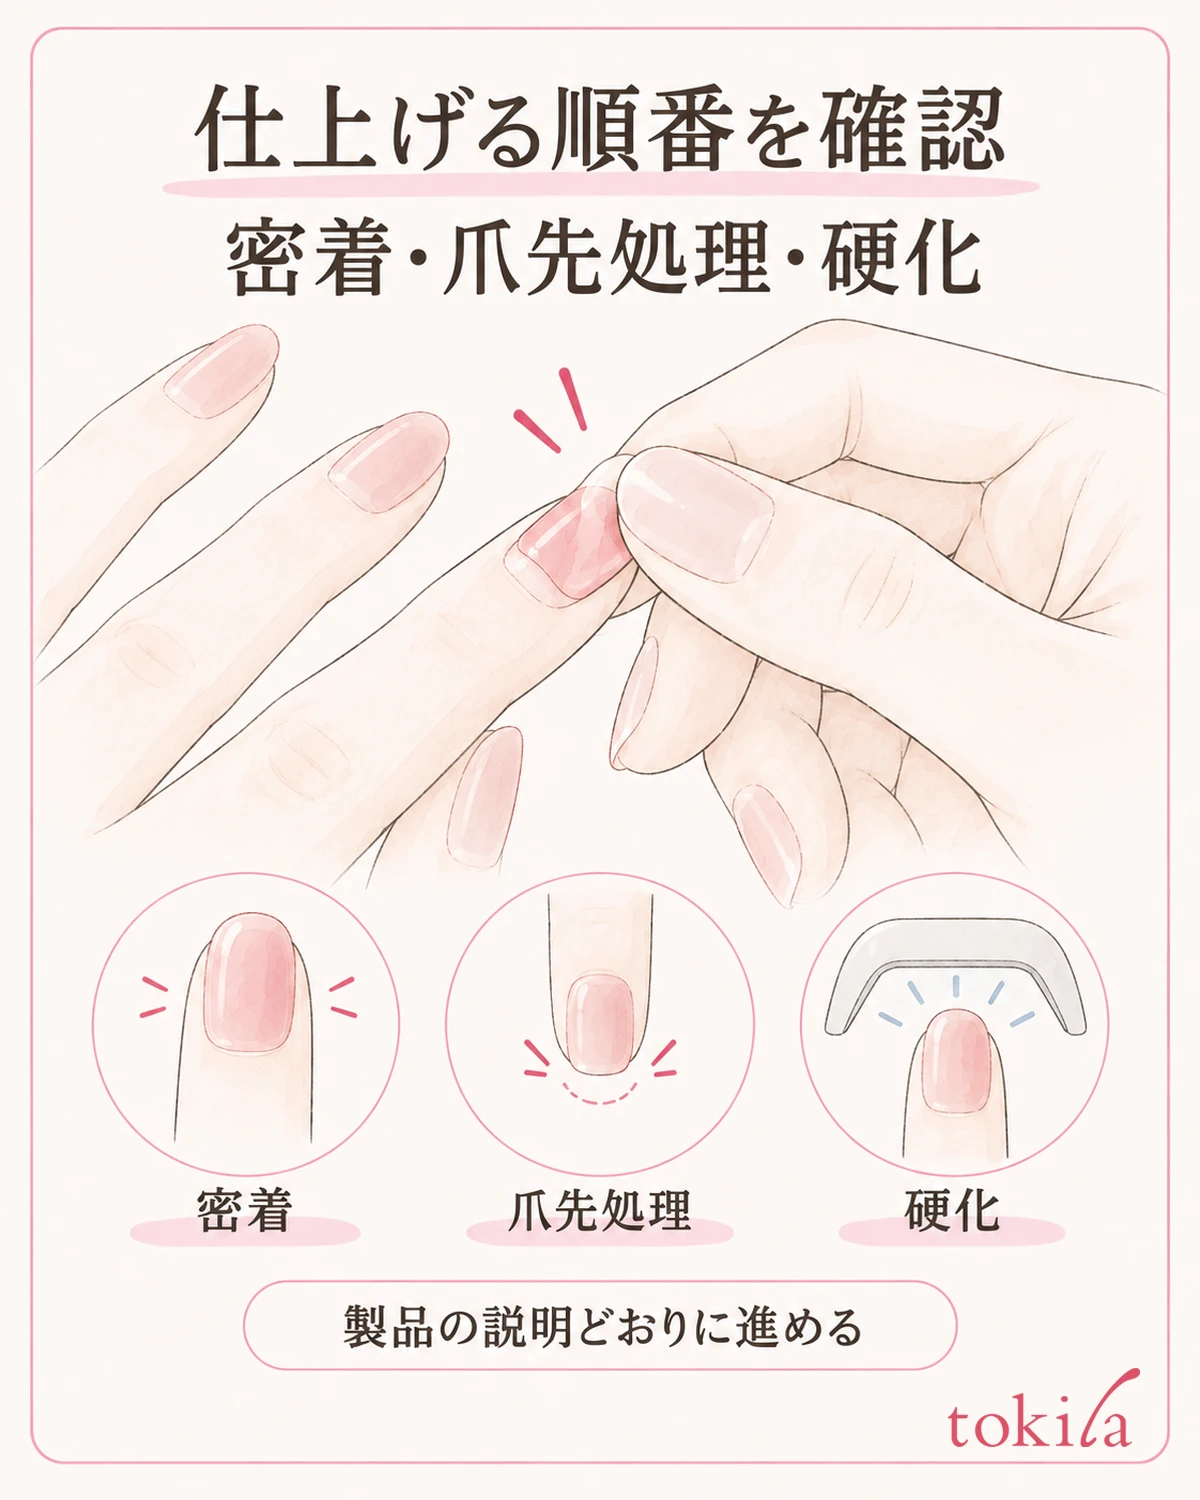
If it is a stage where adjustment is allowed, first review the application diagram. Proceed by the method for the product you have, whether that is pressing it down from the center out to the edges or using a supplied tool. Do not mix in a procedure you learned with another sticker, and avoid concentrating strong force only on the lifted edge.
Pressing is meant to make the sticker on the surface of the nail settle in. Keep it separate from pushing in the part resting on the skin or forcing a folded part flat. Keep the hand supporting the nail steady, watch the area of contact, and do it within the range given in the product's instructions.
If the tip lifts, check at which stage the product has you deal with the excess sticker. The order of cutting, filing, and curing is not necessarily the same. If it is specified to trim the length before curing, do it at that stage; if you are reading instructions that say to trim after curing, do not change to cutting first.
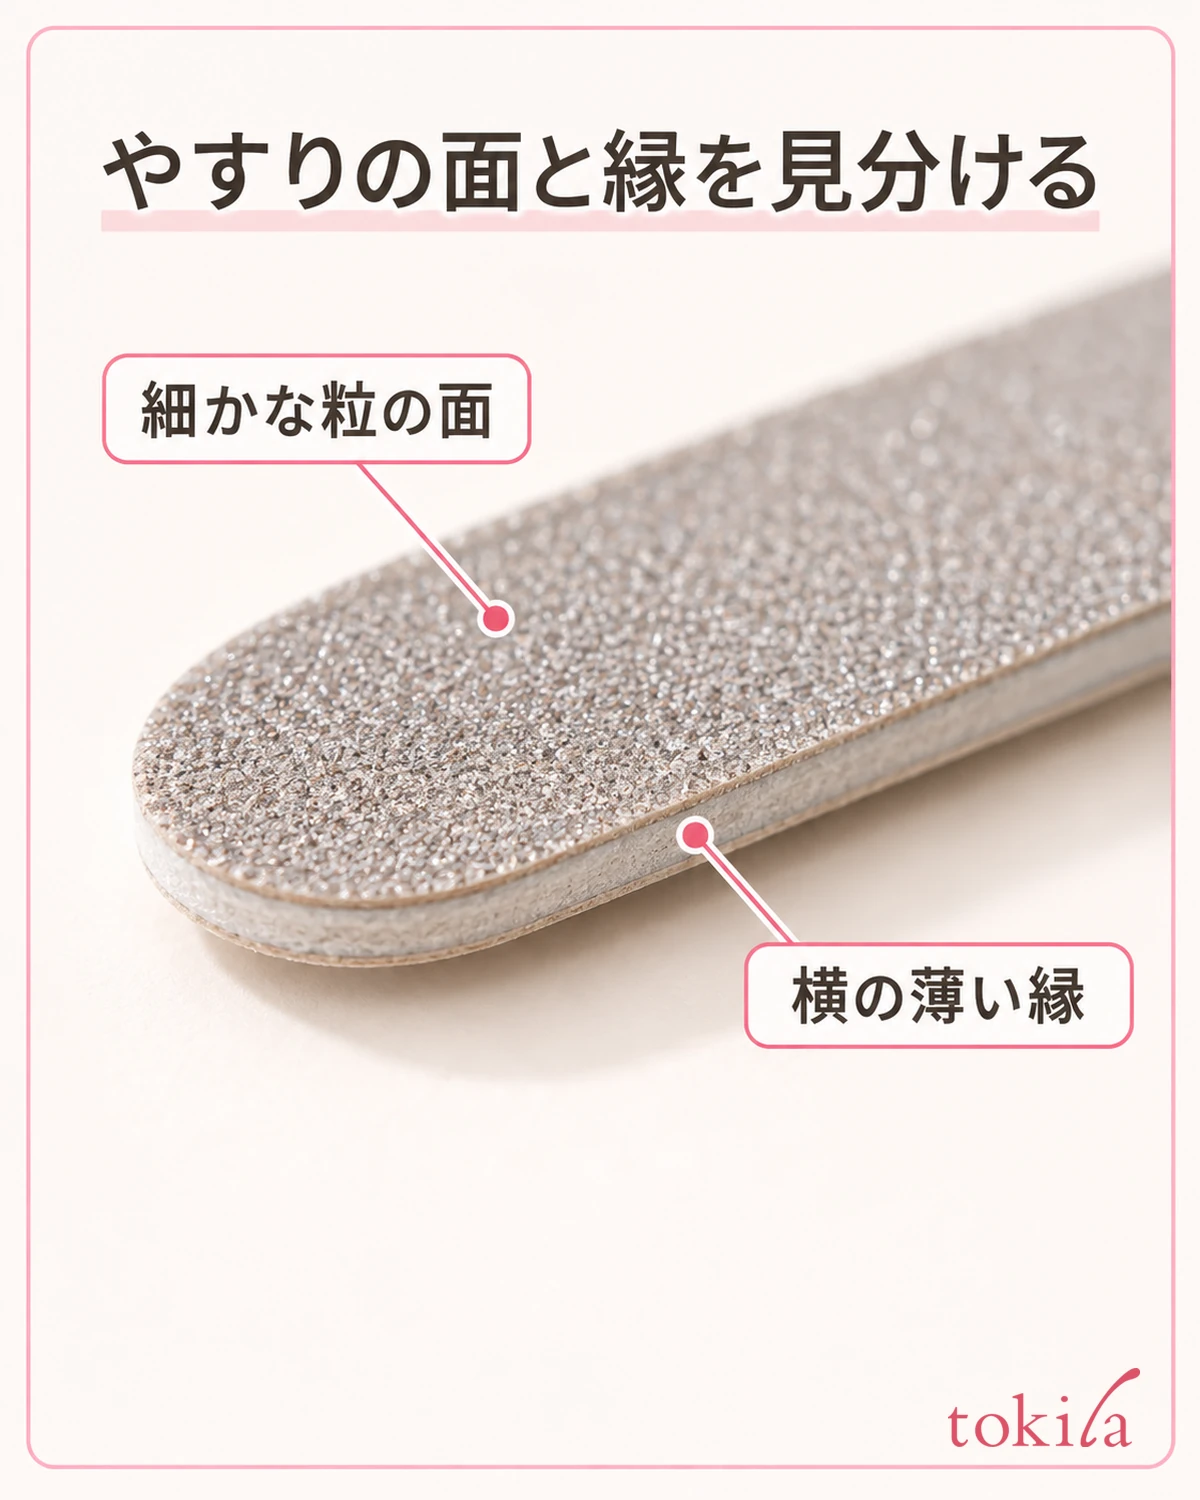
When you use a file, match the direction in which you move the tool to the instructions as well. Rather than hurrying to file back and forth at the tip, treat the edge of the sticker with the specified motion. Avoid pushing a blade in right next to the skin at the sides, or making fine cuts while the sticker is still on your finger, in order to correct even the width.
Even with a product that uses a light, do not think "it lifted, so a longer exposure will do." Read the compatible light, the time, the number of times, and how to place your finger as a set. Do not shine a light on a product that you only stick on, or change to another product's exposure time; start by checking whether your current step is as specified.
4. Check whether it can be reapplied, and do not keep using a sticker whose adhesion has weakened
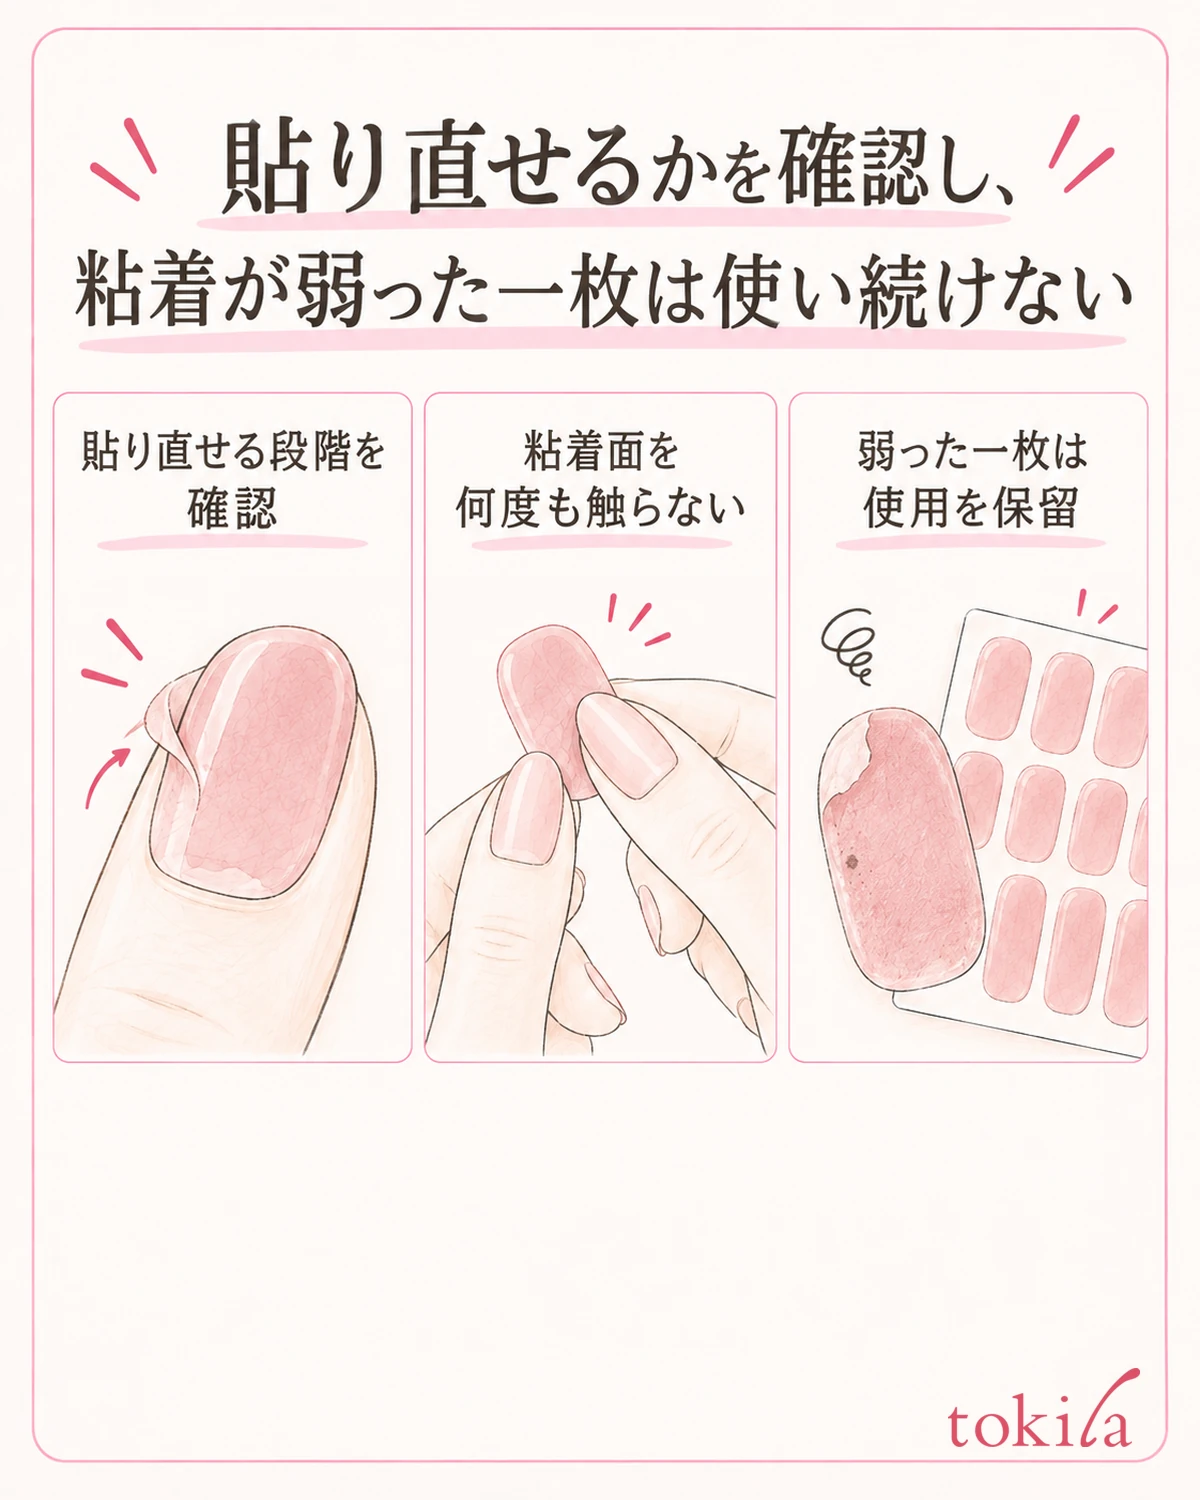
If you want to fix the position, check whether the product you have allows reapplication. Even when it is allowed, repeatedly peeling it off and trying again will not necessarily keep it in the same condition. Before adjusting, decide on the spot you want to move and the position where you will place it next, and touch the adhesive side as few times as you can.
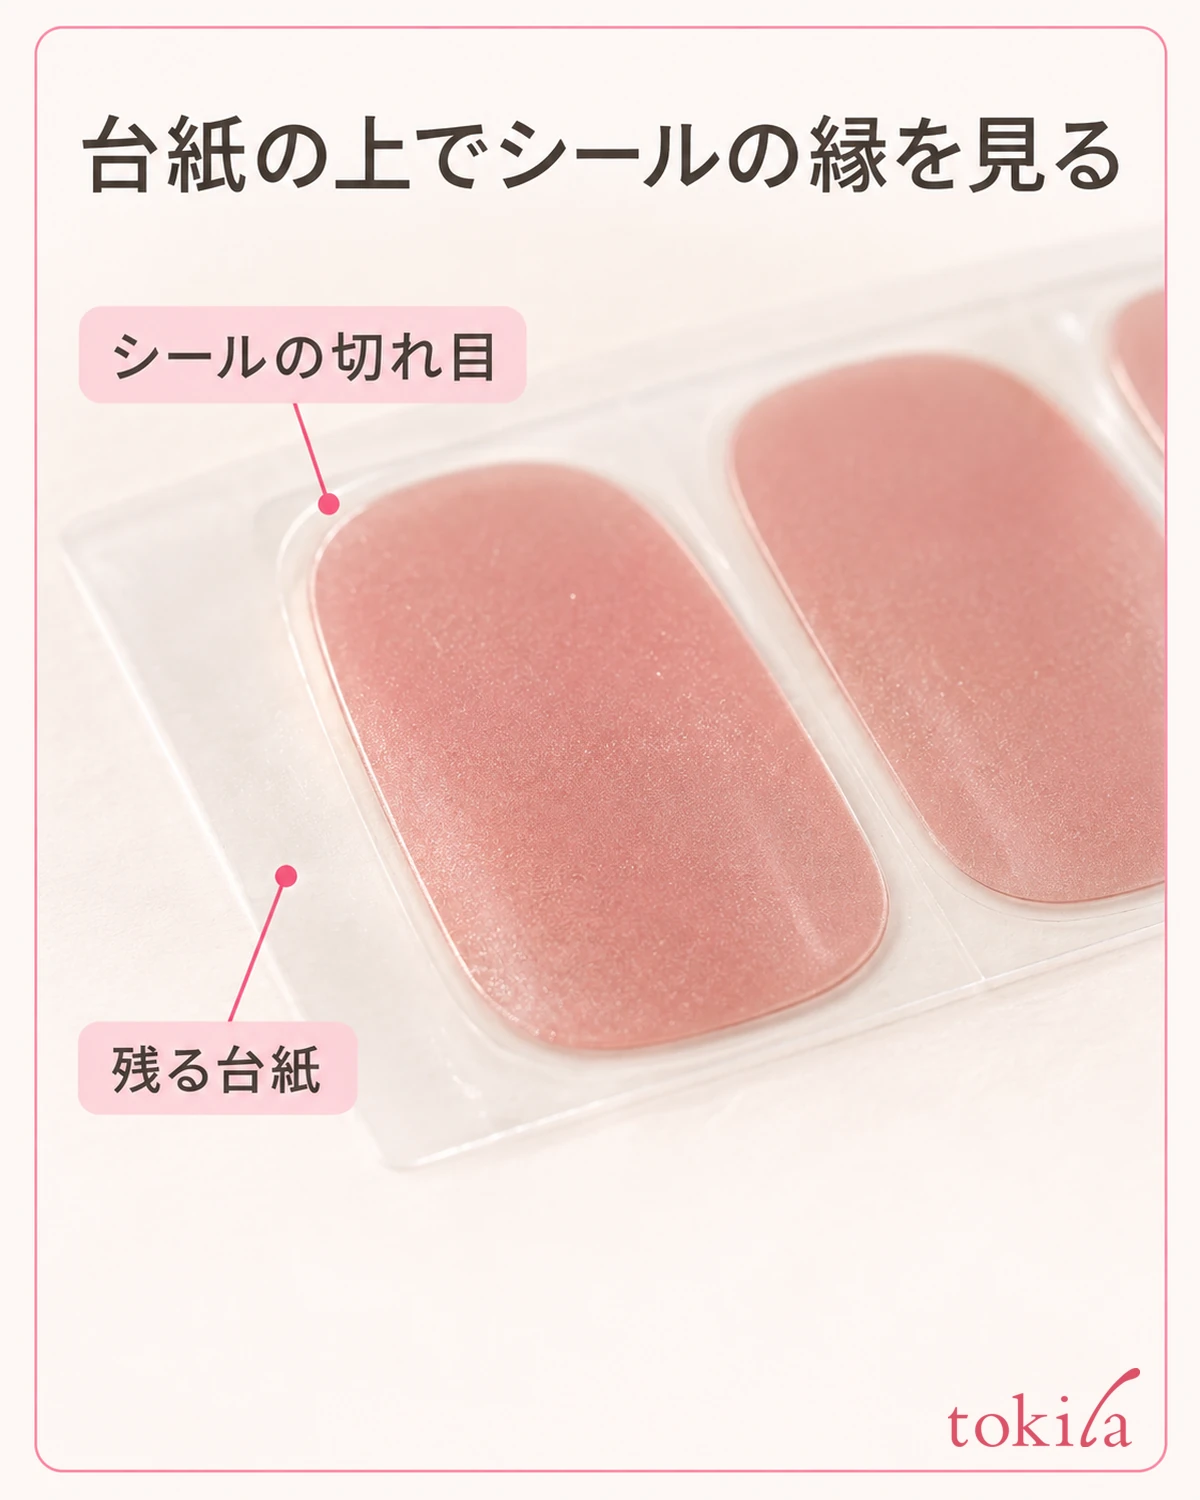
Follow the product's instructions as well for where to hold it and what tool to use when peeling. Do not rub a wide area with your finger on top of the nail, or pinch the edge over and over with your fingernail, to try to remove debris that has stuck. If you are unsure at the stage of taking it off the backing, you can also check the steps for telling the layers of a nail sticker and where to hold it.
If it comes off right away even after you press it, the adhesive side has picked up dirt, or a fold or deformation remains, hold off on deciding to finish with that sticker. Before switching to a new sticker, review the nail preparation and the size as well. If you replace stickers one after another under the same conditions, you tend to use up sheets without knowing what to fix.
If you cannot find instructions for reapplication, do not treat it as something you can do, and stop adjusting that product. There is no need to take out the remaining stickers in advance. Do not mix a sticker that is still usable with one whose condition has changed partway through use, and keep each matched to the original instructions.
Also check separately whether a finished sticker, or one that came off after curing, can be reused. Just because the position can be adjusted before curing does not mean reuse is permitted after going out or after curing. Do not change to a method of treating a used one like a new sticker and adding adhesive to reattach it.
Avoid do-it-yourself repairs such as filling the lifted gap with adhesive or pouring in a top coat. Whether a top coat is needed and which kinds you can use differ by product. Even if there are instructions for using it as a finish, they are not necessarily instructions for bonding the peeled inside again.
5. If it does not settle, remove it by the specified method and record points to check next time
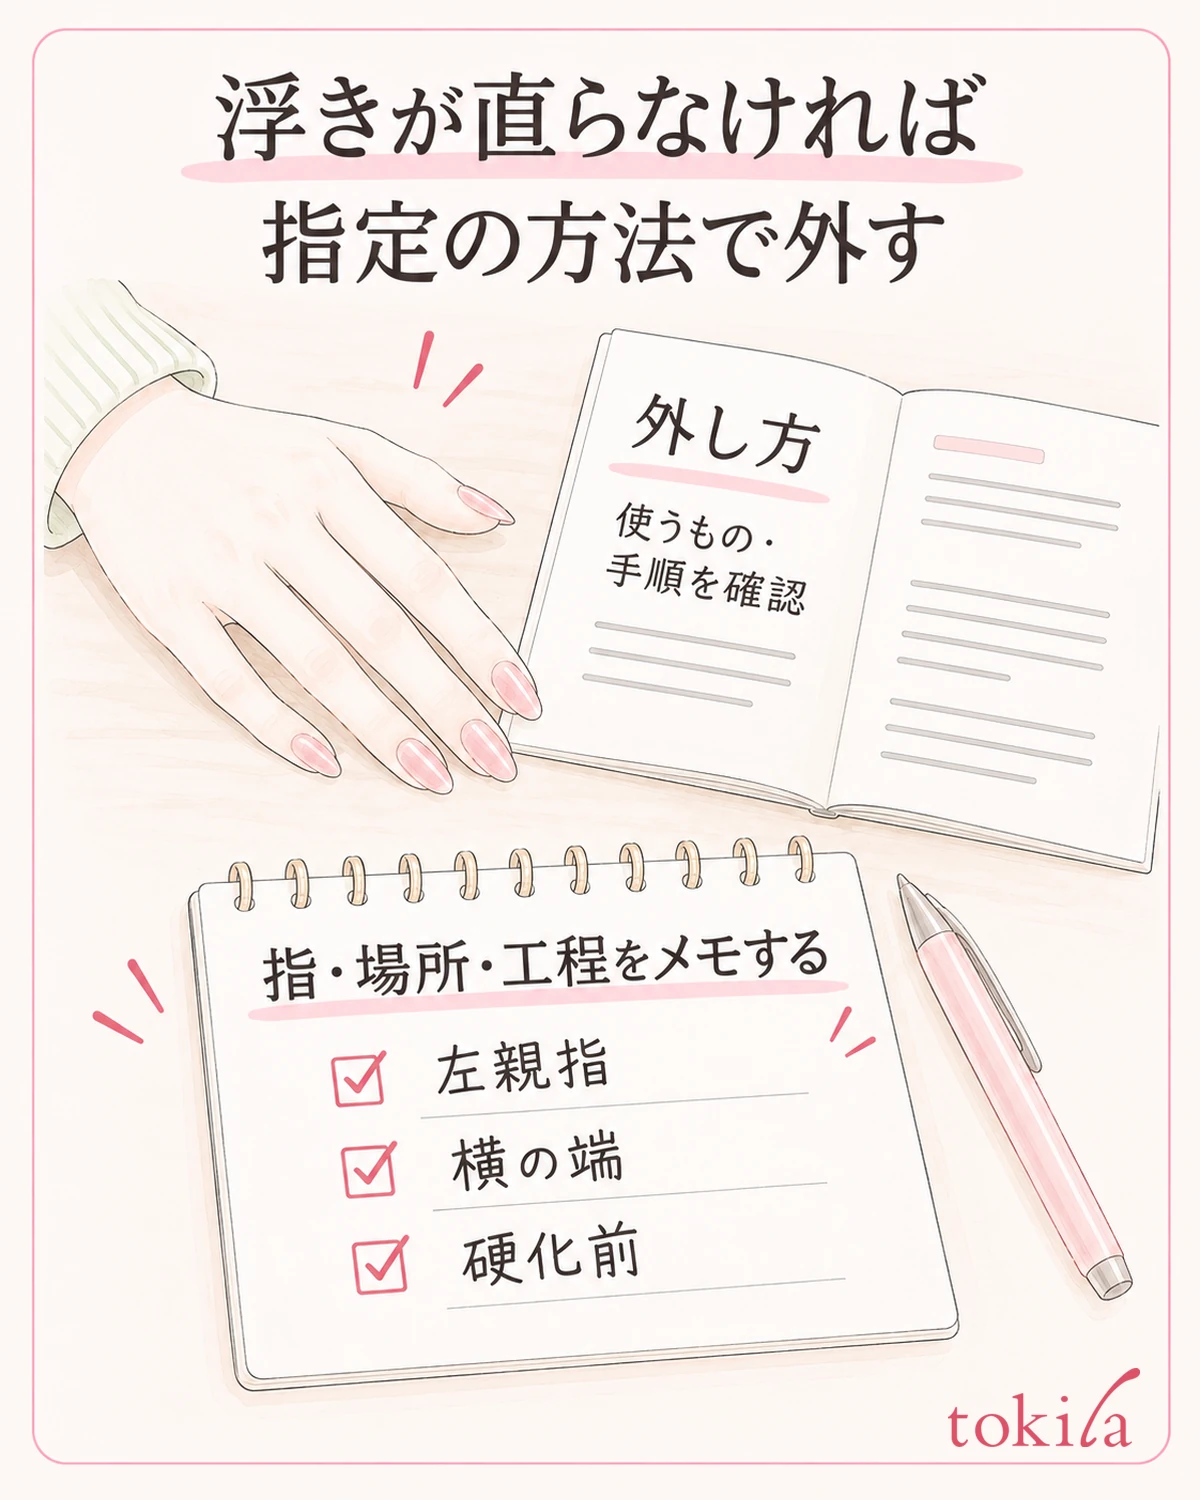
If the edge comes back even after you review the position and the steps, stop pressing it down for now. If you are unsure whether to keep using it, check how to remove the product you have. Instead of grabbing the lifted edge and pulling it off in one go, prepare the liquid and tools you need, then take it off with the process that suits that product.
What you use for removal should match the type of nail sticker and its instructions. Nail polish remover, a dedicated remover, oil, and so on cannot be freely swapped in for every product. Do not assume that using a liquid will make it come off right away; follow the specified way of letting it soak in, and do not tear it off while there is resistance.
After removing it, look at your nails and the surrounding skin. Do not make applying the next one right away your goal, and if there are cuts or discomfort, refrain from using it. If changes in appearance, pain, or the like continue, do not keep layering do-it-yourself repairs, and consult a medical institution. There is no need to prioritize hiding the lift.
The note to keep for next time covers the finger, where it lifted, the step at which you noticed, and the preparation you actually did. Be specific, as in "left thumb, the side lifted before curing. It overlapped the skin." Make it a note that records where to reread next time, not a record of measured adhesive strength or of a confirmed cause.
In your note, write what you saw separately from what you guess. "I applied it right after putting on cream" is a step you took, but "oil is the only cause" is still a guess. Do not repeat applying and removing just to build up records; limit it to material for checking your preparation next time.
Return the remaining sheets to the packaging the product specifies and store the instructions with them. For anything that must be kept away from light, follow that product's order, such as putting away the rest before using the light. Next time, it will be easier to proceed if you start by reviewing one of the size, the preparation before applying, or the adhesion step, whichever you were able to check this time.
When a nail sticker's edge lifts, start by lining up "location," "stage," and "instructions" before adding force. If you separate the range where it can be reapplied from the decision not to keep using it, you can avoid forcing a finish and return to preparing to choose the next sticker.



