
You may pick up a nail art sponge and not be sure which side to pick up color with, or which part of the handle to hold. A sponge for applying color and a sponge file for smoothing a surface are different tools. Don't choose by the name or by how soft it looks; check its purpose and structure before you prepare.
This article covers the checks to make before you start and before you put away a nail art sponge used to place color lightly. Before any technique for evening out the gradation of the finish, sort out the compatible polish, the side to use, and the part to hold. Even similar-looking tools differ in care and replacement, so follow the labeling on the item you own first.
1. Check whether it is a sponge for placing color or a tool for filing
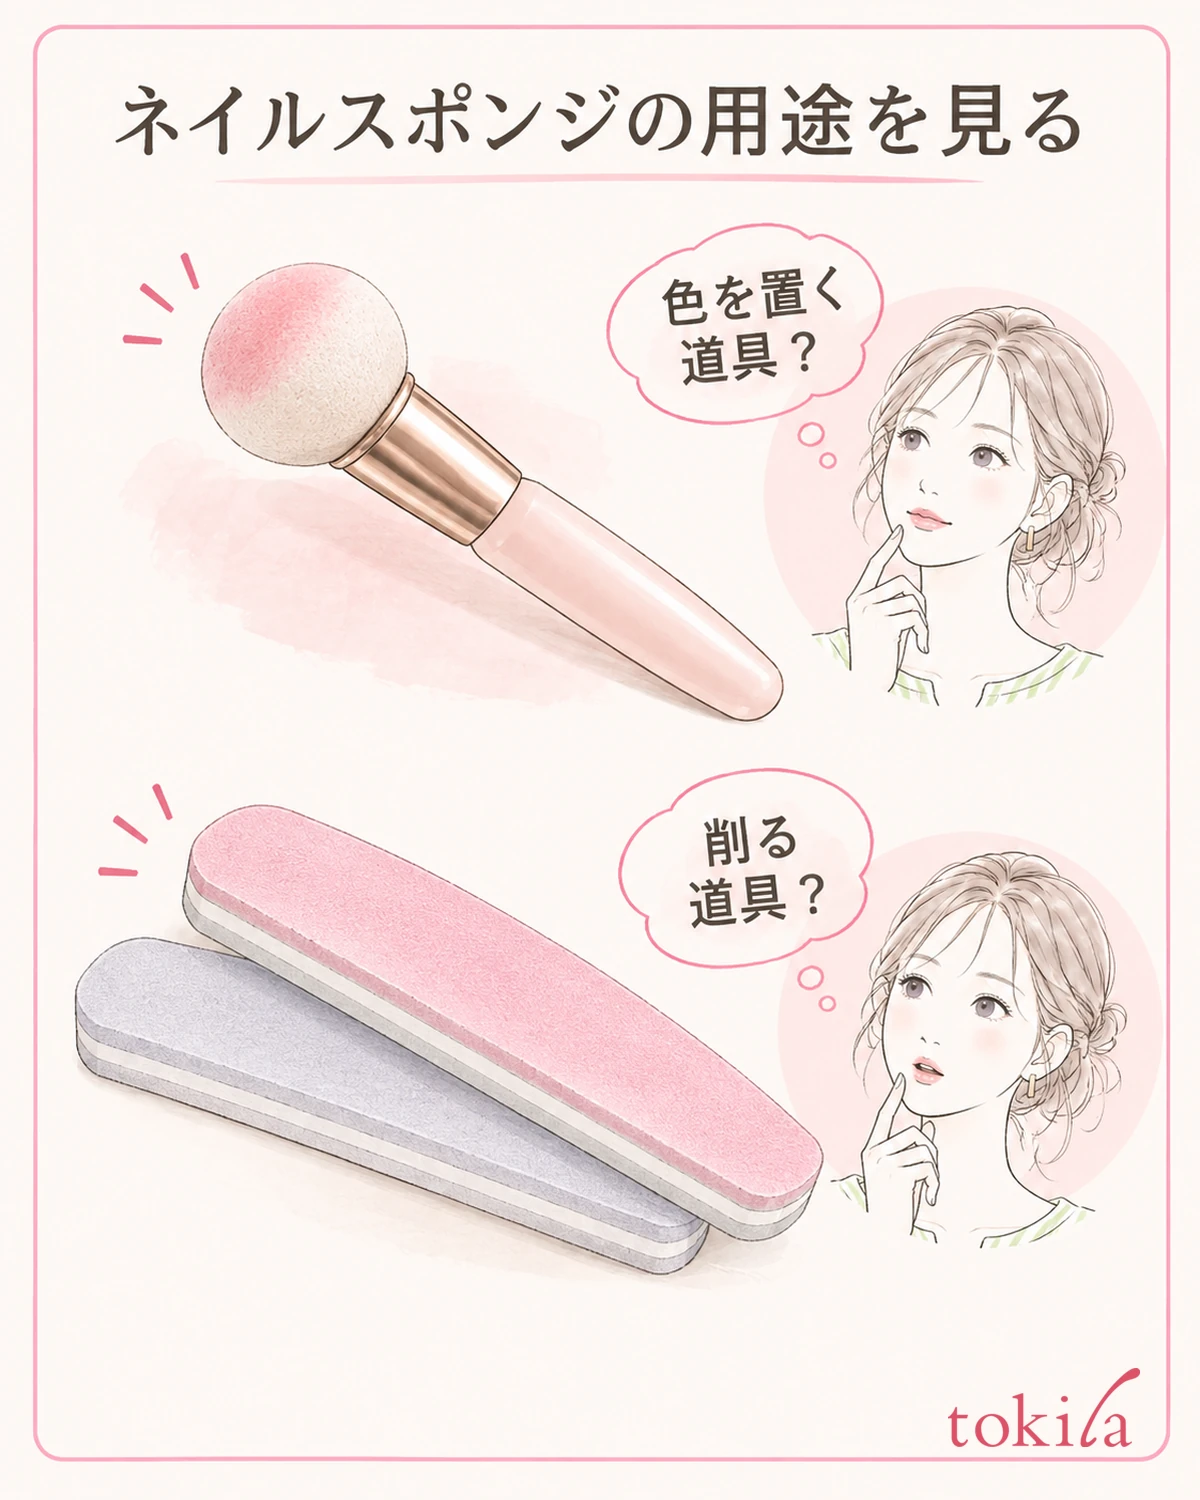
First, read the packaging and instructions to confirm what the tool is for. Separate whether it is used in nail art to place color, or is a buffing tool for smoothing the surface of the nail or coating. Even if "for nails" and "sponge" are common to both names, a surface meant for filing is not necessarily meant for applying color.
Next, check the compatible polish. Air-drying nail polish, gel cured under a light, and art materials each need different base coats and finishes. Check that the instructions on both the sponge and the polish agree, and if you can't tell what it is for, don't use it on your nails right away.
A type where you hold a single small piece and a type with a sponge attached to the end of a handle also differ in where you may touch. With a handle, look separately at the soft tip, the part that supports the tip, and the handle you grip. Even if replacement tips are included, don't assume that you can pull off only the soft part.
This is not an explanation of using makeup sponges or kitchen sponges as a substitute because they look similar. You cannot tell from appearance whether the material, surface, and bonded parts are compatible with polish and care liquids. Start with a tool you can confirm is for art.
Before use, also look for tears, chips, or looseness at the tip. You don't need to pull hard with your fingers or bend it to test durability. If there is deformation or damage, don't try to fix it while using it; check the instructions on replacement or stopping use.
Keep the tool and polish instructions you checked at hand until you finish. If you mix similar tips and move them into a box, you won't know which handle they fit. Prepare them so the combination and model at purchase can be traced; it will also be easier to check replacements later.
2. Separate the side that picks up color from the part you hold
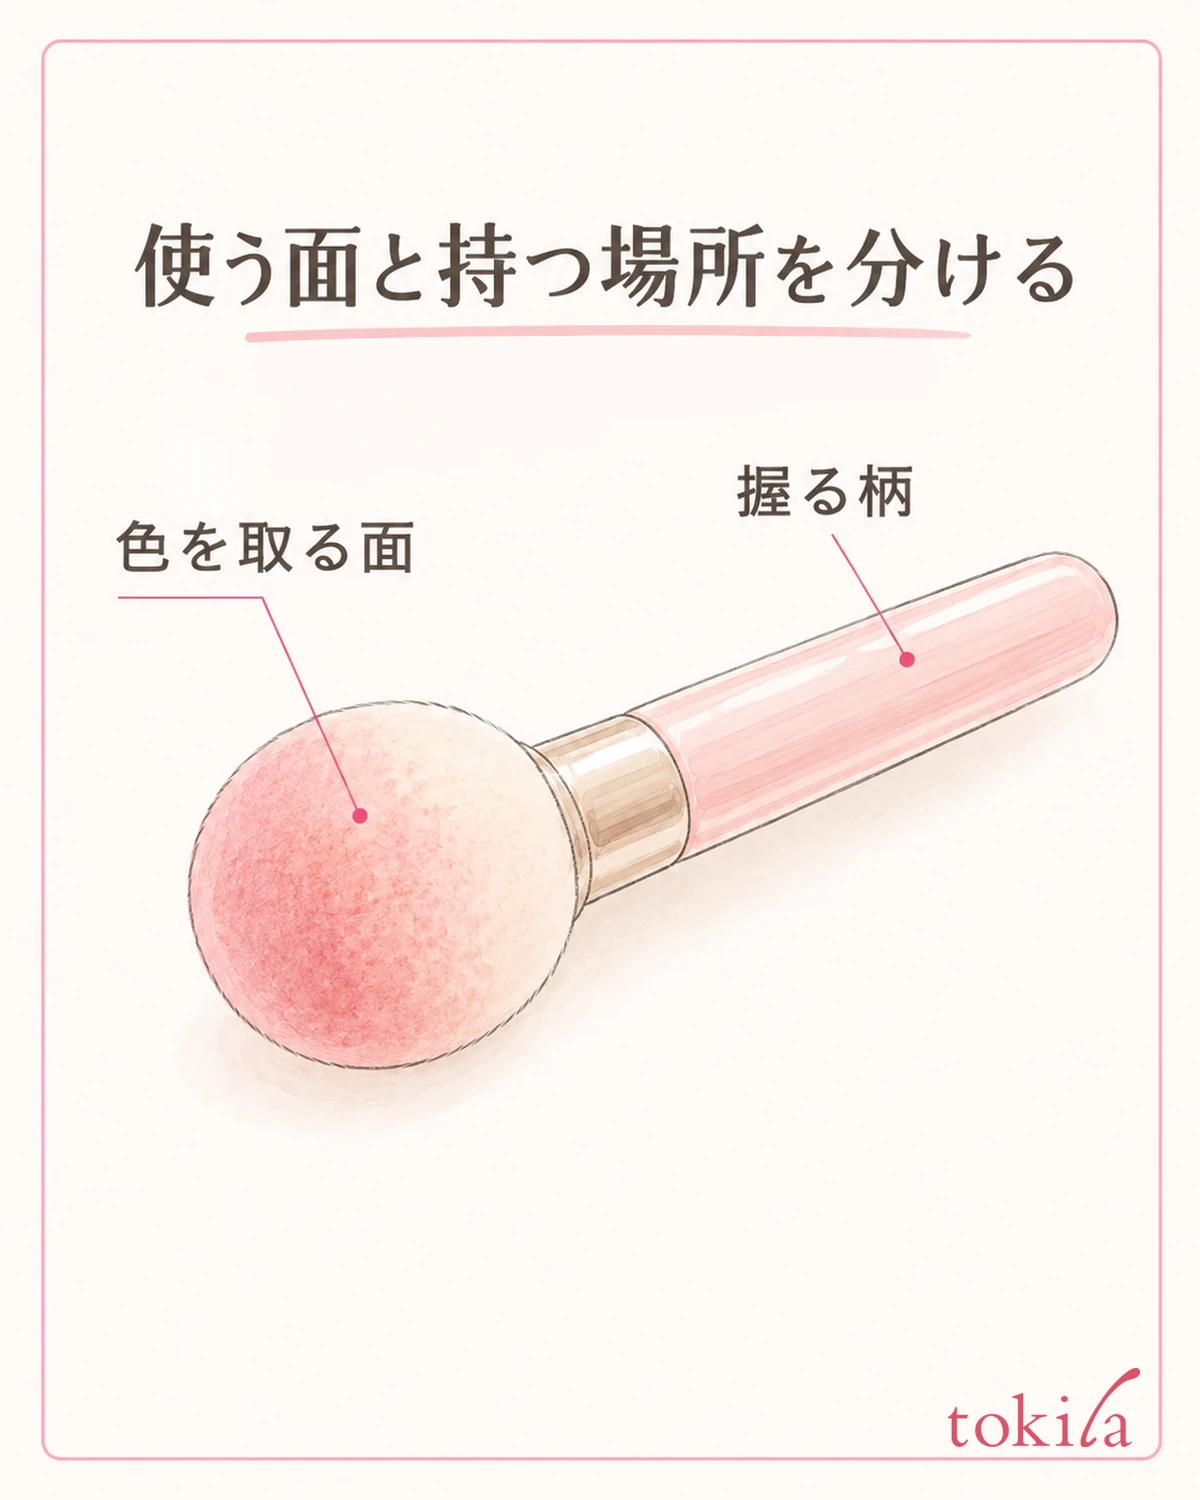
Look closely at the side you will use. If there is a flat side, a round side, and corners at the edges, check which one is specified for use. A wide side and a narrow corner touch different areas, but you don't need to go as far as cutting or trimming the tip to make fine patterns.
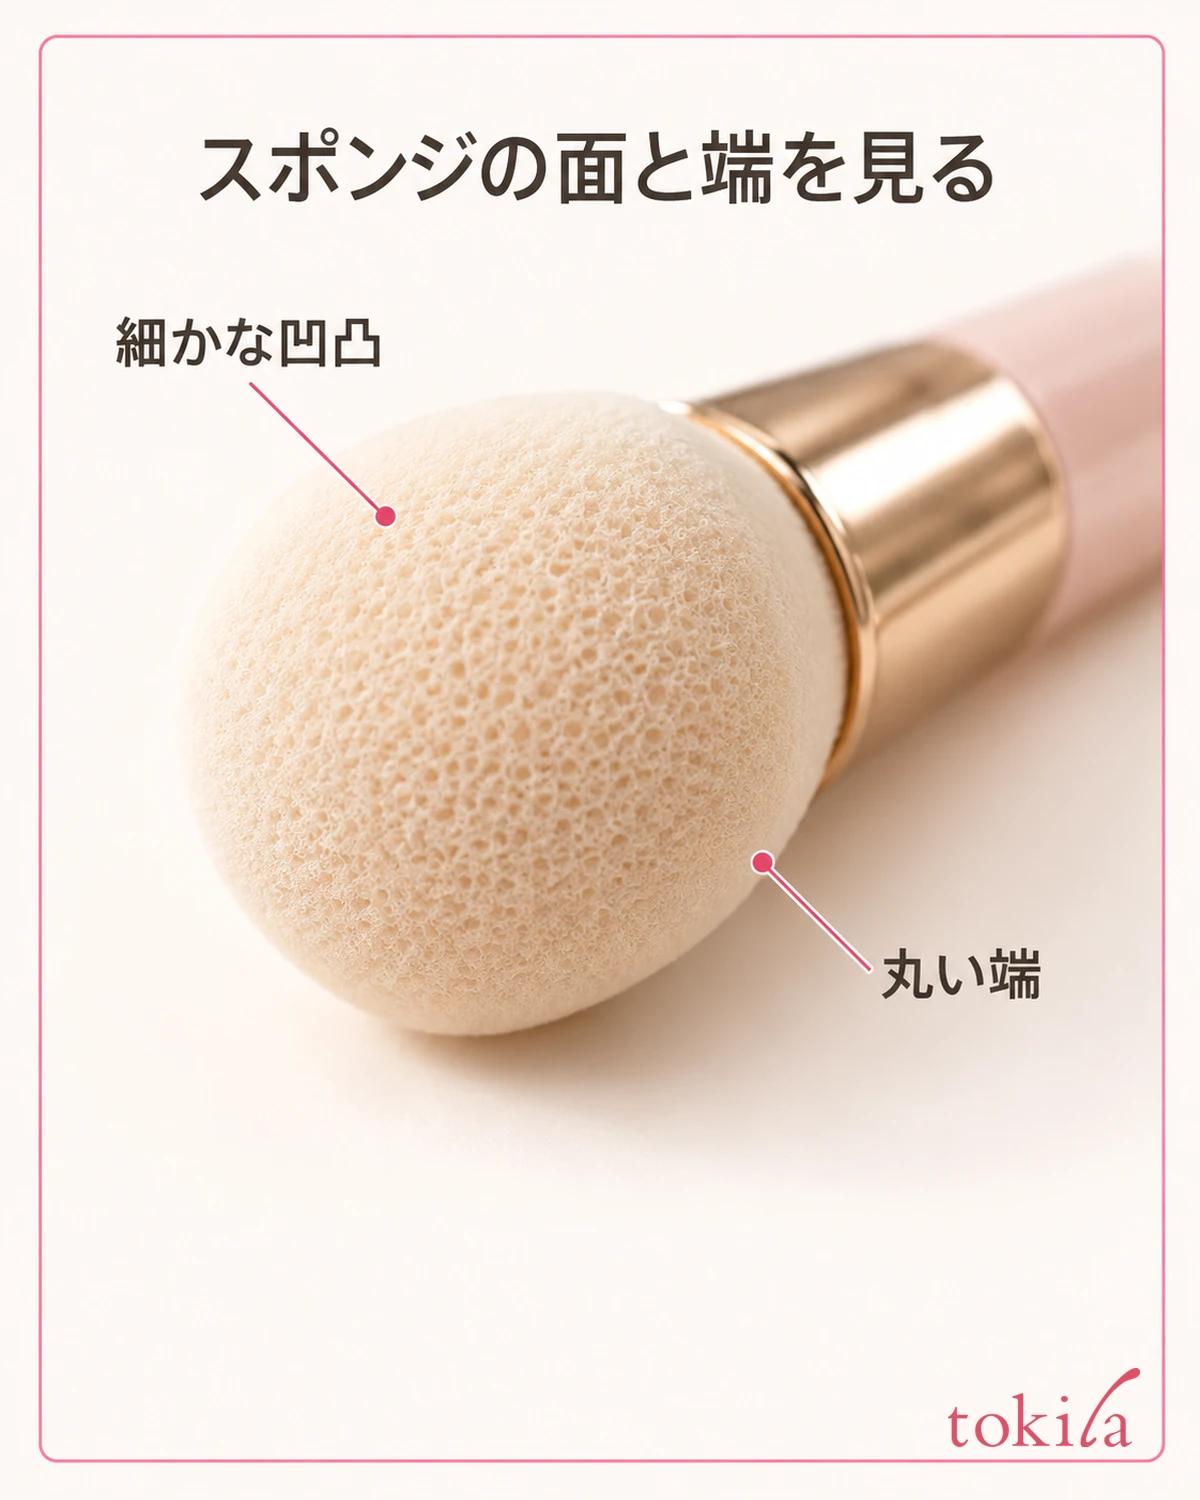
You may see small bumps or holes on the surface of the sponge. If you look at the center face and the shape of the edge together, you can tell how far the soft part extends. Performance, such as larger holes always applying more thinly or finer ones always finishing more neatly, cannot be judged from how it looks in a photo.
For a handled one, decide where to hold it according to the instructions, and keep your fingers off the tip that picks up color. For a small piece without a handle, check whether you can separate the side you use from the side you hold. Choose a method of pinching it with another tool only if that sponge's instructions describe it.
Don't crush the tip hard over and over to check the side you use. Even if it looks like it has returned to its shape, you haven't confirmed that there is no tearing or loosening of the connection. If it slips from your hand, check whether liquid has gotten on the handle or your fingers before gripping harder.
If you plan to use several colors, decide in advance how you will separate sides and tools. Whether to leave an unused side or to prepare another tip depends on the purpose of the item you own. You don't need to rotate a side with polish on it with your fingers and spread color up to the part you hold.
Put small parts on a stable tray or the like so they don't fall off the edge of the desk onto the floor. Don't stack a removed tip and a new one in the same place; arrange them so you know which one you are using now. Preparing in a place children and pets can't reach is also a condition to meet before you get the side ready for use.
3. Check the amount and how it touches on a compatible test surface
Before you pick up color, have ready the preparation that the polish and tool instructions describe. If a base coat is needed, do that step, and check the drying or curing conditions for moving on to the next. Don't treat the waiting time for drying nail polish and the conditions for putting gel under a light as the same thing.
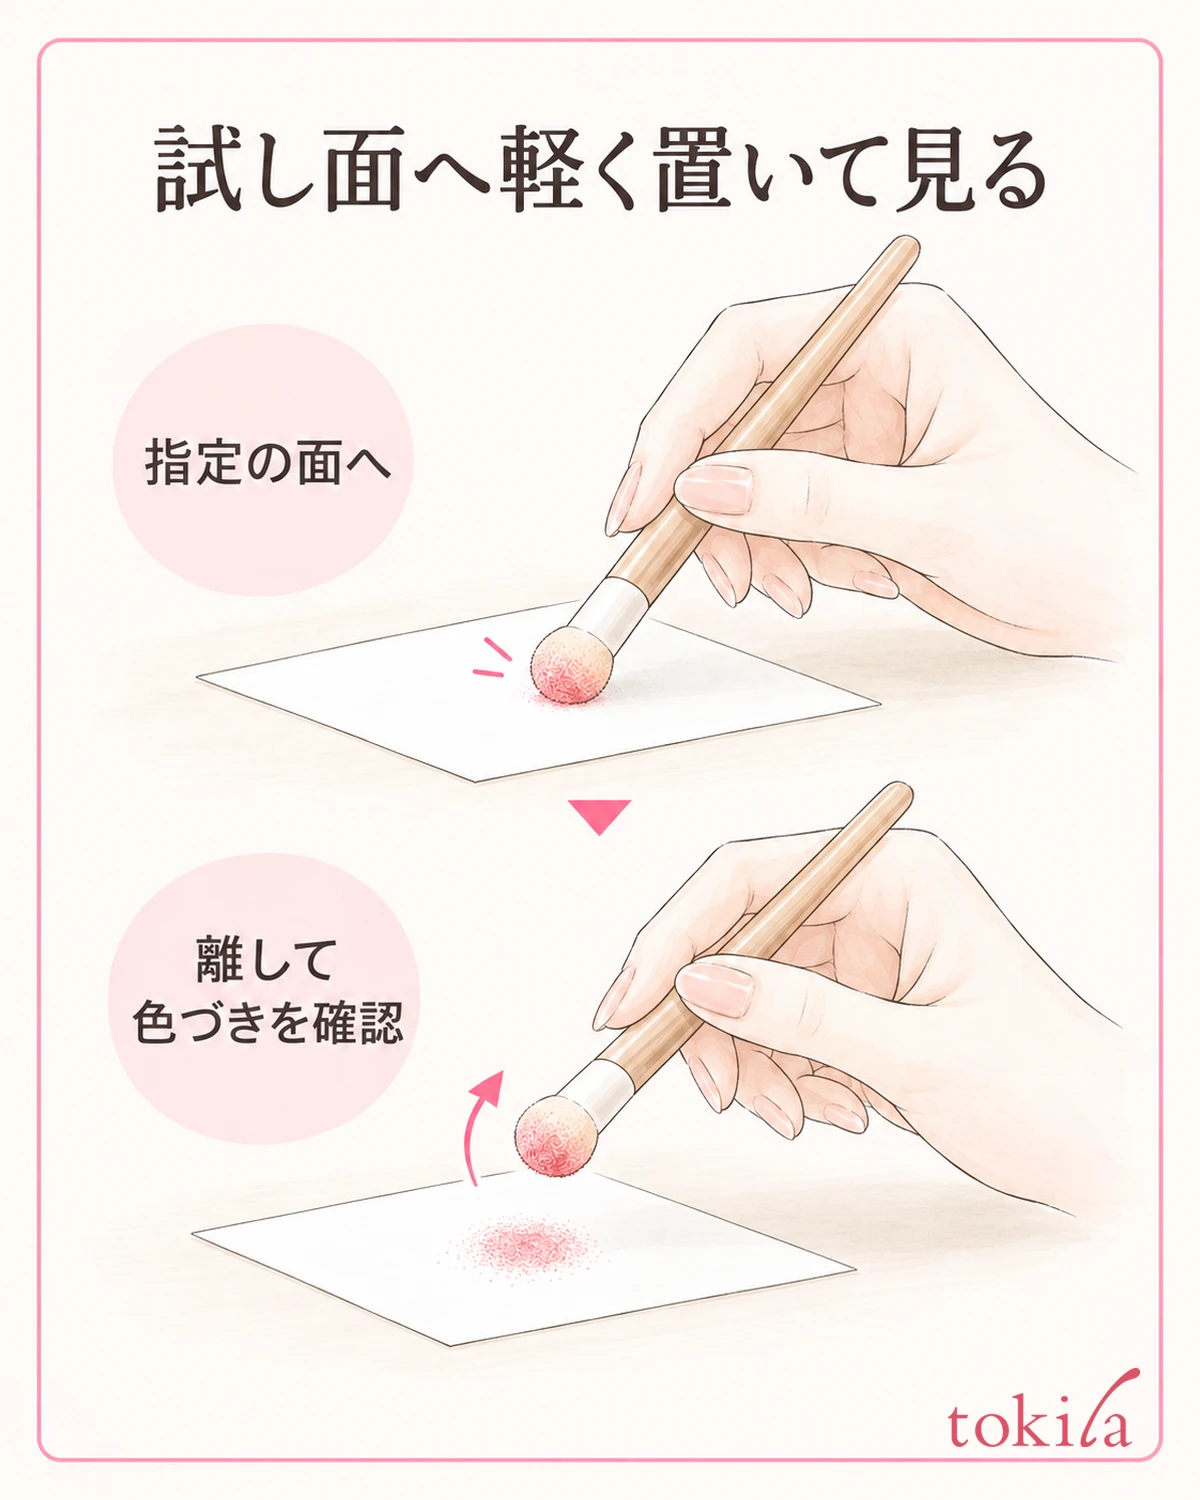
If the instructions mention a trial pick-up, check how the color goes on using the specified paper or the like. If you go on to practice tips, prepare tips compatible with that polish and a stable stand. Don't put color directly on the desk or use your skin as a test surface, and avoid getting it on your work surface too.
Rather than dipping the whole tip deep from the start, follow the pick-up method for your item and look at which side has how much on it. Also check whether liquid has spread to the handle or connection. If you find the amount is too much, adjust it by the specified method, not by compensating with pressing force.
If the instructions say to place it with a light touch, don't keep rubbing the same spot; lift it off once and look at the area covered. Don't stack several actions, such as crushing it harder because it comes out faint, or adding more liquid at once because the color is pale. You don't need to set a common number of presses or seconds for every tool.
Look separately at the color on the sponge and the color that transferred to the tip. Even if the tip looks dark, it won't necessarily go on at the same depth. A trial mark is for checking how to use it, and it is important not to treat it as a result that guarantees the actual color or wear on your nails.
If you find during practice that the tip seems about to come off, bits are coming off, or the handle is slippery, stop. Don't put bits back into the polish or reinforce the tip with adhesive and keep going; check the condition of the tool. Before work to fix the finish, judge whether you can handle it stably.
4. When replacing, check the connection and don't pull the tip carelessly
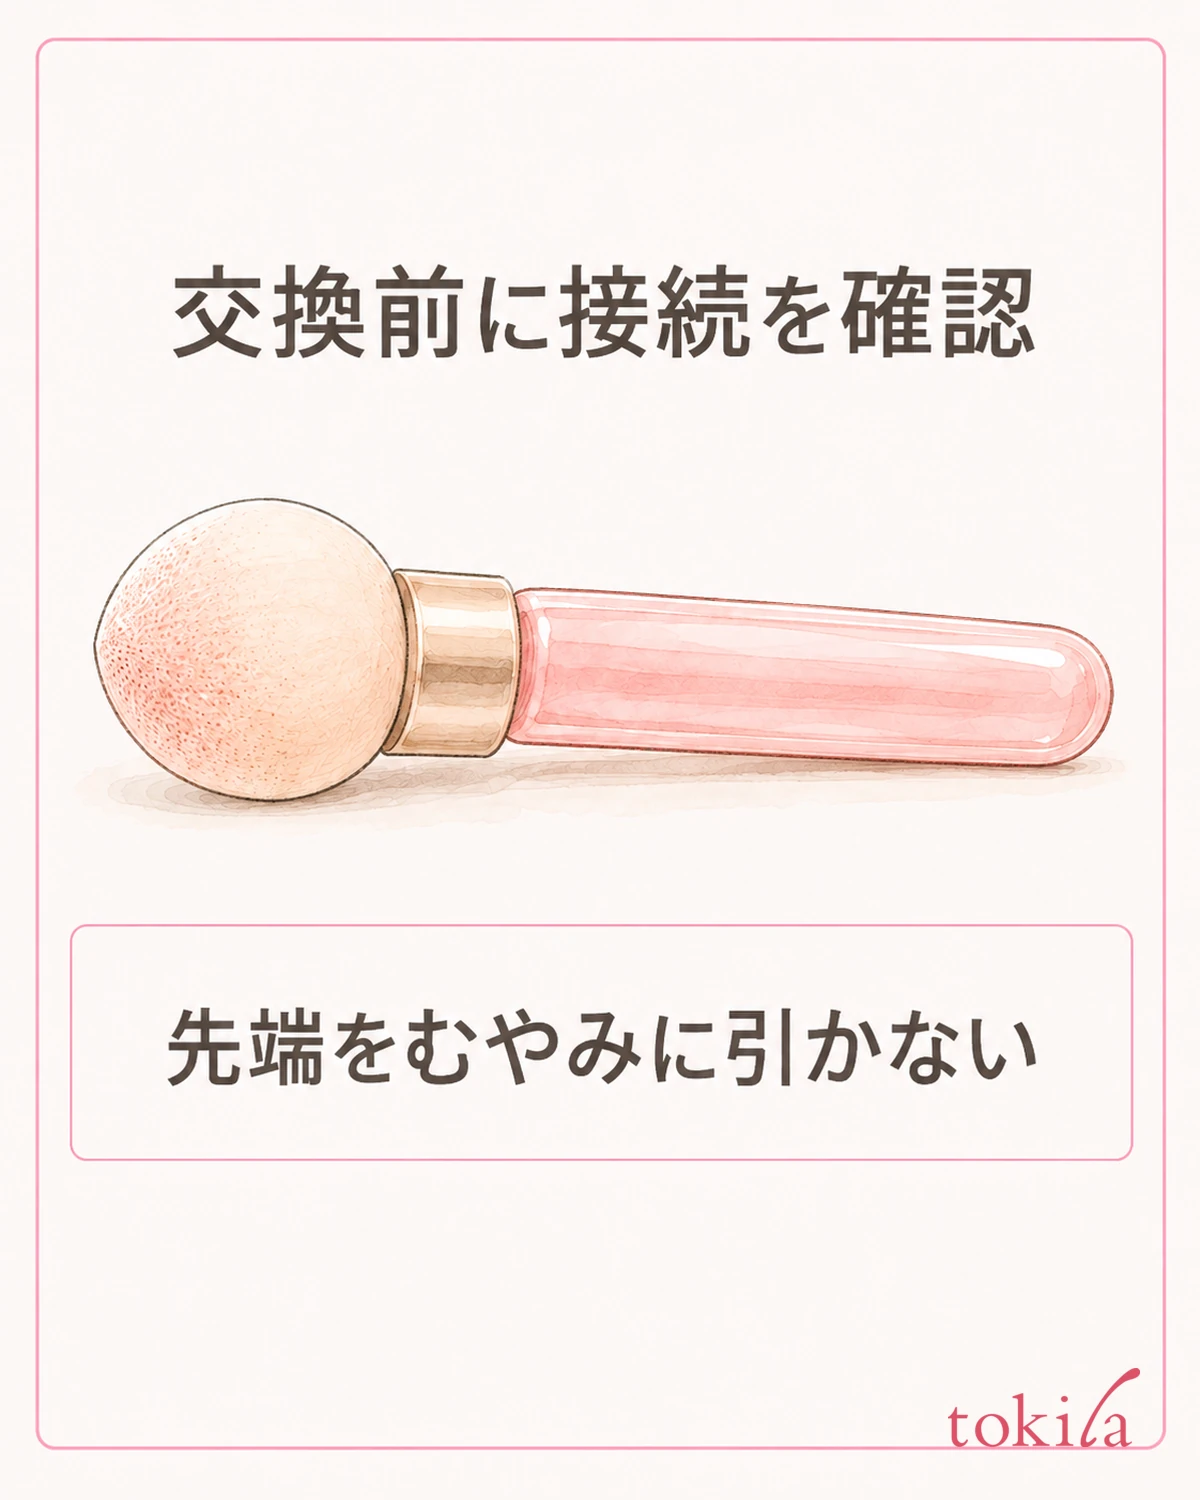
Before changing the tip, check whether the product is replaceable. Structures are not all the same: single-use small pieces, or ones where you replace the tip part as a whole. Even if replacement sponges are included, match against the instructions you have which part to hold and which way to move it.
For a handled connection, look separately at the soft sponge, the part at its base, and the boundary with the handle. Even if a line is visible at the boundary, it does not necessarily mean it can be taken apart there. Don't insert a fingernail or a needle to look for where to remove it, and don't peel off a glued spot.
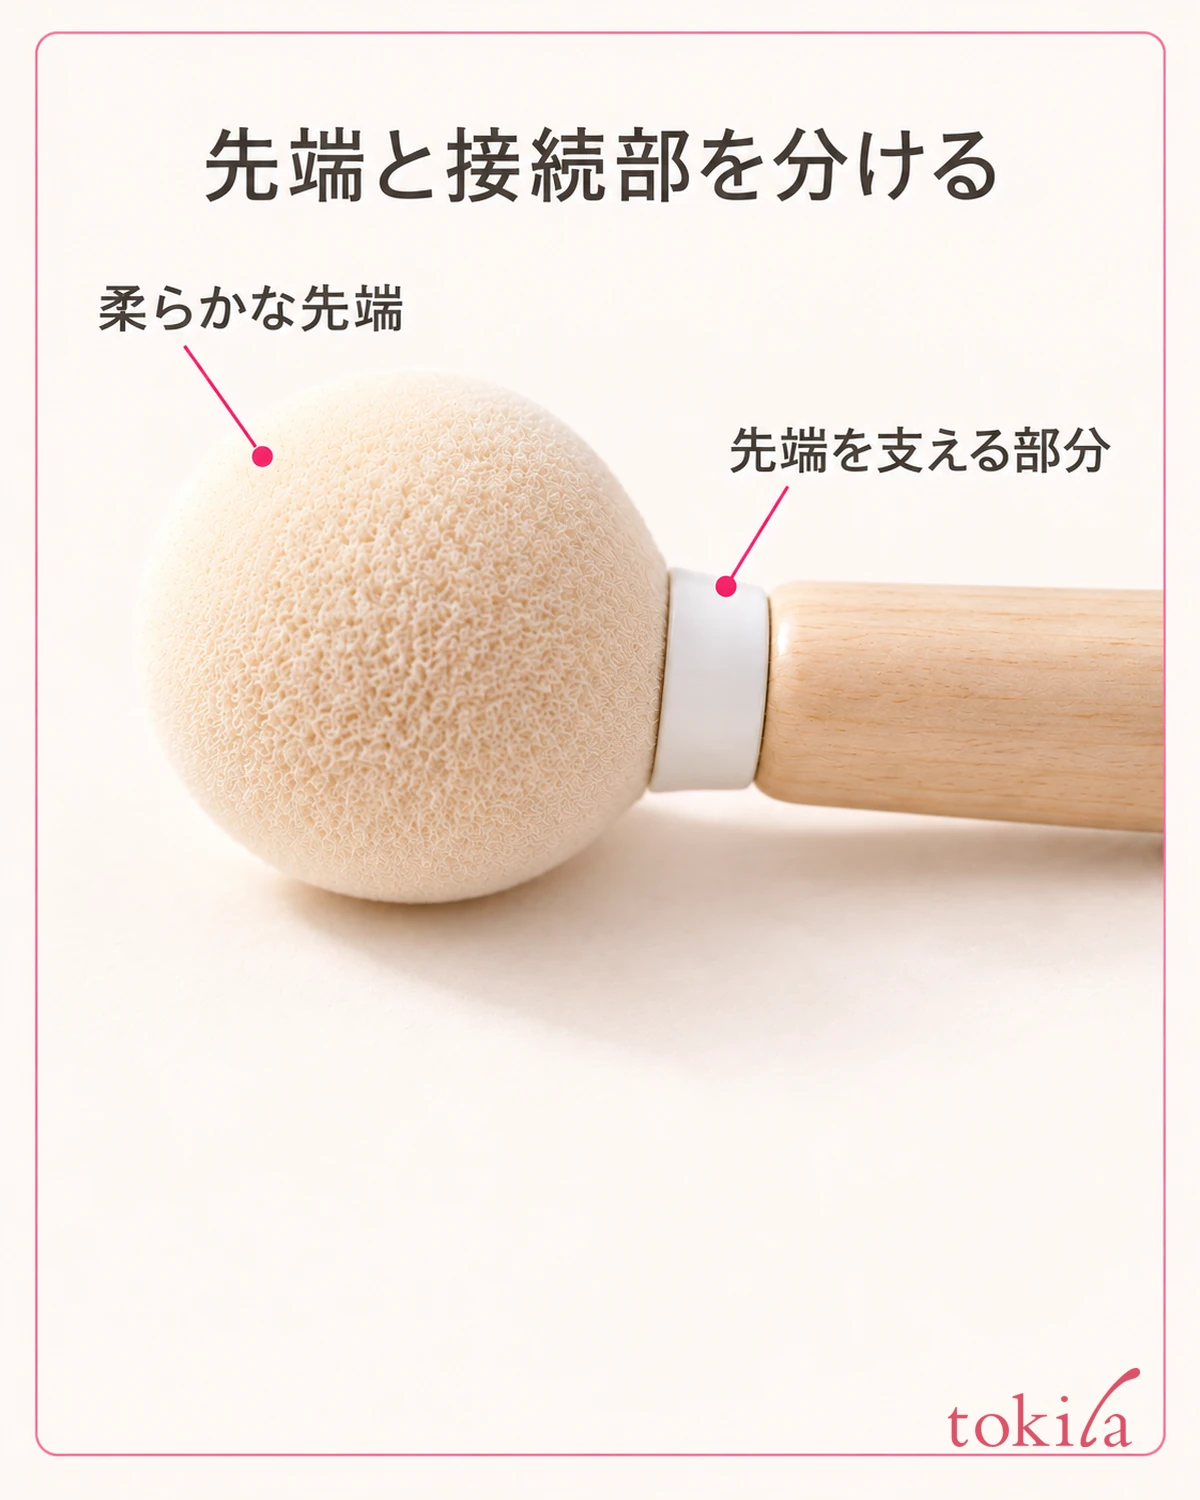
If replacement instructions are given, handle it at the specified holding place so your fingers don't touch the side with polish on it. If the instructions say not to pull the soft tip, don't pinch the tip and add force. If it is stiff and won't come off, review the steps and how the parts correspond before twisting it forcibly.
Check that a new part is compatible with the original tool before attaching it. Pushing in a different tip of similar diameter or shape is not a check of fit. If it wobbles after attaching or doesn't seat all the way in, don't start applying; go back to the combination.
Keep the removed tip apart from the new one so they don't get mixed. Don't put it in water before checking whether it can be washed and reused, and don't store a single-use one assuming you'll use it again. Being able to replace the tip and being able to reuse the same tip repeatedly are separate conditions.
When you want to adjust the density of the coating, changing the tip alone may not solve it. The steps for checking gradient boundaries on a practice tip separate color and layers when building up with a brush. Sort out the structure of the tool and how colors are layered separately.
5. For care liquids, drying, and storage, go back to each tool's instructions
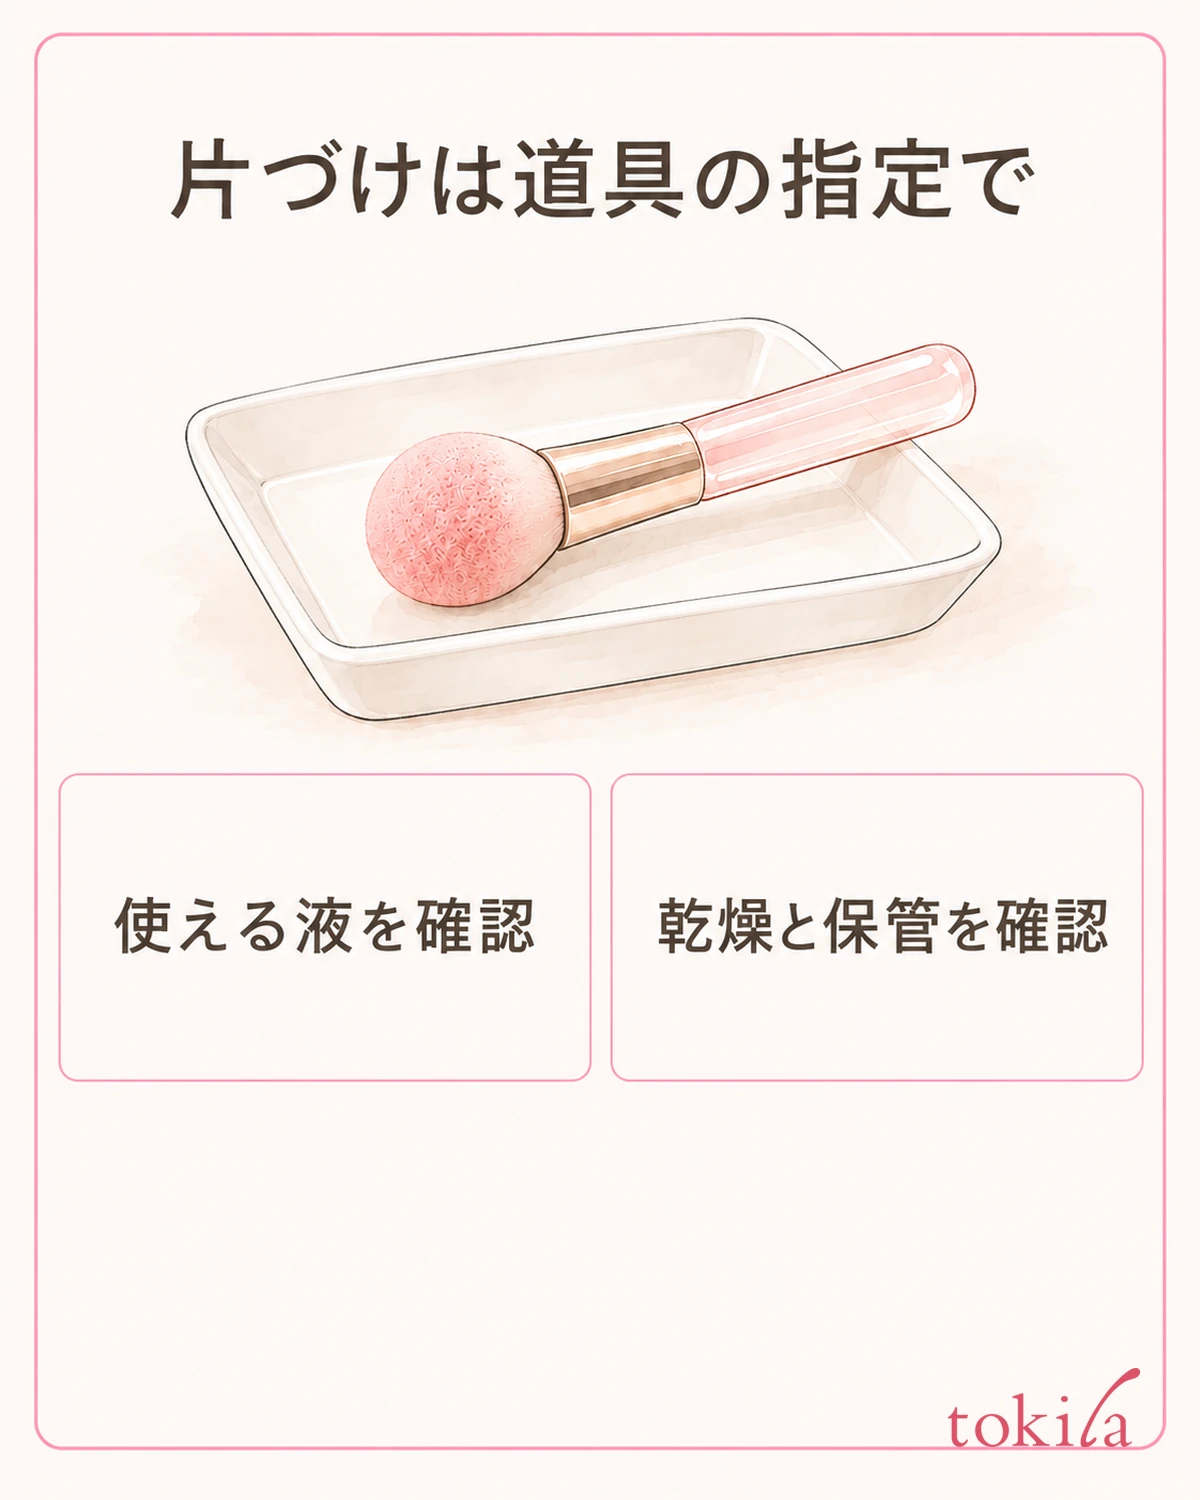
After use, check the care method that can be used for the tip and the handle separately. Even if some sponge can be washed with a particular liquid, you can't assume the handle and glued parts can be soaked in the same liquid. Don't transfer the care method of another tool; read the tip, the connection, and the handle as separate targets.
If the instructions say to wipe, match the paper or cloth you use and the force you apply. Don't try nail polish remover, alcohol, and detergent one after another because dirt remains. If you can't confirm how to wash or reuse it, don't keep using it that day; look up the conditions for replacement or disposal before putting it away.
If drying is required, dry it thoroughly by the specified method before storing. Don't confuse drying a tool by putting it in a light with curing gel. Some tools are specified not to be put under a light. Don't think that finishing the curing of the polish means the care of the tool is done.
For storage, follow the labels about light, heat, and humidity, and place it where the tip won't be crushed by heavy objects. Some products specify wrapping the tip, but don't extend that to a procedure of sealing every sponge the same way. Keep the explanation of the tool and its replacement parts together in a form you can find.
When putting things away, also dispose of the polish left on paper or trays according to how each is handled. Checks before and after using a nail paper palette is also a useful reference for separating work surfaces. Don't put a used surface straight back to another color; keep it distinct from preparing for next time.
Use a nail art sponge after checking its purpose and separating the side that picks up color from the place you hold. Check the amount and how it touches on a test surface, and for replacement and care go back to each tool's instructions. Before increasing force for the sake of the finish, try reviewing your preparation in this order.



