
Your favorite nail polish feels thicker than before, and the brush leaves streaks. You want to try thinner, but you are not sure which one to use or how many drops to add. In that case, first check that the polish and the thinner are a compatible pair. Not every clear liquid works the same way.
This article mainly covers what to check before adjusting the thickness of air-drying nail polish. We look at the product being thinned, the amount to add, how to mix, and how to judge the result as one set. The starting point is not to extend this method as-is to light-cured products or water-based types.
1.Separate a thick formula from a worn brush, and decide what to thin
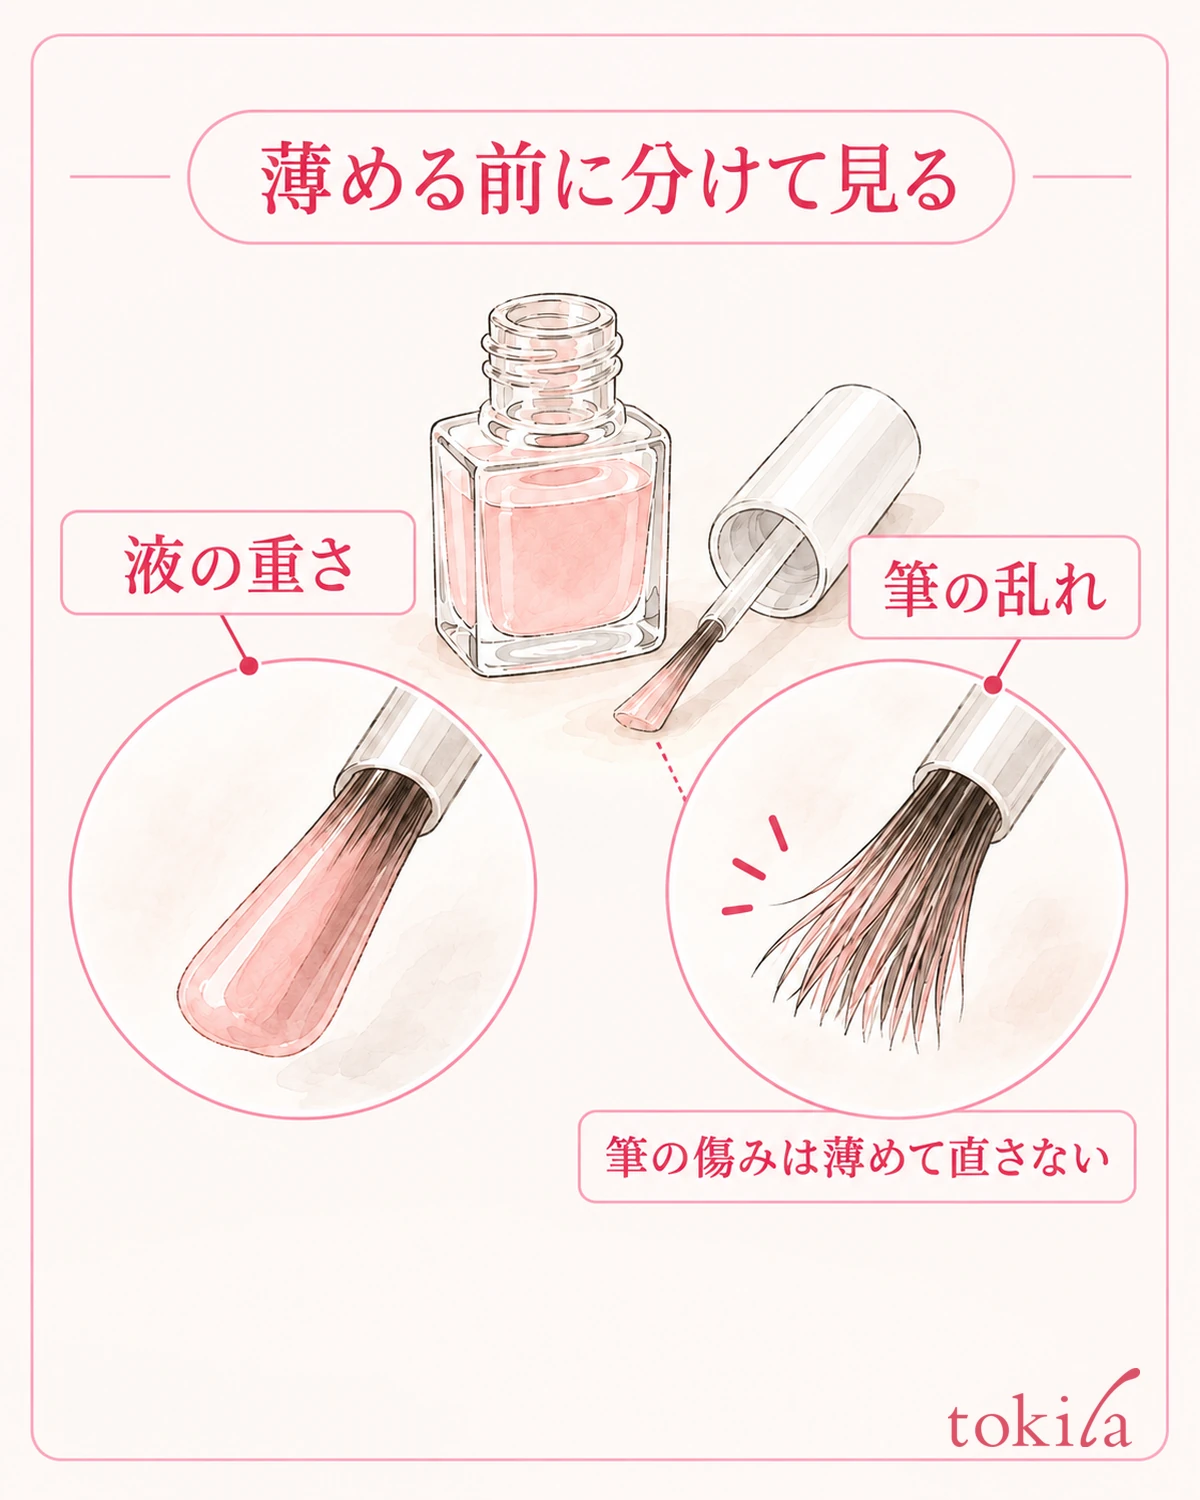
Before opening the cap, look at the container and its labeling. Check that there are no cracks or leaks and that the instructions are legible. A polish that is hard to work with is not, by itself, a reason to add another liquid to it. Choose a stable surface in a ventilated place with no open flame.
Once you take the brush out, tell apart whether the formula feels heavy or the bristles are bent or splayed. Adjusting the formula will not restore a damaged brush or a cap that no longer closes. Hold the brush away from your face and look at its outline and at where the polish clings.
A bottle in which the color looks separated into upper and lower layers is also different from one that is simply thicker than usual. Do not decide that thinner is needed just because you see separation; first check how that polish says it should be mixed. If something still seems off after mixing, set it aside and sort out what you see.
When little polish is left in the bottle, the brush may simply have trouble reaching it. Do not add thinner to increase the amount of polish the brush cannot reach; look at the relationship between the remaining amount and the length of the brush. Do not lump together a lower amount of color and a change in thickness as the same problem.
What you want to confirm is whether the polish you have can be handled using the method for the products you own. Do not treat thinner as a guarantee that the polish will return to its condition at purchase or that its usable period will be extended. If there is a problem that adjusting the amount cannot address, such as foreign matter or a damaged container, stop.
If the bristles stay widely spread even after you lift the brush away, you can also refer to the steps for re-checking the condition of a nail polish brush. From here on, the steps assume that the container and brush have no problems and that you can confirm a compatible thinner.
2.Line up the labels of the polish and the thinner, and look for a compatible pair
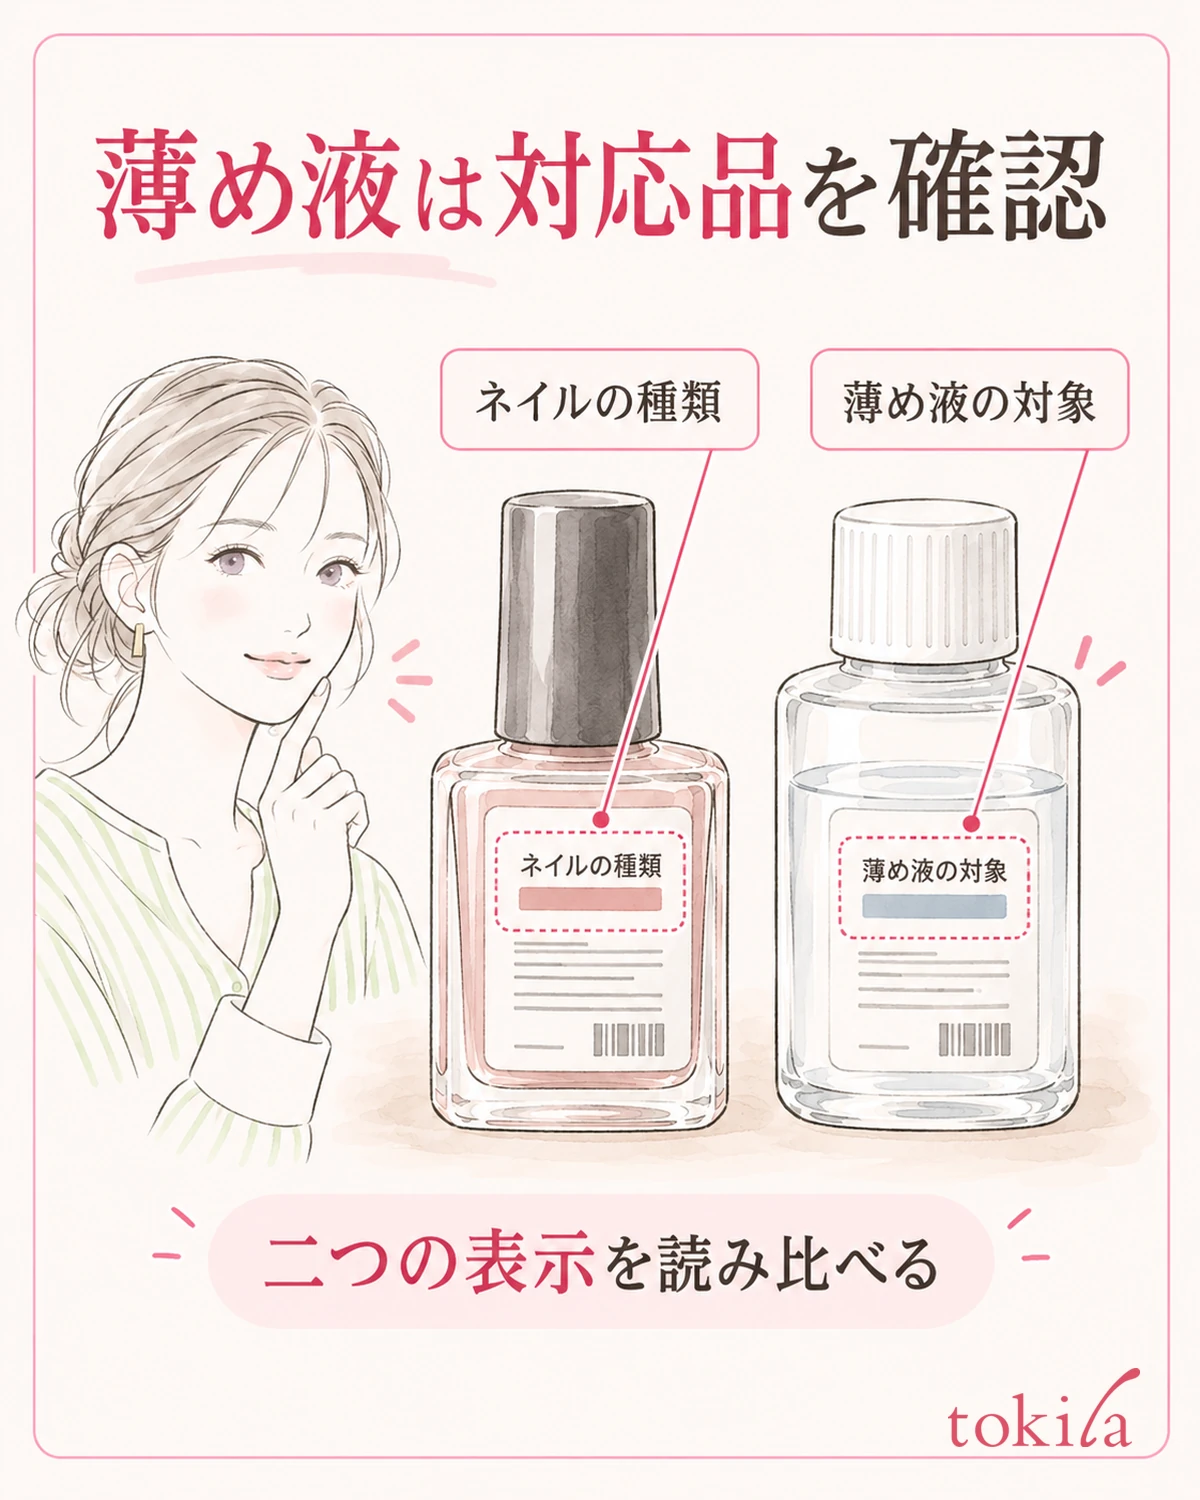
Check the type of the polish and what the thinner is intended for using two labels. Do not choose by names alone, such as "for nails" or "thinner"; read which series it can be used with and which types it cannot. Even products from the same brand are not assumed to be interchangeable.
Treat air-drying polish, water-based polish and light-cured products separately. Some thinners cannot be used with water-based enamel, and some are made for a specific series only. If you cannot confirm that the product in your hand is covered, set it aside even if it looks similar.
Being usable with colored polish is also different from being usable with base coat or top coat. Do not assume they are the same because they are clear; check whether each one is listed as a target. Even on a day when you want to adjust several bottles, confirm the pairing one by one.
If the label on the container is small, set out the outer box or the included instructions as well. Check names that let you tell models and series apart, and compare them with the polish you own. Do not judge by color number alone; make sure you can tell which type of contents you are thinning.
Nail polish remover is a product for removing applied color, and it should not be added to the contents as a substitute for thinner. Also avoid mixing in water, toner or alcohol on your own judgment. It is also important not to choose a similarly named thinner meant for models or paints as nail polish thinner.
If you still do not know which products are compatible, it is perfectly fine to skip adjusting that day. If you briefly note the name and type of the polish you want to use and what the thinner you have is intended for, you will be less likely to mix up bottles the next time you check the labels.
For example, even if you own old and new bottles of the same color name, the series and formula inside are not necessarily the same. Do not decide based only on the memory that it worked with that color before; use the name on the current container as your reference. If you have thrown away the box and cannot read the instructions, start by identifying the product you have.
3.Check the amount and the space in the bottle, and add with the specified tool
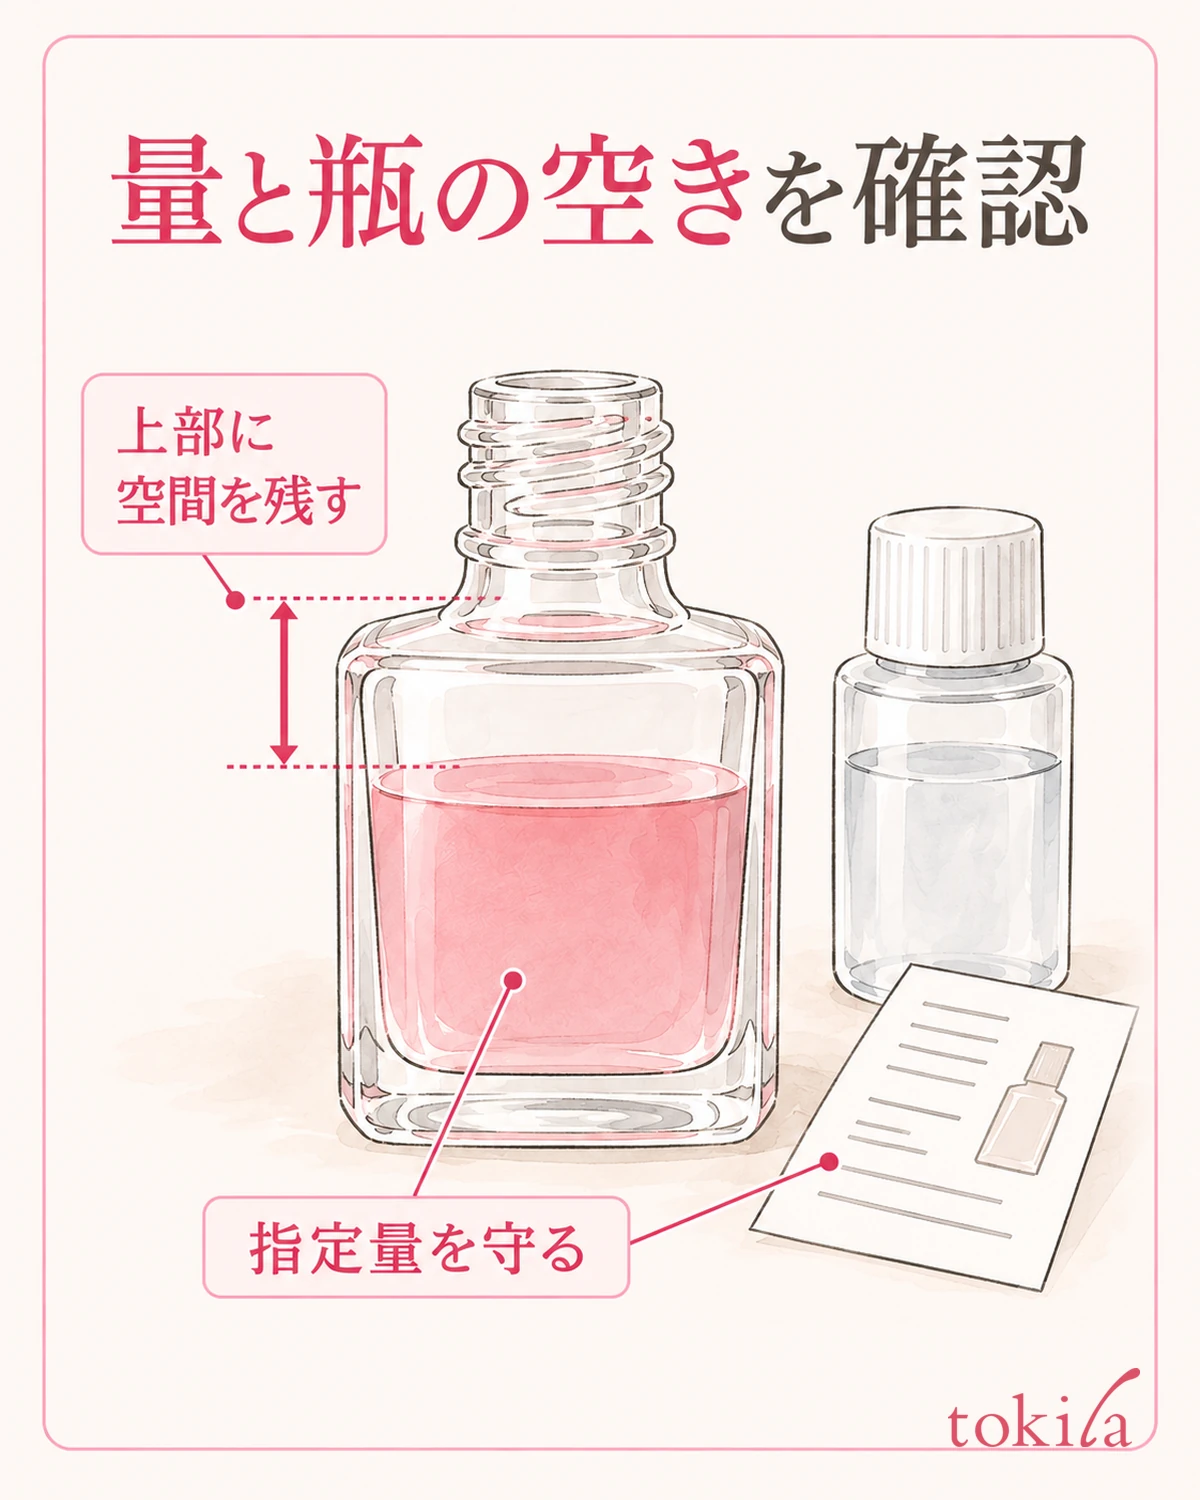
Once you have confirmed the pairing, read how much thinner to use and how to add it. Even for a product that suggests a few drops as a guide, the same number of drops cannot be a universal answer if the polish or the container is different. Rather than remembering "so many drops, always," make sure you can go back to the instructions for the product you are using.
Before adding liquid, check that enough space remains at the top of the polish bottle. Do not pour more into a bottle that is full to the top, and follow the precautions shown on the label. Do not extend this to transferring contents to another polish to make room.
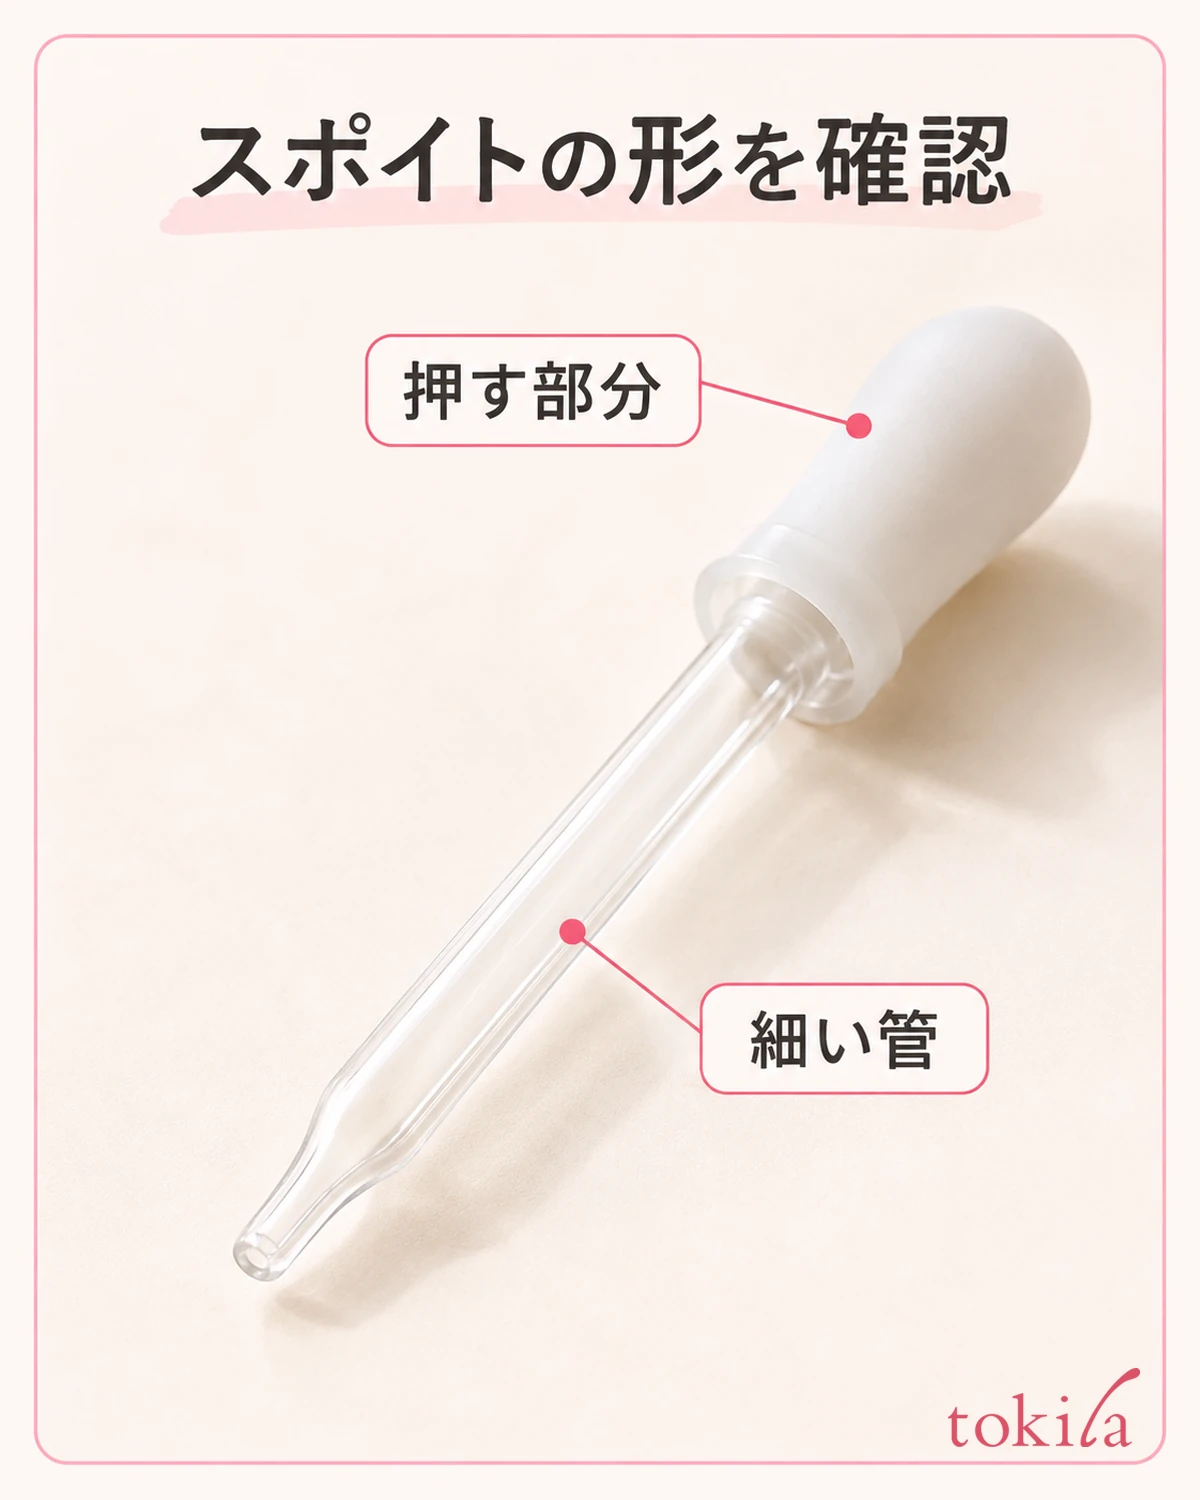
Use the specified tool, such as the included dropper or straw. For a dropper, check the shape of the tip and which part you press to release liquid. Do not apply dropper operation as-is to a type that uses a straw; handle it as the included instructions say.
Do not turn this into a job involving many bottles. If you take out only the one polish you are adjusting and its compatible thinner, you are less likely to put things back in the wrong place. Close and move away the bottles you are not using, and check that the surface does not wobble and that nothing is in the way of your hand.
After adding a small amount as specified, do not add the next right away; close the cap for the time being. If the liquid looks about to overflow from the mouth of the container, or if it has spilled onto the surface, do not continue and deal with it according to the product's handling instructions. Do not make up the amount by feel when it is unknown.
If you lose count of how many drops you added partway through, do not start over and add the same number again. Stop adding, and record that the amount added is unknown. Not stacking up liquid before you check the state after adjustment is the key point for keeping your next decision on track.
When reading the amount, take care not to confuse the capacity of the thinner with the amount to add at one time. The milliliters printed on the bottle are not an instruction to pour that amount into the polish. Check separately the label on the container, the usage amount in the instructions, and the amount remaining in front of you, and see what each quantity refers to.
4.Close the cap and check the condition using the product's mixing method
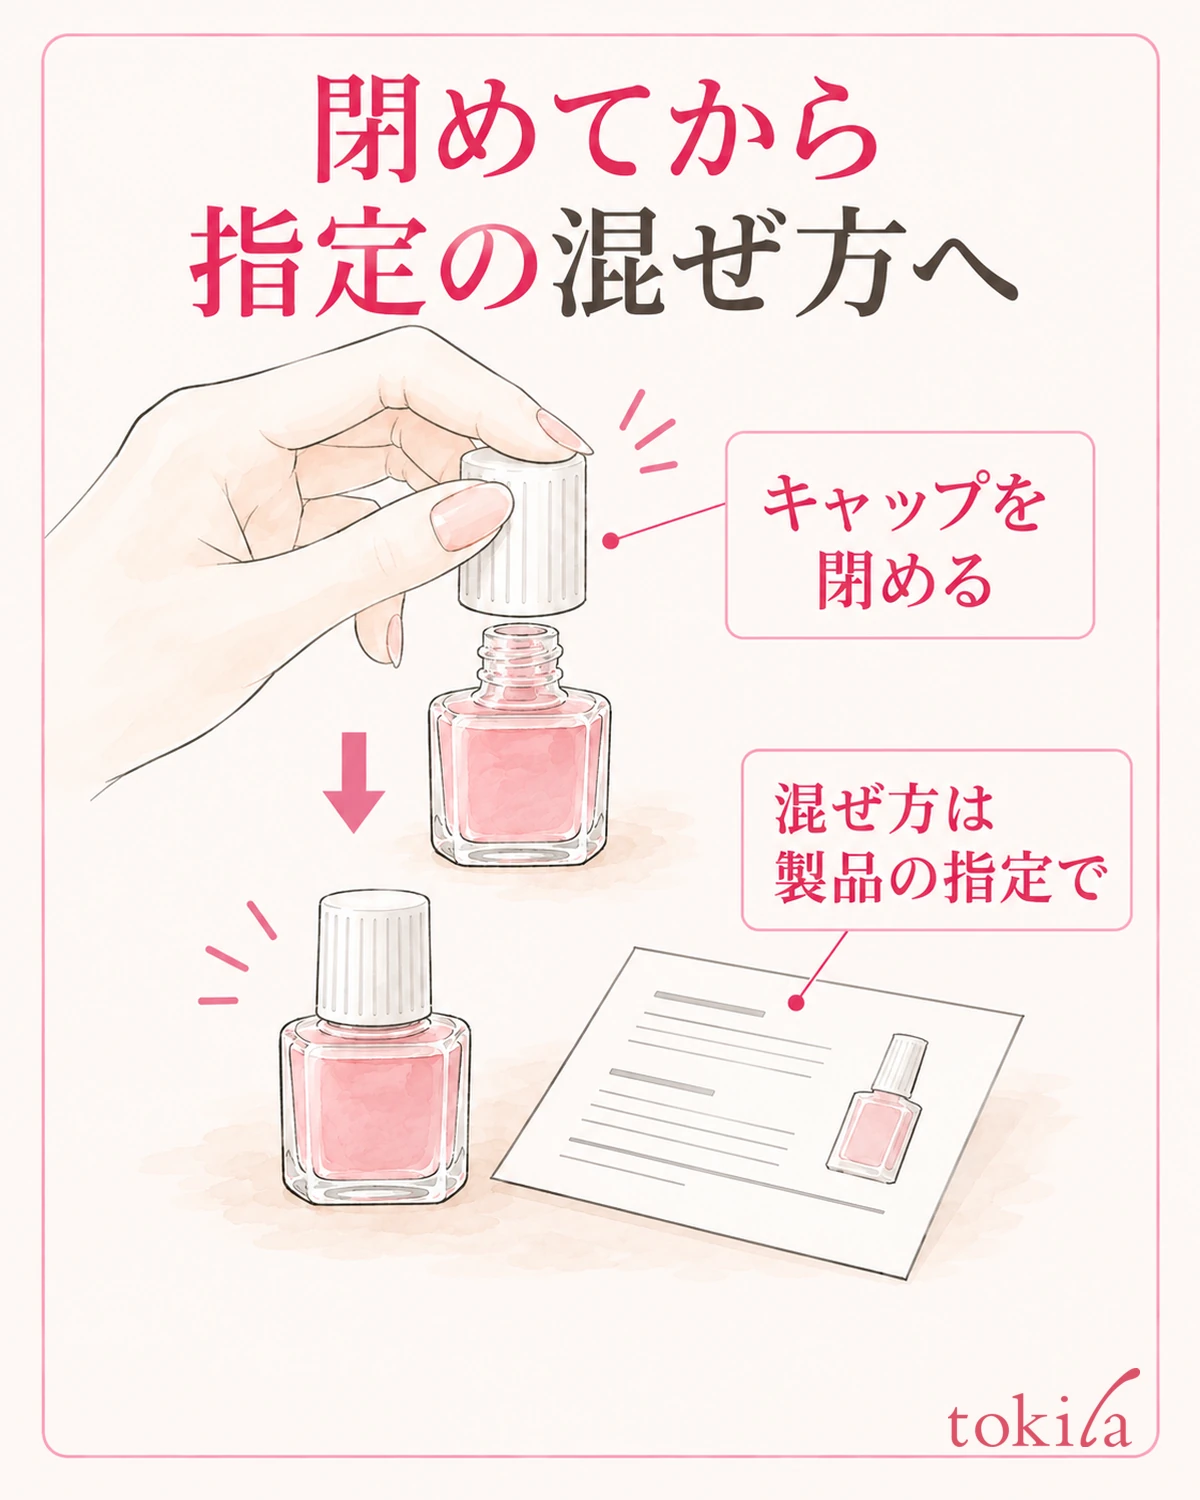
After adding the thinner, close the polish cap properly and mix by the specified method. Some products are shaken gently and others specify a different way of mixing, so do not standardize everything to shaking hard. Do not choose a method that involves sticking a toothpick or similar into the open bottle.
If the cap goes on at an angle, the brush catches, or liquid has hardened around the mouth, stop without forcing it closed. Before mixing, what matters is whether the bottle can be closed without leaking. Clean the mouth only with the tools and methods that product allows.
Once mixed, steady the container and check the state of the liquid on the brush. You do not need to lift the brush high and aim to make a long thread. Look at whether you can handle it the way you usually pick up polish, and whether any clumps remain at the tip.
If you go on to apply it, go back to the preparation and application method that the polish specifies. The thinner itself is not something to be applied directly to the nails. If a test application target is specified, follow it, and do not spread it carelessly on a surface or paper of unknown material.
Even if it still feels hard to apply, do not keep adding before mixing or without checking the state. Check again whether the next addition is permitted and what the range of amounts is. If you do not know the limit or how to judge, set it aside rather than thinning further to get closer to a right answer.
If the color looks pale, flows too much, or is in a state unlike usual, do not make up for it by layering it thickly. We also do not recommend mixing in another color or top coat. Sort out what you changed during adjustment, and decide whether to keep using it according to its condition and the label.
5.Tidy the mouth and storage, and leave a note of the adjustment for next time
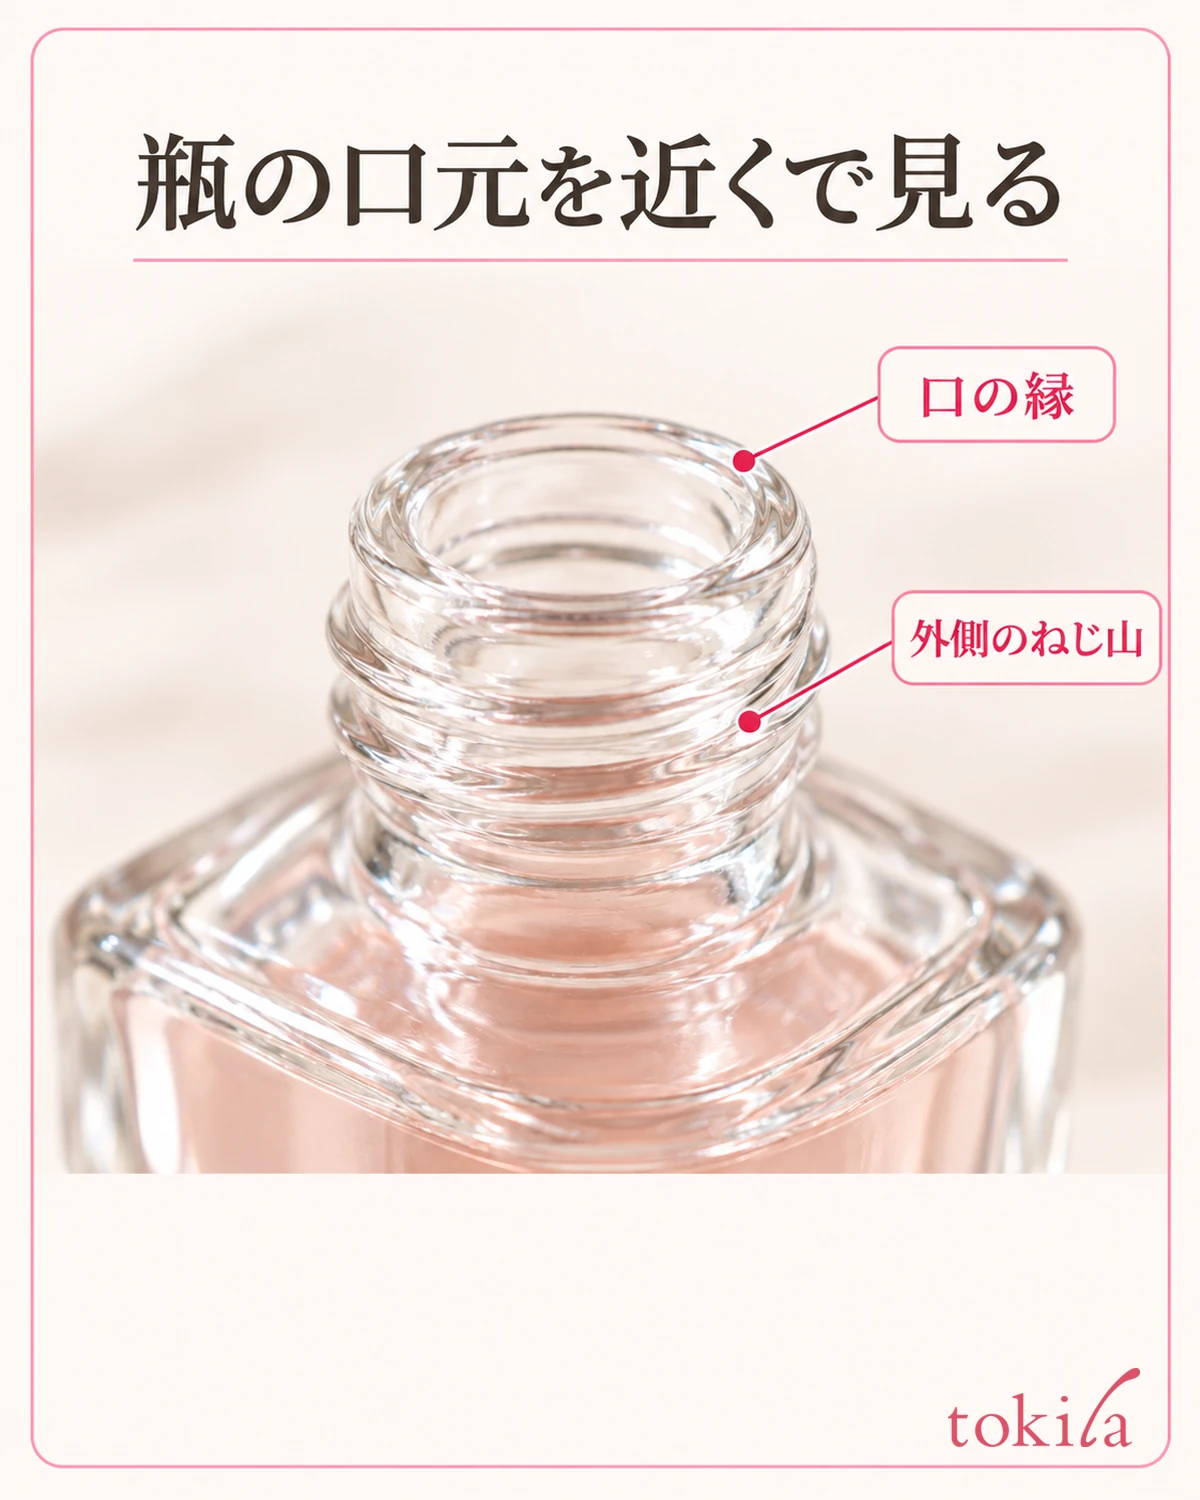
When you finish, tidy the mouths of both the polish and the thinner, each by its own method, and close the caps firmly. Do not return polish from the brush by spreading it onto the container's threads, and also check that no bristles are caught outside.
For tools included with the thinner, follow the instructions for care and putting them back. Even if they look clean, do not share them by inserting them alternately into different liquids. Rather than using water or nail polish remover when you do not know how to wash them, check the included instructions first and then put them away.
Store the products away from high heat and direct sunlight, and away from open flame and places children can reach. For products with instructions such as storing upright or not carrying them around, follow those conditions too. Just because a bottle is small does not mean you can put everything in a pouch.
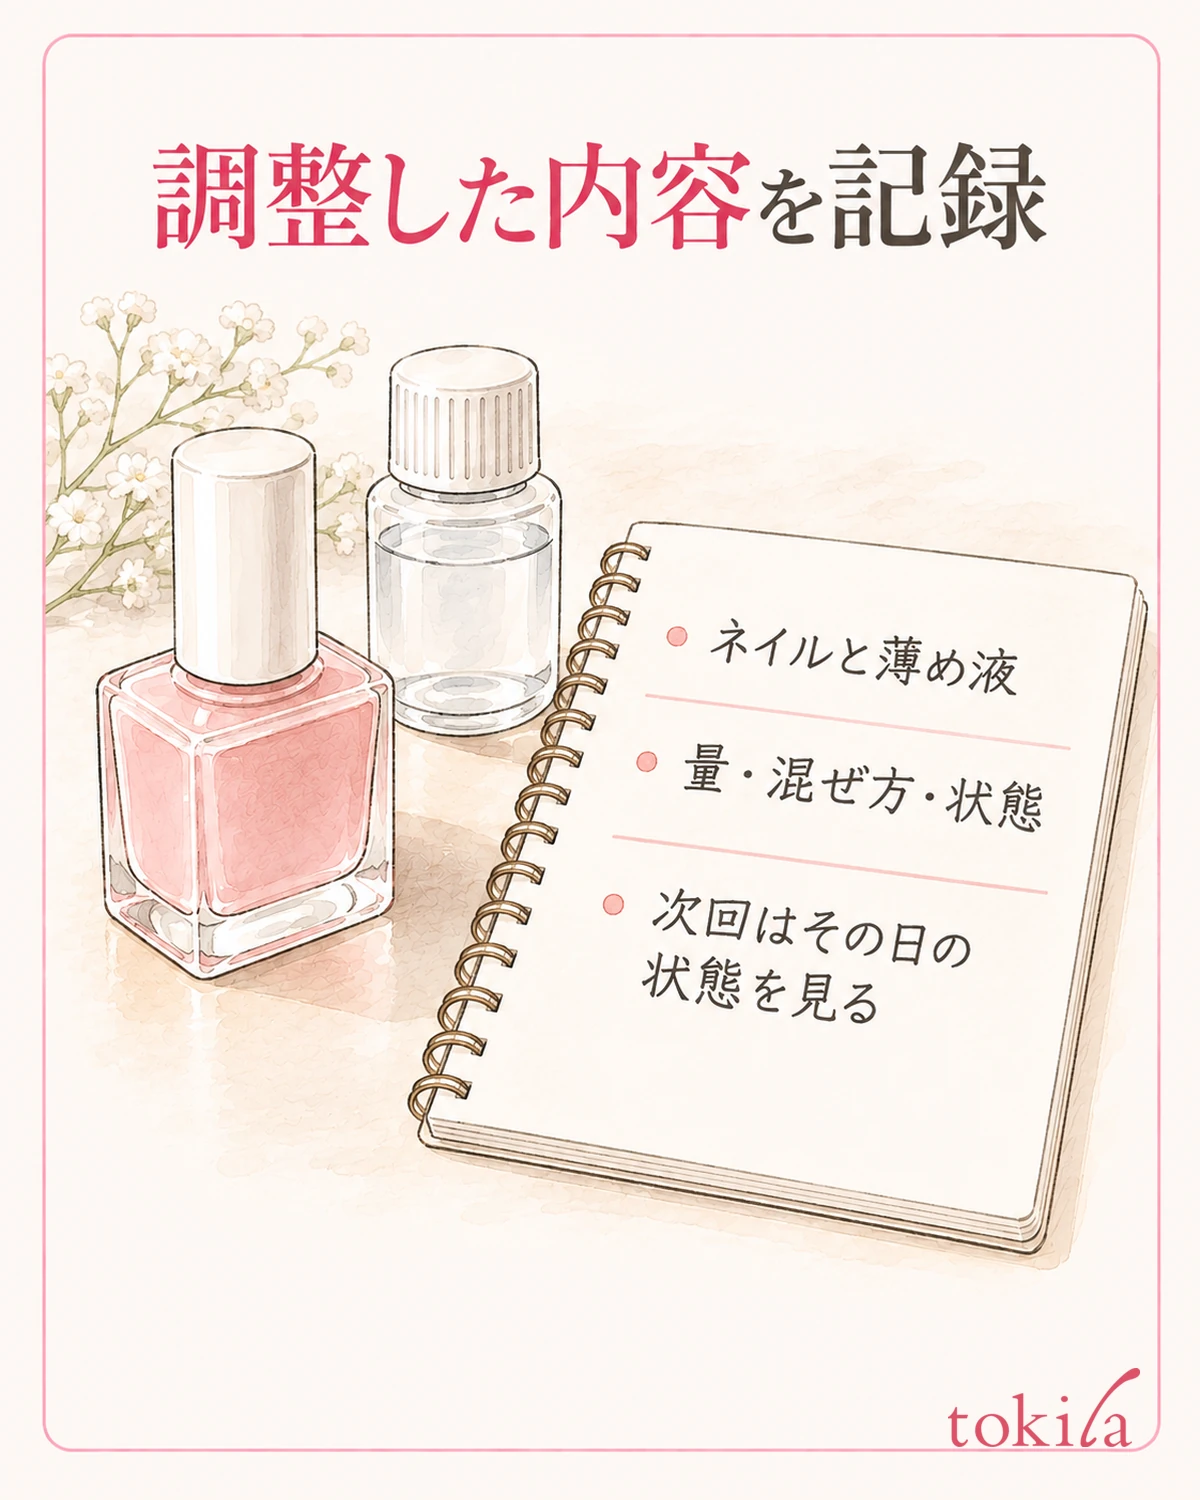
If you keep a record, briefly note the type of polish, the thinner you used, the amount added, how you mixed it, and how easy it was to handle after adjustment. Including words that let you tell the bottle apart, rather than "added to my usual pink," will reduce mix-ups next time. Do not treat the record as an instruction to add the same amount again.
When you use it next, do not add based on the previous record alone; judge after looking at that day's remaining amount and condition. Do not make using thinner a step you take every time, and handle products that do not need it as they are. Think of liking a color and being able to use it in its current condition as separate things.
If you buy more thinner, check that it is compatible with the polish you want to use before looking at the size of the capacity. It is fine to have days when you stop adjusting and enjoy a different color. Rather than forcing yourself to use up the one in your hand, aim to choose with an understanding of what it is intended for and how to use it.
If you want to tell it apart from the bottle before adjustment, leave the record in a position that does not cover the original label. Rather than moving it to another container and making an unnamed liquid, keep the original bottle and the record matched to each other. For a product you decide to dispose of, do not pour it down the drain; check the product's guidance and how items are sorted in your area.



