When you look for an eyeliner brush, you will find flat tips, angled tips, and fine tips. Choosing one that looks thin does not necessarily mean it will draw the same line. Separating the width seen from the front, the thickness seen from the side, and compatibility with your intended makeup gives you an order for examining the brush you own.
This guide covers checks to make before choosing a separate eyeliner brush that is not built into a container. Treat it separately from the built-in tip of a pen eyeliner or an eyebrow brush; do not use brushes interchangeably just because their shapes look alike. Check the construction before using one on your eyelids, and consider a brush you can also keep caring for after use.
1. Decide on your makeup and where you want to draw first
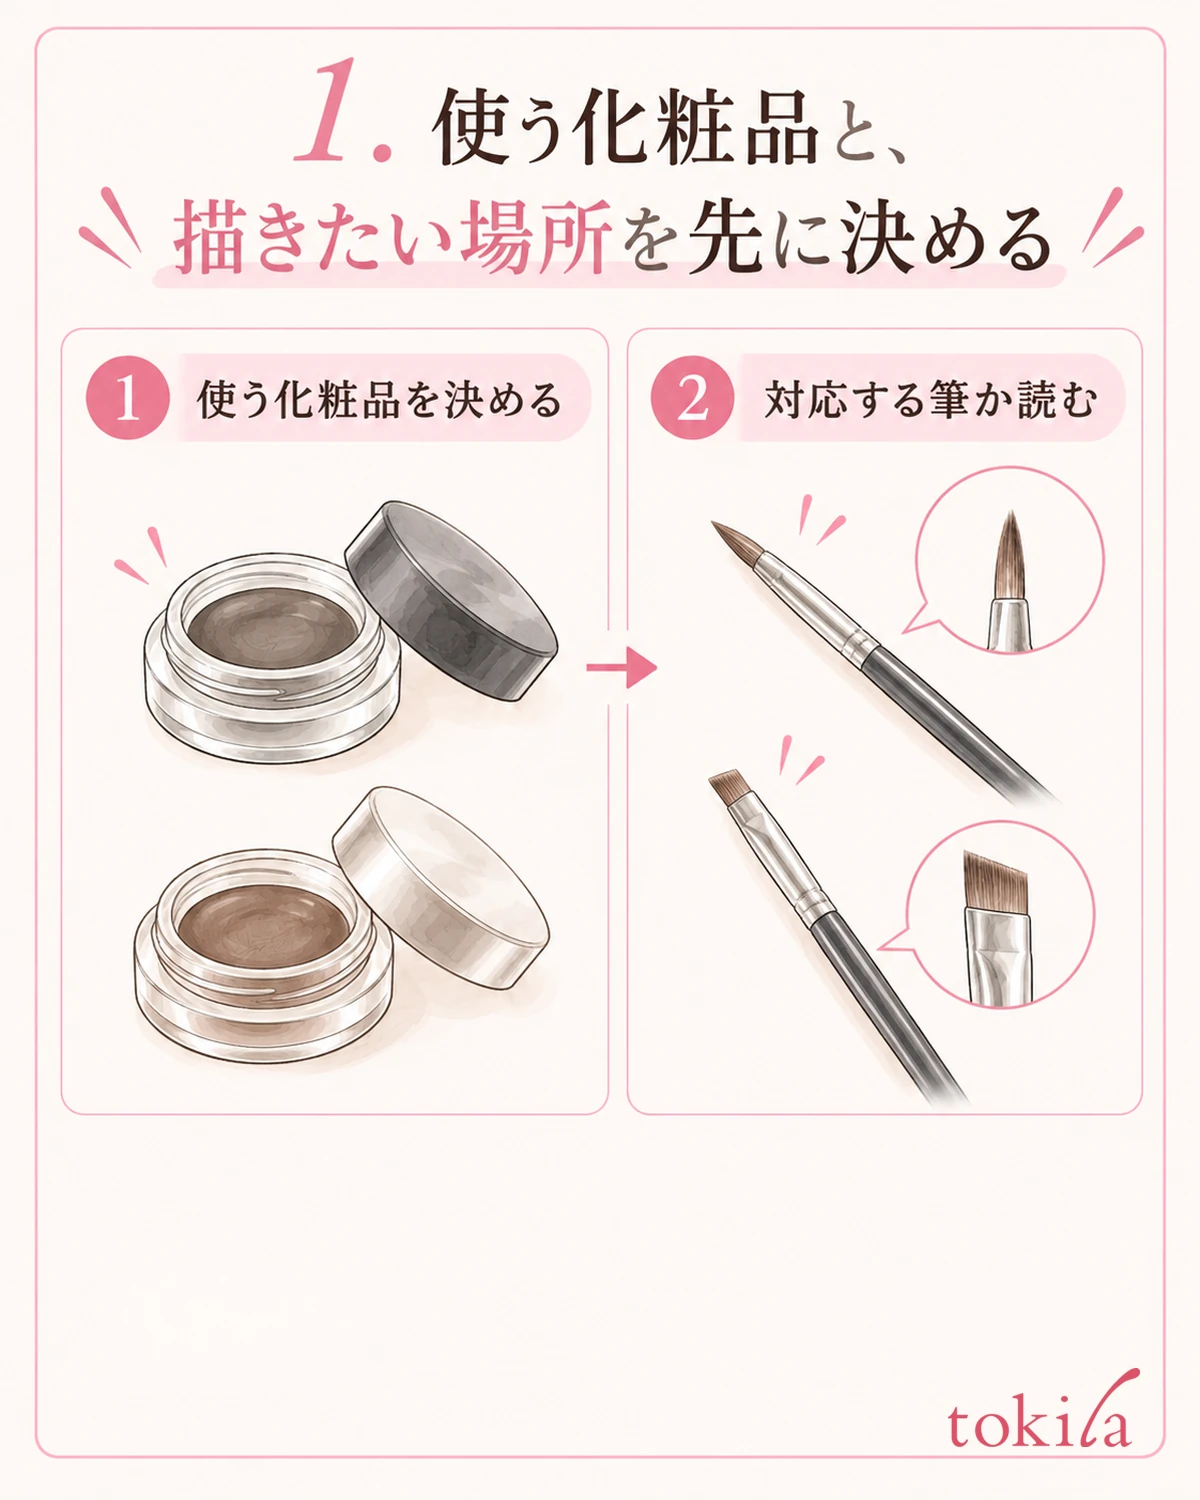
First, read the container or instructions to see whether your eyeliner or eye color can be used with a separate brush. Gels, powders, and water-activated products are not handled in the same way. Brushes also specify compatible makeup, so check the two together.
The existence of water-activated makeup does not mean you can add water to any powder. If you do not know whether a product can be used wet, put it aside rather than wetting it at your own discretion. Synthetic bristles alone do not establish compatibility with water, detergents, or solvents either.
Next, put into words where you want to place the line. Consider an area on visible skin, such as adding a short line to the outer upper eyelid or gradually connecting sections along the outside of the lash line. This guide does not cover placing a brush where it touches the eyeball or pressing it into the mucous membrane.
You do not have to make drawing a long line in one stroke your first selection criterion. The tip you need to examine changes depending on whether you want to connect short strokes or tidy up the end of a line. Deciding on one purpose before comparing shapes keeps your judgment from relying only on how thin a brush looks.
If you already have a brush you like, look beyond its name to the shape of the bristle tips, handle length, and where you hold it. Place it in the same orientation as a new candidate and check the differences one by one. Bristle length and dimensions are comparison points, not values that guarantee a particular line width.
If you cannot confirm compatibility between the makeup and brush you are considering, there is no need to buy another one first. Start with a combination you already own that can be used as instructed. Move on to examining the bristles once both your preferred shape and the conditions for use are clear.
2. Turn the brush to see its front width and side thickness
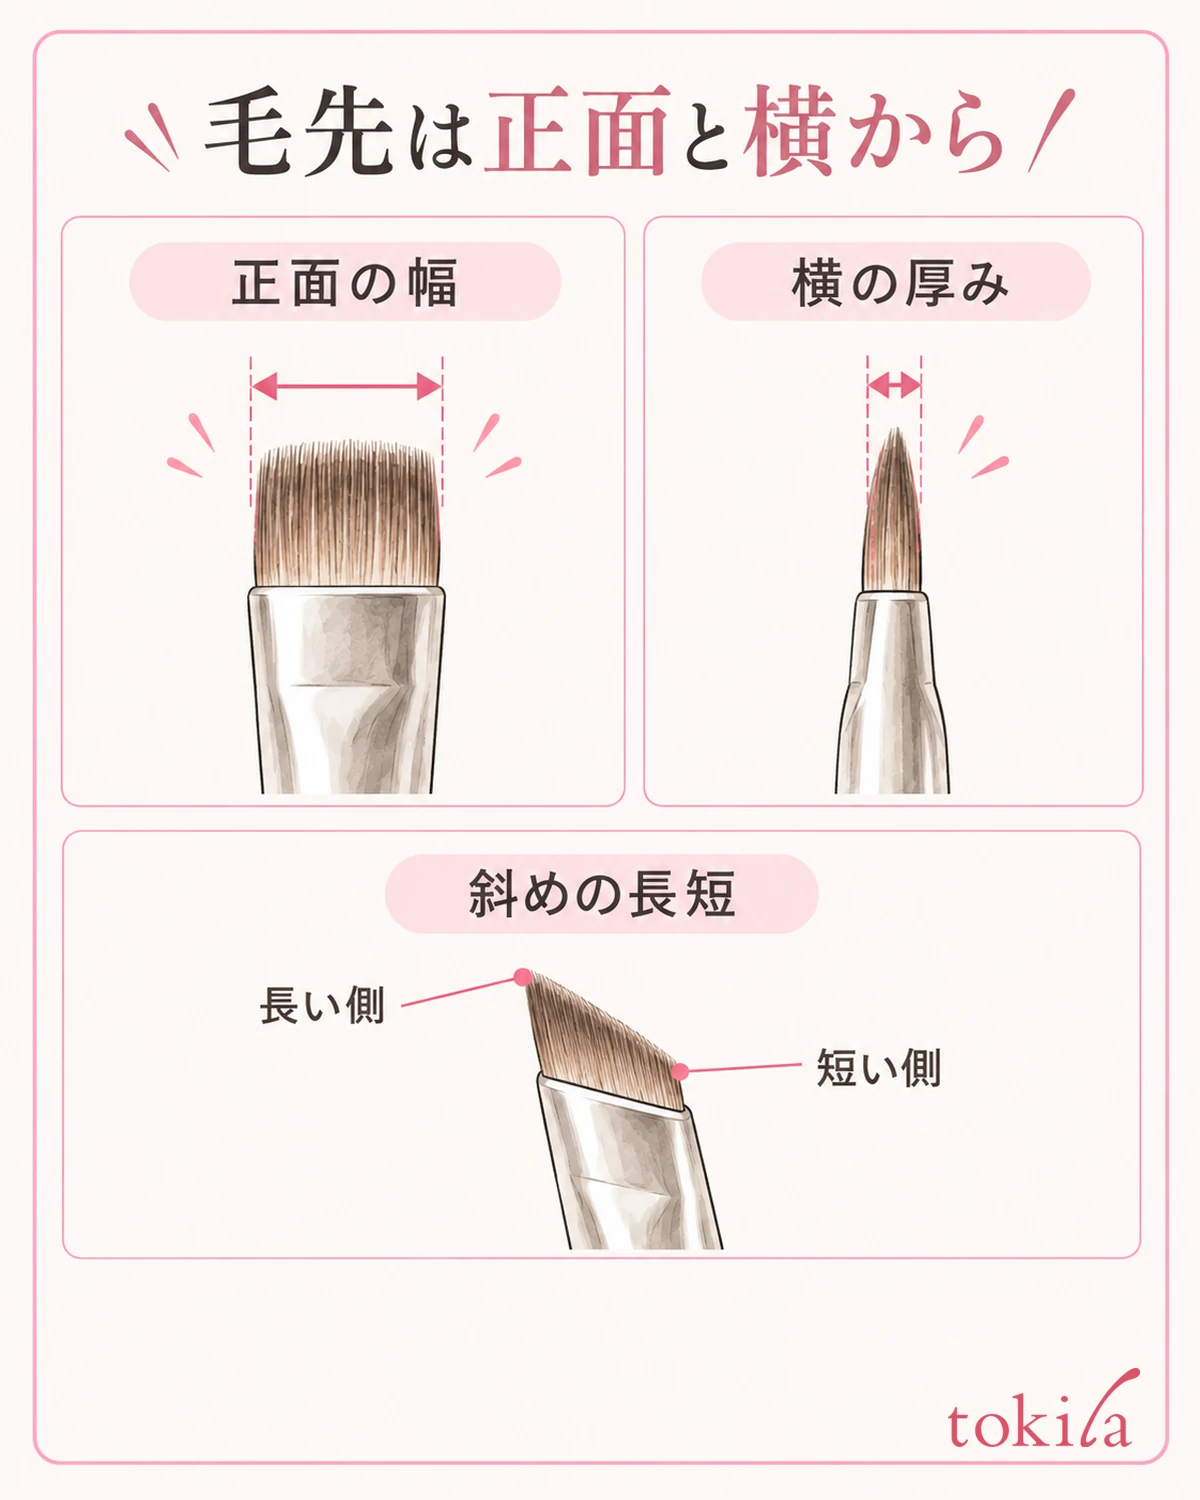
A flat brush looks wide from the front and thin from the side. Turn the handle to check both orientations without flattening the bristles. Do not conclude from the front width alone that it can only draw thick lines, or from its thin side alone that it will be easy to handle.
Also look at which part of the flat tip you will use. The edge where the bristles end, the broad face, and the two corners are different areas. If the instructions specify using the tip, identifying that area is the starting point. Do not substitute pressing the entire face down firmly.
An angled brush has a long side and a short side at its tip. Check the difference from the front, then turn it sideways to see the thickness too. Even brushes all described as angled differ in width, angle, and bristle length. Do not use an angled eyebrow brush around the eyes just because the shape looks similar.
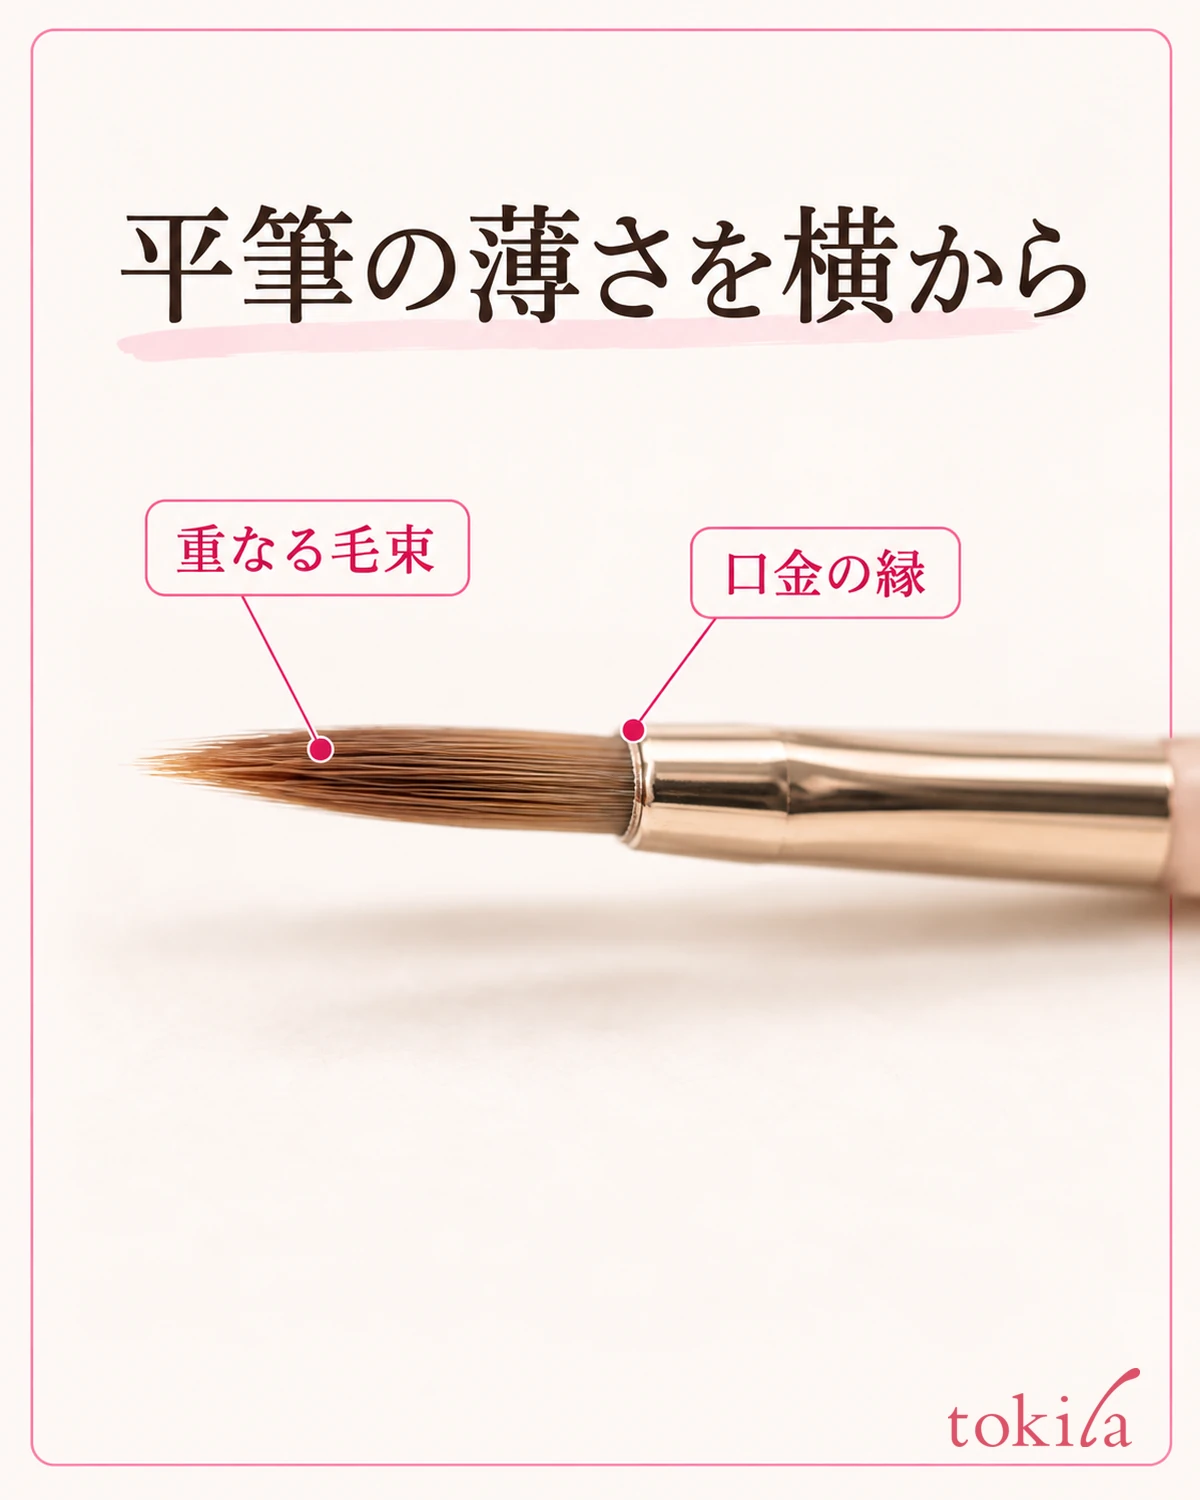
For a brush that narrows to a fine point, look at both the tip and the bristle bundle leading up to it. Distinguish the tapering shape from a single bristle sticking out. Do not try to adjust it by cutting off a stray bristle or pulling bristles out yourself.
When comparing several brushes, align their tips and view them from the same distance. Avoid a comparison in which only one brush looks larger because it is closer, and do not confuse front-view photos with side-view photos. If a product photo has no side view, you can leave the thickness recorded as unknown.
At this stage, do not rank flat, angled, and fine brushes. Consider whether you can visually follow the tip you want to use and whether you are likely to understand its orientation while holding it. Once you understand the shape differences, check the handle and your view next.
3. Check handle length and grip position in front of a mirror
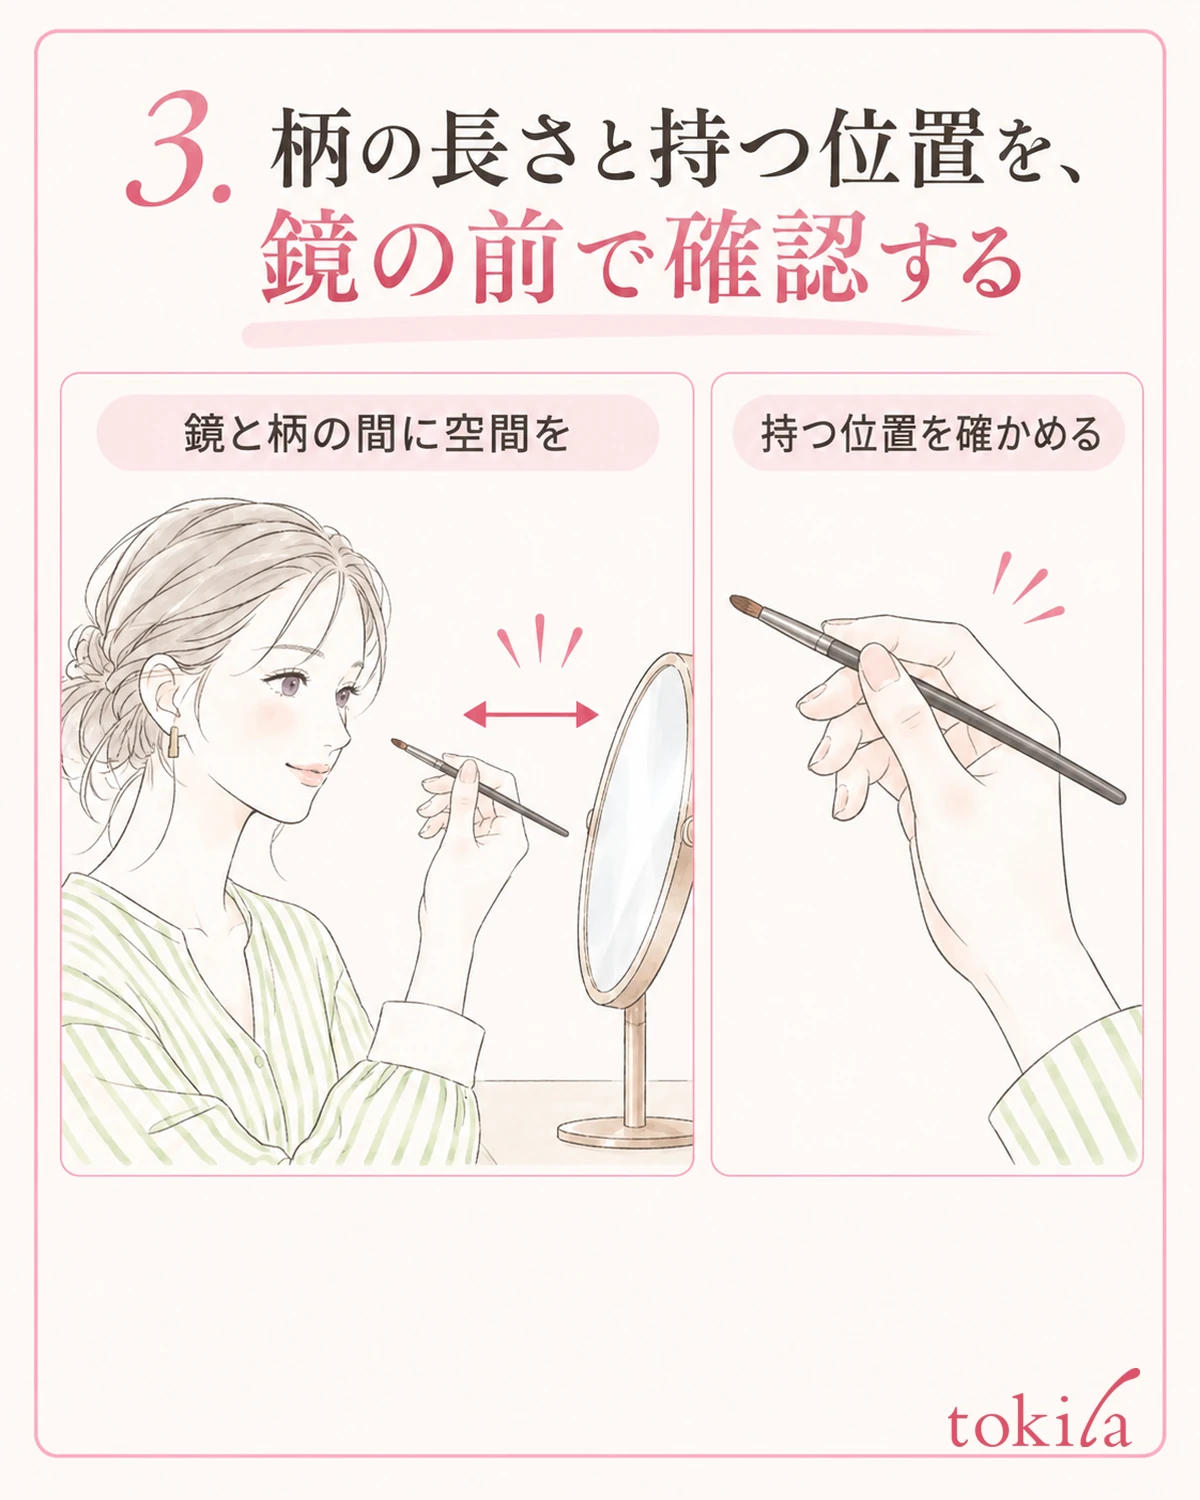
Hold a clean brush before use and see which orientation is comfortable in relation to the mirror. You do not need to bring the tip toward your eye to test it. First, away from your face, find a grip that does not cover the ferrule or bristles with your fingers and does not let the handle slip substantially in your hand.
Holding the handle closer to the tip or farther back changes the distance from your fingers to the tip. Rather than fixing on either position, check whether you can see the tip's orientation with a grip that follows the instructions. Do not assume you need to keep your shoulders or fingers tense by gripping hard for stability.
Avoid bringing the mirror too close, and leave room for your hand and the handle. If the handle hits the mirror's edge, try changing the distance between your body and the mirror or repositioning the mirror. Before tilting your face awkwardly, consider whether you can move things slightly on the table. Sitting down to prepare in a stable, well-lit place is another option.
Some brushes have a bent shaft near the tip. This construction is separate from bristles cut at an angle. Look individually at how the bent shaft changes your hand position and at the bristle shape. Do not bend the shaft yourself or apply force to straighten it.
Do not compare only with your dominant hand; also imagine positioning it for the opposite eye. If your hand seems likely to hide the tip in the mirror, reconsider the mirror position and your grip rather than merely twisting your wrist. Do not practice moving it without being able to see it as a way to get used to it.
If you cannot actually hold a brush when choosing it, compare its handle length and shape with one you own, and do not make definite claims about a grip you cannot check. Avoid deciding that a longer handle is always easier or that a bent shaft is easy for everyone; include your own mirror and the place where you use it in your considerations.
4. Check the amount of makeup and how the bristles gather before drawing
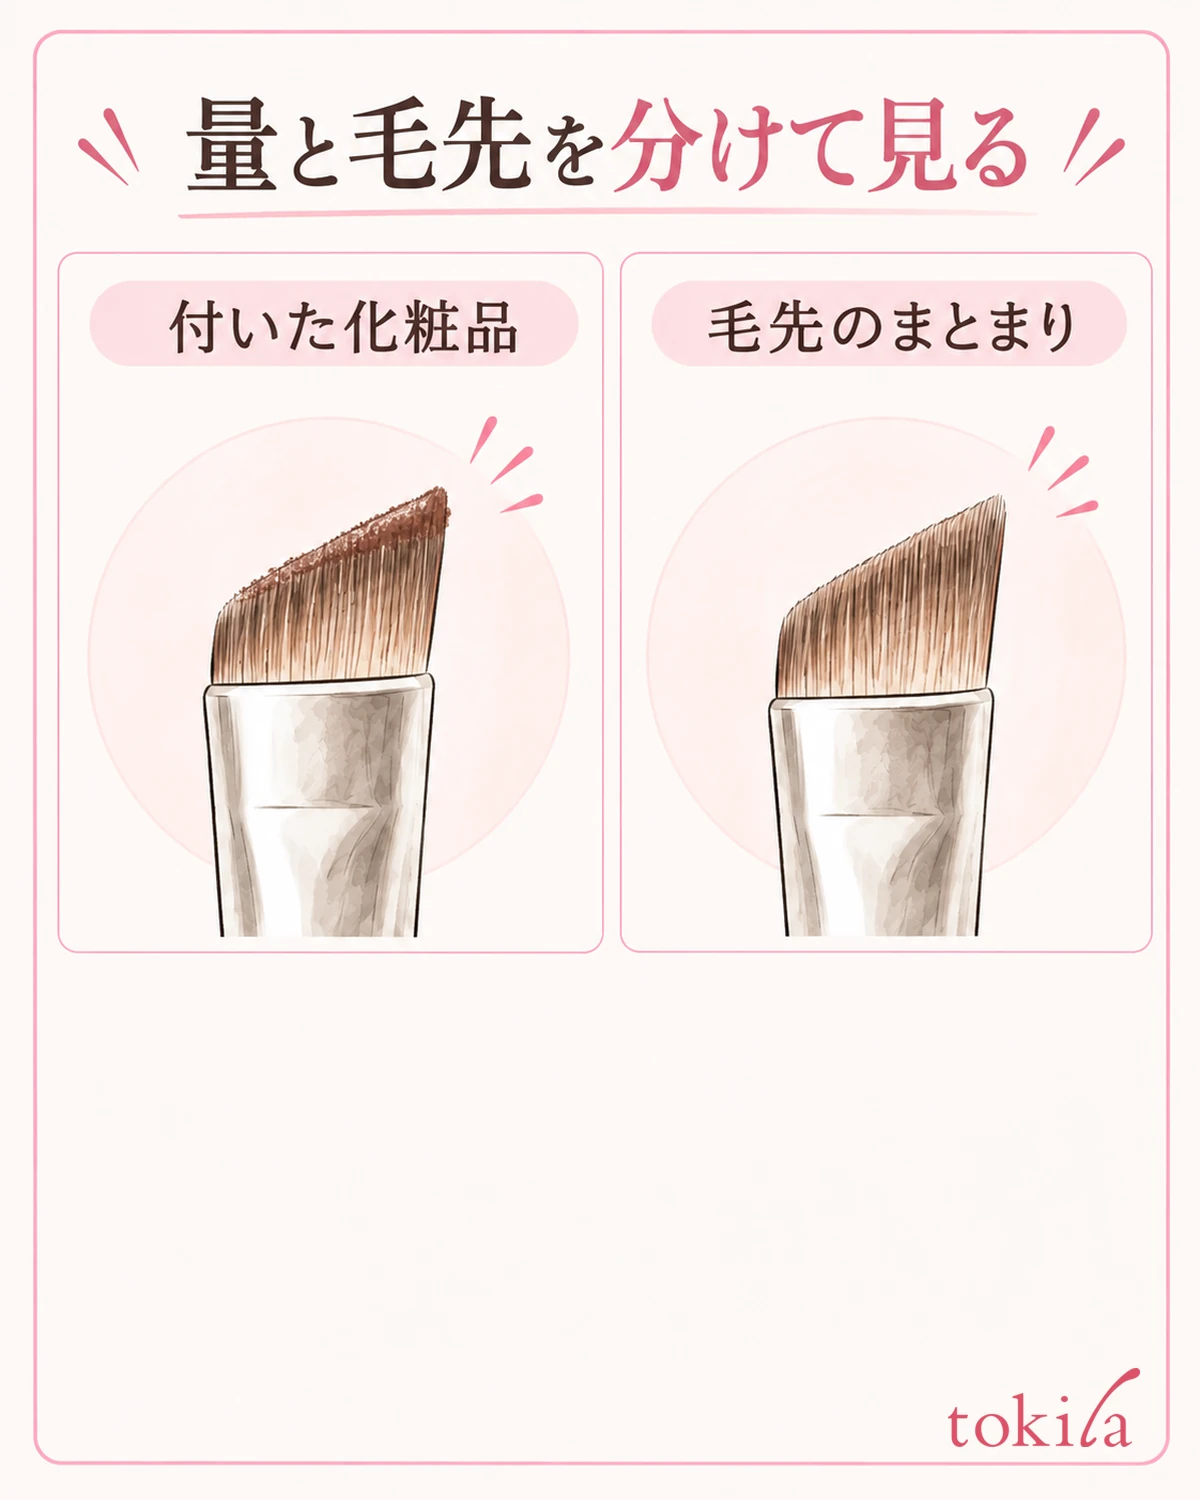
On the day you use it, prepare according to the instructions for both the brush and the makeup. Follow each product's directions for how far to load the bristles and where to adjust the amount. Avoid transferring a method you saw with another brush directly to different bristle lengths or makeup.
When adjusting the amount, use the specified clean surface and keep the tip's shape visible. A coating of liquid or a large clump makes it hard to distinguish the bristles' own shape from attached makeup. Do not improvise by adding water or solvent to reconstitute makeup that has dried and hardened.
With the brush held away, look to see whether the edge is gathered together and whether the bristle bundle is split. Also distinguish color remaining on used bristles from disorder in the bristles themselves. If the tip remains stiff or split, do not assume pressure will fix it and use it around your eyes; review the care instructions first.
When drawing, use the tip and angle specified for your product and start with a short section you can see. Do not flatten the bristles and press hard in an attempt to make the line finer. Avoid rubbing the eye area firmly, and stop if anything feels uncomfortable. If pain or redness persists, seek advice rather than prioritizing concealing it with makeup.
If a line spreads, do not immediately decide you need a different brush shape. Review one factor among the amount loaded, brush orientation, and pressure. Changing shape, makeup, and pressure together makes it hard to tell what had an effect. Lift the brush away once before tracing the existing line repeatedly.
What you are checking here is whether you can handle your chosen tip while seeing it. Brush shape alone cannot determine smudging or color wear. Distinguish width immediately after drawing from changes over time, and choose an adjustment that matches the problem you are experiencing.
5. Choose a brush whose care and storage you can keep up with
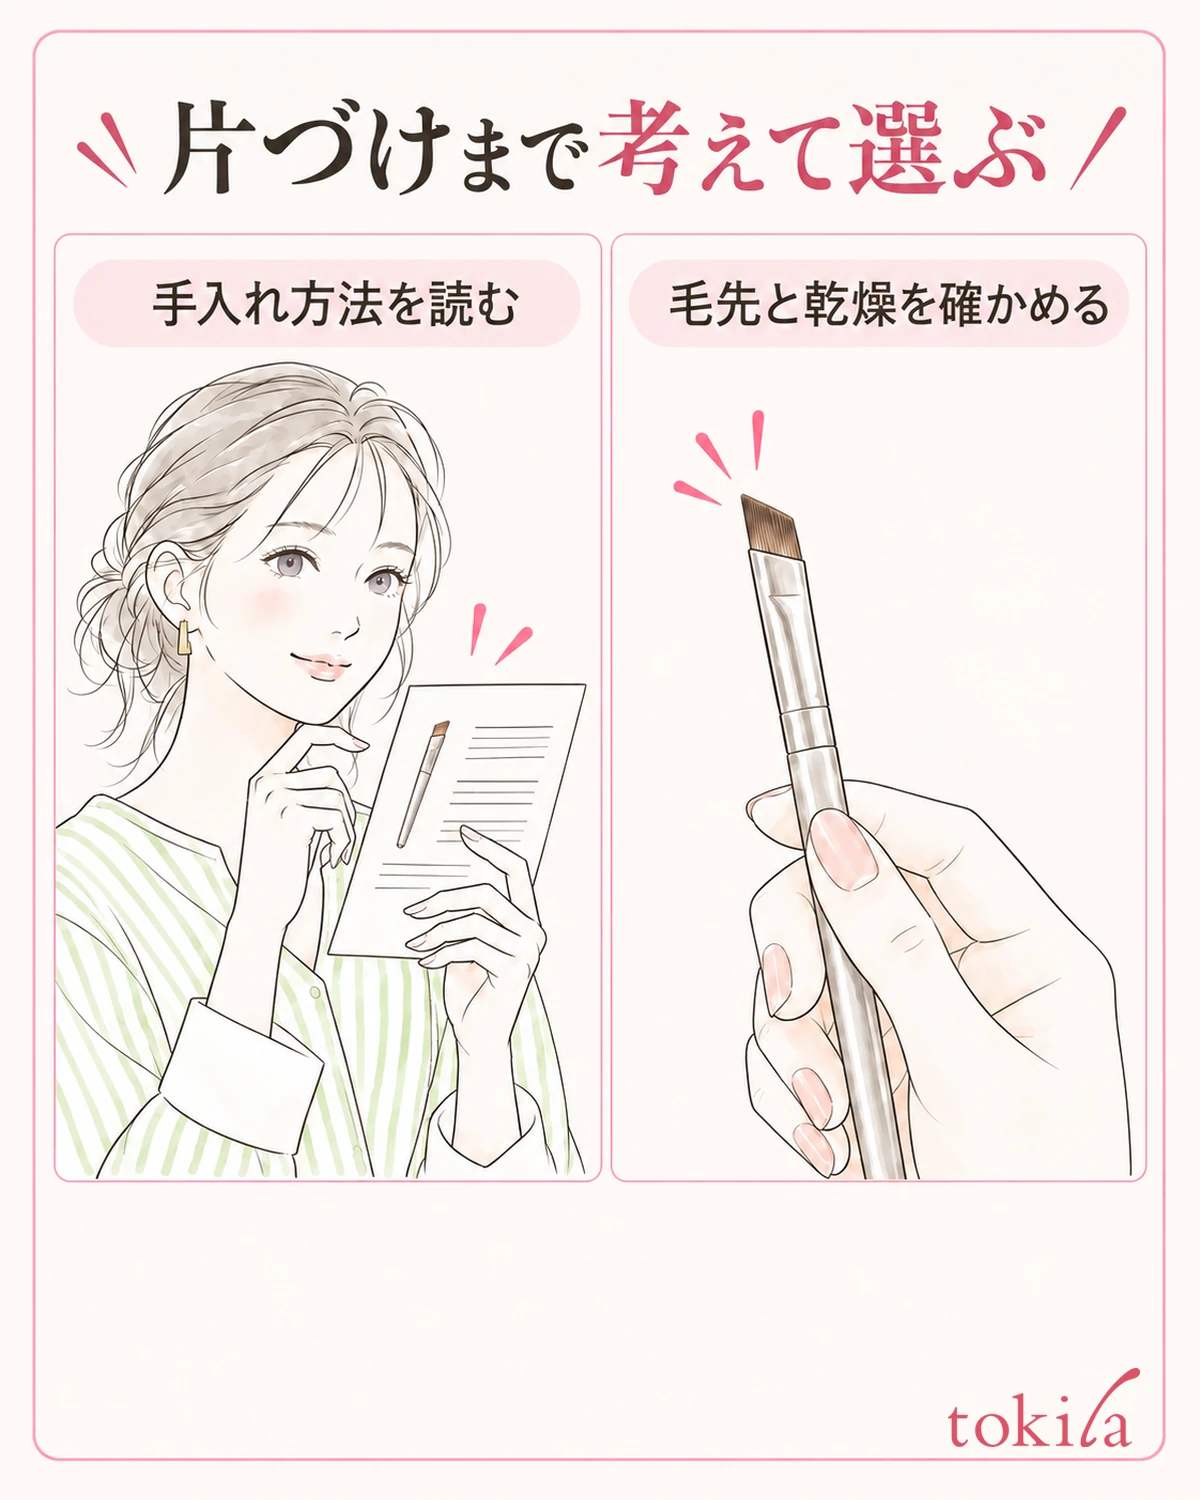
After use, remove dirt in the way specified for that brush. Distinguish when wiping is sufficient from when washing is needed, and do not determine compatibility with rinsing, detergents, or solvents from shape alone. Even a washable brush may not be suitable for prolonged soaking with its ferrule, so stay within the instructions.
When wiping, do not pull hard on the bristles; handle them gently as directed. If washing is specified, also check how to remove moisture, when to reshape the bristles, and where to dry them together. Do not add heat to speed drying at your own discretion.
Before storing, check how the bristles gather and the drying instructions. If there is a cap, use the compatible one and insert the brush in an orientation that does not catch the bristles on the inside rim. Do not force on another brush's cap or seal a brush away while it is still damp.
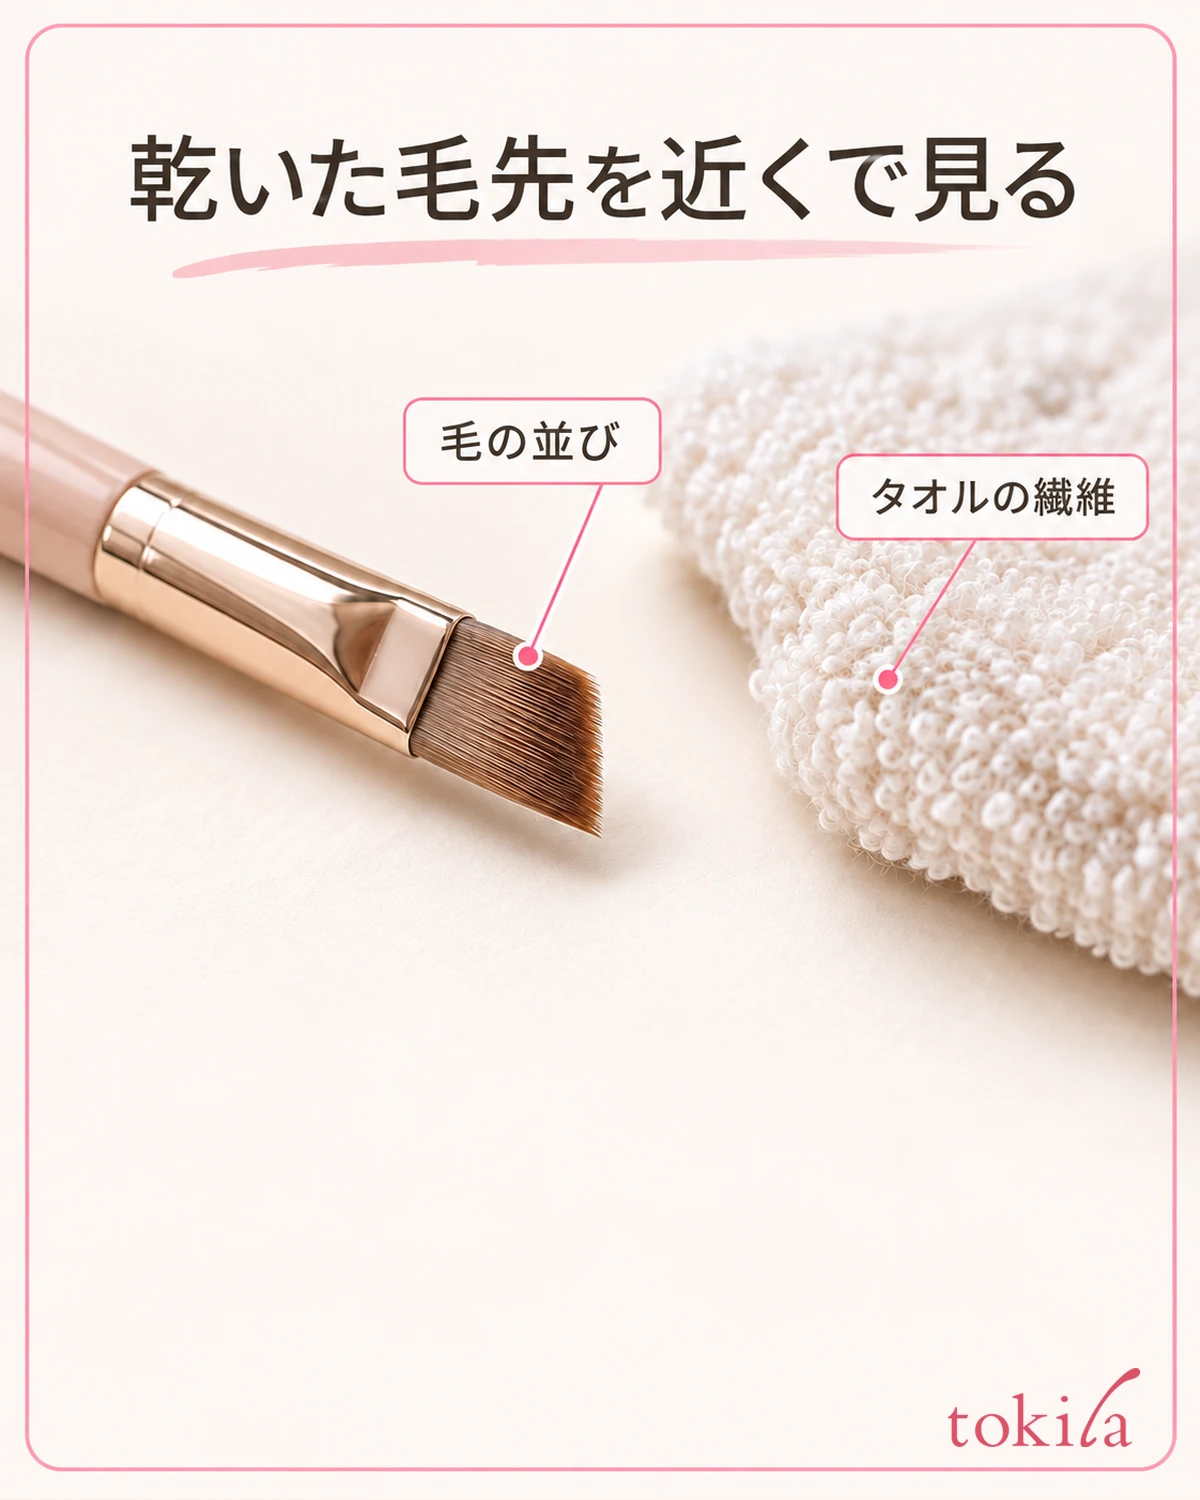
The next time you take it out, check for bent or missing bristles at the tip too. If care does not restore the shape or something feels wrong, consider replacement or contacting the supplier before continuing to use it. You do not need to set a universal replacement date based only on usage count or price.
Four notes are enough before buying another brush: makeup to use, front and side of the bristles, distance between handle and mirror, and care. Considering both your preferred shape and whether it fits your usual preparation and cleanup lets you pause before adding another brush that duplicates a role already filled.
When reviewing your eye makeup tools, use theEye Makeup Guidesas another reference and choose according to the step that is troubling you now. Even if a fine line is your goal, avoid seeking an answer only in a tool's thinness; start by checking a compatible combination and a tip you can see.