
After combing your brows, brown powder and fine hairs are left between the teeth of the comb. If it is a tool with a brush on the other side, you may also wonder whether it can be washed the same way. First, hold the tool away from your brows, separate the hard-toothed comb part from the bristle brush part, and look at what is left where.
This article covers manual brow combs without blades, in this order: checking what is stuck, caring for each part, then drying and storage. It does not cover how to cut brows or how to clean accessories of electric shavers. Follow the instructions that came with your tool, and if you are not sure of the method, do not force the residue out; check before you use it.
1. Tell the hard-toothed comb from the bristle brush
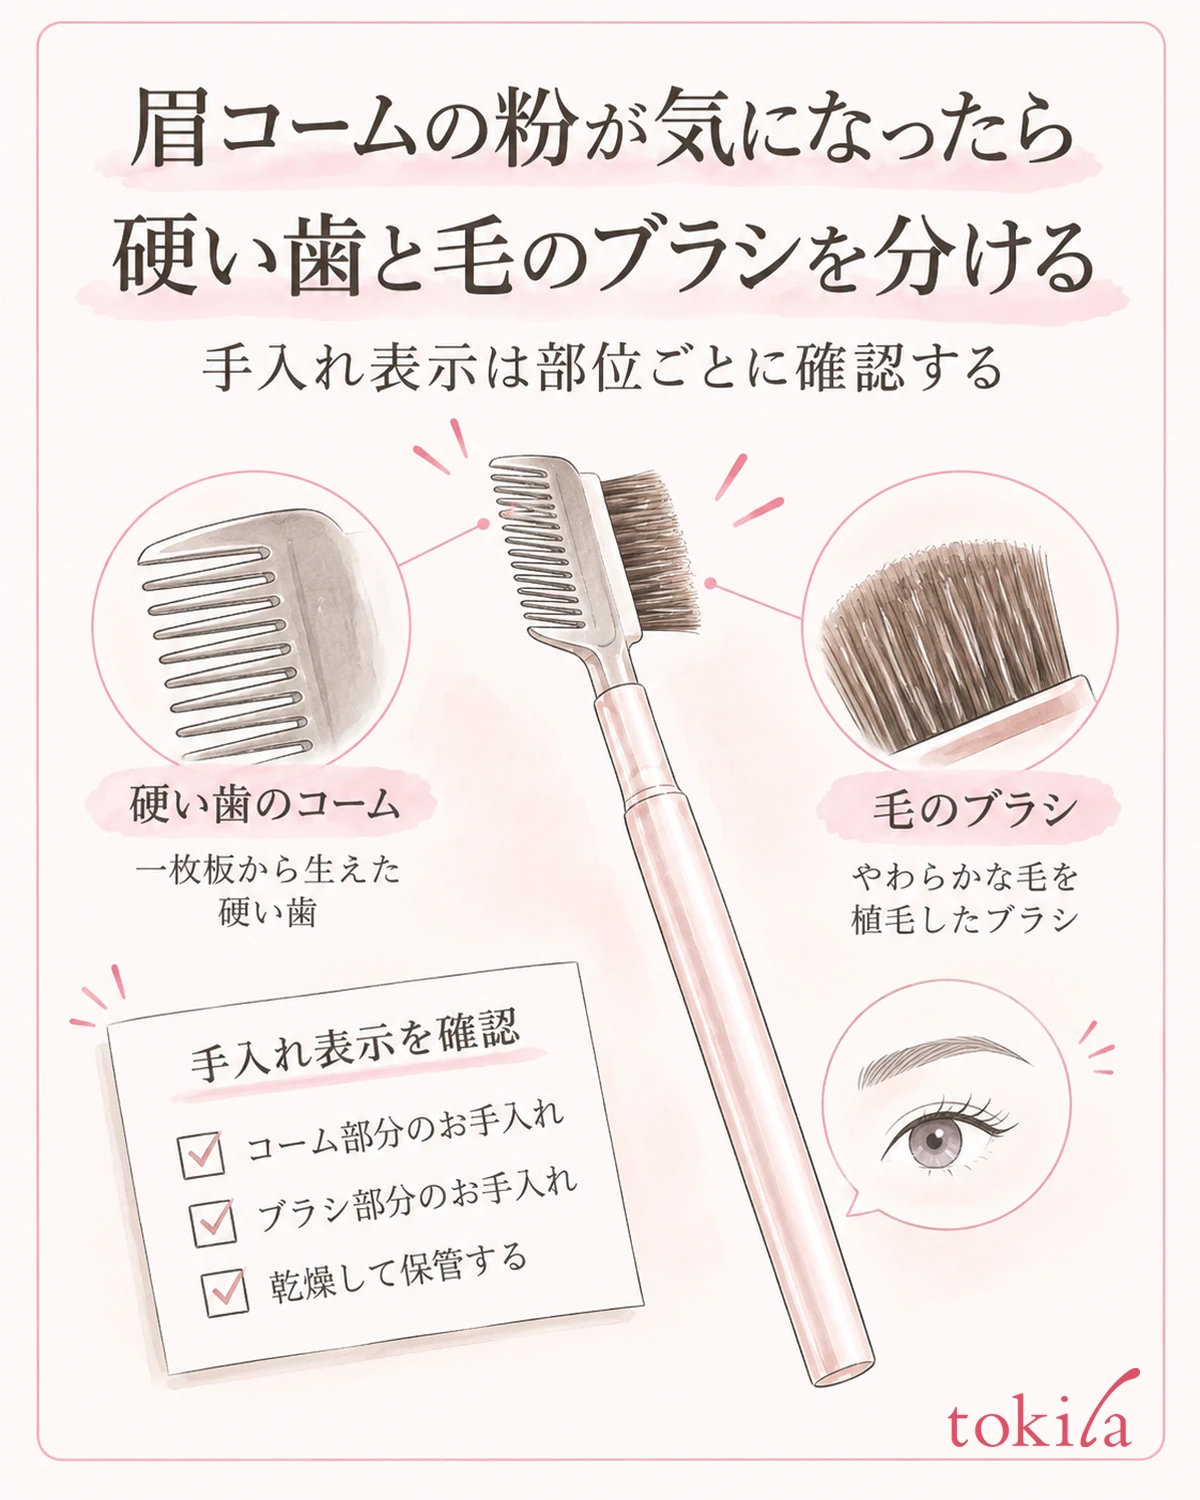
On a tool with a comb on one side of the head and a brush on the other, first tell the shapes apart. The side with a row of hard teeth like a hair comb is the comb; the side with a bundle of fine bristles is the brush. A spoolie brush with bristles set in a spiral is also built differently from a hard-toothed comb. Do not lump them together as "it's for brows, so the care is the same"; check which side you used.
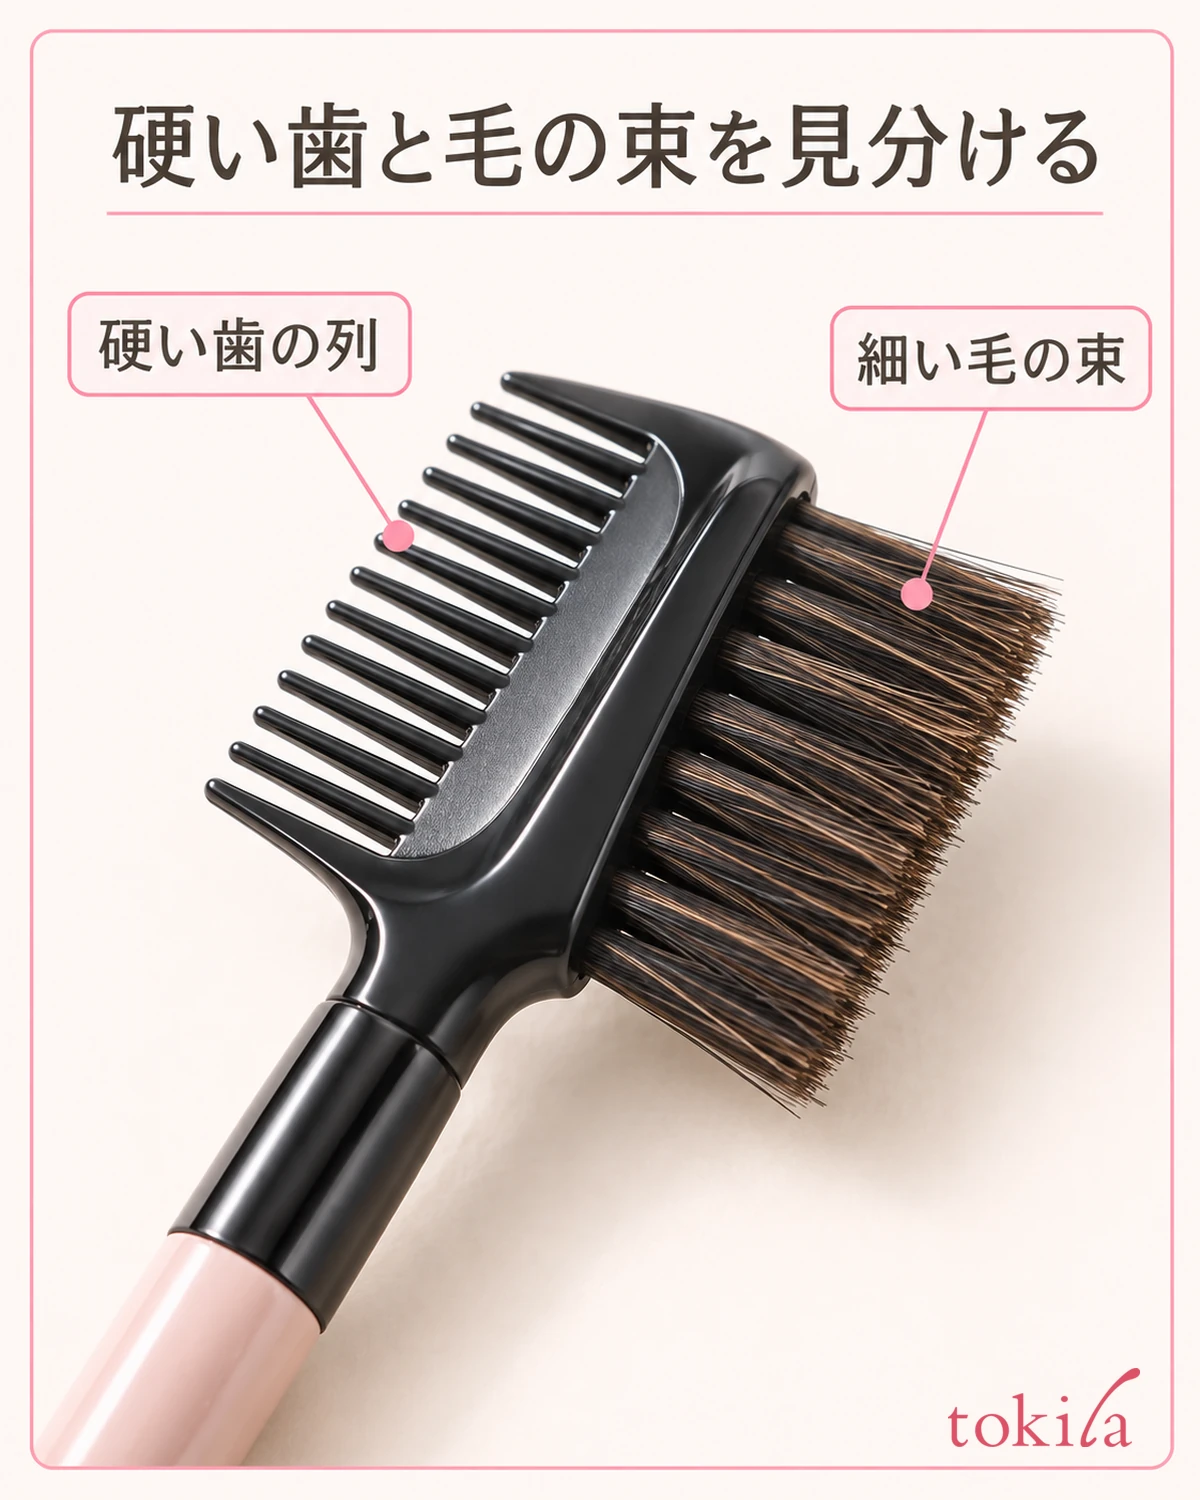
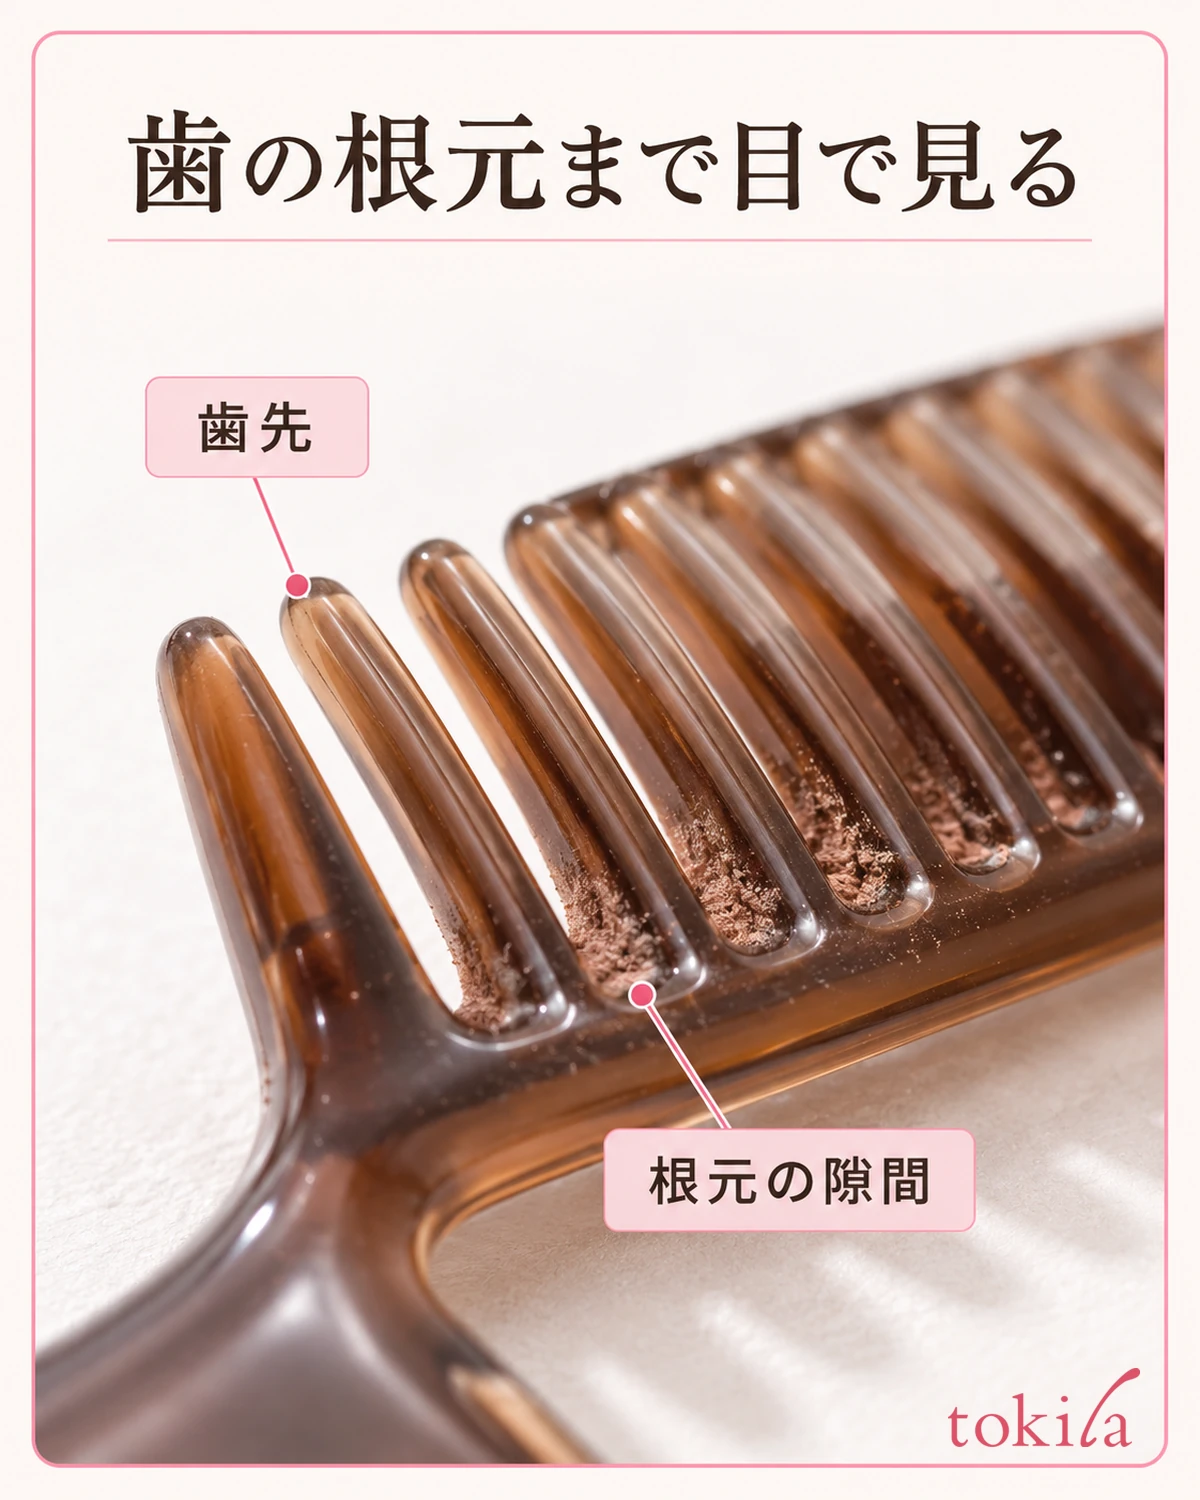
Hold the tool by the handle, away from your brows, and look at it in a bright place. If you flick residue off in front of your face, it is hard to see where it falls, so do this at a desk covered with clean paper or similar. Looking in order at the tips of the teeth, the gaps between them, the bases of the teeth and the boundary with the brush side lets you find residue that you cannot see from the surface alone.
Check the care section for the comb part and the brush part in the packaging or the instructions you kept. Even for a single tool, the instructions may treat the parts separately, for example wiping the comb with a dampened cotton pad and washing the brush by a specified method. Do not decide to soak the whole tool based on the instructions for only one part.
If you use a comb that is built into scissors, a tool with a blade, or a comb that attaches to an electric product, go back to the procedure for that product. Even if a part looks removable, it is not necessarily designed to be taken apart. Do not treat the resemblance to the shapes in this article's illustrations as grounds for detaching or washing it with water.
If you have not kept the instructions, confirm the name of the tool from the body or your purchase record, and do not add water or detergent until you know how to care for each part. Even when the brush and comb look continuous in the same color, tell them apart by the shape of the bristle bundle and the hard teeth.
2. Distinguish leftover powder from chipped or bent teeth
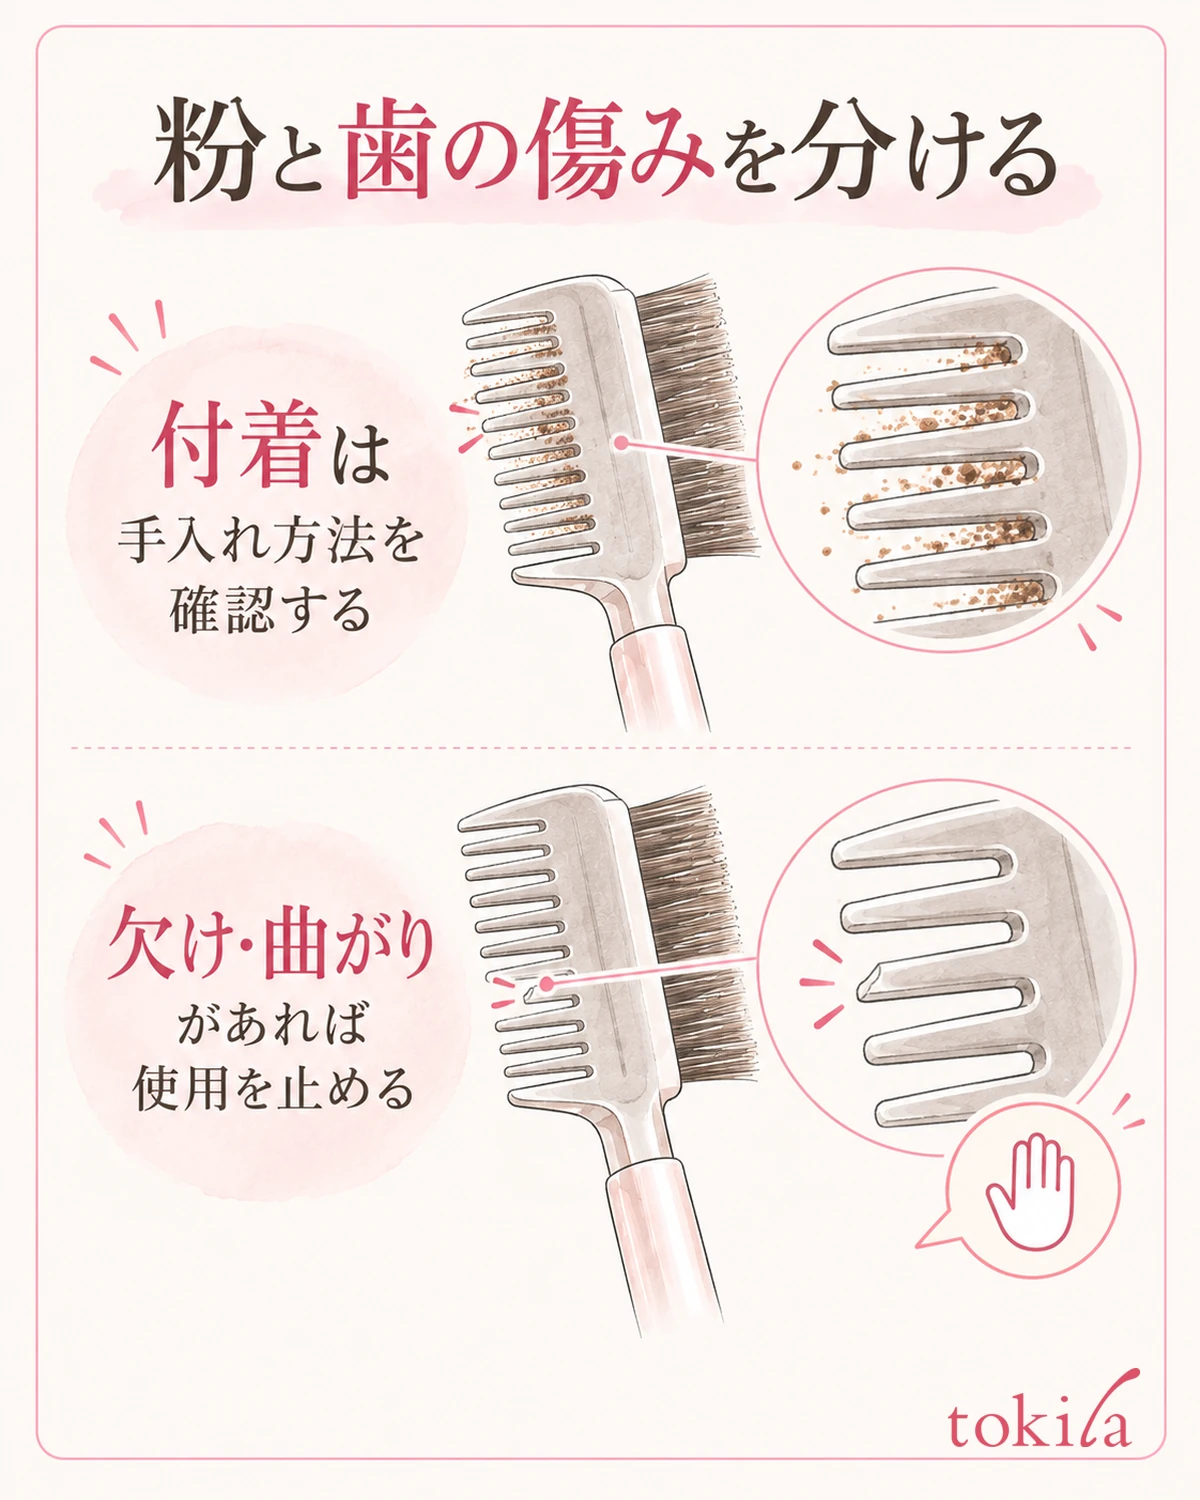
Look to see whether the brown material between the teeth is loose powder or caked product. Short hairs transferred from your brows or fibers from the paper you wiped with may also be tangled in. Do not assert from appearance alone what the residue is made of or how hygienic it is; at this stage, just grasp where it is stuck and whether it looks removable.
Tilt the comb slightly and compare the front and back of the teeth under the same light. Lumps may remain at the bases even if they are hidden from the front. Do not run your fingers along the teeth or spread the gaps with a fingernail; move the tool itself to a better angle. With a dark comb, a white sheet of paper behind it makes the outline easier to follow.
A single tooth that is shorter, a chipped tip, or a tooth bent out of the row is a separate problem from whether the dirt comes off. Do not repair it yourself, for example by filing down a chipped tooth, straightening it with heat or filling it with adhesive, and then put it back on your brows. If it is broken or deformed, stop using it and consider replacing it.
When you cannot tell whether something is dirt or damage, there is no need to press it against your skin to find out. If you still cannot judge by looking at it on the desk, check it together with the care method, or switch to a spare in good condition. Rather than testing whether it comes off by applying force, first think about whether the tool can be used without being damaged.
If you want to note what you observed, write the position specifically, such as "powder at the base of the rightmost tooth" or "the center tooth tip is short". This is easier to recheck after care than simply "dirty". If you take a photo, shoot it in light bright enough to show the shape of the teeth, and take care not to mistake reflections of light for residue.
3. Wipe as the instructions specify, and do not dig between the teeth
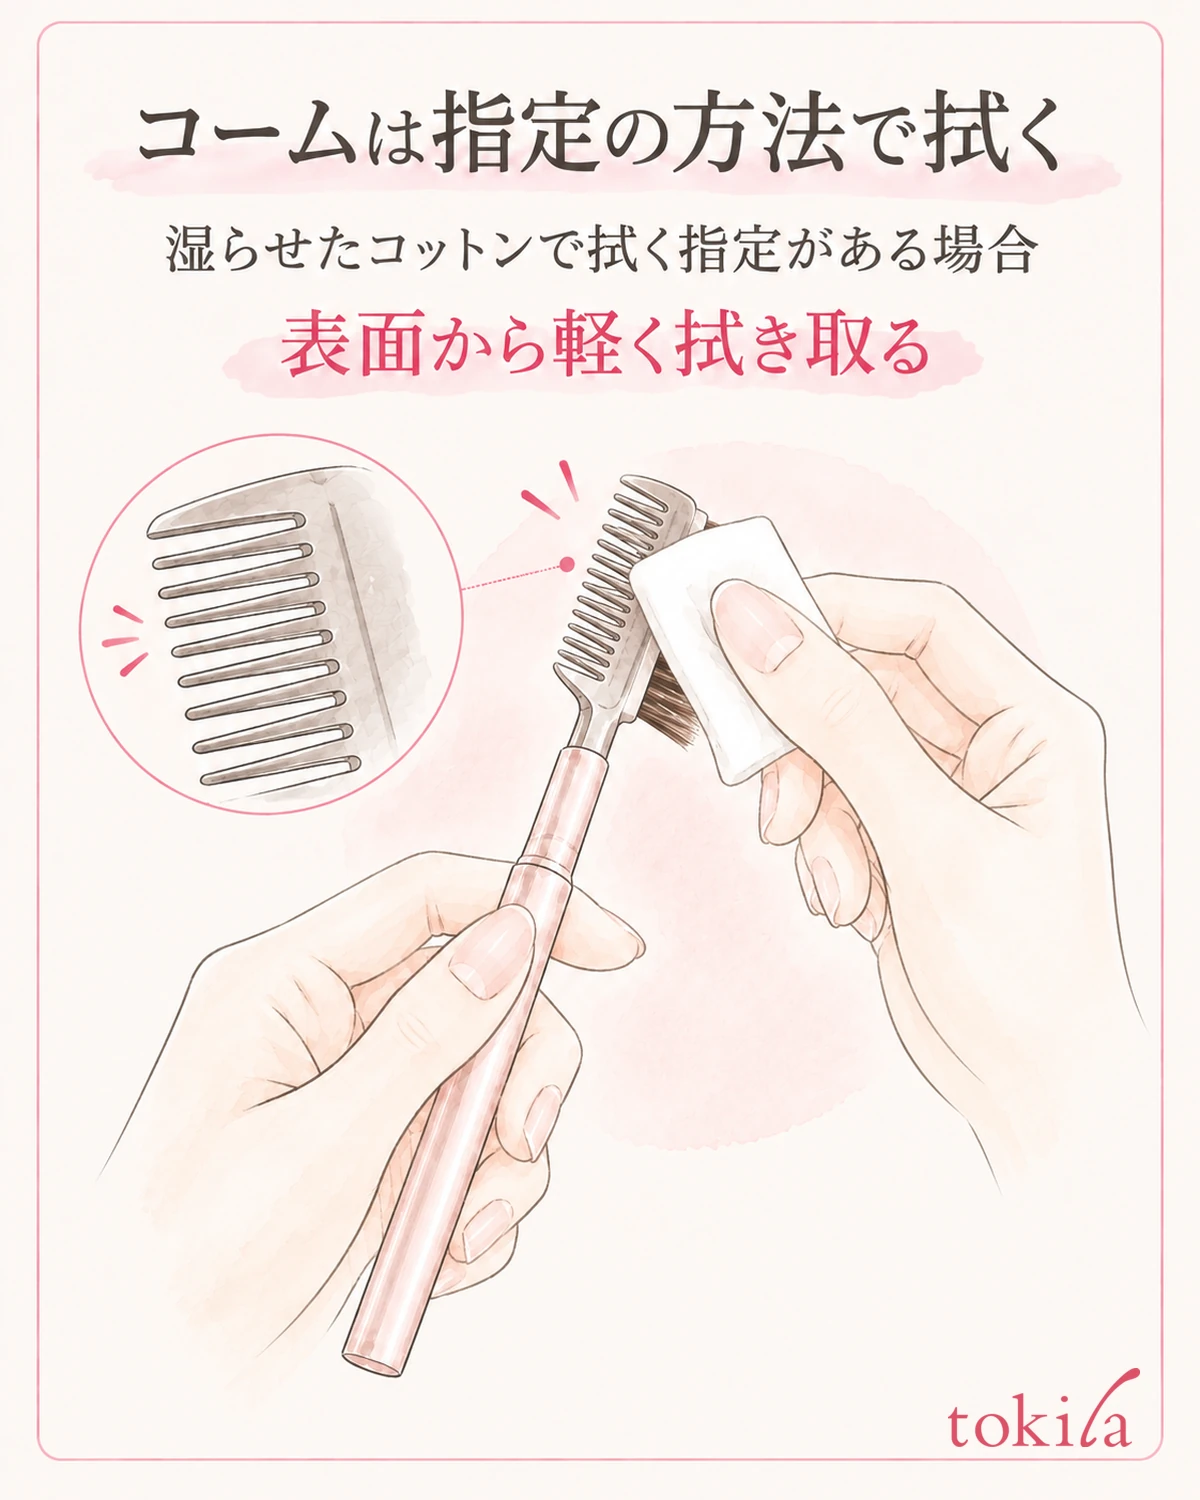
If the care instructions say to wipe the comb with a dampened cotton pad or tissue, prepare as specified. Hold the comb away from your face with a steady grip on the handle, and lightly touch the wiping material to the surface of the teeth. Rather than pushing hard, transfer the dirt on the surface little by little, and switch to a clean side when the wiping side gets dirty.
When you also wipe the back, do not twist while keeping force in your fingers; let go once and then change your grip. If cotton fibers catch at the base of the teeth, do not tear them off with a pulling motion; stop and look at the situation. Use clean sides of the cotton or tissue so that you do not put the dirt back by pressing a used side again and again.
Even if a lump remains between the teeth, do not poke a hard tip such as a needle or toothpick into it to dig it out. Forcing a tool into the narrow gap may make it impossible to keep the shape and surface condition of the teeth. Do not switch to other methods either, such as scraping with a fingernail or meshing the teeth with another comb to scrape them; check whether it comes off within what the instructions allow.
Even for a product that explicitly says it can be washed with water, check for each product which parts can be washed and which cleansers can be used. Just because the brush side specifies a mild detergent, do not extend that to soaking the handle and joint for a long time. If there is guidance on water temperature, rinsing and drying, read it as one sequence of steps and do not swap out only part of it for another method.
If lumps remain after care, the teeth move, or the working surface catches, do not try to solve it by making the cleanser stronger or rubbing hard many times. Washing brushes and sponges in general is covered in care for makeup tools, but for combs the instructions for your own tool come first.
4. Check that it is dry and that its storage place is clean
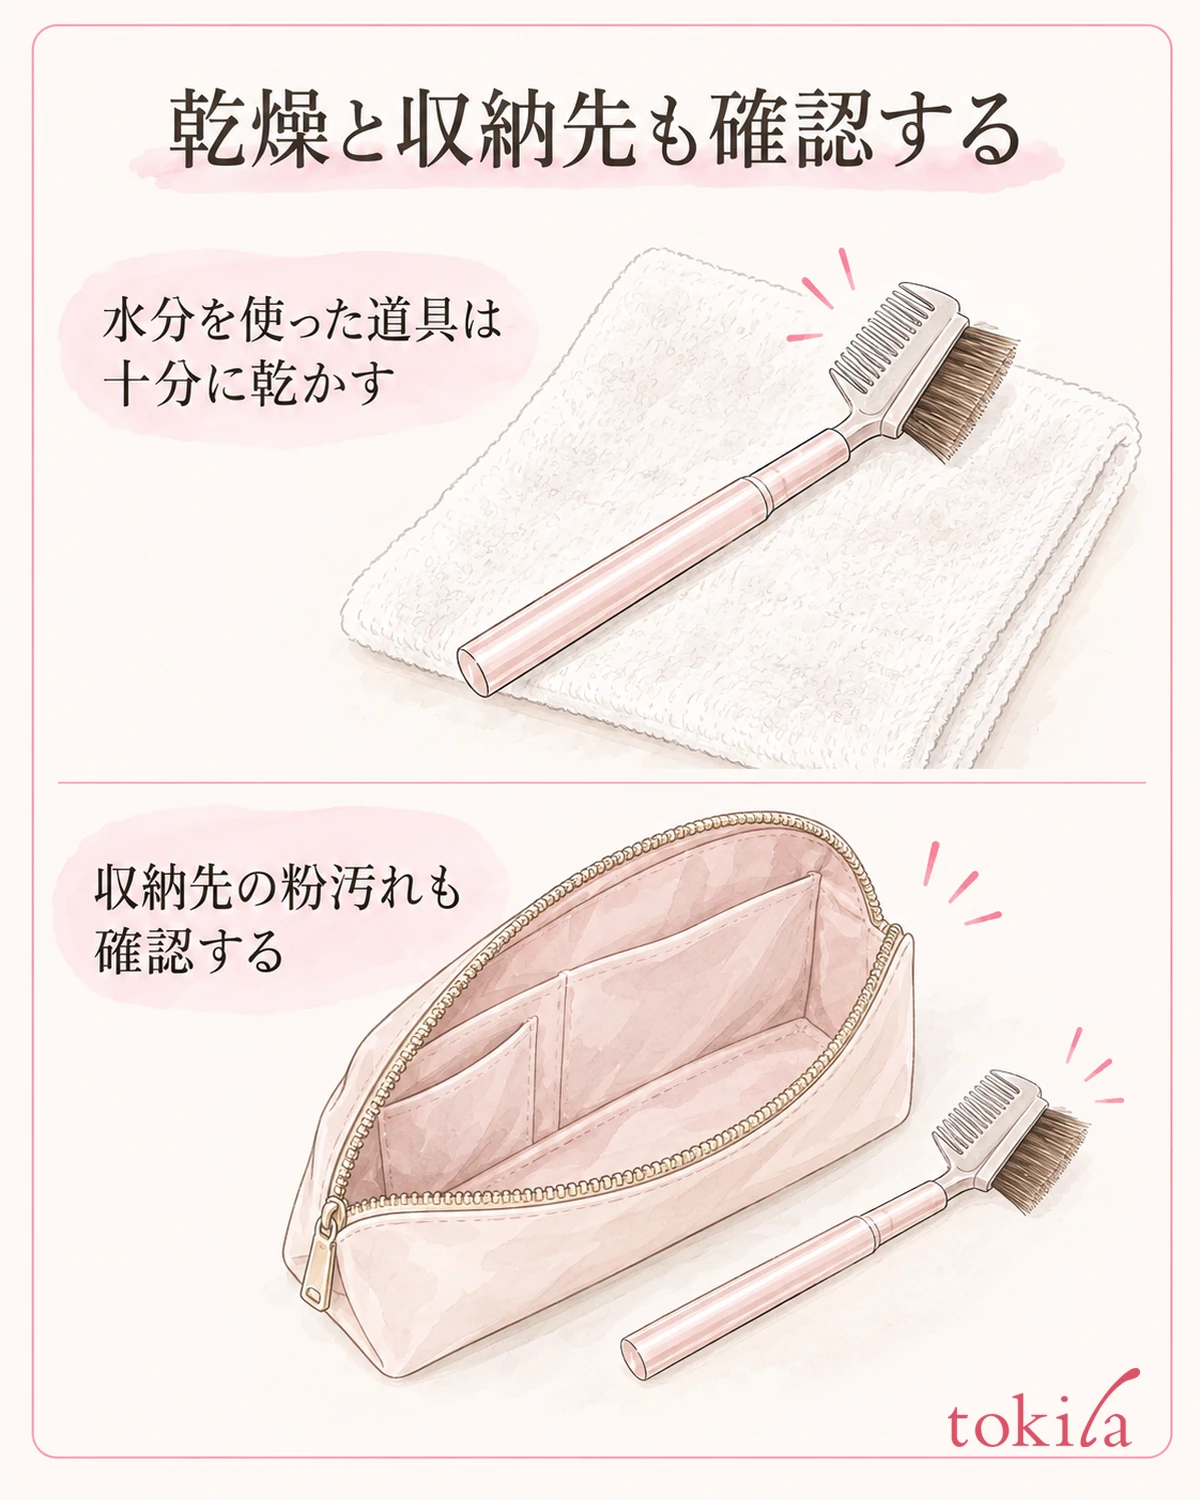
If you used water for care, remove the moisture and dry it thoroughly as the instructions say. Even if the tips of the teeth look dry, moisture may remain at the bases and at the boundary with the brush. Do not judge only by visible droplets; check each part before storing. There is no need to set a uniform drying time and hurry to put it back in its case.
While it dries, place it so that nothing heavy rests on the teeth or the bristles. Use a clean place, and do not add on your own judgment methods such as blowing hot air on it or drying it quickly in direct sunlight. If you care for several tools together, keep separate places for them so that wet ones and dry spares do not get mixed up.
Look inside the storage case or pouch as well. If powder has spilled or product with its cap off touches the comb, it may stick to the comb again when you put it back. Clean the storage place by a method suited to its material, and dry it first if drying is needed. It is also important not to clean only the tool and then push it into a gap that is still dirty.
For a tool that comes with a dedicated cover, check the orientation and fit before putting it in. If the tips of the teeth bump against the inside or catch while you close it, take it out once and recheck. Do not use the cover of a different tool or press it down under many other things; store it in a way that keeps the shape of the teeth.
When you tidy up away from home, do not make a routine of quickly sealing a wet comb. If you cannot find a place or the time to dry it thoroughly, consider whether the care that uses water can be done after you get home, in light of the product's instructions. Another point to check is to keep tools before care separate from spares and not reuse them untreated.
5. Look once more before use and review the step where it gets stuck
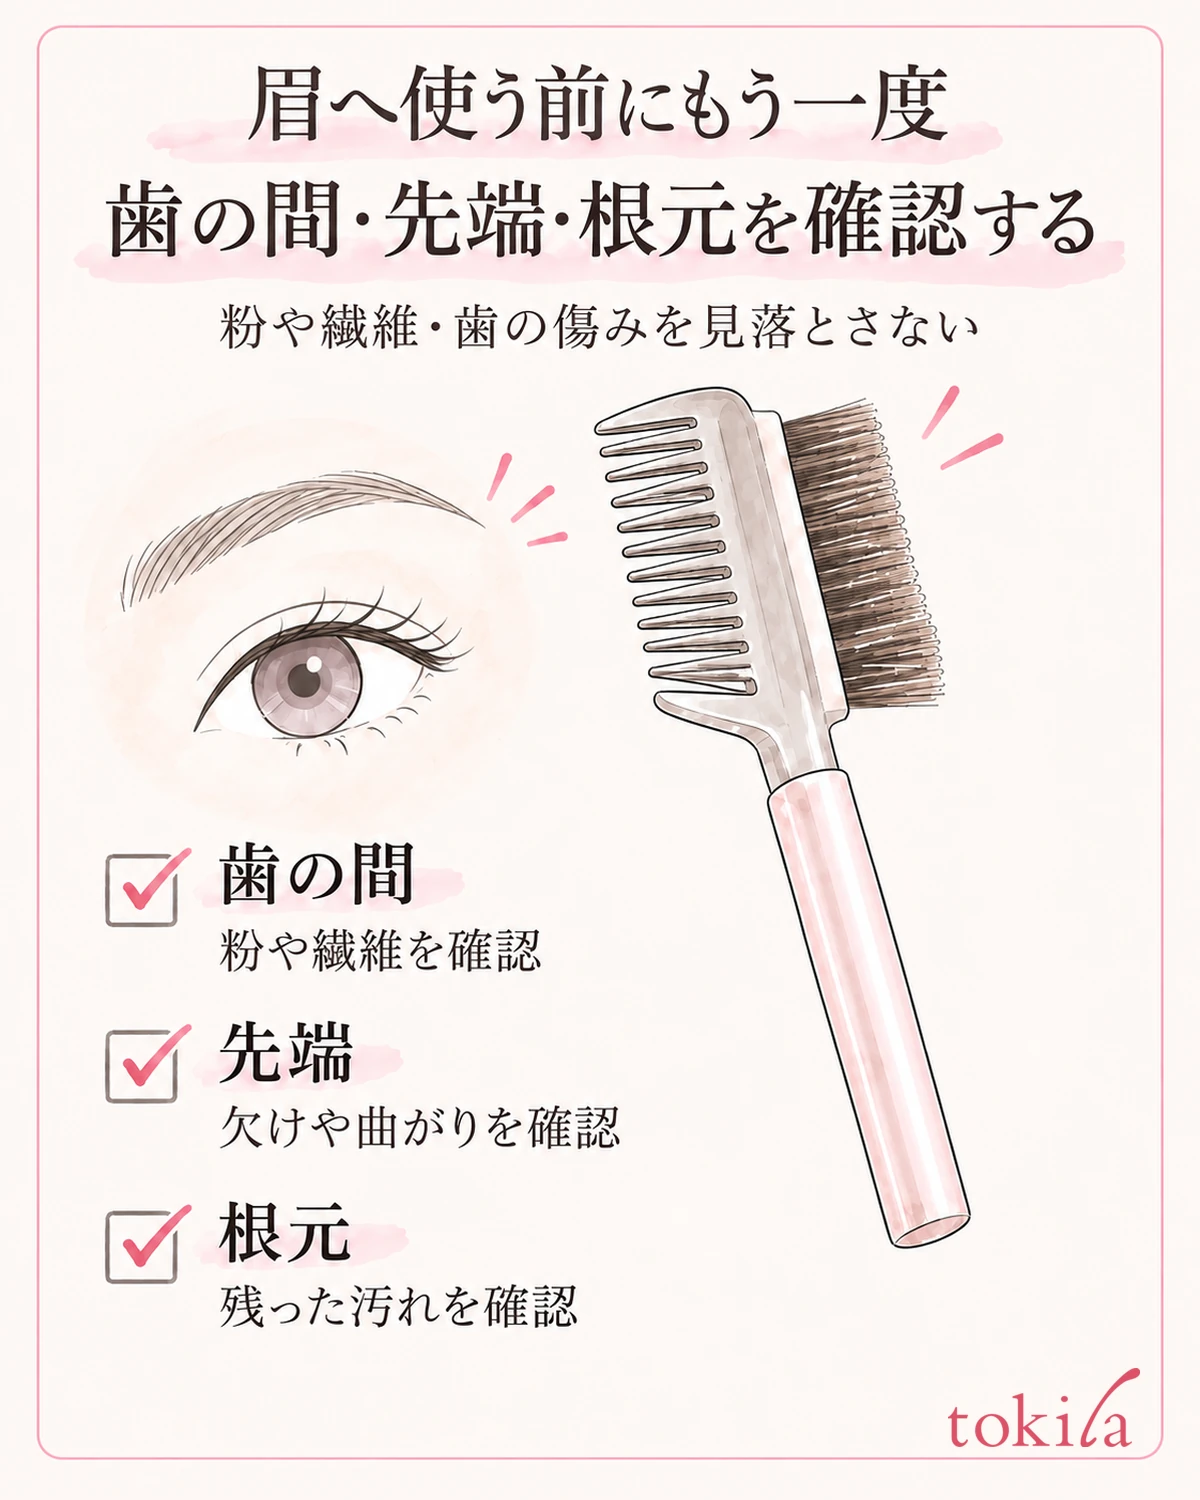
Before using it on your brows next time, look again between the teeth, at the tips and at the bases. Check for powder you missed right after care, fibers that stuck while drying, and bending that happened in storage. Finishing the inspection while the tool is away from your face, rather than noticing after it touches your brows, reduces rubbing your brows or combing them over and over midway.
If powder builds up every time, think back to when you use it. What transfers to the tool differs depending on whether you use it to smooth the direction of the hairs before drawing anything, after applying powder, or after brow mascara. Check the comb's intended use in its instructions, and if you want to blend the color of your brows, also see whether the instructions say to use the bristle brush side.
For example, if the comb was clean before you drew your brows but the gaps between the teeth turned brown after you applied powder, first keep up the part-by-part care after use. If it looks dirty from the start, check for what was left behind last time and for the storage place. This is not a test to pin down the cause; it is an observation to decide which step to review.
You do not need to cut down all brow products just because color gets on the tool. Once you know the step where it sticks and which side you used, review only that step next time and check the condition of the comb partway through. For the steps to shape your brows and balance their darkness left and right, you can also refer to checking uneven eyebrows, and think of them separately from inspecting the tool.
It helps next time to note, along with the packaging instructions, the places that did not come off this time and the parts where you may use water. If powder is left: first separate the parts, tell stuck residue from damage, and tidy up by the specified method. If you make it a routine to confirm drying and storage before use, you can inspect the comb you have without relying on force to remove residue.



