
When whitish marks or stickiness remain on the plates of a hair iron, it can be hard to know what to wipe them with. First turn off the power, unplug it, let it cool down enough, and then match the location of the dirt against the care instructions for your own model.
This article covers the checks before and after cleaning the plate surface of a corded household straightening iron. How to use detergents and cloths differs by model. It sorts out the steps up to deciding to stop using it and have it checked, rather than scraping off dirt that won't come off or burning it away with heat.
1. Turn off the power, unplug it, and let it cool down enough

Even if you notice a mark right after use, don't start wiping by putting a cloth or your finger on the hot plate. Turn off the power of the unit, and with dry hands hold the plug and pull it out of the outlet. Don't judge that it is ready for care just because you lowered the set temperature or the display went out.
Next, let it cool down enough in a stable place that suits the instruction manual. Don't switch to covering the hot part with a towel or cooling it by pouring water over it. Don't set the cooling time as a number of minutes common to all models; follow the way to place it and the cooling conditions for your own unit. Don't leave the spot while heat remains.
For the work area, avoid the inside of a washbasin or a counter with standing water, and secure enough room to set the unit and cord without strain. If an opened bottle of toner or hair styling product is left nearby, you might knock it over when moving the cloth. Tidy the surroundings first, and have the cloth you will use and the instruction manual within reach.
Follow your model's instructions as well on keeping the plates open and how to handle the opening lock. Don't pry open a unit that is hard to open or wedge something into the gap to widen it. If you can't set it down stably, review how you hold it and where you work before going further.
Think of the work of removing dirt and the work of putting away a hot appliance as separate. If you want to check how to put it in a pouch and how to handle the cord first, you can also read how to store a hair iron after use. The starting point is not to prepare detergent or a wet cloth and bring them near the unit before it has finished cooling.
2. Look at the marks stuck on and damage to the surface separately

Once the unit has cooled down enough, look at the plate surface in a bright place. Check what you can see where, such as a white film, stickiness, or dot-like marks. Don't decide by color alone that it is burnt-on styling product; look separately at whether it is a mark that wasn't there before use, and whether the surface has chipped or peeled.
The order to look in is the center of the plate, the edge, and the body around it. Even with the same white mark, the area you may clean differs depending on whether it is stuck on a flat surface or visible deep in a joint. Some models have vents or other parts, so don't treat a hole in the same way as dirt on the plate.
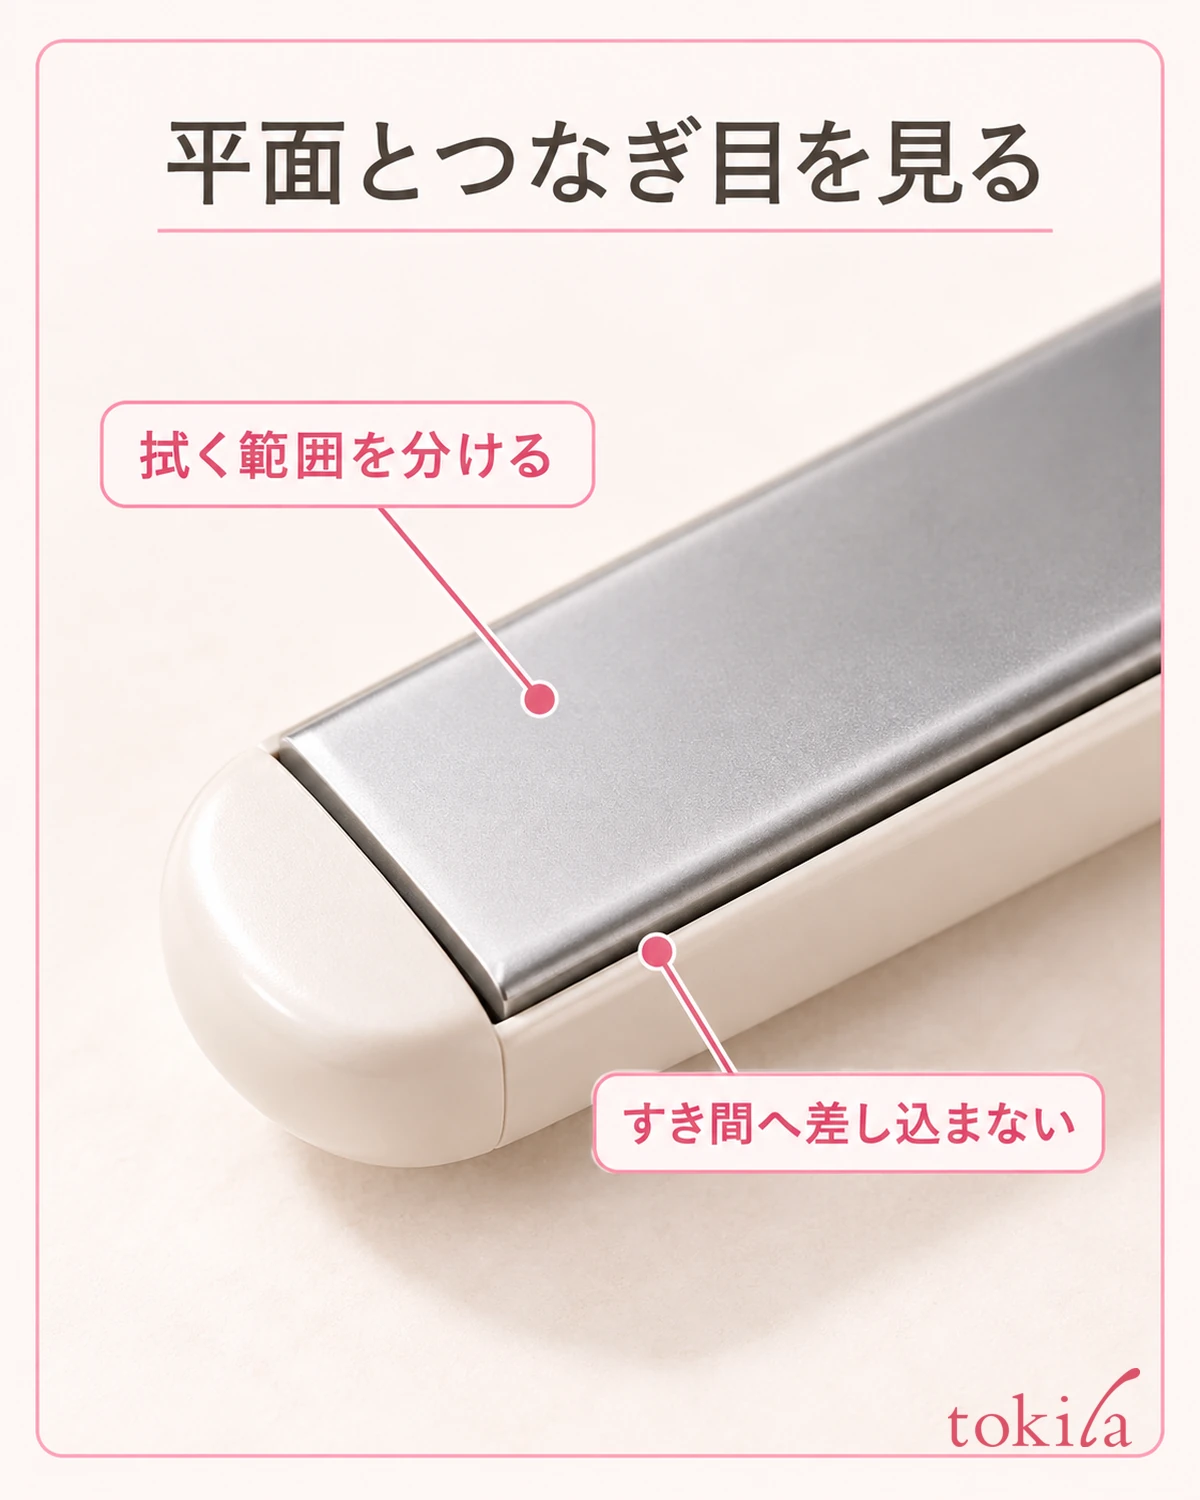
If you suspect that the coating has peeled or chipped, don't apply strong friction to remove the dirt; stop using it and check the inspection guidance. Avoid scratching repeatedly with your fingertips or nails to check whether it is stuck-on matter. Don't force yourself to treat dirt that comes back clean when wiped and a change in the condition of a part as the same thing.
Even if the left and right plates look different, don't keep polishing only one side to match the color. If you change the angle of the light, a mark may look stronger because of reflection. First compare the whole with the area that bothers you, and before touching or scraping, check the range of care allowed for the model you use.
If you are going to consult someone about a change that bothers you later, note its position while it is cool, without turning the power back on, and it will be easier to explain. Put what you can observe into words, such as "a white mark near the tip on the right" or "part of the surface looks peeled." You do not need to decide the cause or the name of a malfunction yourself.
Even if a mark bothers you, there is no need to clamp hair in it to check for snagging. First check only the unit while it is cool. If you test the condition of your hair and the plate at the same time, it becomes hard to tell where things changed, so settle first whether an inspection is necessary.
3. Check the cloth, water, and detergent specifications for each part

Before wiping, read the "Care" section of the instruction manual and match the targets, such as the plates, the body, and the vents. Check whether it says to use a dry soft cloth, to dampen the cloth and wring it out well, or to use a specific cleaning method. It is important not to carry over a method that worked on another beauty appliance as it is.
Even when detergent can be used, read through the type, how to dilute it, and even how to wipe it off at the end in the guidance for the same model, as one continuous set. Don't substitute with "any neutral one will do" or "soap and hand soap are the same." The things you must not use differ by product, so don't decide on a substitute just because the names are similar.
If you are told to use a dampened cloth, keep that separate from the act of pouring liquid directly onto the unit. Follow the specification on how to dampen and wring out the cloth, and don't bring it near the unit while liquid is dripping. Don't choose to wash the whole unit or immerse it in a container of water just because you want the plates to be clean.
Don't add alcohol wipes, nail polish remover, or abrasives because they seem likely to remove the dirt easily. Prepare only what is approved for use with your model. Also check the type of cloth, and don't switch to a hard sponge or a metal tool and head toward scraping it off.
If you can't find the manual, check the model number on the unit and confirm the care conditions for that model before working. Don't make up for it with the manual of a different model that looks the same, and don't try detergents without knowing. You can also set care aside for that day and style your hair with a different tool.
When you borrow a family member's appliance, you cannot assume that the same cloth and detergent as for your own iron are usable. Check the model number of the unit together with its manual, and if you are going to clean several units together, decide in advance which tool is used on which unit. Arrange things so that you don't mix up cloths with different specifications.
4. Wipe the specified area, and don't chase marks that won't come off

Once you have the specified cloth and method ready, wipe the flat surface that you are allowed to clean, following the instruction manual. Support the cool handle so that the unit doesn't move, and proceed while watching where the cloth touches. Put keeping to the specified method and area ahead of increasing force or the number of passes to get it off.
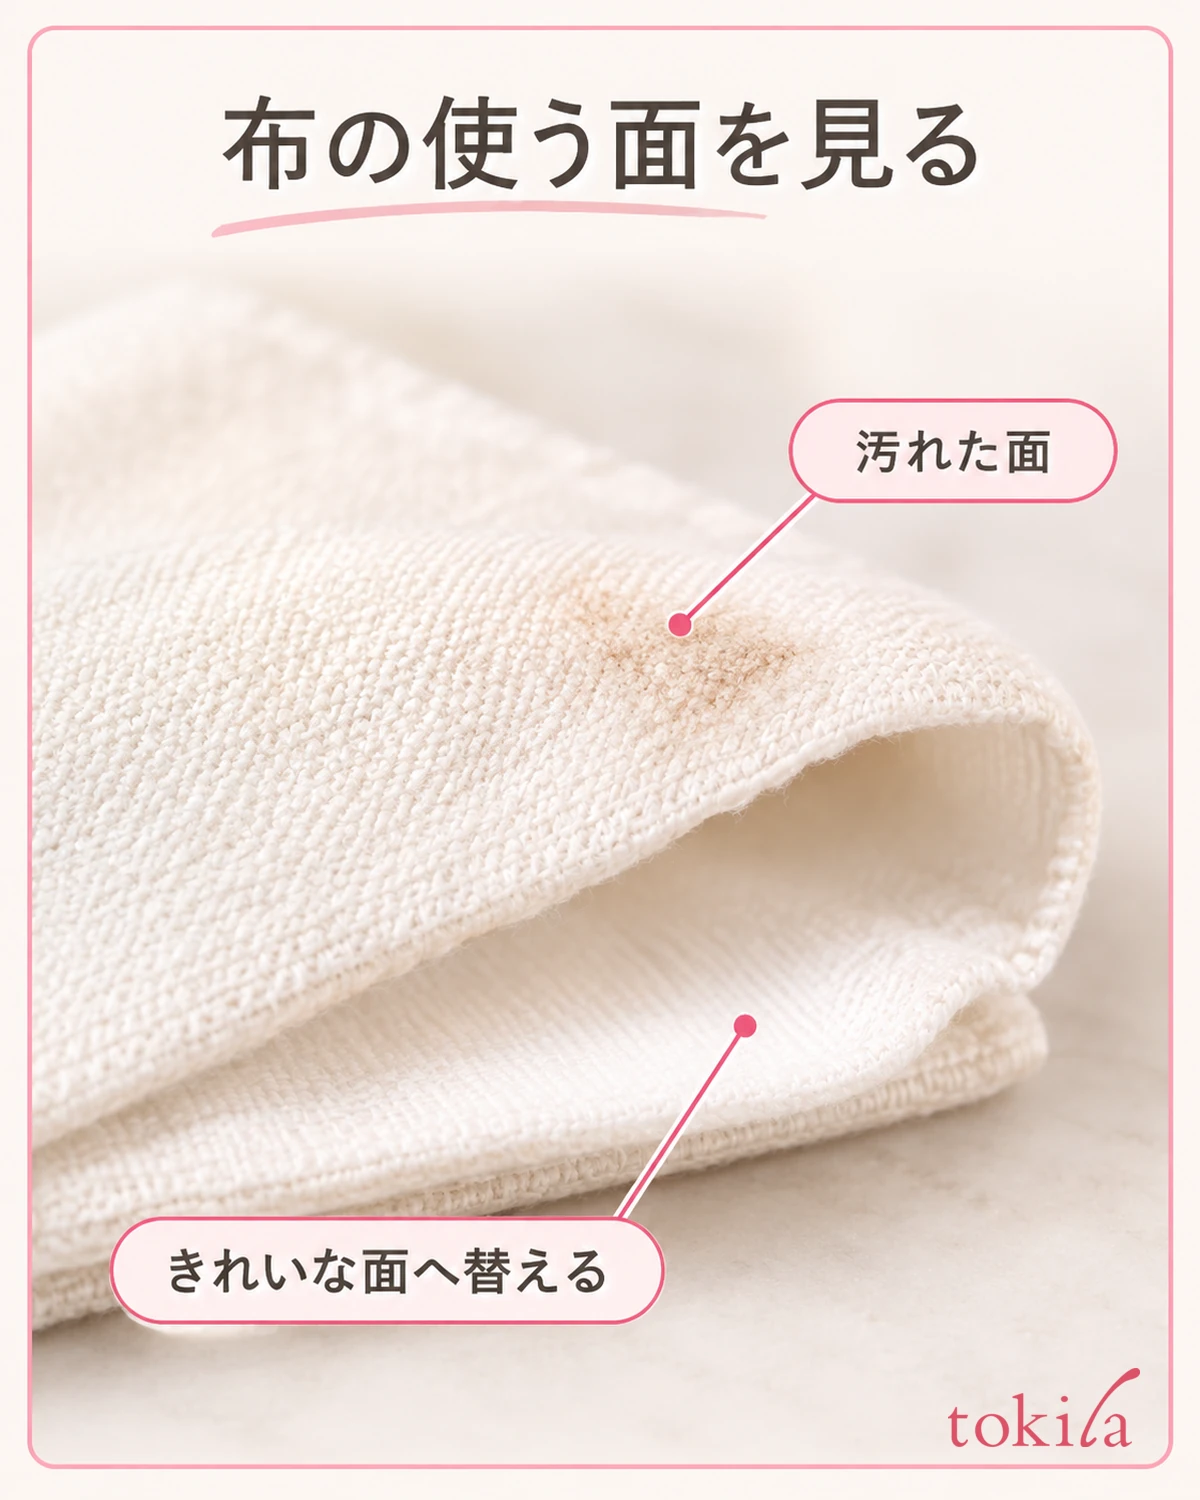
When dirt transfers to the cloth, don't keep wiping other surfaces with the dirty part; use a clean part of the cloth or replace it with a clean cloth that suits the specification. Do this as a break in the work to avoid spreading the dirt, and don't make it a habit of polishing the same surface dozens of times. If the cloth catches, stop and look at the condition before applying force.
Even if marks remain at the edge or in the joints, don't insert nails, needles, or tweezers to scrape them out. Don't disassemble a part that looks removable unless you have confirmed that it may be removed for care. For models with a special tool or operation for the vents and the like, handle them separately from the step of wiping the plates.
If it doesn't come off with the specified method, don't pile on attempts such as making the detergent stronger, adding another liquid, or wiping again while it is hot. Reread the guidance for your model to see whether there is a condition that calls for stopping use, such as marks that won't come off or peeling of the coating. If you are unsure, don't clamp hair in it to test the glide; move on to inspection or consultation.
Once the wiping is done, check that no cloth fibers or moisture remain, and also check the conditions before using it again. Don't turn the power on to dry it, and don't heat it with a cloth still clamped in. Be careful not to judge that it can be powered on right away just because the visible mark has disappeared.
When you are short on time, rather than rushing and skipping steps midway, put the unplugged appliance in a safe place and leave the checks for later without using it. Don't leave it with a cloth or liquid still applied, and don't return it to shared storage with marks that haven't fully come off hidden; make it clear how far the work has gone.
5. Review the conditions for using it again and how to prepare so it doesn't stick next time

At the end of the work, check the condition of the plate surface, the body, the cord, and the plug. Whether the dirt came off and whether the appliance is in a usable state are separate questions. If you suspect an abnormality, stop using it and follow the inspection and repair guidance in the instruction manual. Don't repaint the coating yourself or scrape and smooth out scratches.
Once the conditions for using it again are met, store it as specified for your model as well. Don't put a wet cloth in the pouch together with the unit; put the care tools away separately. If you share it with family, tell them its current state, such as "marks remain, checking," so that the next person doesn't start using an appliance that is in the middle of care.
Next time, check the conditions of use for both the styling product you use on your hair and the iron. Check whether it is a product you may use before ironing, and whether there are specifications such as how dry your hair should be. Don't skip needed preparation in the name of preventing dirt, or switch to applying things meant for your hair directly onto the plates of the appliance.
If you briefly note the day you cleaned it and the condition you noticed, it becomes easier to see whether the same mark keeps recurring. A record such as "a mark appeared in the center from the day I changed my styling product" is an observation, not a confirmed result that the product is the cause. When you review the amount you use and the timing, think within the range of each specification.
Even among beauty appliances, the parts and the range of work are different from cleaning the air intake of a hair dryer. Release the power and let it cool, look at the surface, match the usable cloth and method, wipe the specified area, and judge whether to use it again. Check in this order, and don't force yourself to chase marks that won't come off.



