
Fallen hairs have piled up like a thin net at the base of your hairbrush. It seems like soaking it in water would get them out, but you wonder whether it is really fine to wet the wooden handle or the soft cushion base. Start without water, and try separating the hair you can remove from the dirt that stays.
This article is about caring for hand-held hairbrushes that are not electric. In 5 illustrations, it explains checking the care label, removing tangled hair a little at a time, handling only the parts that can be washed, and drying. These steps are for getting the tool into good condition before you increase the force you use when brushing your hair.
1. Look at the bristle tips, base and handle, and check the care label

First, take the brush away from your hair and set it on a bright desk. Looking at the surface of the bristles and pins, the base cushion and then the handle, in that order, makes it easier to tell apart tangled hair, fine dust and buildup such as styling product. Do not decide the cause from the color of the dirt alone; check what remains where.
Next, read the care instructions on the product itself or in the included manual. See whether it can be washed with water, whether that applies only to the brush part, whether the whole body may go into water, and which detergents and drying methods are allowed. A label saying "can be used on wet hair" does not mean you can soak the whole brush. Check the conditions for use and the conditions for cleaning separately.
Even if the bristle tips look like resin, one brush can combine different materials and structures, such as a wooden handle, a rubber base, or a hollow inside. Do not decide to wash the whole thing based only on the material you can see. If there are joints or holes, also check whether there is a warning about water getting in. Detach parts only when the instructions say they can be removed.
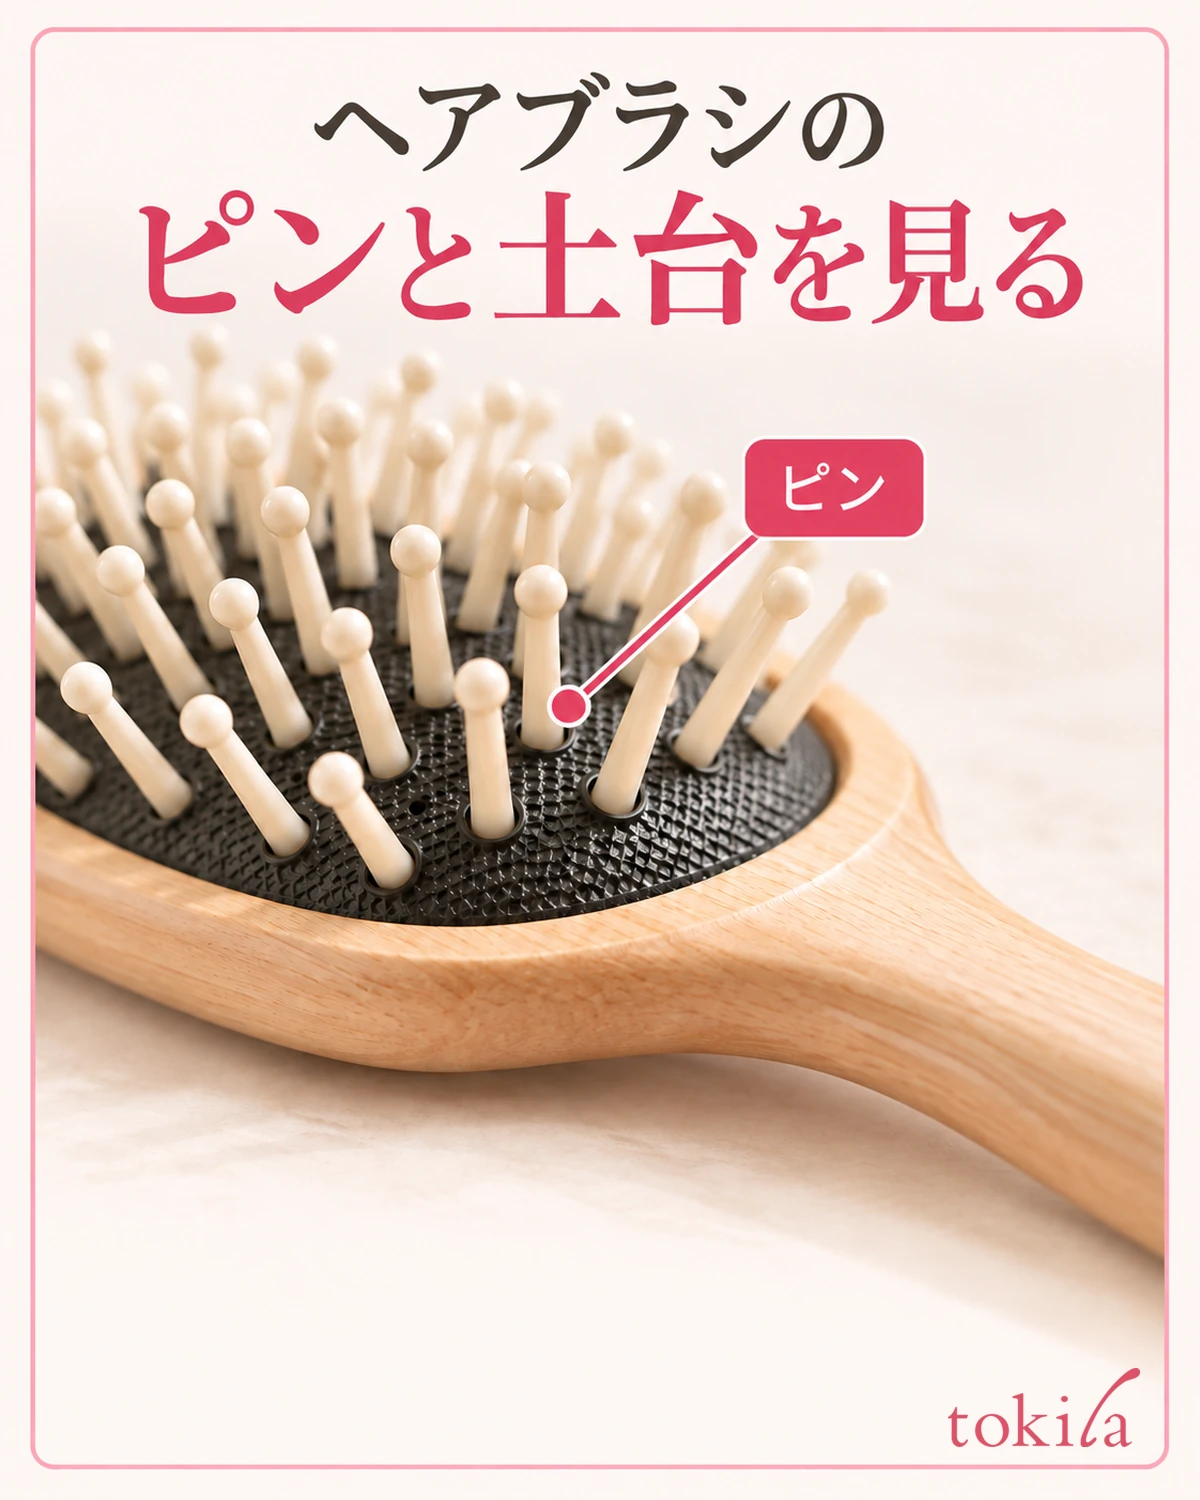
Damage such as bent or broken bristles or pins, a chipped rounded tip, a split base, or a cracked handle is separate from tangled hair. Do not try to fix snagging by cleaning alone; stop using a damaged brush and consider replacing it. Do not go on to steps such as trimming the bristle tips or patching with adhesive.
When reading the label, it is also important not to mix it up with the method for a different product of the same shape. If you have several boxes or manuals, pick the one that matches the model name of your brush. Also confirm that the brush you are caring for has no electric function, and do not apply these steps as they are to electric types or tools that generate heat.
If you cannot find any instructions, note the model name and structure and put off any step that uses water. Limiting yourself to picking off the hair you can lightly pinch from the outside helps you avoid wetting a brush when you do not know whether it can be washed. For differences in materials when choosing, the basics of hair care products and brushes is also a helpful reference.
2. While dry, remove loose hair a little at a time
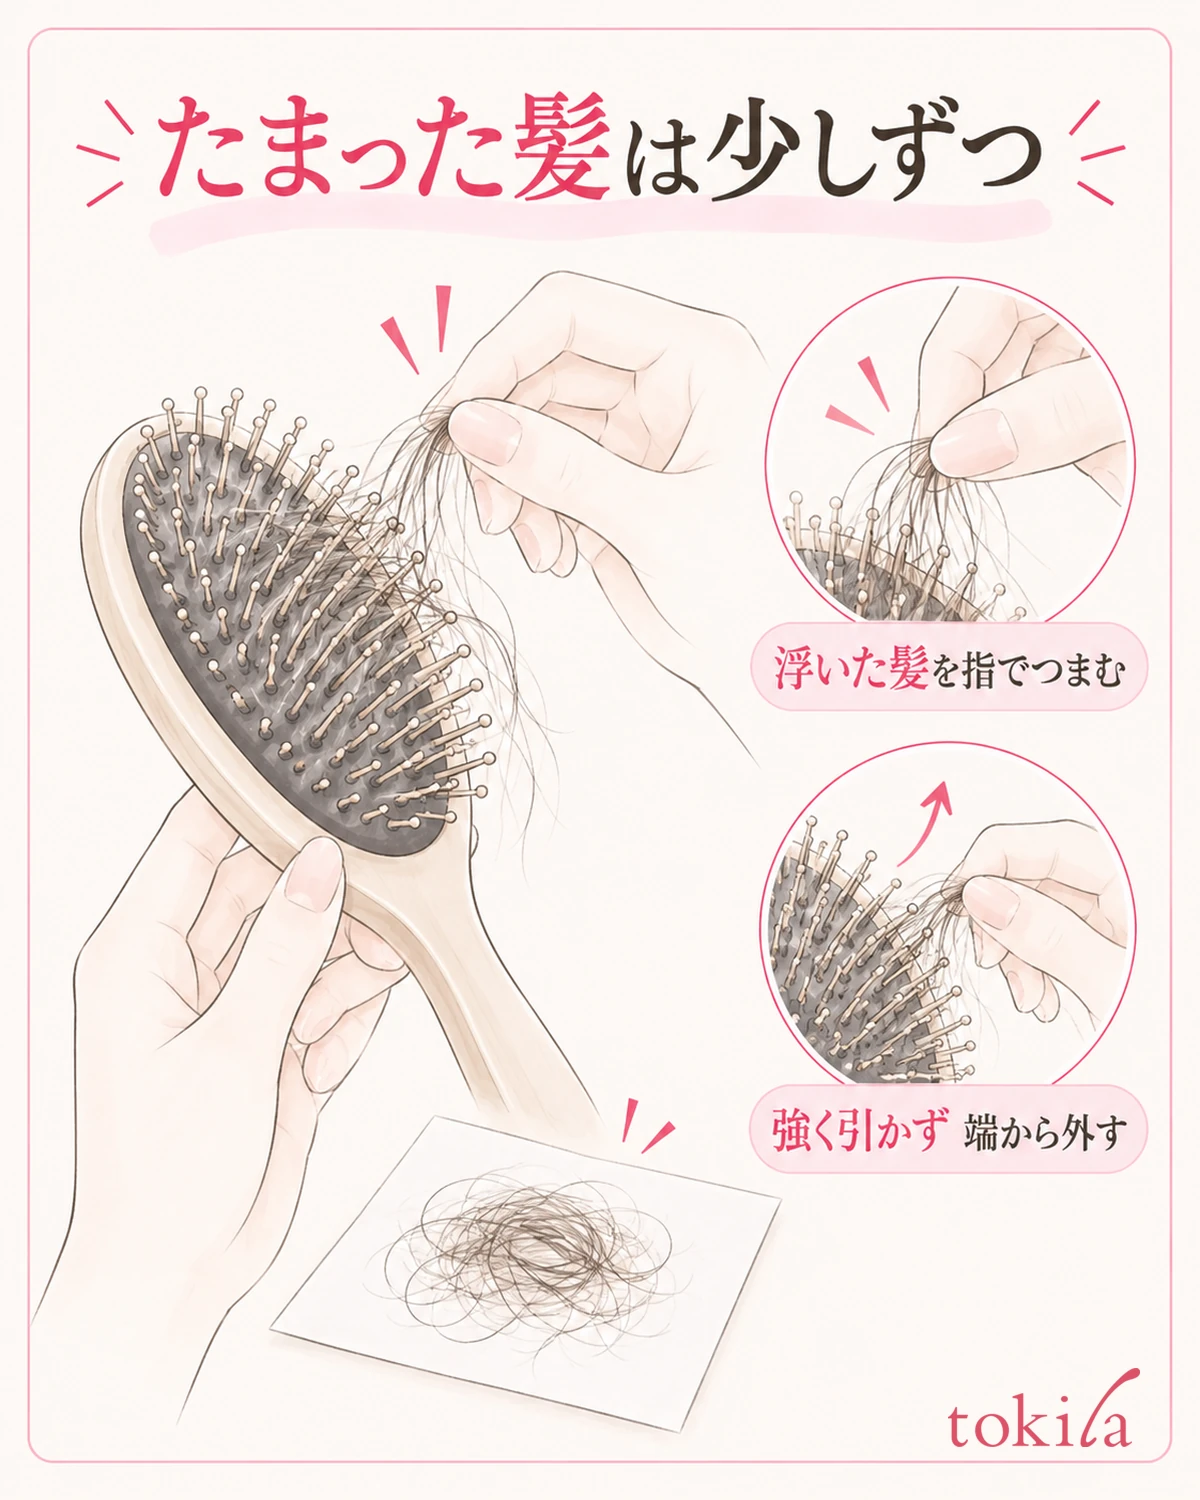
Lay down paper or similar on the desk to prepare a place to catch the hair you remove. Hold the handle with one hand, face the brush surface toward you, and lightly pinch the hair lying loose on top of the bristles and pins with your fingers. Do not pull a big clump all at once; start with a small amount that moves easily. Proceed while watching your hands so that you do not grab the brush's bristles along with the hair.
When hair is tangled in a loop at the base, do not add force in a direction that will not budge; instead, loosen the hair you have grabbed. Lift it slightly from a spot where you can see the end of the loop, and remove only as much as can clear the pins. Working in sections from the ends lets you see where it is caught better than pulling everything in one direction.
For gaps your fingers cannot enter, use a tool the instructions allow, such as a cleaner made for that brush. Do not insert the tip of the tool deep into the base; move it lightly to lift tangled hair to the surface. The aim is not to push the bristles or pins apart to the left and right. If the resistance is strong, let go once and try from another end.
Avoid trying to cut the hair out by inserting scissors deep into the brush surface. It is hard to tell tangled hair apart from the brush's bristles, and you may damage the base or the bristle tips. Do not switch to digging at the base with a needle or blade, or prying hard with a metal tool, either. Rather than increasing force for one stubborn bundle, go back and check how to handle the brush.
With a brush that has a wide surface, choosing one corner first makes it easier not to lose track of the area you are working on. Once a little has come off, rotate the brush and move on to the next section. Instead of going back and forth over densely bristled areas, look again for the ends of visible hair and remove it from where it moves with little force.
Gather the removed hair on the paper for the time being and keep it away so it does not return to the brush you are working on. When the front looks clear, also look from the side and check whether any hair spans between the pins. Prioritize removing the hair that comes off without deforming the brush over making it look as if every hair has been pulled out.
3. Remove dust and buildup at the base by a method that matches the label
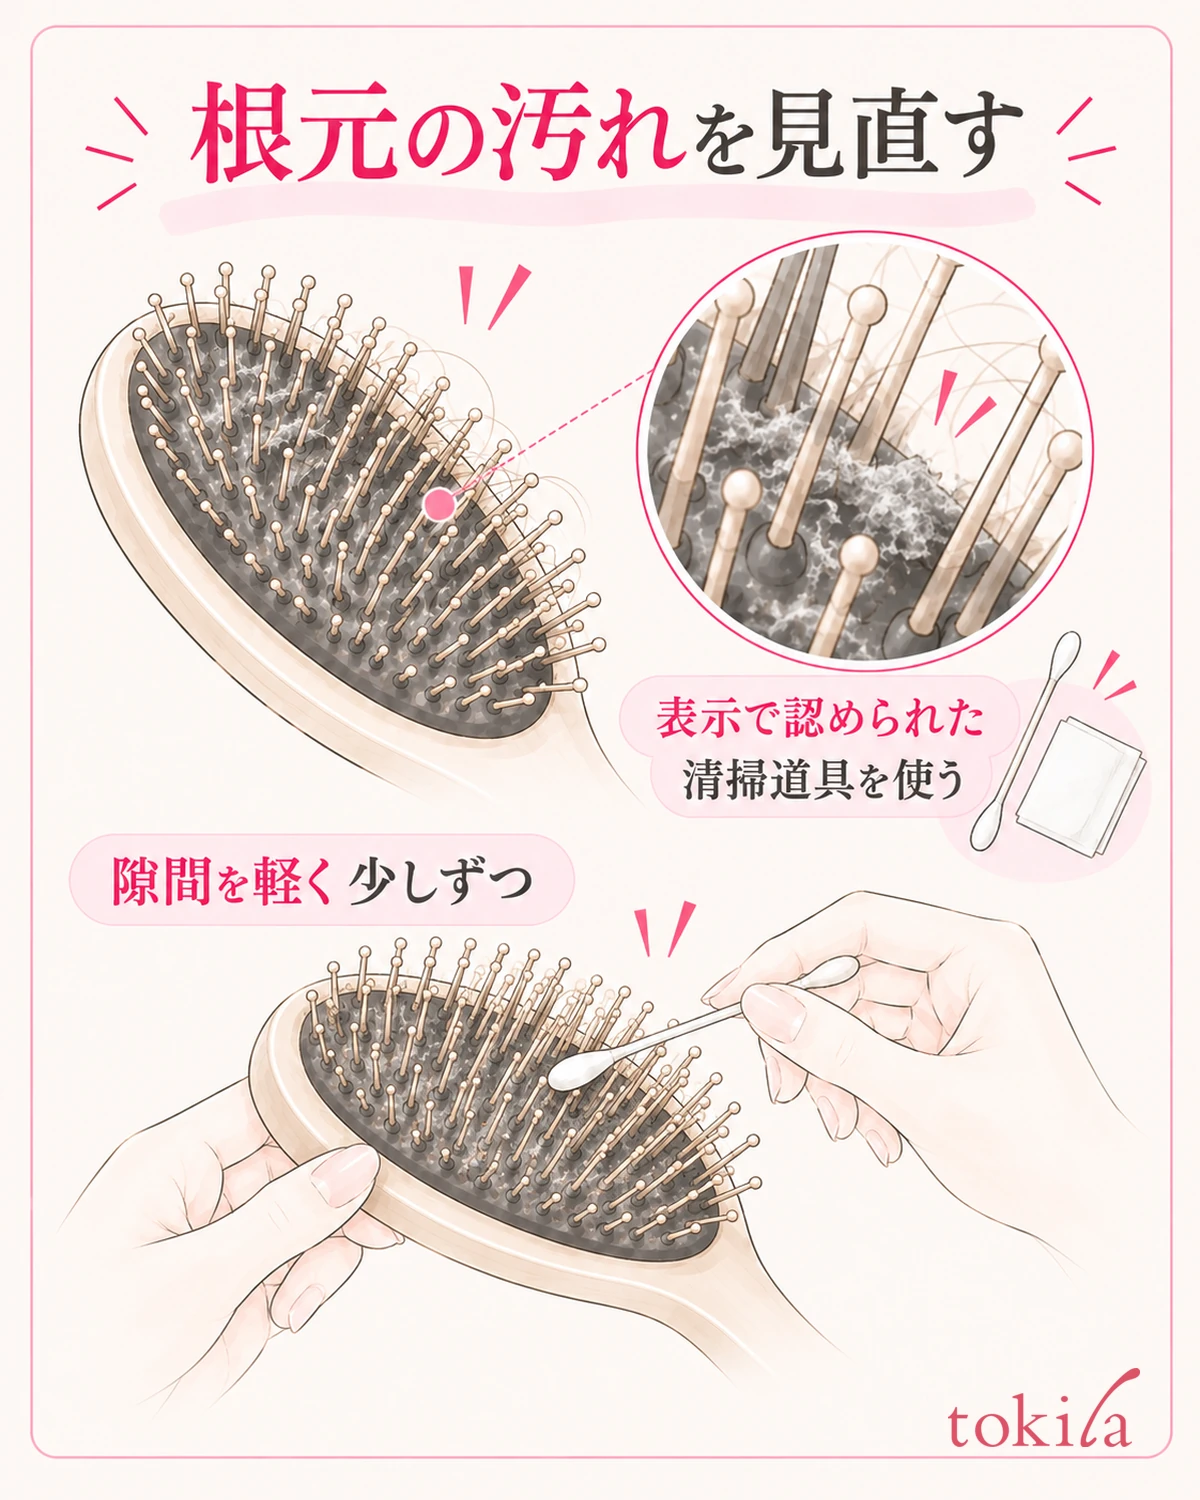
Once the tangled hair has decreased, look again at the dust and buildup remaining at the base. Distinguish between lint that moves along with the hair and material stuck to the base, and do not soak it in water right away just because it is hard to remove. First check what you can handle with a dry soft cloth or a compatible cleaning tool.
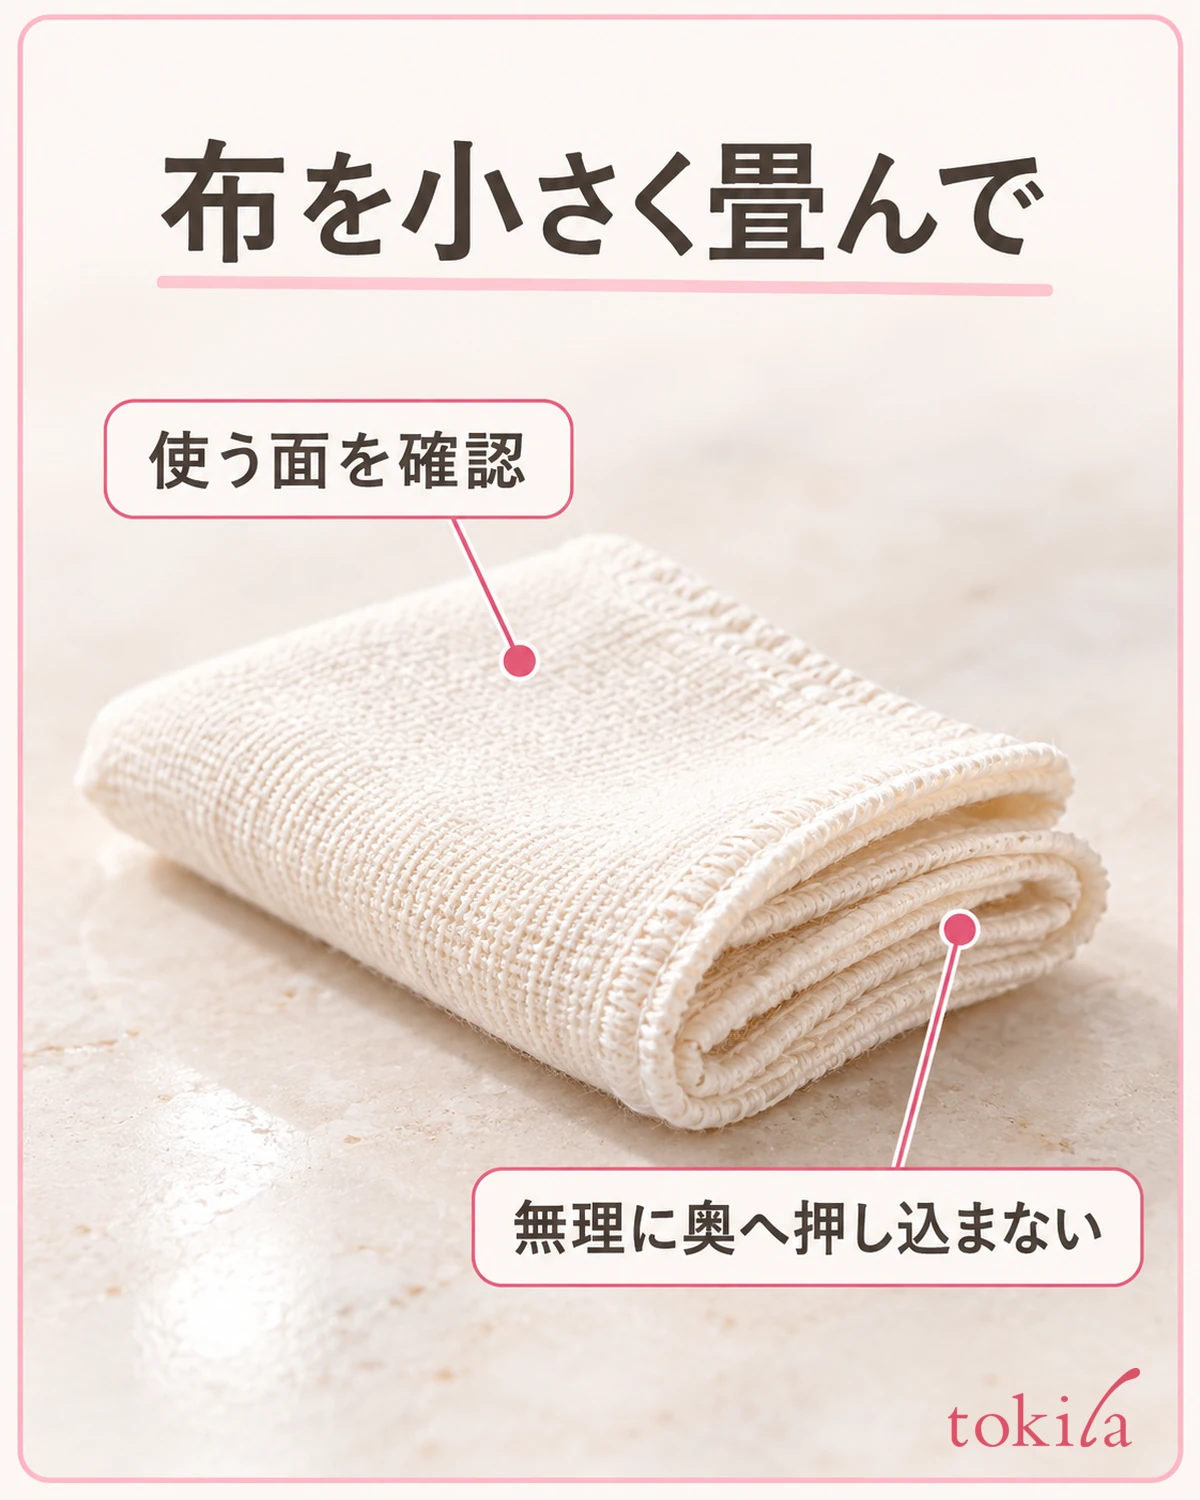
When wiping with a cloth, fold it small to follow your finger and touch lightly to the visible surface. Do not force the cloth from the tips of the pins down to the base, and change its direction where it catches. The key points are not to scrape with your nails and not to press so hard that the base is crushed.
For brushes where cotton swabs or cleaners are permitted, lightly touch the dirty gaps and remove it a little at a time. Also check whether cotton fibers are left behind and whether hair transferred to the cleaner has tangled again. If the cleaning tool itself gets dirty, tidy it according to that tool's care method.
Even if something like styling product has hardened, do not add alcohol, nail polish remover, bleach or the like on your own judgment. Whether they are suitable for painted surfaces or bonded parts differs from product to product. Do not assume a strong detergent will work faster; first check whether you can use a detergent at all and whether there are specifications for the type and dilution.
If buildup remains that does not come off here, decide your next step by whether the area is clearly stated to be washable. If it cannot be washed, or if that is unclear, check how to handle it before continuing to use the brush with the dirt left on. If damage to the brush or stubborn dirt at the base becomes noticeable, include replacement among your options.
4. Wash only the parts and with the method you have confirmed
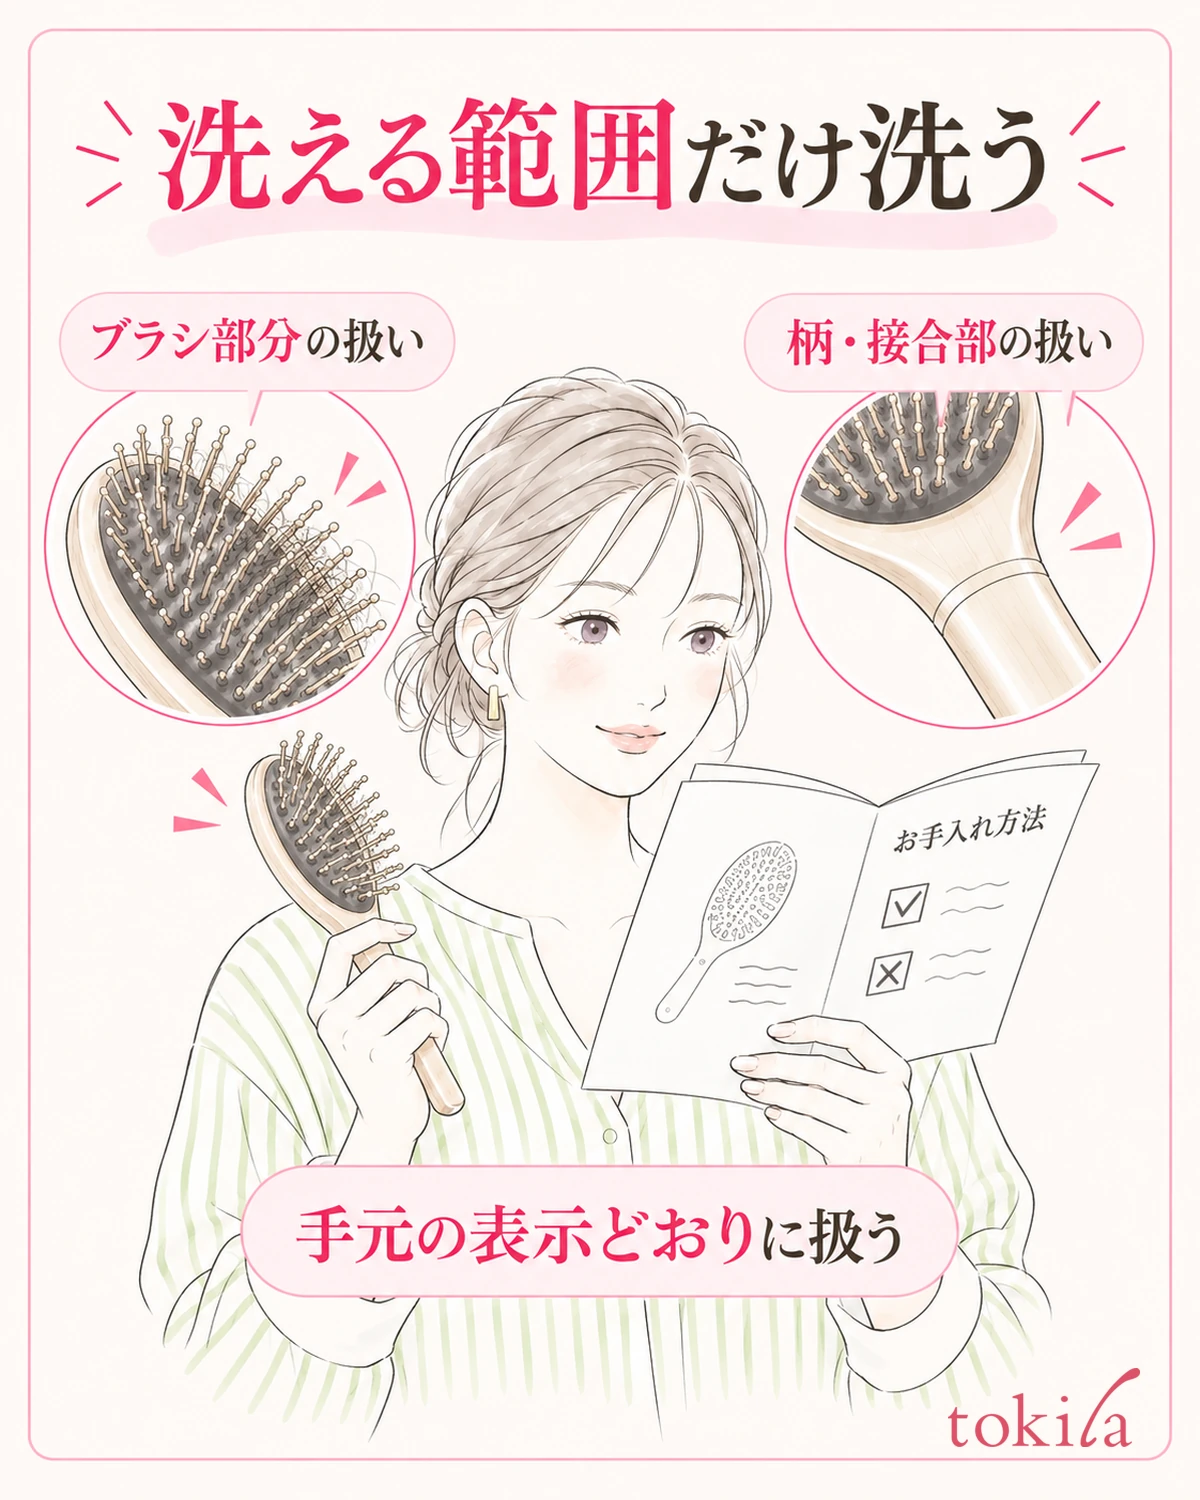
Once you have confirmed that it can be washed with water, wash within the range and by the method written in your instructions. Removing tangled hair before washing reduces the work of pulling out wet clumps of hair afterward. Do not standardize the water temperature, detergent or soaking time on your own; follow the instructions for that brush.
When it says "brush part only," read separately how to treat the handle, the joint, the holes and the base. The bristle tips touching water and water getting inside are not the same thing. Handle it in a posture that keeps to the washable range, and do not submerge the whole brush in a container. If you cannot tell where the boundary is, stop before using water.
Even where a detergent may be used, it does not always follow that hair shampoo or dish soap is fine. Check the types and amounts allowed, and when scrubbing with a cleaning brush, do not press hard enough to bend the bristles or pins. Do not leave it for a long time or switch to hot water just because the clump will not come off.
When rinsing, too, keep to the range that may be wetted, as when washing. Check whether any suds remain on the parts where detergent was used and whether the visible dirt has come off. Do not run water into the holes to rinse the inside you cannot see. For products with no instruction to disassemble or wash inside, do not pry the parts open.
If, during washing, you notice anything unusual, such as a part wobbling or bristles or pins coming out, stop the work. Rather than continuing to wash to see how it ends up, check whether it is damaged. Do not force a part back and use it; consider checking how to handle it or replacing it.
When you have several brushes, some to wash and some not to be used with water, separate your work areas. Do not put them together in the same container; checking the label of each one by one reduces mix-ups. If you also care for makeup tools, proceed with conditions separate from caring for makeup brushes and sponges.
5. Check for moisture and damage, and store it once it is dry
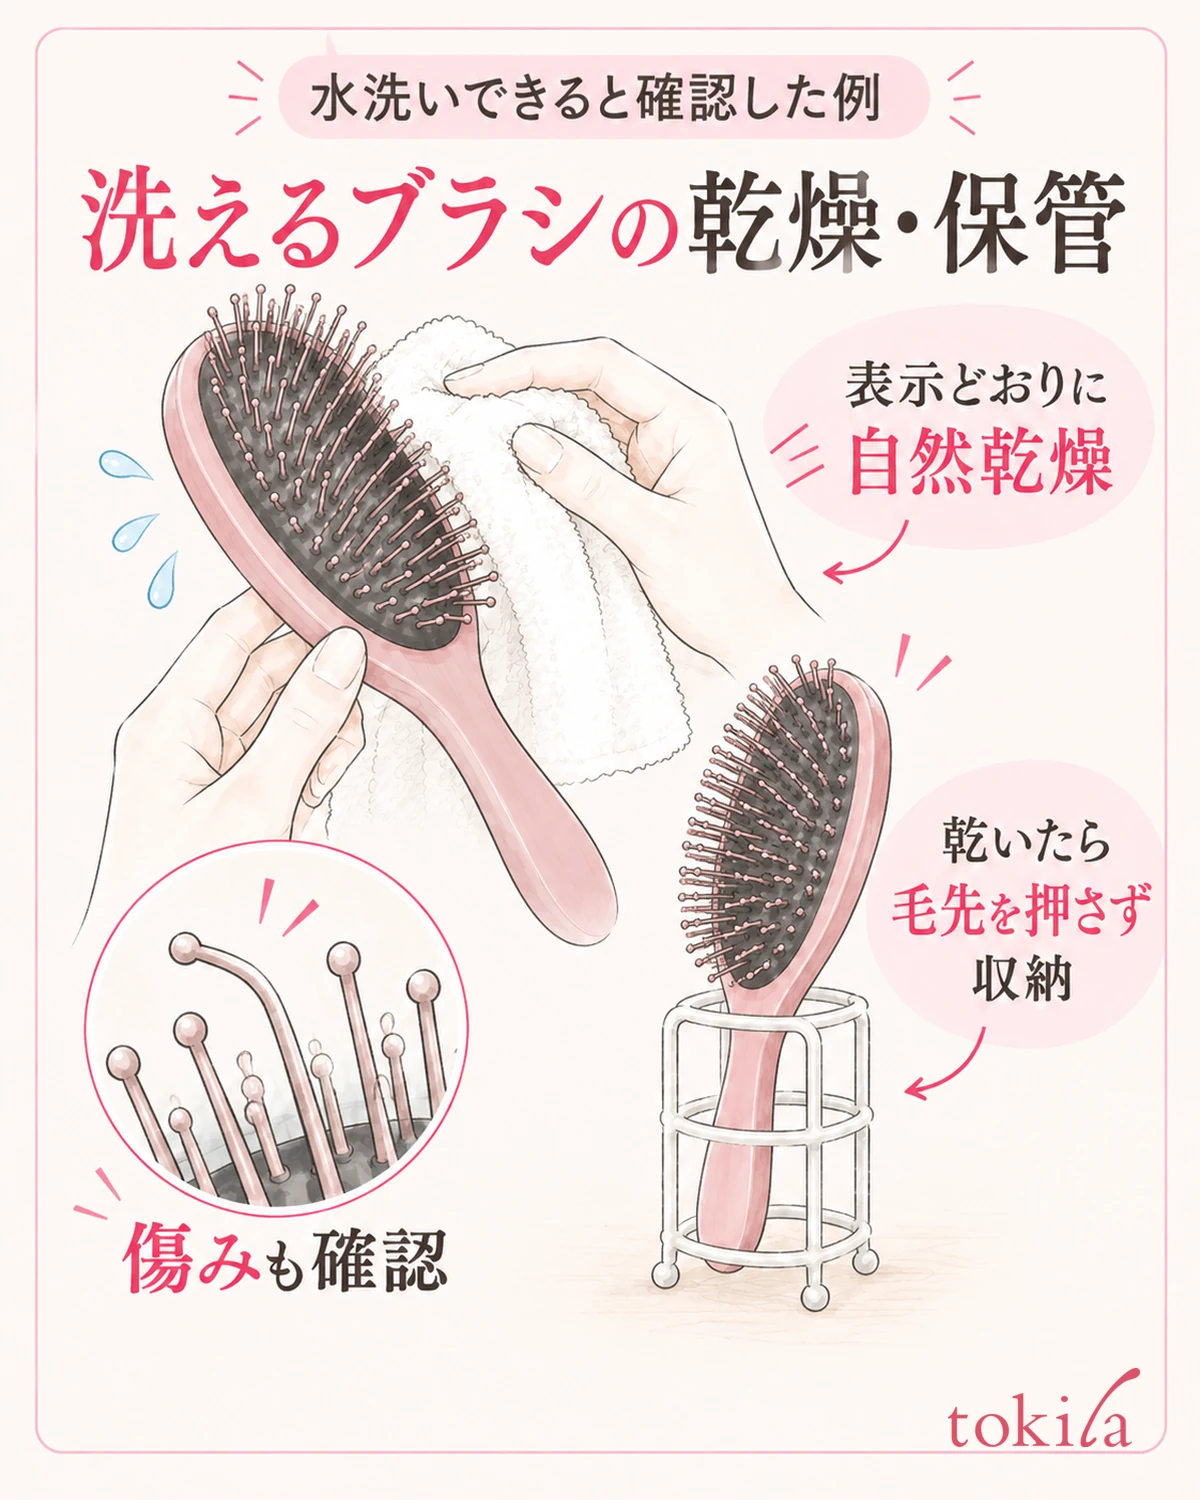
After washing, remove moisture as the instructions say and let it air dry in the orientation and place specified. If you take off water with a soft cloth or similar, do not wrap and twist the bristle tips hard; touch lightly. Also check that there are no water droplets on the handle, the back side or visible joints.
Even if you want to use it sooner, do not decide on your own to switch to drying it with hot air from a hair dryer or by bringing it near a heater. Think about deformation of the bristles and pins and the handling of the base and bonded parts, and give priority to the product's instructions. Rather than deciding it will surely dry in a certain number of hours, setting aside care time before you plan to use it helps reduce occasions when you put it away before it has dried completely.
Even if the surface you touch is dry, water may remain depending on the structure. Check as far as you can, for example whether you have finished the drying method given in the instructions and whether water comes out when you tilt it. If water has gotten in and you do not know how to handle it, do not rush to use it; check how to handle it.
When storing it, place it so that nothing heavy presses on the bristle tips or pins. If there is a dedicated cover or holder, follow how to use it, and do not shut it in while wet. For a brush you put in your bag, also check that it is not being squashed by other items.
Finally, check again that no bent bristle tips, chips, split base or stubborn buildup remain. Think of the dirt coming off and the damage being repaired as separate matters. After the next use as well, lightly remove loose hair and watch how it accumulates to create chances for care, and you will find it easier to notice before it becomes a large clump.



