
You open your makeup pouch and find fine powder on the bottom and on the puffs. Before you wipe the inside and put everything back, find out where the powder came from. A case with a lifted lid, a cracked pressed powder and a brush with powder left on its bristles each call for a different fix.
First, don't shake the pouch. Take the contents out one at a time on a bright desk. Separate the dirty tools from the clean spares, check how each container closes, and then move on to care that suits the pouch's material. This article does not cover collecting spilled powder to put back into a cosmetic, or re-pressing a broken product yourself. It treats a temporary tidy-up while you are out and the cleaning you do back home as two separate steps.
1. Before you shake it out, sort the contents and see where the powder is

Place the pouch on a desk and open it slowly. Don't shake the powder out or blow it away; take the contents out in a way that keeps it from spreading. If you lay down cloth or paper, choose something you can throw away or wash later, and keep it away from food and from tools you use on your face.
Sort the contents into containers with powder on them, dirty brushes and puffs, and clean spares. When you set things on the desk, close the lids of the cosmetics, and don't put brush bristles or the working side of a puff straight onto a dirty mat. If you start wiping while clean tools are still in the pouch, you will move powder onto them as you work.
Look at whether the powder gathers in one spot on the bottom, whether only the rim of a container is colored, or whether the place where you kept the brushes is dirty. But don't assume which product leaked just because the colors look similar. Powder on the outside of a container can also rub off onto other things, so next you will check each item one by one.
If there are solid fragments, first look for a broken product or container. Don't run your hand along the bottom by feel; check it where you can see. If there are sharp pieces of a container, or powder you can't identify, don't let it touch tools you use on your face, and don't force yourself to pick it all up.
If you remember the order in which you took things out, it is easier to trace which surfaces had powder on them and what they were touching. If you take photos, use them to check where the dirt is; don't shake a container or add powder just to photograph it. Keep what you saw separate from what you only guess is the cause.
If you are out and have no desk or tools to tidy up with, don't rush to make it look perfect. Close whatever containers you can, keep dirty items apart from the clean spares, and take them home. Rather than shaking powder off widely over a public sink, keep everything in a state where you can deal with it once you are home.
2. Check the lid, inner lid and pressed powder, container by container
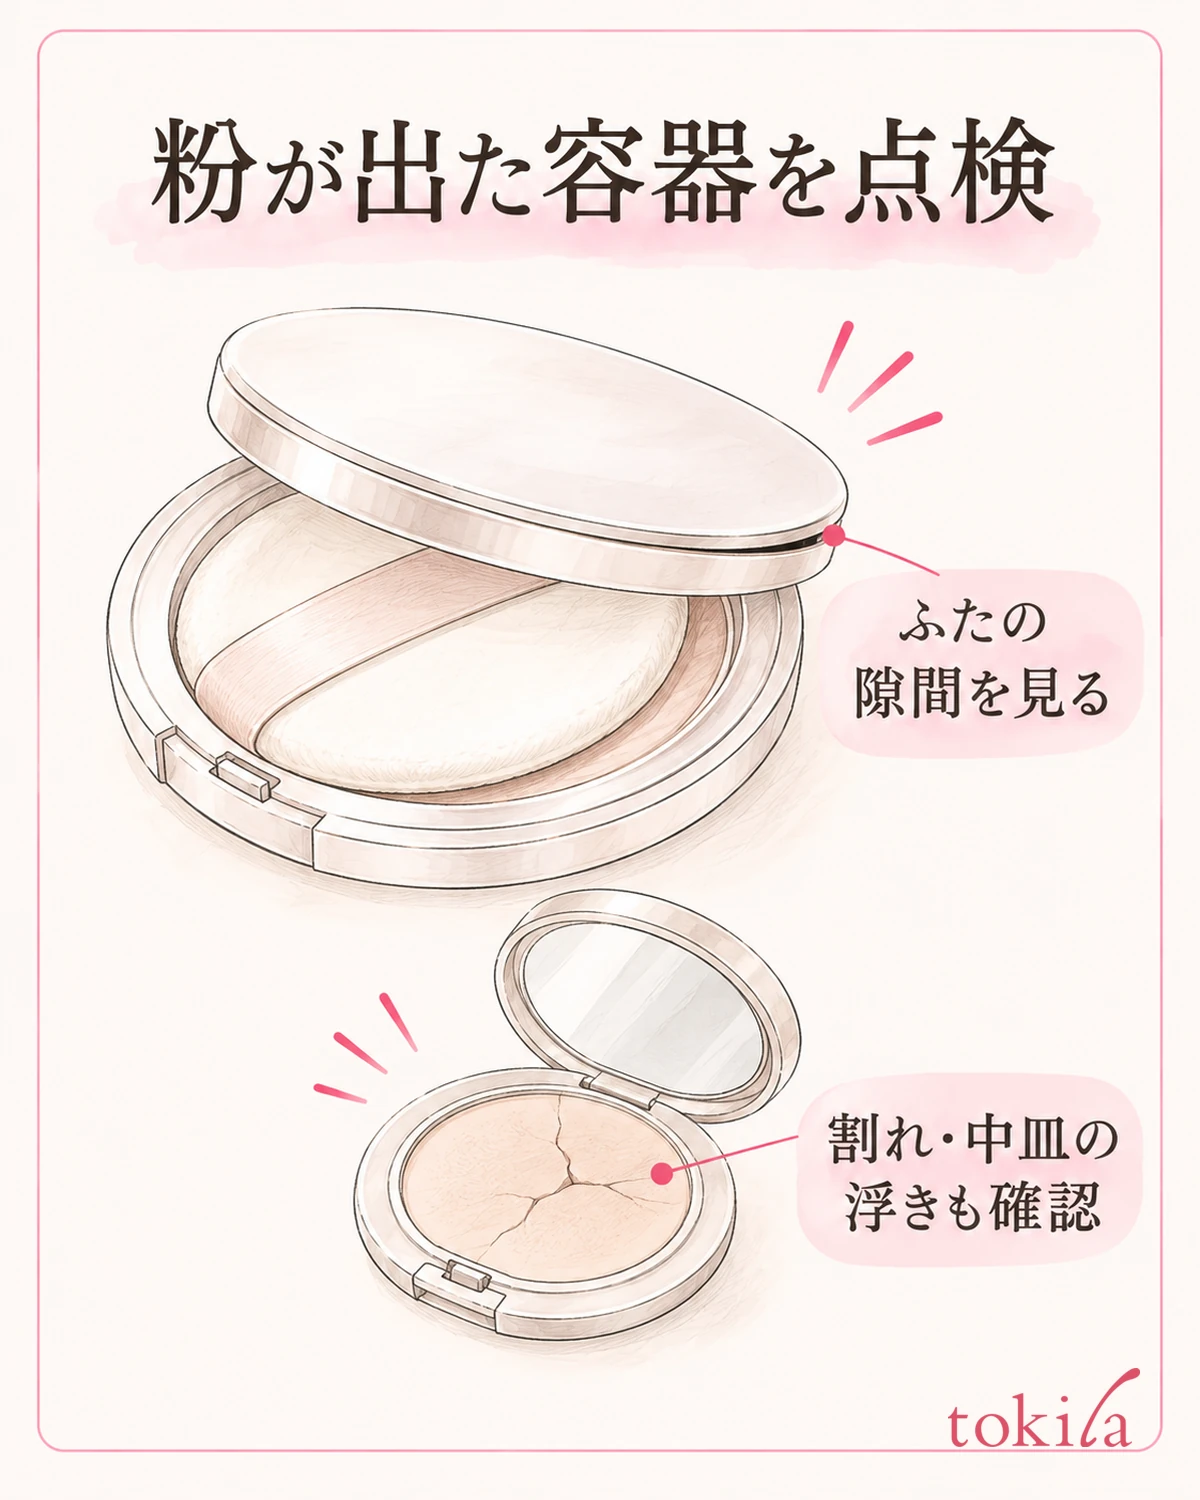
When you find powder, first tell whether the product you have is pressed or loose. For a pressed product, look at cracks on the surface, a lifted pan and how the lid and clasp close. For a loose powder, in addition to the outer lid, check how the original parts, such as the inner lid or the sifter, fit together. Don't assume that every container has the same kind of inner lid.
For a container with powder on the outside, tidy around it in the way the product's instructions allow, then check opening and closing on the desk. If you turn a container with powder in it upside down to test it, more may spill during the check. When you open it, don't bring your face close to the lid, and handle it without tilting it.
If a gap remains in the lid, see whether a puff or film is caught in it. For a screw-type container, check that the threads are engaged properly, and don't force it closed at an angle. For a snap-closing container too, don't judge by the click alone; look to see that the rim has seated. If a container won't close because of a crack or deformation, reconsider using it before you carry it around pressed shut.
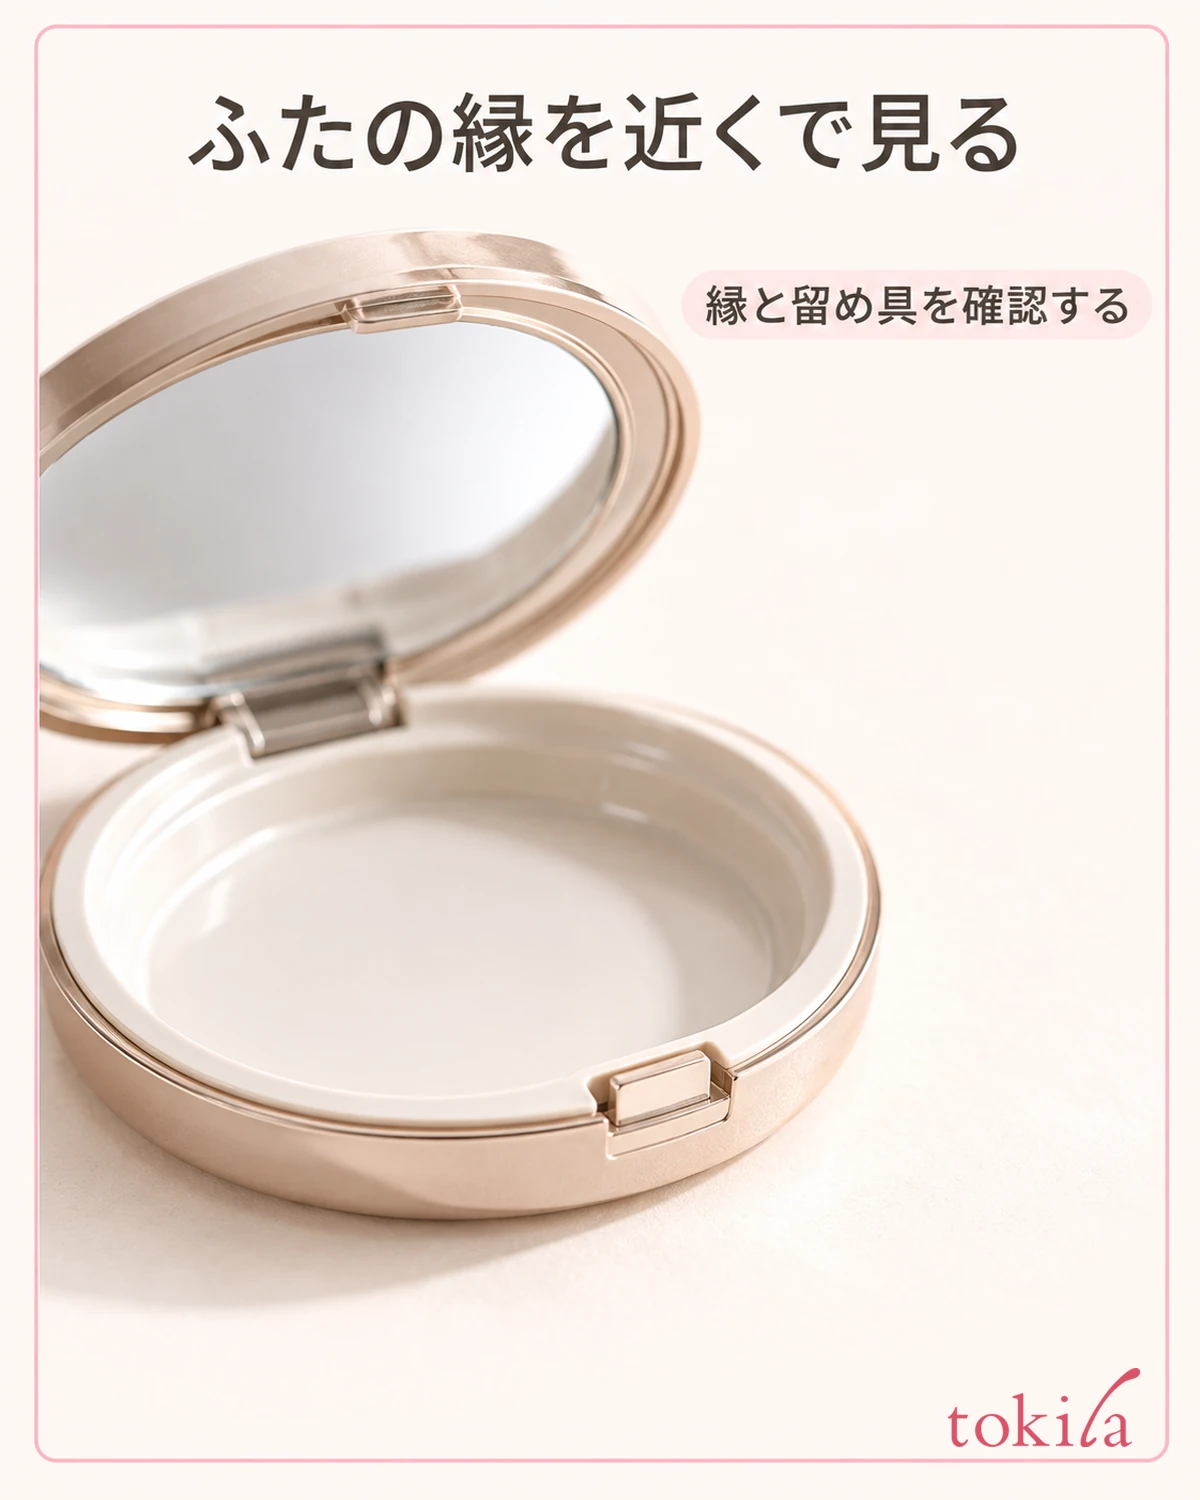
For a refill, check that it is made for the case you have and that it is set in the specified way. Don't move one into a different case just because the shapes look alike, and don't fix a lifted pan with an adhesive of your own choosing. If you need to remove parts, follow that product's replacement instructions first.
Don't put spilled powder back into its original container. Once it has touched other cosmetics, tools or fibers, you can't judge by eye that the impurities have been removed. Don't go on to add water or alcohol to re-press a broken product either; check product by product whether it can still be used.
3. Care for the powder on brushes and puffs separately from the pouch
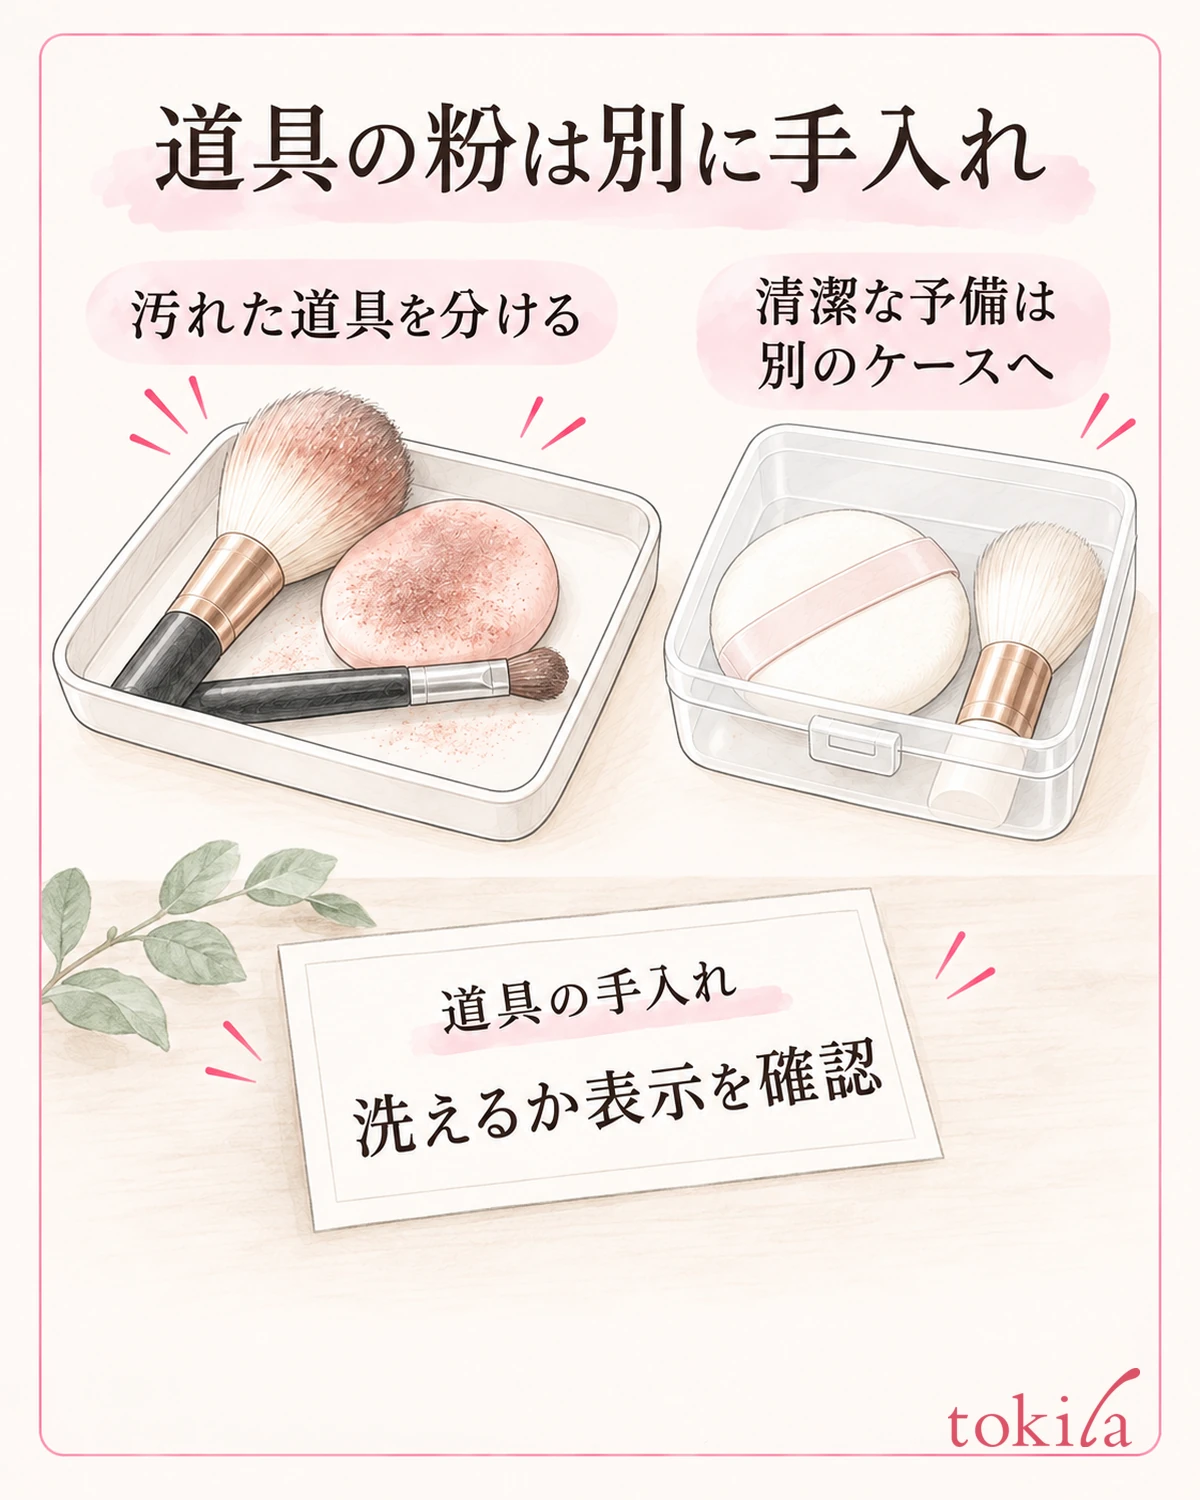
Even if you can't find a leak from a container, check whether brushes or puffs carrying powder have been touching the pouch directly. A tool with blush or eyeshadow color left on its bristles can transfer that color if it is stored with a white puff. Powder on the tools and a leak from a container may be happening at the same time.
Don't use a powder-stained puff to clean the pouch. Keep what goes back on your face separate from what wipes the storage. Also avoid using a brush on your makeup after you have used it to sweep the corners of the pouch. Prepare the paper and cloth you use for cleaning separately from your clean makeup tools.
For care of the tools, first check whether they can be washed in water and which cleanser is compatible. Lightly removing powder as everyday care is a different step from washing. Don't assume that brushing off dirt that came from outside has returned a tool to a clean state that is fine for your face; choose washing or replacement according to the tool's instructions.
Once you have washed the tools that can be washed, dry them thoroughly in the specified way. Don't seal a damp, just-washed puff in a bag or cover brush bristles with a case before they are dry; use a clean spare while they dry. Cleaning and Drying Brushes and Sponges explains the points to check for each tool.
After they are dry, look again for splayed bristles, tears in the puff and dirt that won't come out. Don't add fragrance or another cosmetic to hide the powder; consider replacing the tool depending on its condition. Also make sure the case you put it back into is not dirty, and keep the order so that a washed tool never goes back into a pouch that still has powder in it.
4. Check the material and care label before cleaning the pouch
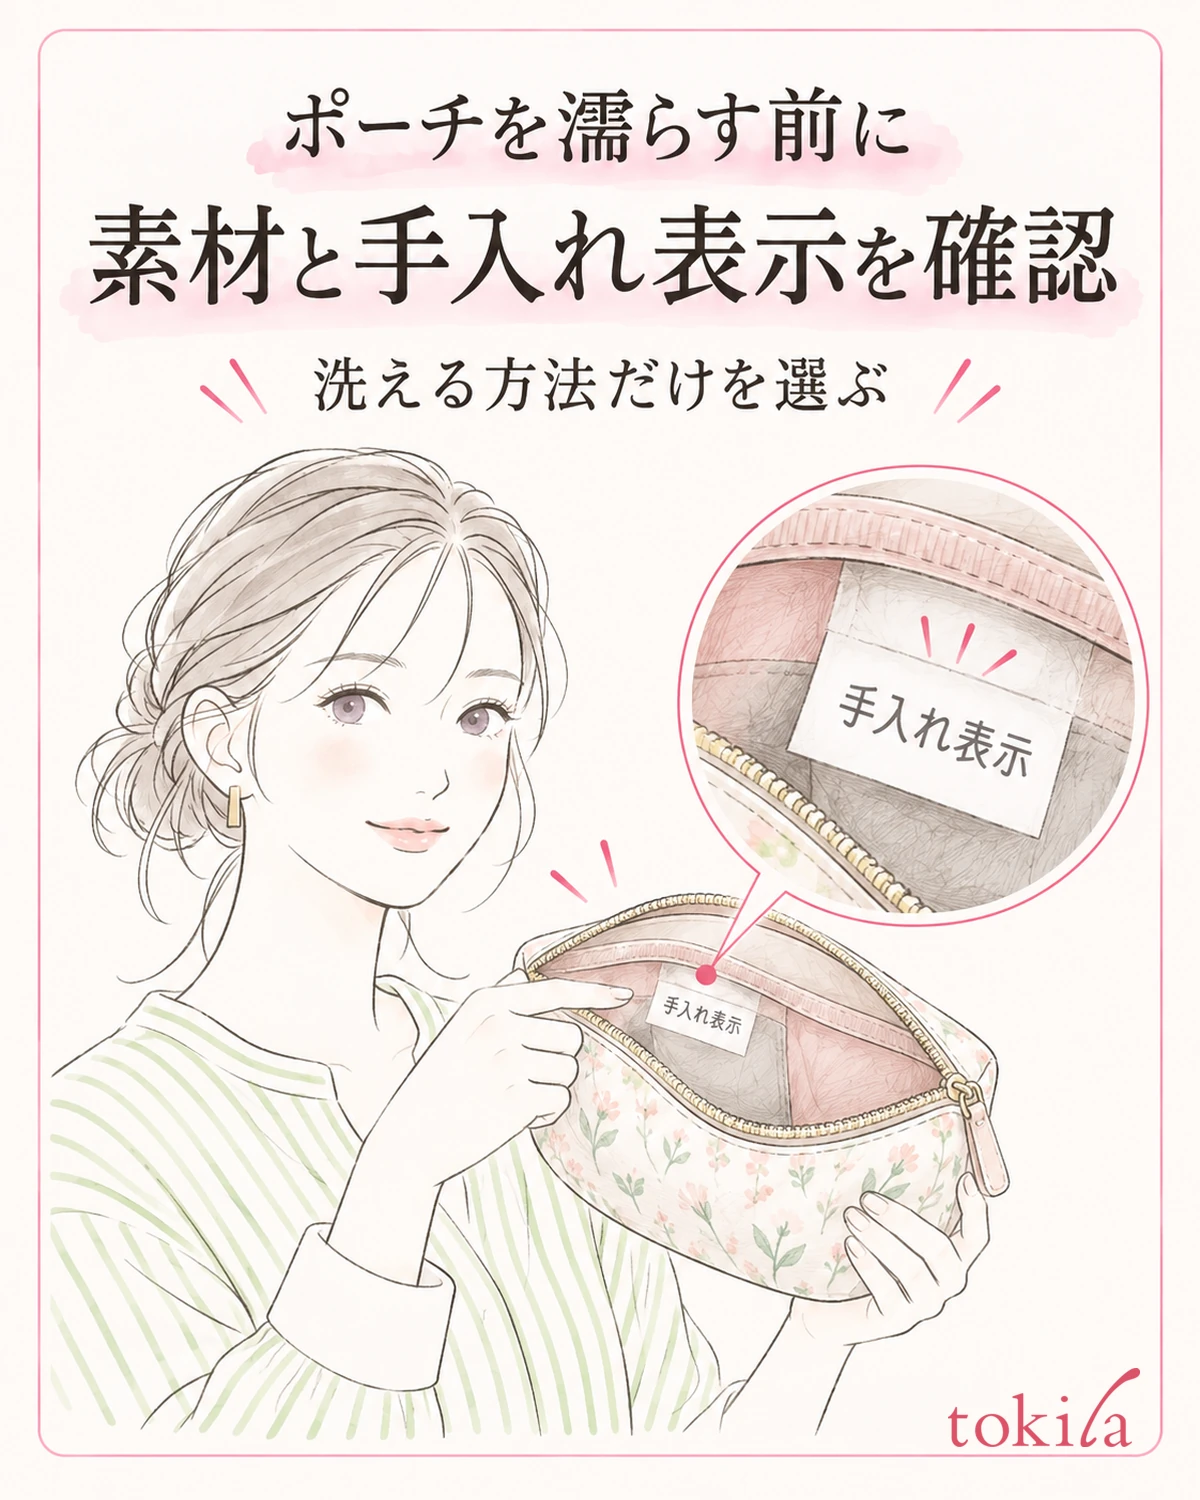
Once the pouch is empty, check the inside material, the seams, the pockets and the area around the zipper. Even if the outside is fabric, the lining may be coated, and leather parts or glued interfacing may be used. Don't decide that "it looks like fabric, so I can wash it whole"; look for the laundry label or the care instructions that came with it.
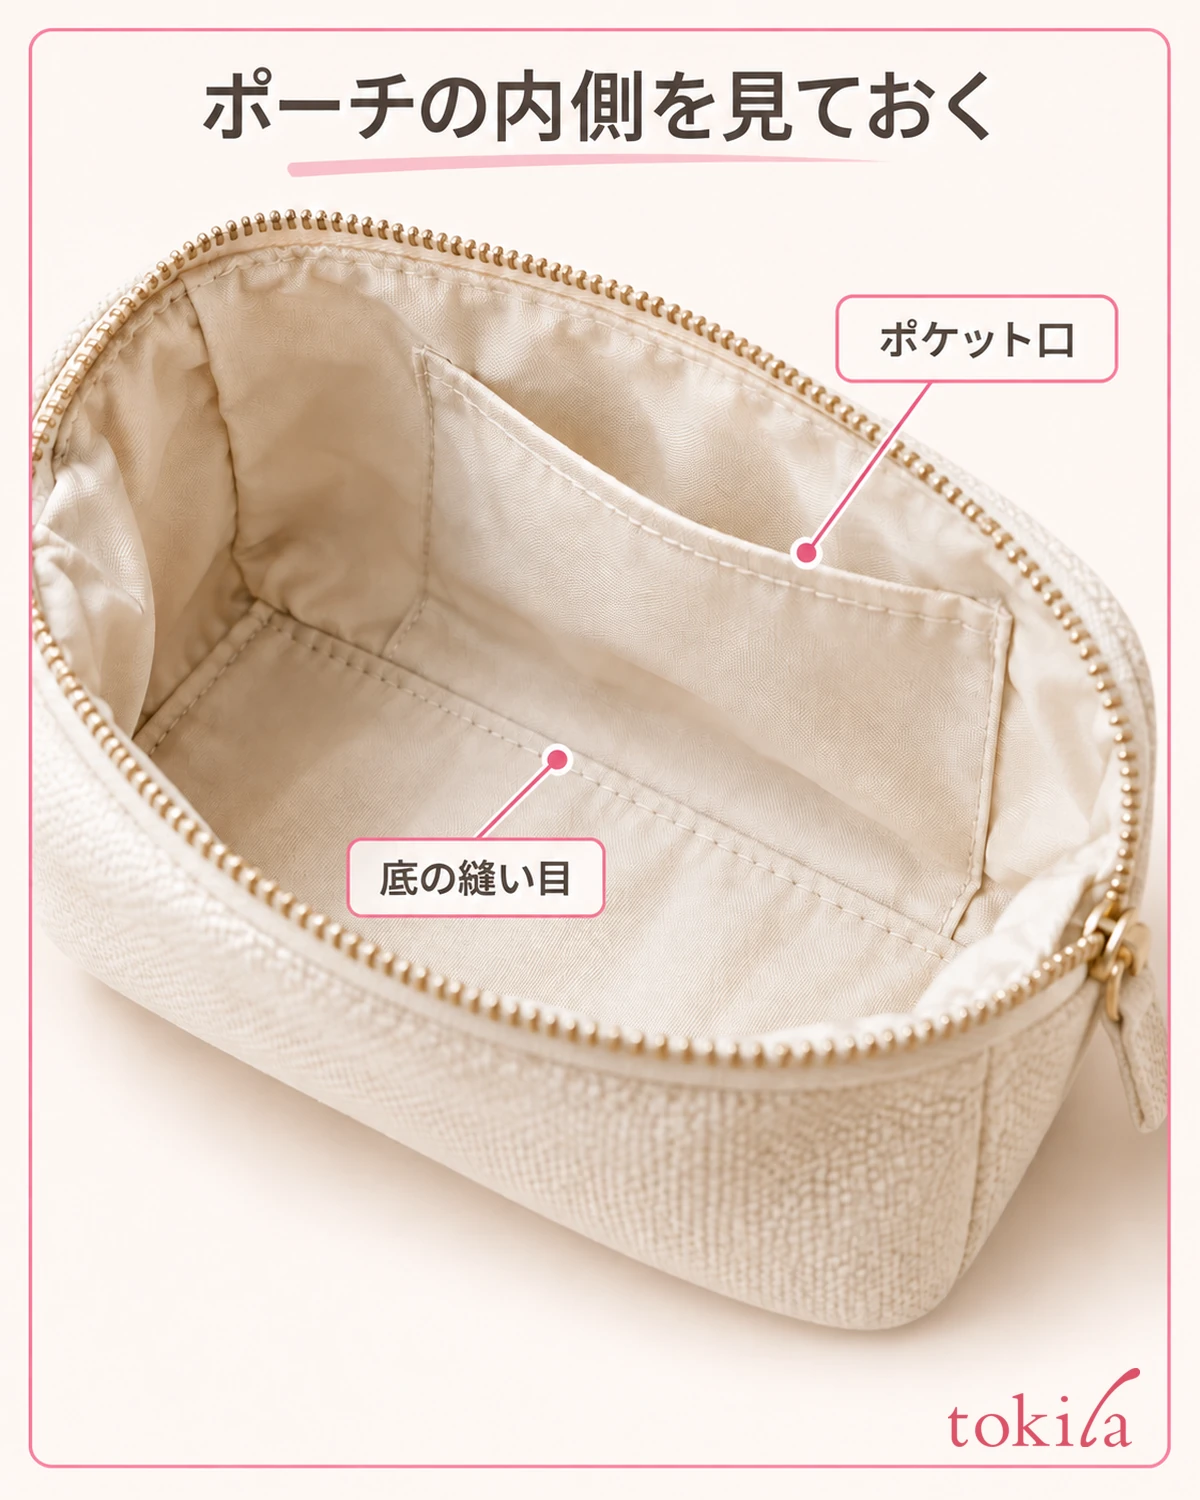
First, remove the scattered powder without spreading it around. If the material allows care with dry paper or cloth, don't rub a large amount of powder out in one go; lift it lightly from a small area. Change to a clean side of the paper or cloth, and don't wipe another area with a part that has color on it.
After that, check on the label whether wiping with water or washing is allowed. If it specifies a detergent, a washing method or a drying method, follow it. Putting it in the washing machine, forcing out the lining and using a strong cleanser are not steps common to every pouch. If you don't know how to handle it, check the method that suits the material before you wet it.
Even if it looks as if makeup remover would take it off, don't apply cleansing product directly to the inside. Removing makeup from skin is a different matter from washing the storage fabric and its print without damaging them. If heavy dirt remains, stop at what you can do within the pouch's care limits and choose to ask for advice or replace it, rather than trying several cleansers one after another.
If you were able to care for it with water, dry it according to the drying instructions. Check not only the outside but also whether moisture remains in the seams on the bottom and in the pockets. Don't end after a set amount of time; put the contents back only after you have confirmed it is fully dry. What matters is not to cram clean tools into storage that is still dirty.
5. Review how things close and are stored to reduce powder mess next time
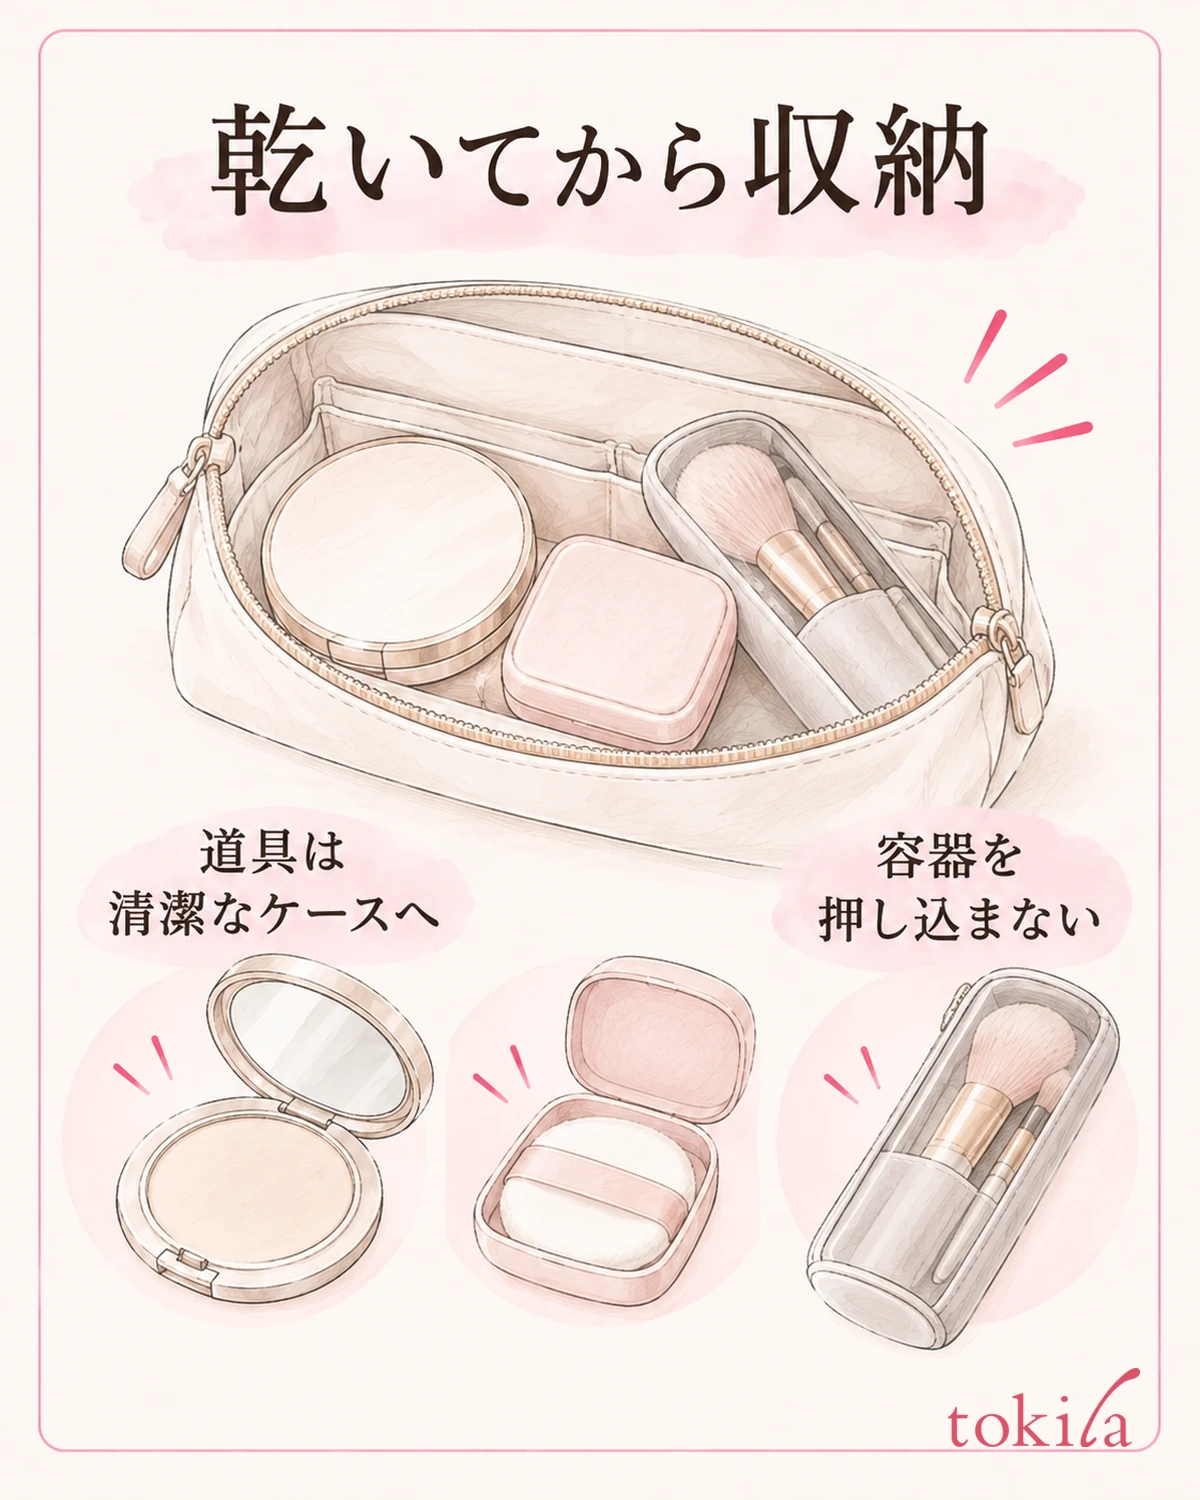
Before you put things back, check once more that each container's lid seats and that no powder remains on the outside. If something still changes, such as the lid trapping powder when closed or the pan shifting when you hold it, don't rush to take that container out with you. Choose again what you use at home and what you carry, and don't keep using a damaged item just by wrapping it in a bag.
Put brushes and puffs into clean cases that fit their shape, so that the outside of the cosmetics and the working surfaces don't touch directly. Rather than bending brush bristles to push them into a small bag, choose a size that doesn't strain the bristles. Keep used tools apart from your spares, and place them so you can check their condition when you get home.
Also check that you haven't packed the pouch so full that you press hard on the containers to close it. Put in the necessities first, and make sure the lids and clasps don't catch on other items. If a product specifies the direction in which to store it, follow that, and don't set a rule such as standing everything up or laying everything flat.
Don't assume it is safe just because it is inside a case; look at the inside of the case itself too. If powder from before remains, clean it and dry it before use. Keeping separate the bag in which you take dirty tools home and the container for the spares you will use on your face next makes it harder to mix them up when you are out.
If you want to carry less, you can useThe Order and Tools for Touching Up Makeup to choose what you need for the spot you want to fix that day. Moving a powder product into another small container will not necessarily solve the problem. Check whether carrying or refilling is intended, and follow the instructions for the original container first.
The next time you open the pouch, look at where the powder was last time and around the containers you checked. If the mess keeps coming back, check for a missed source of leaks and how your tools are stored before you simply add more cleaning. Sort the contents, check the containers, care for the storage and the tools separately, and put them back once they are dry. With this order, you can review how you carry things before you touch up your face with a powder-covered puff.



