Your brows are shaped, but a patch of skin stands out between the hairs. Adding more powder makes the whole brow too dark. One option is to use a liquid brow pen to add fine, hairlike strokes. Think of spreading color over an area and placing strokes where hair looks sparse as two separate steps.
This guide focuses on brush-tip brow pens and explains how to find the spots to fill, draw short strokes, and decide what to do when a stroke looks too dark. It does not cover plucking hairs to create gaps or care intended to grow brow hair. Follow your own product's instructions for application order, drying, and removal rather than applying one method to every product.
1. Look for sparse areas and hair direction before filling in your brows
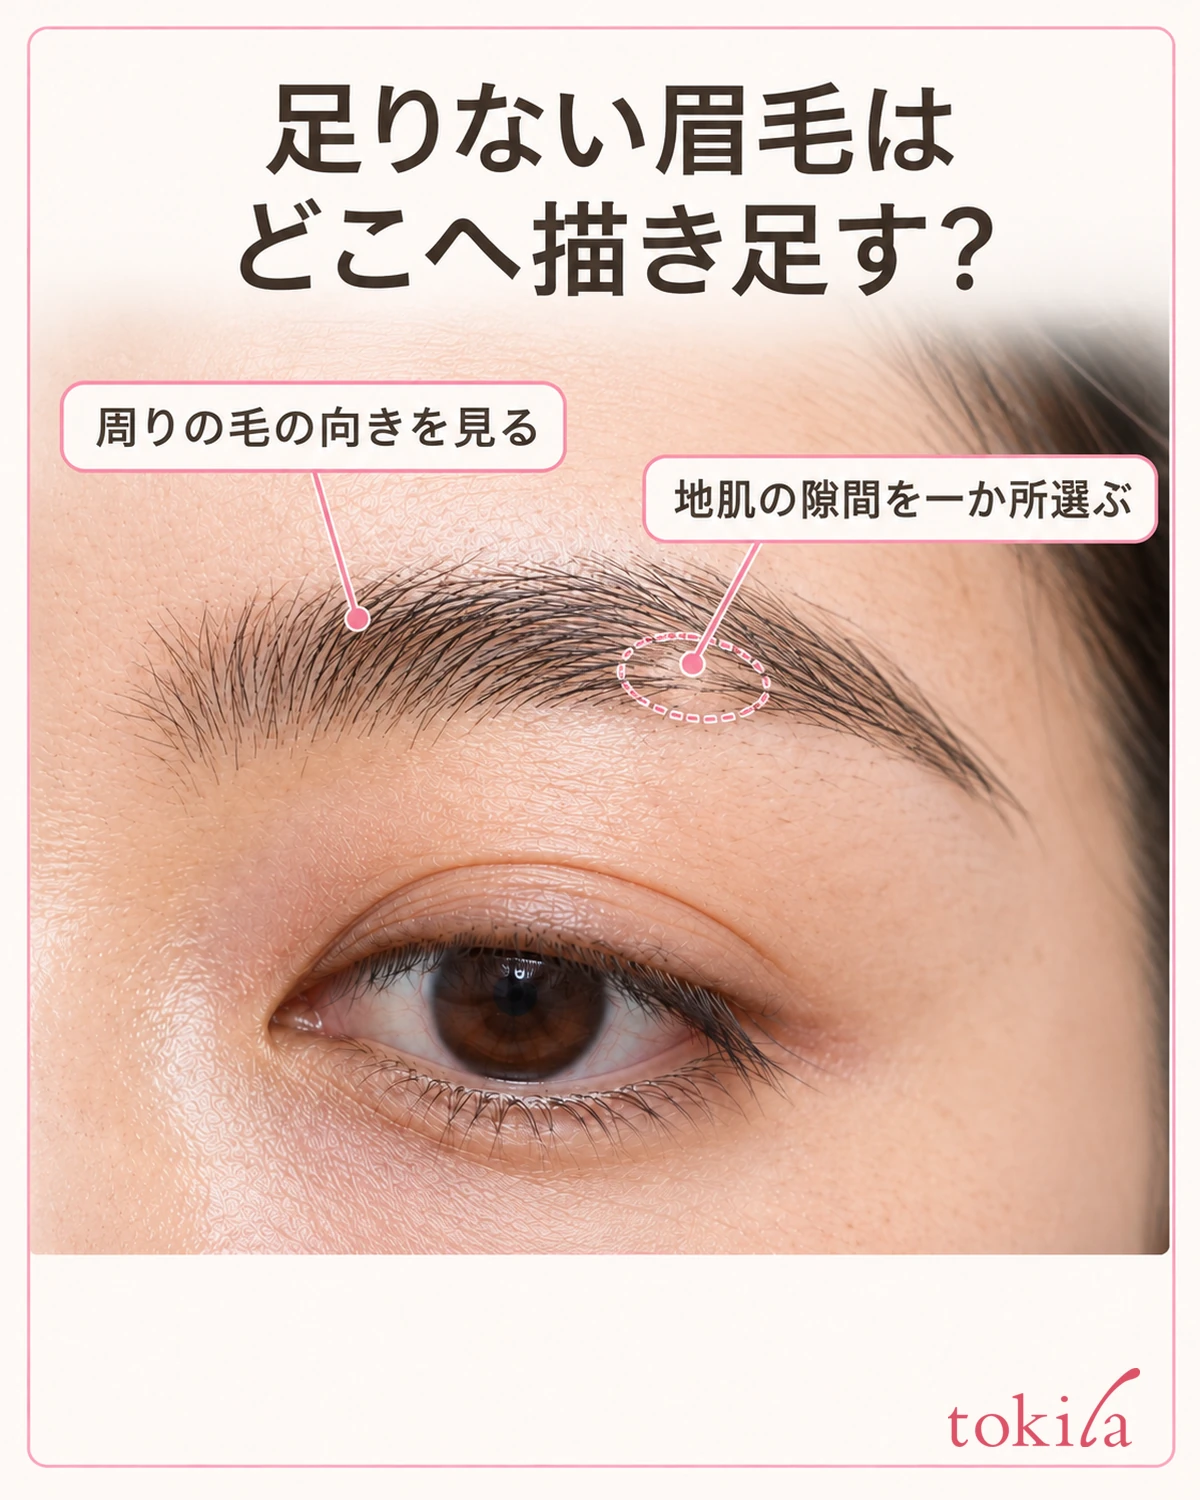
First, look at your usual brows in a mirror without picking up the pen. Move your gaze from the inner brow through the middle, then from the arch to the tail, distinguishing areas with hair from areas where skin shows. Visible skin is not itself a mistake. This check is simply a way to choose one small area where you would like to add a little today.
If you use a clean spoolie or similar tool to arrange the hairs, do just enough to see which direction they grow, rather than flattening them to hide gaps. Do not decide how many strokes you need solely from how your brows look with the hairs lifted or firmly pressed down.
Look at the hairs on both sides of the gap you want to fill and follow their direction from root to tip. The inner brow and tail may grow in different directions, so there is no need to fill everything with diagonal lines at the same angle. For a wider area without hair, consider a natural direction that connects with the hairs on either side.
If uneven shape or height is your main concern, first use the steps for checking differences between your brows to settle on the overall shape. Layering liquid outlines before deciding on the shape makes it harder to tell where you actually want to add hairs.
After finding a gap up close, check it again from a distance where you can see your whole face. There is no need to fill areas that bother you in a magnifying mirror but look natural from farther away. Before picking up the product, put the area you plan to draw into words, such as 'just the little gap in the middle.'
If an area is red, injured, or itchy, do not prioritize adding strokes to change its appearance. You also cannot determine the cause of sudden changes in brow hair from makeup alone. If you notice anything unusual, refrain from use and follow the product's precautions.
2. Choose a liquid product made for brows and check its application order
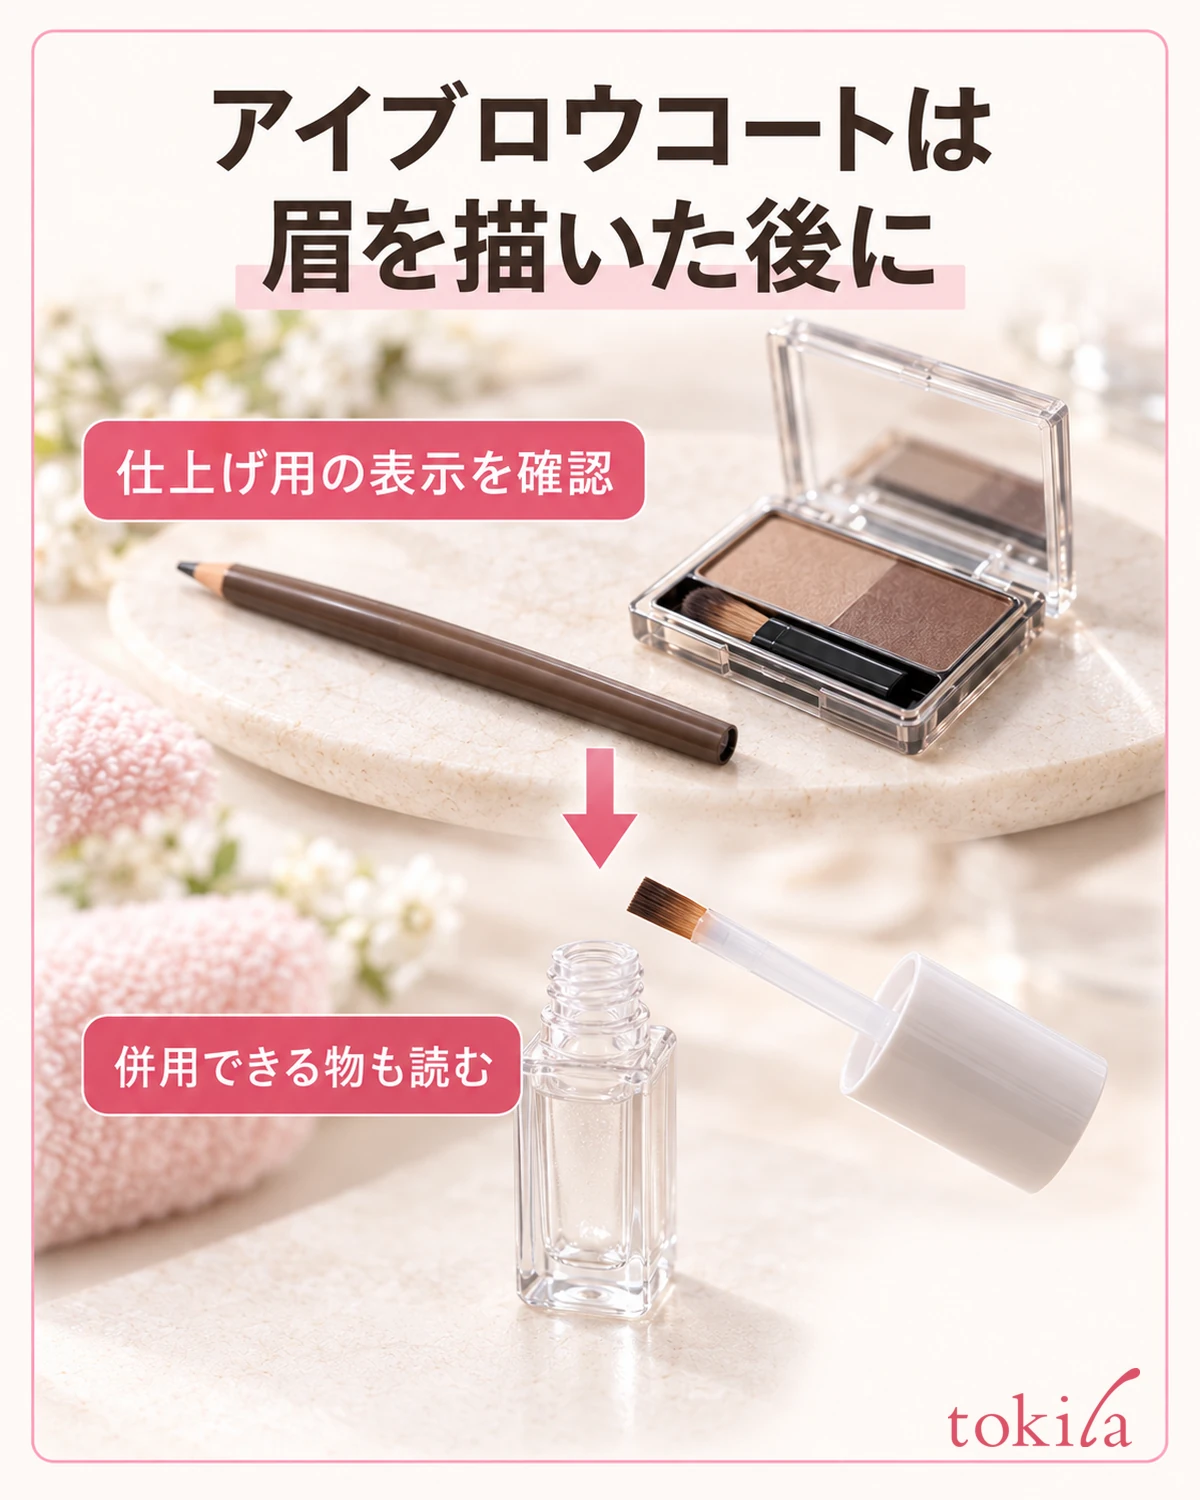
Check that what you are using is a liquid eyebrow product, meaning a cosmetic intended for brows. Even if they look like similar brush pens, eyeliners and tinted lash products serve different purposes. Do not assume that a brow product can also be used on your eyelids or along the lash line. Here, focus on adding strokes to the skin within the brow area.
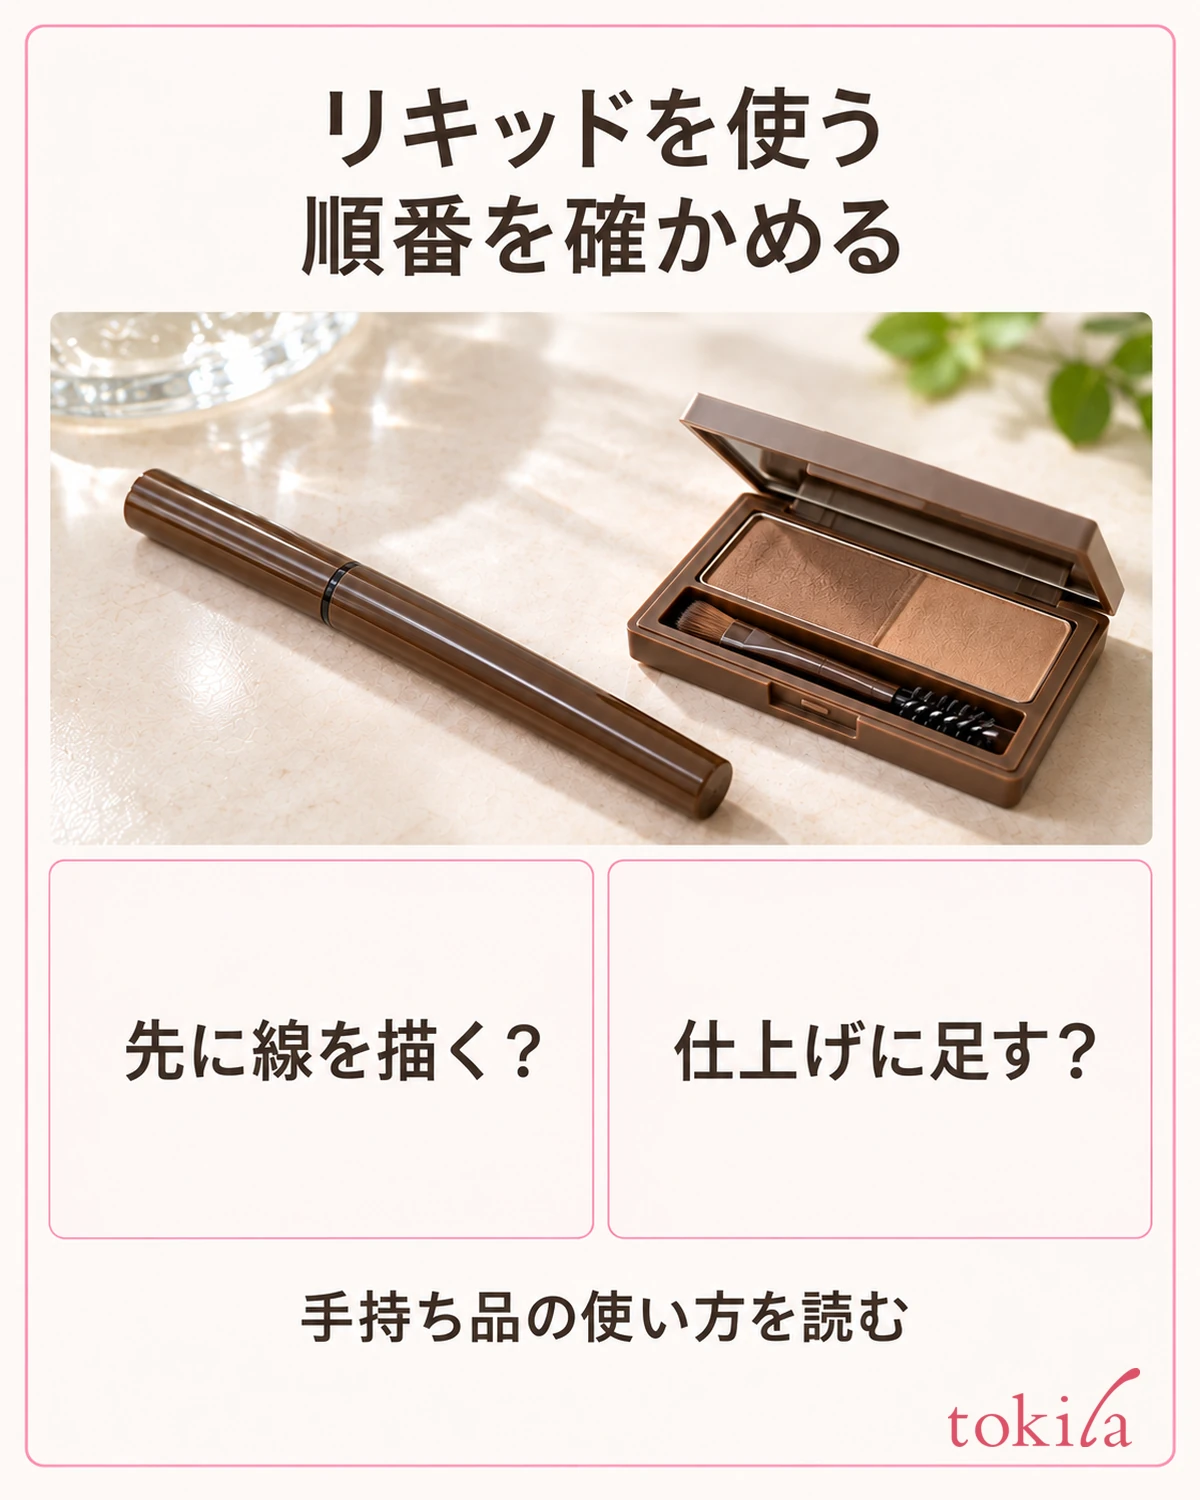
Next, read when to apply the liquid. Some products call for adding liquid strokes first and then finishing with powder; others recommend adding it locally after pencil or powder. Do not make 'liquids always go first' a fixed rule. Check the order for all the products you plan to combine.
If the instructions say to let the product dry before the next step, remember that condition along with the order. Do not assign the same waiting time to every product or rub it with a finger to check dryness. Avoid repeatedly layering it before completing the specified steps just because the color looks light.
When choosing a shade, look at both your brow hair color and the color already applied across the brow. Do not decide how it will look on your face solely from the color in the container or a line on your hand. Check whether a small addition to the brow makes the strokes stand out too strongly. There is no universal number of shades lighter than your hair that you must choose.
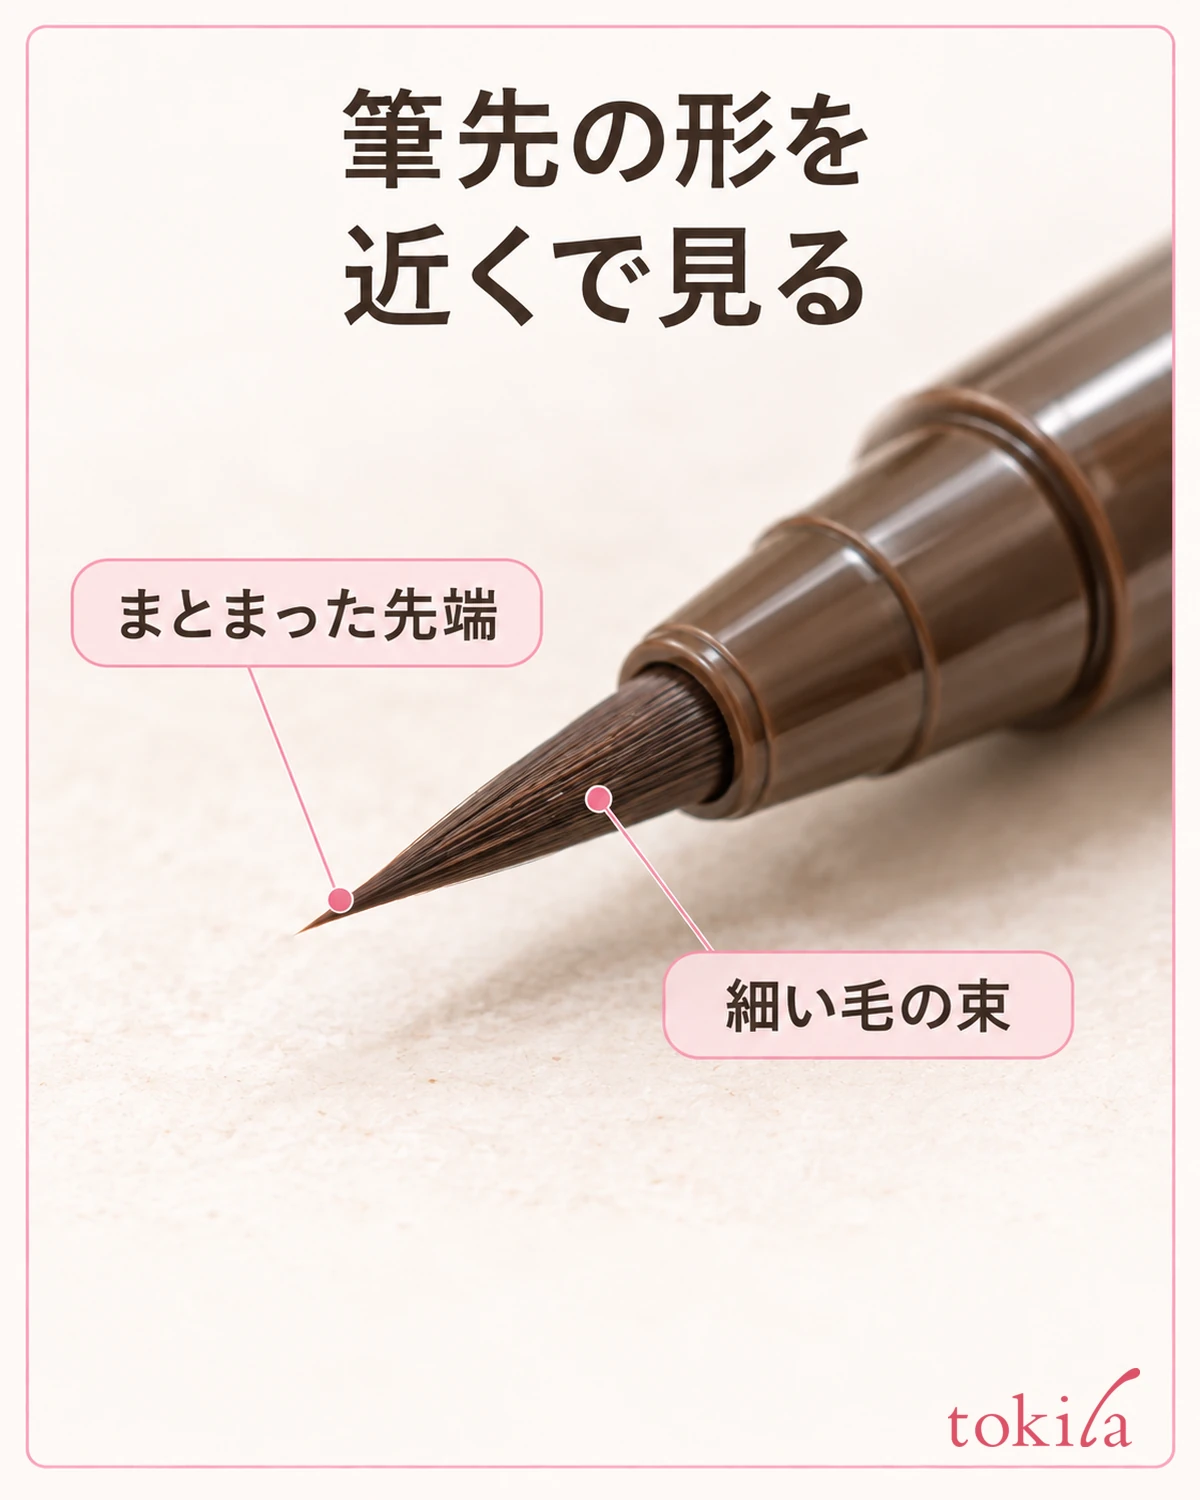
Read each product's instructions on whether to shake it before use, how to prepare the tip, and which way to store it. Do not add your own steps, such as repeatedly shaking it hard or crushing the tip because the liquid is not flowing well. Do not add water or toner to make liquid come out.
Set the mirror where you can see it without having to keep holding it in one hand, and make sure there is enough light to move your hand and the tip. Rather than leaning extremely close to follow a single hair, find a distance where you can see both the drawing area and your hand. This helps you establish a rhythm of drawing a little and lifting the pen away.
3. Touch the tip lightly to the skin and add short strokes along the nearby hairs
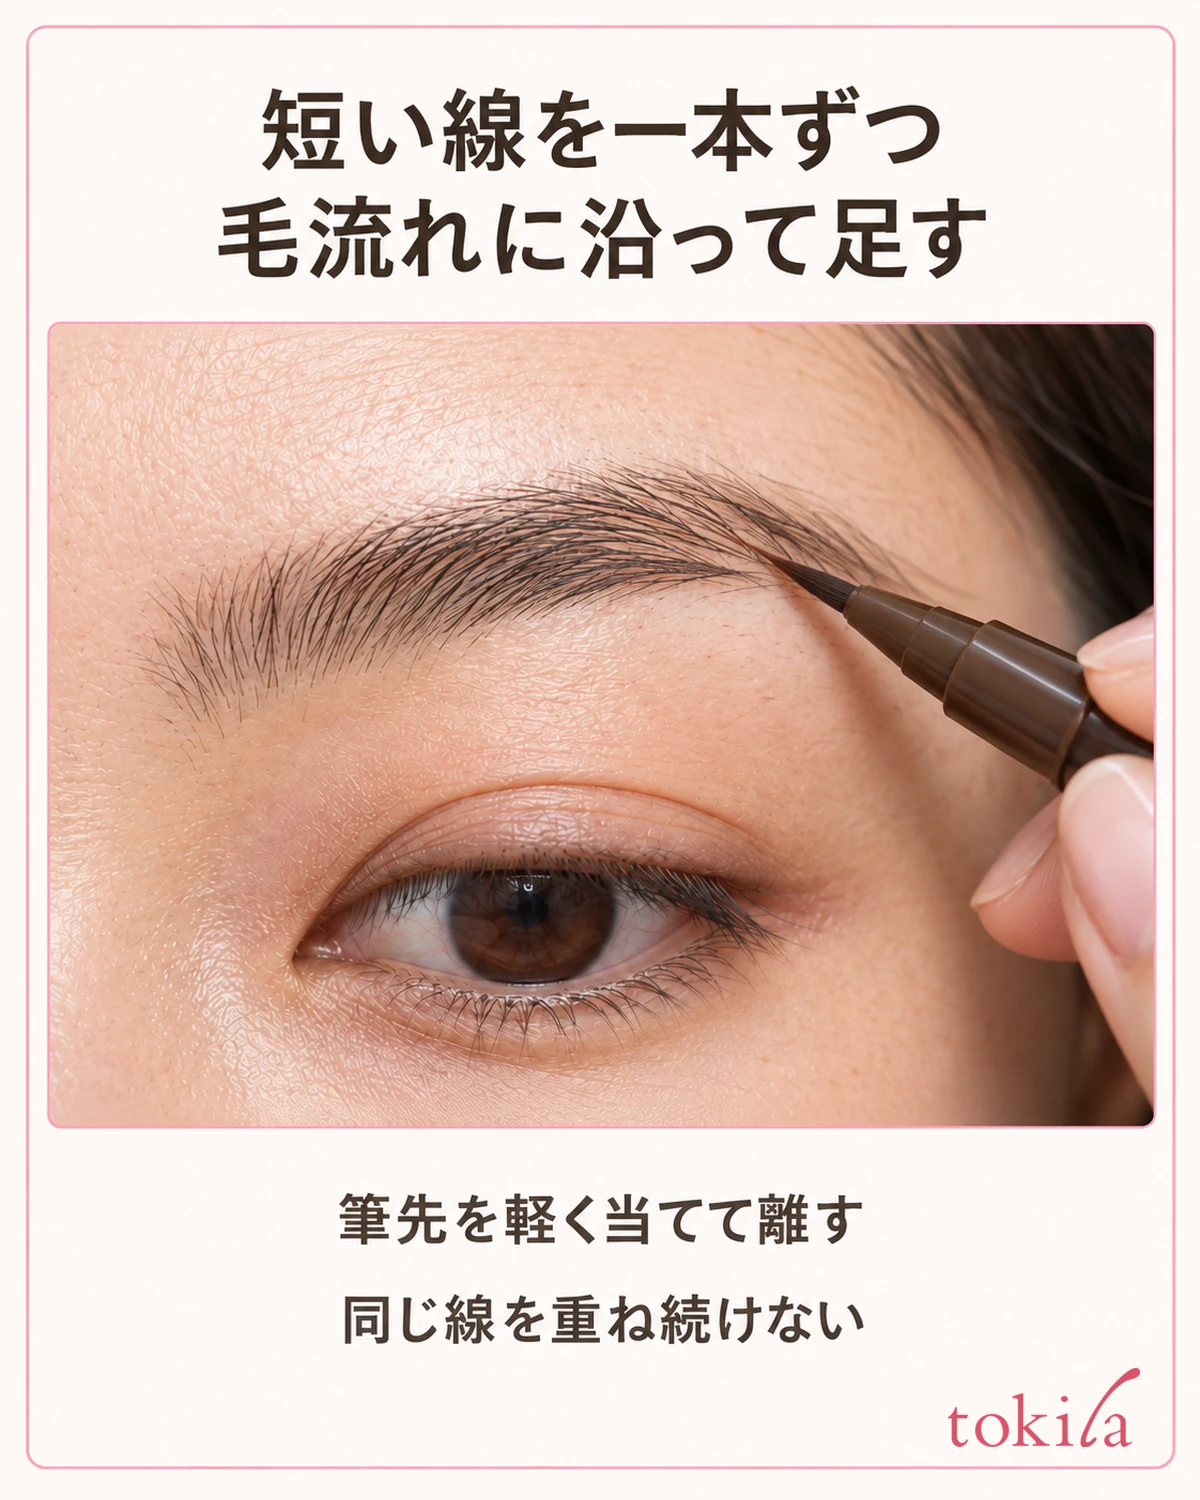
Once you are ready, bring the tip toward the small gap you chose at the start. Begin with a light touch from the tip rather than pressing a large part of the brush against the skin. Even a fine brush touches a wider area when pressed hard. Do not rely only on the tool's thinness; watch the part that touches your skin as you move it.
Draw one short stroke in the direction of the surrounding hairs, then lift the pen away. Judge its length by how it connects with nearby hairs, rather than drawing one long line all the way from the bottom of the brow to the top. Even at the tail, there is no need to make drawing a thick outer border and filling it in a required step.
For the next stroke, look for an area that still needs filling rather than going back and forth over the same spot to darken the first stroke. It is fine for skin to remain visible between lines. Instead of erasing every gap, check that the existing hairs and your strokes connect in similar directions.
When adding to the inner brow, do not automatically carry over the diagonal direction used in the middle or at the tail. If your natural hairs point upward there, use that direction as a guide, and avoid repeatedly drawing the same lines over areas that already have hair. Do not start by coloring the inner brow into a square block.
Each time you lift the pen away, look at the stroke's thickness and color. If one spot looks too strong, first consider whether to adjust that stroke rather than darkening the other brow to match. The goal is not to draw the same number of lines on both sides; add only what each natural brow needs.
If it becomes difficult to see near your eyes while working, move the pen away from your face and reposition the mirror. There is no need to point the tip toward your lash line to draw your brows. Instead of trying to finish everything at once, alternate short strokes with checks.
4. If strokes look dark or broken, pause before adding more
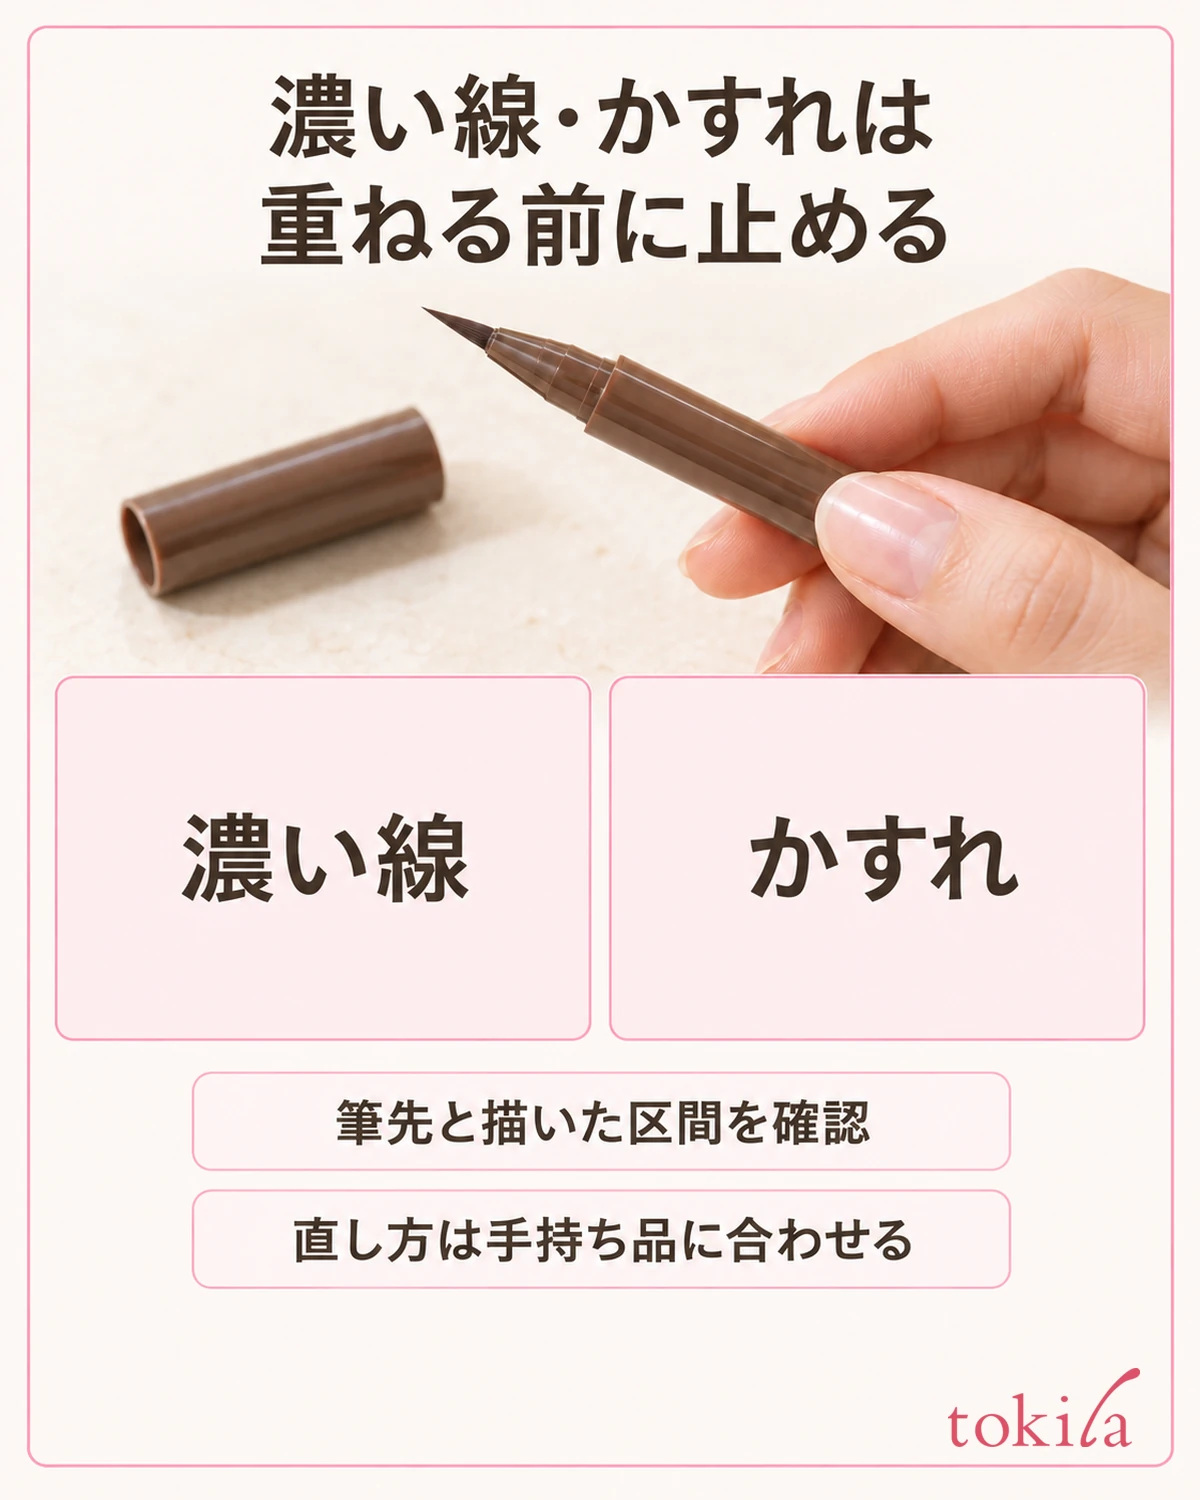
If a stroke comes out thick or repeated application makes one spot dark, close the cap for a moment and move the mirror farther away. Avoid repeatedly rubbing the whole brow while trying to erase just the edge of a line seen up close. First distinguish whether you need to correct one stroke or a small area.
If the product allows drawn strokes to be blended, adjust them lightly with a clean tool that suits its instructions. Brushing through before drying will not necessarily correct every liquid brow product. If touching spreads the color or moves the base underneath, stop that action and check how to remove the product.
To remove and redraw, use a cleanser or remover suitable for both your product and the eye area, treating only the necessary section according to its directions. After removal, do not draw over leftover cosmetics or remover. Return the area to the condition required by that product's steps.
If the stroke skips or breaks, inspect the tip before increasing pressure or the number of passes. Check whether foundation or powder has stuck to it and whether the cap was closed, then follow the product's care instructions. Cutting the tip, pulling it out, or taking it apart are not universal solutions.
Making a stroke thicker so it is easier to see is different from reviewing what may have hindered liquid flow. Do not keep layering a product designed to give sheer color until it looks like a dark eyeliner. If the flow or condition of the liquid changes, do not force yourself to keep using it; check whom to contact for advice.
If you have darkened the whole inner brow, the approach to adjusting inner-brow intensity can also help. However, do not directly transfer the pencil or powder blending methods covered there to liquid color that has dried and set.
5. Look at your whole face and separate the roles of powder and liquid
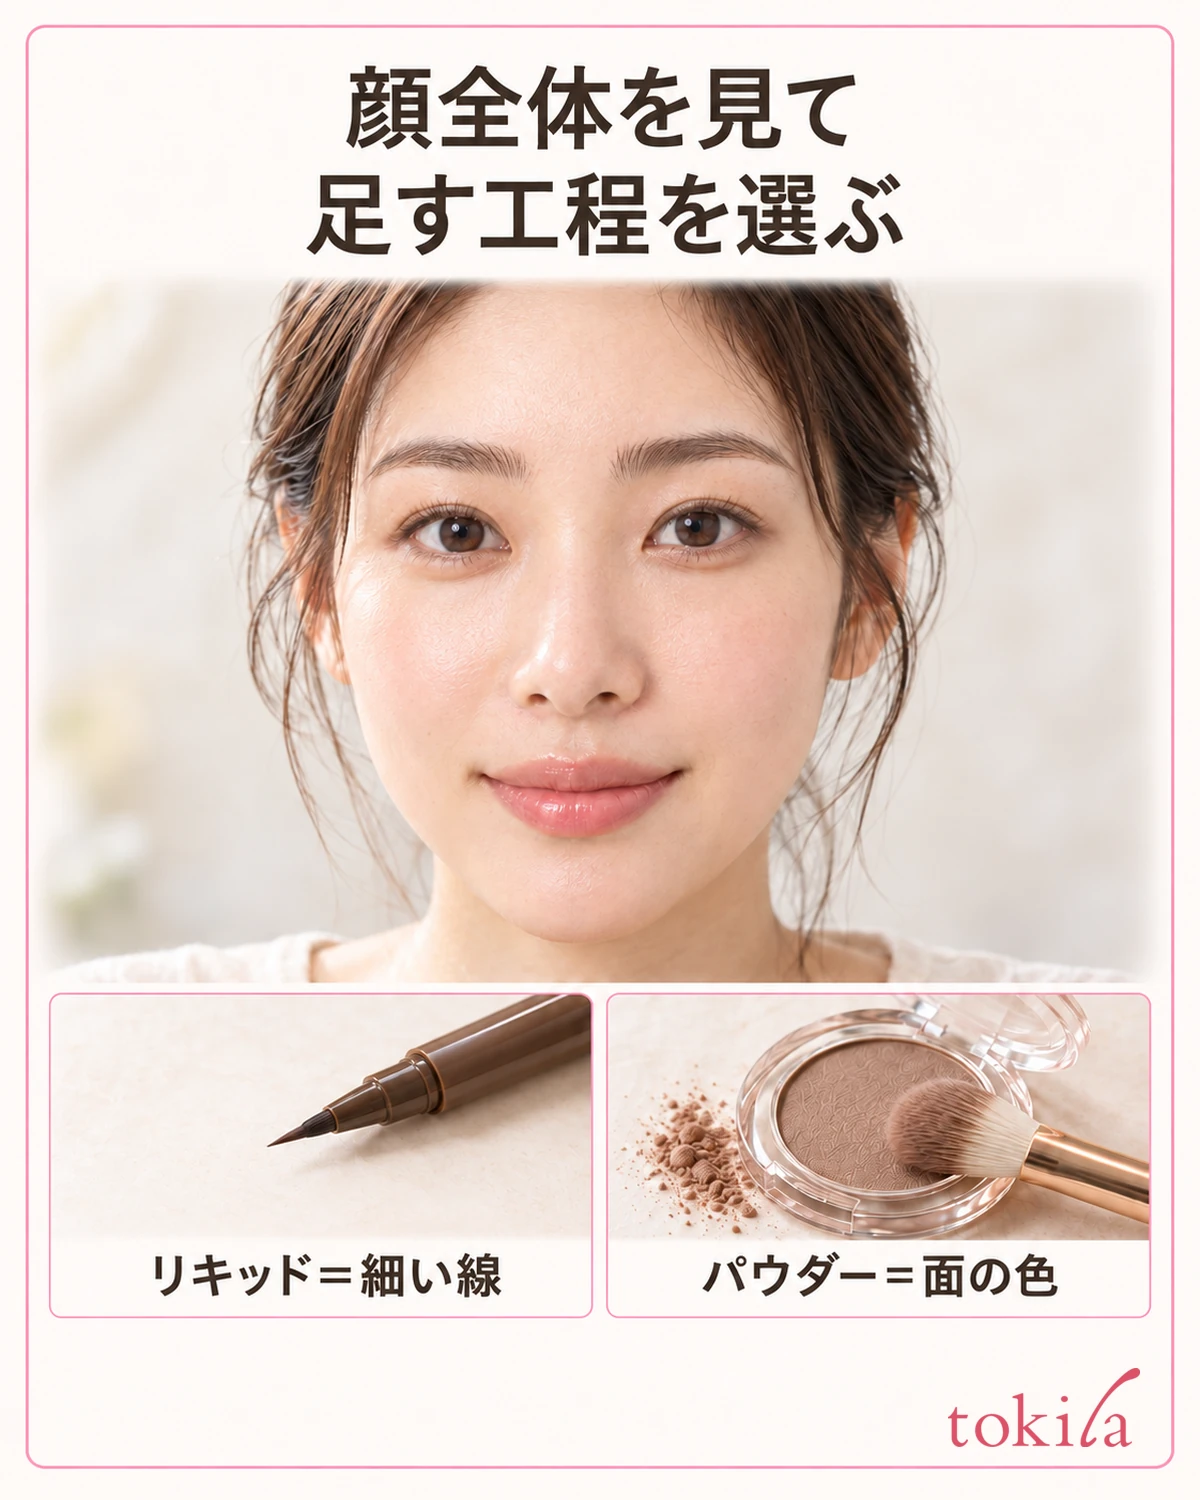
After adding strokes, put down the tools and look at both brows together. Check whether only the hairless areas have become dark lines and whether the transition from inner brow to tail is unnaturally broken. You do not need to add more outlines to make both brows exactly the same thickness.
If you also use powder, follow your products' application order and use its soft overall shading separately from the liquid's fine strokes. You do not have to layer both over areas where your natural brows already provide enough shape. If the result already fits your whole face, you can choose to stop adding products there.
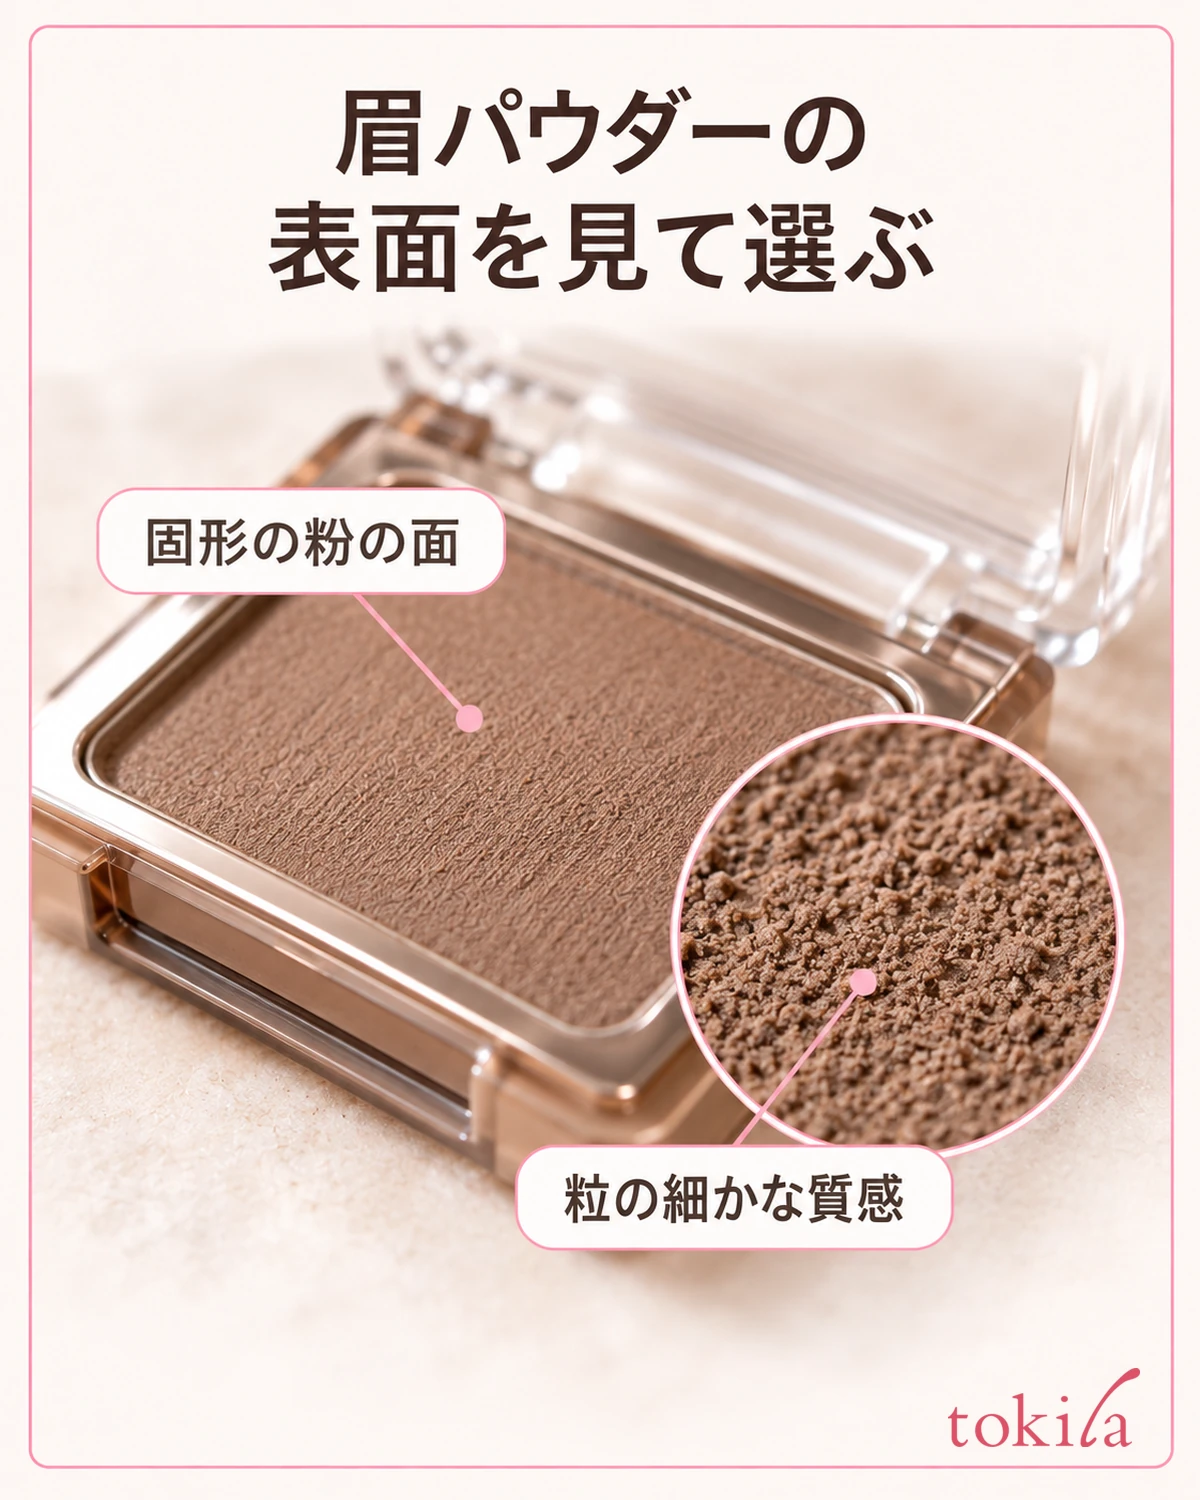
Brow mascara is a cosmetic for adjusting hair color, with a different role from a liquid that draws hairlike lines on the skin. Do not press a brow mascara brush into the skin to fill sparse areas. Before increasing the number of products, clarify whether you want to change the strokes, overall shading, or hair color today.
Finally, look at your eyes, cheeks, and lips together rather than magnifying only your brows. Judge whether the strokes stand out across your whole face, rather than whether every brow hair looks equally dark up close. Also check how they look under different lighting, and avoid comparing with strong light on only one side.
One note for next time about something you did is enough, such as 'the strokes in the middle were too long' or 'the tail only needed a little.' Keep this separate from records measuring wear time or water resistance, and do not treat it as a method that gives everyone the same finish.
After use, care for the tip and container as directed and close the cap. A liquid brow pen is not only for making the whole brow darker. Find the places that need a little today, add short strokes gradually, and decide when to stop by looking in a mirror from farther away.