
You keep layering on eyebrow powder, but your brows don't change. You press harder, and the powder spreads around the brows before any color shows up. When that happens, before switching to a darker shade, check two things separately: "Is the powder getting onto the tool?" and "Is it transferring from the tool to the brows?"
This article covers the situation where eyebrow powder seems hard to apply right after you put it on. The preparation differs between types you pick up from a palette and types with the powder inside the cap. We go through your container, your brush or tip, and the base of your brows in order, and sum up steps you can try without rubbing hard in five diagrams.
1. Check where the powder is: palette type or built-in cap type
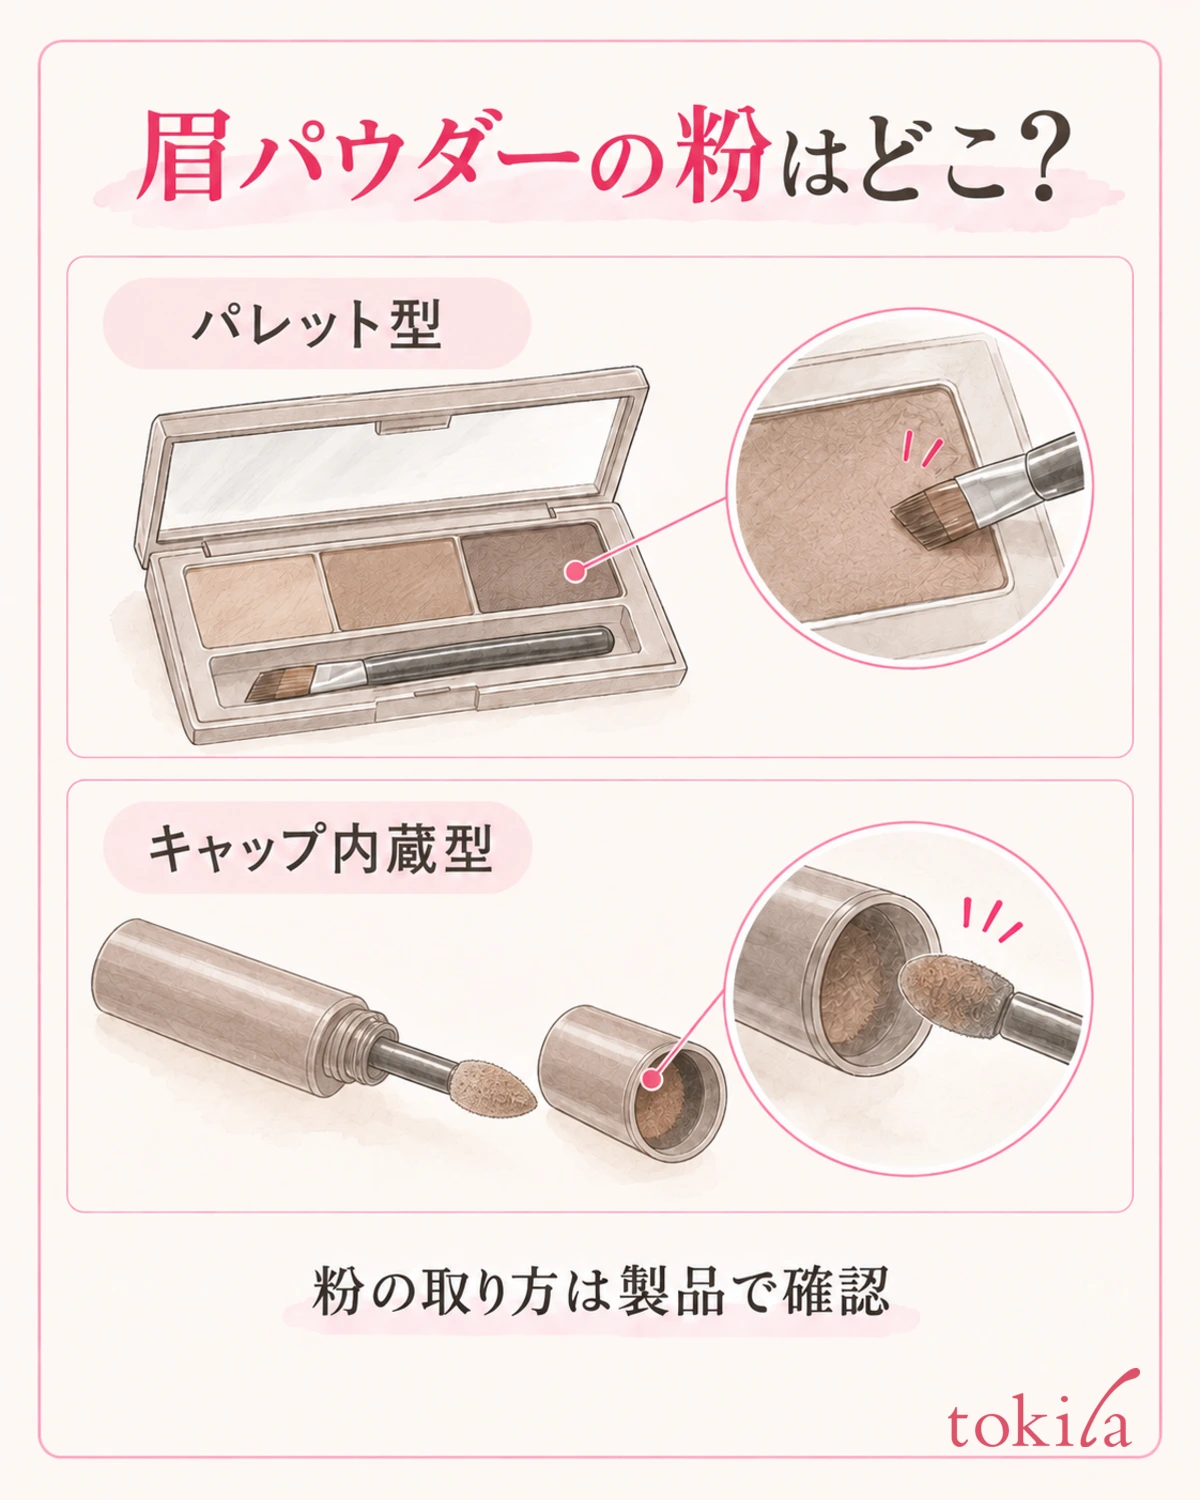
First, read the instructions on the product or its outer box. Find out whether it is a palette type, where you touch the brush to the colored surface in the case, or a type where you work the powder inside the cap into the tip. Both are called powder, but pressing an empty tip against your brows over and over is no substitute for the step of loading the powder.
This handling depends on the structure of the product. It is not a universal rule that every container should be twisted or pushed in.
For products with a tool on each end, also tell the pencil side from the powder side. Don't try to extend the tip long like a pencil; check the instructions to see which part comes off. If it doesn't move when you apply force, stop for now and look for the illustrated instructions. There is no need to take the parts apart to get the powder out.
With a palette type, also check whether the shade you are using is for brows or one of the other shades in the same case, such as a nose contour shade. If it is designed to give a soft, light look, a color close to your skin tone is not necessarily a defect. In the next step, test in a small area whether a little color is transferring to your skin or none is coming off at all.
Before turning to your own methods, such as scraping the powder surface with a fingernail or adding water or toner, check the product's guidance. If the powder won't come off even though you are using it as directed, or the container is damaged, don't keep using force. Make a note of the product name and its condition so you can contact the product's inquiry desk.
When telling them apart, treat the open case where you can see the powder color and the cap that holds the powder as separate things. Don't mistake the attached mirror or the brush holder for the place where the powder is kept. If the diagram in the instructions doesn't match the product in your hand, search again with the exact product name rather than a similar product.
2. Pick up a small amount with the tool and check the color transfer on the back of your hand
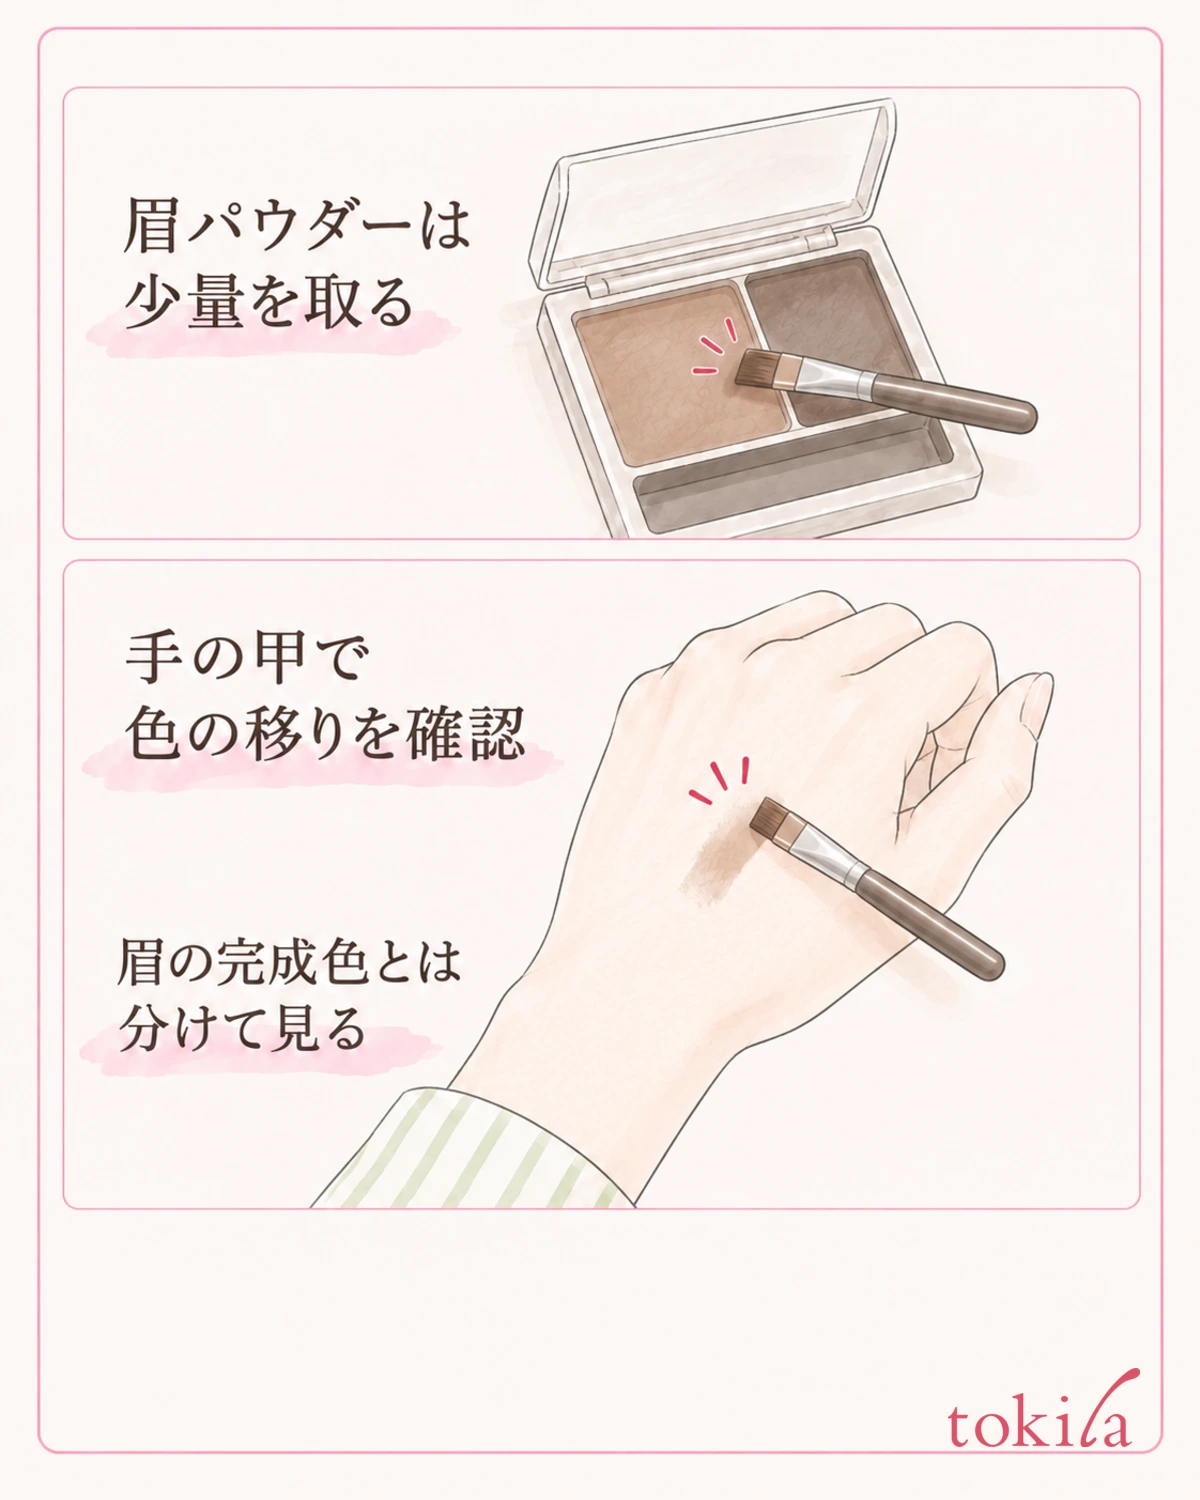
Once you know where the powder is, pick up a small amount with the tool the product specifies. With a palette type, touch the bristle tips lightly to the powder surface and see whether color has gathered on them. Rather than digging into the container again and again to get color, this step is about checking whether the amount you picked up once is staying on the tool.
With a built-in cap type, load the powder into the tip the way that product directs. If you are using a different product, the instructions in your hand take priority.
Touch lightly to a clean back of your hand and see whether the powder color transfers. Don't go back and forth until you make a dark band; a small test swatch is enough. If color shows up here, at least that much powder has reached the tool. Instead of narrowing the reason it doesn't stick to your brows down to too little powder, you can go on to think about the state of the tool and the surface of your brows.
If nothing transfers to the back of your hand either, look again at how to use the container and at any dirt on the tool. Also check whether you are brushing off nearly all the powder each time you remove the excess, and whether the handle rather than the bristle tips is touching the powder. Don't assume that piling on the powder will solve it, though; keep the next amount you pick up small too.
The back of your hand and your brows differ in skin color and in whether there is hair. Don't use it as a guide for layering onto your brows until they reach the same depth. When you put the tool away, tidy up any residue following the product's guidance. Once you have confirmed that color transfers, look at how it goes on in a small section of your brow before deciding whether to add more.
Also tell the brow brush and the spoolie apart by their roles. A flat, angled brush tip is sometimes used to place powder in a narrow area, while a spiral brush is a tool for tidying the direction of the hairs and blending the color. Don't press hard while holding the wrong side for placing powder; read the guidance to see which of the included tools it tells you to use.
3. Check the brush or tip for dirt and dryness
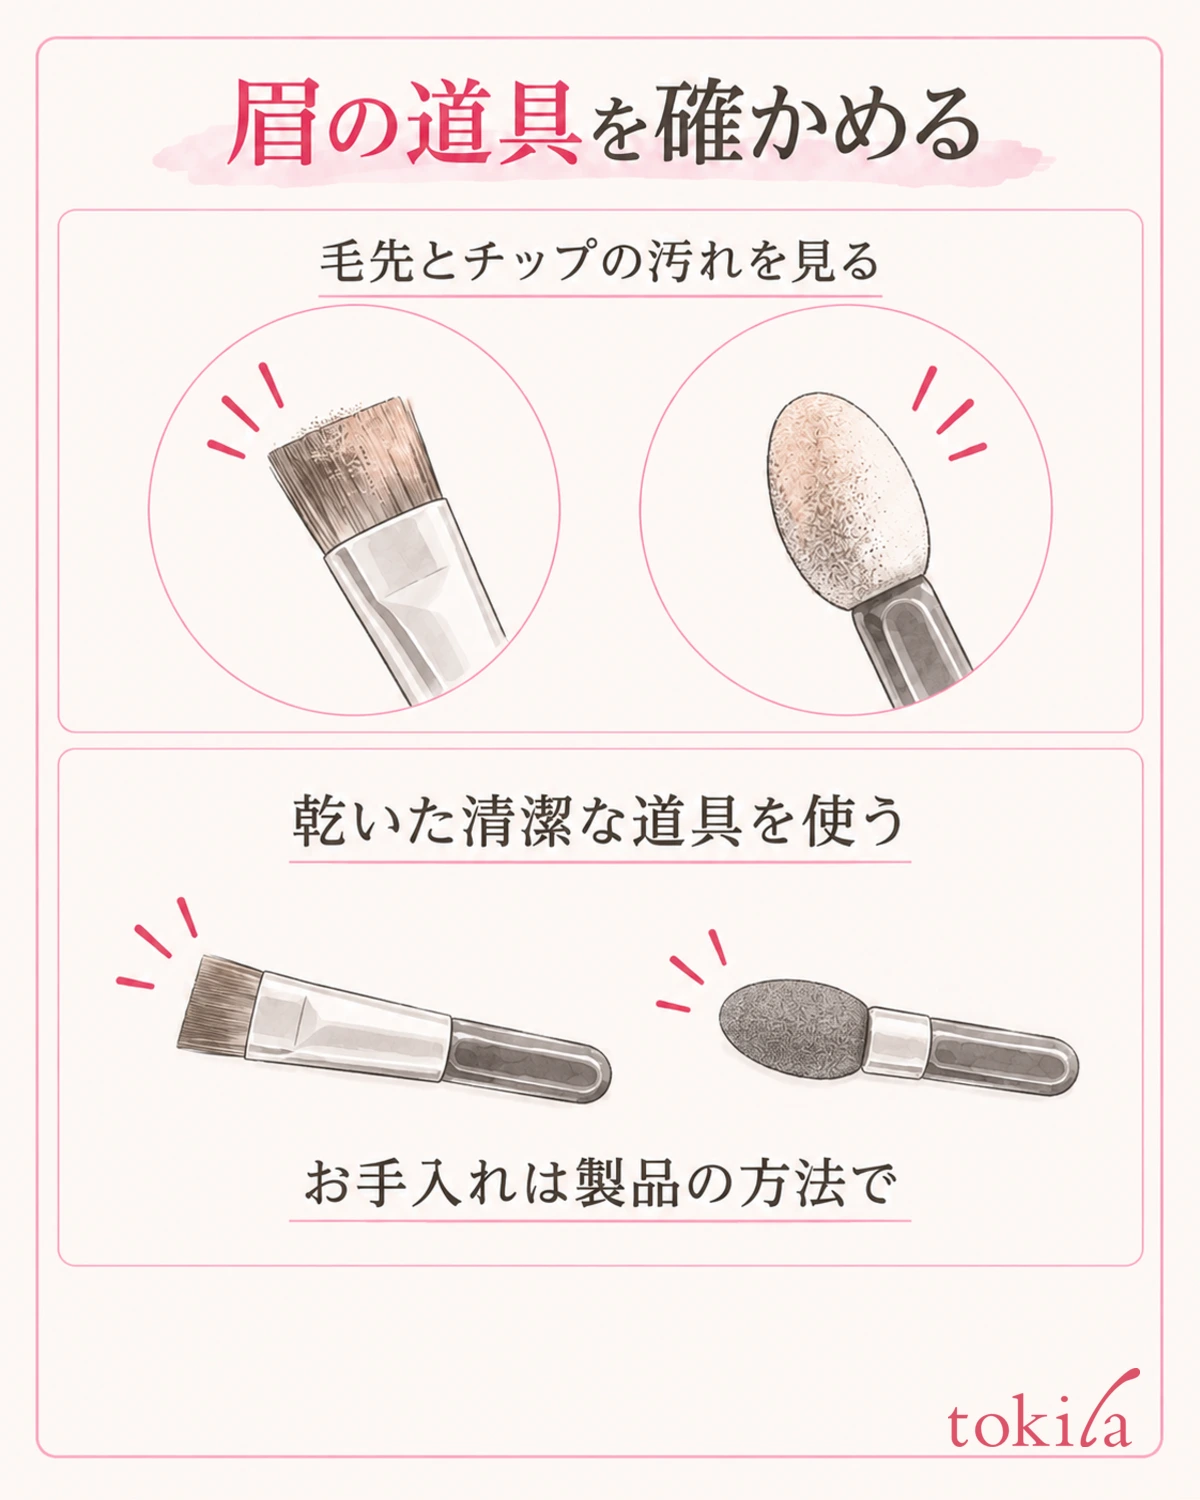
If the bristles have clumped together, flesh-colored lumps are stuck to the tip, or an unfamiliar color remains, check the condition of your tool care before adding fresh powder. With a tool whose hairs don't spread and have bunched into one clump, it is hard to touch lightly where you need to. Avoid forcing the tip open into shape.
It is also a reason to check, before changing the powder color, whether base makeup or old powder is left on the same tool.
For products that allow it, wipe lightly with a tissue or similar before loading the powder. Don't pull hard on the tip to remove dirt; check the care instructions for the product you have.
After washing a washable brush, rinse it as the label directs, remove the water, reshape it and let it dry. Don't switch to habits like putting a tip that is built into the cap into water together with the body, or putting a wet tool back into the powder.
If you don't have a dry, clean tool today, you can choose to stop at a certain point in your makeup rather than keep using it by force. Treat damage such as shedding hairs or a split tip separately from not having enough powder. For a more detailed breakdown of how to wash, see also Cleaning makeup brushes and sponges.
If you are going to use a tool right after cleaning it, check as the product's instructions direct whether it is dry inside, not just in how it looks. Don't switch to quickly blasting it with hot air; prepare with the time of your next use in mind. Keeping your daily color application and the schedule for washing and drying tools separate will cut down on times you try a wet tool.
4. Check the base of your brows and place powder only in the small sections that need it
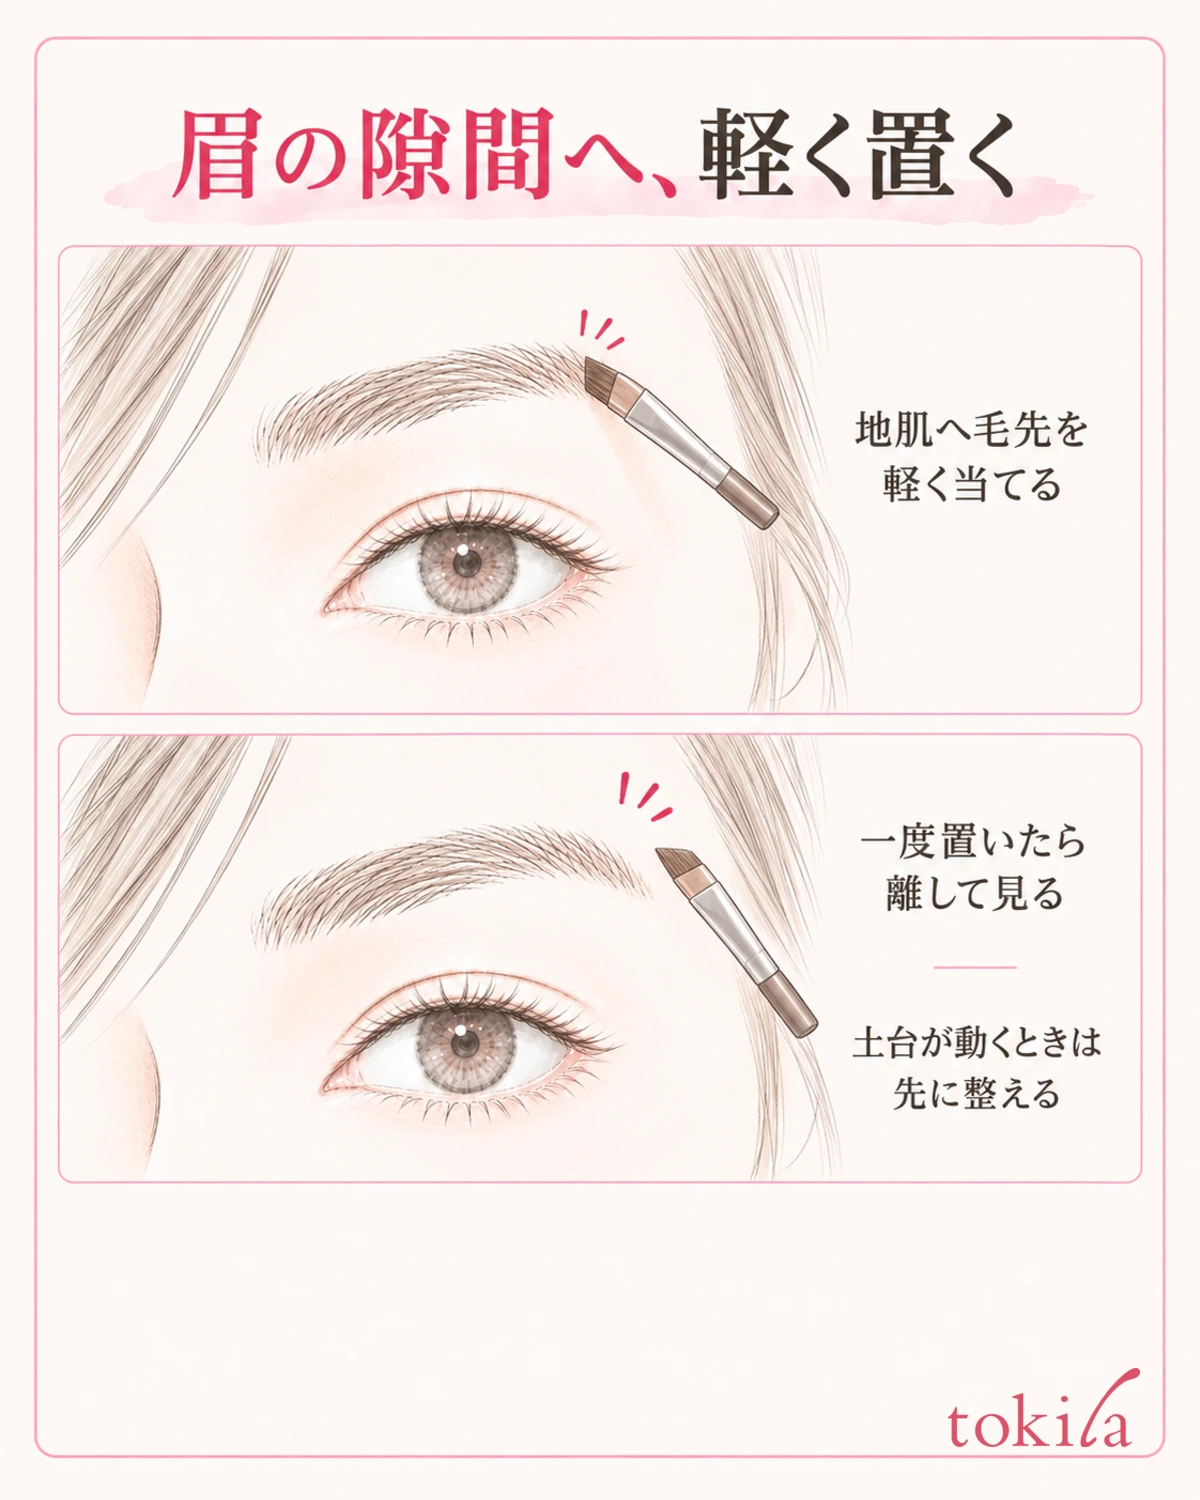
If powder is getting onto the tool, look at the skin of your brows in a mirror. Check their current condition: whether skincare or base is still moving around, whether the surface feels sticky, or conversely whether it is powdery. Also separate whether you want to change the hairs from black to brown or to add color to the skin between the hairs. The latter is the main place to check with powder.
However, this is not a step for adding more to places that are already dry and powdery. Decide first whether it is needed, rather than skipping moisturizer or layering powder until the whole brow looks white.
If a thick base is transferring onto the tool, tidy that small area before you keep layering powder. When you need to start over, follow the removal method for the cosmetics you used, then try again after lightly smoothing on the care or base you need. If you have removed your sunscreen as well, add the UV protection you need.
When placing powder, pick one section between the hairs that bothers you and lightly touch the working surface of the tool to the skin. Even with the tools you already have, check the instructions to see whether to use the wide face or the thin edge.
Once you have placed it, lift away and see whether color has gone on and whether the width has spread. Don't sweep widely over just the hairs, or press hard enough to dent the skin. If it's hard to draw a thin brow tail with powder alone, using it together with a pencil, where the product allows, is also an option. Divide the roles of the tools, and don't try to make a fine line just by adding more powder.
If you end up brushing everything away right after the color goes onto the skin, make the area you blend small as well. Before going back and forth over the center of the filled-in spot again and again, lightly tidy only the edges that look harsh, as needed. Don't keep widening the brow by blending; step back and check whether color is left.
5. Decide where to add on the whole face, and stop before it gets dark
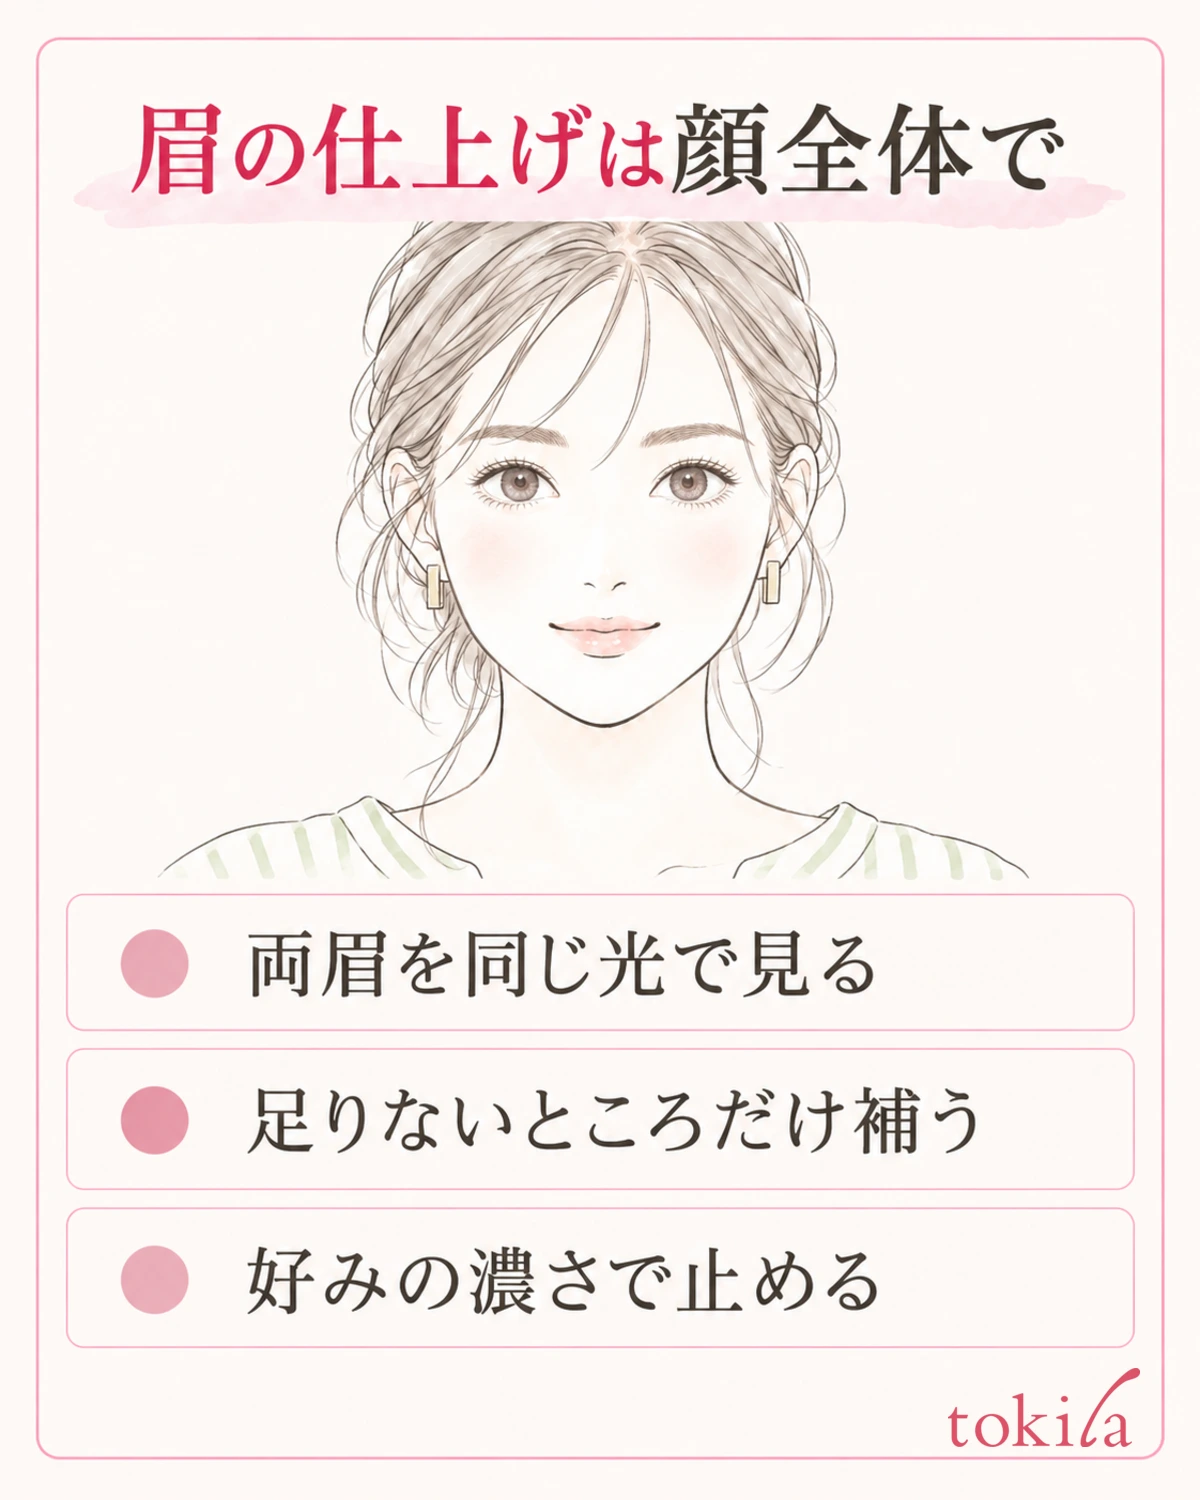
Once you can see color transferring in a small section, move the mirror back and look at both brows and your eye area together. Even if the powder color isn't clear up close, if the gaps between the hairs blend in naturally, that is a finish where you can stop. Don't make matching the depth of the swatch on the back of your hand your goal.
If only a part is still pale, decide whether to add a small amount there. You don't need to layer the same number of times on the other side. The amount and flow of hair differ left and right, so compare how it looks on the whole face rather than the number of passes. If you are bothered by differences in height or length, think about it separately, with how to draw brows while checking for left-right differences.
If only the inner ends of your brows turn dark and boxy, don't keep adding as if it were a problem of poor application. Put the brush down and review where and how much to blend when the brow fronts are too dark. For powder that has spread beyond the outline, too, handle just the places that need it rather than adding more color to even things out.
Also avoid changing the light you check in drastically partway through. It is hard to compare if you turn your face sideways on one side only or put just one brow in the shadow of your hair, so bring your face back to the front. The key is not to treat a soft brown that looks blended into your skin and powder that doesn't transfer at all as the same problem.
If you want to leave something for next time, one specific point is enough, such as "Check the step of loading powder with the cap," "Switch to a dry, clean brush," or "Try a small amount on the brow tail only." Rather than changing the container, color, base and tool all at once, knowing where the color failed to transfer this time leads to what to check next.
When eyebrow powder won't stick, looking at whether it stops between the container and the tool or between the tool and the skin gives you an order for checking. If nothing changes even when you use it as directed, don't move on to a darker color or more force; consult the product's inquiry desk about the product's condition.
Written by the tokila editorial team.



