
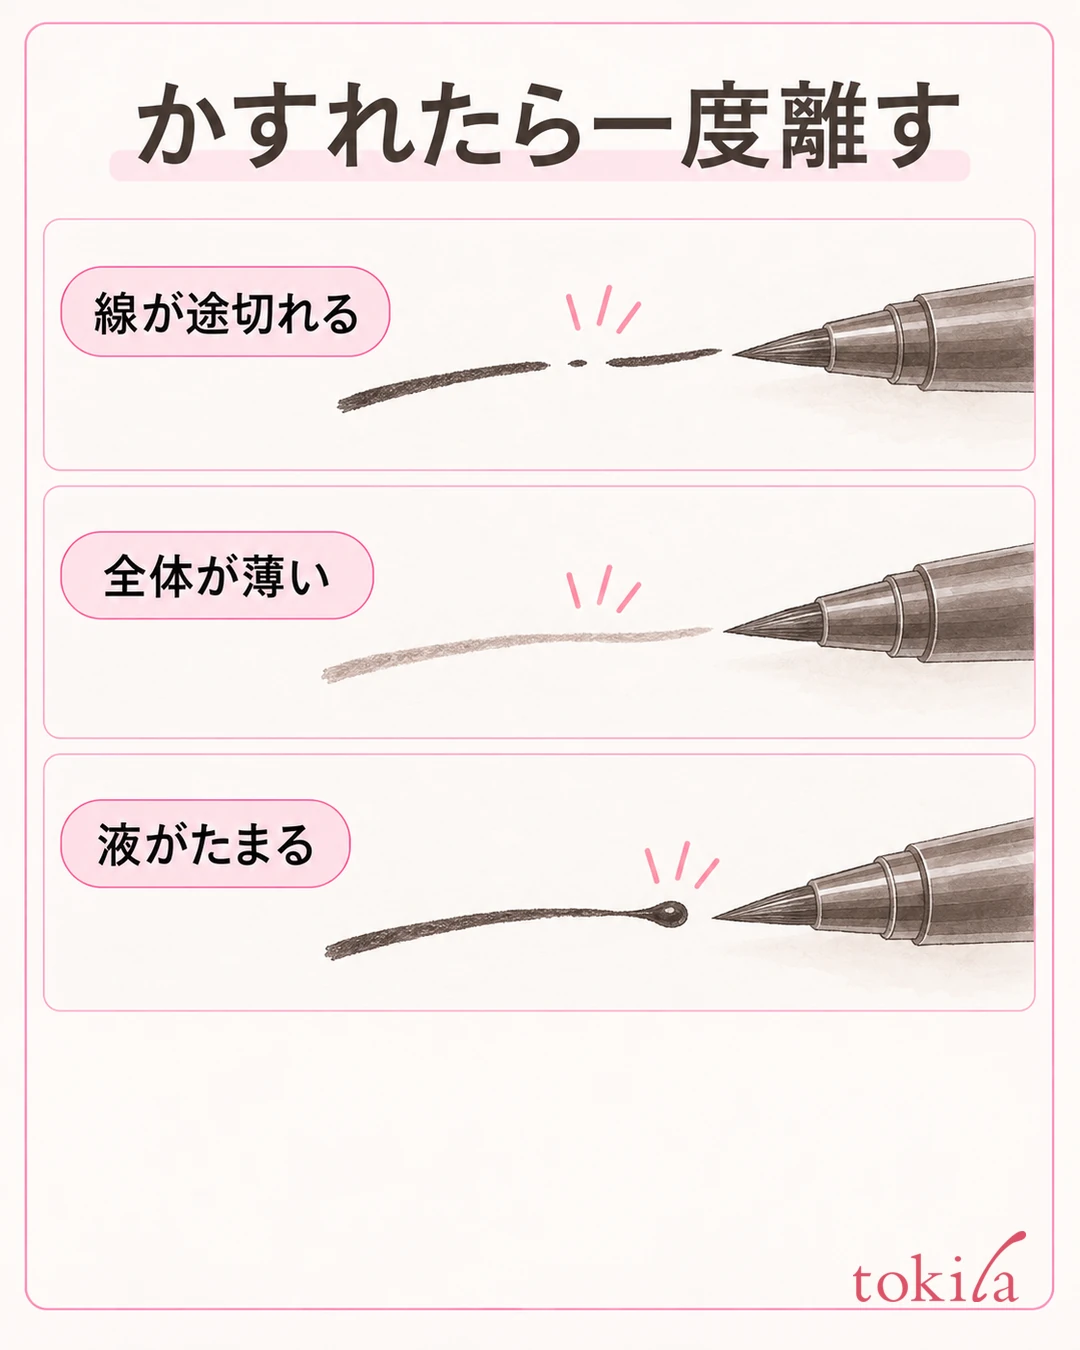
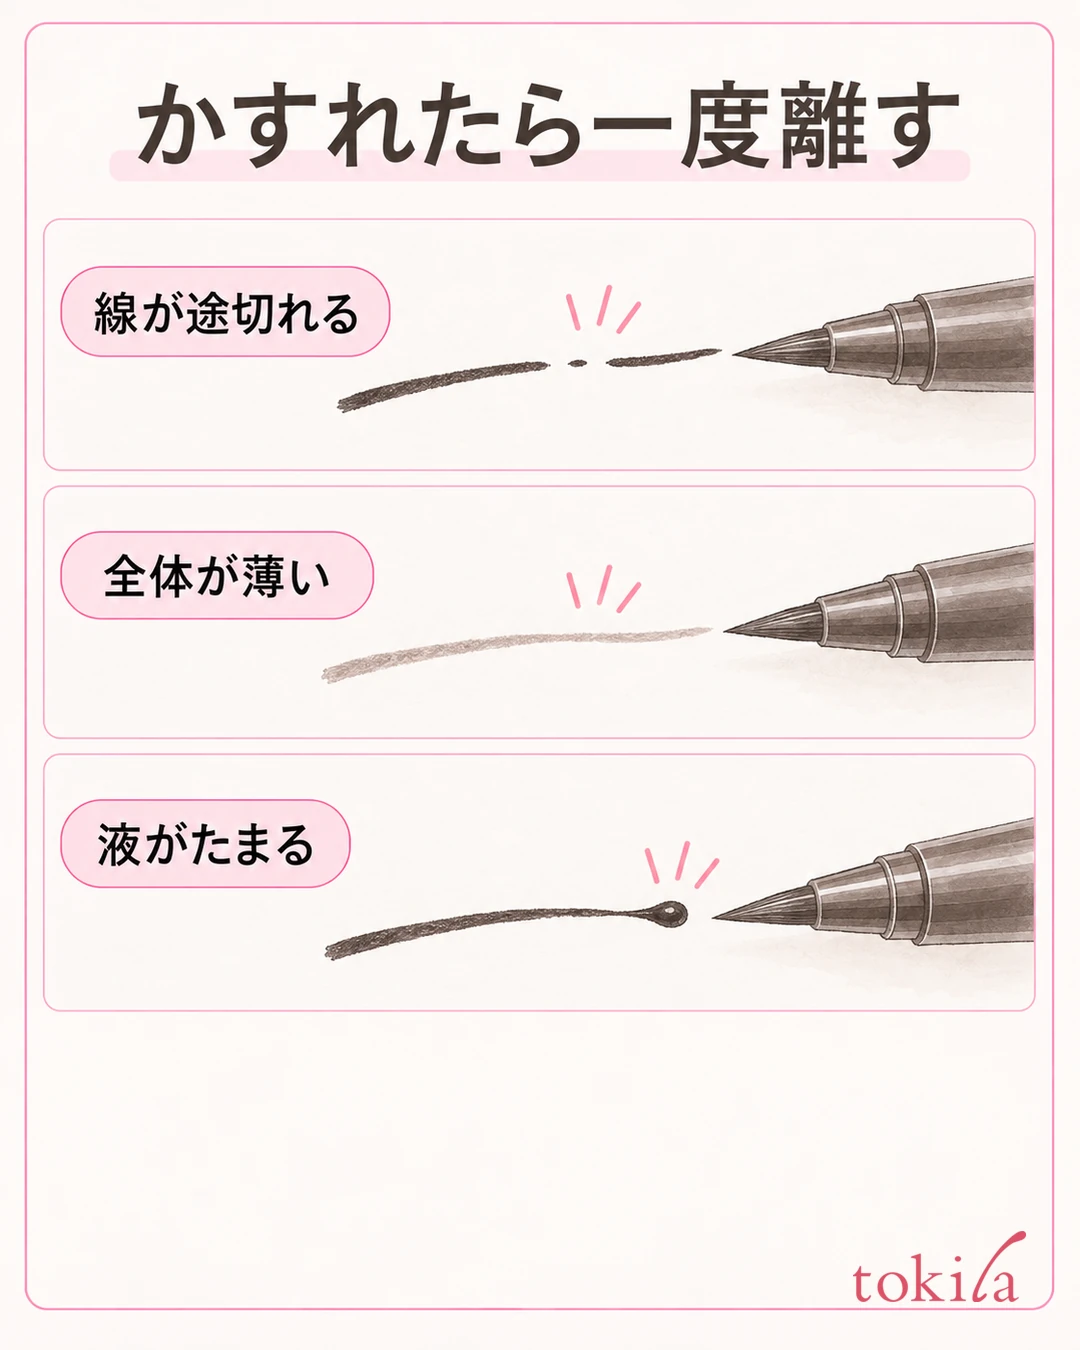
You draw a line with liquid eyeliner, and partway through the color is faint, the tip catches, or suddenly too much liquid comes out. On days like that, take the tool away from your eye before going over it again and again. Instead of trying to fill in every skip with pressure, review in order the buildup on the tip, how the liquid is delivered, and how you handle it after use.
This article covers the moments when a brush-pen type is just starting to draw or when "the liquid is not coming out well" partway through use. For a bumpy upper edge of the line, see Drawing eyeliner without jagged lines, in short sections. Separate this from smudging that transfers color over time, and choose the adjustment that suits the product you own.
1. Separate skipping, faint color and pooling, and take it away from your eye
First, set up a place to put the cap and the body, and look at the tip away from your eye. Is the line breaking only partway? Is the whole line faint from the start? Is liquid pooling at the side of the brush? Choosing one state that is bothering you narrows down where to check, even when it all feels like "I can't draw."
If the brush is stiff and catches when it touches, stop instead of pushing it in. Do not try to fix too little color and too much pooling liquid with the same action. Knocking or pushing out more in the latter case can sometimes increase the liquid. First check both the tip and the base.
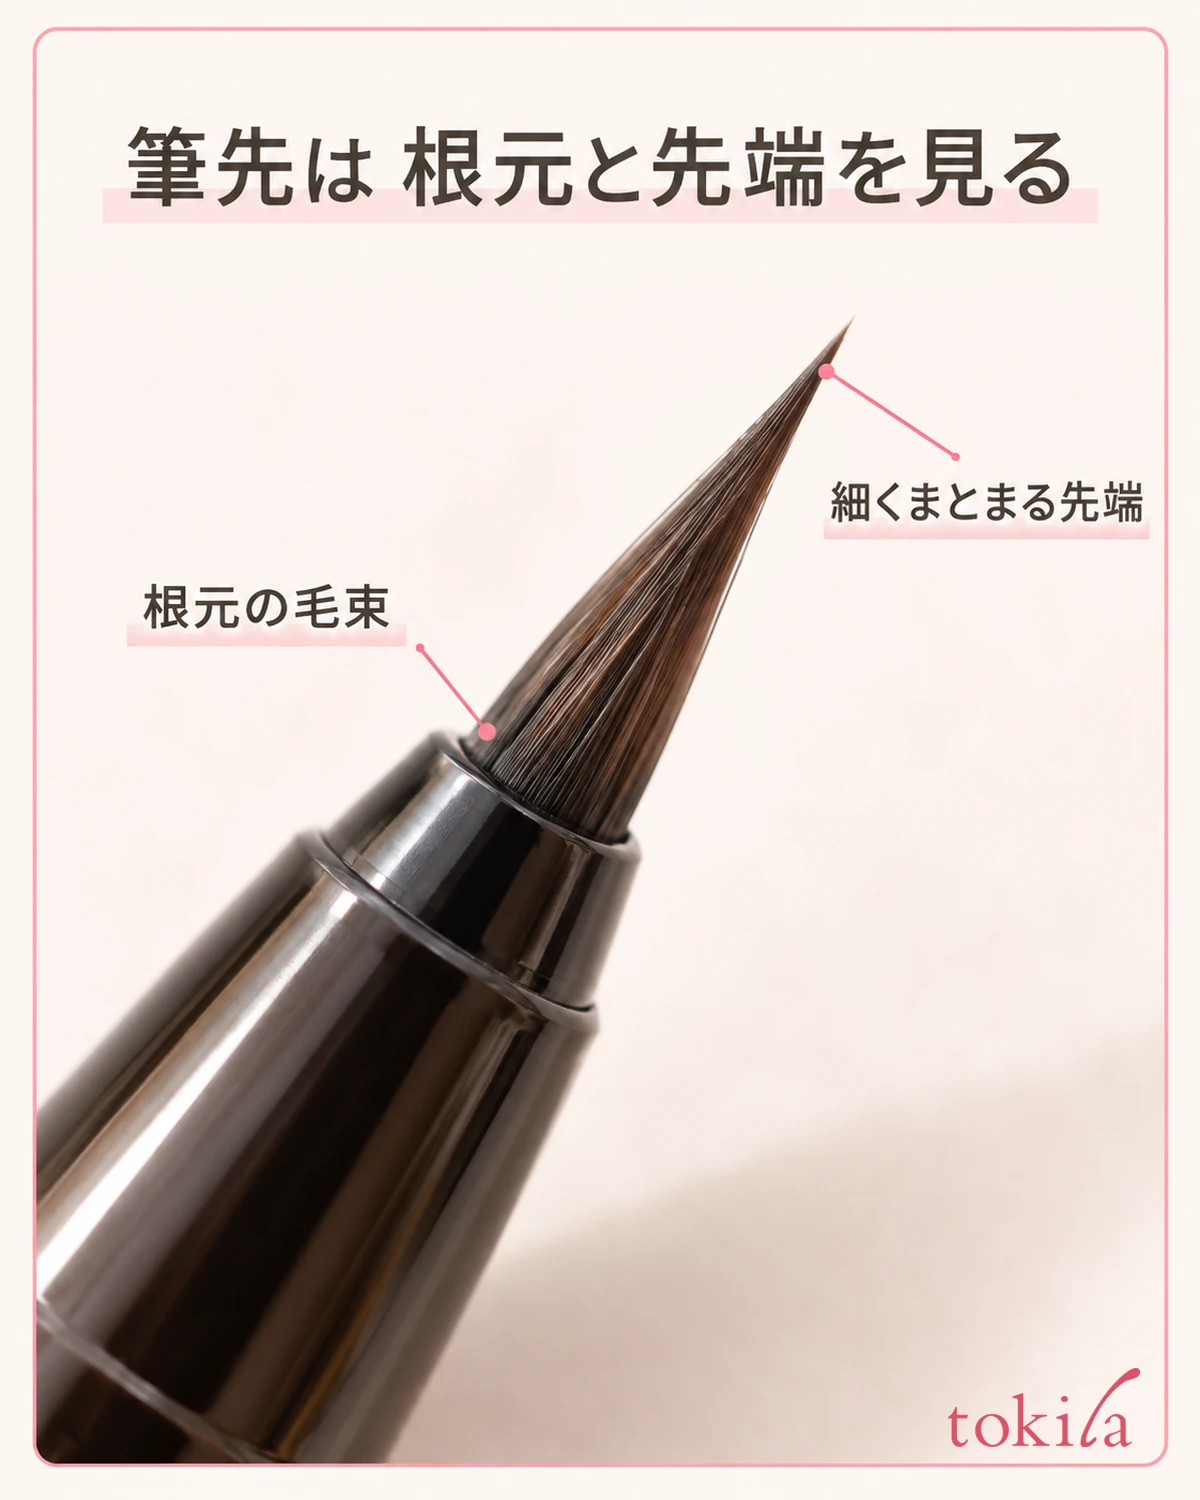
However, from appearance alone you cannot tell whether the cause is dryness, dirt or the remaining amount.
The color you bought may also be light by nature, or have a sheer finish. Separate whether it looks fainter than when you normally use the same color, or whether the depth you wanted differs from the product's character. Before layering a light color to match the depth of a black line, read the color name and finish description of the one you have.
When it changed is also a clue. If it was from the first use, check the preparation when you opened it; if after a period of not using it, how you handled it before use; if partway through drawing over eyeshadow, the buildup on the tip. Do not hurry from the observation "it skipped today" to the judgment that the tool must be broken.
If color is already on your eye, move on to checking the tool while keeping the line you want to keep. You do not need to thicken the whole line to fill in a short skipped section. If it is hard to handle, for example if liquid leaks or the brush splits, check the labeling or where to ask rather than keep drawing with that one pen.
2. Choose how to shake it and how to deliver the liquid from the labeling of the product you own
Next, look at the type of body. Is it a single-use brush pen, a type with a dedicated cartridge you replace, or a type where you deliver liquid with a button or dial? Types where you remove the brush and pick up liquid from a container are handled differently, so do not apply the steps for this brush pen as they are.
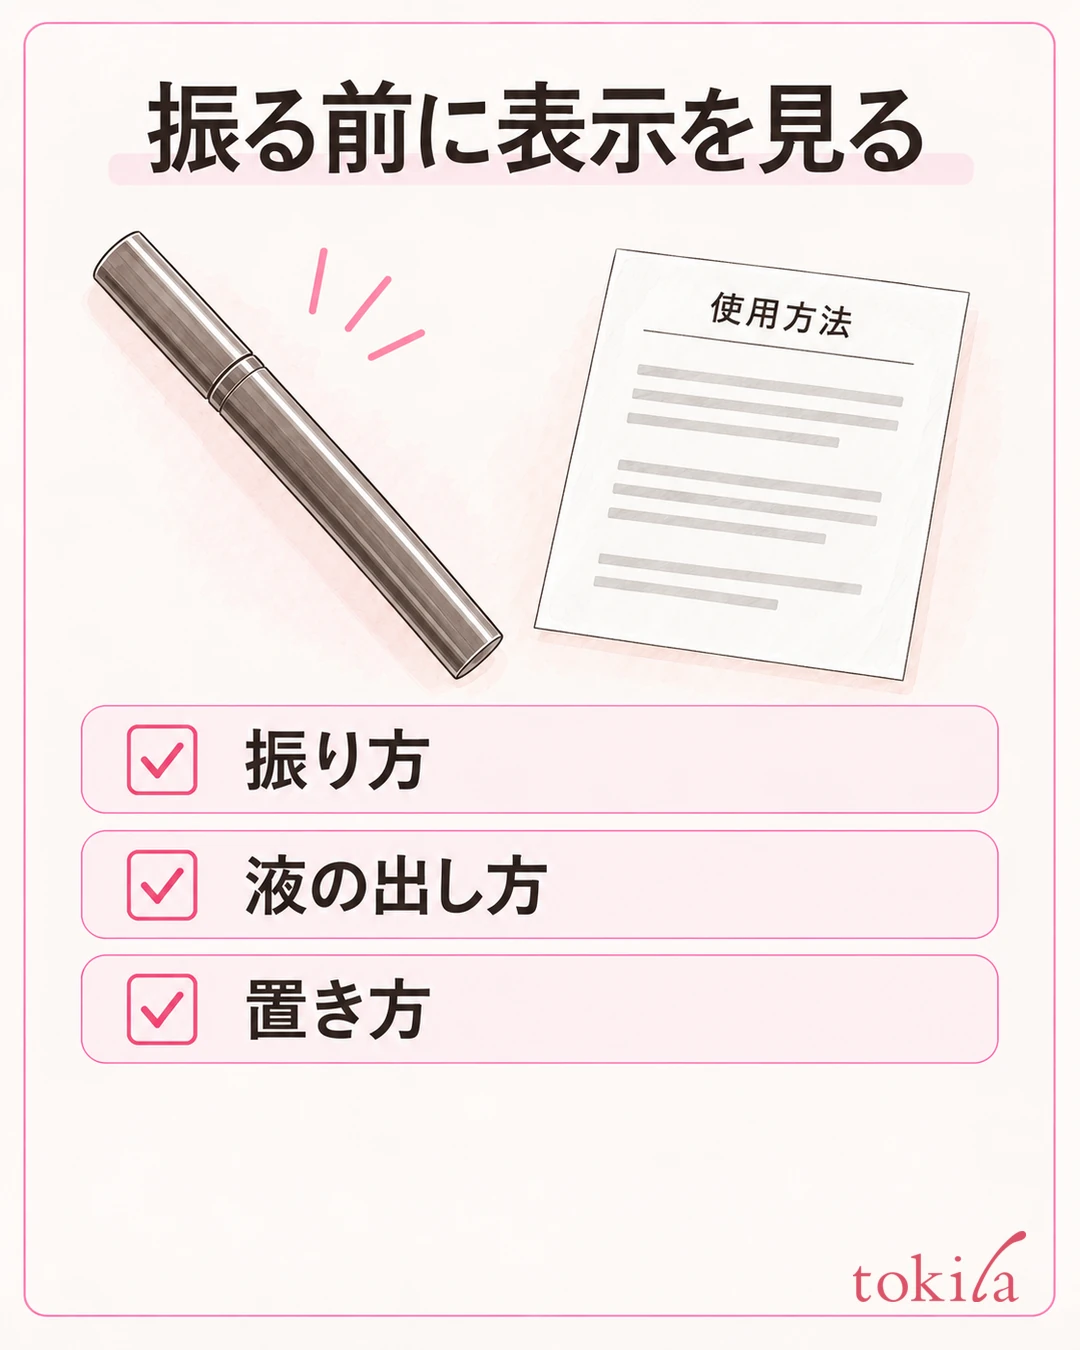
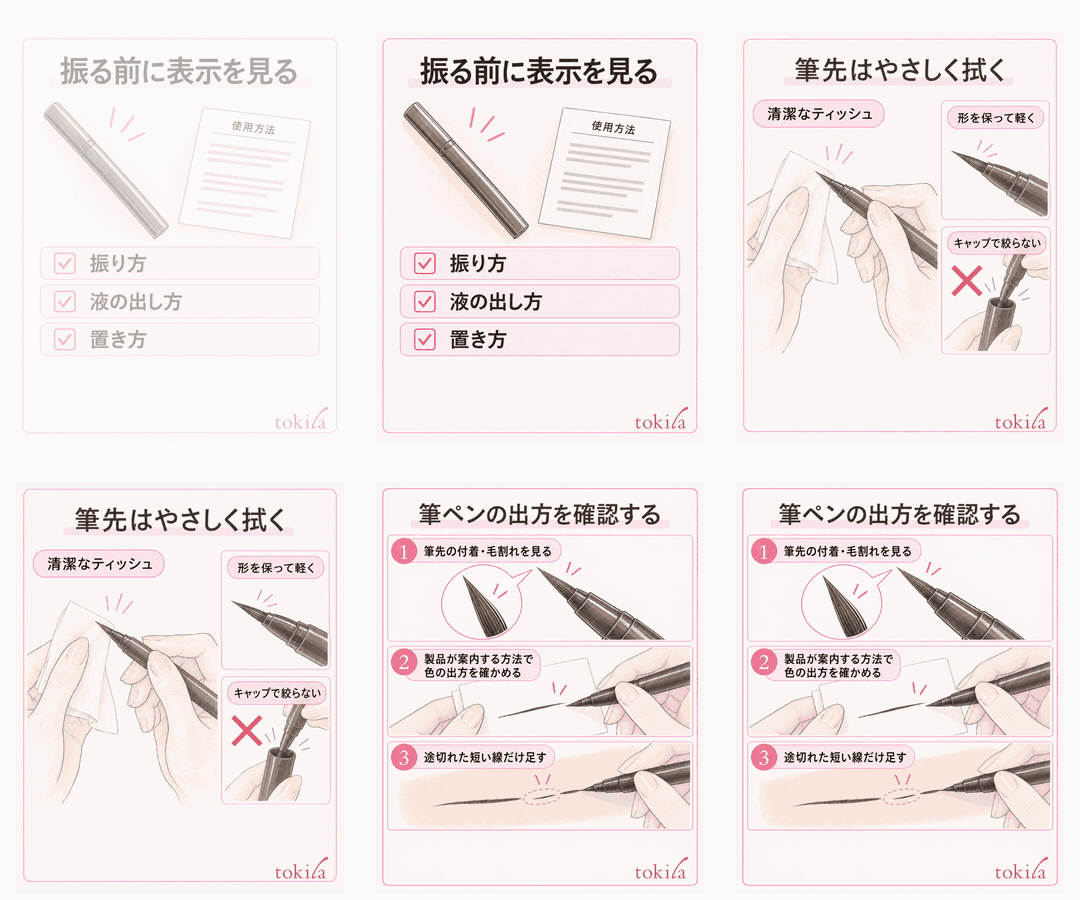
It is important not to assume across the board that "liquid comes out if you shake it." Check the number of shakes and the strength in that product's labeling, and if there is an instruction to close the cap, see that it is closed before handling it.
It is also noted that shaking hard may cause the liquid to leak. Follow both "gently" and the number of shakes, and do not adjust by shaking dozens of times because nothing comes out.
For button-type and cartridge-type products, separate the method for the first setup from the method partway through use. The number of liquid deliveries when you first open it is not necessarily what you repeat every morning. Before removing, turning or pressing a part, check the operation needed for that type and the caution about pressing too much. Do not substitute the instructions for a similar-looking different product.
How to rest it when it skips partway through use also depends on the product. Do not fix a waiting time of a few seconds by your own method.
Check the product labeling separately for a temporary fix and for everyday storage. Do not extend this into a common rule that every brush pen should always be kept pointing down.
3. Gently tidy buildup on the tip with a clean tissue
When you can see powder or makeup stuck to the tip, prepare a clean tissue. If the product's instructions describe wiping, keep the shape of the brush, wipe gently and then check how the liquid comes out. Avoid continuing to use a dirty paper left on the desk, or a surface that has turned black from correcting your eye makeup.
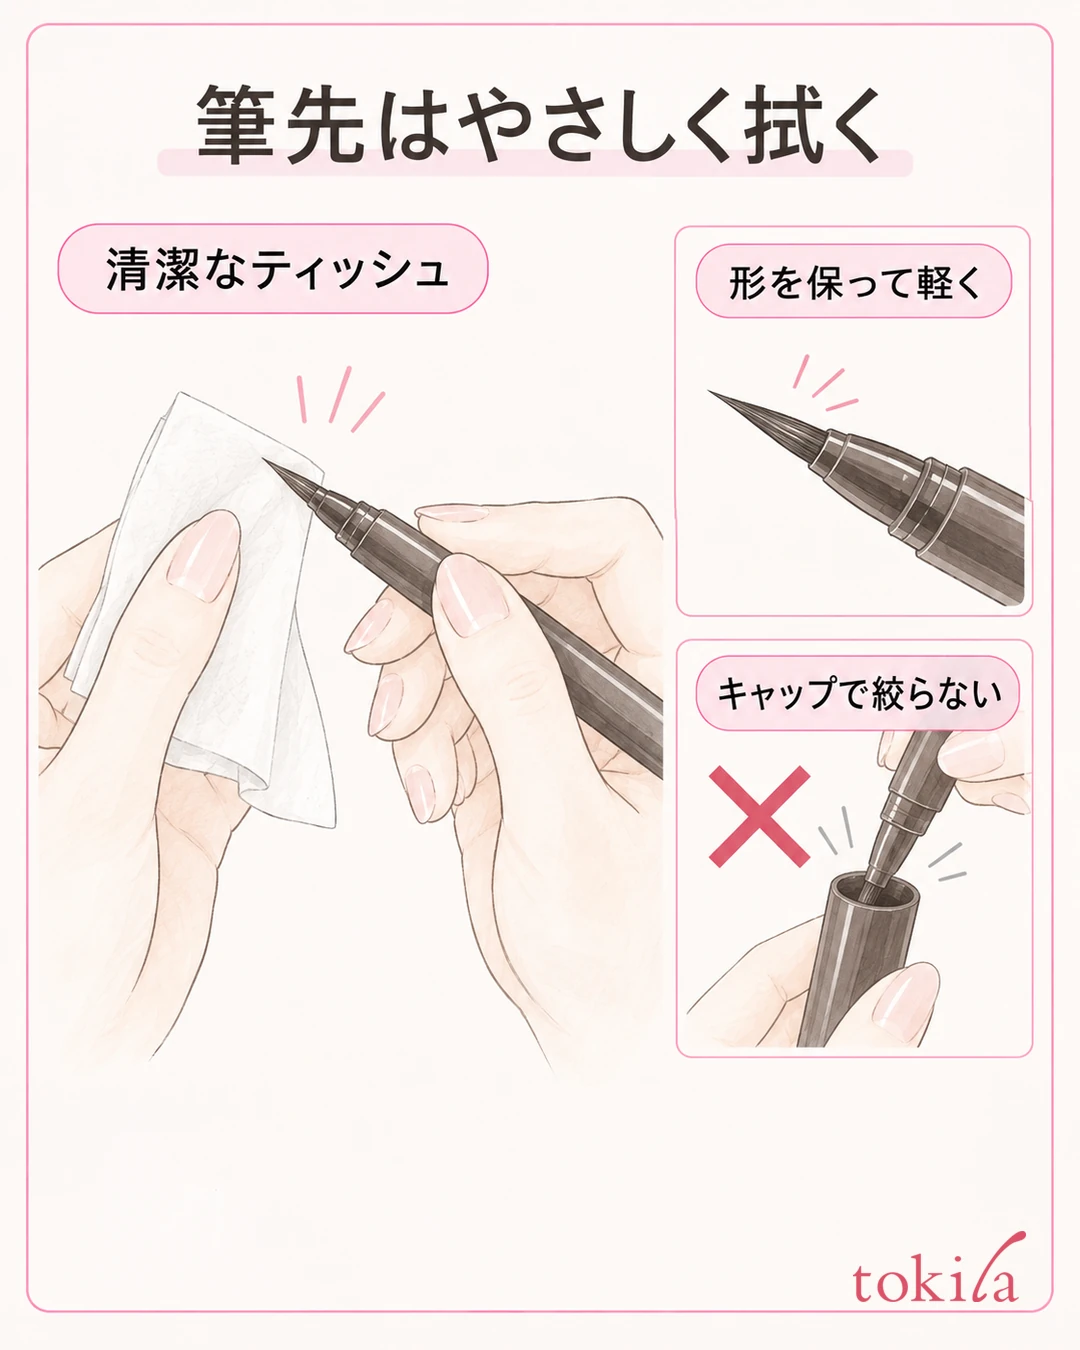
Support the body with one hand and lightly hold a folded tissue with the other. Do not crush the bristles with your fingers or pull on the tip. Also keep this separate from squeezing the whole brush hard to reduce the amount of liquid. Move from a dirty part of the tissue to a clean part, and once the necessary care is done, stop instead of wiping on.
Tidy excess liquid onto the tissue by the method the product indicates, and do not use the rim of the cap to regulate the amount of liquid.
Even when a product has a dedicated recovery step such as "pressing the base against a tissue," it is not an instruction to bend the brush roughly. Check whether the product you own has that method, and choose it as distinct from ordinary gentle wiping.
Do not go on to processing such as warming it to bring out the liquid or cutting the bristles to even them. If clumps remain in the cap or on the tip, check where to consult for that product.
You can also review the order of your makeup. Rather than changing all your makeup to the same order, recall the occasions when powder tended to stick to the brush and make the order the product recommends your candidate for next time.
4. Once the liquid flow is right, go back only to the short sections you need
After you have finished the care and the liquid delivery as the labeling describes, check the tip before bringing it to your face. See whether liquid is pooling at the base and whether the bristles are splitting badly. If the product describes checking on a tissue or similar, confirm that color comes out by that method; there is no need to keep drawing many lines on paper and using up the liquid.
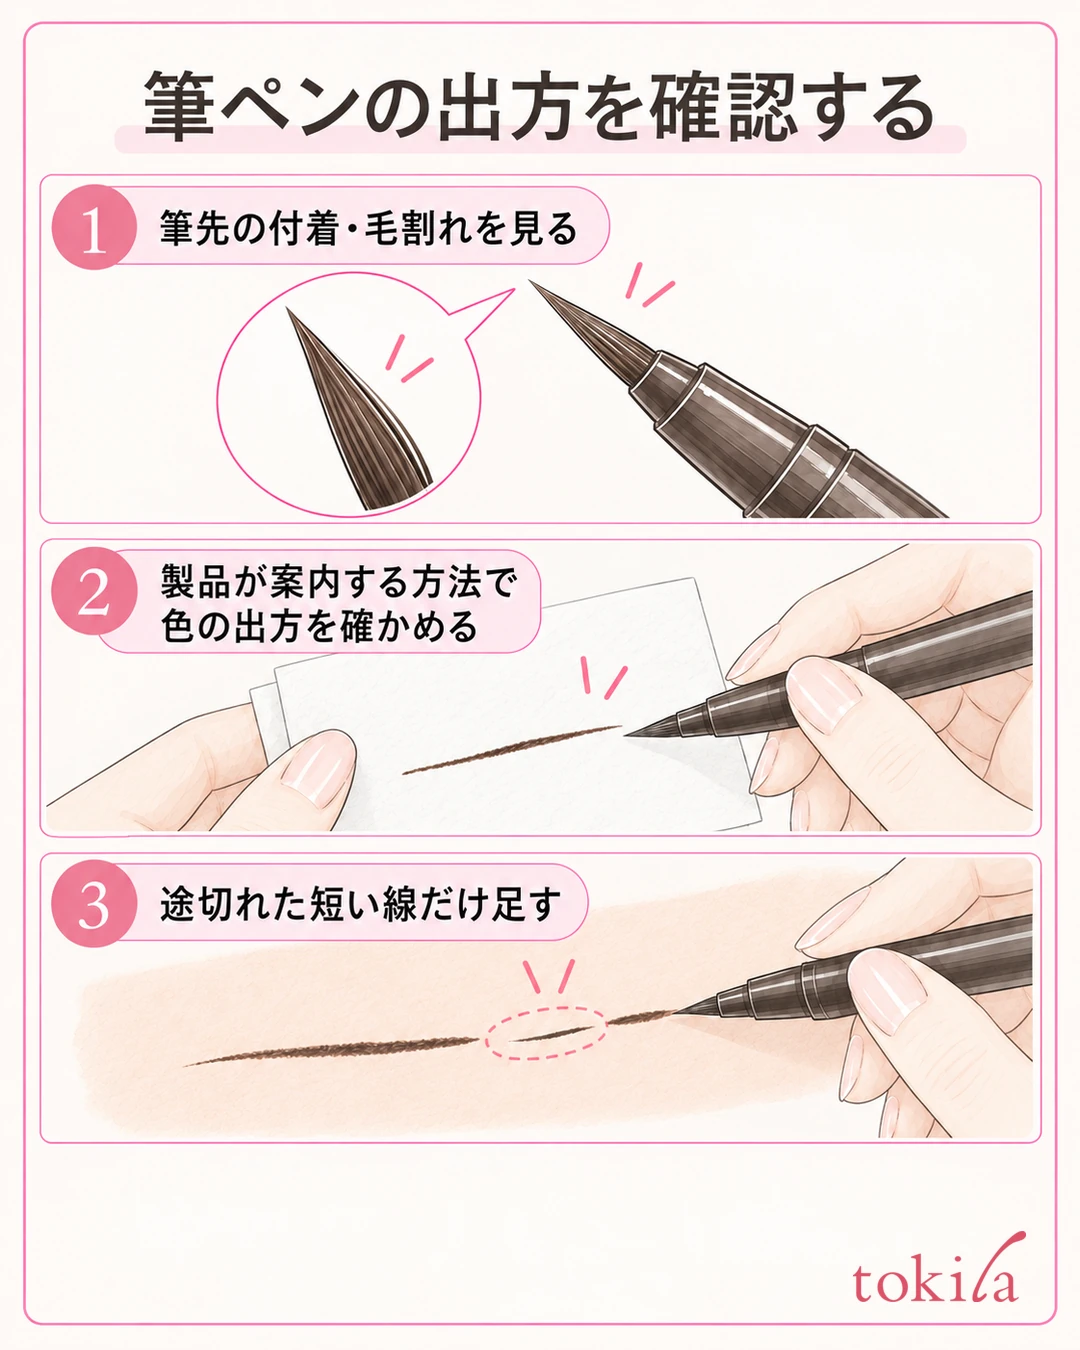
Even once color comes out again, do not immediately redraw your whole eye. Put the mirror in a position where it does not move, and take a posture where you can see both the tip and the skin you are drawing on. Draw lightly in short sections you can handle, on the outer side of the lash line of the upper lid. Do not make it a step that points the tip toward the mucous membrane or the eyeball.
If a line already remains, choose the short section that broke. Rather than tracing from end to end the same number of times, add only where the color is lacking, then take the tool away right away. For layering onto a dry line and how to handle it until it dries, follow the product you own, and do not go back and forth over a wet line with the brush to tidy it.
Once you have added to it, open your eyes naturally and look. Check together whether the line has connected and whether it has become too thick. Pressing hard every time the color seems faint changes how the tip lands and the width of the line. Keep checking for skipping separate from the choice of how dark you want it today.
If too much liquid comes out and makes a thick dot, stop before layering more. Use the removal method specified by a product that can be used around the eyes to tidy the excess color on the skin in just that spot. Do not drag it widely with a dirty surface, and get the base in order as well before returning to the short section. Do not use a method such as pressing a dry cotton swab hard to scrape it off.
If the flow is unstable, a stiff brush keeps catching, or leaking continues, this is not a time to keep trying on your face. Switch to replacement or consultation as the product's instructions describe. If you want to review the shape of the line, go on to The length, angle and visible width of the outer corners on both sides, and do not hide a liquid problem just by adding to the shape.
5. Check the cap and storage, and leave one condition for next time
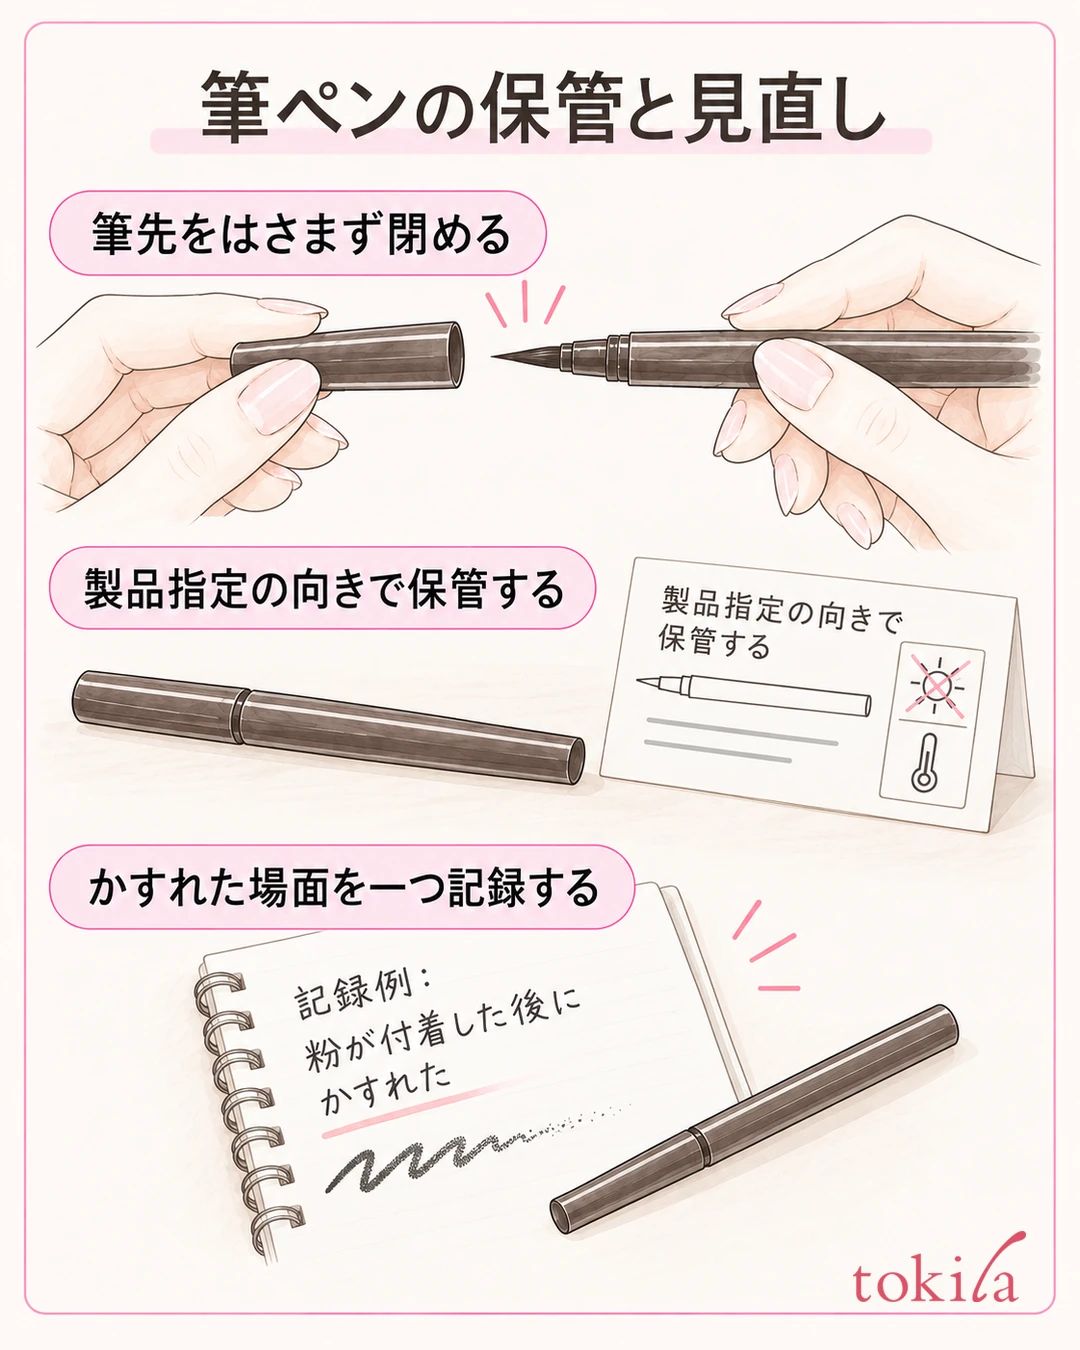
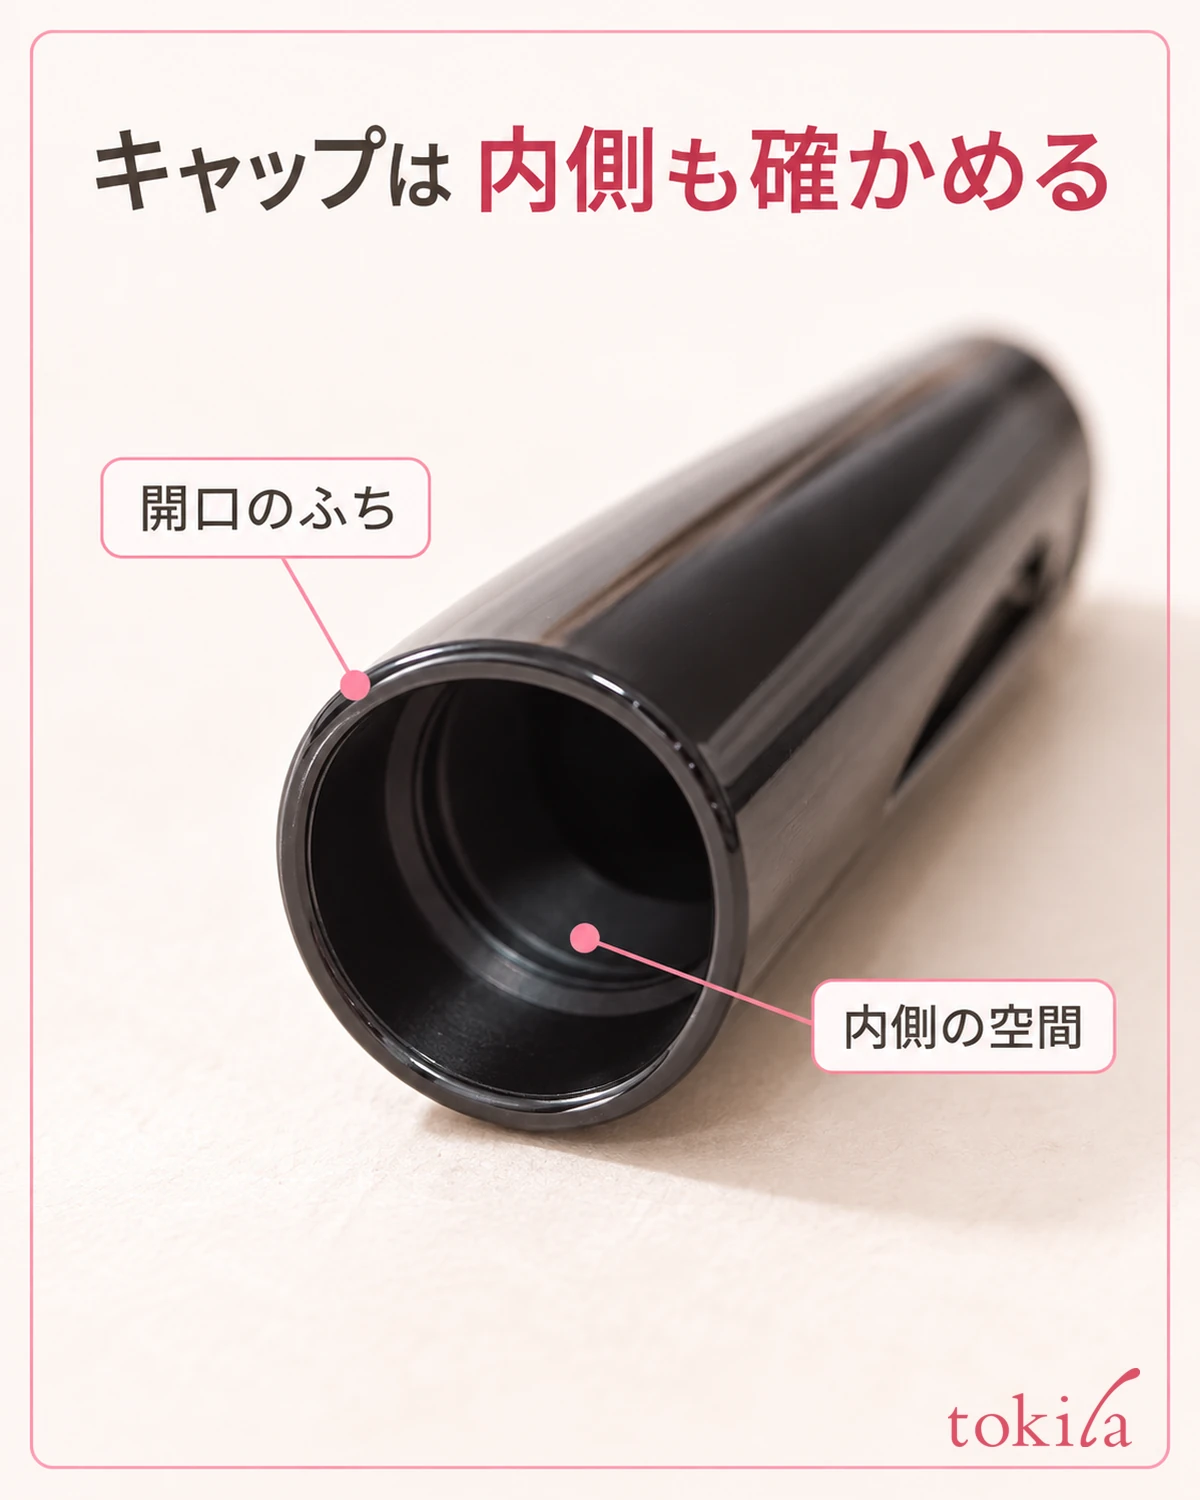
When you finish, tidy the tip as the product's instructions describe and close the cap. Fit it on straight while checking that the tip is not hitting the rim of the cap. Rather than pushing it on quickly with one hand, look once at the position of the tip before closing it, and it is easier to avoid pinching the bristles.
If it closes differently than usual or there is a gap, check before putting it in your pouch. Look in the instructions for whether clumps inside the cap are in the way and whether you are handling the parts correctly. Rather than forcing it on or using the cap from another product, choose to consult the place designated for that product.
The storage direction and environment are also decided by the labeling. If horizontal storage is specified, do not store it with the tip always pointing down. The point is not to confuse the temporary way you rest it only while fixing skipping with how you store it day to day.
Check the product labeling too for cautions about places in direct sunlight and places that are hot or cold. Do not leave the cap off when you are not using it, and close it also when you move on to other makeup. Do not make it a standing assumption to wait until the brush has dried out before recovering it.
One note for next time is enough, such as "it skipped after powder stuck to it," "I rested it on its side as labeled," or "I went back to a short section." Rather than changing the product, makeup order, shaking and layering amount all at once, match the step that gave you trouble with the action you changed. Do not treat your own single observation as a test that would give the same result for everyone.
On days it skips, first take the tool away from your eye, and look at the state and the product labeling separately. Check the necessary care and how the liquid comes out, go back only to the short section, and finish by sorting out the cap and storage. Before buying another, take a look at how you handle the one you have, with reference also to The basics of eyeliner and mascara.



