
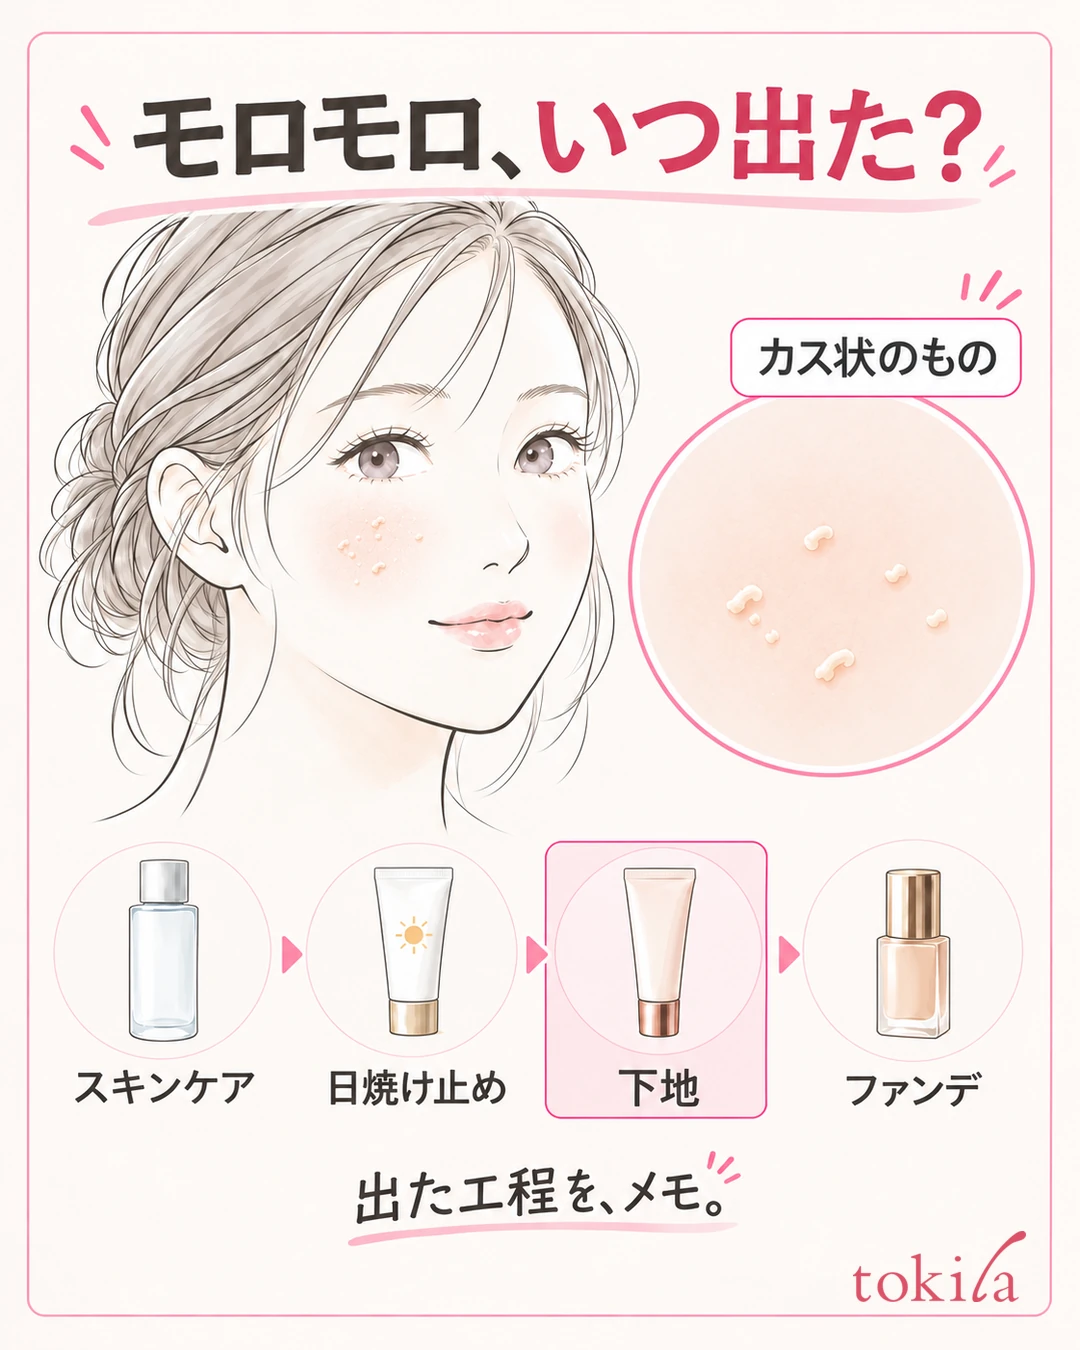
While spreading sunscreen or makeup primer, little bits like eraser crumbs appear. When you layer foundation over it, they stand out even more. When that happens, stop the hand that keeps rubbing and rolling them. Work out which step produced them, and review in order the amount, how well the previous layer has settled, and how many times you touched the same spot.
This article explains how to deal with the "pilling" that appears during makeup. Rather than deciding the cause from appearance alone, these are steps for choosing your next move based on how to use the products you have.
1. Check which step the pilling appeared at, and the condition of your skin
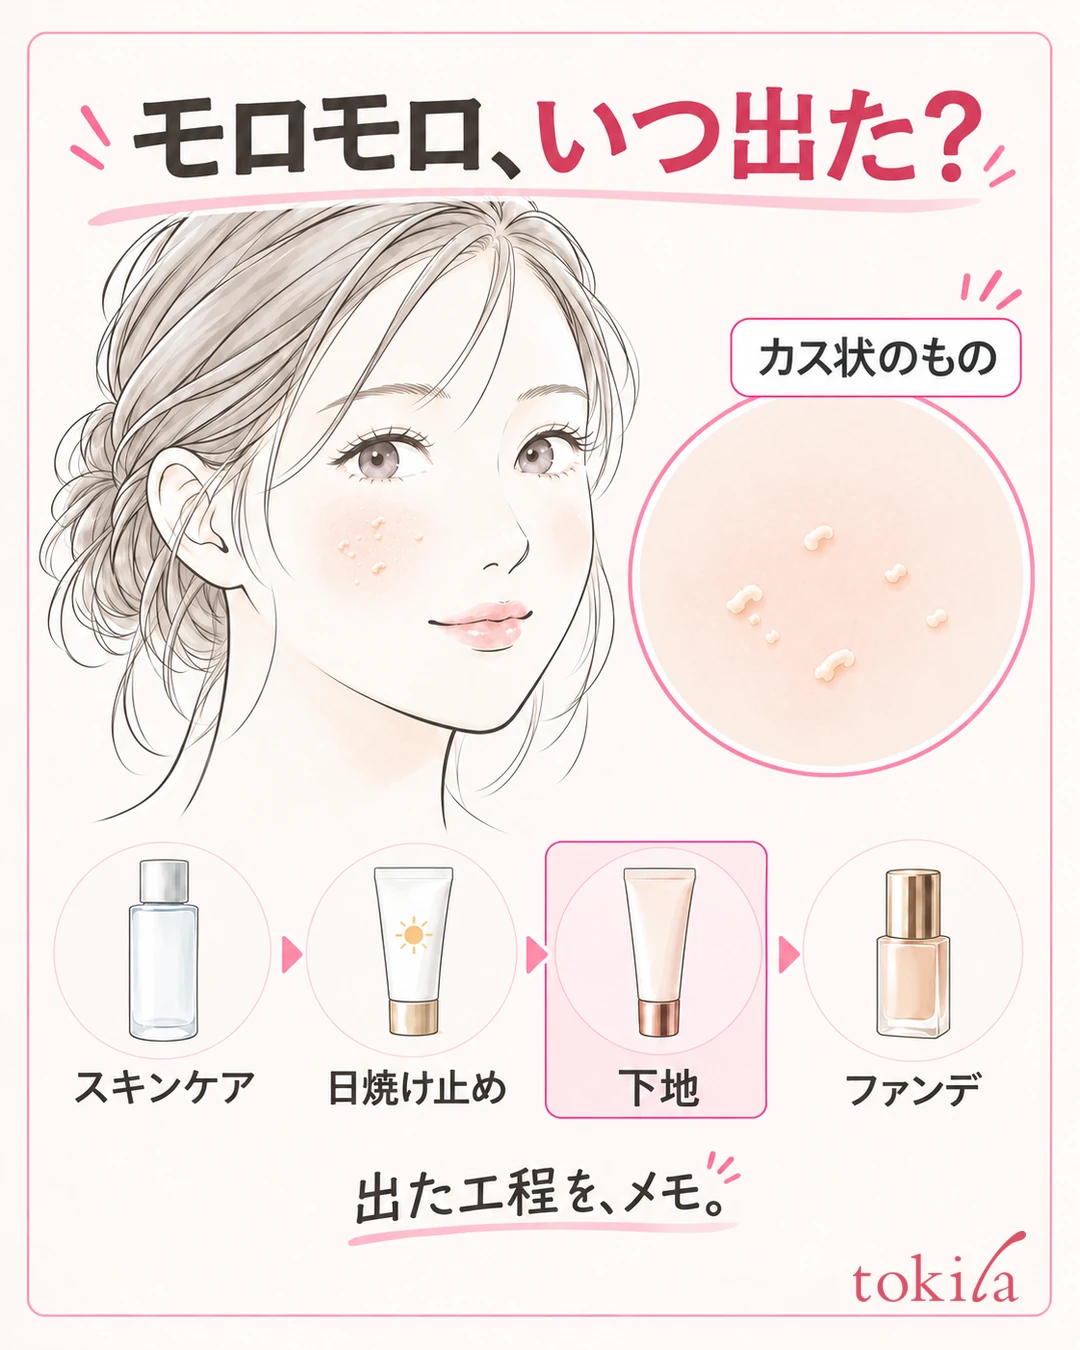
First, recall whether it started at the skincare, sunscreen, primer or foundation stage. Do not immediately decide that "the last product used is the culprit"; also check what you applied just before. Looking at the amount you layered and how you moved your hands will help you narrow next time's review down to one thing.
In the mirror, look for small rolled-up bits on the surface, powder that is merely left looking white, or base color gathering in streaks. There is no need to deliberately rub your skin many times to check the pilling. Do not keep touching the same spot on your face; observe the area you can see now.
Do not assume that whatever comes off is always old dead skin, and avoid adding a scrub or strong friction on the spot to remove it all.
On the other hand, if your skin was thinly peeling before makeup, or if there is redness or pain, do not treat it like a simple makeup failure. Follow the product's cautions, such as stopping use of the cosmetic, and seek advice if it continues. The diagrams in this article explain how to apply products and do not diagnose the condition of your skin.
Also make a short record of where it appeared. A pairing of step and place is enough, such as "cheeks where I layered primer" or "chin where I went back and forth over the foundation many times." Whether it appears over the whole face or in one spot changes what you can check before redoing everything.
If your main concern is shine or color creasing in the evening, also see makeup touch-ups by how it breaks down. Here we focus on the crumb-like bits that appear while layering.
2. Let the previous layer settle, and read the amount and order for each product
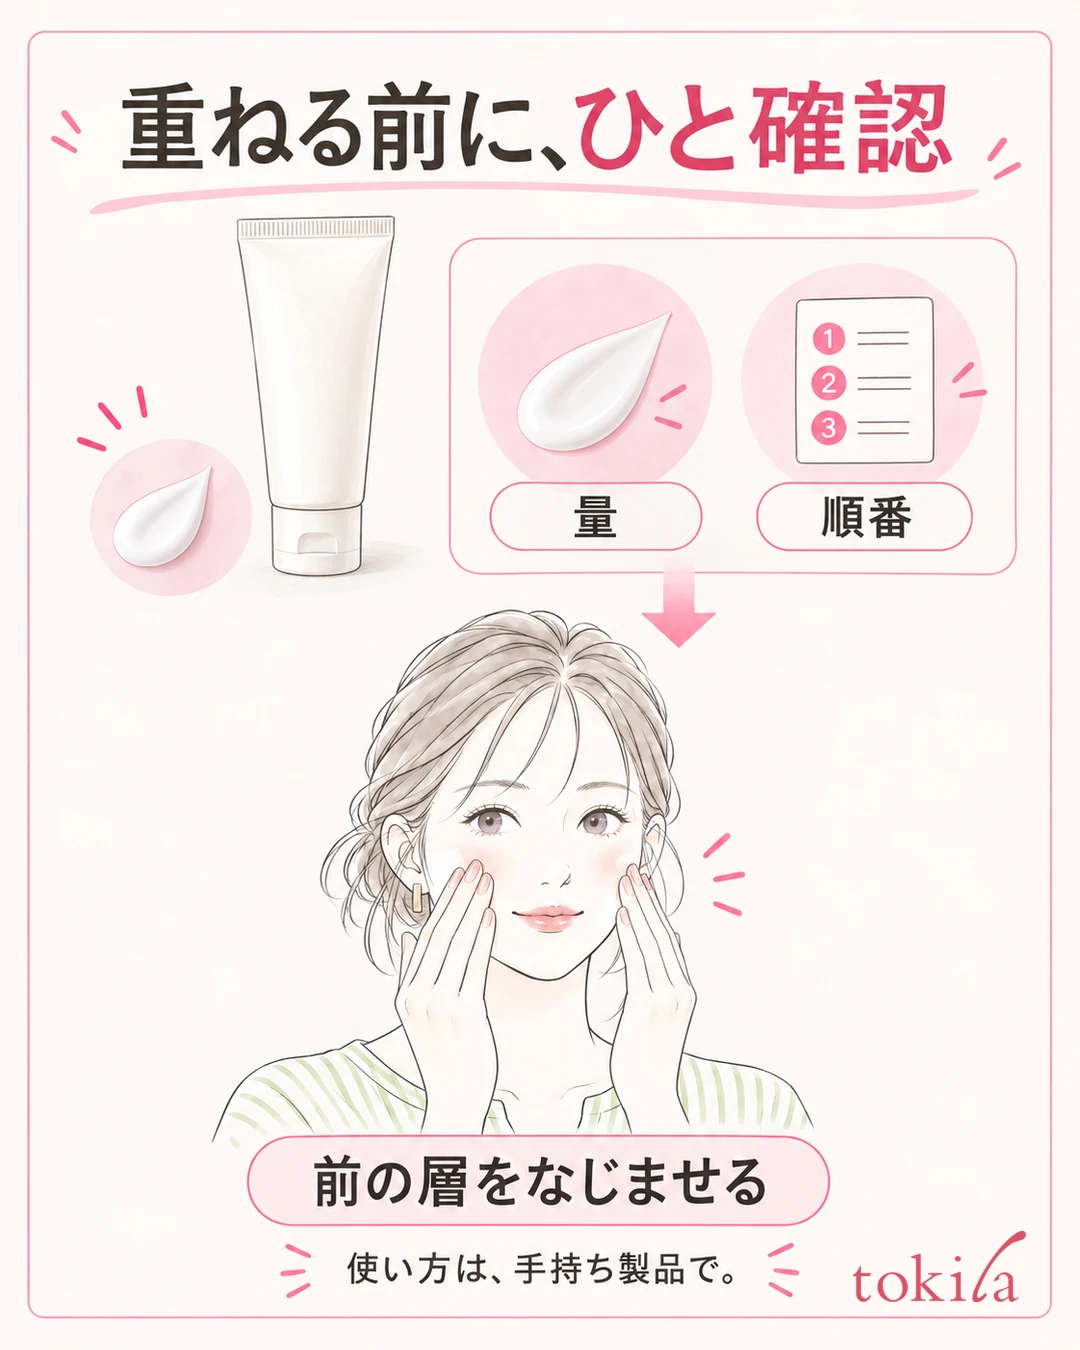
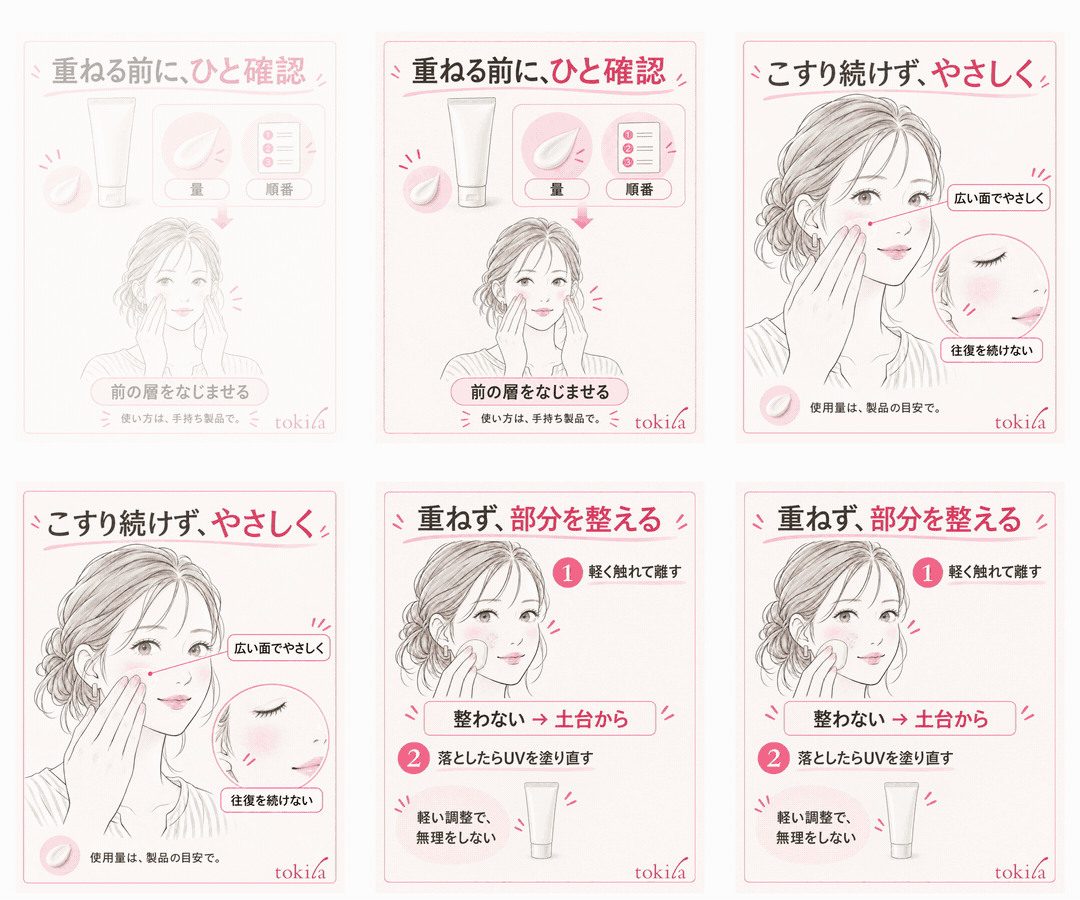
At your next makeup, read the container and the official directions for use first. Check whether it needs to be shaken well, how much to use on the face, and whether it can double as a primer. "One pearl-sized drop" and "one pump" do not mean the same amount for every product.
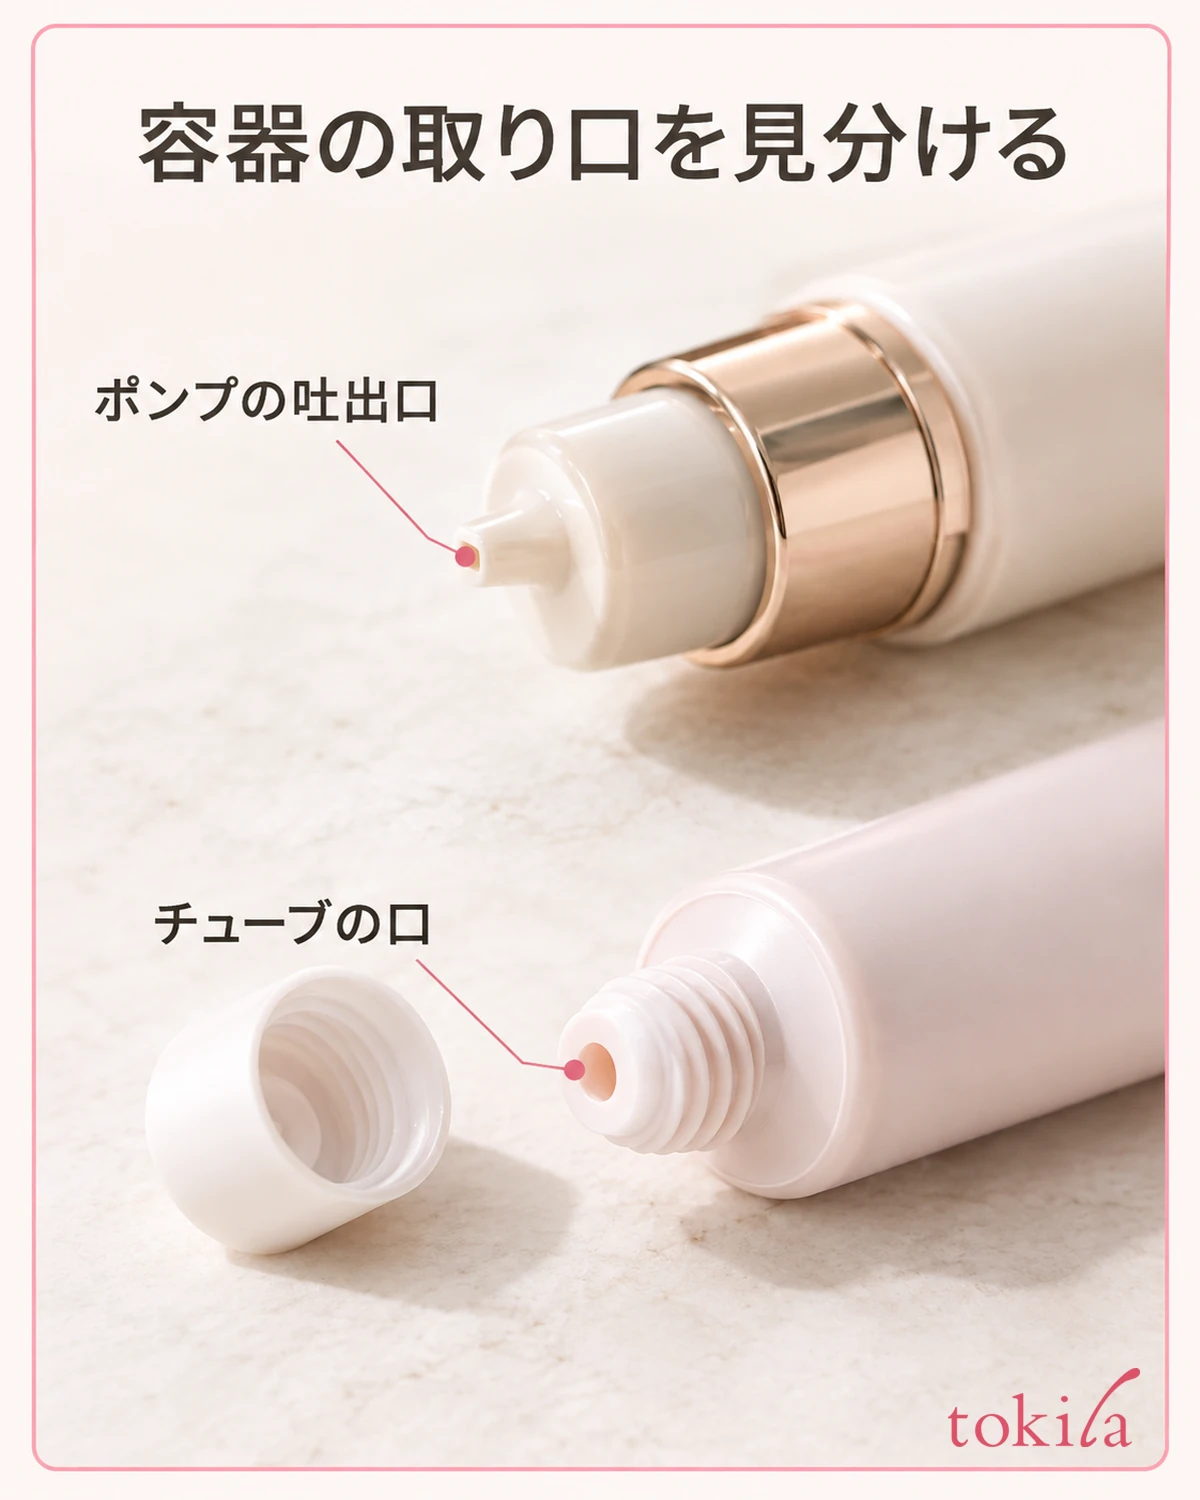
After skincare, do not hurry to layer the next product while a lot of liquid still remains on the surface. For how to let it settle, give priority to the product's instructions, and if you touch it, do so lightly with clean hands. Do not turn it into rubbing every time to test whether pilling appears.
Rather than setting the same waiting time for everyone, check the description of the products you use and whether the previous layer still remains over a wide area.
If you are short on time in the morning, prepare your routine: reread the amount before taking the product out, line up the containers in order, and so on. It is fine to get your brow tools ready while you wait. But touch the cheeks you have already settled less often just to check.
With types that also work as a primer, you may be able to skip the primer. Read whether the products you have specify that they can double up, and decide from that.
Not layering functions you do not need is different from skipping moisturizing or sunscreen. Do not uniformly cut back skincare when you feel dry, or drastically reduce the amount of UV protection to avoid pilling; first check whether you have strayed from the specified amount.
3. Spread gently and do not rub the same spot again and again
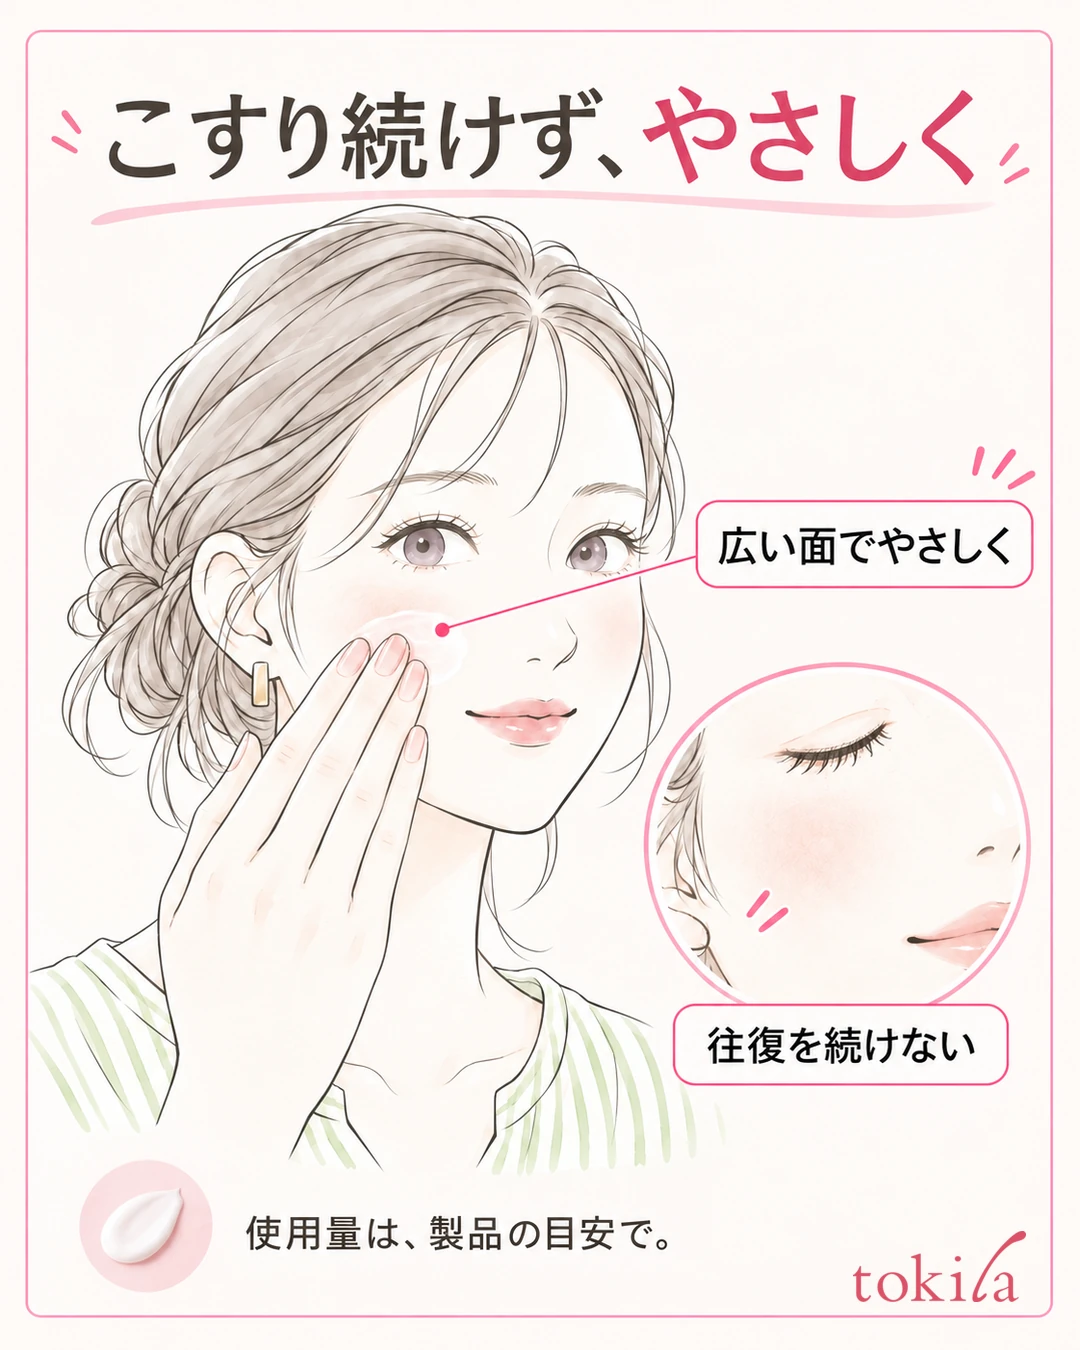
Take the amount specified for the product and spread it evenly according to its directions. Rather than dispensing a lot at once and putting all the leftover on your face, checking the amount to use first reduces the motion of spreading a thick layer again and again. Avoid moving as if polishing the same area repeatedly.
If you use your fingers, do not concentrate force on a single fingertip; handle the product gently with the broad pad of your fingers. Spread it while it is still spreadable, and do not keep going back and forth over areas that have settled in. If you use a tool, check whether the sponge or brush can be used for it, and prepare a clean surface.
Here we use that approach as a reference, and the specific amount and tools should be decided by the specifications of the products you have.
If crumb-like bits appear while spreading, do not add new primer on top and press them in. Lift your fingers away and look at where they appeared and how thick the layer is now. If you try to hide the rolled bits with added cosmetics, it becomes harder to tell which layer to adjust.
Foundation, too, should be layered over the necessary area according to its directions once the layer beneath has settled. When your cheeks are even but a single spot of pilling remains, do not go back and forth over the whole cheek many times just to remove that one bit. Have a point at which you switch to the next partial fix.
If the previous cosmetic remains thick on a tool, do not keep using the same surface. Separate the surface used for small fixes from the surface that picks up new cosmetics, and keep them clean by the manufacturer's care method. Also read the instructions on whether a sponge can be used damp, and do not add water or toner on your own.
Reviewing friction here does not mean "finish without ever touching your skin." Make the movements that apply the product evenly, and reduce the movements that keep rubbing the same spot more than necessary. The goal is not to leave patchy application and just reduce the number of passes.
4. If it appears, stop layering and choose a partial fix
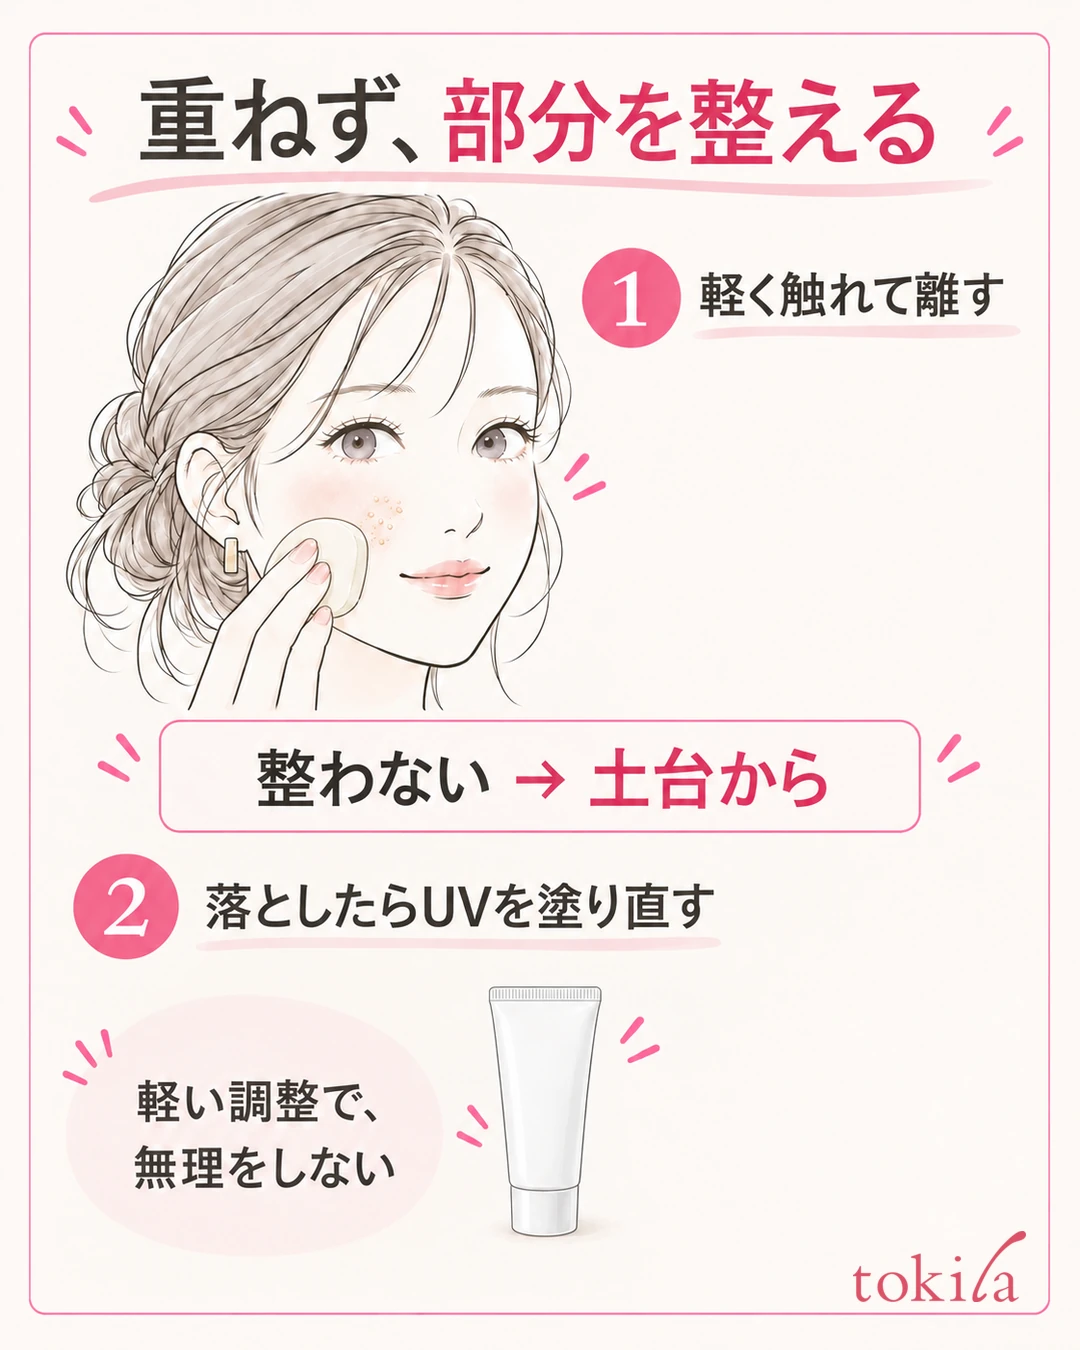
Think about touch-ups according to whether it is still before foundation or you have already layered color. Do not force a case where only a little remains on the surface and a case where the base has rolled up over a wide area into the same steps. First, without adding new powder or color, check the extent in the mirror.
If only a little remains lightly on the surface, lightly touch the small area that bothers you with a clean, dry, soft sponge surface or similar, and lift away. Tidy only what comes off, and if it does not change at once, do not increase the force. Avoid pinching with a nail, brushing dry skin hard, or rolling the same spot repeatedly.
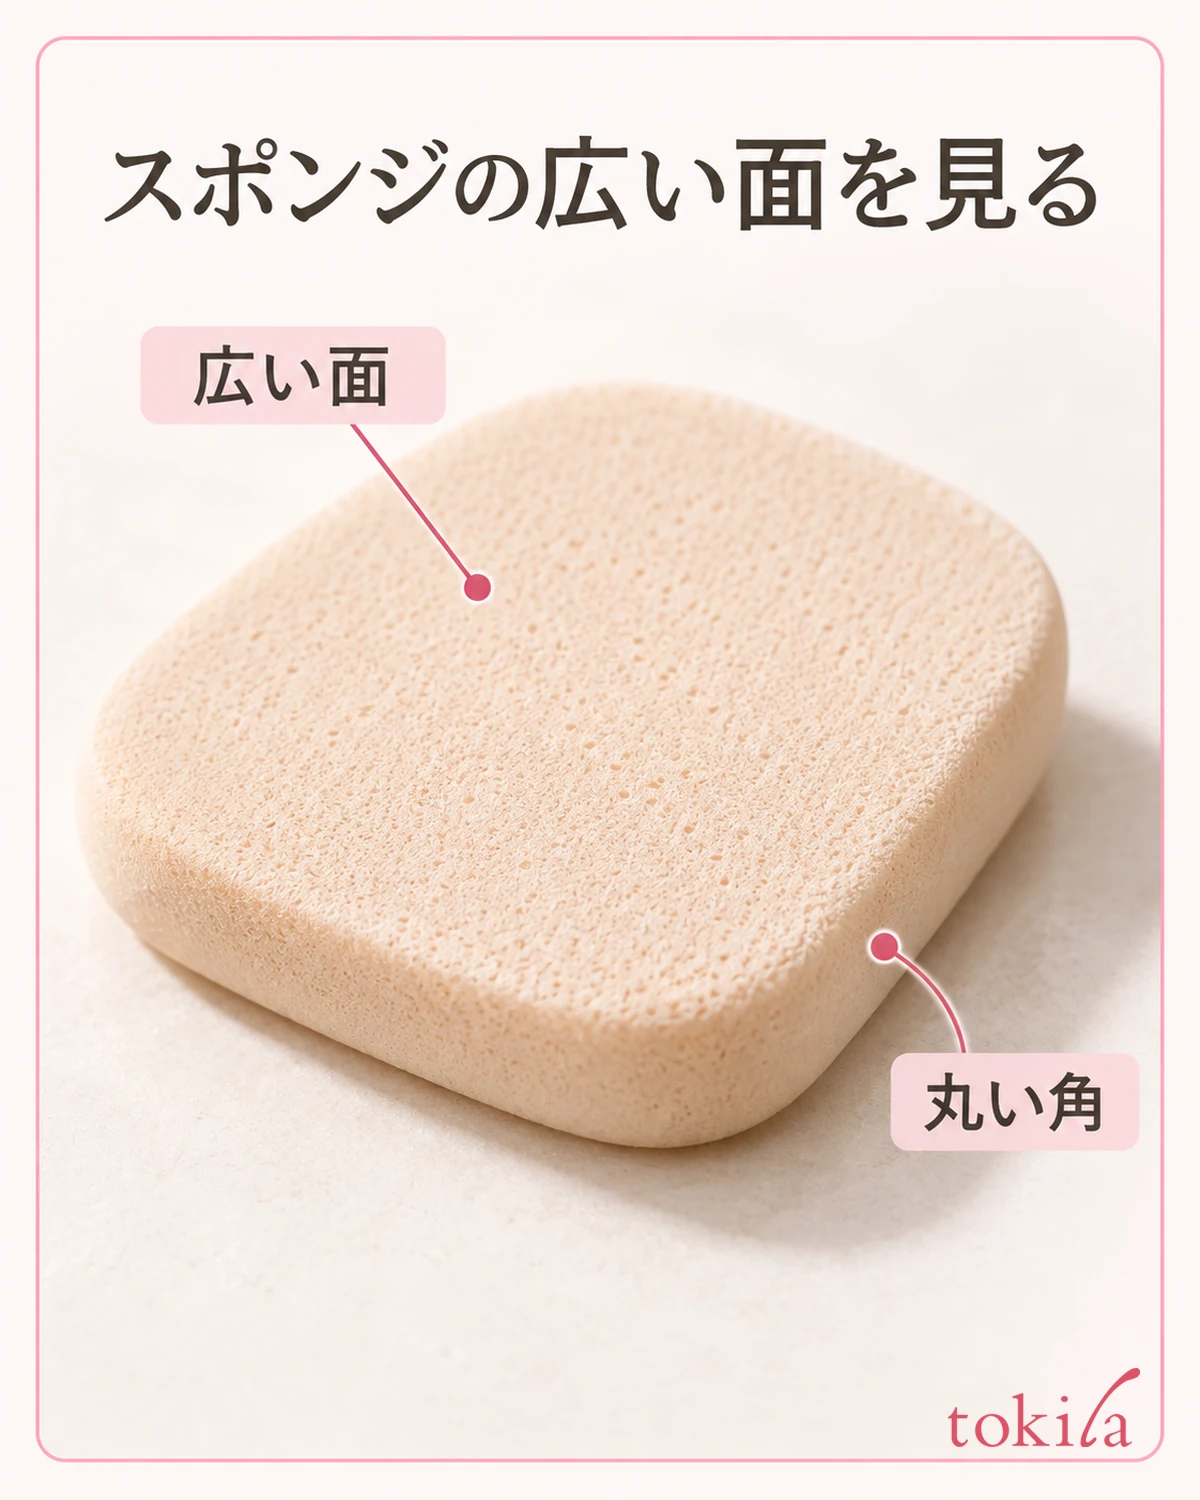
This partial fix is an option organized by the editorial team, not a removal method specified by manufacturers that is common to all products. The film of primer or sunscreen may also come off with it, so do not judge that "only the bits came off, so the UV protection is still intact."
If a thick layer remains over a wide area, the color underneath comes off too, or it keeps appearing even after a light touch, do not keep layering on that spot. Instead, remove the necessary area with a cleanser or other method suited to the product, and choose to start over from skincare. For a wide area, it may be easier to redo it in a place where you can wash, rather than stick to just a part.
Reapply sunscreen to the area you removed it from, following the directions for use. Do not treat the area as protected just because it looks tidy.
Also check whether what you use for removal can be used around the eyes and mouth. Do not carry a full-face procedure straight over to the narrow edges of the eyes; choose the areas that need it and a method that can be used. Look at the edges of the fixed area too, and check there is no large step between it and the remaining layers before moving on to the next step.
If you have nothing to redo the removal with while out, do not rub forcefully and widen the area; prioritize tidying where you can fix it. Considering that UV protection may have become insufficient, use a hat or parasol as well, and prepare a way to reapply.
5. Choose one condition to change next time, and review the combination

The next morning, rather than swapping all your products at once, start by reviewing one condition. If you used more than the specified amount, choose the amount; if the previous layer was still there, choose how you let it settle; if you went back and forth over the same spot, choose how you move. Think of sunscreen while keeping the required amount.
A short note is enough, such as "check the previous layer before applying primer" or "do not go back and forth over the cheeks." Record what you changed between last time and this time and the step at which it appeared. It is a record to organize your own preparation, not a test proving that the product will cause pilling for everyone.
If it keeps happening even when you use the products as directed, list the names and order of the skincare, UV protection, primer and foundation you use, and consult the manufacturer or a store. Do not assume that the same brand will surely solve it, or that a certain ingredient alone will surely cause pilling. Rather than judging compatibility from a list of ingredient names alone, tell them the actual combination and how you use it.
When you buy replacements, too, check whether they can be used together with the base you have, whether they double as a primer, and whether the specified amount and tools suit your morning routine. If possible, ask for advice and check how you can try them out. Do not decide the answer to the cause by popularity or price alone; put into words what you want to change first.
You can check the role and types of primer in how to choose a makeup primer. If you are unsure of the overall structure, see the basic order of makeup. It helps you sort out where in your usual routine this fix fits.
When pilling appears, begin by looking at the step where it appeared and checking the previous layer, the amount used and friction. Do not keep adding to spots that will not settle; if necessary, redo the base. While keeping the required amount of UV protection and even application, try to find the way of using products that suits your own combination.



