
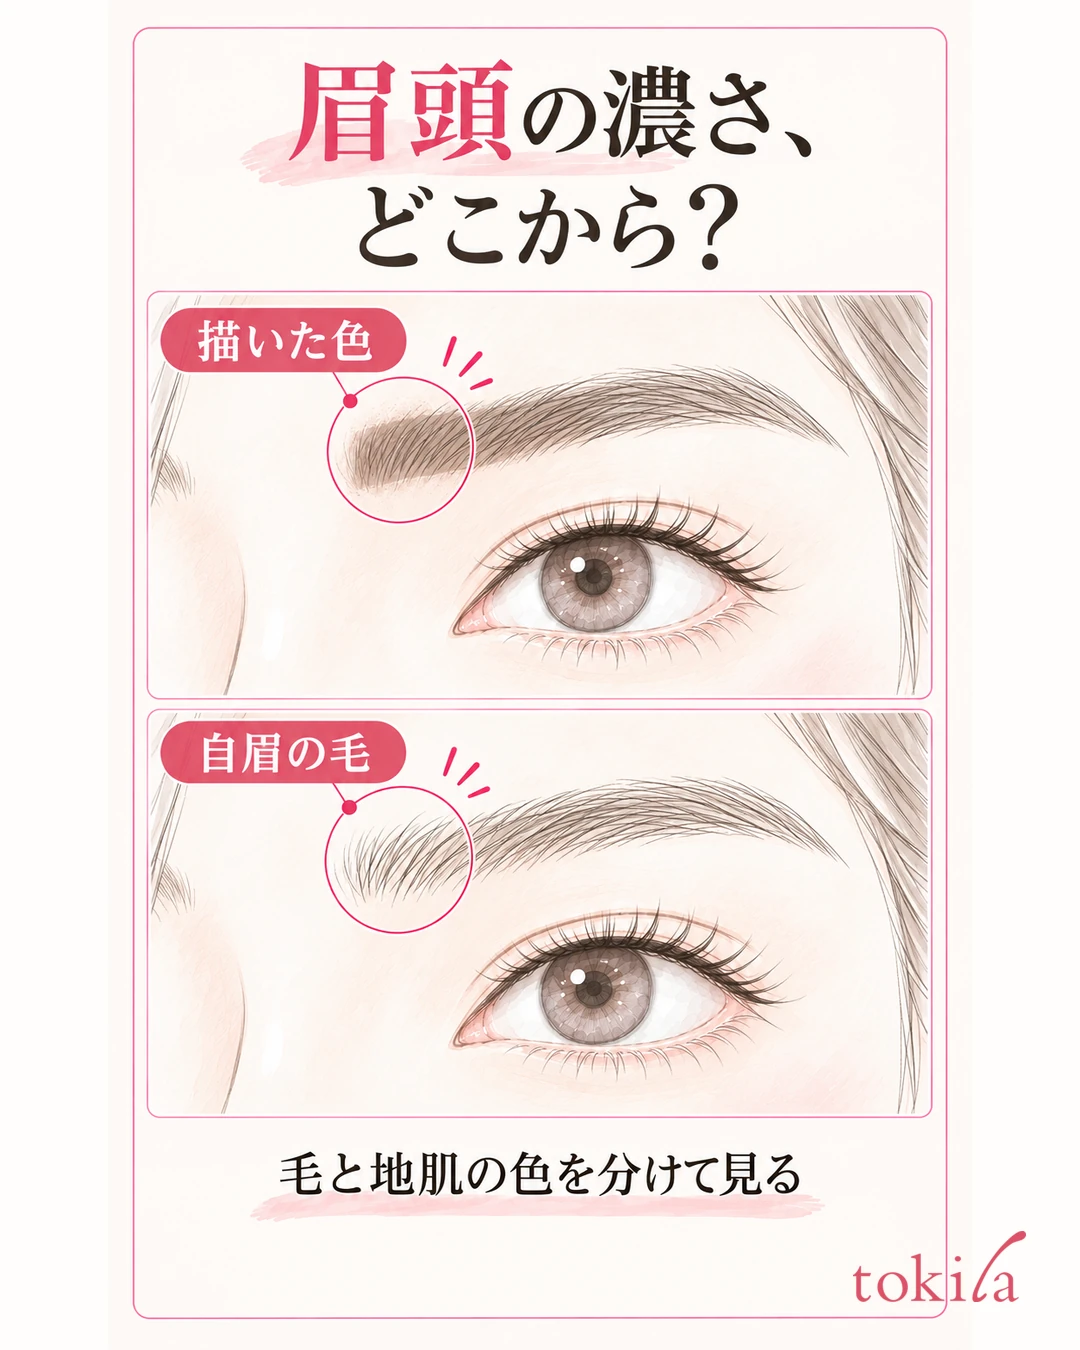
You draw the inner ends of your brows and they look squared off. You keep adding color to match the lighter side, and both inner ends end up too dark. On those days, stop adding color first and look at the color you drew on your skin separately from the brow hairs themselves.
This article explains how to fix inner brows drawn too dark with pencil or powder, and how to adjust the amount next time. It is not about plucking or trimming your natural brows to make them lighter; it is a procedure for reviewing the color, the edges and where you layer product.
1. Separate the darkness of the brow hairs from the color you added
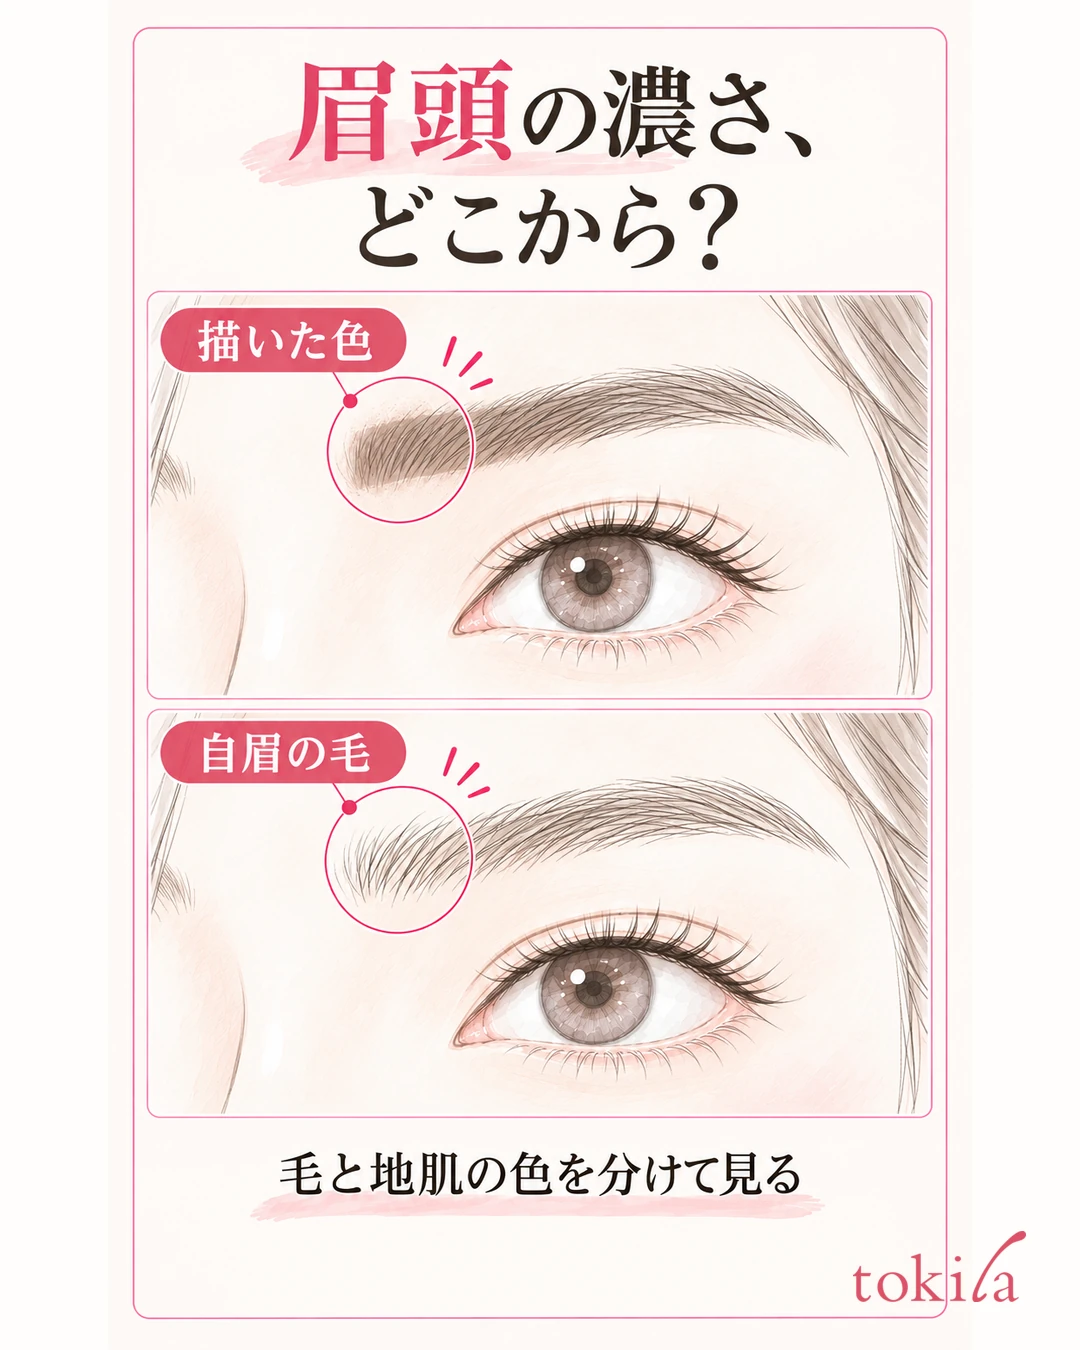
Hold the mirror a little away from your face, where you can see both brows together. The inner end is where the brow begins, near the nose. Work out whether that spot is dark, the whole brow is darker than you like, or only the outer edge of the inner end looks squared. Before deciding to “remove it all because it is dark,” pick one area that bothers you.
Next, bring the mirror closer and look between the hairs. Parts that look dark because hairs overlap and parts that look dark because of powder or a thick pencil line on the skin do not necessarily call for the same fix. The starting point is not to treat the color of hairs that were there before you drew as color that will disappear if blended.
If you have outlined the top, bottom and inside of the inner end with a dark line, that outline is the main place to adjust. If you like the shape from the middle of the brow to the tail, there is no need to remove that too. Aim to lighten only the drawn edges while leaving room for the hairs at the inner end to show.
If brow mascara has clumped the hairs or left product on the skin, treat that separately from blending powder. See how to fix too much brow mascara product and color on the skin and check the approach that suits your product. Do not try to remove color by combing hard through hairs that have set.
Shadows from lighting and bangs also change how your brows look. Move your hair away so both brows show, and face forward in the same light. If you look at only one side while it is in shadow, you may add too much color to the lighter side. If the left-right difference in shape is your main concern, move on to checking brow height, length and darkness.
Dark brows are not a problem in themselves. Decide how strong you want them to look in today's makeup, and put into words which you want to adjust: a strong outline, densely packed hairs, or layered color. If you do not widen a feeling that only the inner ends are off into a problem with the whole brow shape, you can keep the area to fix small.
2. Lightly blend the edge of the inner brow without adding new color
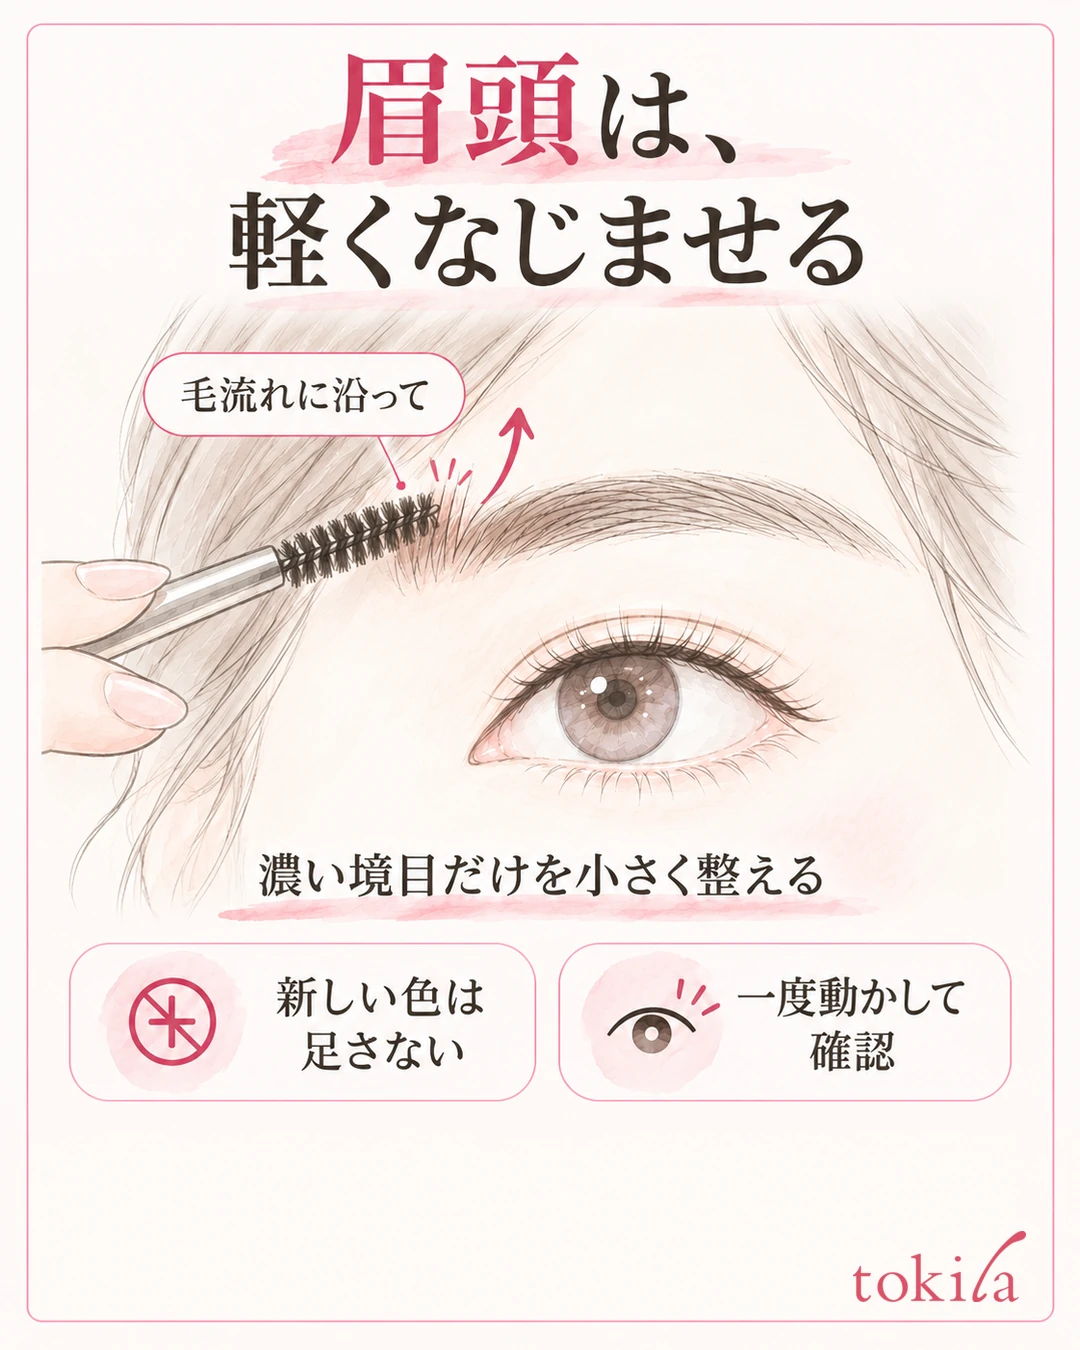
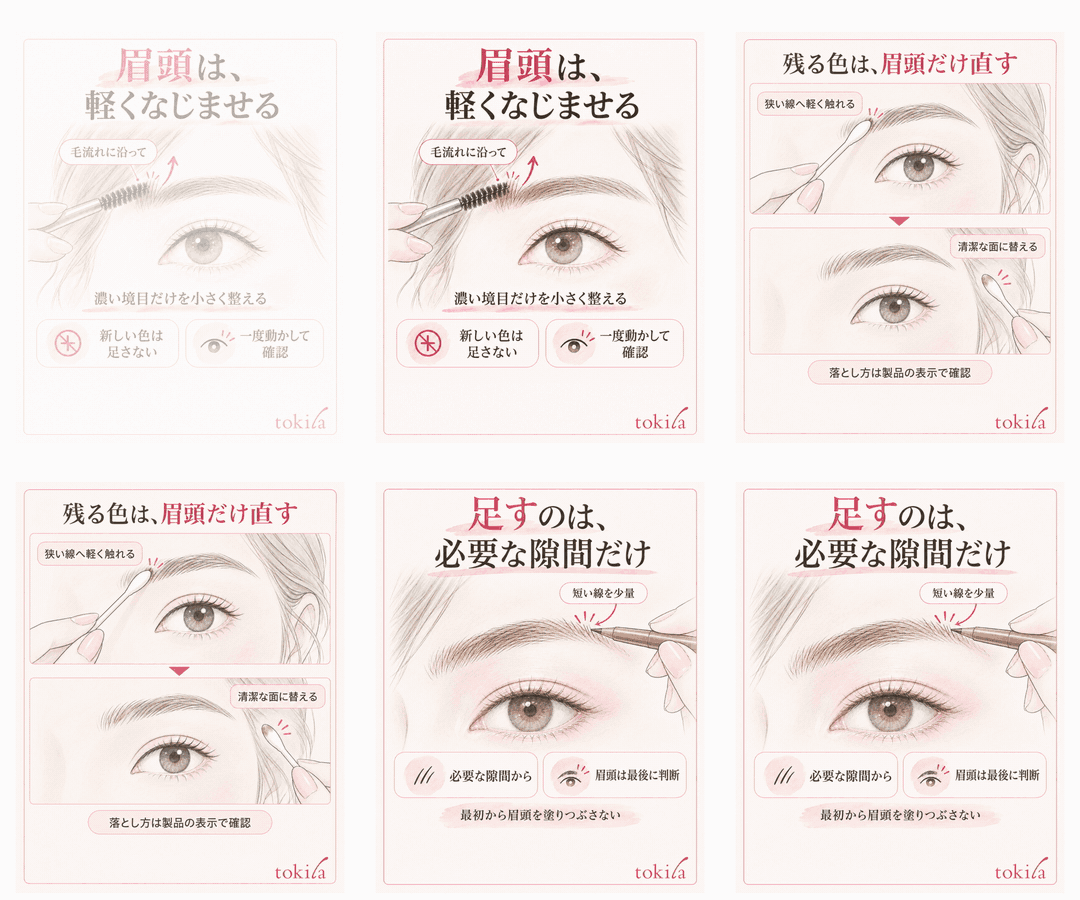
If the color was drawn with powder or pencil, prepare a clean spoolie with no new color on it. Touch it lightly to the surface of the hairs at the inner end and move it in short strokes along the actual direction of hair growth. Do not press hard into the roots or rub the skin repeatedly; make one movement, then lift the brush away.
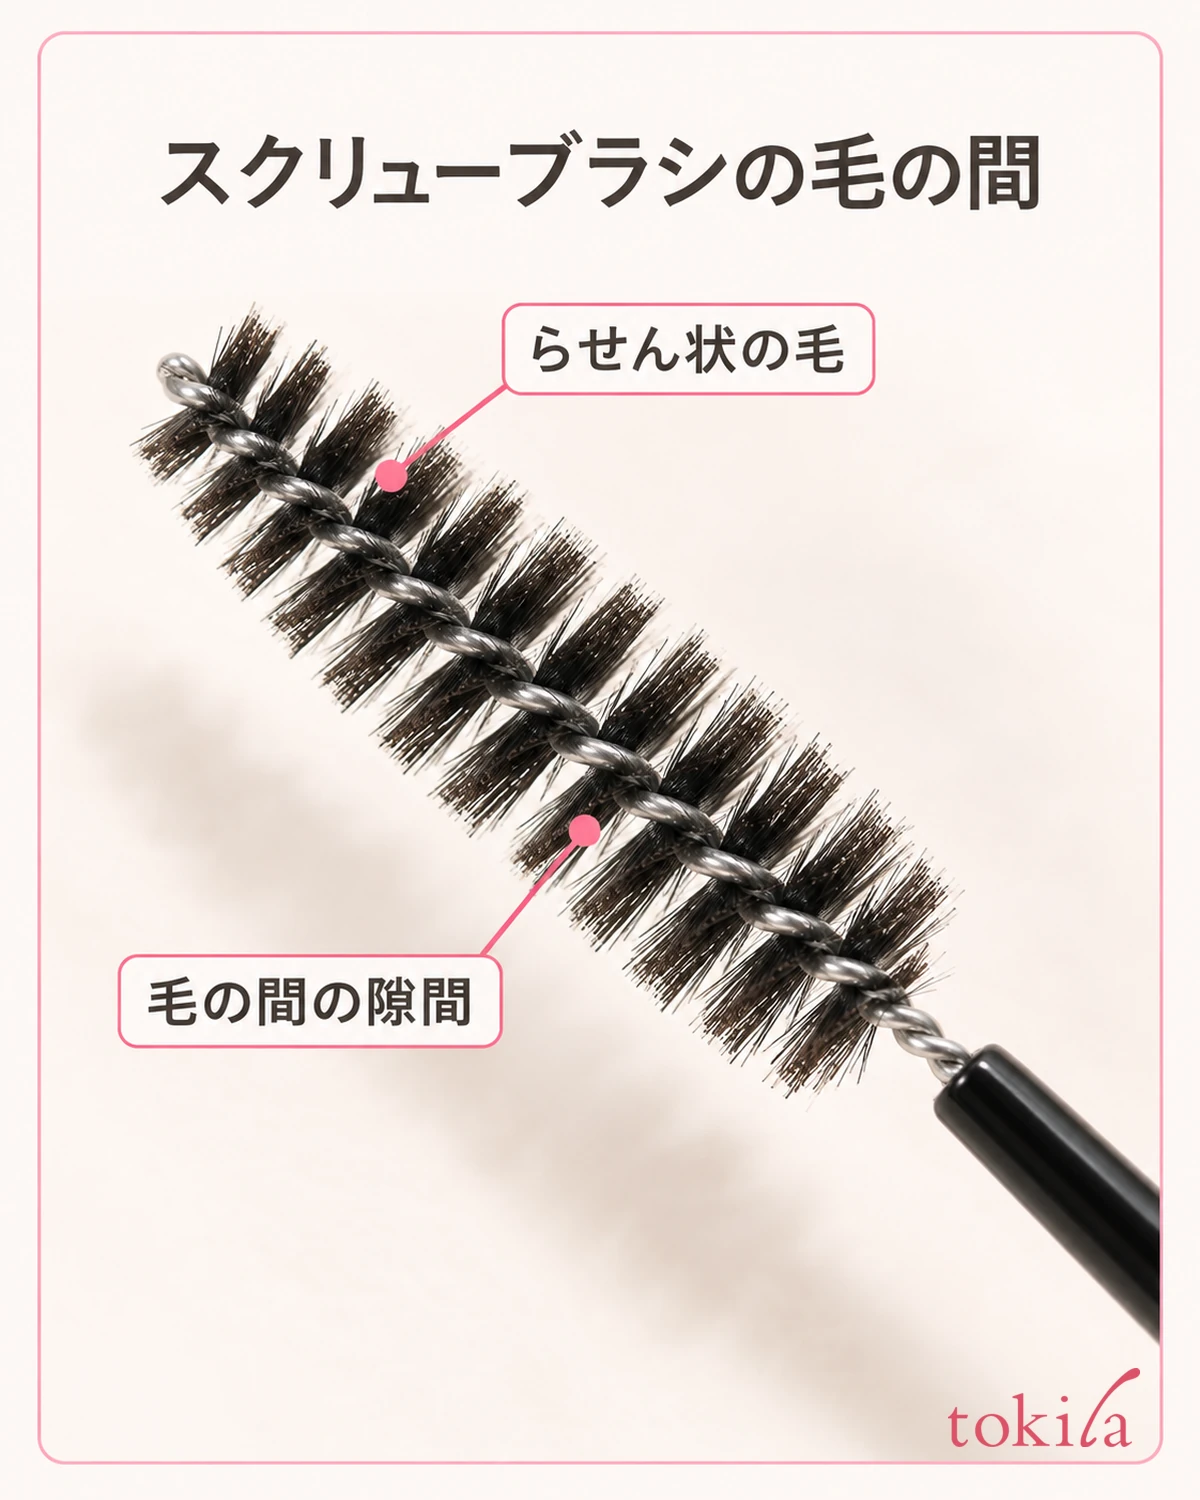
In this article, the point to check is to blend the inner edge of the heavily drawn area little by little without spreading color too far into areas with no hair.
For inner brows where the hairs grow upward, there are cases where you lightly comb from bottom to top along that direction. Do not force sideways-growing hairs to stand straight up; move the brush according to the direction of your own hairs.
Once the dark, squared outline softens and you can see between the hairs, stop for now. The goal is not to reduce the color of the inner brow to zero. Check that it connects naturally to the color in the middle and looks closer to what you like across your whole face. Do not continue with any movement that feels like it could pull hairs out or that causes pain.
If you carry the color transferred to the brush straight to the other side, you will be adding color to a lighter inner brow. If dark color remains on the working surface of the bristles, clean it as the tool's instructions direct before using it. A brush that is still damp right after washing should not be expected to pick up product the way a dry one does.
If one pass only spreads the edge, or the line of dried liquid product does not budge, do not try to solve it by repeating the motion. Check when the product you drew with can be blended and how it is removed, and choose the partial redo described next. Do not assume a brush can lighten every type of product.
3. If color remains, redo just the inner brow in a small area
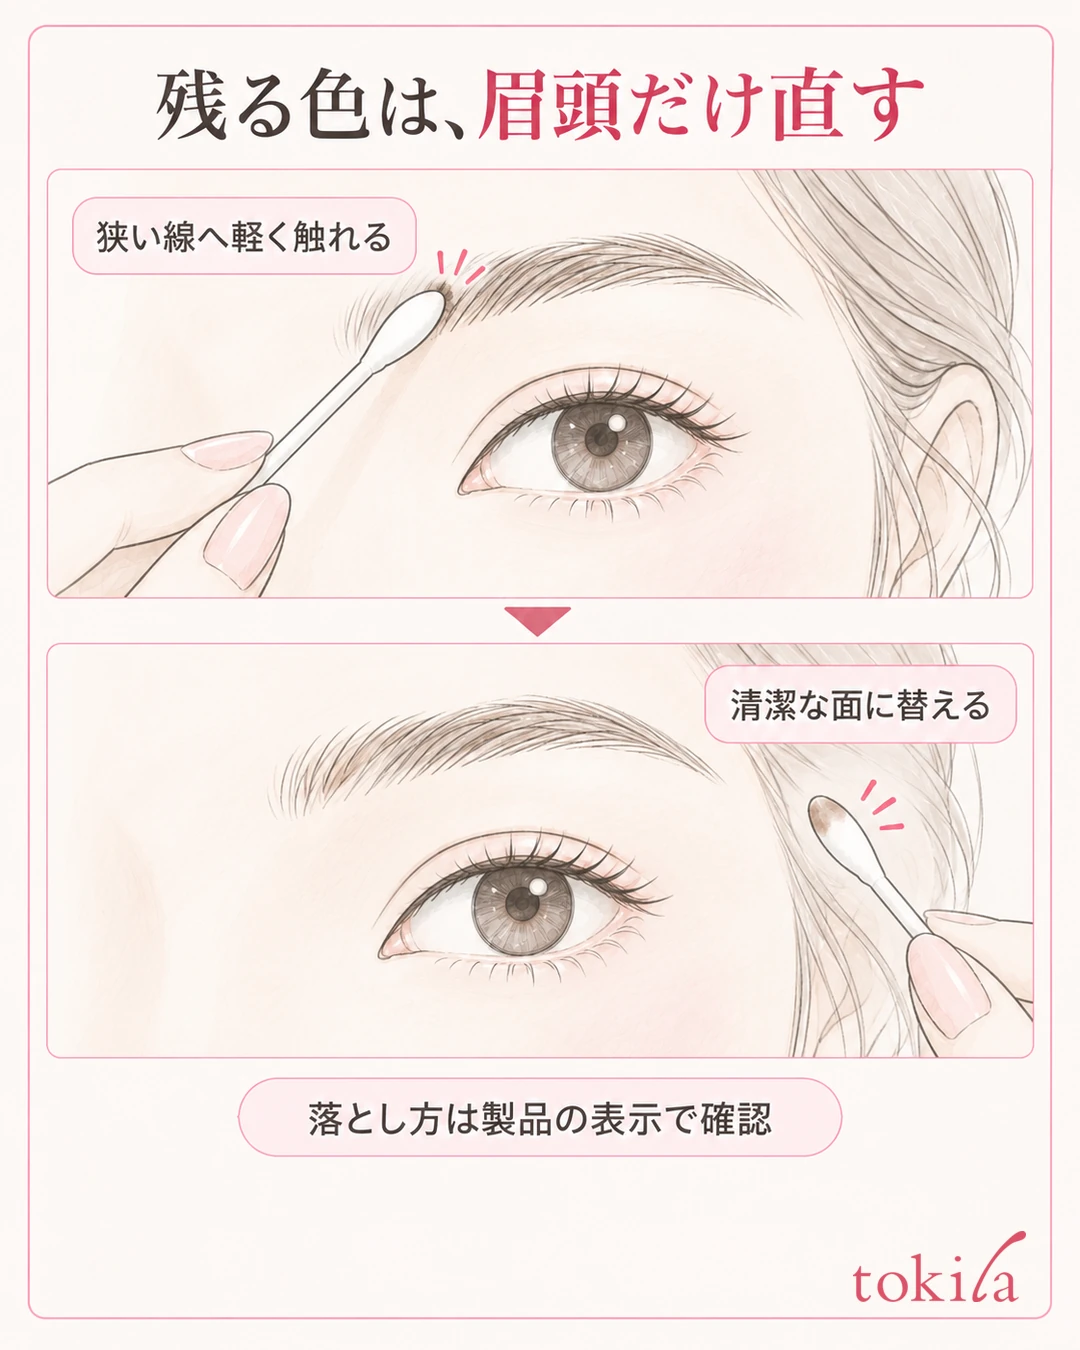
If a dark line remains inside even after blending, or color has spread to the surrounding skin, you can redo just that part. Decide first on the middle and tail of the brow you want to keep, and narrow the area to remove to the line at the inner brow that bothers you. Do not layer thick foundation over the whole brow just because you want it lighter.
Check the label of the makeup remover that can remove the brow product you have. If a small, clean cotton swab or similar is usable, load only as much as needed and lightly touch the dark line on the skin. Do not use so much that it drips, and watch the mirror so it does not run toward your eyes.
Rather than moving the swab back and forth for a long stretch along the brow, press it on a narrow area, lift it off, and switch to a side that has not picked up color. If you keep going with a dirty side, you may put the color you removed back next to it. Do not pull on the hairs themselves, and check how far the base makeup came off as well. If the instructions for using the tool differ, follow those.
After using the remover, follow its instructions, such as rinsing or wiping off. If you redraw while oil or water remains, the color may slip or fail to go where you want it. Prepare the moisturizer and thin base you need, and add the UV protection the redone skin needs before you start again.
When you bring color back, do not repaint the whole removed area to the same darkness; check only the places where the gaps between hairs have become insufficient. If the shape is still visible with your natural brows, you can also choose to look at your whole face without adding anything. If color is needed only at the border with the middle, connect it starting from a small amount.
If the skin turns red each time you wipe, stings, or hurts to touch, stop fixing the makeup. It is important not to keep working on the same skin just to correct the darkness. Even on a day when you are in a hurry before going out, narrow your decision to the parts you can tidy up rather than removing a wide area and drawing from scratch.
4. Next time, add a little at a time starting where it is needed
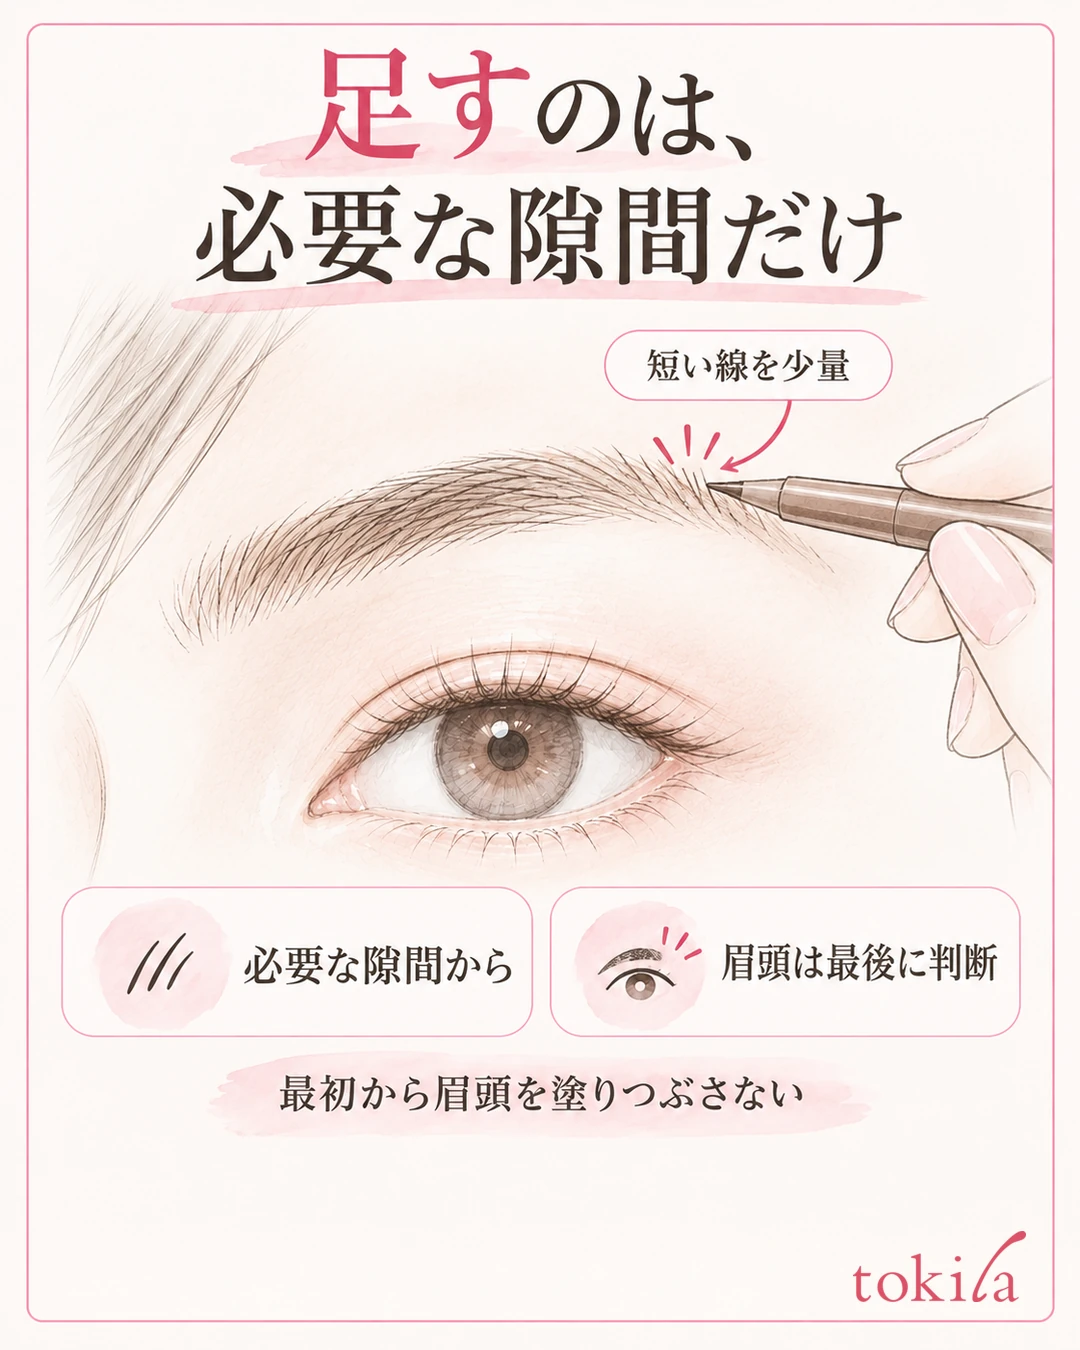
Next time, before taking color, smooth the direction of the hairs and check where the shape is already visible through the hairs and where there are gaps you want to fill. There is no need to fill in the whole brow uniformly.
Try adding a little at a time starting from places that need color, such as the middle and the tail, and decide last whether the inner brow needs any. This is not a rule that everyone must draw in the same order; it is an option to avoid concentrating a lot of color on the inner brow first. On days when your natural brows show enough inside, you may finish without layering color there.
After picking up powder on the brush, adjust the amount according to the product's instructions. You do not need to make the same number of passes over the area you already drew and the inner brow.
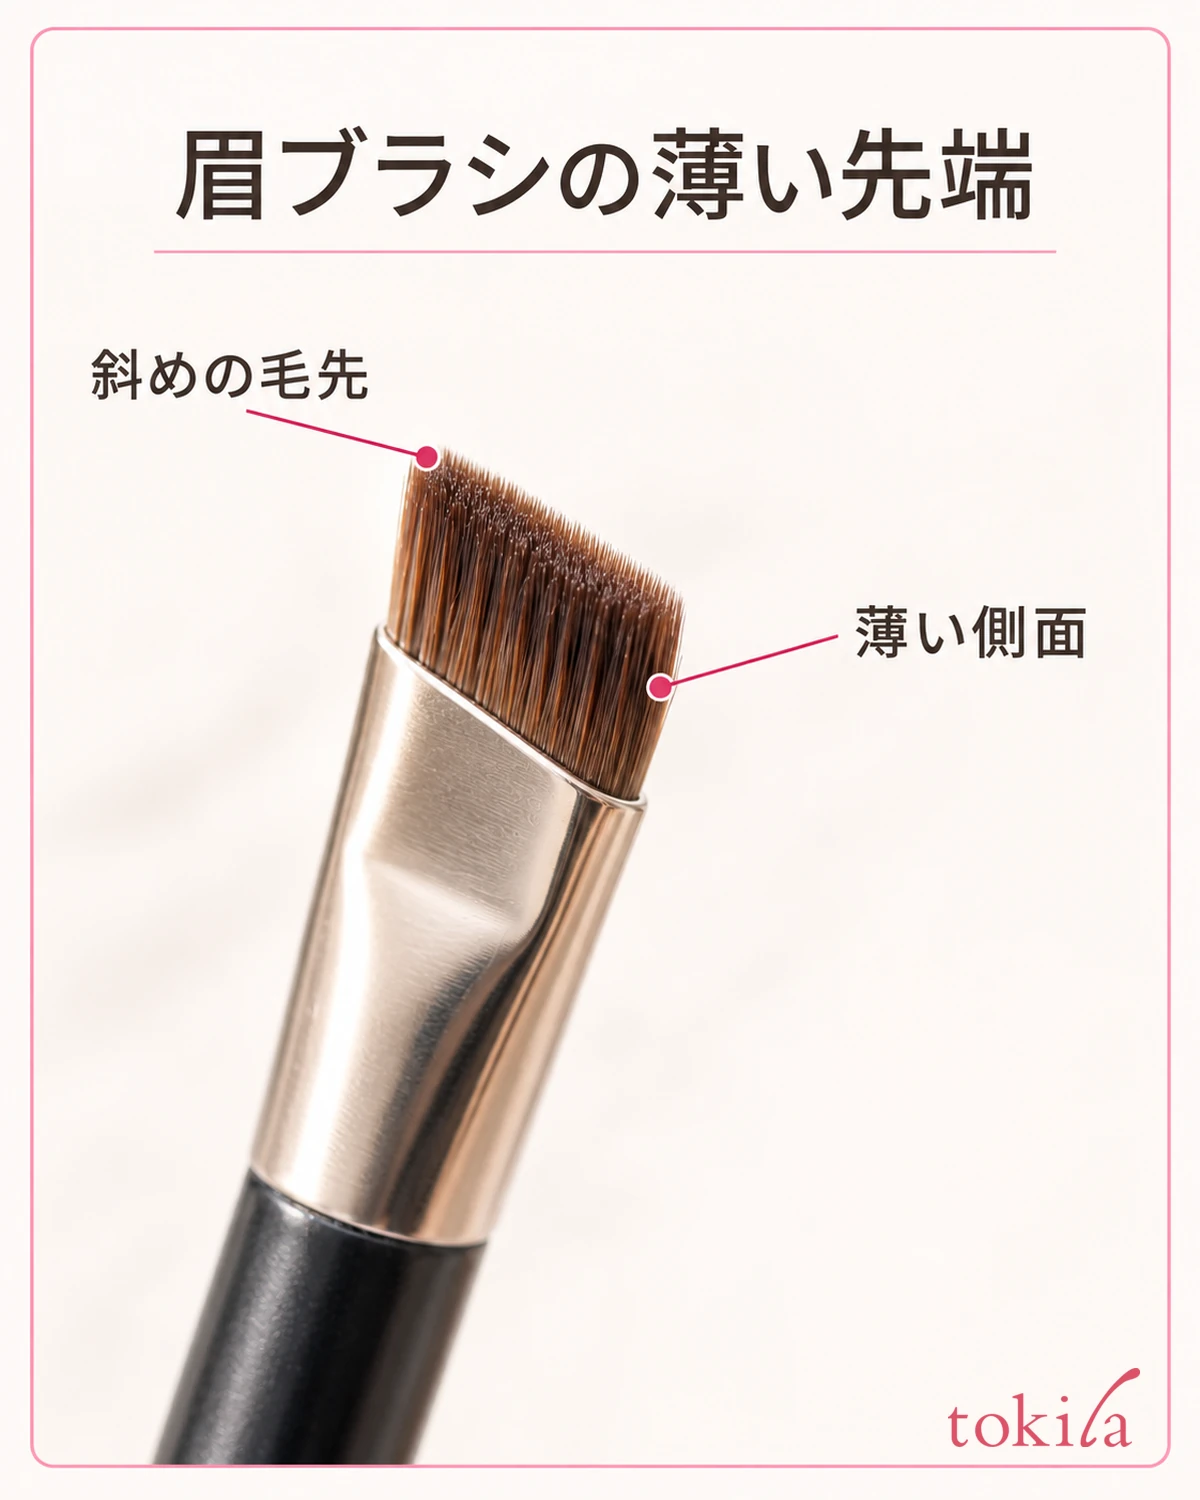
If you use a pencil, place short strokes along the direction of hair growth in gaps with no hair. Dividing the inside with a thick vertical line or strongly outlining the top and bottom edges adds steps for fixing the edges afterward. Match how far you extend the lead and how much pressure you use to the product, and do not try to fill an area with one long line.
On days when color does not take and you layer repeatedly, check the base as well before switching to a darker color. Tidy only the necessary area and brush off excess powder. This does not mean adding a thick layer over areas that are already dry and powdery.
If you want to change the color of the hairs, treat that separately from adding more color on the skin. Look at the color and the amount of product, follow the product's directions, and do not make layering over a dark inner brow the unconditional solution.
5. Check your whole face and stop before correcting too much
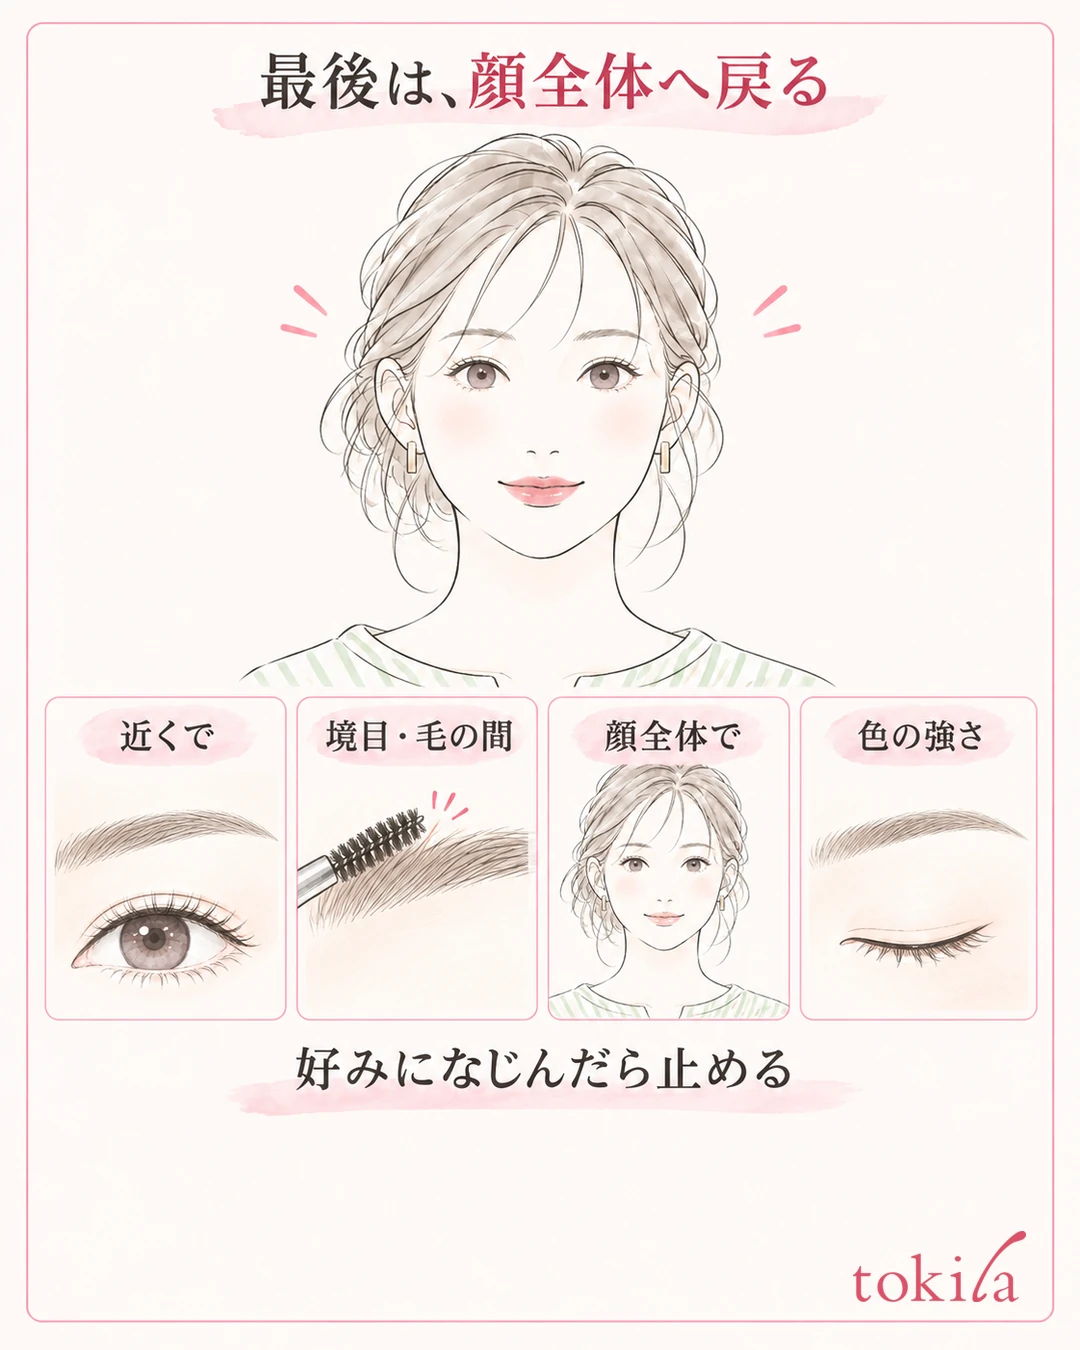
Once you have tidied the details, bring the mirror back to a distance where both brows, eyes and mouth are in view together. If you keep looking at the inner brow magnified, you may remove color that is just right for the whole face. Switch what you check: up close, the edges and the gaps between hairs; from a distance, the overall strength.
When comparing left and right, before matching the lighter side to the darker one, check whether the darker side is stronger than you like. Lightening the stronger side can sometimes get closer to the finish you want than adding to both to match. If you decide in advance that today you will look only at darkness, without changing height or length, you hesitate less.
Check that no hard edge remains inside the inner brow and that color has not spread toward the nose. On days when you also used nose shadow, look separately at whether the color of the inner brow and the nose shadow are joining up and looking dark. If you need to adjust the nose shadow, how to fix the range and edges of nose shadow may help.
There is no need to lighten the middle and tail that you decided were fine to keep before fixing. Using three markers, the inner brow hairs are visible, the edges blend in the way you like, and the strength fits what you want across the whole face, try not to be too fixated on making left and right perfectly identical or making every hair equally dark.
If the same place gets dark every time, leave yourself one condition to change next. Choose what suits today's observation, such as “do not put color on the inner brow first,” “reduce the number of times I pick up powder again,” or “do not outline strongly.” Rather than changing the amount, color and tools all at once, you can look back and see which change was easier to handle.
On a day when your inner brows are too dark, separate the hairs from the color you drew and start by lightly blending. Redo stubborn color in a narrow area, and next time add only a little where it is lacking. If you treat the whole sequence as one set, making use of your natural brows and stopping after checking your whole face, you can rethink the cycle of adding and erasing again and again.



