
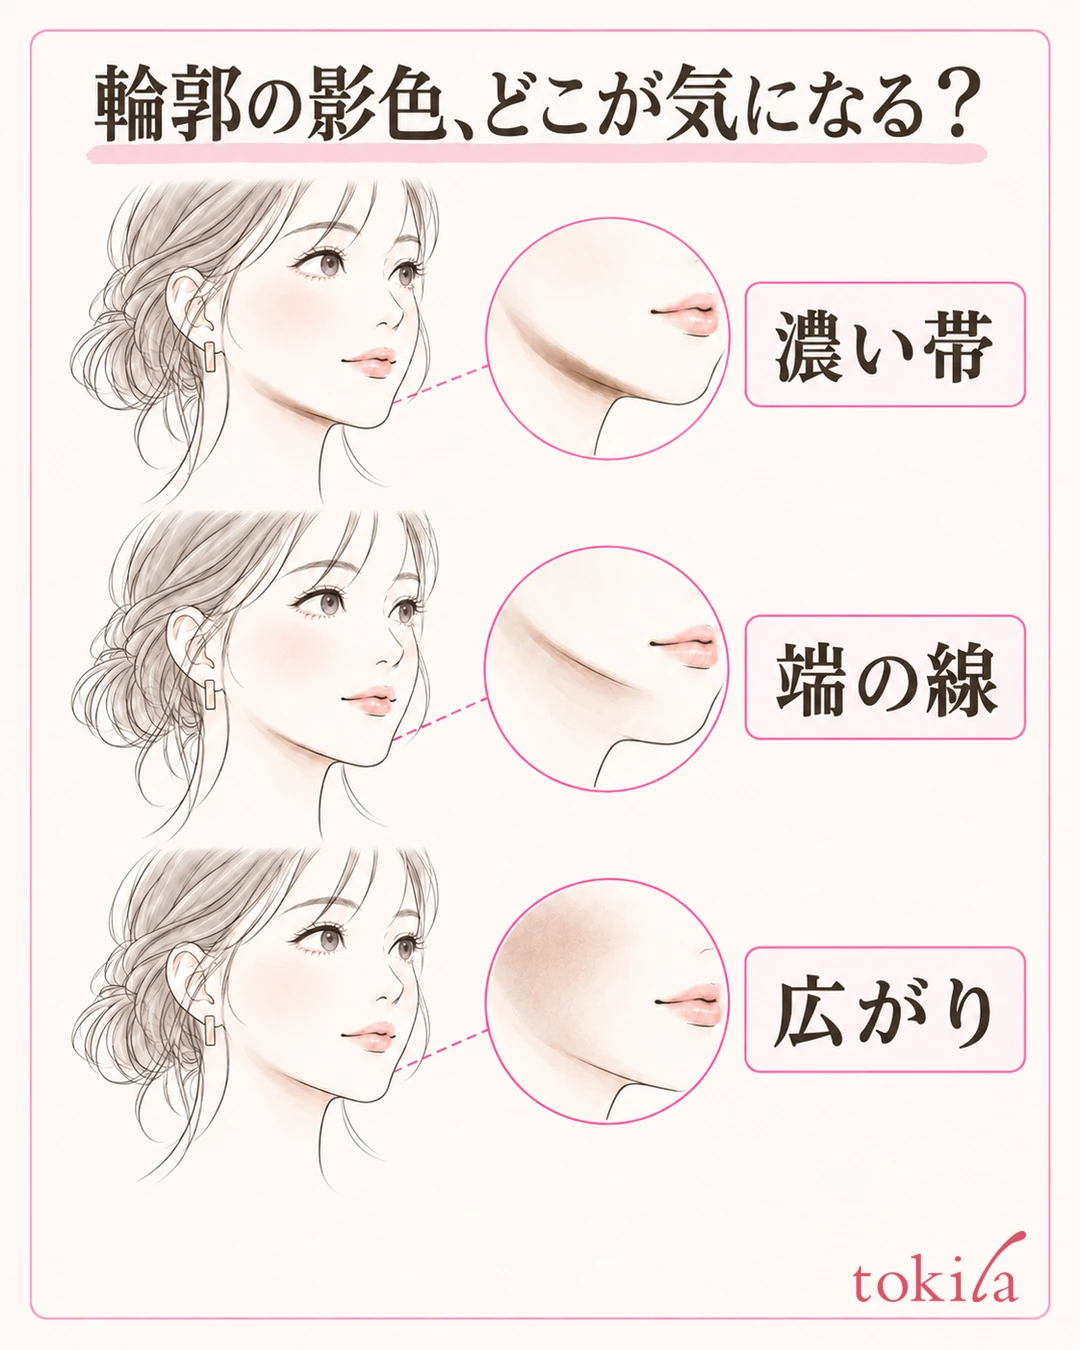
You applied contour along your jawline, and now there's a brown band beside your chin. It didn't bother you from the front, but when you turn to the side, the boundary with your neck stands out. The more you move the brush to soften it, the darker your cheeks get. When that happens, stop adding color and check separately the places that are too dark and the places where it has spread.
This article covers how to adjust when you have put powder contour too far out on the edge of your face. It is not about repainting to carve your face smaller, but about trimming the color you added down to the range you want. Cream and stick products differ in order of use and how they are blended, so follow the instructions for the product you have.
1. Without lifting your chin too much, tell apart the band of color, the boundary and the spread
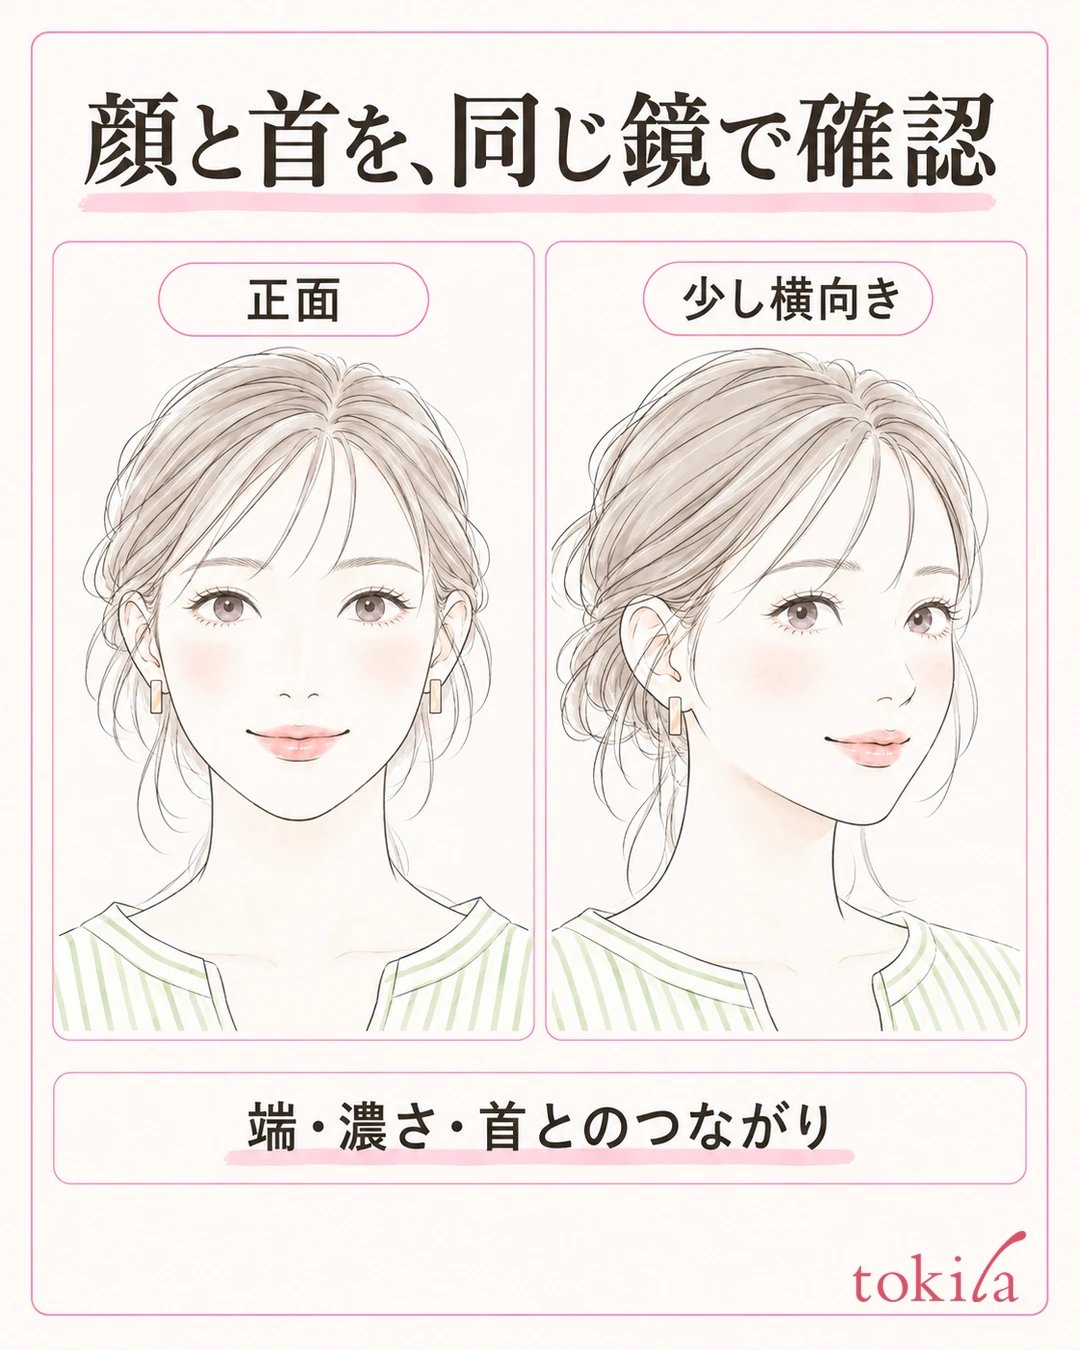
First, make your outline visible by moving hair out of the way, and step back to a distance where your face and neck fit in the same mirror. Without lifting or tucking your chin much, check from the front in your usual posture. Then turn slightly to the side and look at the area below your ears, beside your chin and where it leads into your neck. Don't try to erase even the shadow that falls naturally; the starting point is remembering where you put the powder.
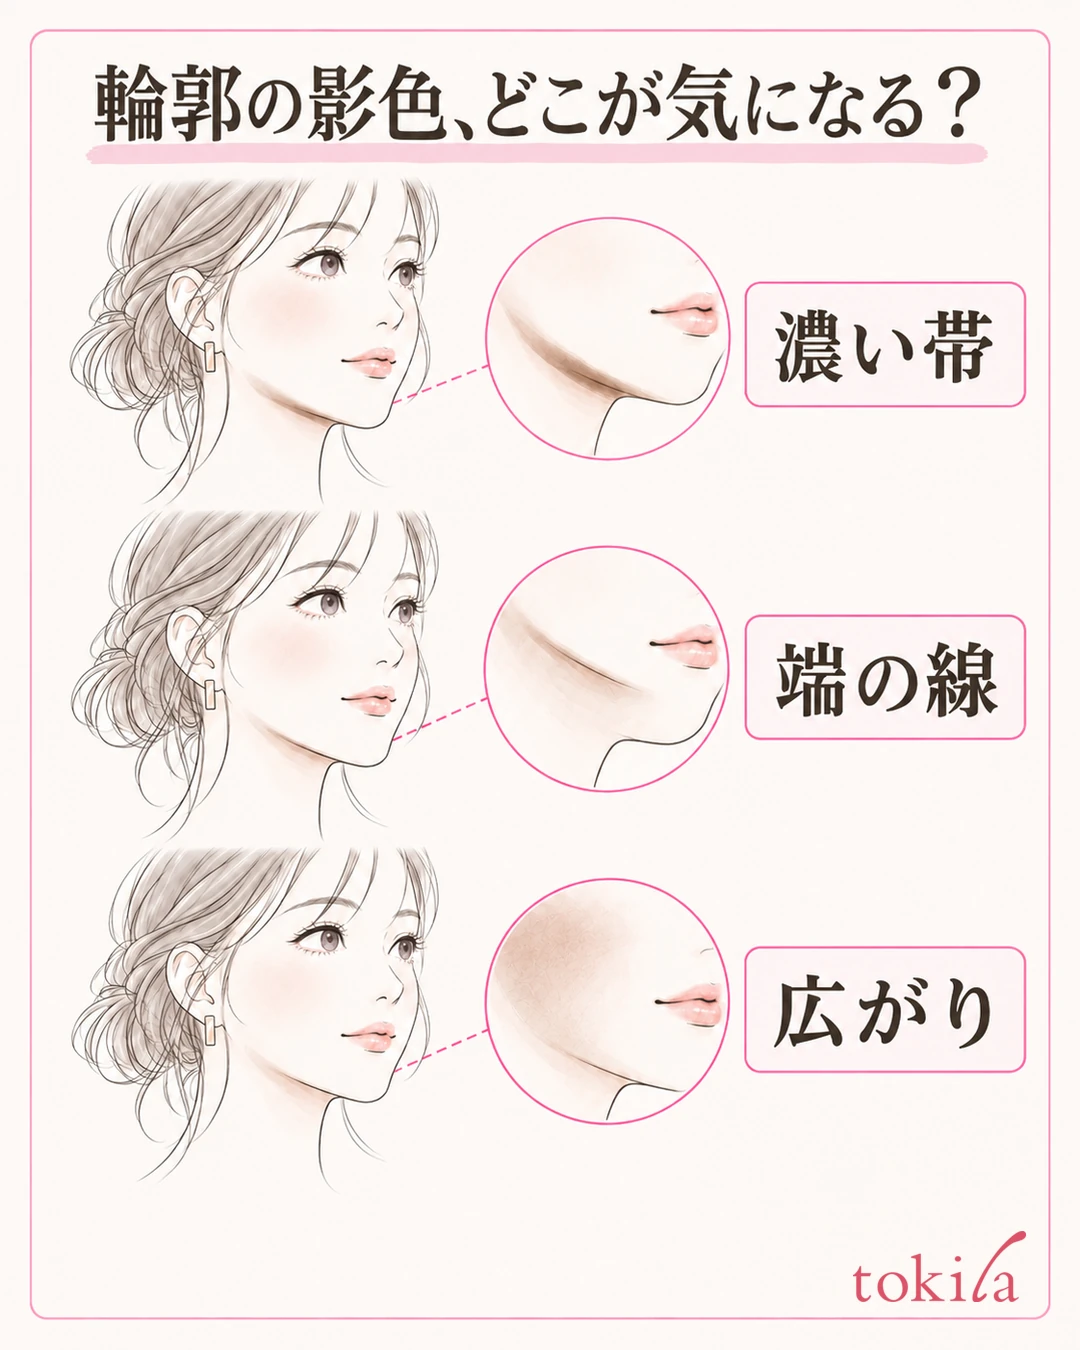
Separate whether what bothers you is the depth of the whole patch of color, the line at the edge of what you applied, or the area that spread further inside than planned. If you like the color but only the edge is sharp, start by adjusting the boundary. If a brown band remains even after the edge is blurred, consider a partial fix rather than spreading it with the same brush. If it has darkened as far as the center of your cheeks, don't sweep further to try to bring the color back outward.
When light hits from one side, a strong shadow shows on the opposite side of your outline. In the same spot, turn your face slightly and compare the darkness caused by light with the color you applied. You can also check in a bright place with natural light, but don't use only direct sunlight or extreme overhead light as your standard. Your left and right bone structure and neck angle also differ, so leave for later the decision to add powder to the side that looks lighter to even it out.
Contouring adds shadow; it does not change the size of your face itself. Don't aim to wrap all the way around according to a face-shape category; look at whether the color you added suits your current finish.
Decide on just one place to fix here. Narrowing it down, such as "the edge beside the right chin" or "the color that spread from below the ear to the cheek," makes it less likely that you'll draw in places that don't need touching. If the lines on both sides of your nose bother you, you can check them in how to fix nose shadow that is too dark or has a harsh edge, where the tool size and area differ.
2. Without picking up new powder, lightly blend only the remaining boundary
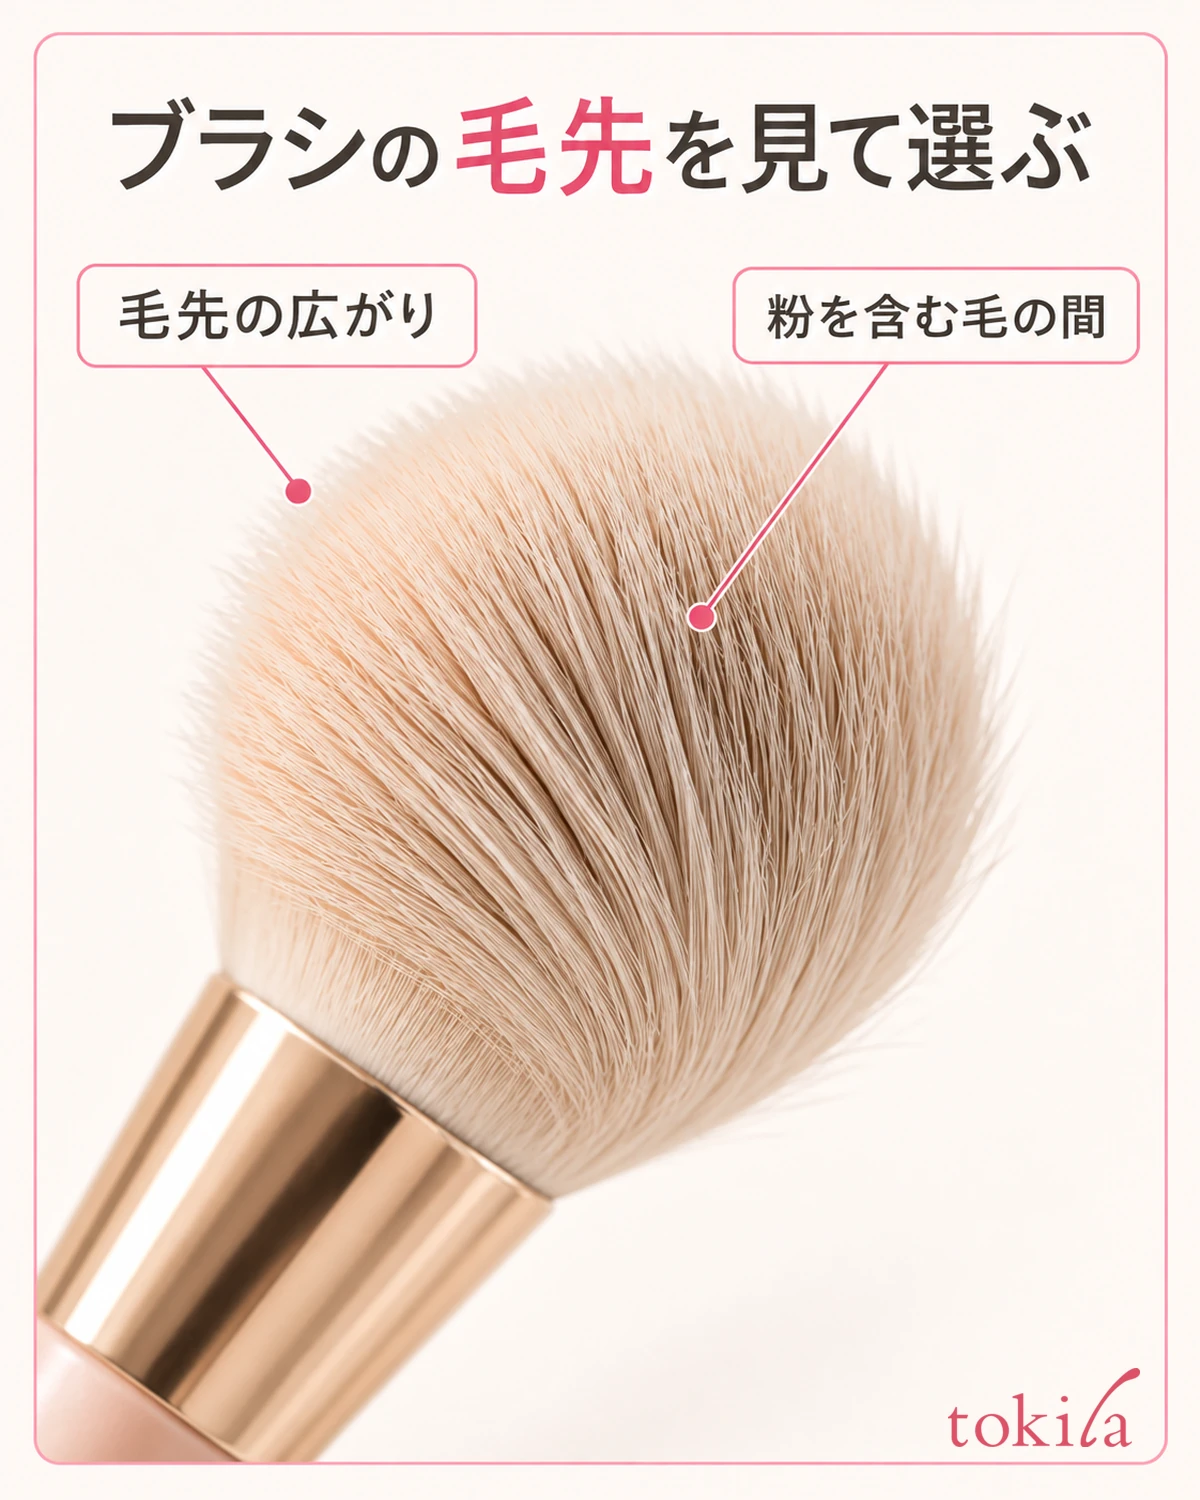
If the line at the edge bothers you more than the color itself, prepare a clean, soft brush with no powder on it. The brush you used to apply may still hold the shadow color, so going back and forth to "blur" with it can make it darker. Check the bristle tips and the working side, and start without picking up new powder.
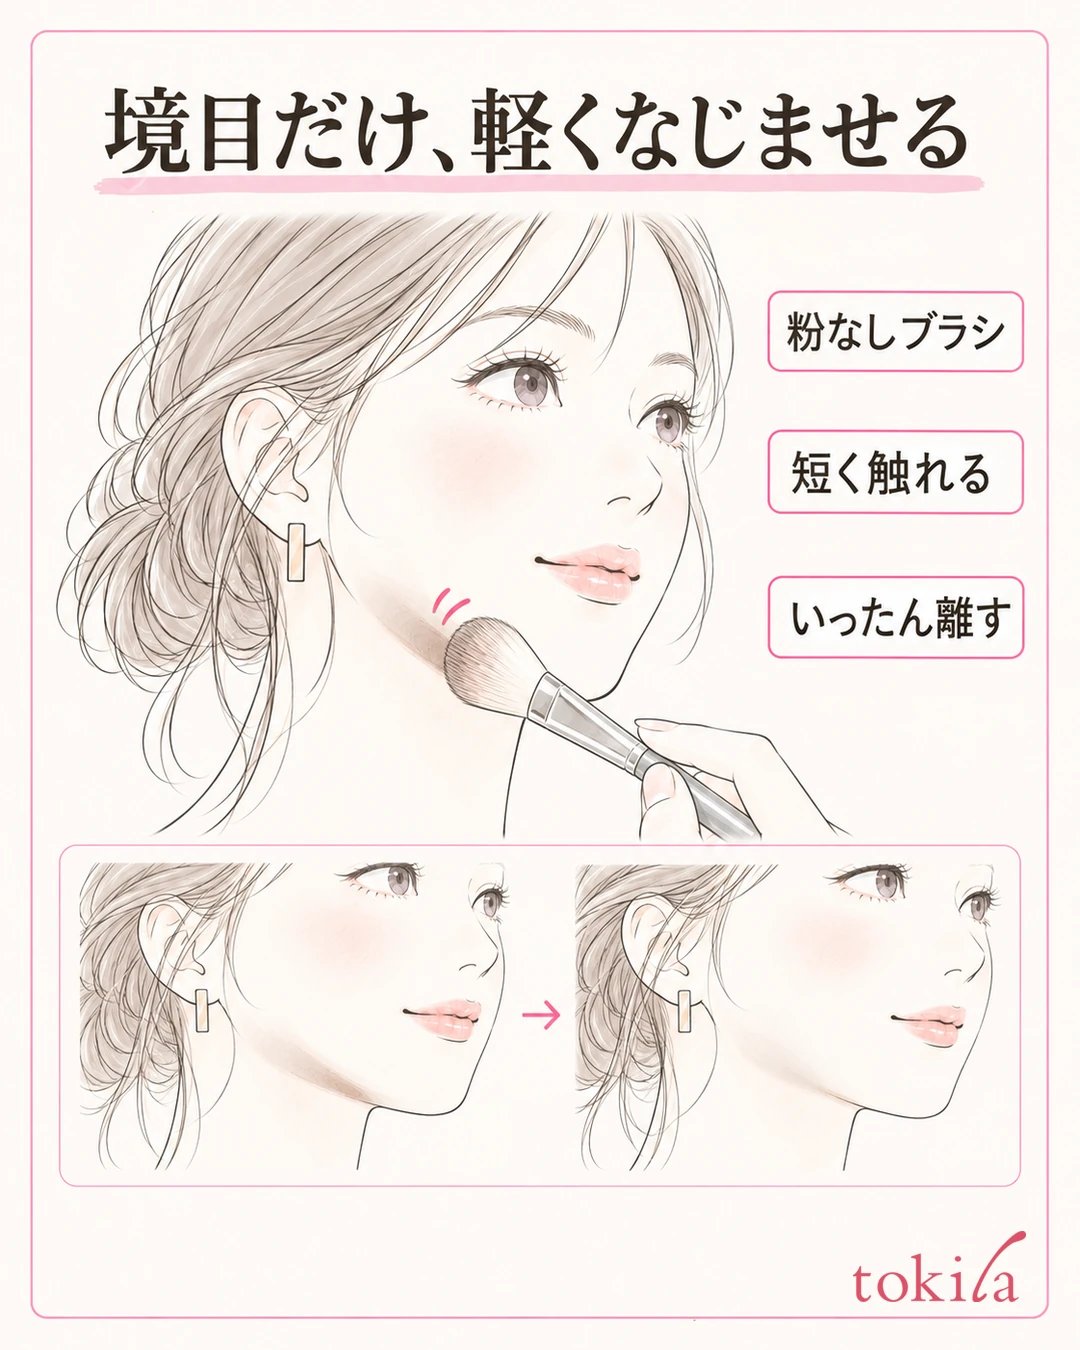
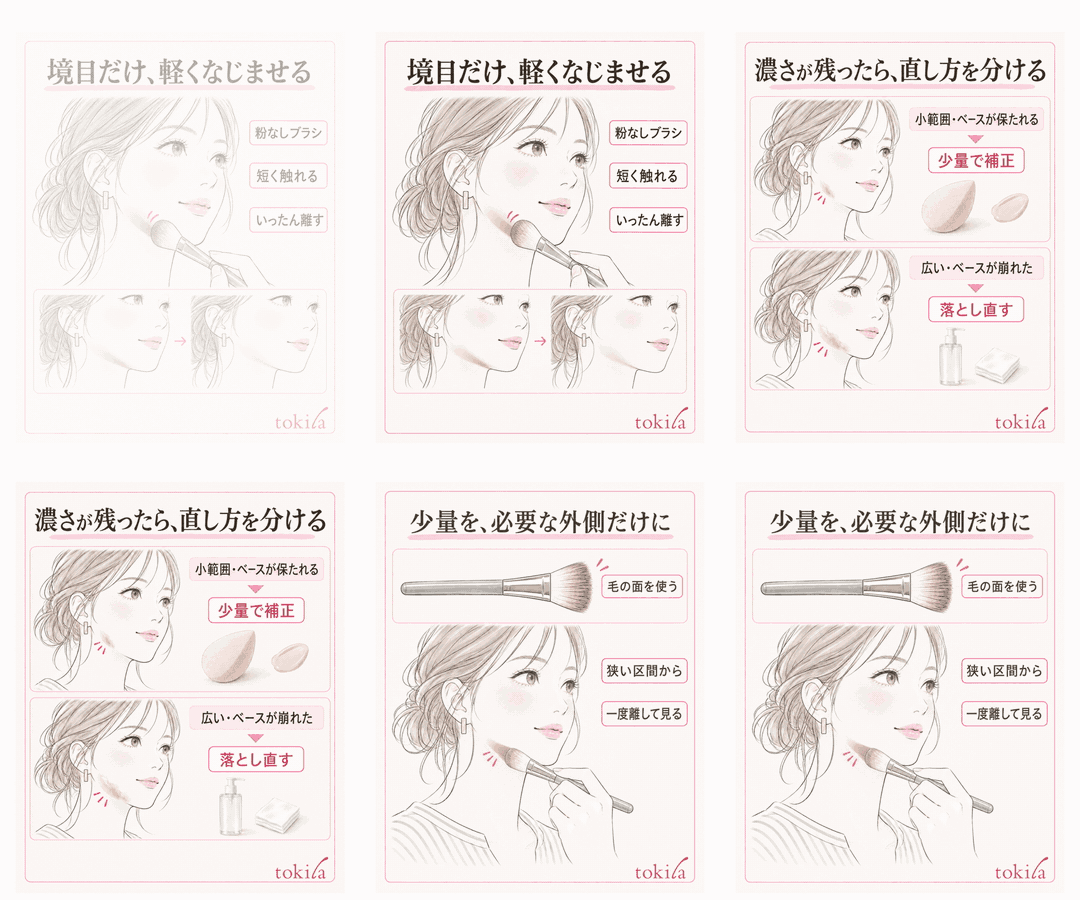
Bring the mirror close and lightly touch the bristle tips to the boundary that bothers you. Starting from a narrow stretch beside the chin, blend with short motions that don't flatten the bristles, and lift the brush away right away. The point is not to sweep in one go from below the ear to the corner of your mouth, or to pull it wide toward the center of your cheek, but to keep the motion within the edge of the color that is already there. Also don't switch to spreading the color onto your neck to erase the boundary.
After touching once, step back to a distance where you can see your face and neck, and check. If the edge has softened and the area of color hasn't grown, you can choose to stop there. If the depth doesn't change and only the area spreads, if the foundation underneath turns streaky or if the powder builds up, move on to the next fix without increasing pressure. Use the color after you move it, not how easy the brush is to move, as your basis for judgment.
This is not a method verified to give the same result with every product. For cream types and types that dry and cling, don't carry over the action of rubbing powder off with a brush; check the product for usable tools and adjustment methods.
If the brush is dirty, or the bristle tips have spread out and can't handle a small boundary, choose a different clean tool. Don't touch powder with a brush that is still damp, and don't keep brushing hard over your skin. Care for tools in a way suited to the material, and use washed tools after they have dried. For details, see caring for makeup brushes and sponges.
3. If the depth of the band remains, separate partial correction from removing and redoing
If a band of color remains even after you've tidied the boundary, before blurring further and enlarging the area, check whether the base underneath is still intact. If only a small dark spot bothers you and the foundation film hasn't moved, one option is to layer a small amount of a base that matches your usual skin tone. Don't start by filling it in to brighten with white concealer or a lot of highlighter.

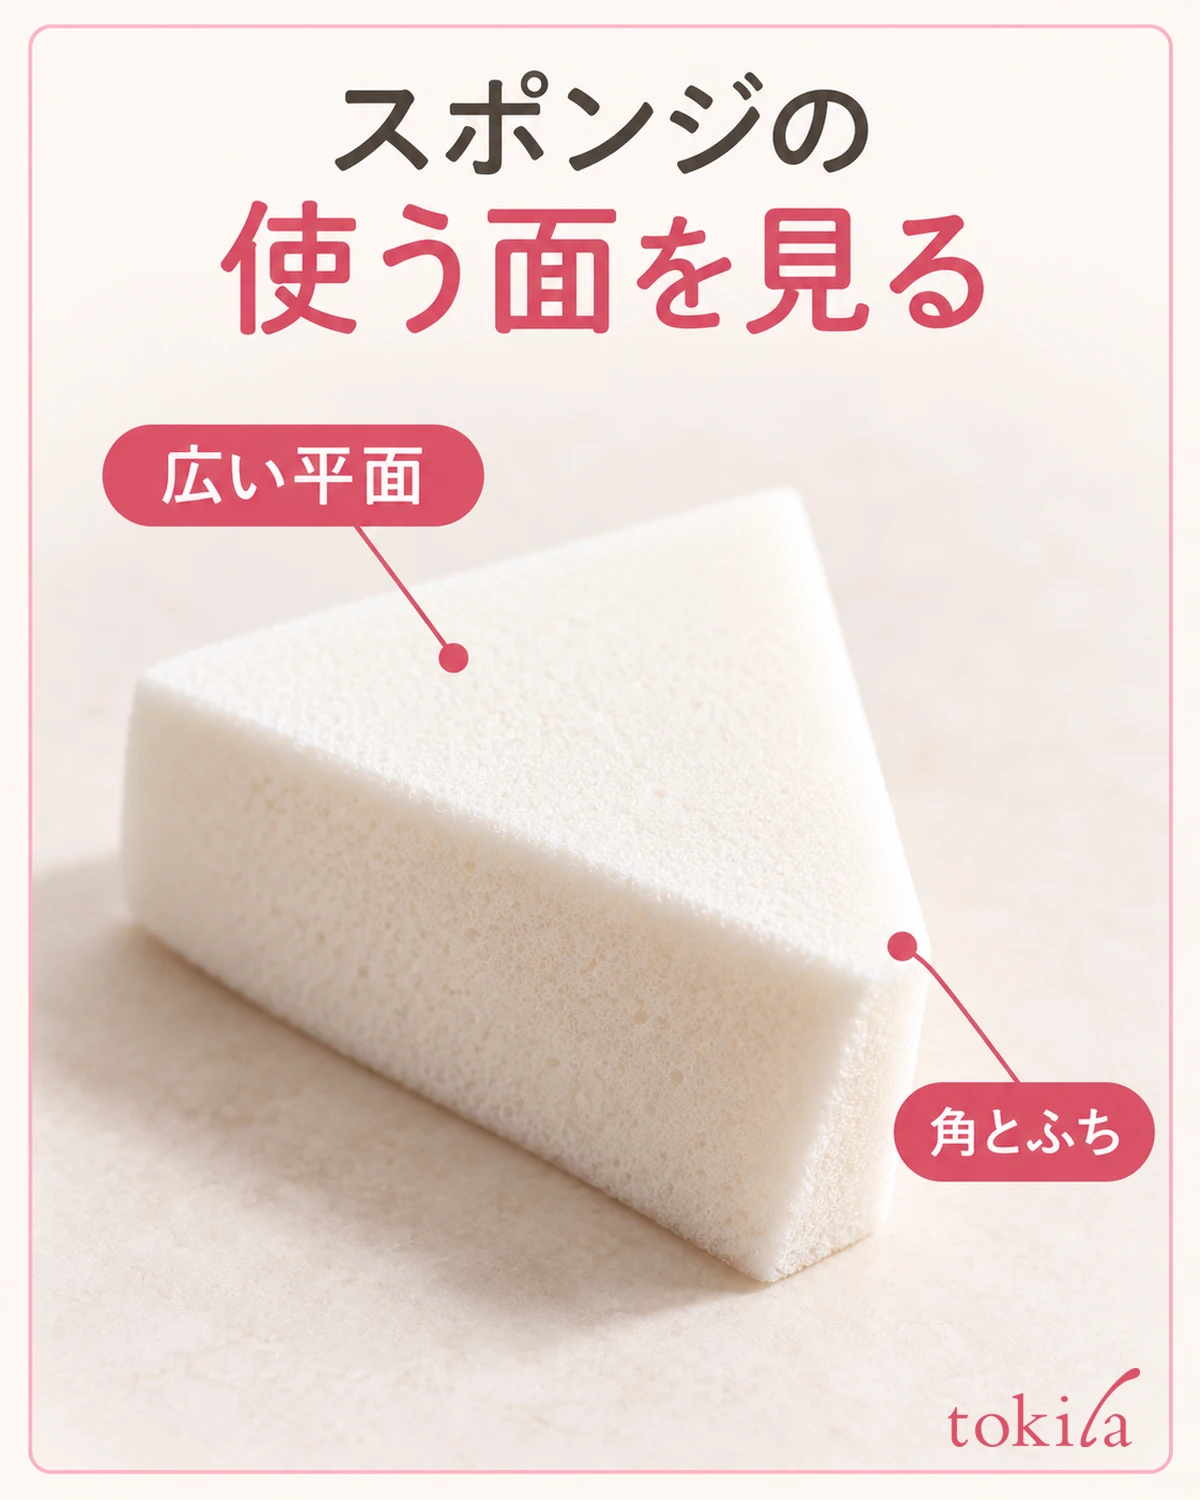
When layering, take a very small amount of foundation onto a clean sponge suited to the product, place it lightly on the stretch that bothers you and lift it away. Don't drag it sideways; check whether the area you applied to connects with the surrounding color. Don't aim to make it vanish in one go; stop once the band of color has softened and the thickness doesn't bother you. This is an example of local correction, not an official procedure that works with every combination.
If powderiness or patchy color increases, the base comes off, or you'd have to layer thickly to hide a wide area, it can be easier to remove it partially and redo it. Don't scrape off dried, clinging shadow color by force either; choose a cleansing method suited to the product you used. Before removing, also check that you have the sunscreen and base on hand to put back.
Limit the area you remove to the shadow color that bothers you and the base that has broken down, and don't extend it to clean cheeks. After removing, redo the necessary skincare, sunscreen, primer and foundation in the order each product specifies. The sunscreen film may also have come off, so don't assume your sun protection is intact just because your skin color has come back.
If you are out and about without enough tools, decide in advance how much adjustment you can do, so you won't be stuck after removing a wide area. If you also have shine or creasing in addition to the jawline color, makeup touch-ups chosen by how it breaks down may also help. Decide whether to put the contour back after the base is tidy, and it is fine to finish with a light finish.
4. Next time, adjust the powder amount and the working side of the tool, and try only the outer area that is needed
When you apply next, first check whether it is powder, cream or stick, and the order of use and the tool. Don't assume that because it's powder you must add a lot of face powder first, or that because it's cream everything goes in the same order. Blend your earlier skincare and base in as each product directs, then move on to how to use the contour.
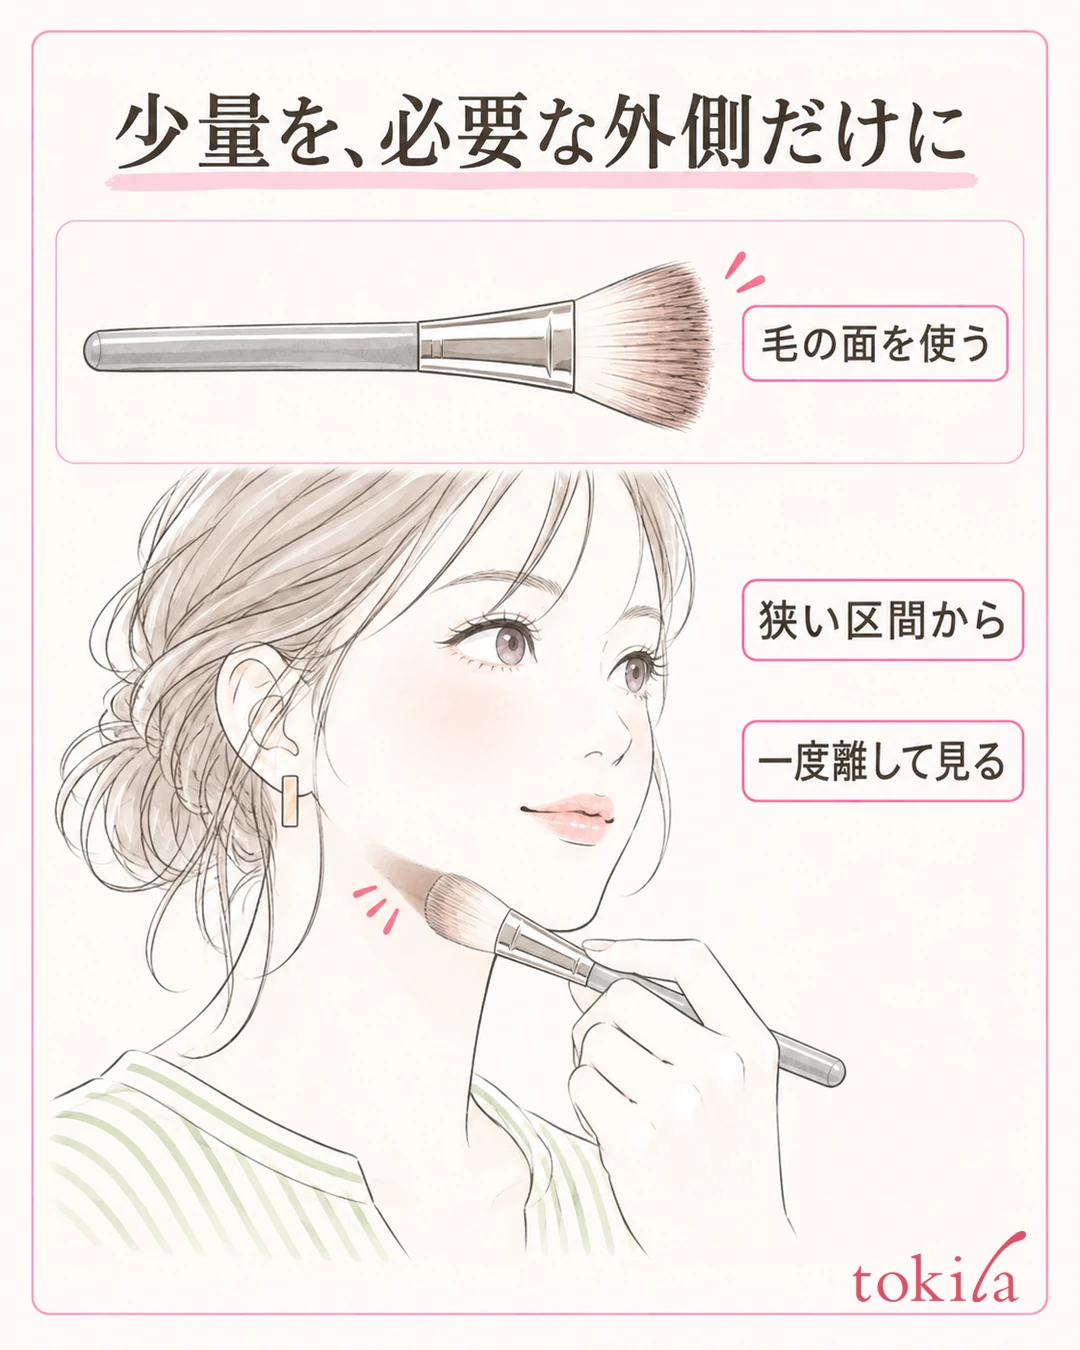
After taking a small amount of powder onto the brush, check whether any lumps remain in part of the bristles. This helps you tell apart drawing a dark line with the tip and using the surface of the bristles.
Laying the brush flat does not mean pressing the handle or the metal fittings against your skin. Check the surface where the bristles touch, and apply thinly from a small stretch on the outside where you want to add shadow. From the start, don't join both undersides of the ears and the tip of the chin in one band; lift away, look at the color, and connect the neighboring stretch only if needed. Even with a large brush, keeping your motions small lets you check how far the color spreads.
Rather than applying the placement from that article to everyone, choose according to your product and the shadow you want to add. Try the opposite side with the same amount, but don't try to match the strength of the shadow that was already there with powder.
If brown or gray still looks isolated even when used thinly, check the undertone as well as the darkness. Compare on your face and neck whether it looks like a shadow that blends into your skin, and don't choose by category name or color name alone. A swatch on the back of your hand is a reference for color payoff, but it is not how it will look on your face itself. Before buying a replacement, review the amount you pick up, and if it still bothers you, choose a different color within what you can try.
5. Decide when to stop by how it connects from the front, the side profile and the neck
For the finish, return to a distance where your face and neck fit in the same mirror, keeping your hair off your outline. Check that no band of color shows from the front, that the edge you applied doesn't float when you turn slightly to the side, and that no unnatural color continues from under your chin to your neck. Before greatly changing the lighting or angle, compare under the same conditions as when you started applying.
Ask not only "is there a shadow?" but "does the place where I added color bother me?" If it gives the shading you want and the edge of the area you applied isn't noticeable, you can finish there. Even if it looks light up close, it can be enough across the whole face. Rather than building up many layers to make your face look smaller, look at the balance with that day's eyes, cheeks and lips.
If you check with a photo, keep in mind that the camera's correction and shooting angle change colors. Don't touch up again and again places that don't bother you in the mirror just because one photo looked brown. Even if you spread powder to a position where color may transfer to your collar, don't add the same color all the way to your neck; review the excess area.
Narrow the condition to change next time to one of these: the amount of powder you pick up first, the stretch you start applying from, the surface of the brush you use, or the color you choose. A short note such as "check without lifting my chin" or "lift away after the first stroke" is enough. If you keep a photo of the finish, also note the light and angle, so you are less likely to confuse a color change with a difference in lighting.
When jawline contour is too dark, separate lightly blending only the edge from correcting part of the color patch. For a wide area or a broken-down base, consider removing and redoing, and next time start with a small amount and only the stretches you need. Look at your face and neck at the same time, and treat the point where the color you added no longer bothers you as the end of the finish.



