
You applied lipstick and the color on your lips looks stronger than you expected. In that case, before layering another color on top, look at which of the amount you applied, the color tone or the shine bothers you. Lightly tidying the excess on the surface and choosing a different color to use are separate approaches. Once you reach the intensity you want, you do not need to keep making it lighter.
This article introduces how to judge when lipstick looks too strong right after applying, and the steps for applying it lighter next time. The focus is on adjusting lips that have an even layer of color. Think of it separately from color fading after eating or drinking, a dark line only along the outline, and color extending beyond the lips.
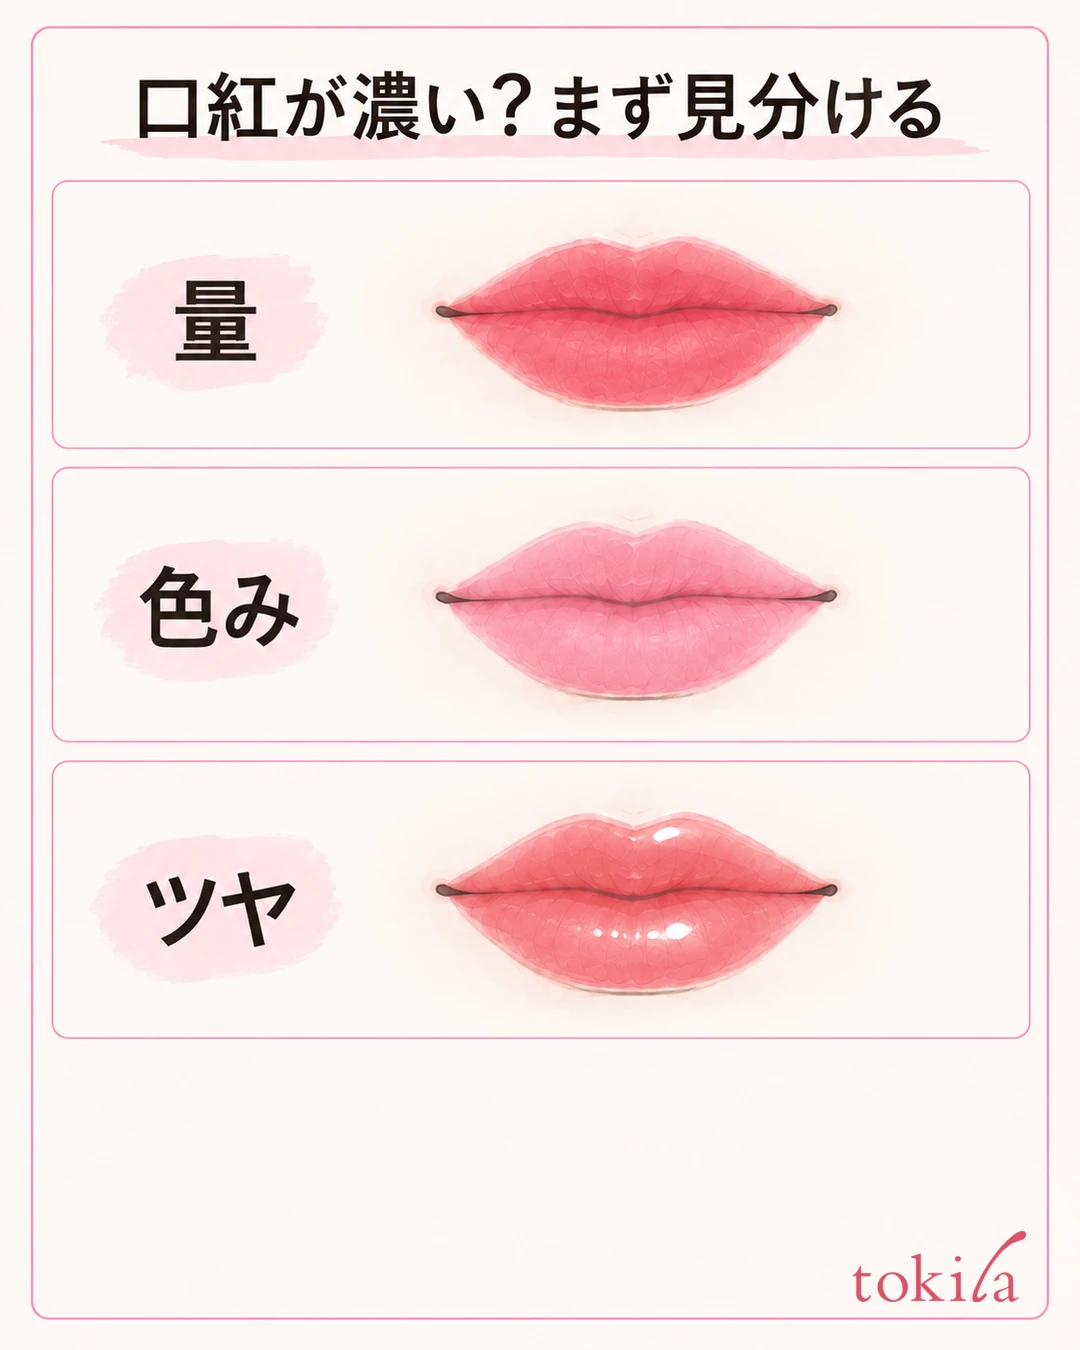
1. Separate whether the amount, color tone or shine looks too strong
First, take the lipstick away and gently close your mouth naturally under the same light. In a close mirror, check whether there is a thick layer on the surface and whether color has pooled only at the corners of your mouth, then step back to a distance where your whole face is visible. Choose just one of the following that feels off right now: "my whole lips are dark," "only the outline is strong," or "the gloss bothers me more than the color."
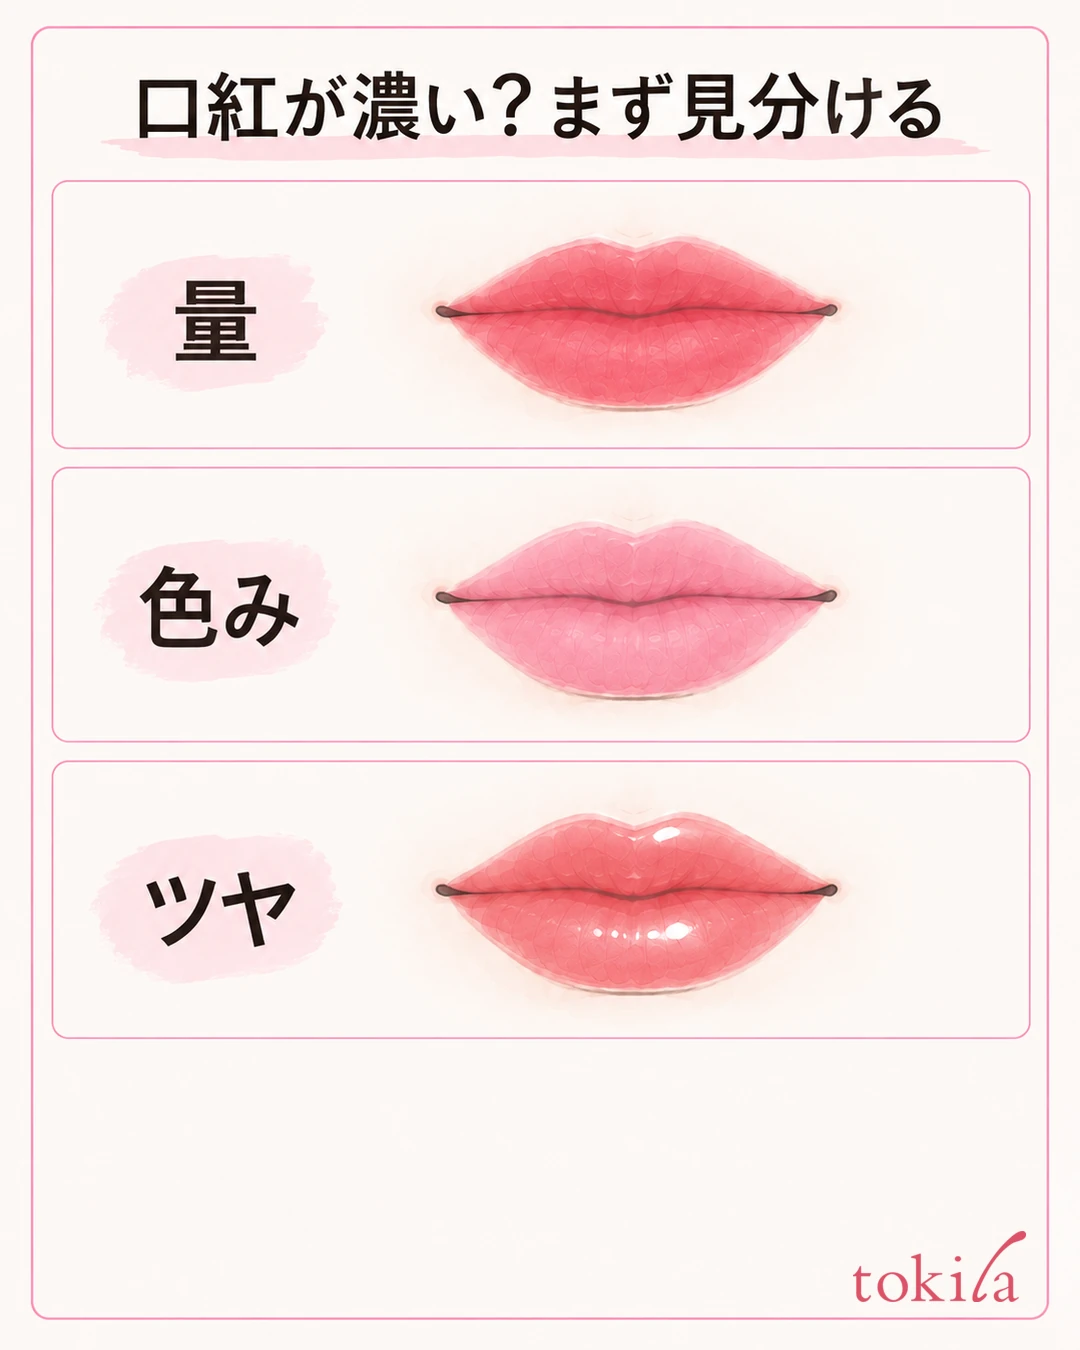
Also recall the finish you wanted before you applied it. Were you after a light look where your natural lip color shows through a little, or did you want to enjoy an even, defined color? Even for the same red, the right amount changes with the impression you are going for. Do not treat dark lipstick itself as a failure; decide on an intensity that feels comfortable for you, together with today's outfit and eye makeup.
If a thick layer of color left on the surface looks strong, you can start by trying a way to adjust the amount. On the other hand, if the blue or yellow undertone differs from what you like even when applied lightly, the amount you take cannot change the direction of the color tone. At the very least, do not assume that blotting again and again will turn it into a different color; look at how it appears after that and choose again.
Also separate shadows from the color of the lipstick. If the upper lip looks dark under light from above, or only one side looks very glossy, return your face direction and the mirror position and check again. A smartphone photo can change the impression through brightness correction and screen display, so avoid continuing to remove lip color based only on a photo.
If a dark line remains only on the outline, making the whole lip lighter can widen the gap with the inside. Move on to the color, line thickness and blending of lip liner and review the line. This article deals with the case where the color overall is stronger than you wanted.
Change only one condition first. On a day when you reduce the amount, keep the color and base the same; on a day when you change the color, keep the amount you apply close to the same. If you add a different gloss or base each time you compare, it becomes hard to track what was different. Do not layer a new color until you finish observing, and decide the area and purpose of the adjustment first.
2. Read how the product is meant to be finished, and check whether you can press lightly
Before touching a tissue to your lips, check the directions on the container and box. Some products are meant to be left untouched and allowed to set after application, and names such as stick, liquid or tint alone cannot decide the process. If there is an instruction for finishing, follow that explanation first.
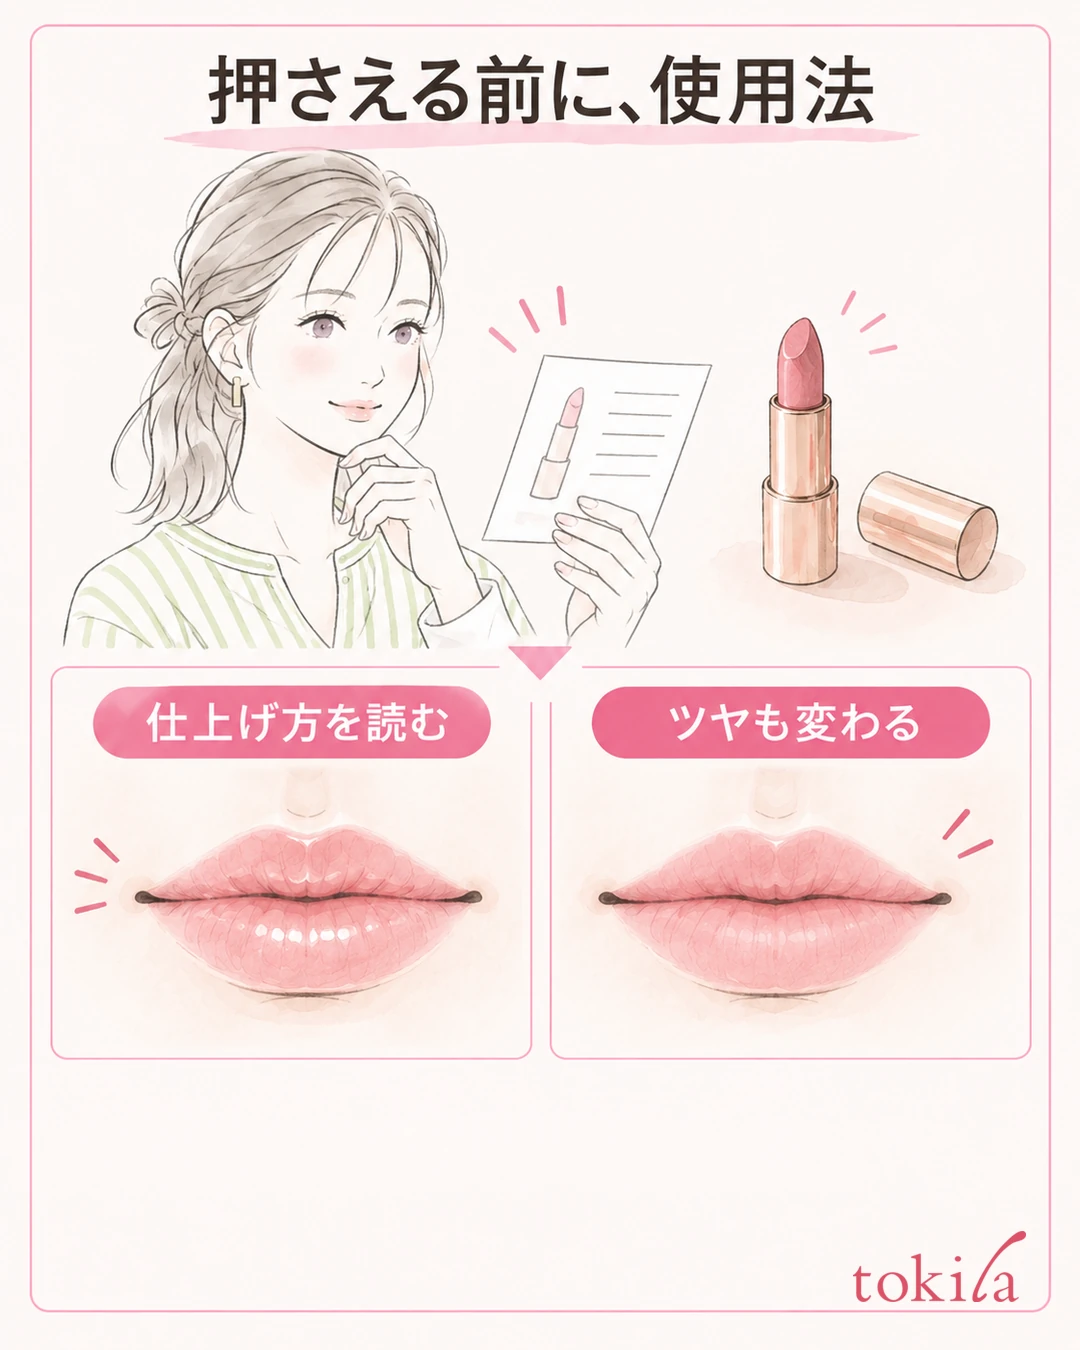
This does not guarantee that you can freely lighten only the color. First choose whether you want to keep the current shine or tone down the strength of the color.
If you have layered gloss over the lipstick, look at the surface shine and the color underneath separately. Adding clear gloss does not remove the lipstick you applied. Because the shine can make your lips stand out even more, avoid jumping straight to a step that increases reflection when you want to lower the intensity.
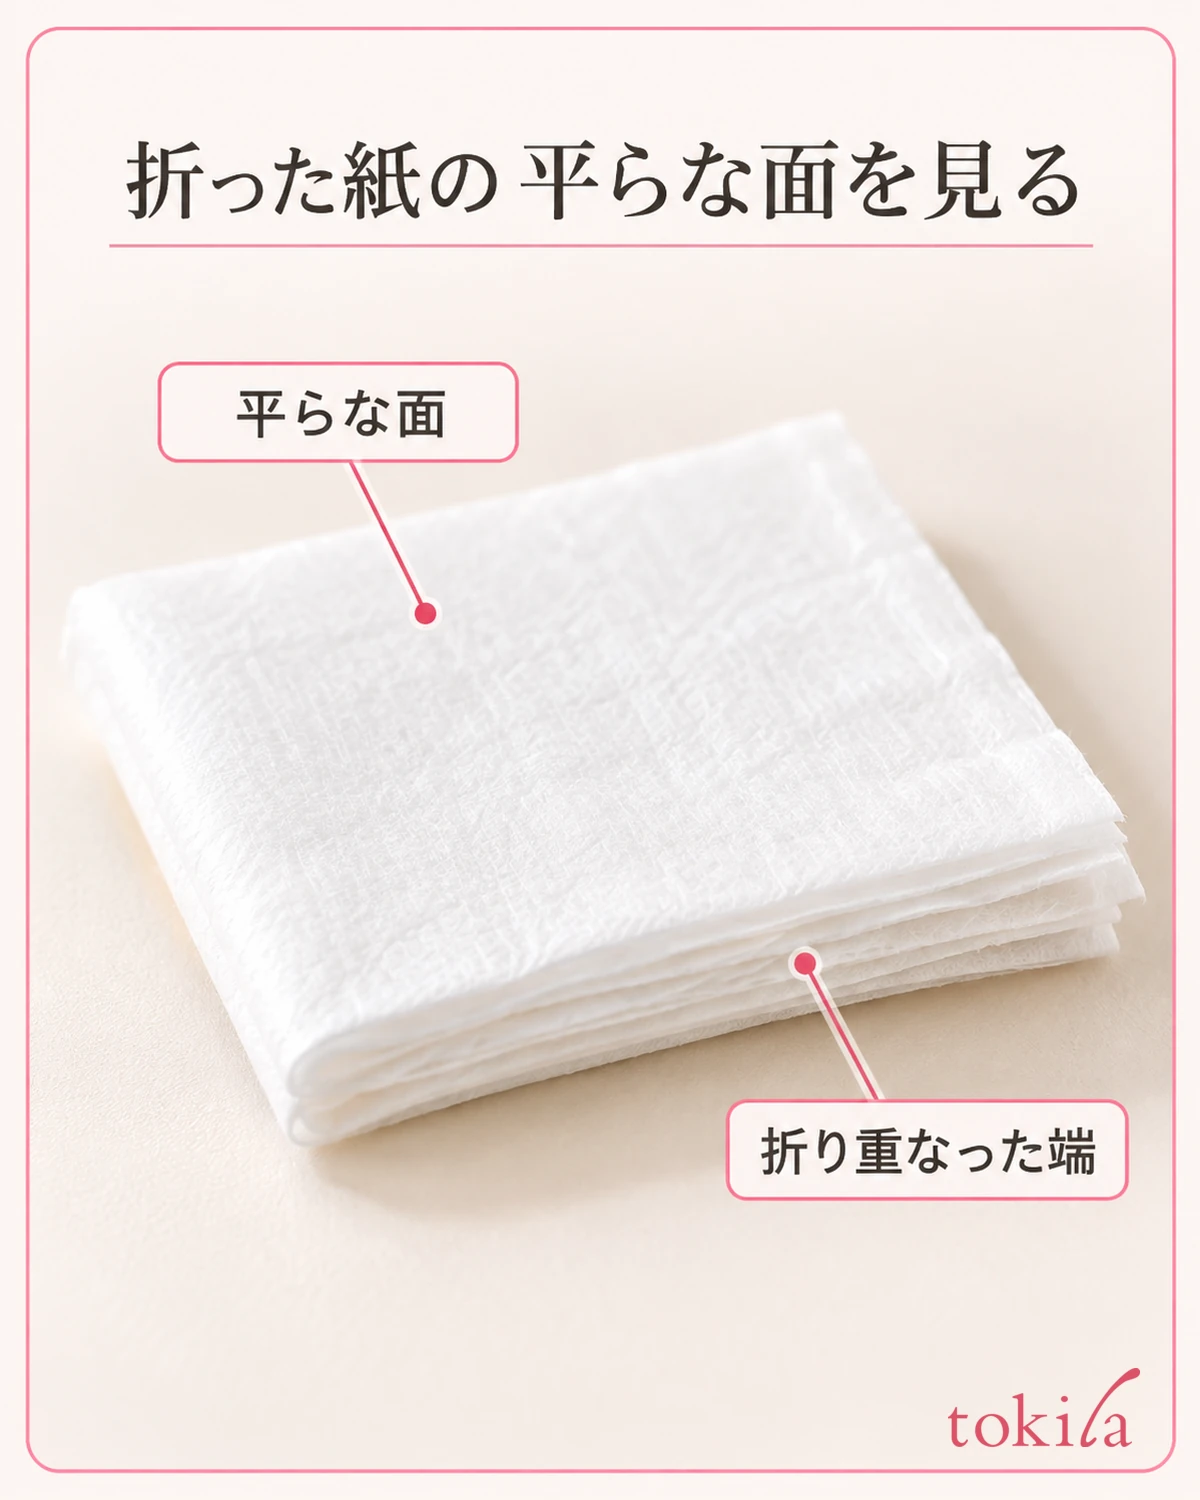
If you can use the light-press method, fold a soft, clean tissue to make a flat surface. Do not prepare to scrape off the color with a hard, rolled-up corner or a fingernail. Place the mirror where you can see both the details of your mouth and your whole face, and keep used and unused paper apart so the colored side does not go back onto your lips.
With types that leave color on the lips, pressing the surface may not change the look much. Do not treat that state as a signal to press harder. Read the directions for removal, and choose between making use of the color that remains today or removing it by the specified method and reapplying.
After checking the directions and texture, think of what you tidy with paper as the excess on the surface. It is not an action that lightens your natural lip color. If your goal is to prevent color transfer, also refer to reviewing lip color transfer and finishing, and keep it distinct from this article's topic of toning down a color that is too strong.
3. Do not rub the tissue sideways; touch it lightly and lift it away
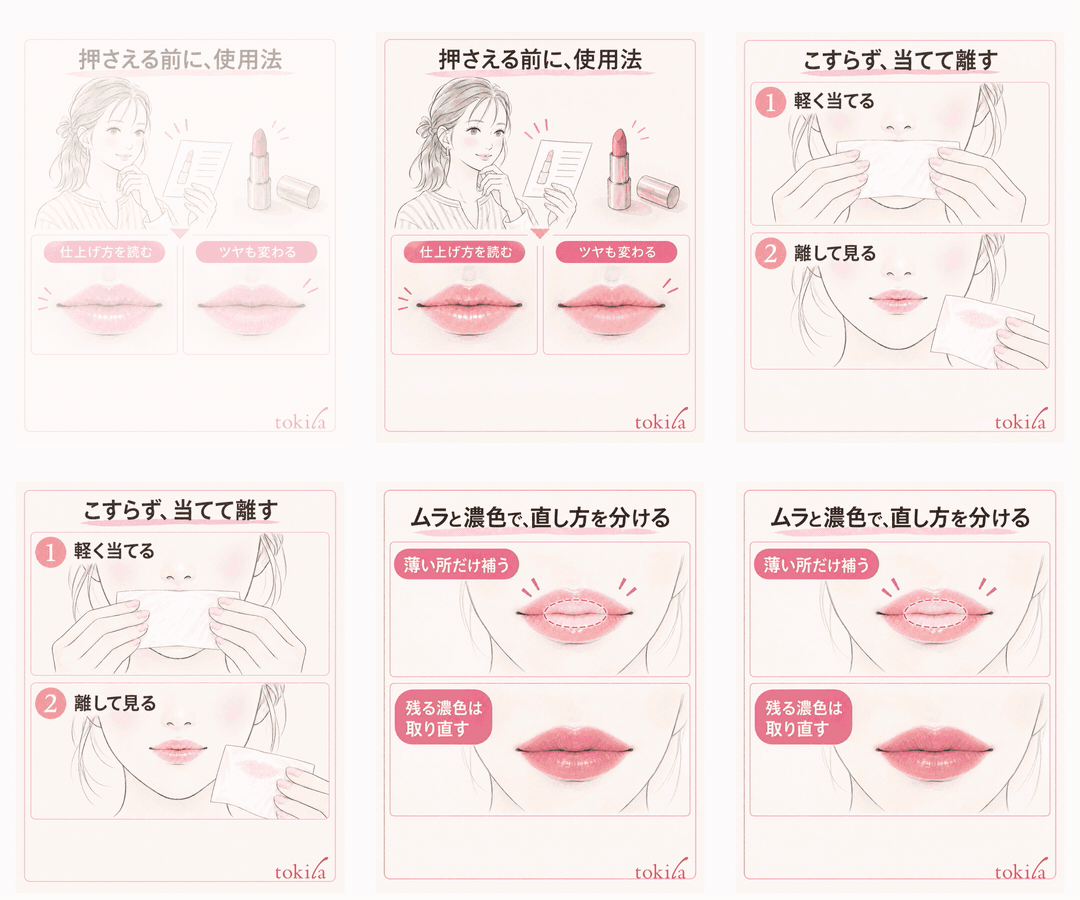
If it suits the directions for use, lightly touch the flat surface of the folded paper to the outside of your lips and lift it away. You do not need to bite the paper hard between your upper and lower lips or put the paper inside your mouth. Do not press so hard that your lips dent significantly, and do not drag the paper sideways.
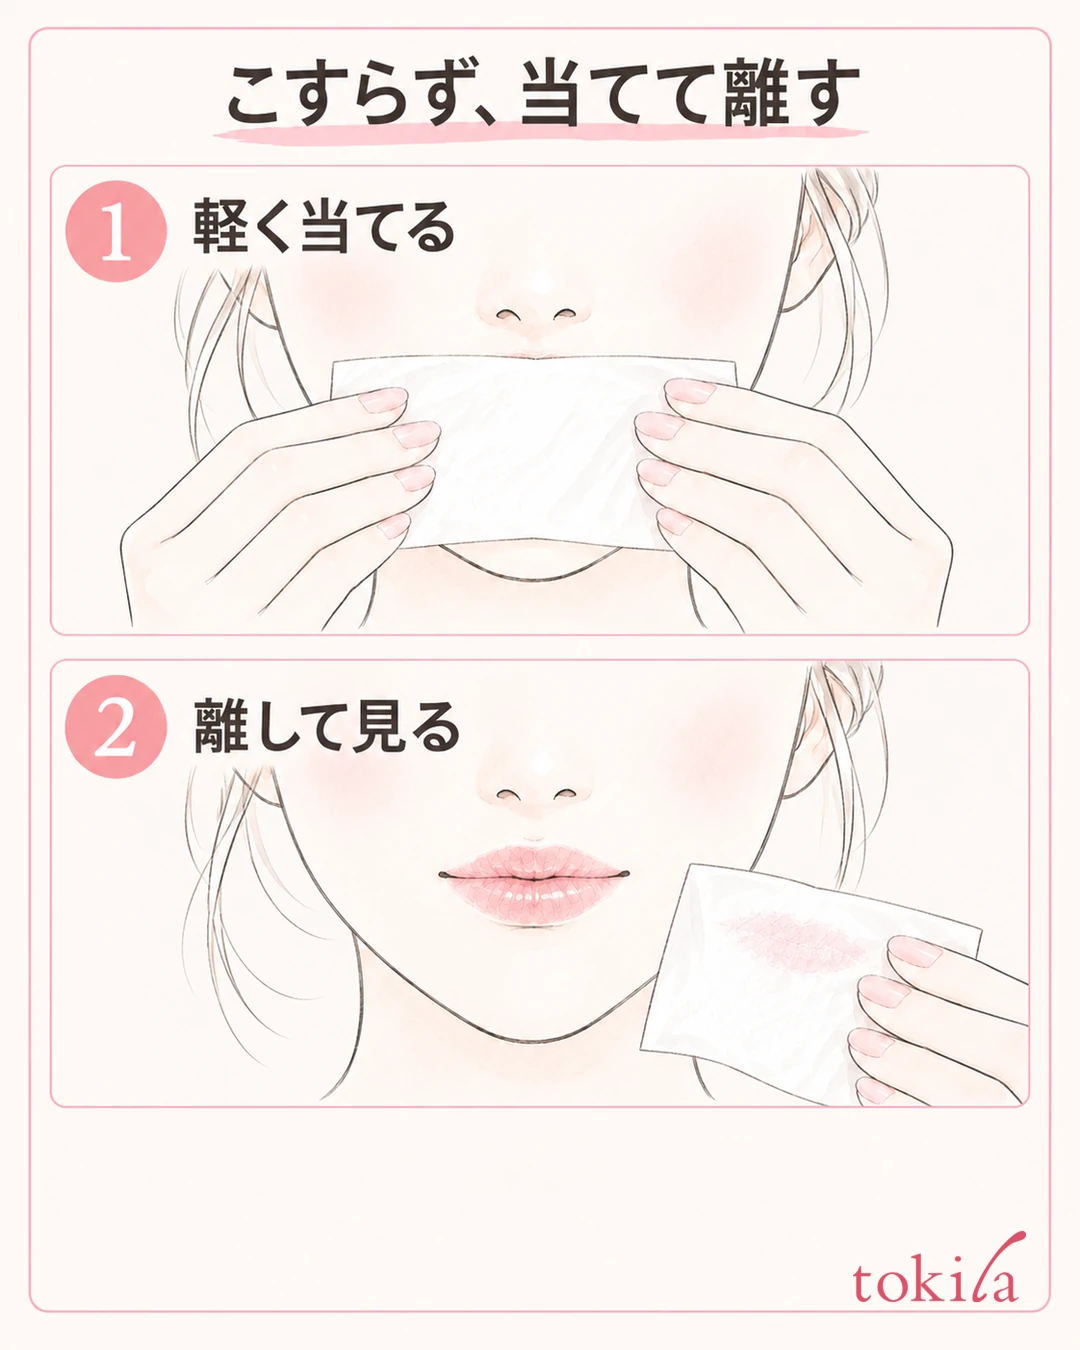
Once you lift it away, look at your mouth in the mirror rather than at the color on the paper. Check whether the overall intensity has come closer to what you like, whether only the center has gotten lighter, and whether the change in shine is what you wanted. If a light adjustment is enough, stop there. The key is not to set "until no color comes off on the tissue" as the point to finish.
Even if it still looks strong, do not immediately go back and forth with the same paper many times. Switch to a clean side of the paper, check that it suits how the product is meant to be handled and how your lips feel, and then decide whether further action is needed. Rather than fixing one number of passes for everyone, create a pause each time you touch and lift away, and look at the color that remains.
If you press the hard corner of the paper into only the strongly colored spot, you may mean to pick out a small spot but end up moving the surrounding color too. If a light touch of the broad surface does not even it out and local thickness or an outline remains, switch to the partial redo in the next step.
Avoid continuing to rub with dry paper. If your lips feel dry or pulled, stop instead of chasing a lighter look.
After it becomes lighter, you do not need to immediately apply back the original amount. If you have the intensity you want and a natural color transition, the adjustment is done. If you also want to keep the shine, read the product's guidance for finishing, and looking at the state before you add anything makes it easier to choose what you want to restore.
4. If it turns uneven, narrow down where to add; redo any remaining dark color
If only the center has lost color after pressing, look separately at that light section and the outer part that remains. If you layer the same amount all around, even the parts that were already natural will get darker. Check when you can reapply, add a small amount only where needed, and then take the tool away.
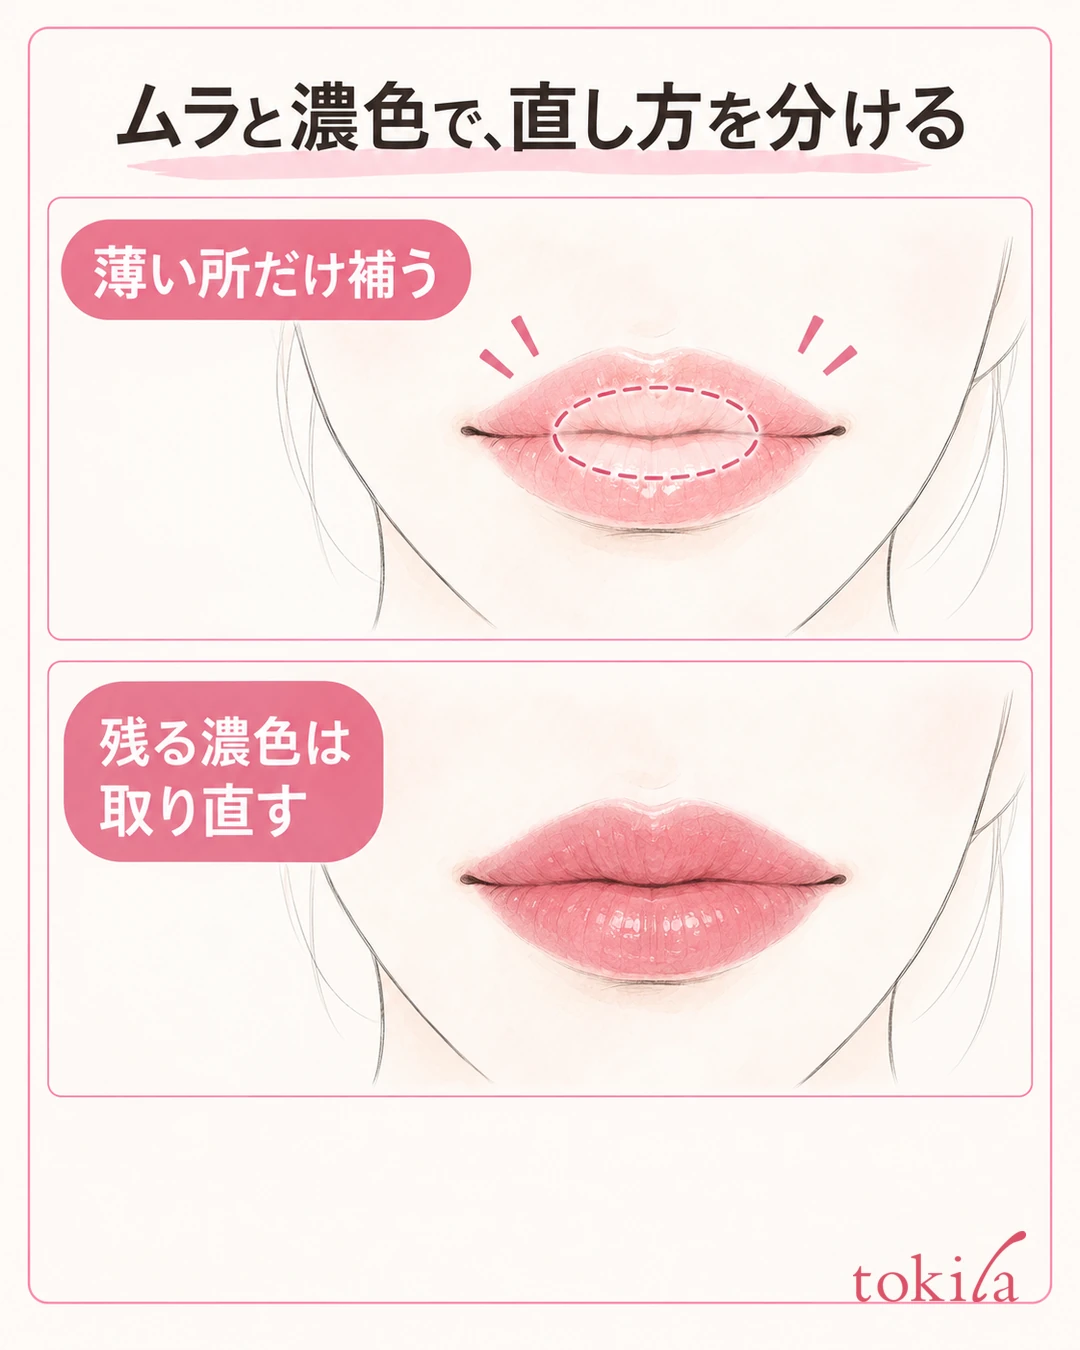
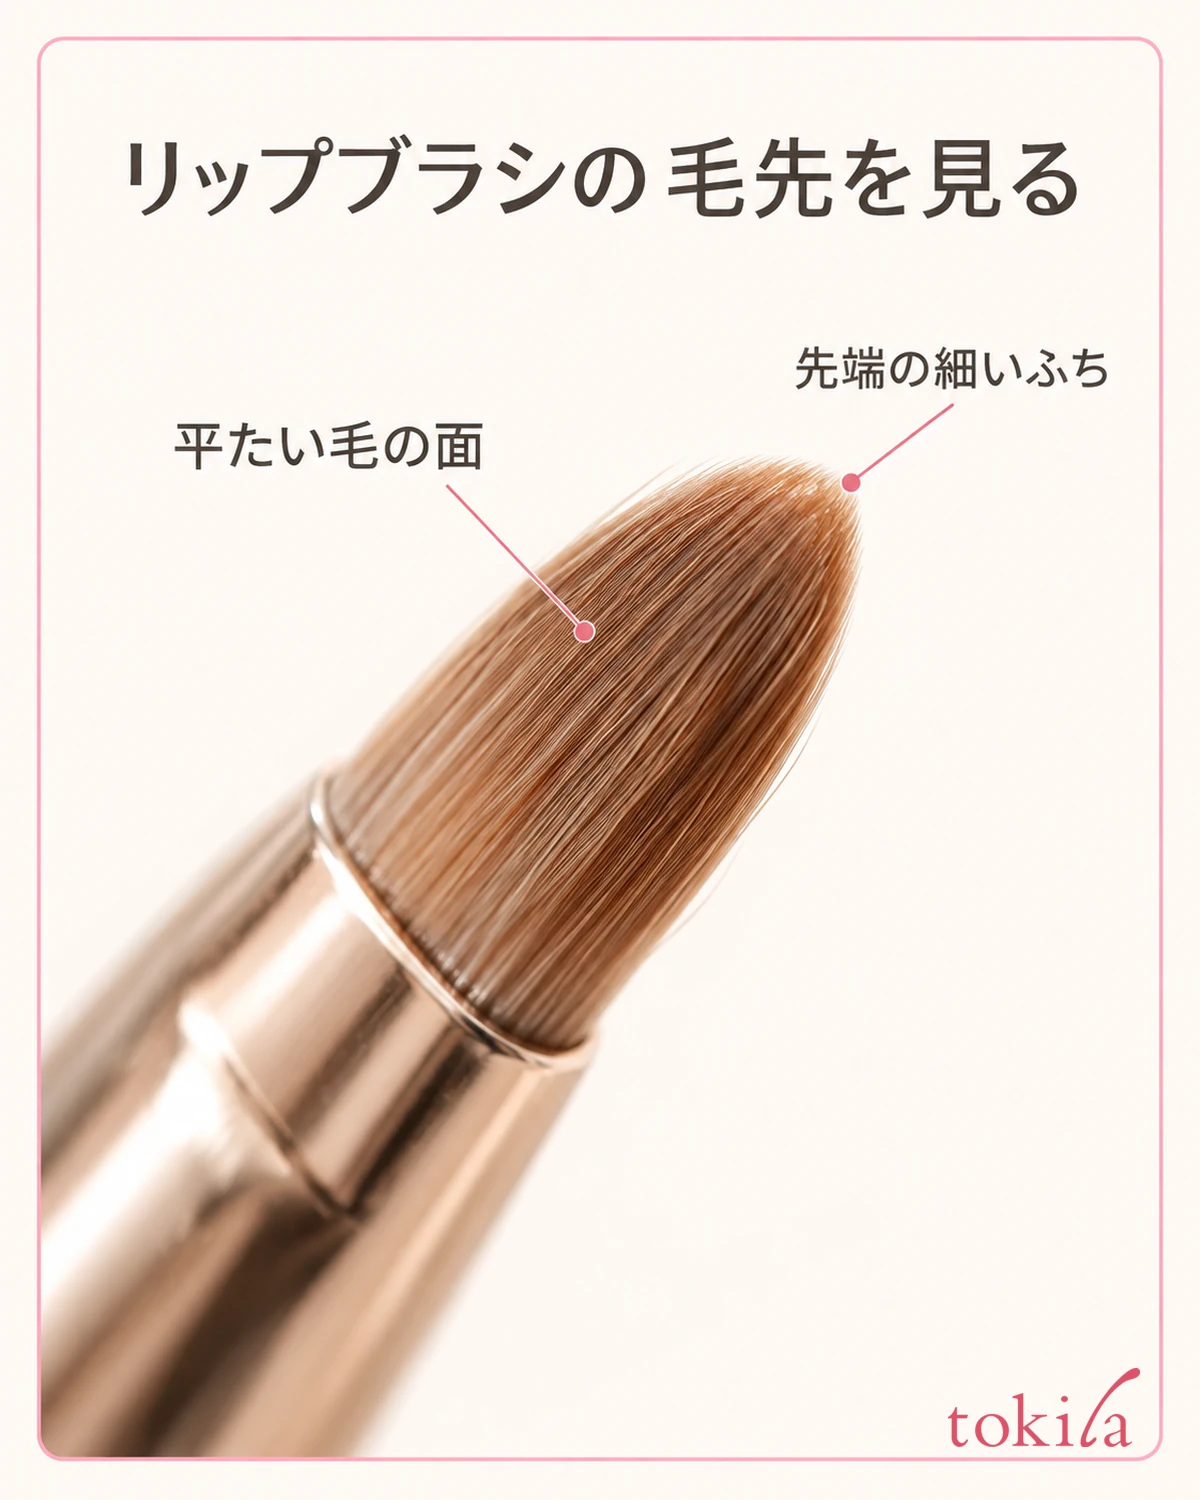
Lightly blend the edge of the added area toward the inside of your lips with a finger or brush you can use. Keep this separate from movements that spread color outside onto the skin. Also refer to how to tidy uneven or overflowing lip color, and do not mix the step of adding missing color with the step of removing color that went outside.
If the overall color tone is still different from what you wanted after making it lighter, or if the layer has become thick from continued partial touch-ups, you have the option of redoing it before layering one color after another. Choose an eye and lip makeup remover that suits the lipstick you have, and follow the specified amount, tool, way of blending and the steps afterward.
Do not decide on the same waiting time or amount for every remover; read the current directions.
When redoing it, proceed while watching the color that remains on your lips, and do not try to scrape off the leftover color with dry paper. If remover is left, tidy it as directed, and moisturize as needed before moving on to the next color. On days when you feel pain or irritation, avoid continuing makeup and trying to hide it with color.
Thickly covering with a beige lipstick or face foundation is not offered as a shared correction step. The color and texture of what you layer change, and you also need to check whether the product can be used on the lips. If it is a matter of amount, start with a small amount; if it is a matter of color tone, choose again, going back to your first judgment, which helps keep the process organized.
5. Next time, blend a small amount from the center and stop by looking at your whole face
On the next day you use the same lipstick, start with a small amount instead of going back and forth many times from the beginning up to the finished intensity. For a stick you can apply with your fingers, one method is to take a little on a clean fingertip and blend it in small amounts from the center of each of the upper and lower lips. Do not fill in strong color at the corners and the outline all at once; make time to look as you spread it.
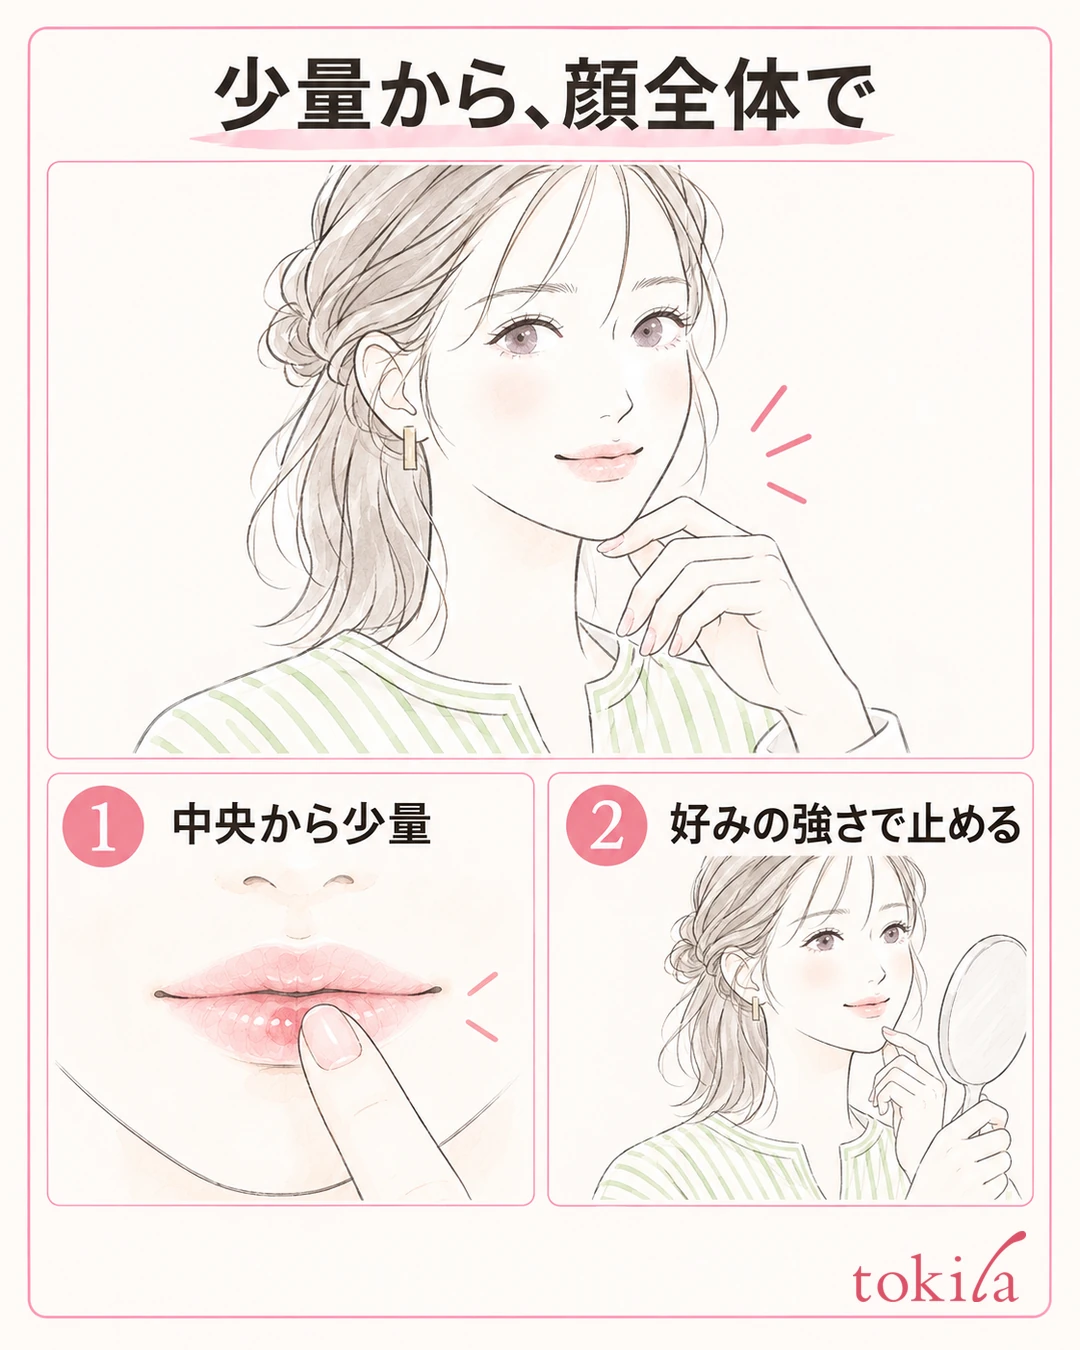
Do not uniformly carry this way of applying over to liquid products that do not specify finger application. Check the tools and order you can use with your product, and if an applicator is specified, try it with a small amount in that way.
Even when applying directly from the stick is easier to use, twist up only the length the product specifies and avoid using excessive force. Do not extend the core far out in order to draw a thin line.
If it feels like not enough when you look only at your mouth, go back to your whole face before adding more. Look at whether your eye makeup, blush and outfit give the impression you want, then open and close your mouth naturally and check for color sticking at the corners or on your teeth. On a day when you chose a finish where your natural lips show through a little, you do not need to cover all of that sheerness.
A short phrase is enough for your notes for next time, such as "I layered it many times with direct application," "pressing lightly also reduced the shine" or "even lighter, the tone was different." Choose one of the amount, the tool or the color to review. Use it not as the result of measuring product performance but as a memo to recall your own steps.
If lipstick feels too strong, separate the amount, color tone and shine, and lightly tidy the surface only where that is possible. Add a small amount to fix unevenness, and choose again for a color that does not suit you before layering to hide it. Next, start from a small amount and stop once it reaches the intensity you like, and you can find a way of using that suits the one you have.
Written by the tokila editorial team. The editorial team checked official information and organized the judgment and adjustment steps for reviewing how strong lipstick looks right after application.



