
You applied eyeshadow to your lower lids, and now there's a thick band under your eyes. You only wanted to define your eyes, but the more you blend, the more color spreads toward your cheeks. When that happens, before adding a lighter color, look separately at whether the color is too dark, the band is too wide, or unplanned powder has fallen. If the place you need to fix is different, the action you choose also changes.
This article is a guide for when powder eyeshadow that you deliberately applied to your lower lids looks too dark or too wide right after application. It is not an article that diagnoses shadows under the eyes or changes the shape of your tear bags (the puffiness just under the lower lashes). Putting the use of the products you already own first, we review the amount, tool, area touched and touch-ups in five steps.
1. Look separately at the depth, the width that spread, and any fallen powder
First put your tools down, bring the mirror back to face you directly, and open both eyes naturally. Is strong color left right under the lower lashes, has the band spread lower than planned, or has powder fallen onto your cheeks in dots? Before leaning toward a small mirror, pick one spot that bothers you with your usual expression.
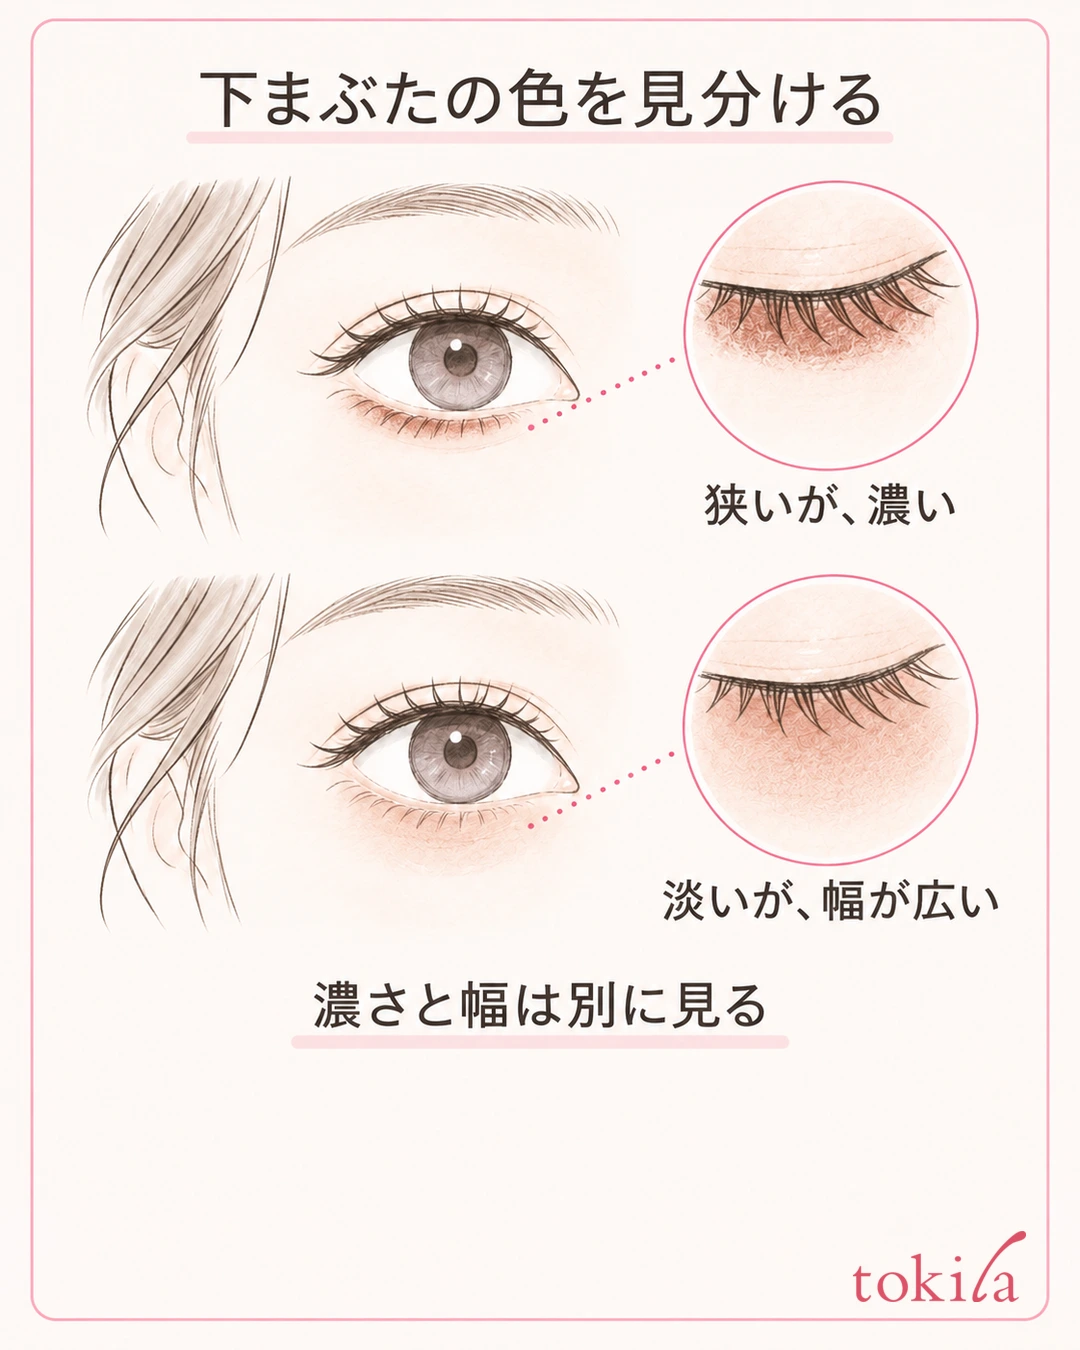
If the color is strong even in a narrow area, it is a time to review the amount you first picked up and how you chose the color. Even if the color itself is to your taste, if it was applied broadly downward, check not only reducing the amount but also the area the tool touched. Do not compare by changing the size or shape of your eyes; focus on the color you applied.
Also separate the shadow that is naturally under your eyes from the eyeshadow you applied. Under the same lighting, slightly change the angle of your face and look at where the color remains. There is no need to decide that every shadow is a makeup mistake and cover it with a white shade or concealer. If you feel discomfort or irritation, do not keep working to even out the finish.
There are days you want to keep the shading on the lower lids. A dark color is not necessarily a failure, and a pale one is not necessarily right. Deciding the purpose of the finish, such as "today I want it narrow and light," makes it easier to choose which color to keep and which to tidy. Even when the left and right differ, look at which is closer to what you want before chasing it by making one side darker.
Also look separately at strong glitter shine and the base color. There is no need to add a dark color to even out a spot that only shines brightly when you turn your face. Do you want to thin the band of color today, or tone down the glittering particles? Separating the purposes keeps you from confusing the step of adding color with the step of removing and redoing it.
If the main problem is unplanned fallout onto the cheeks, see the steps in preventing eyeshadow fallout and glitter fallout. Also separate it from the state where eyeliner or mascara transfers as time passes. This article deals with the depth and width of color placed on the lower lids from the start.
2. Match the tool to the narrow area and adjust the amount of powder you pick up
Next, before applying, look at the size of the tool that touches your lower lids. Are you tracing the narrow area with the same large surface you use to cover the upper lids broadly? Choose a small brush or tip through which you can see the area you are aiming for, in line with the use the product allows.
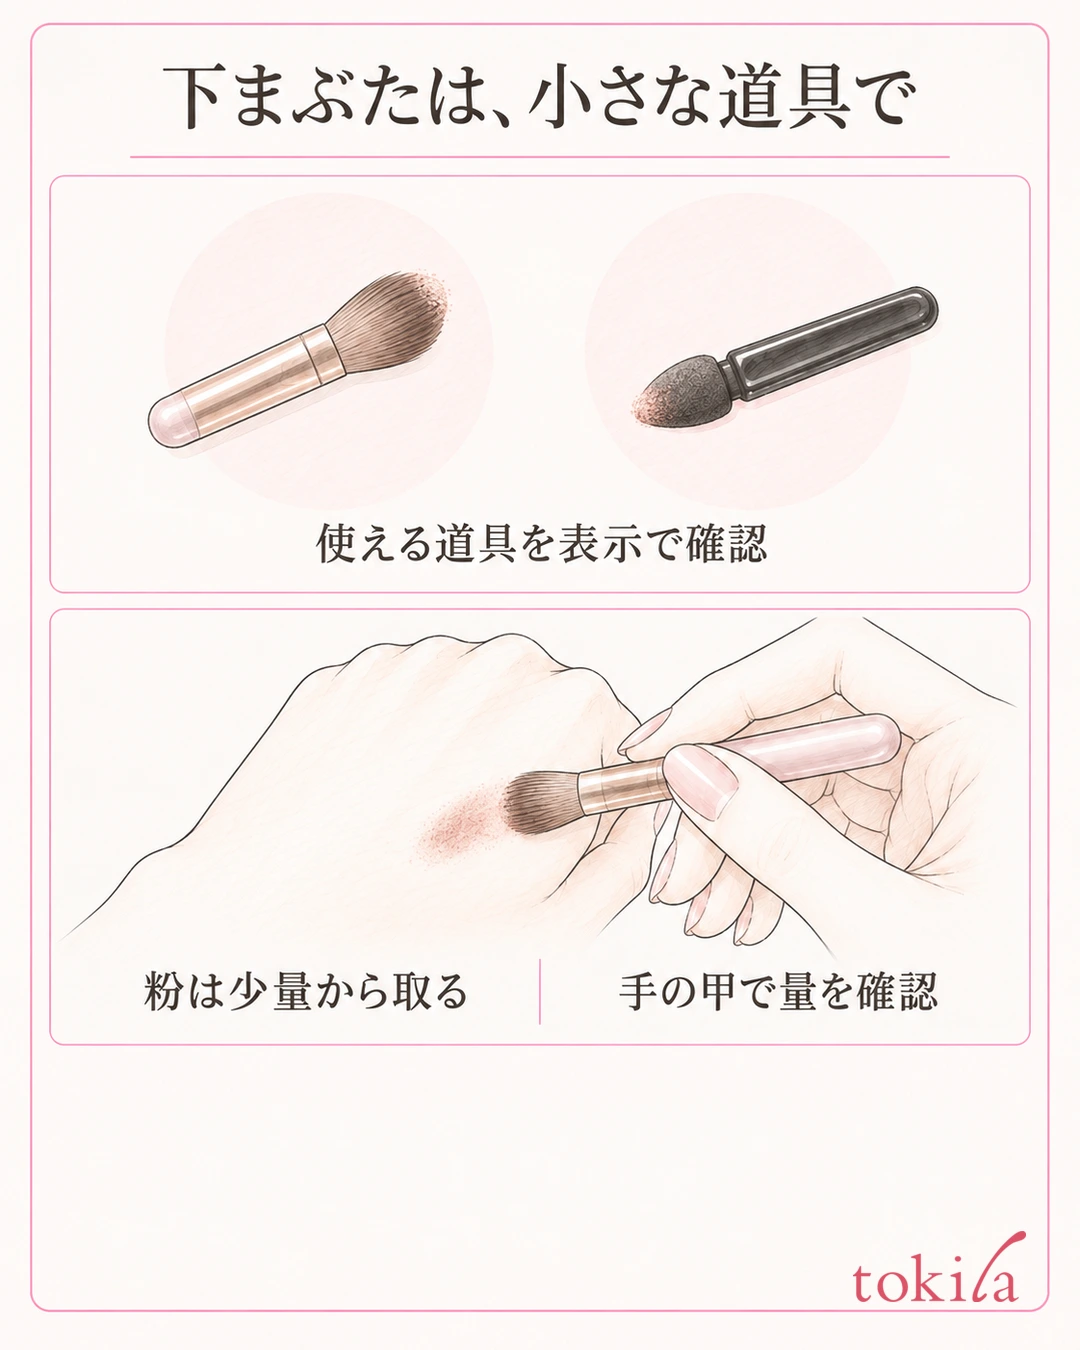
Do not treat a brush as the only right answer; choose according to both the instructions for what you own and the width the tool can handle.
Pick up only a small amount on the tool. For products you can test on the back of your hand, check the color and how well it adheres before carrying it to your skin. This does not guarantee the same color payoff on the back of your hand and the eyelid; it is preparation so that you do not place powder that is heavily loaded all at once. Also check whether only part of the tip has become dark.
If a dark color you used earlier remains, it mixes into the pale color you newly chose. Follow the tool's instructions for removing powder after use and for washing. Do not use a freshly washed, damp brush under the same conditions as a dry tool. Changing the color payoff by wetting with water is also limited to cases where the product allows it.
If you pick up color with one tool and keep blending with it, it becomes hard to tell which motion added the color. It helps if you can separate the tool that places the color from a clean, dry blending tool with no powder left on it. Before buying a new tool, try checking the surfaces you can use and the powder left on what you already have.
If you lay a thick tip on its side, the side may touch the skin even when you meant to use the tip. Look at the tool up close and check which surface actually carries the color. Even if you switch to a smaller tool, picking up more will make it darker. Keep the order of starting from a small amount and checking, even on days you change the size.
3. Start with a short area at the outer corner, place it thinly, and check
When applying, create a position in the mirror where you can see both the tip of the tool and the skin of the lower lid. With your eyes naturally open, place a small amount thinly on a short area at the outer corner, then lift the tool away once. Do not start by outlining all the way to the inner corner at the same depth, or by filling the entire tear bag area with a dark color.
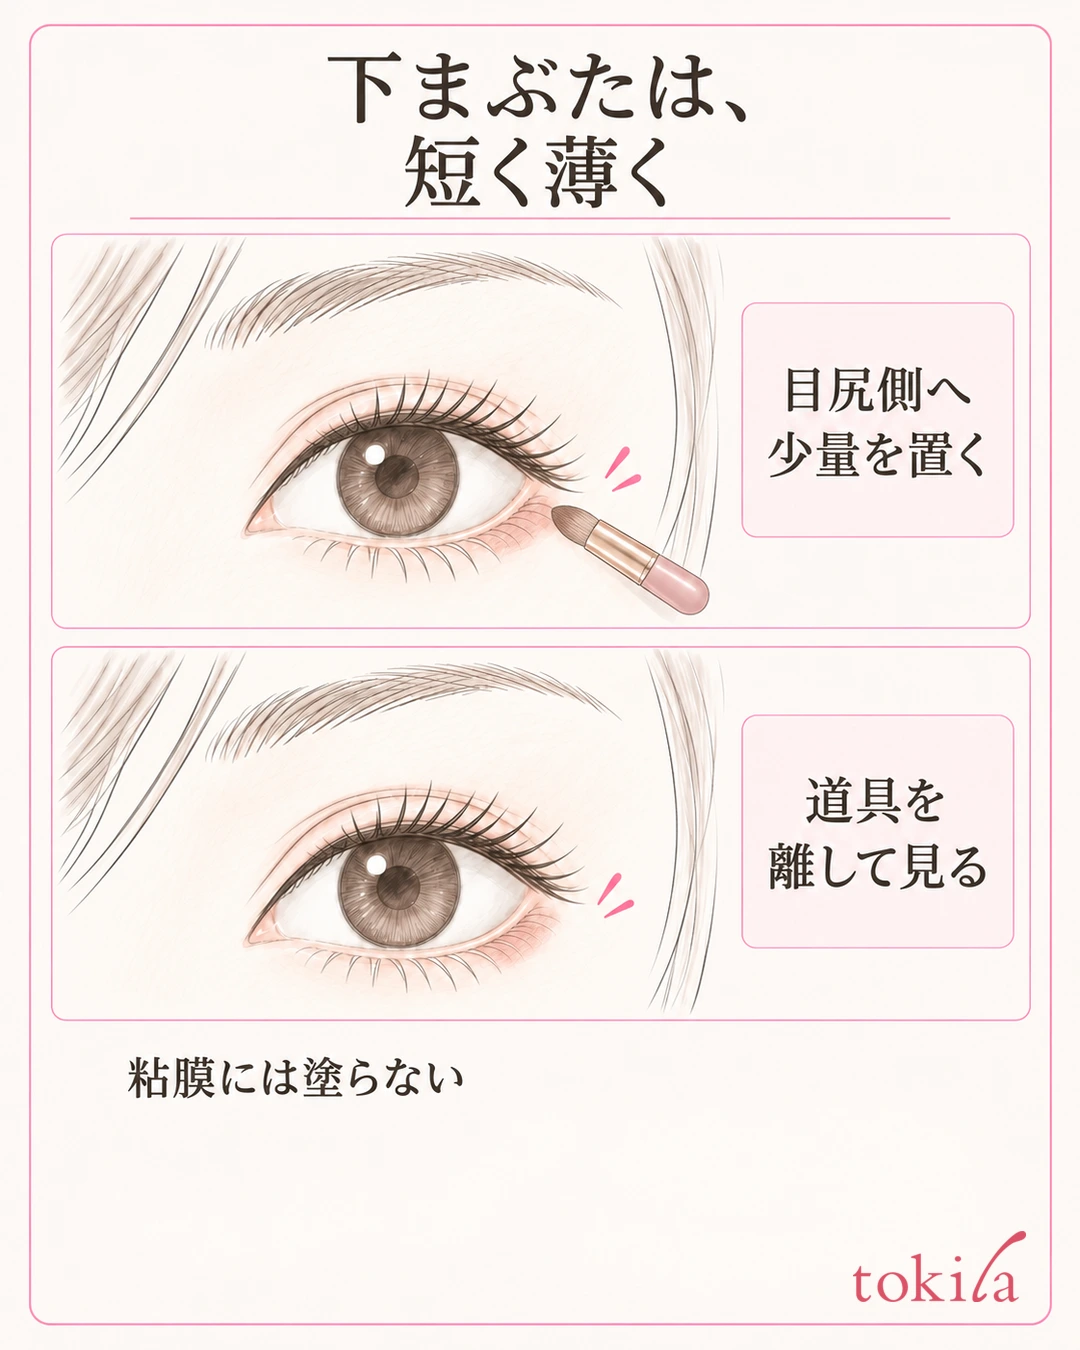
With a brush, touch the skin lightly with the bristle tips; with a tip applicator, touch the skin with the end that suits the product's instructions. Do not press so hard that the bristles are flattened, or push in the corner of a tip. What you are touching here is the skin of the lower lid. Keep it separate from applying inside the eye or on mucous membranes.
If it already looks sufficient when you check in the mirror, you may stop adding right there. If you want a little more color, first add a small amount to the same short area. Increasing the amount and the width at the same time makes it hard to trace why it became darker, so choose first which of the two you will change.
There is also a method of applying over the whole lower lid, but on days you are reviewing a problem with going too dark, limit where you touch as you check. Do not use it as a standard that copies the same number of millimeters onto every eye area; use the color you see when you open your eyes naturally as your guide.
When tidying the edge, without picking up new powder, touch the outer edge that bothers you briefly with a clean tool and lift it away. Dragging for a long distance from the center of the color toward the cheek can increase the area when you meant to thin it. If the width spreads after you touch it, do not repeat that motion; move on for now to deciding on the next touch-up.
If you want to rework the color scheme with the upper lids, the area and blending of two-color eyeshadow can also be a reference. The key is to decide the small area used on the lower lids separately, rather than copying the upper-lid steps straight downward.
4. Don't add to a color that has spread; redo the area that needs it
If a dark band forms, stop adding eyeshadow. Check whether you can lightly tidy only the excess powder on the surface, or whether the color has set widely and needs to be removed and redone. Do not start by layering a lot of a light color or face powder to cover the dark color.
If the powder is only resting lightly on top, gently touch the excess area with a clean, dry tool that has no powder left on it, then lift it away. Even if it doesn't thin in one go, do not keep rubbing with more force. If the color spreads downward, the skin is pulled, or the base moves, you need to decide not to continue that method.
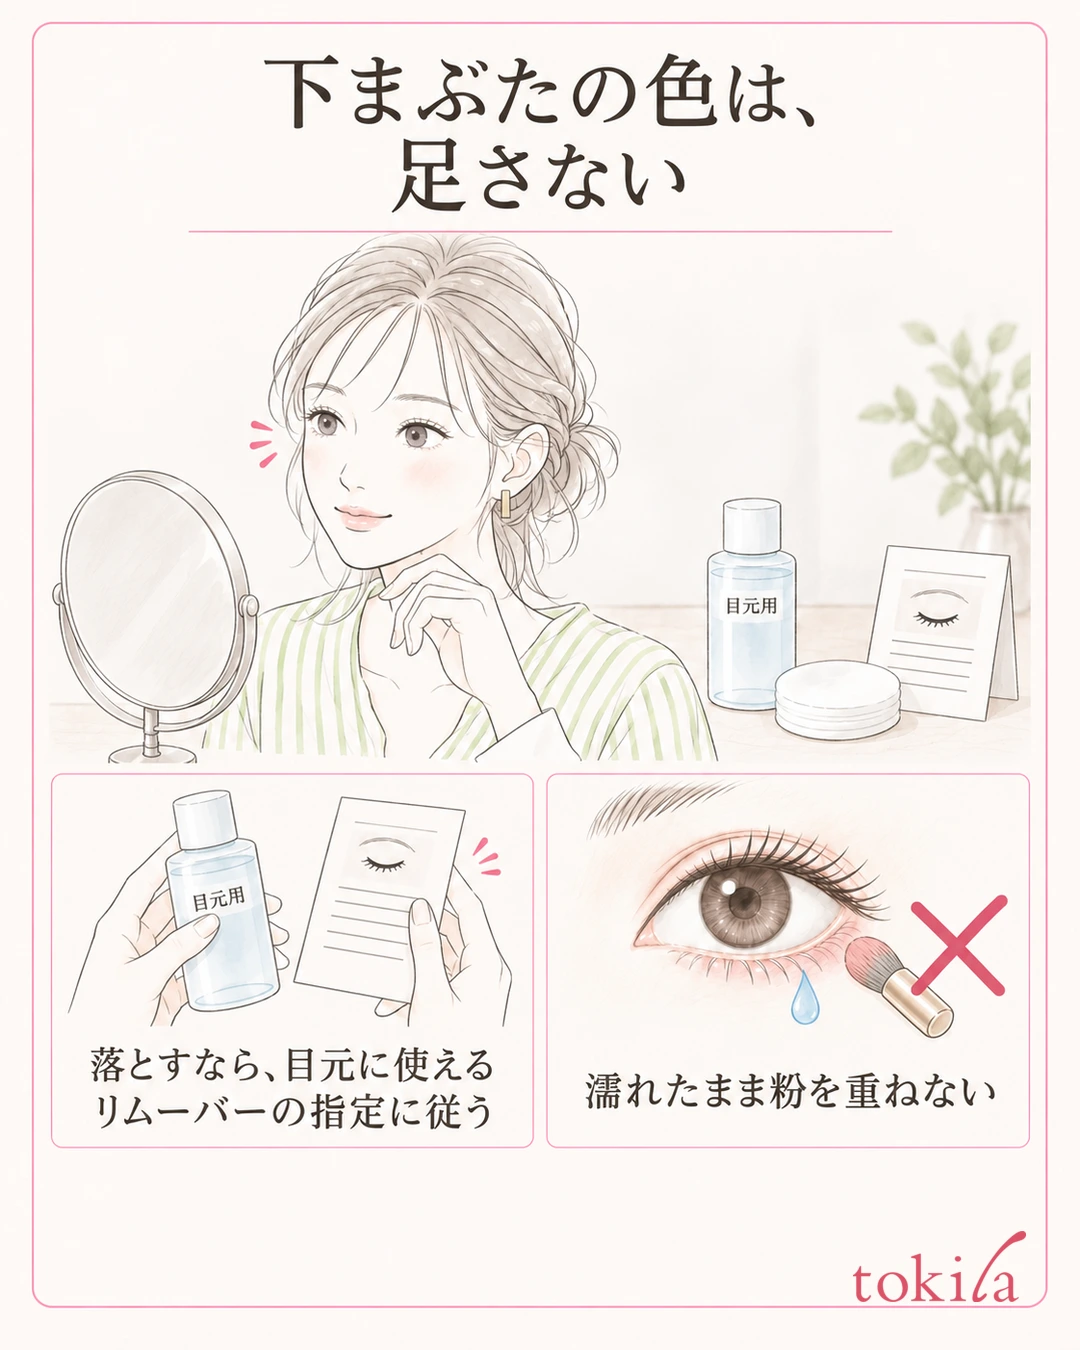
If a thick, spread color remains, use a remover that can be used around the eyes in the amount and with the tool that it specifies. If it is a product to blend into cotton, follow that method and keep it from getting into your eyes. Check the instructions on whether to use a cotton swab, too, and avoid motions that scrape the lower lid with a dry tip.
Is it enough to fix only the lower side you unintentionally spread, or should you redo the whole applied area because a boundary remains? Choose in the mirror before you touch. Do not stretch color over your whole cheek in an attempt to thin a local darkness. When you can't fix it in a narrow area, it is also important not to handle the same spot over and over in an attempt to make it perfect in a short time.
After removing, finish the follow-up steps of the product, such as wiping off or rinsing. Check that no color remains around the area and that the surface is not wet, and if needed, tidy up from the base. Do not layer powder while it is damp; restart from a small first amount and a short area.
If you don't have a suitable tool or remover when out, there is also the option of stopping the additions and redoing it after you return to a place where you can fix it. Together with the order for touching up makeup, choose the adjustments you can make with the tools you have now. Do not use just any milky lotion you have as a substitute for an eye makeup remover.
5. Decide when to stop adding color by looking at both eyes and your whole face
Finally, bring the mirror back to face you and look at both eyes. Separate checking up close under the eyes from checking on your whole face. Can you see color in the area you aimed for, is there a band spreading downward, and does the strength differ between left and right? With these three points, judge whether there is still a place to add.
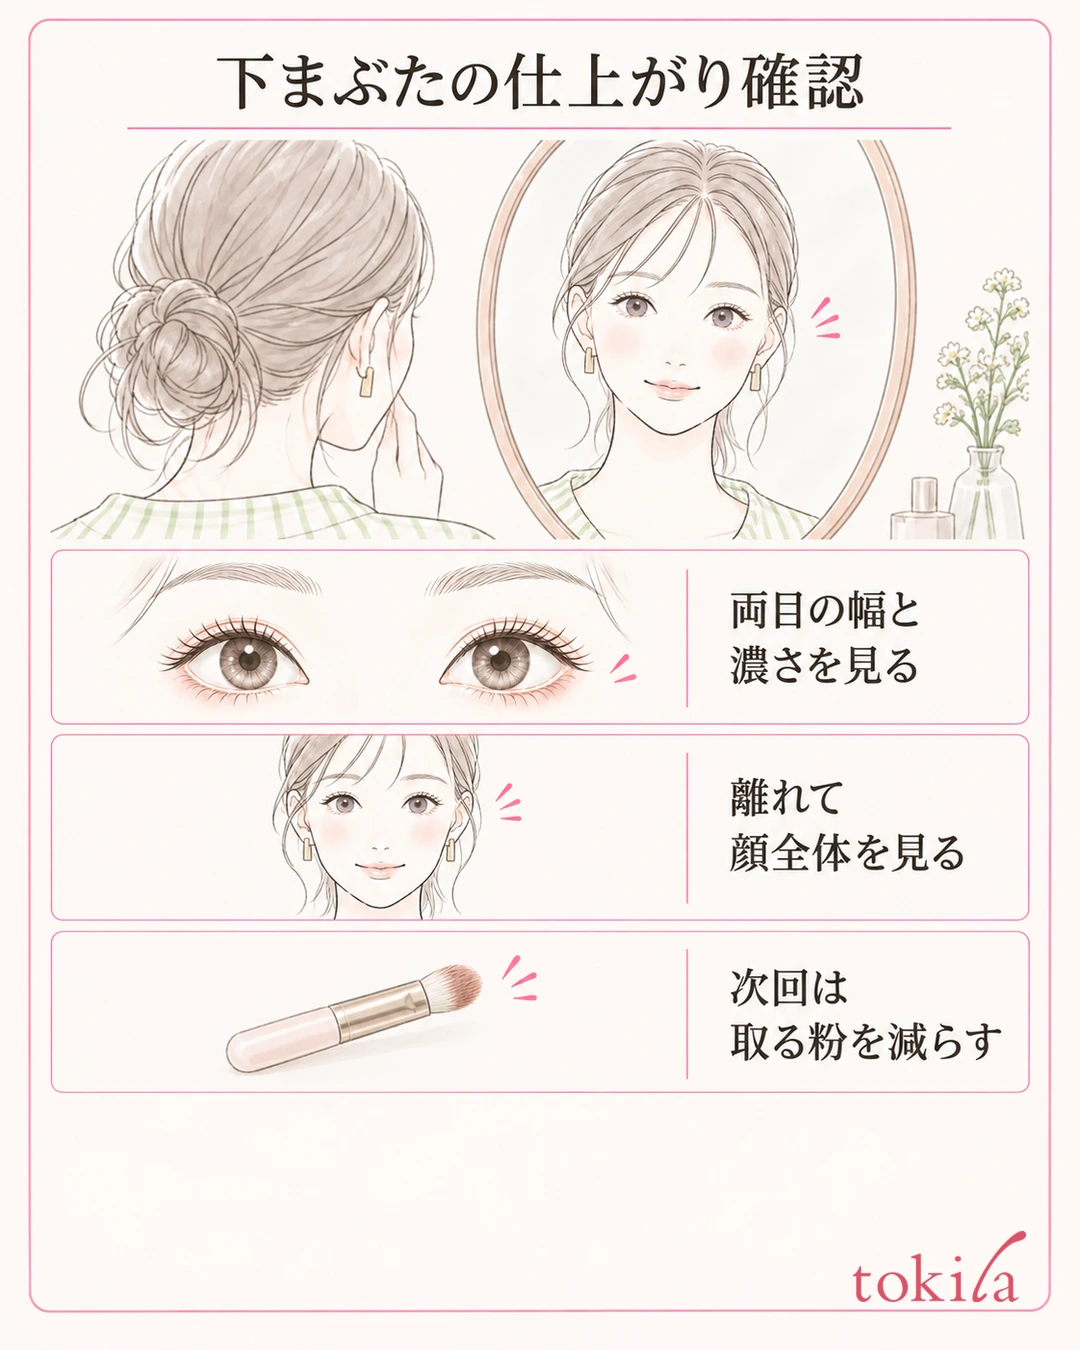
Even if the shapes of your left and right eyelids differ, do not make matching the applied width by numbers the condition for being finished. With your eyes naturally open, compare the strength of the color you want to show. Rather than staying close to the mirror and chasing small differences, setting the tool down and stepping back once makes it easier to judge whether more is needed.
On days you add eyeliner or mascara, check the depth of your eye makeup again afterward. Even if the eyeshadow alone looks pale, the rest of the makeup can change the impression. If you are fixing the amount of product on your lower lashes, see reviewing how heavy lower lash mascara looks. Treat color on the skin and product on the lashes separately.
For next time, pick one step that gave you trouble today, such as "reduce the powder picked up on the brush" or "make the first spot at the outer corner shorter." This makes it easier to remember which action you changed than replacing the color, amount, tool and base all together. Do not darken it until it matches the eyes in an edited photo; adjust to what you want as seen in your usual mirror.
In your notes, also record whether it spread right after applying or the width increased after blending. In the former case you can review the surface you touched first; in the latter, the area you moved. This is not a record for deciding your skin type or a product's performance from a single finish.
When your lower-lid eyeshadow looks too dark: separate depth from width, adjust the amount with a small tool, place it briefly and thinly then lift away, redo a spread color if necessary, and finally stop by looking at both eyes and your whole face. Following this flow, try reviewing the step where the area grows the more you blend.



