
Right after you groom your brows with a brush they look good, but when you take the brush away the hairs go back in their original direction. Even if you add more color, the direction of the hairs may not settle. First, look separately at whether the line you drew has disappeared or whether the actual hairs have moved.
This article introduces a routine for shaping the flow of your brow hairs in everyday brow makeup and, if needed, finishing with a brow styling product. It does not cover treatments that change how hair grows, or care such as plucking or trimming. The goal is not to make every hair stand up; proceed using the directions on the products you have and a finish you feel comfortable with as your standard.
1. Separate whether it was the direction of the hairs or the color you drew that went back
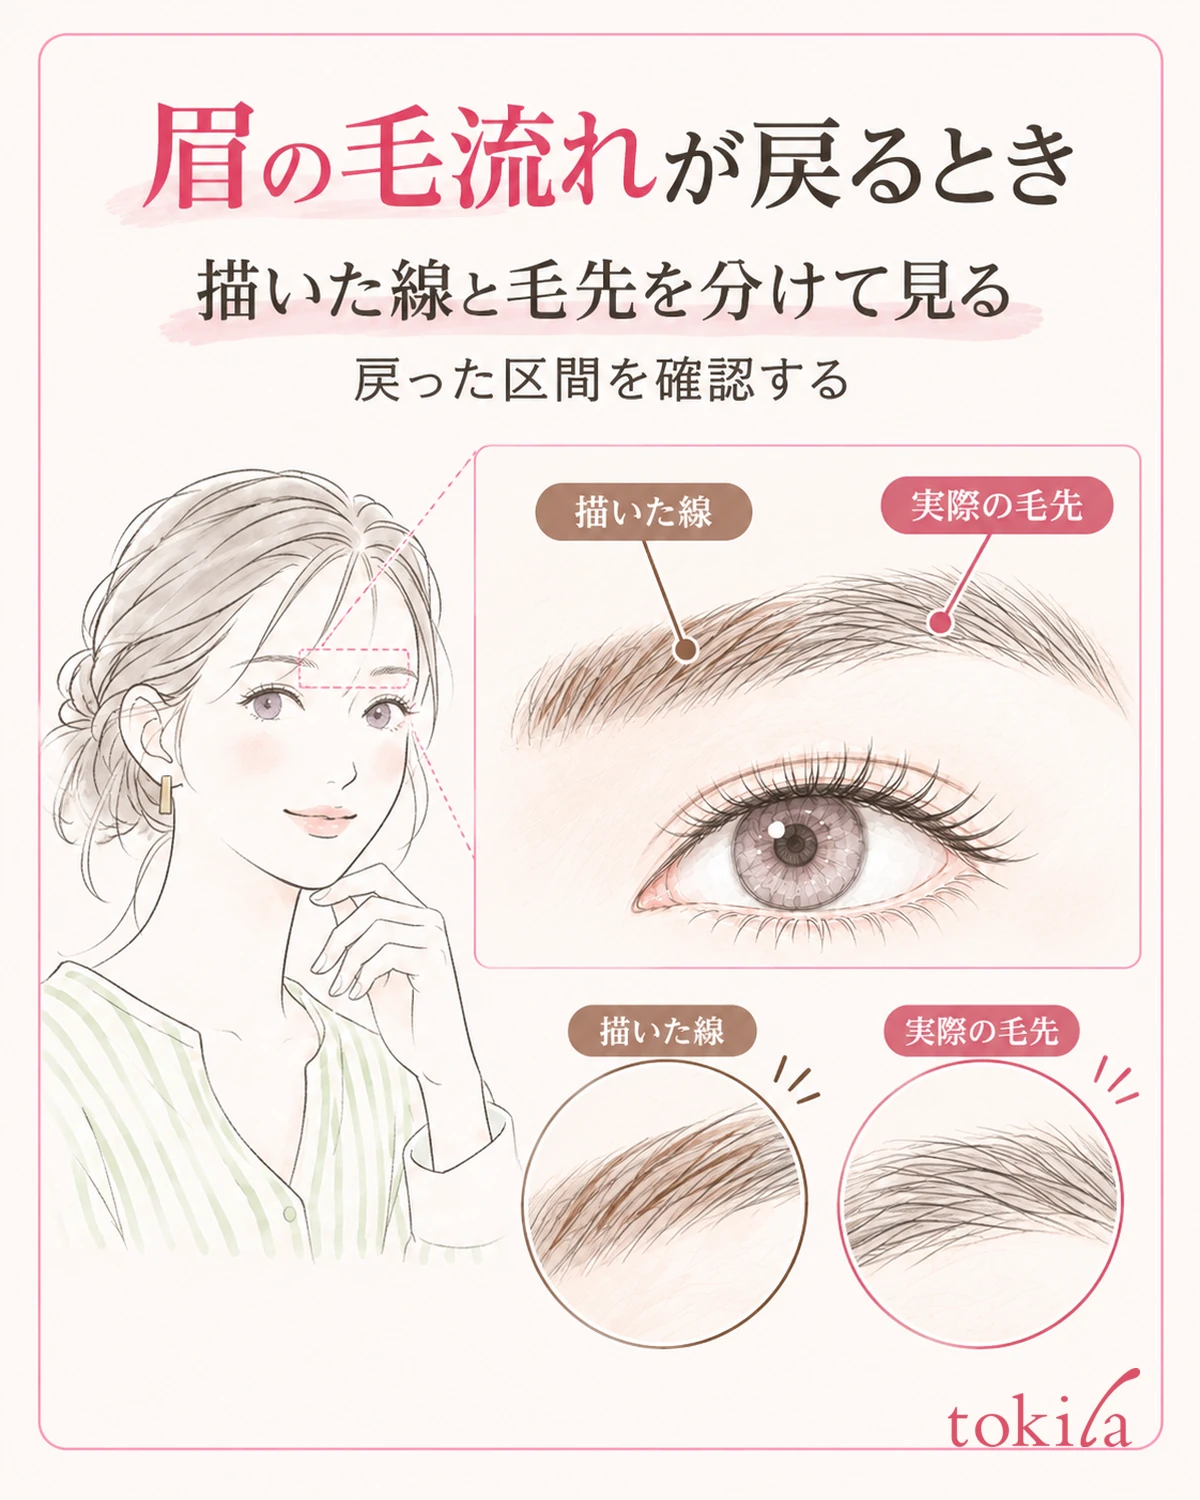
First, put the brush down and look at your brows from the front. Decide on one section that bothers you, among the inner end, the middle, and the tail. If the position of the line you drew has not changed and only the tips of the hairs look like they are drooping, this is a time to check the direction of the hairs first. Do not add pencil right away based only on an impression that the color has faded or the gaps look wider.
With a clean brow brush that has no product on it, lightly brush in a direction that goes through easily. Take the brush away and look at the position of the hair tips. See whether only some long hairs go back, or whether the direction changes from the inner end to the middle. It is important not to use a shape that holds only while you keep pressing it down as your standard for the finish.
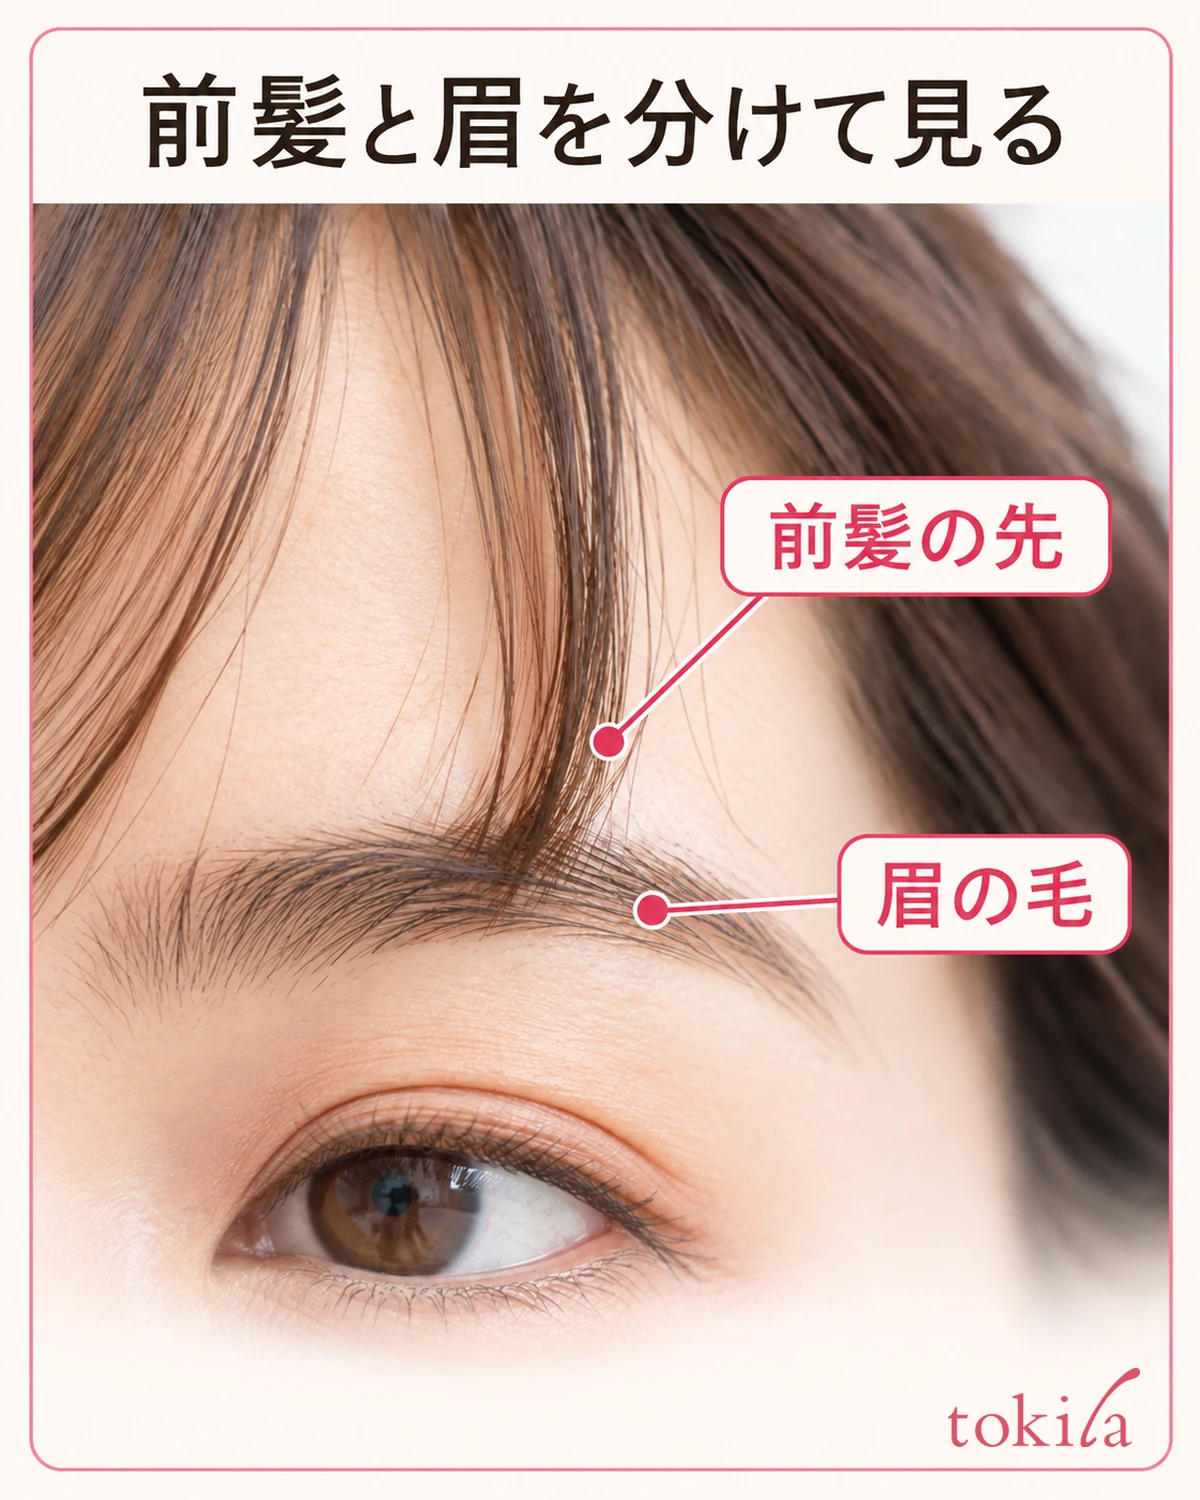
Also check whether your bangs are touching and pushing the hairs, or whether you are raising one brow to look in the mirror. Move your bangs aside, relax your forehead, and look again at both sides from the same angle. If they look different every time you move your face, line up the posture you look from before fixing hairs one by one.
Match the brightness you check in on both sides. When strong light hits from the side, the shadows of the hairs and the line you drew may look like they overlap. Rather than keep changing the lighting while moving the hairs, first look once in a place where light reaches your face evenly. There is no need to change the direction more than usual based only on an enlarged smartphone photo.
Treat what comes next differently for brows with nothing applied and brows where a product has already been used. If the hairs are already coated and set, do not keep repeating the action of running a dry brush through to check. Check the product name and the steps you used, and confirm in the instructions whether it is in a state where you can layer on top.
If you are bothered by the left-right difference in your brows themselves, go to the steps for checking the height, length, and density of your brows. This time, we focus on reviewing the direction of the hairs and how to finish, without greatly changing the shape you drew.
2. Tell apart what draws color from what keeps the hair flow
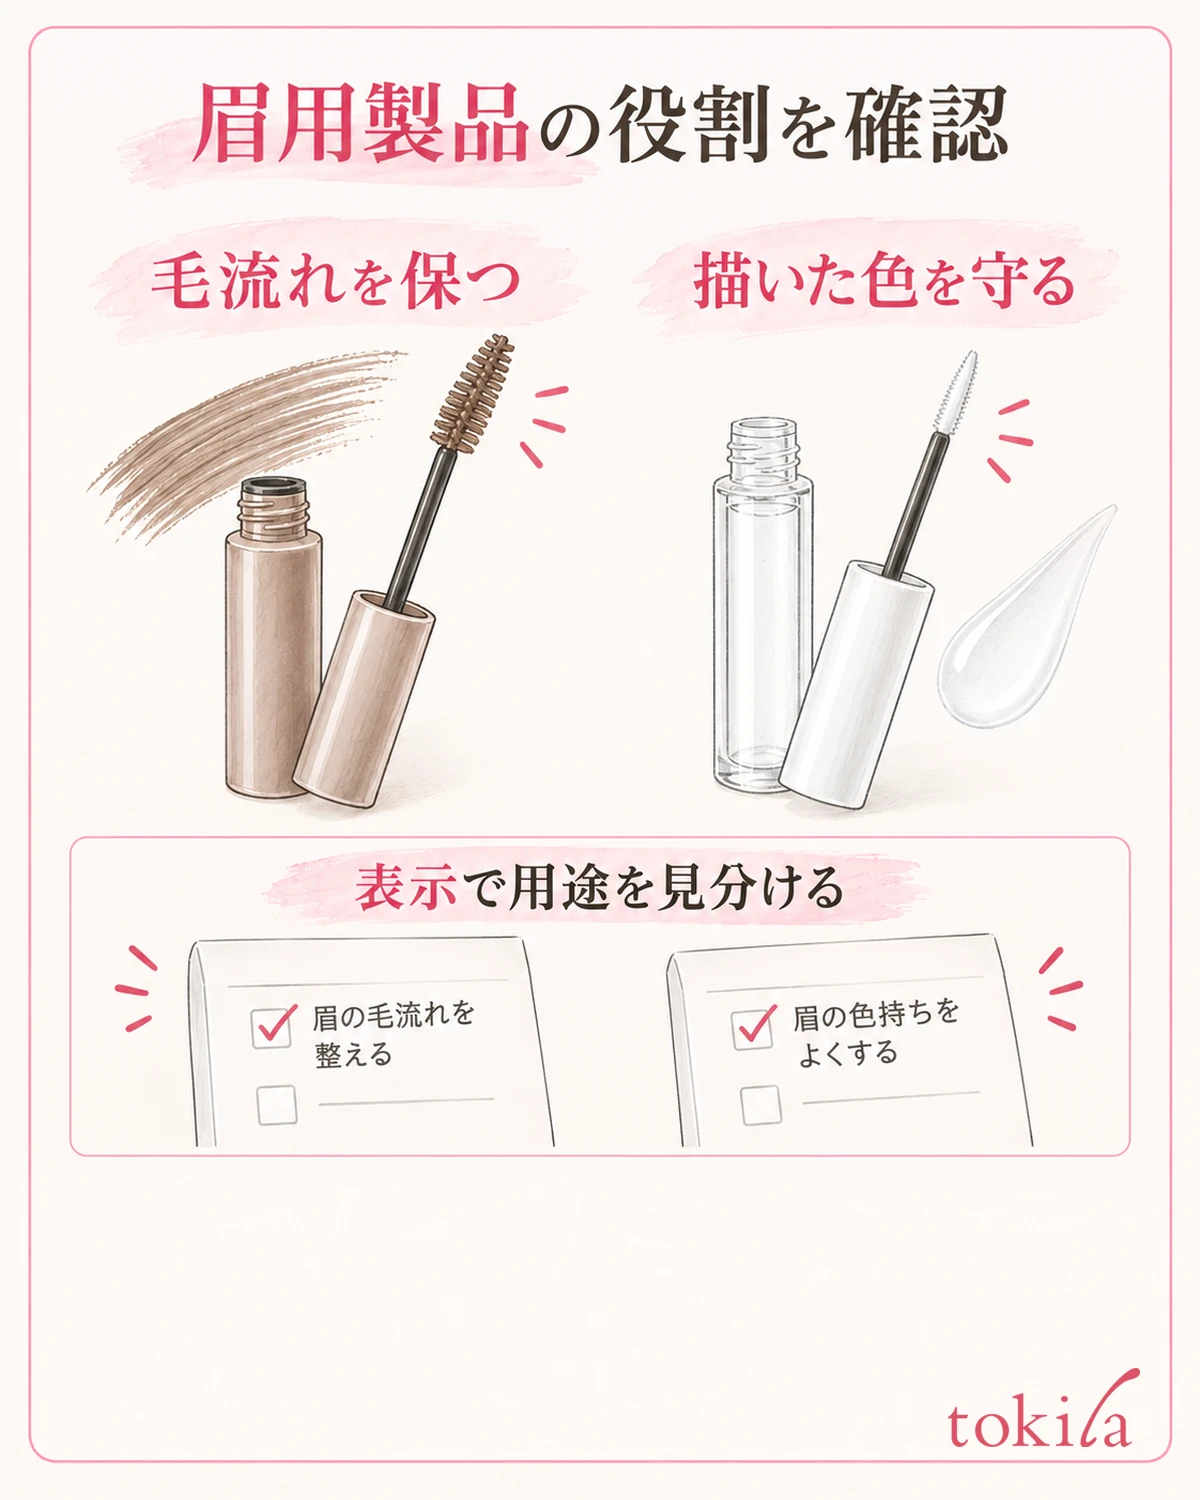
Look at the container or packaging in your hand and check the role of what you are using. Pencils and powders are tools used to fill in lines and areas of color where there is no hair. When you want to keep the flow of your brow hairs, check whether the product is for brows and states styling or keeping the hair flow as its purpose.
Among clear brow mascaras, there are products intended to shape and hold the hair flow. On the other hand, even among clear coating liquids, there are some whose main purpose is to make your brow makeup last. Do not judge from words such as "clear," "coat," or "gel" alone that they have the same role or are used the same way.
With tinted products too, think about coloring and how the hairs hold together separately. Being able to change your brow color does not mean it strongly fixes the hairs at the angle you want. If what you are struggling with now is the direction of the hairs, look for the explanation about hair flow before making the color darker.
When you line up the products you have, read the label of each one, even if the containers look alike. Keeping brow mascara and lash mascara, and a brow coat and a bangs styling product, in separate places makes mix-ups easier to avoid. Do not use something whose purpose you do not know on your brows just because the brush shape looks similar.
The items to check are whether use on brows is specified, the order with other brow items, the point at which to layer it, and how to remove it. For products that state an order, keep to that sequence. Do not combine the directions for different products or borrow a bangs styling product for your brows.
Also decide whether you want to finish your brows with a single product, or add a finishing step to your usual color. If you are not sure which role you need, check the purpose of the products you have before buying more. Rather than changing color and hold at the same time, putting into words which one you want to fix today first makes it easier to choose.
3. Groom the hairs before applying, and finish in the order the product specifies
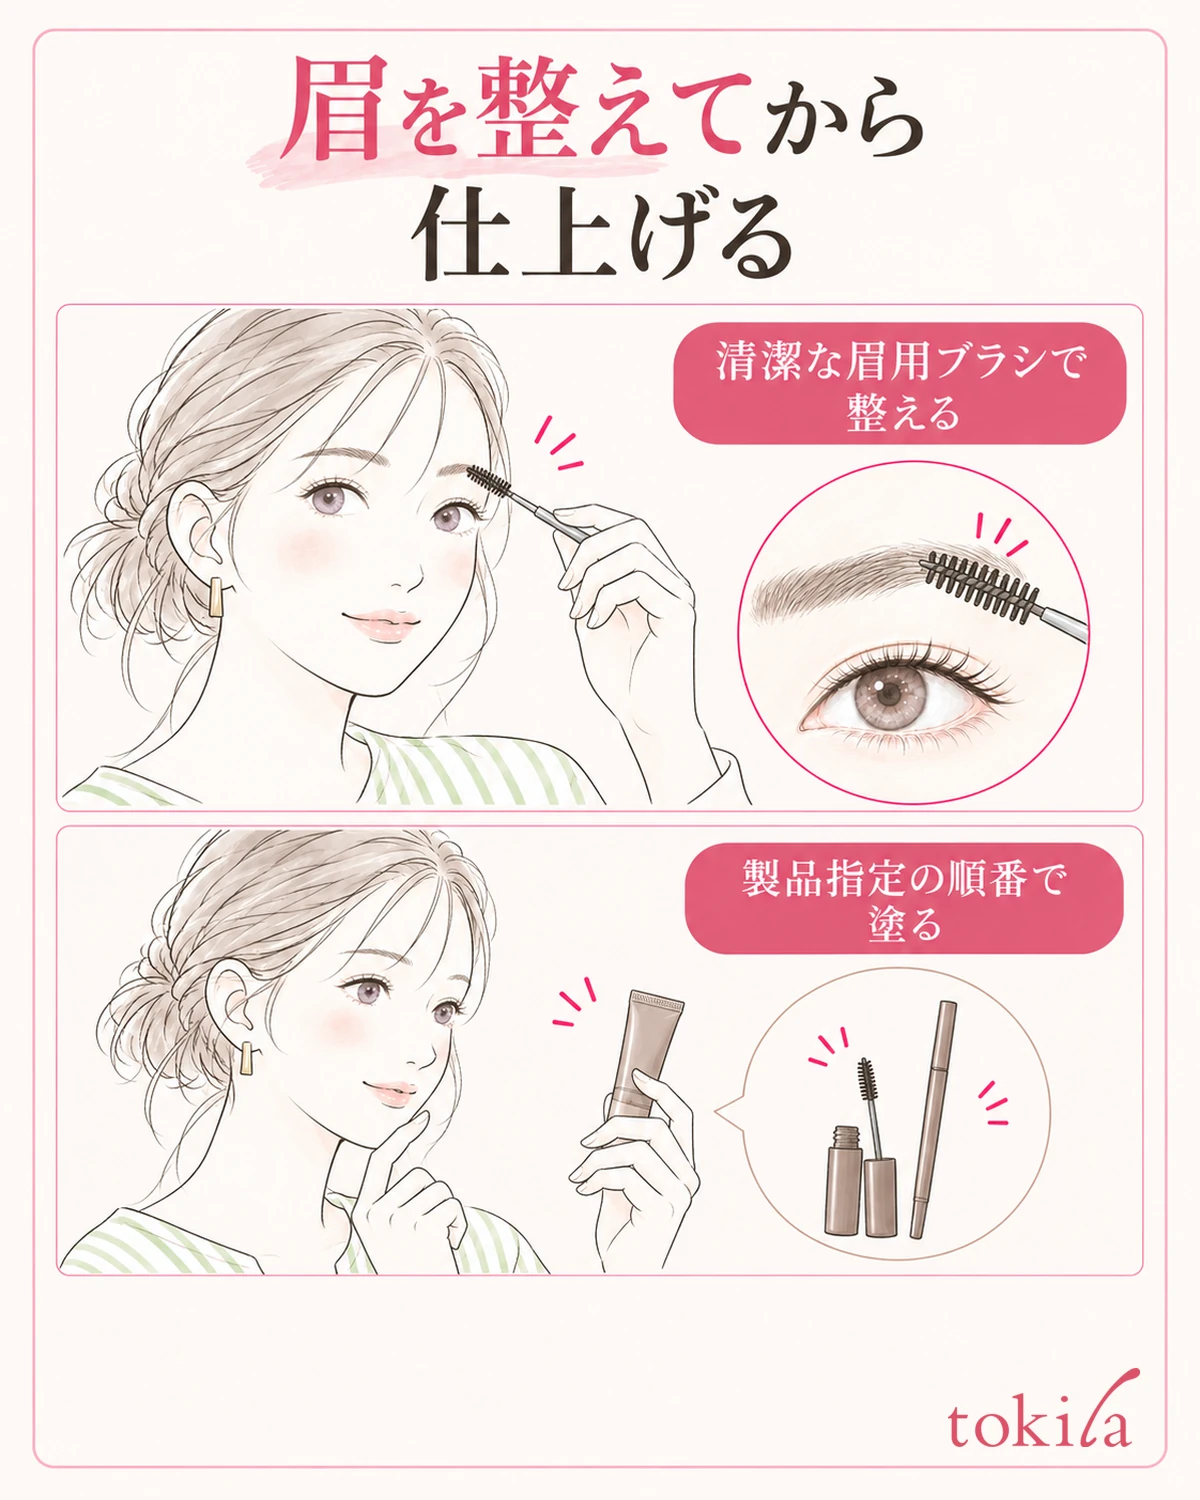
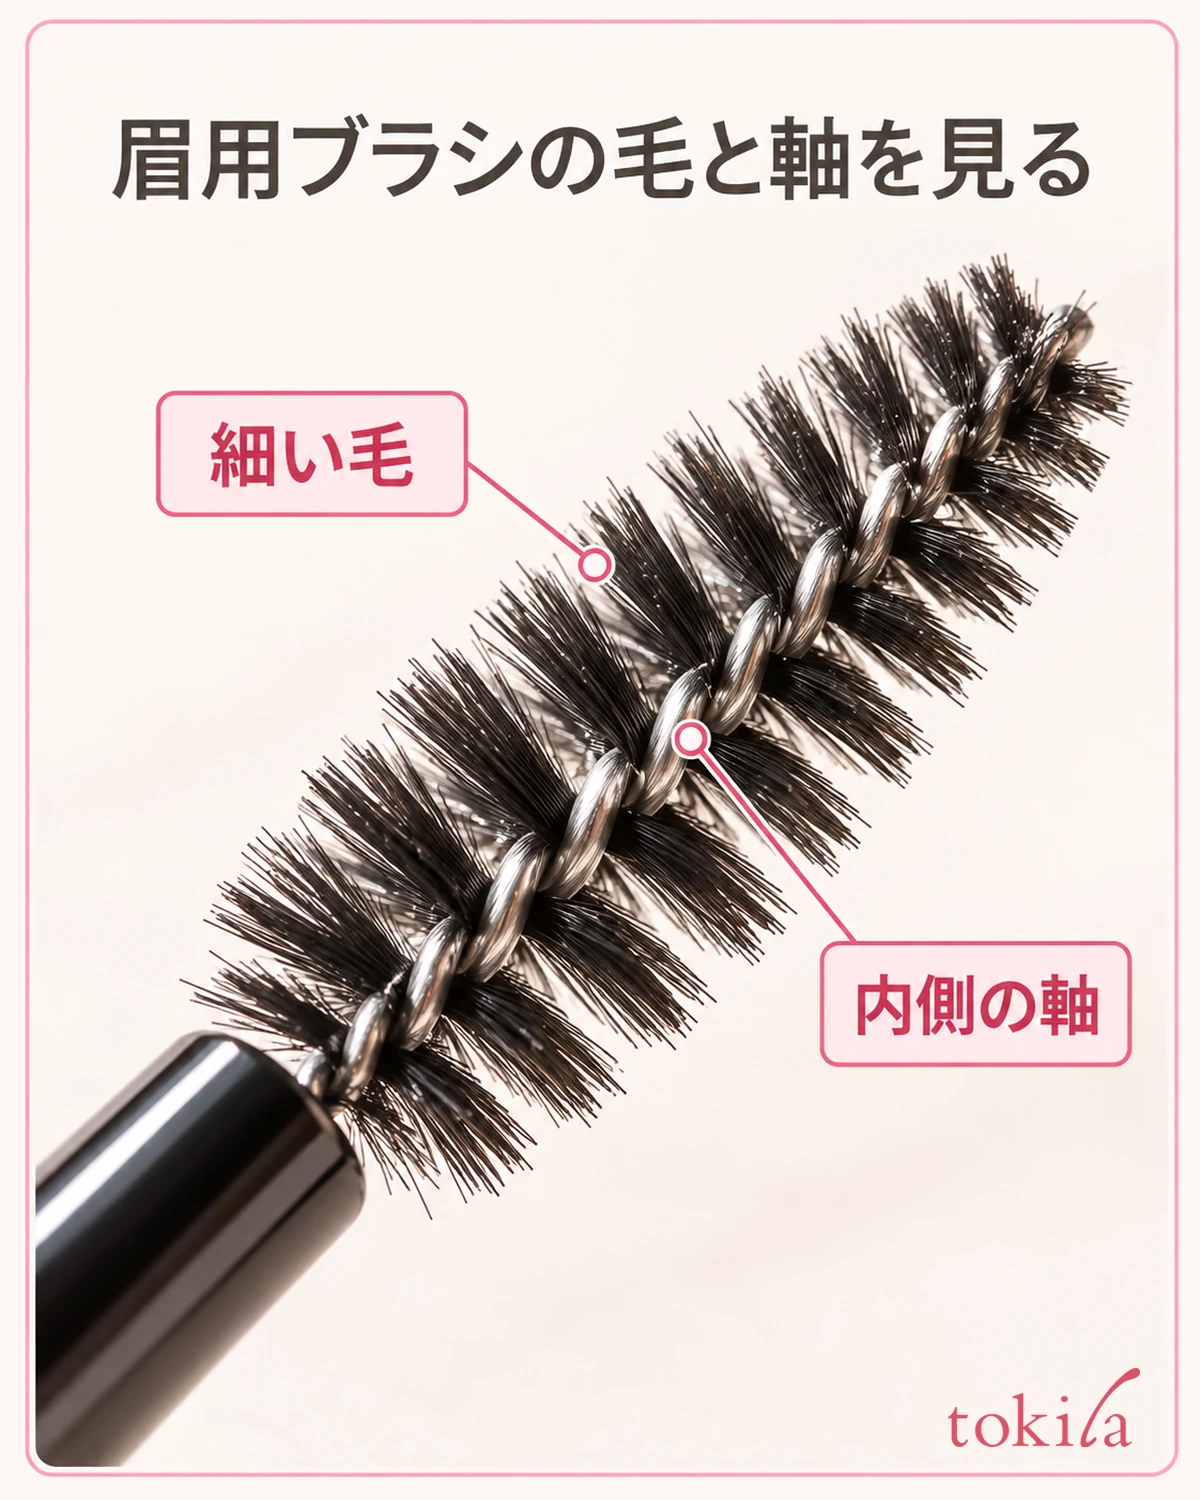
When you groom with nothing applied, prepare a clean brow brush. Do not use a tool that cannot pass through lightly, for example one with bent bristles or lumps of product left on it, and switch to one that has been cared for. There is no need to force the direction of brushing with enough force to pull on the hairs.
First look at the flow of the hairs and handle the inner end, the middle, and the tail in small sections. A finish that lifts the inner end slightly and a finish that settles the middle toward the tail are not at the same angle. Rather than lining up every section straight up, look for the shape you want within the range that moves naturally.
When using a product, check on the label the condition of your brows before applying and the order for combined use. For products that say to use them after a pencil or similar, add the color you need first and then finish. Do not read it as "it's clear, so it can go first or last."
Adjust the liquid on the brush as that product's instructions say. If it says to adjust at the rim of the container, remove the excess that way, and do not press the lump at the tip onto your brows. Do not make a common rule for every product, such as wiping the same number of times or removing it until the liquid is no longer visible.
Rather than repeating the same movement on both sides, put priority on seeing which way each hair is pointing. Even an angle that is easy to use at one inner end may have your hand hiding your face on the other side. When it becomes hard to see, take your hand and the brush away, adjust your grip so you can see the contact area in the mirror, and then resume.
When you touch your brows, catch the actual brow hairs with the bristled part of the brush. Do not press the handle or the tip into the skin; after each movement, lift it away once and look at the direction of the hair tips. If a direction of application or working time is indicated, follow that, and do not add reverse strokes or back-and-forth movements based only on the figures in this article.
4. Do not force the comb through hardened hairs, and decide whether to redo it
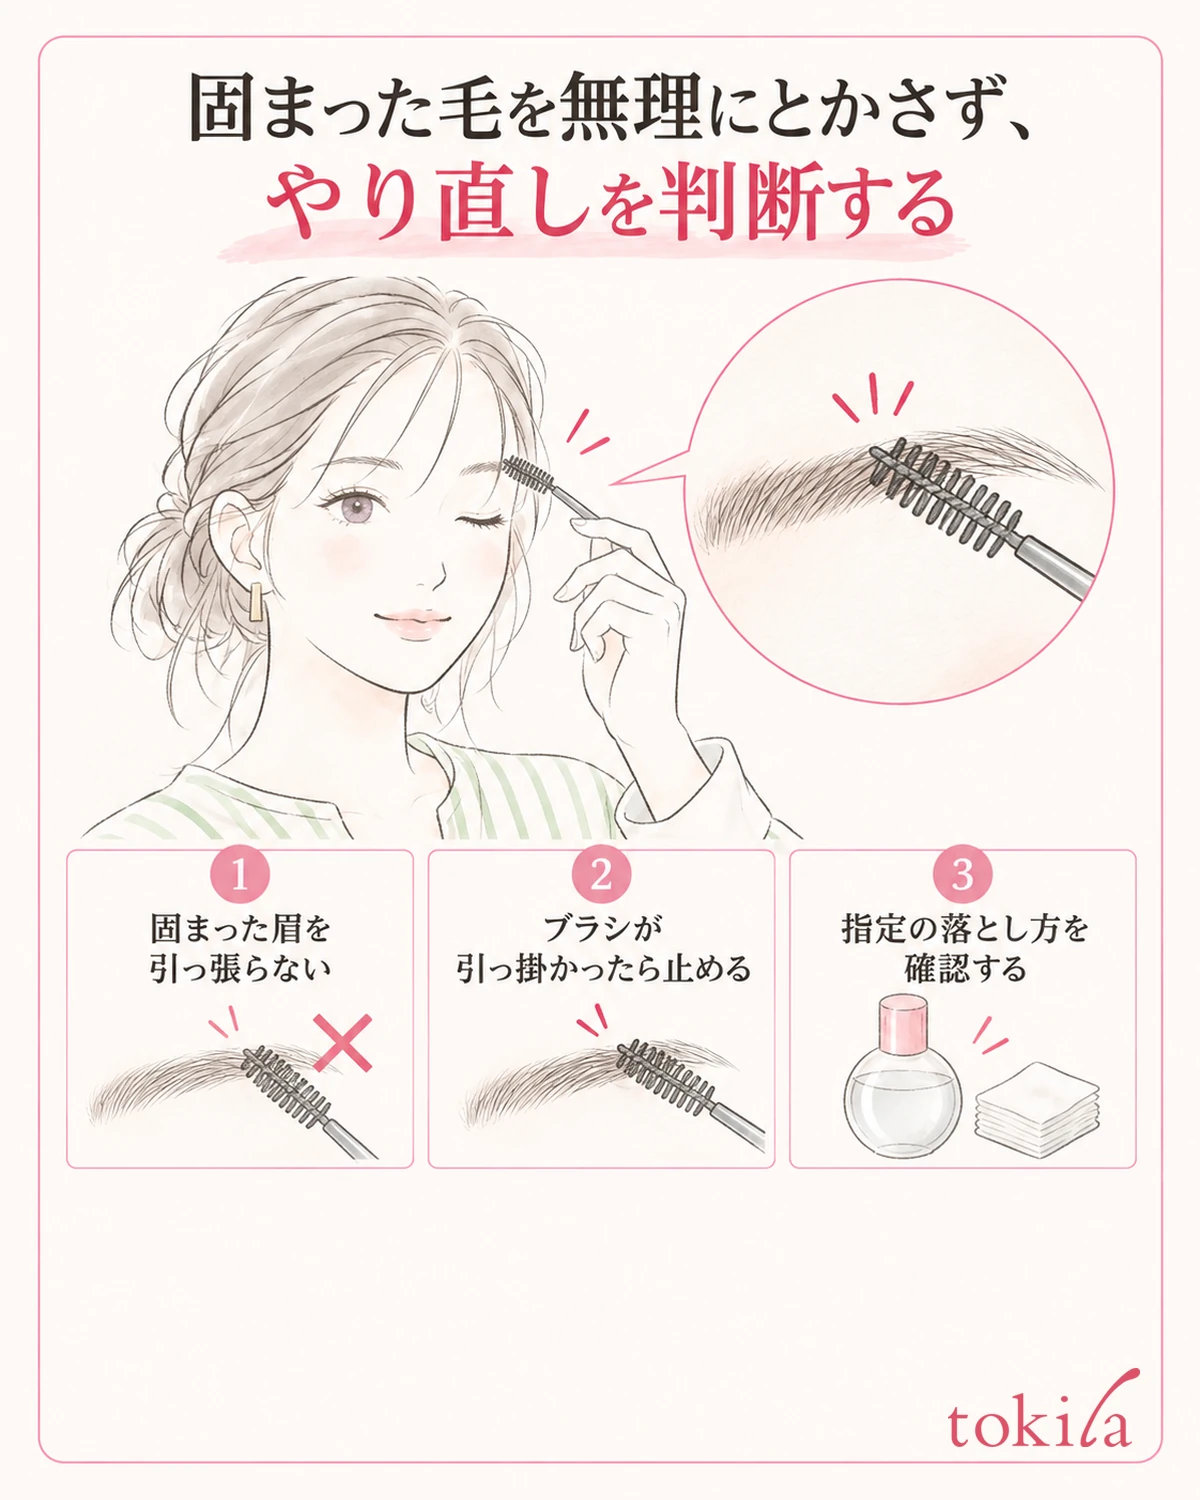
Even if the finished hairs seem to have gone back, do not add more liquid right away. Compare against the product's layering instructions whether the hairs are still workable or have already dried and held together. The point to check is not to continue the steps for shaping before drying into the time after it has dried.
If the brush snags on hardened hairs, or you feel a pull each time a clump moves, stop instead of trying to comb all the way through. Do not try to fix the shape by separating hairs with a fingernail or stretching them out between your fingers. Put interrupting an action that meets resistance ahead of returning to the direction you want.
Even if whitish residue or lumps bother you, avoid layering on top because you judge that the color or hold is insufficient. First put the brush down and check how to remove the product. Do not decide the cause from looks alone; if you are going to redo it, remove it by the specified method, and then groom your brows and the surrounding area again.
Even for a product that says it can be removed with warm water, there are conditions, such as that this applies only when it is used alone. It will not necessarily come off the same way if it covers the brow products or base makeup beneath. Choose the method you need, taking the combined products into account, and do not rub hard to strip it off.
After redoing it, also decide whether to finish again today. If your skin feels off, stop using it and do not cover it by layering. On a day when you are in a hurry, you can also choose to stop with a natural hair flow. You do not have to put up with irritation or snagging just to keep the hair flow.
5. Check the whole face, and decide on one step to try next time
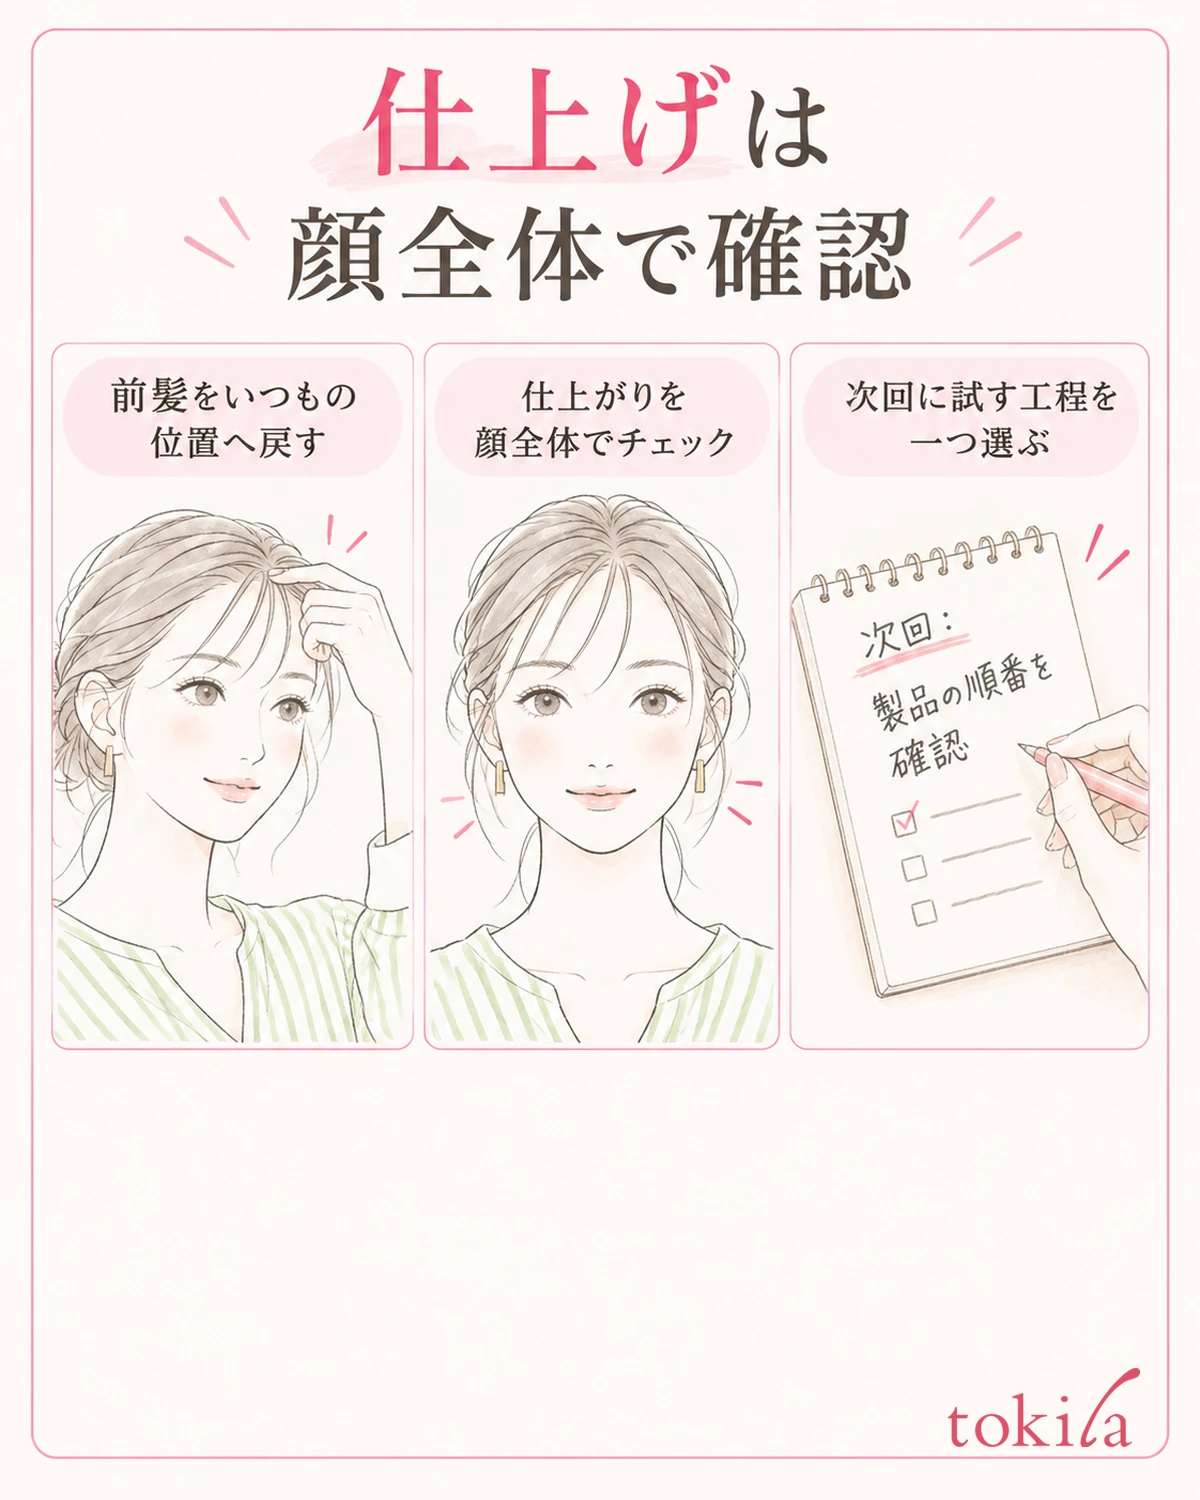
Finally, step back from the nearby mirror and look from a distance where both brows and your eyes fit in together. Even if one hair points a different way, it may look settled at your usual distance. Before you keep chasing the tips of the hairs, check whether the place that bothered you at the start no longer does.
Put your bangs back where they usually go and check the impression again after touching your brows. If the hairs get pushed when you let your hair down, do not try to handle it only by adding more product; also review the position of your bangs and how they make contact. You do not need to erase even the natural changes when you move your face.
If it goes back over time, record when you noticed, which section it was, and whether anything had touched it. A record such as "after going out, the inner end where my bangs touch lay flat," rather than "it was all bad from the morning," makes it easier to choose the next step to look at. This is not an experiment measuring how long it lasts, nor a determination of the cause.
If you want to keep the result, there is also a way to put the brush down and take a photo in the same light and with your face in the same direction. In a close-up photo look at the direction of the hairs, and in a photo from a little farther away look at the balance with your eyes. If comparing photos every time is itself a burden, a short note of the section that went back and the order you used things can still preserve where to check next.
What you try next time is a single step you found this time, such as going back to the order shown on the label, replacing the brush you use before applying, or keeping the direction of the finishing hairs modest. Do not change the product, the amount, and the direction all at once; leaving the conditions the same as before makes it easier to compare how easy it is to handle.
If you have shaped the hair flow but only a small change in color remains, treat that separately and go to the steps for reviewing how well brow mascara color shows up. When your brow hairs go back, the starting point is to see what moved, check the role and order of the products, and build a routine that finishes without strain.



