
You line up the nail polishes you own, yet can't remember which bottle was what color. In that case, a color chart that links the colors you painted to the names on the bottles makes it easier to find the next one you want to use. Before you start, decide on the swatch material, the surface to paint, and a record that lets you get back to the contents later.
This article explains how to prepare nail color swatches and put the colors you own in a state where you can look back at them. The steps for air-drying nail polish and for light-cured gel are kept separate, and you follow the specifications of each tool and each polish. Treat a swatch not as proof of identical color on your natural nail, but as a clue for choosing, and enjoy making it.
1. Decide what you want to look up colors for, and the shape of the swatch
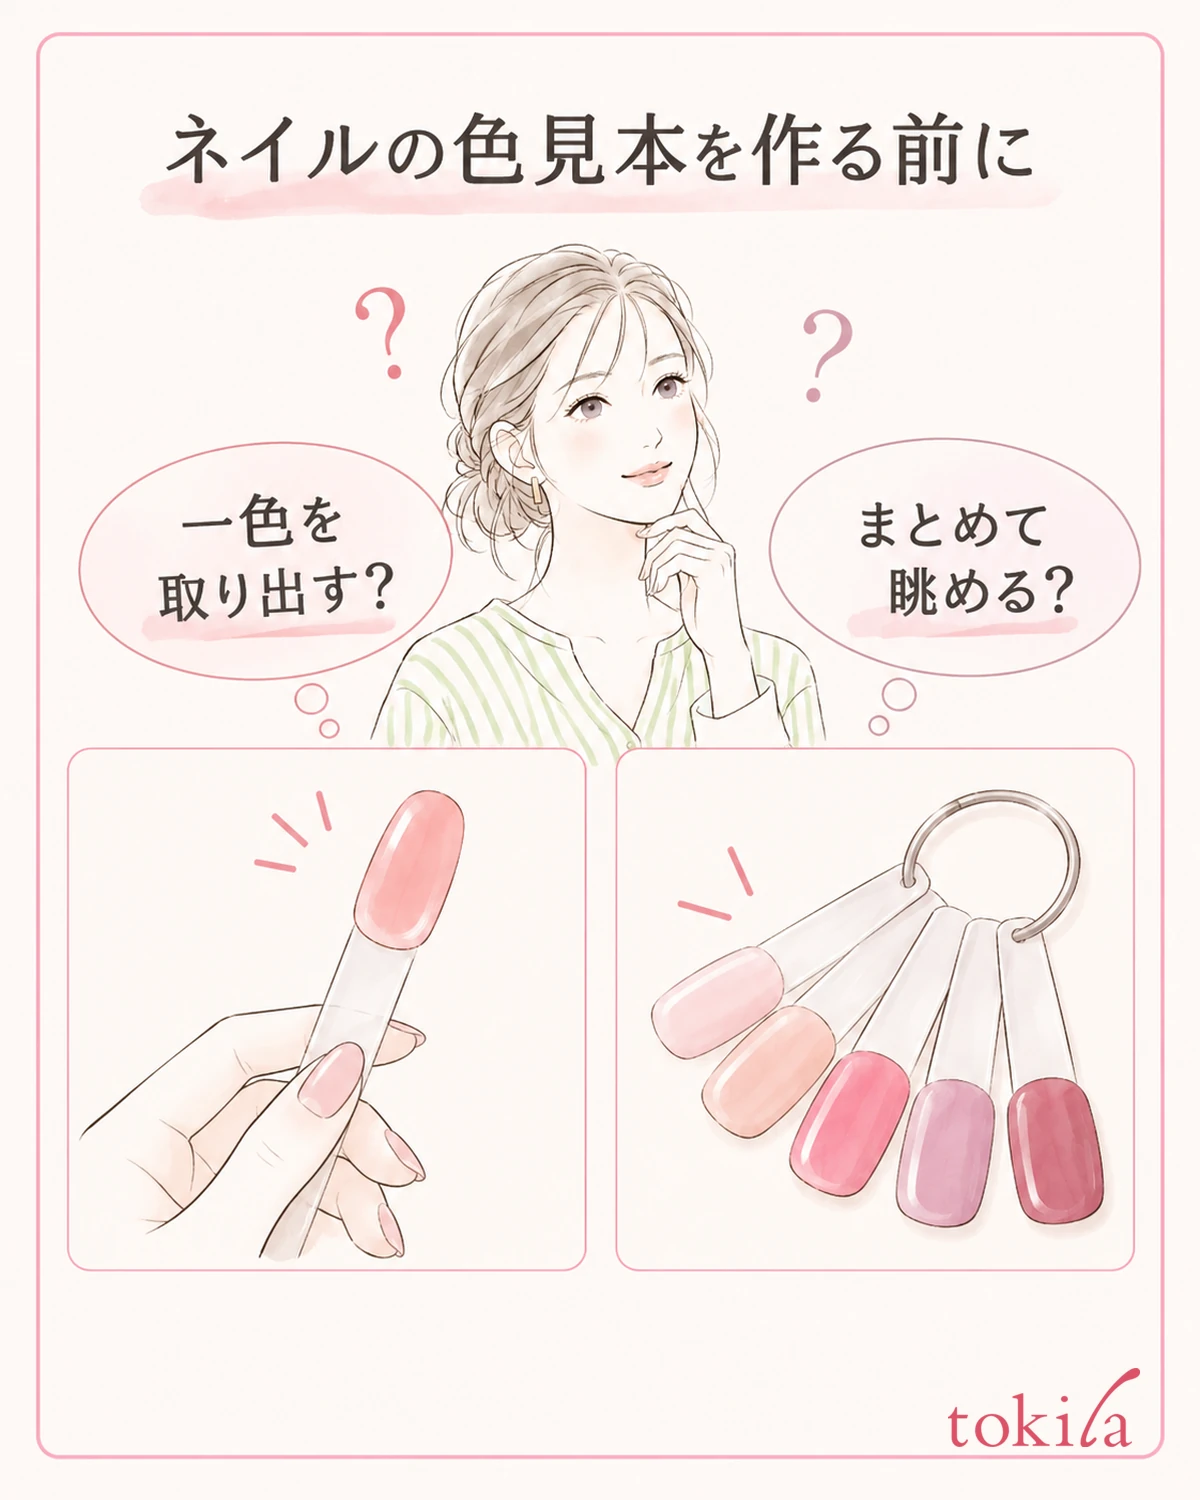
First, decide on one thing among what you own that you want to look back on. Do you want to compare similar pinks, find a color for your next design, or keep from forgetting the colors you bought? Rather than completing every color from the start, try the record format with a few colors you use often, and you can reduce the burden of rearranging midway.
Swatches include stick types that can be separated one by one, ones with several painting spots grouped together, and ones that fit onto a backing card. Choose candidates from how you will use them: a standalone form if you want to pull out one stick and hold it next to your clothes, a grouped form if you want to view everything at once.
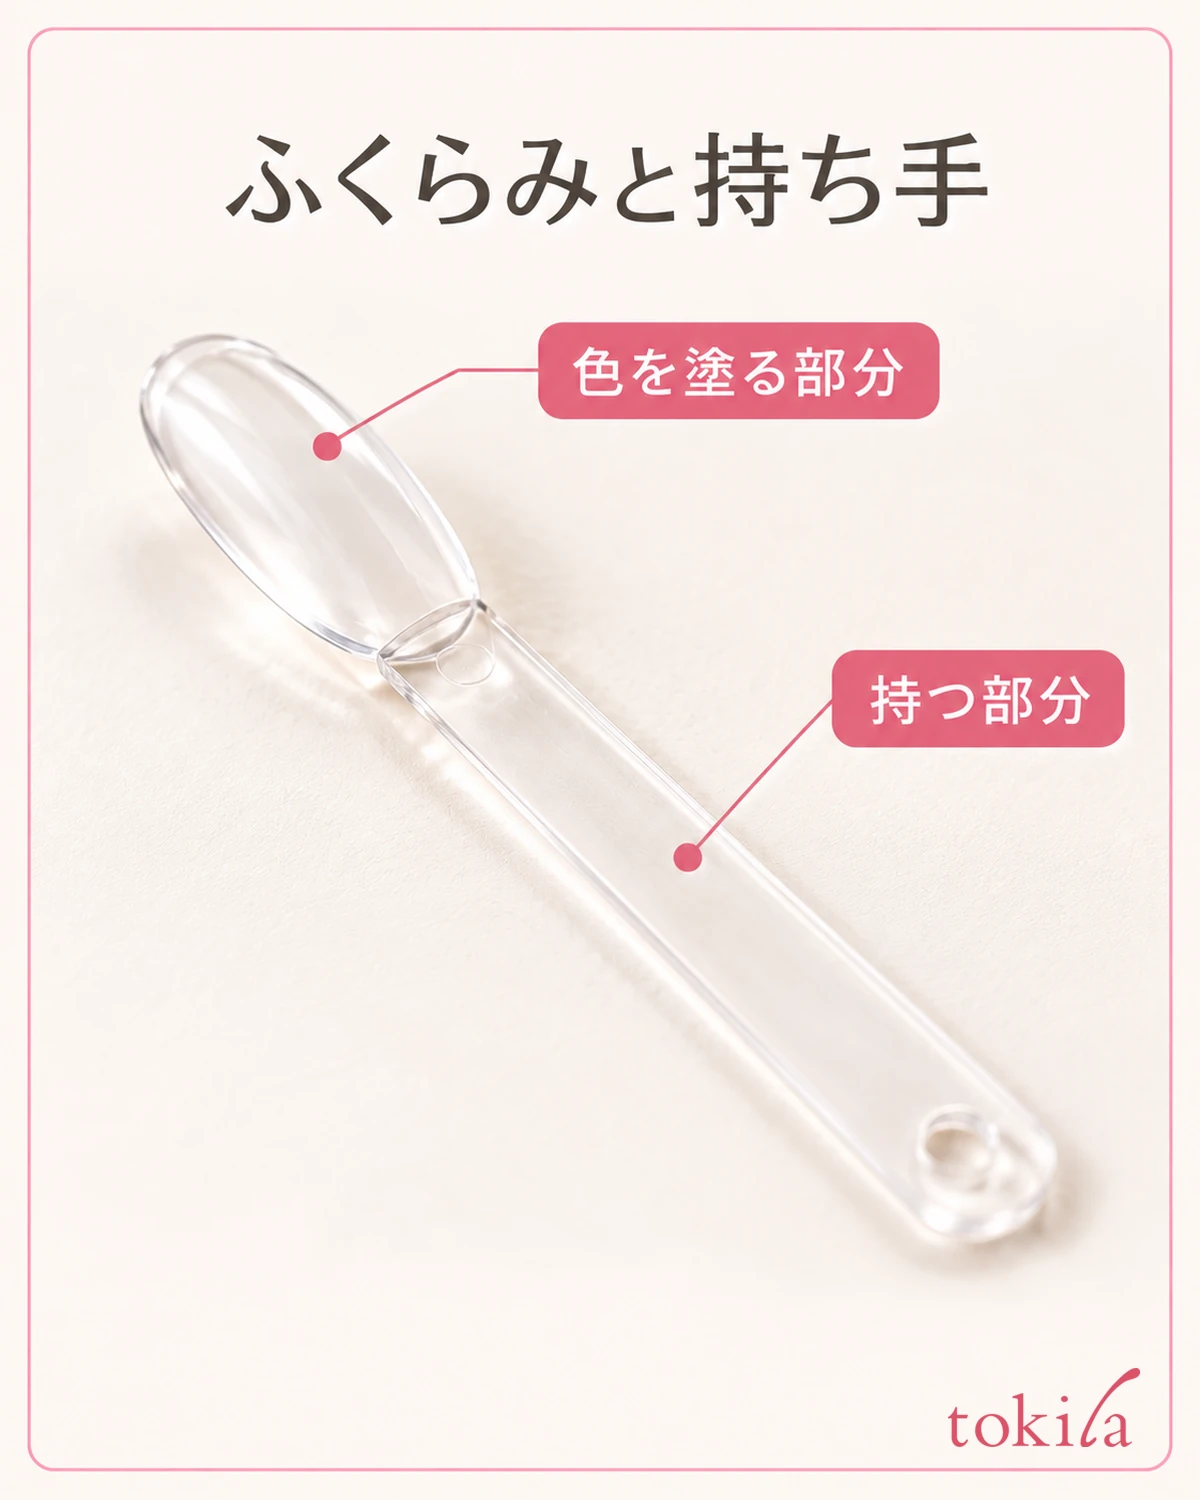
If you look at your swatch from the side, you can check the raised part where the color is painted separately from the flat part for holding. Set it down in an orientation where you can see the grip and the position of the hole, and think about where you will hold it later and where to put the number. You don't have to cram the painting area and the recording area onto the same surface.
Tools for swatches may serve a different purpose from nail tips that you attach to your own nails. Don't think of a tool for showing color as something to stick directly onto your nail. Check the purpose on the package or in the instructions, and handle swatches meant not to touch skin by holding the grip.
Look at the storage size first, too. Check whether you can set the finished color surfaces down without pressing them against each other, and whether the length of the sticks fits in the box. Rather than folding them or punching holes after the number of colors grows, choosing a form you can handle with the tool's built-in way of grouping makes planning easier.
If all you want is a record of colors, you don't need to add detailed art to your first swatch. Separating swatches for finding colors from swatches for keeping designs makes the role you ask of each tool clear. You can also start by simply completing the record of one color today.
2. Follow the swatch's specifications for the material and the surface to paint

Next, check whether the swatch material works with the polish you own. Don't assume that because it is clear it can be used with any gel, or that because it is plastic you can wipe it repeatedly with remover. Keep a record of the compatible polishes, pretreatment, the surface to use, and whether it can be cleaned, together with the package or instructions from when you bought it.
Besides types you paint on the front, some tools are specified to be painted on the back so the color is viewed from the front. Don't decide the painting surface from the rounded look alone; check the diagrams and text of the instructions against the actual item. It matters not to extend a back-side painting instruction to all the sticks you own.
Once you know where to paint, check the boundary with where you hold it. Support it at a spot where your fingers don't touch the colored surface during work, and separate where you set unpainted swatches from where you set them after drying or curing. Rather than searching for the package while holding the brush, take out just one piece first and set up your work surface.
Clear and milky white swatches differ in the color that shows beneath. If you want to compare how the colors turn out under the same conditions, match the shape and material as much as possible. If different types are already mixed, don't rush to redo them; note things like "clear" or "white base" in the record so that you don't read the difference as being only about color.
Pretreatment is not uniform either. Don't replace it with a common procedure such as buffing every swatch or always applying a base coat; follow the instructions that correspond to the tool and the polish. There is no need to thin out a material that has no buffing instruction just to bring out the color.
If you don't know the painting surface or the compatible materials, set that swatch aside for now. Rather than applying the instructions of another tool, start with one whose use you can confirm. Until the swatch preparation is complete, don't make test-painting the liquid on your nails or skin part of the process.
3. Separate drying from curing, and keep a record of the conditions you painted with
First separate whether the color you are using air-dries or is cured with a compatible light. Even similar-looking bottles do not always follow the same process. Don't skip steps on the grounds that a short time is fine because it is only a swatch, or that any light will do; prepare following the guidance for the polish and the tool.
When painting, apply one color at a time, supporting the grip and painting the specified surface. The number of coats and how a single layer is handled should follow the product you own. Rather than laying it on thickly from the start to make the swatch look deeper, go through the drying or curing that is specified and check that it is ready for the next step.
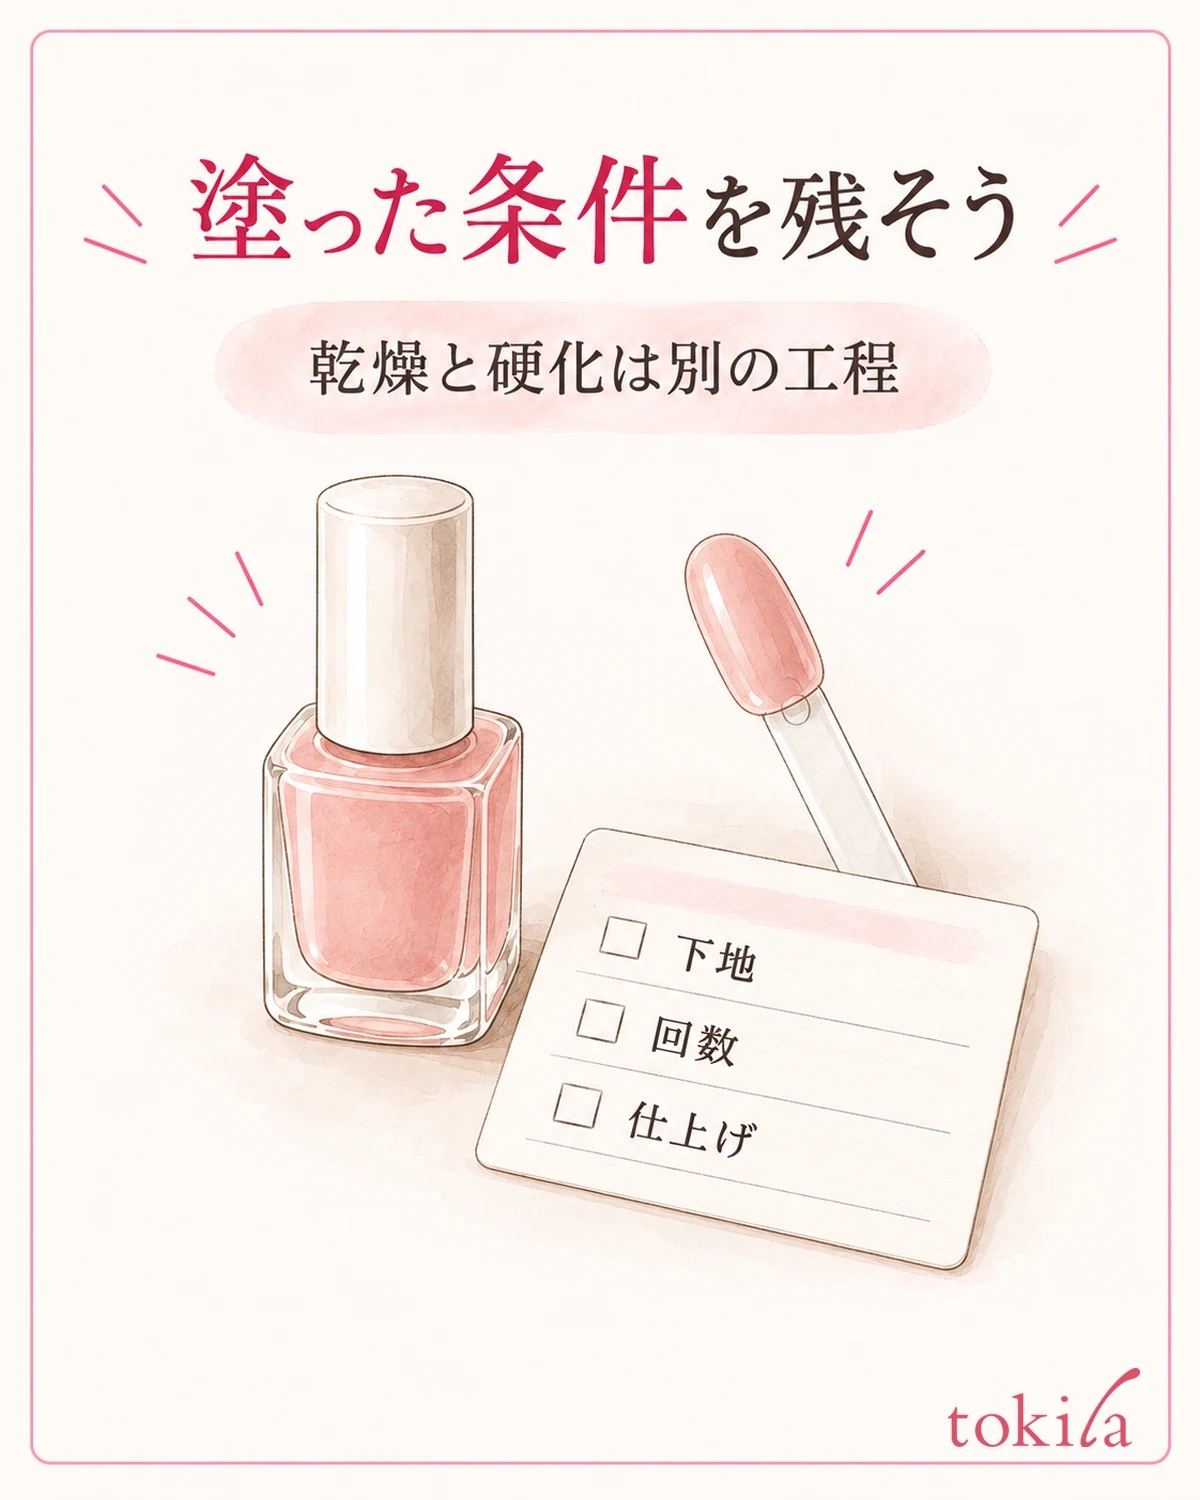
In the record, note whether there is a base, how many coats of color you layered, and what you used for the finish. For a swatch painted twice, be specific, like "color, two coats," to distinguish it from a one-coat swatch. Some tools are specified for use without a top coat, so you need not add the same finishing product to all of them.
The curing time and light conditions for gel are not numbers common to all products. Rather than judging curing by the look of the surface alone or continuing to check by touching it with a finger, check the instructions for the materials you are using. Keep uncured liquid off your skin, and think of how to handle the tools after work as part of the same set.
For a swatch that develops streaks or bubbles partway, don't keep layering until you hide that state. If it is hard to use for the purpose of looking back at colors, put it away in the specified way and decide whether to start over with a new swatch. Scrubbing with solvent until the material turns cloudy is not a common fix.
If you want to sort out the difference between the bottle and the painted color in detail, see checking nail polish color against the base and light. For a color chart, separating making the swatch look nice from keeping conditions you can reproduce makes it easier to read back later.
4. Link the number to the swatch and the bottle
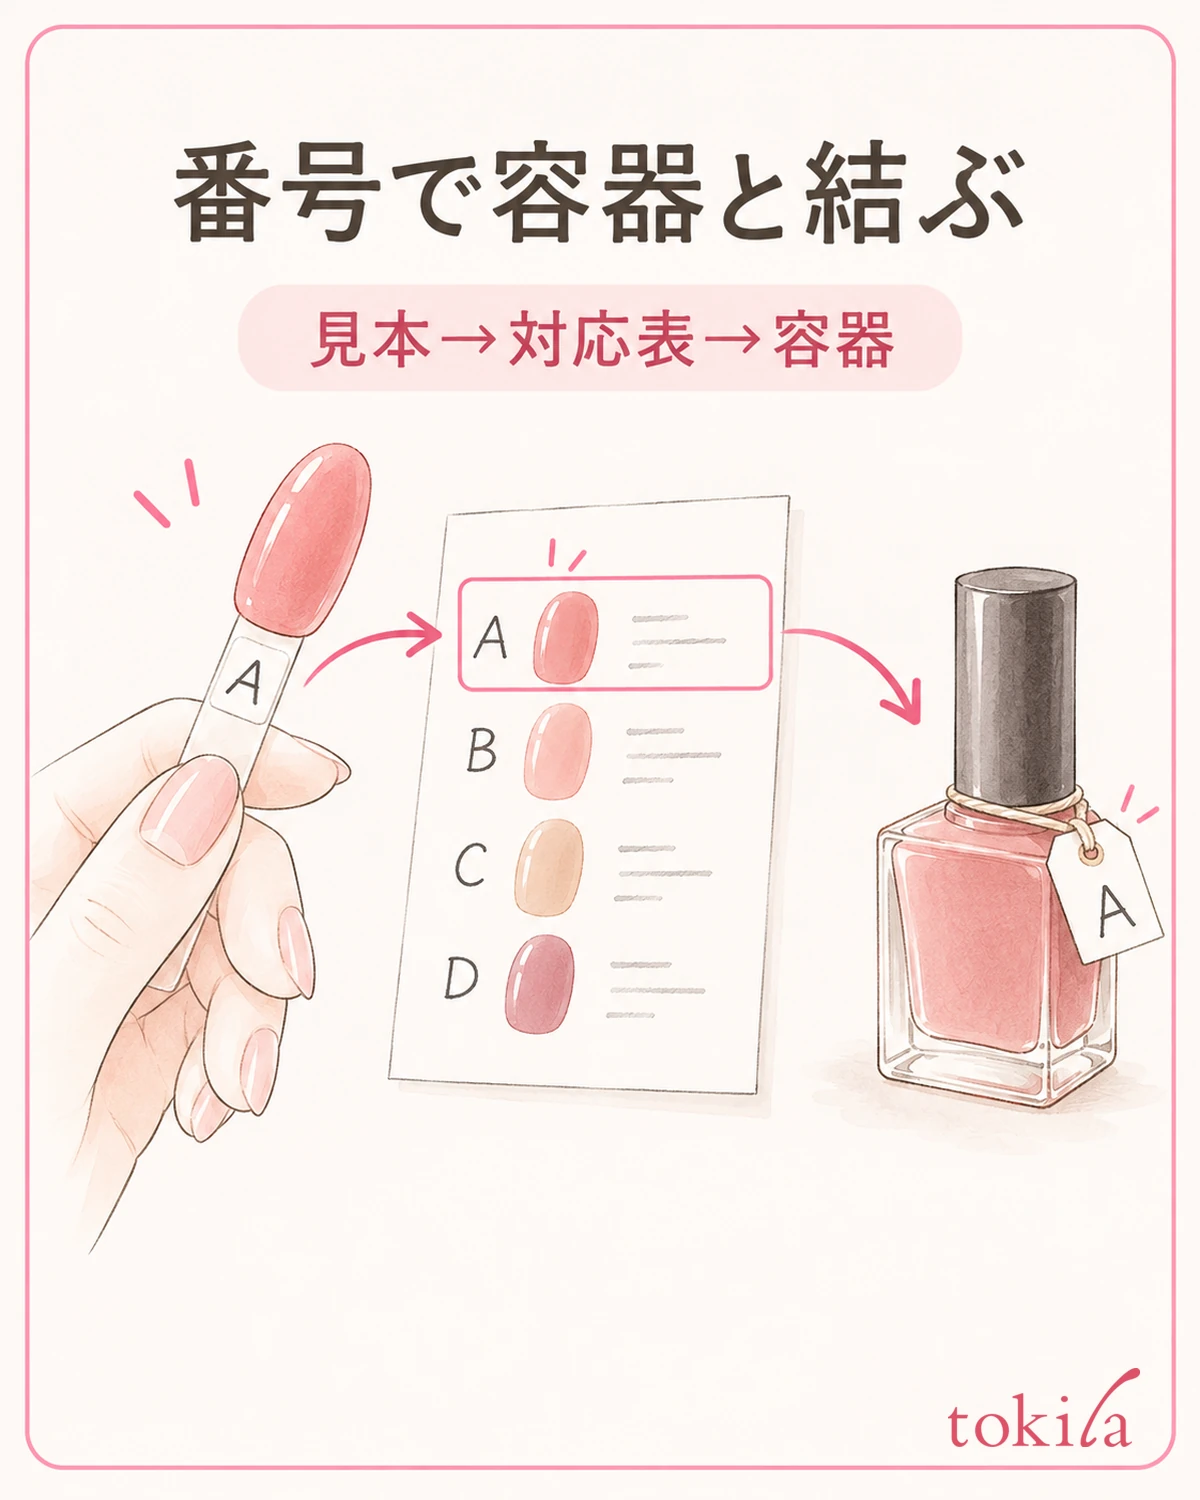
Once the colored surface is done, add a record that tells you which bottle's contents it is. If the product name or color number is small, you can also prepare your own control number and link the swatch to a reference table. For similar colors that you feel sure you will remember, check each pair before painting.
When using number stickers or writing spaces, place them where they don't cover the color, such as on the swatch's grip. If you also label the bottle, choose a spot that doesn't hide the product name, color number, or usage instructions. Instead of a way of sticking labels that makes needed information unreadable, you can choose to record the number in a separate reference sheet.
Check closely that the label on the grip and the colored surface are separate. If a number is lifting at the edge, overlaps the neighboring swatch, or runs onto the painted color, reconsider the position or the size of the label. Even after lining the swatches up, it matters that you can get back from one color to its number.
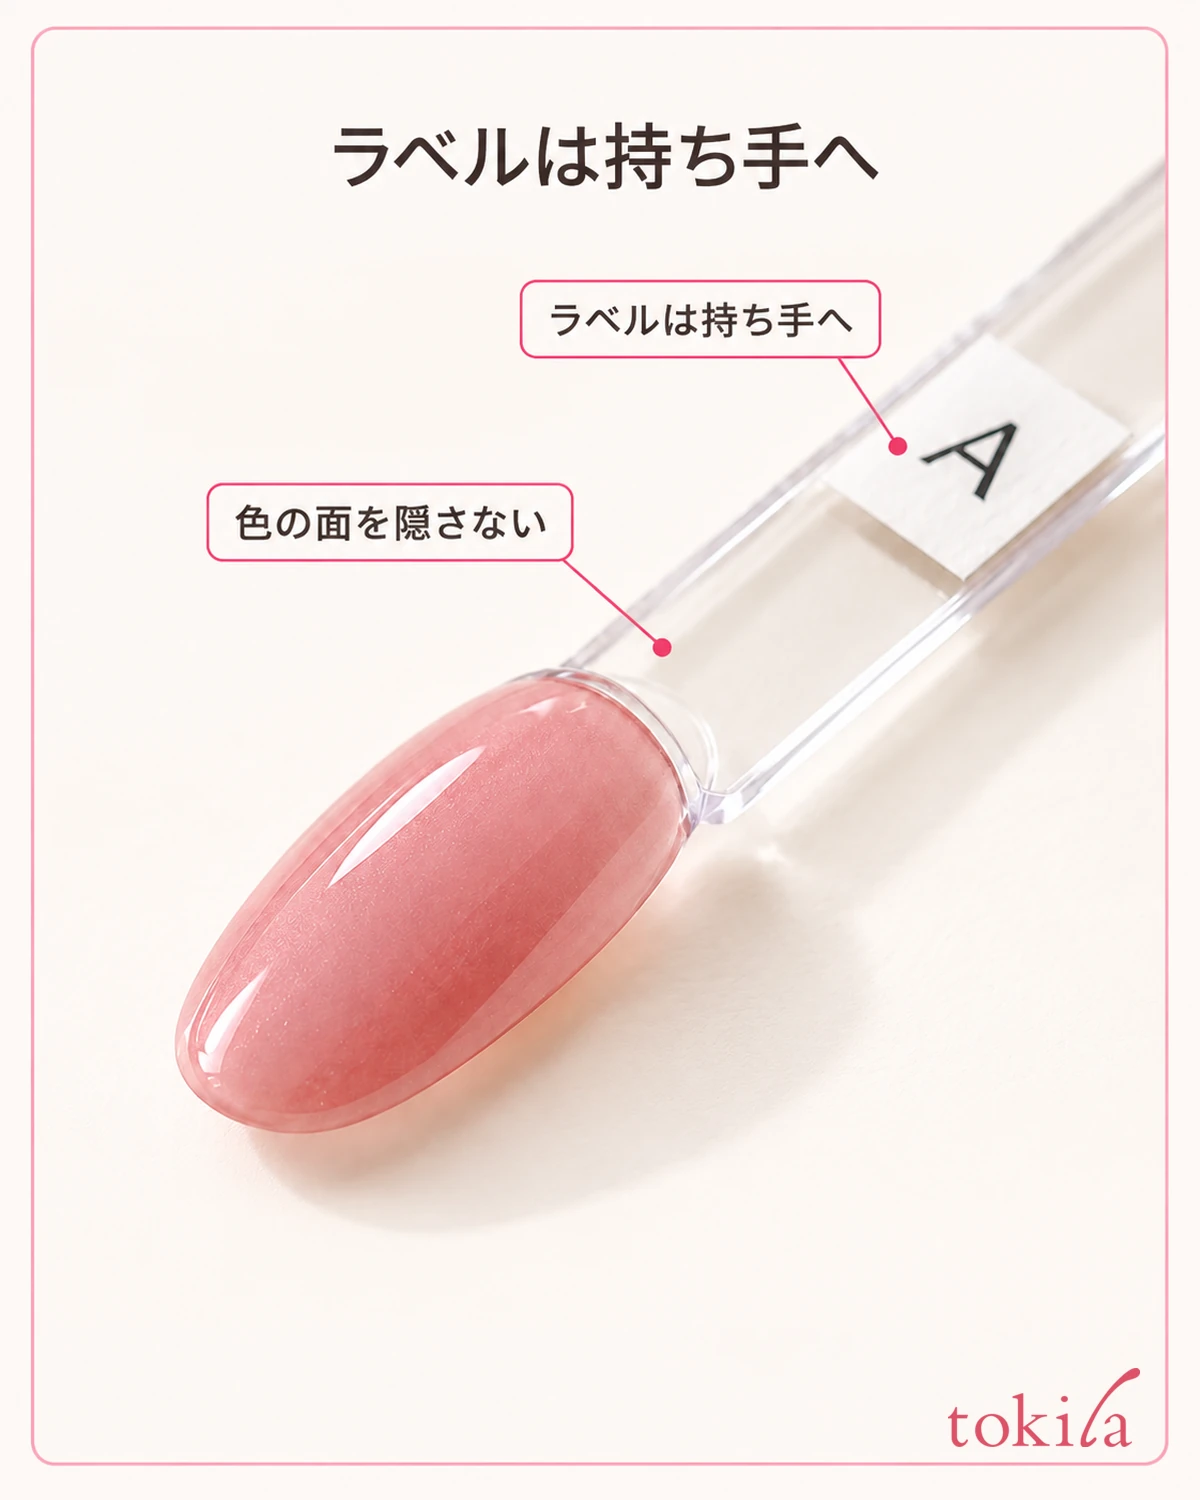
In the reference table, list the control number, the name and color number of the item you own, the date the swatch was made, and the conditions you painted with. The date is not your own rule for judging an expiration; it is a record to distinguish when the swatch's conditions were made. Check separately in the product's own guidance for how long it can be stored or used.
When making similar colors one after another, don't increase only the swatches first and fit names to them afterward. Paint one color, record the correspondence, then move on to the next bottle. If you lose track partway, don't decide by how similar they look; set them aside as unconfirmed.
A control number is fine as long as you can read it back yourself. Don't give it the same meaning as the color number of a commercial product, and keep it distinct as "your own number." When you change the painting conditions for a swatch, rather than overwriting the earlier one and forgetting it, add a date or a branch number so you can look back at the difference.
5. Pull out a single color to look at it, and decide where to put it back
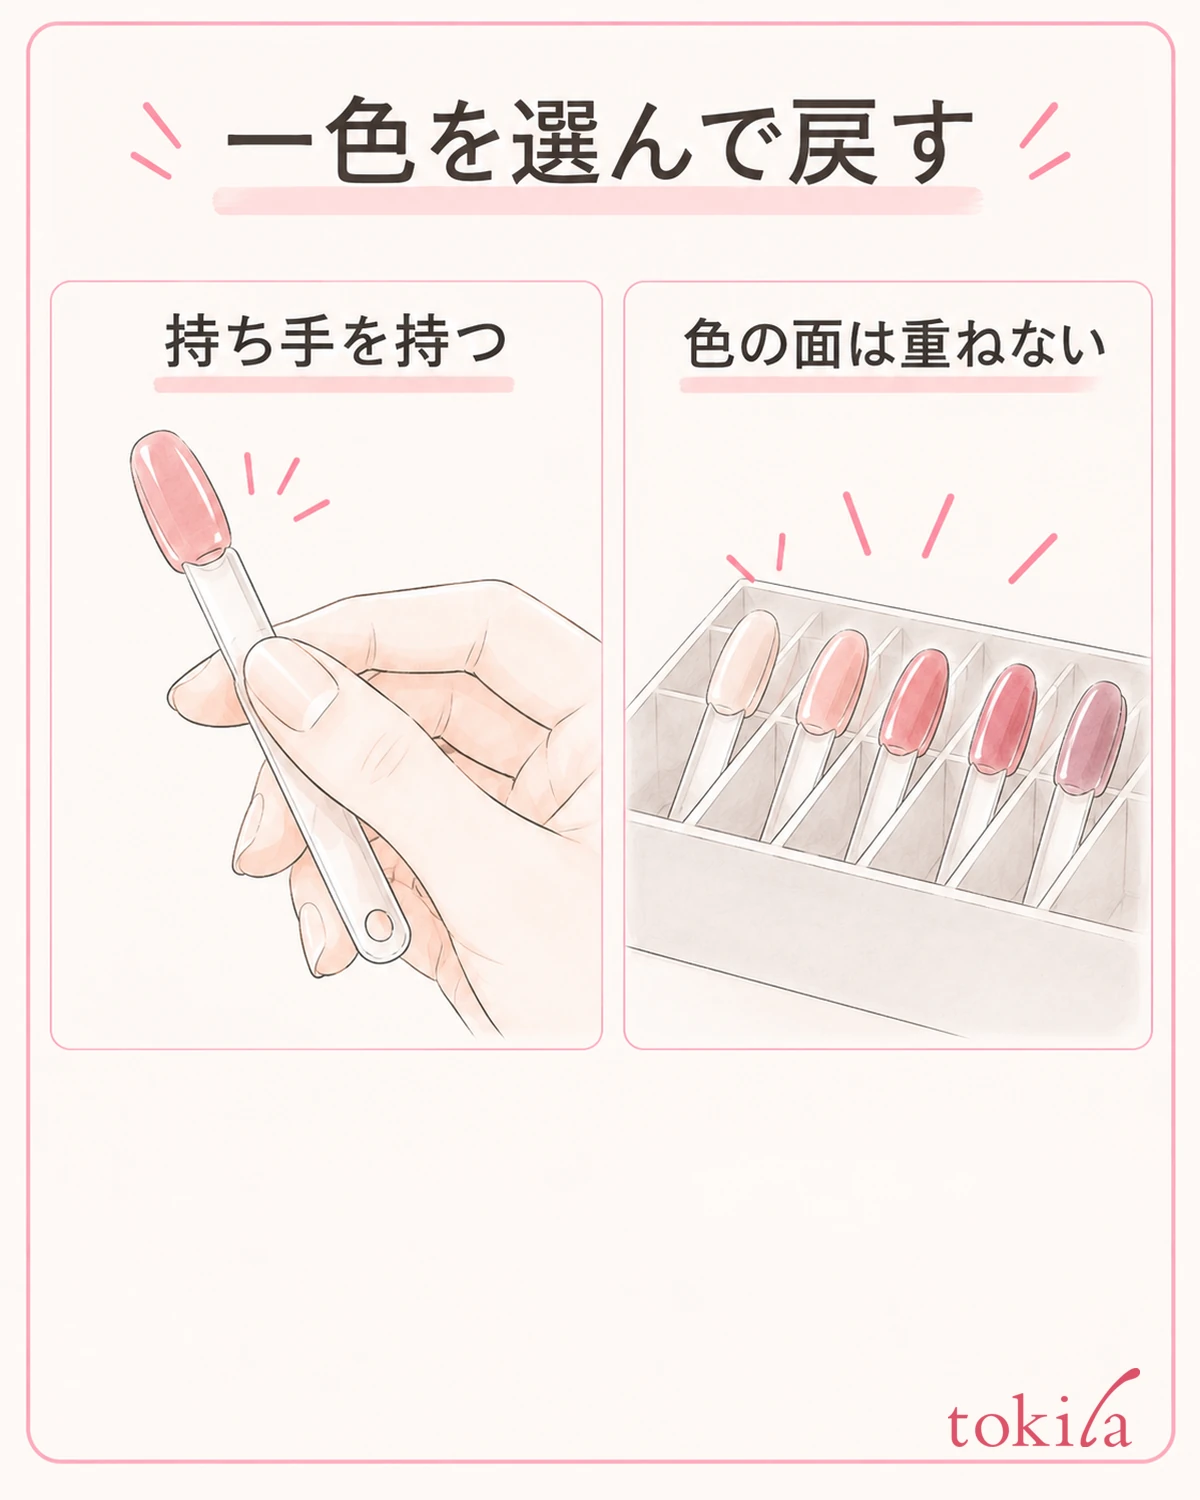
First line up the finished swatches under light in the same place. When comparing similar colors, match the material, orientation, and background as much as possible. If strong reflection hides the center of a color, change the angle slightly and look at the painted color and the white glare separately.
Whether to arrange them by color or by how often you use them can be chosen for ease of finding. If you want to add new colors midway, it is convenient not to make the numbers depend on the order. Even if the order changes, as long as the pairs of numbers and the reference table are kept, you can get back to the bottle.
When choosing candidates to match with clothes or accessories, look at one color apart from the other swatches. Don't press a swatch against your skin; support it by the grip. Use it as an aid for finding colors, and don't assume that the sheerness, natural nail, and curvature will be the same when actually painted on your nails.
When you are finished, put things back following the storage conditions of each tool and polish. Don't stack surfaces that haven't finished drying or curing, and choose an arrangement in which the colored surfaces are less likely to rub. Not continuing to use a swatch that has scratched or changed as a color reference from when it was made is also a point to review.
If you keep photos, take them in an orientation where the number is readable and use them as an aid for finding the actual item. Because screen correction and brightness change how colors look, you don't need to decide subtle color differences from a photo alone. Once you have candidates, return to the actual bottle and its instructions for the next use.
The knack for keeping up swatch-making is, before increasing the number, to pick the one color that caught your eye and check that you can get back to the original bottle. Once colors and conditions are connected in the record, it becomes a small tool for thinking about your next nails. Little by little, grow it into a set that is easy for you to look back at, to match the designs you want to make.



