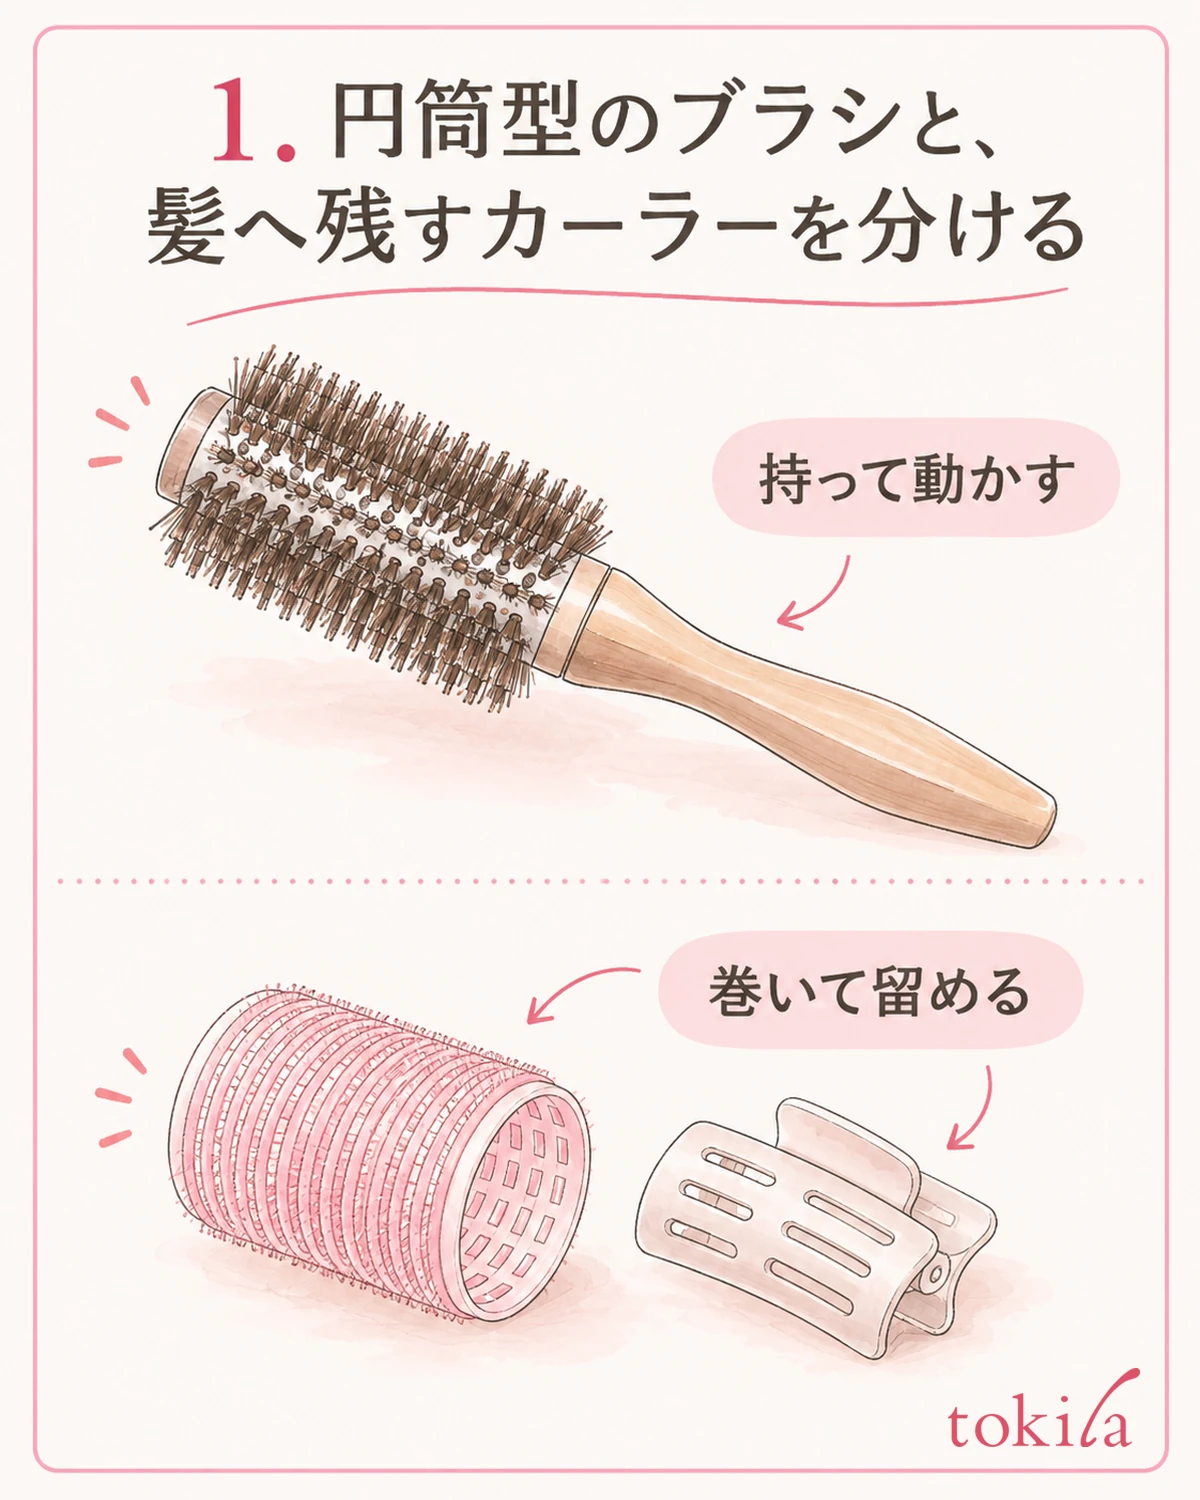
Have you bought a silicone nail mat but found yourself wondering which side faces up, whether you can put gel directly on it, or what to use to clean it? Even flexible mats differ in the materials they accommodate and how they should be put away. Start by avoiding the assumption that the material name alone means solvents and curing lamps are both suitable.
First, check your mat's intended use and compatible materials. Lay it empty on the table and look at its edges and where your tools will go. This article divides preparation and cleanup into five stages. Before trying new materials, take small steps by arranging the tools you already have.
First, distinguish its use as a work surface from the materials it accommodates
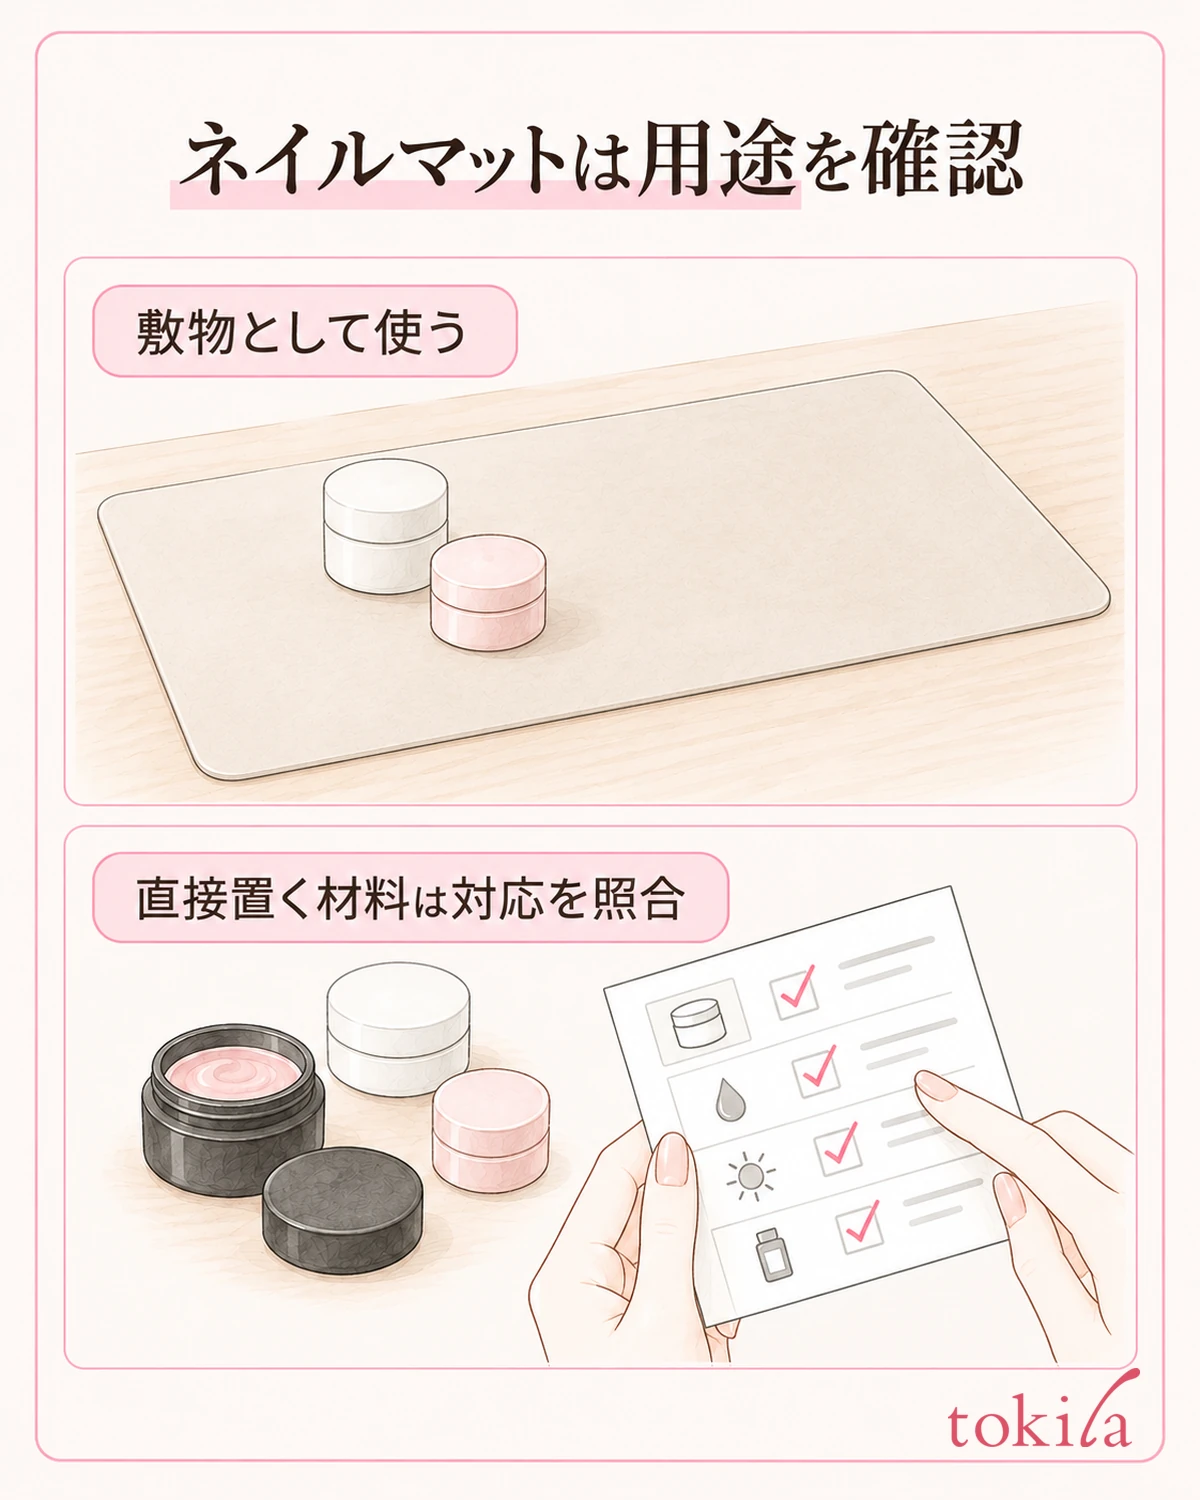
Products called silicone mats include work mats laid on a table and mats specifically intended to hold materials. Read the intended-use section on the packaging first, distinguishing protection of the work surface from direct placement of materials. Instructions for applying gel to nails alone do not establish that you can dispense it onto the mat.
Instead of opening every gel, polish, and remover you plan to use at once, note their product names and compare them with the compatibility information. Even a description such as "solvent-resistant" should not be expanded to mean that every liquid can remain on it for a long time. If you cannot find the specified types or contact times, put direct application on hold.
If the instructions call for a separate sheet or palette on the mat, prepare that combination. Do not substitute the mat itself for a palette. Conditions for home practice and examinations may also differ, so check instructions appropriate to the setting. Avoid filling gaps in your equipment with a different material.
Recording what you have checked under three headings—"use as a work surface," "materials permitted to touch it directly," and "care instructions"—makes it easier to review later. Leave unknown fields blank and limit the task to what you can confirm. Even deciding to arrange tools only today moves preparation forward. When you change materials, check compatibility again, even with the same mat.
Similar colors or thicknesses do not make another product's instructions transferable. It is also important not to carry the washing or storage methods for your previous mat straight over to a new one. Keep the purchase bag and instructions somewhere accessible together with the material information. Retain them so that next time you can tell which product the instructions belong to.
Lay the mat empty and inspect the working side and all four edges
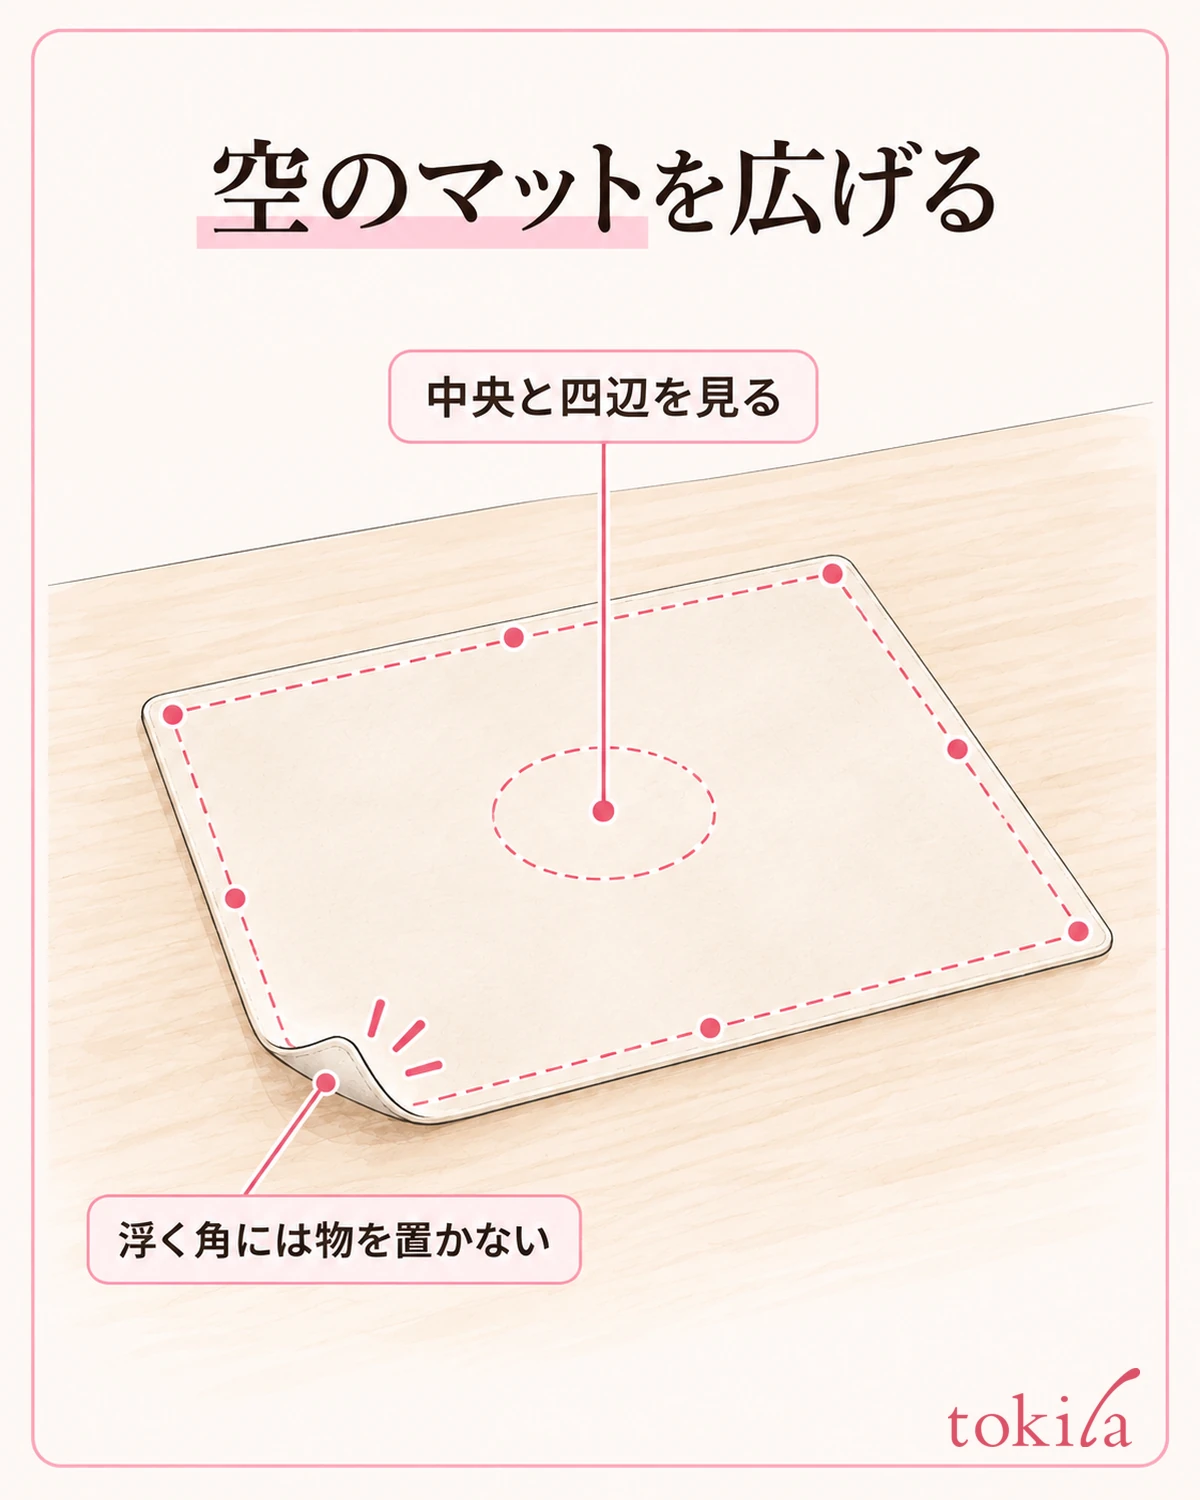
Remove moisture and dirt from the table before spreading out the empty mat. Follow any instructions specifying a front and back; do not choose the working side by pattern or shine alone. Even if no difference between the sides is explained, observe its condition as a work surface first, rather than putting material on one side to test it.
Look beyond the center to all four edges and corners. Check for curling edges, tears, chips, and a sticky surface. Avoid stretching small damaged areas or trimming them with a blade to inspect them. If damage concerns you, do not dispense materials; check whether it is still in a condition suitable for use.
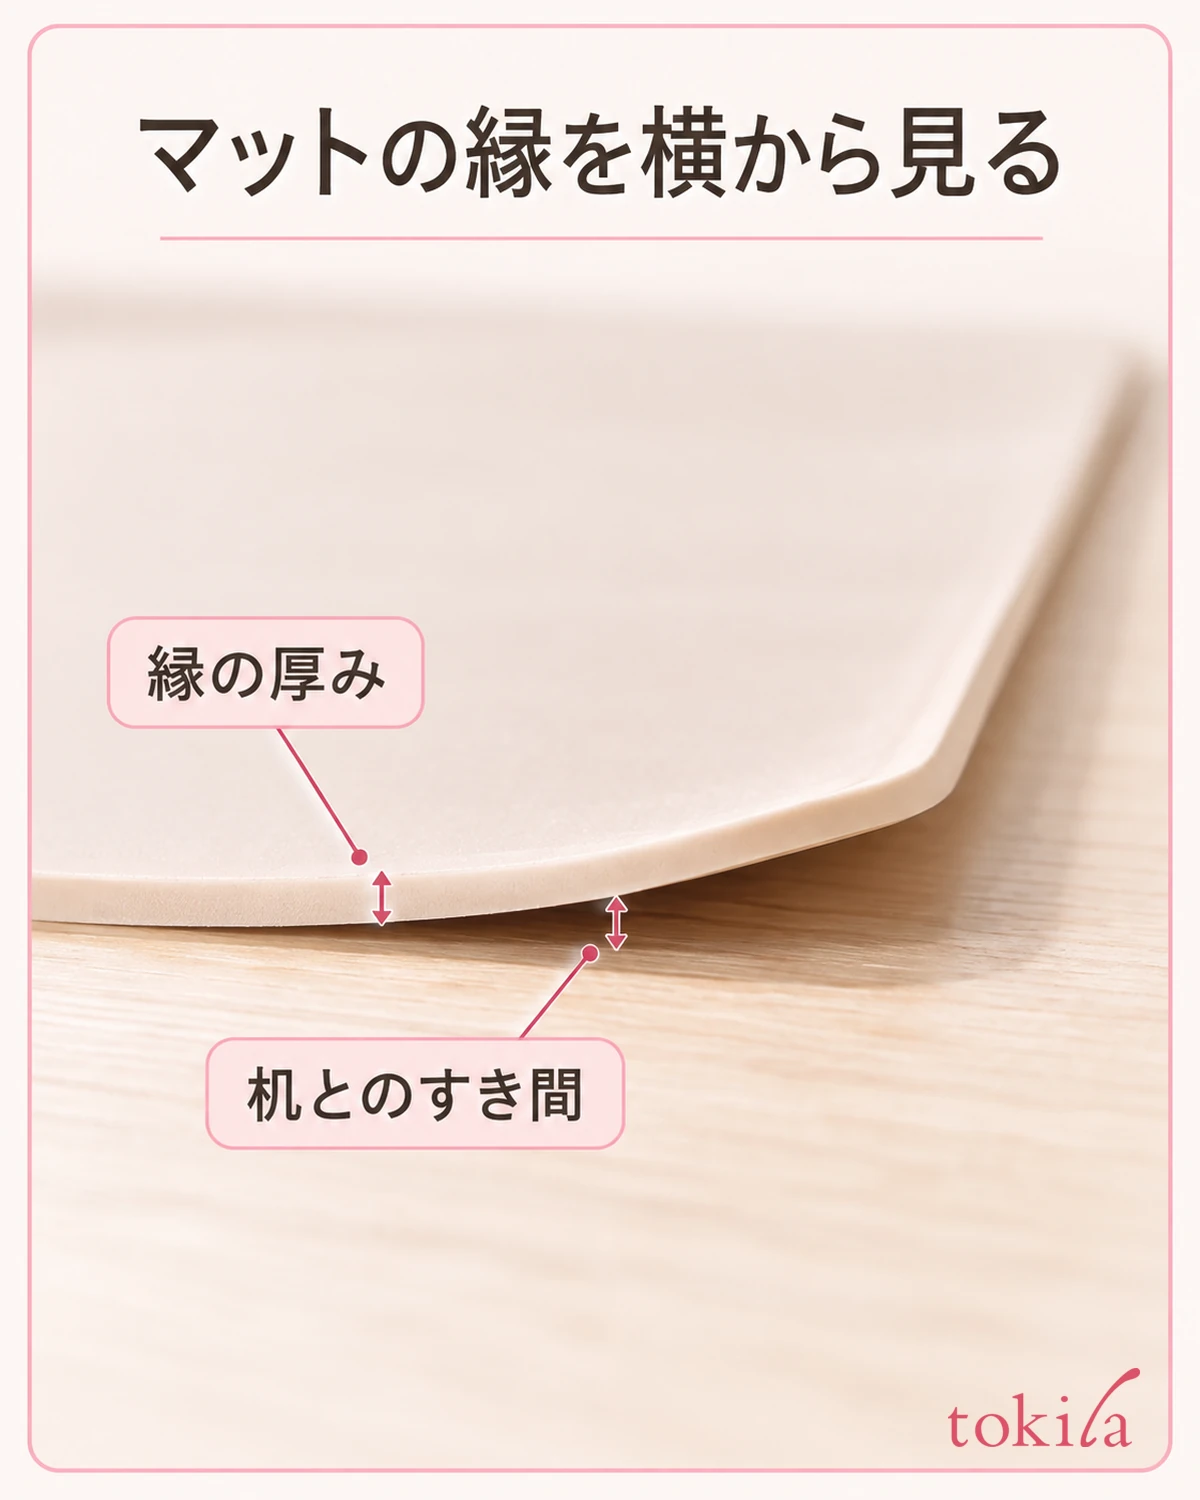
The thickness of the edge and areas raised off the table are easier to distinguish from a low, oblique angle. Look with your hands off the mat, rather than pressing hard to make it appear flat. If a corner lifts, do not try to reshape it with methods absent from the instructions, such as heat or heavy weights.
Position the mat so that it does not extend far beyond the table, and check while it is empty whether your wrist might catch an edge as you move. Move containers and tools aside before repositioning it. Pulling the edge with objects still on it moves their positions too, so rebuilding the arrangement makes checking easier.
Do not assume that laying down the mat protects the entire table; look outside its boundaries as well. For tasks where liquid might spread, consider whether the work will fit within the confirmed compatible surface. If there is not enough space, avoid stacking tools tightly together. Change tables or divide the work to create an arrangement that fits comfortably.
Before opening products, make space for containers, tools, and your hands
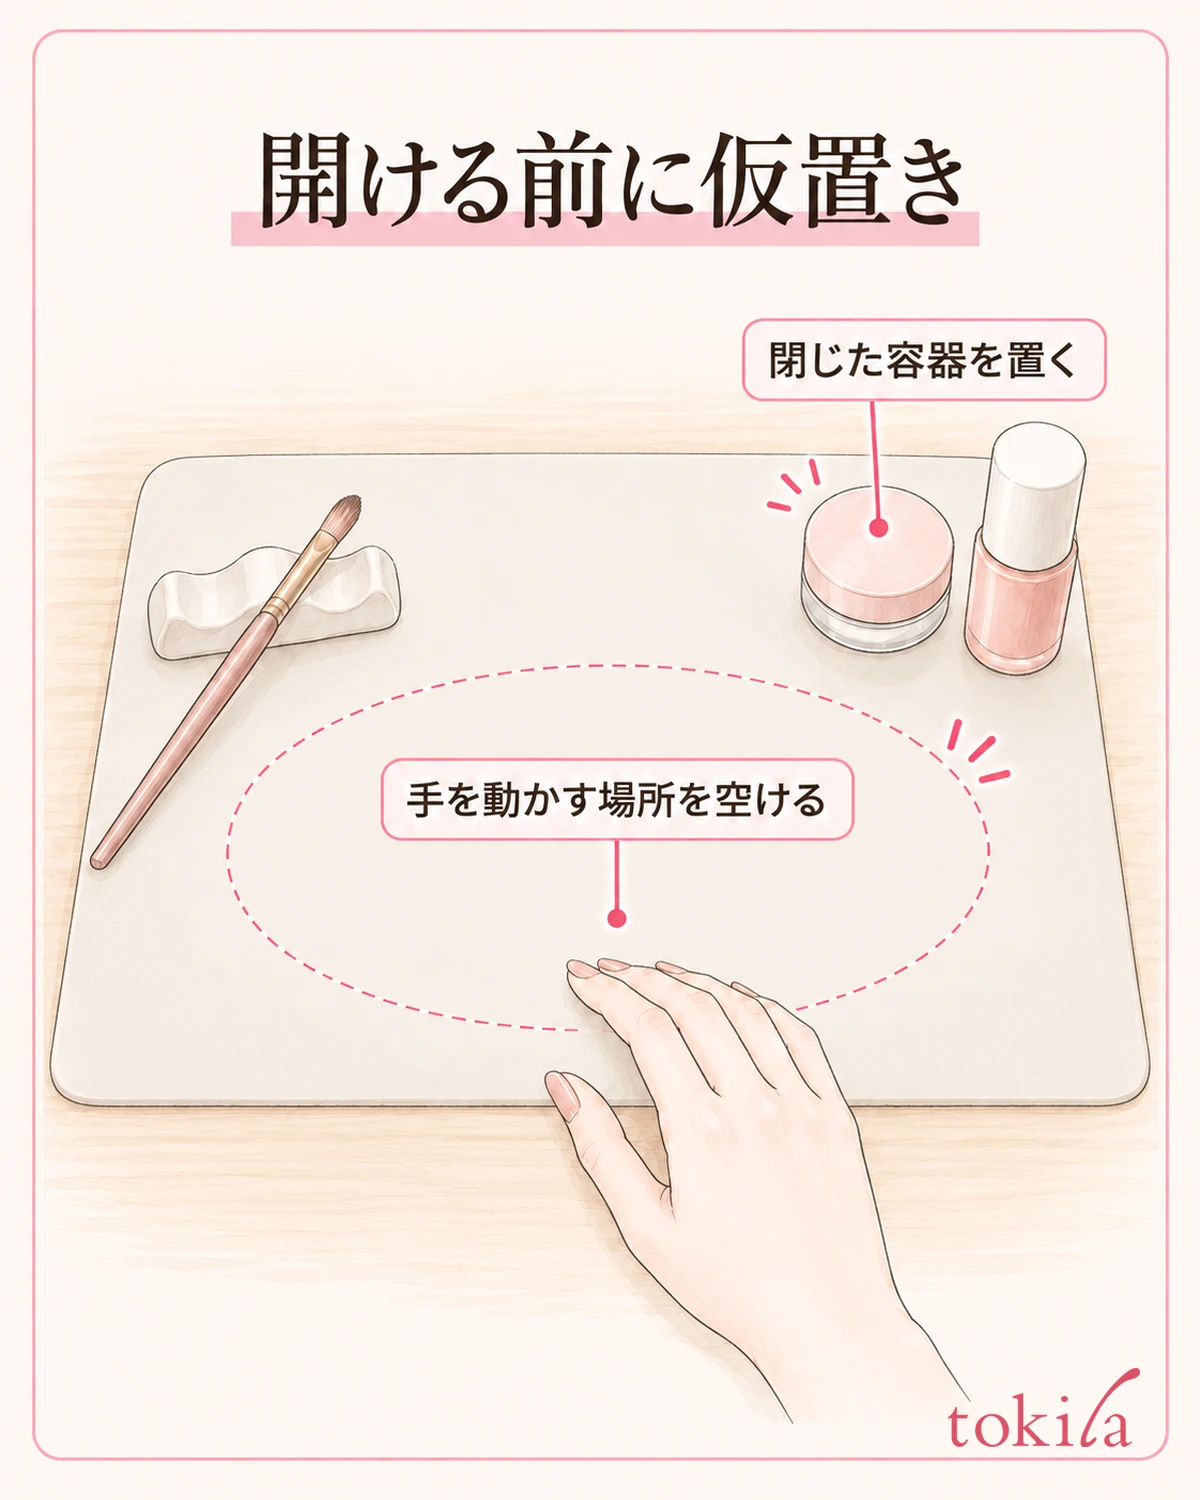
Once you have checked the empty mat, temporarily arrange only closed containers and the tools you will use. Try separating places for your hands, containers, and returning used tools. There is no single correct layout. Adjust for your dominant hand and table size, finding positions where reaching does not make you touch another container.
If a specified stand is used for fine brushes or spatulas, arrange it too. Check your movements so that used tips do not return to the place where your hands will go next. Simply placing tools on the mat does not clean them or prevent material from sticking.
Check whether small containers stand steadily with their bases clear of the mat's edges and raised areas. Rather than pressing them into the flexible surface, check with lids closed and your hands off. If the mat moves every time you change a position, keep materials closed and reconsider the table and mat first.
Tracing your hand movements once may reveal that you cross a cord while picking up a brush or that your sleeve passes over a container. Before adding tools, you can also remove items you will not use today. Keep the pleasure of arranging nail colors while leaving only the products you will actually open within reach.
Place materials directly on a mat only when you have confirmed both that intended use and compatibility with those materials. When mixing colors, do not conflate separate nail procedures with the mat's conditions. Separating preparation of the work surface from operations on nails or materials makes it easier to return to the point where you became uncertain.
Choose a compatible care method before removing dirt
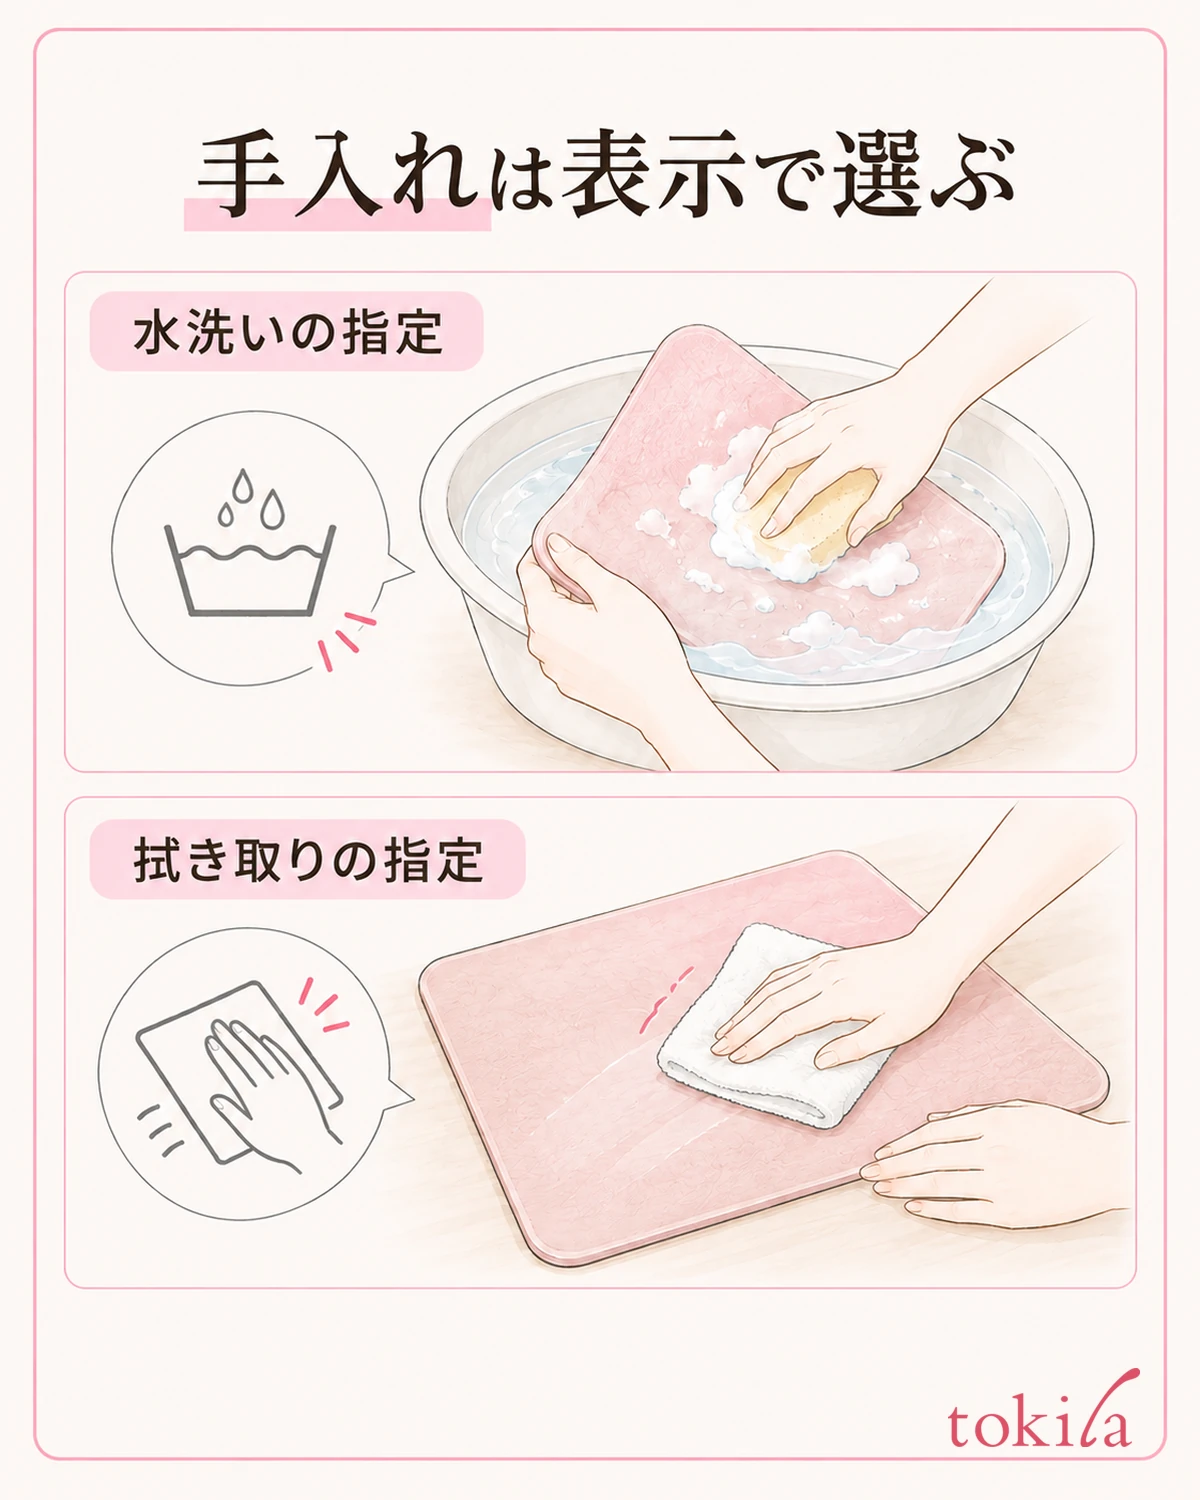
When cleaning up, first put materials and containers away according to their respective instructions, then identify what is on the mat. Do not try to wipe everything away at once with a strong liquid without knowing what the residue is. Compare the instructions for both the materials used and the mat, determining the scope you can clean with a compatible method.
If a product specifies washing with water or a neutral detergent, follow those instructions through rinsing and drying. Check specified tools too, such as a soft sponge. Conversely, finding that a mat is washable does not mean you may also use boiling water, a dishwasher, or bleach.
Even products that permit wiping may differ in compatible cleaners and procedures. Do not improvise by scraping material off with a blade, scratching hard with your nails, or forcibly peeling from an edge. Treat stubborn residue as a cue to recheck the method, rather than to apply more force.
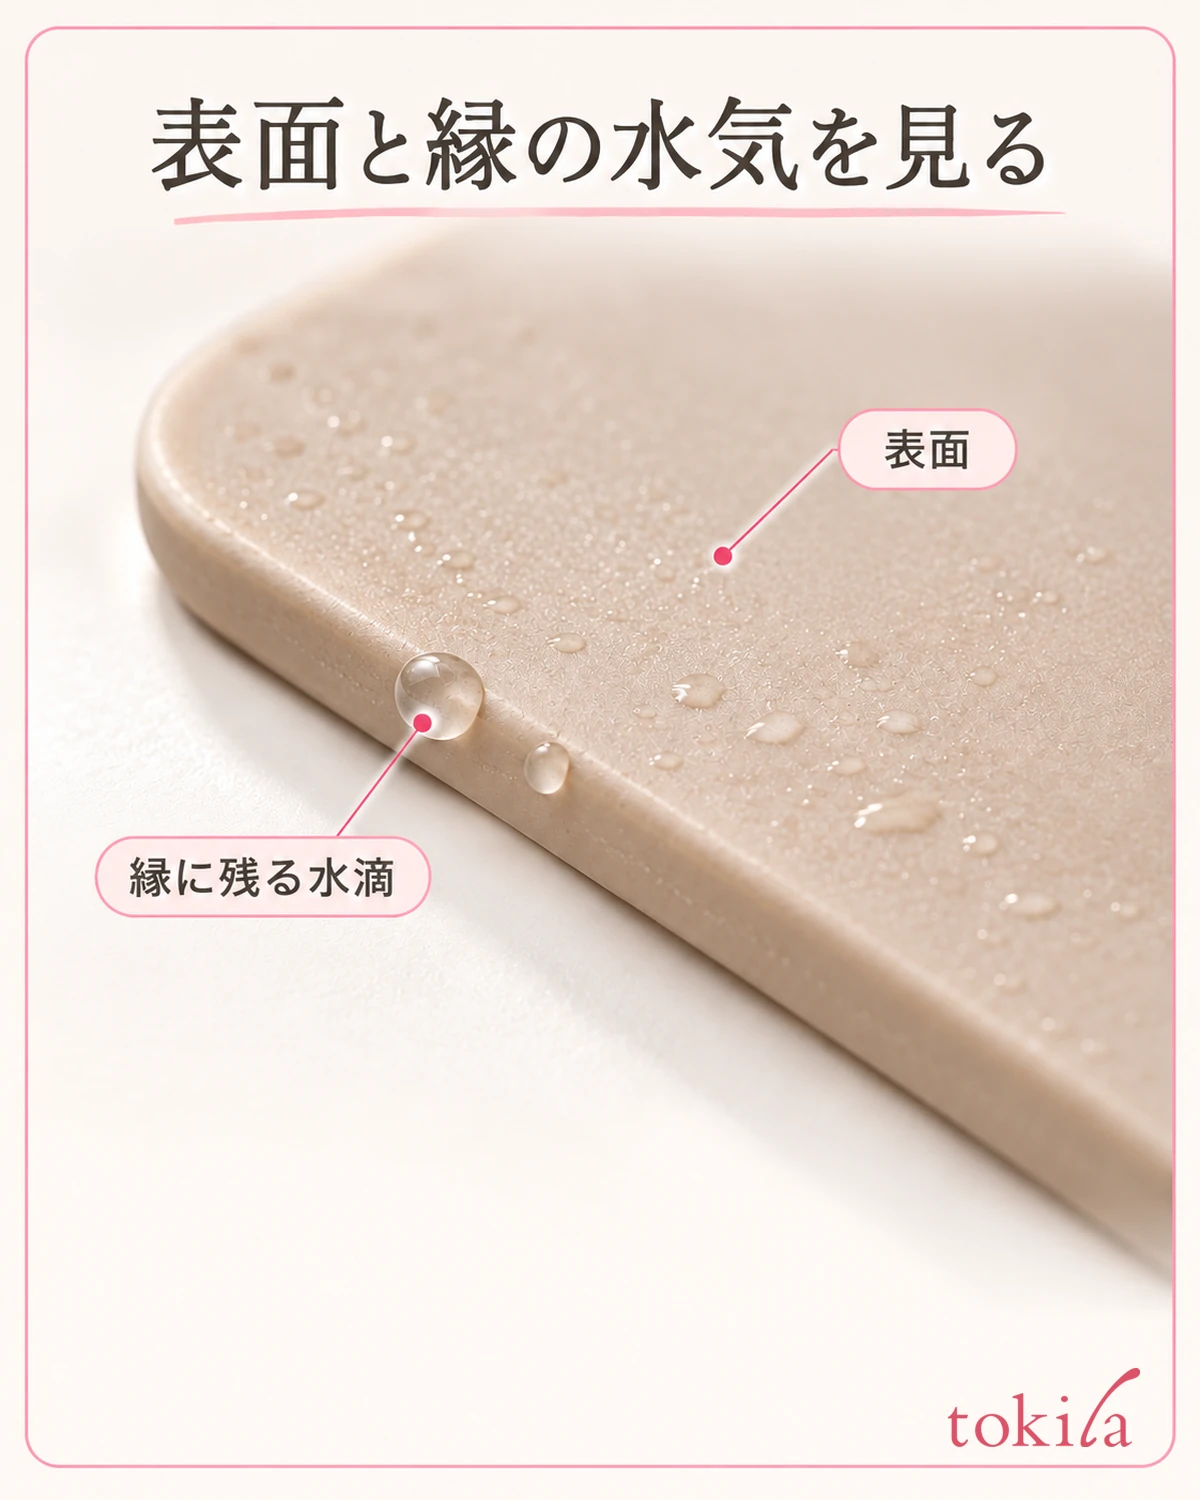
After inspecting the surface, look at the edges and underside too. Even when the top looks dry, check for moisture where surfaces overlap or between the mat and table. Do not set a universal drying time in minutes; judge by the product instructions and actual condition. Choose a drying location consistent with storage conditions, such as avoiding direct sunlight or high temperatures.
If discoloration, tears, or changes in shape concern you after cleanup, reconsider use before the next task. A clean appearance alone does not establish that its condition is unchanged. Briefly noting areas you noticed can reduce the effort of locating them again next time.
Store it dry and leave one preparation note for next time
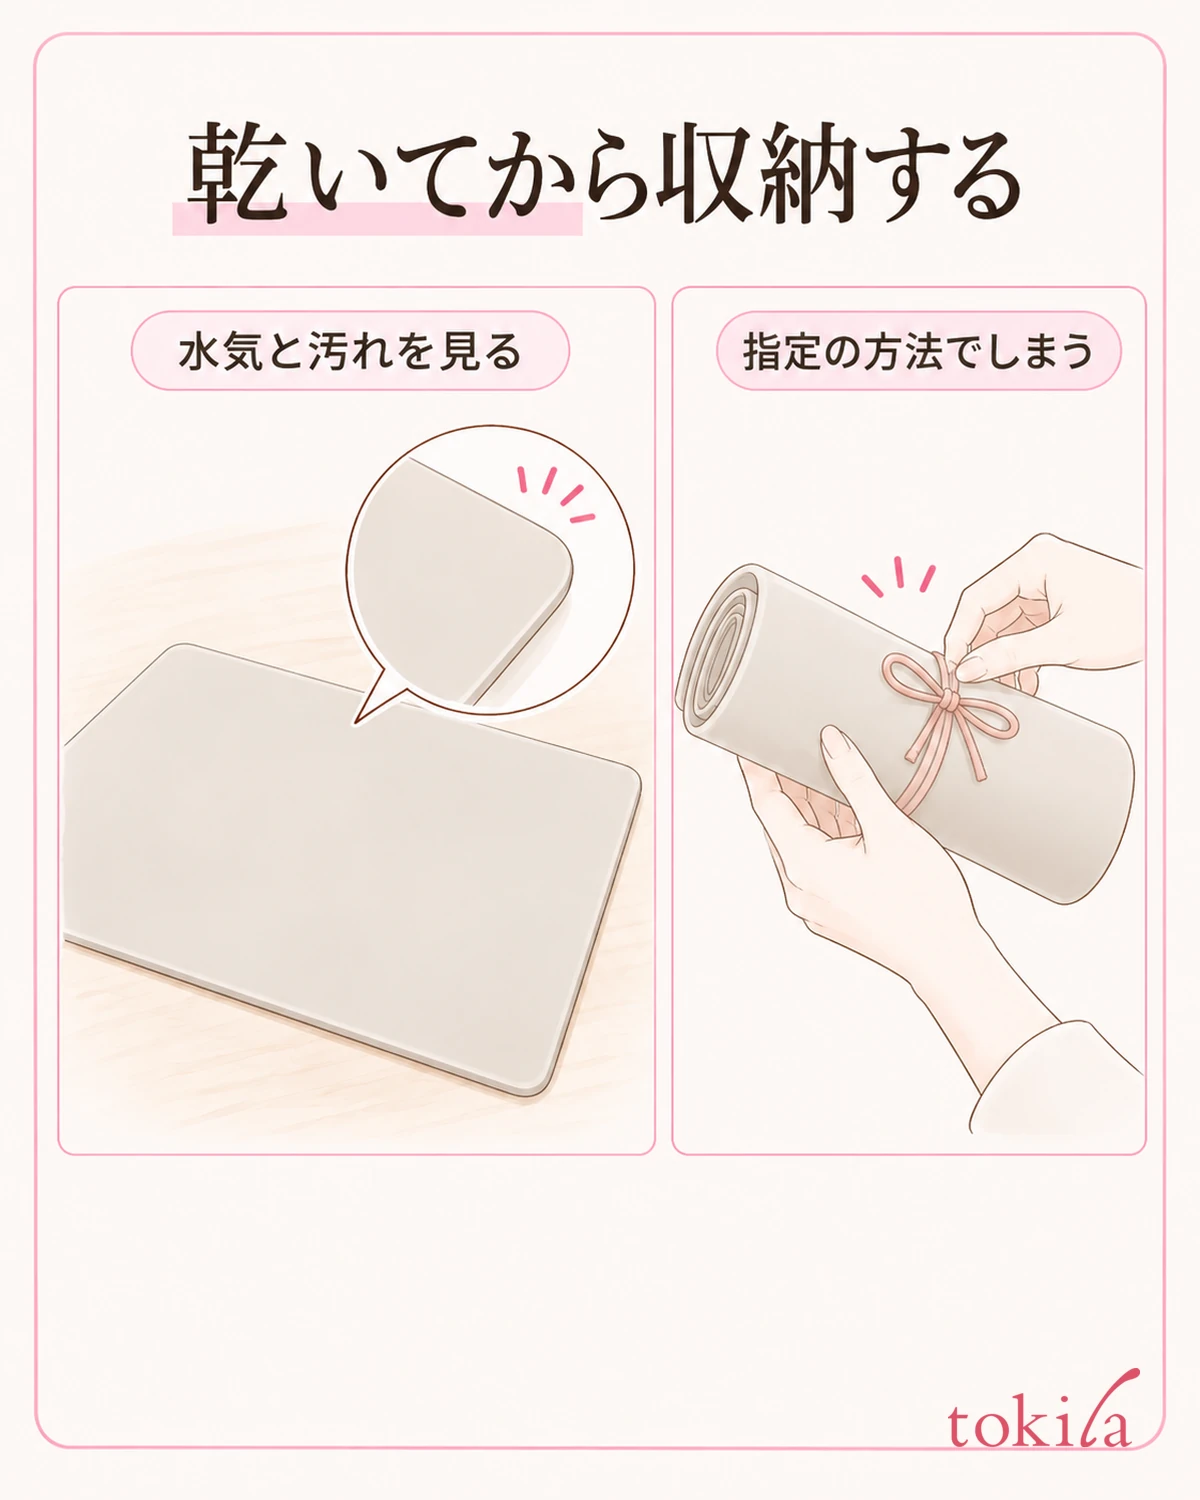
Store the mat only after checking that no material or moisture remains. Follow the product-specific method, whether rolling, laying flat, or securing it with the supplied strap. Being flexible enough to roll is different from being suitable for sharp folding. Do not crease it tightly or pull hard to force it into storage.
When using a supplied strap or fastener, avoid rolling dirty items inside. Storing it in an orientation that lets you inspect the working surface when unrolled helps with the next preparation. If there is a storage bag, check that the bag itself is neither dirty nor damp. Do not skip drying just to make the area look tidy.
Follow your mat's storage instructions and check conditions to avoid, such as flames, high temperatures, and direct sunlight. For tasks involving a lamp, do not assume the mat can remain under strong light for a long time; check its usage conditions first. A heat-resistance or chemical-resistance statement does not collectively guarantee other conditions too.
One specific change is enough for a note for next time. Put a layout observation into words, such as "move the brush rest on the right closer" or "do not put containers where a corner lifts." When changing materials, recheck compatibility information in addition to that note. Keep your usage records distinct from the conditions the product permits.
Preparing to use the mat starts with deciding which materials and locations are suitable, rather than arranging many tools. Confirm compatibility, lay it empty, and position items temporarily before starting. When finished, complete the specified care and drying, then store it ready to return to next time. Prepare the mat you have within what you can do today.