
You apply transfer nail foil but the color does not transfer, the pattern breaks off partway, or you cannot tell which side should face down. In that case, before pressing harder, check the type of foil, the materials it works with, and the side to apply. Even though it is a thin sheet, it is handled differently from stickers or foil that is embedded.
Here I introduce preparation for checking a transfer type, which moves color or a pattern from a film, on a practice tip fixed to a stand. I do not fix a uniform curing time for gel or drying time for adhesive. Use only the combinations whose directions you have confirmed on your own products, and think of full-coverage application and partial transfer separately.
1. Check whether it is a transfer foil, together with its compatible materials
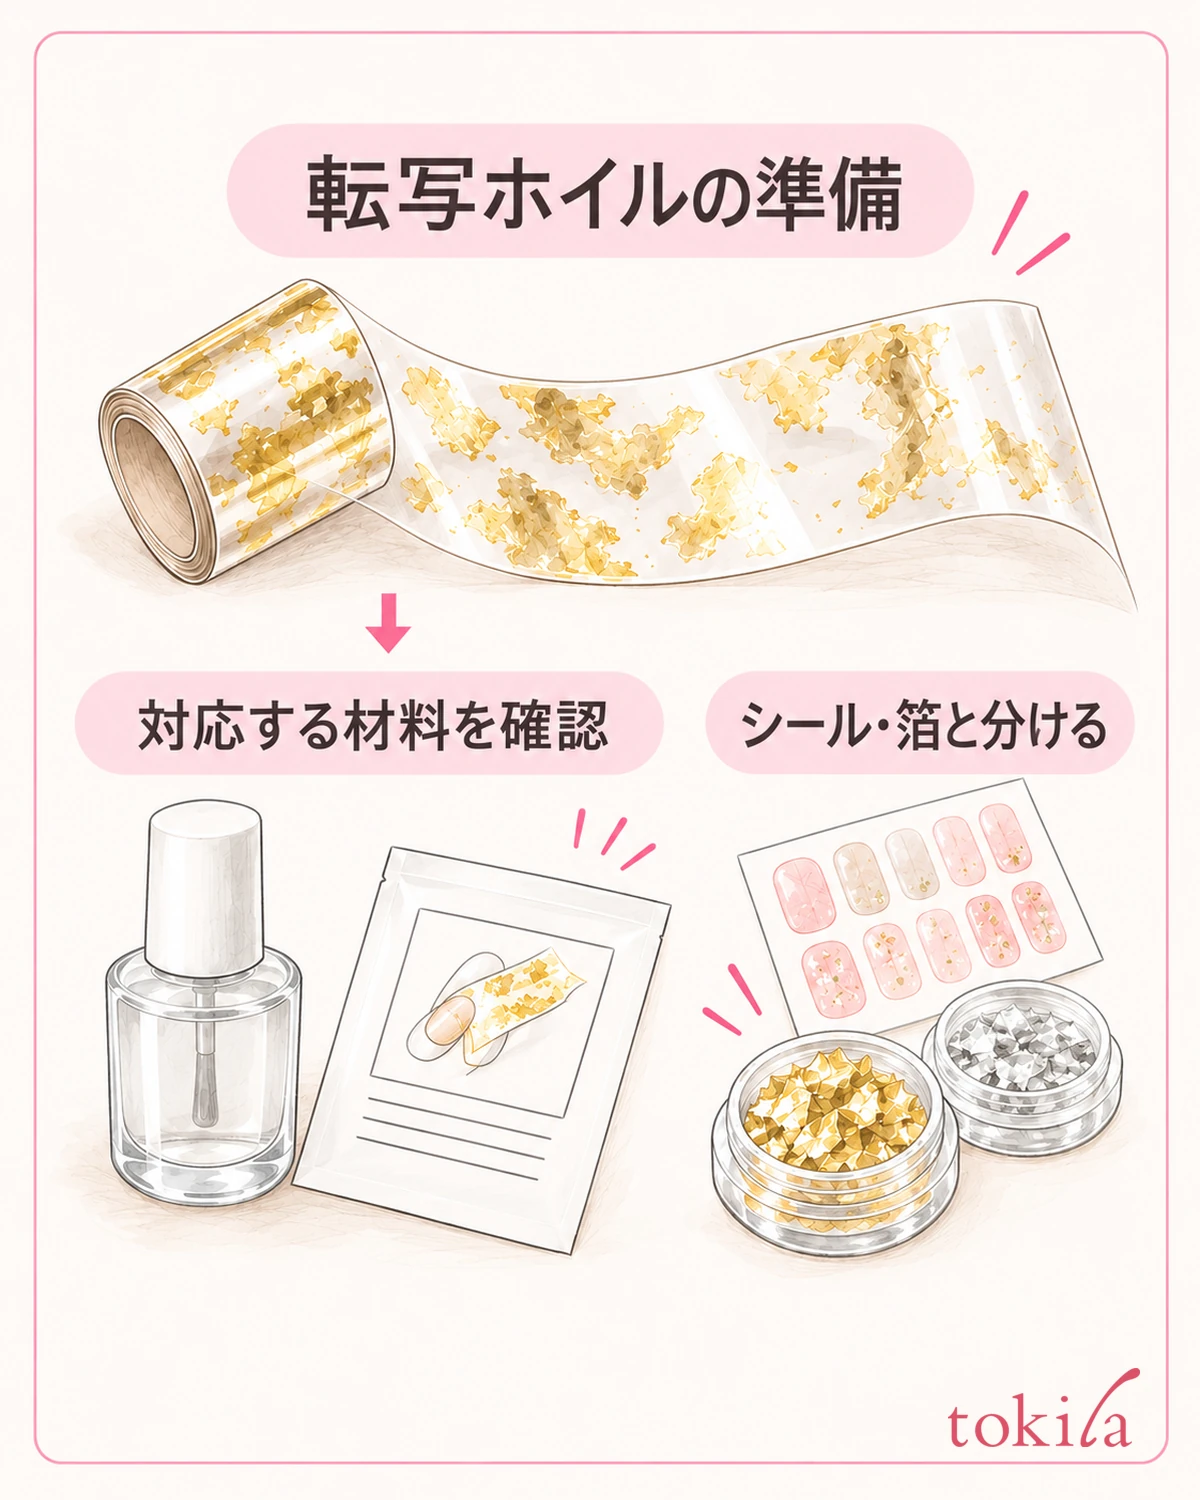
First look at the package and separate whether it is a transfer foil, where a film is pressed on to move the pattern, or a material where thin foil itself is placed. Even if the metallic color looks the same, the process you use is not necessarily the same. When you do not know what it is called, do not start by pressing it onto the top coat you happen to have to try it.
If it is a transfer type, read the label for the compatible adhesive or dedicated gel. If the foil side specifies materials, check that compatibility first. The starting point of preparation is not to assume that any clear gel you usually use can take its place.
For products that use gel, also check the compatible light and the curing conditions as a set. The process differs from products where the adhesive is dried before use, so do not carry over the waiting time or the number of seconds under the light seen in a video to a different material. For a material whose instructions you cannot find, do not judge from its appearance alone that it can be used.
What you set out at hand are the foil you have confirmed, the compatible materials, a practice tip and stand, and the specified tools. Before repeating failures on your own nails, make it so that you can follow one round of the steps on a practice surface. Not changing the shape of the nail and the wobble of the stand all at once also helps separate the causes.
At this stage, also decide whether you will cover the whole surface with a pattern or scatter color over a small area. A design that makes use of random gaps and a design that wants one pattern to continue have different results to check. Do not decide that it is a failure just because gaps are visible; first choose one range to aim for.
If you are unsure about peeling the backing off a nail sticker, see also checks before taking a nail sticker off its backing. Be careful not to mix up the transfer covered in this article with the task of taking the sticker itself off its backing.
2. Do not decide the side to apply by shine alone; check against the instructions and a small piece
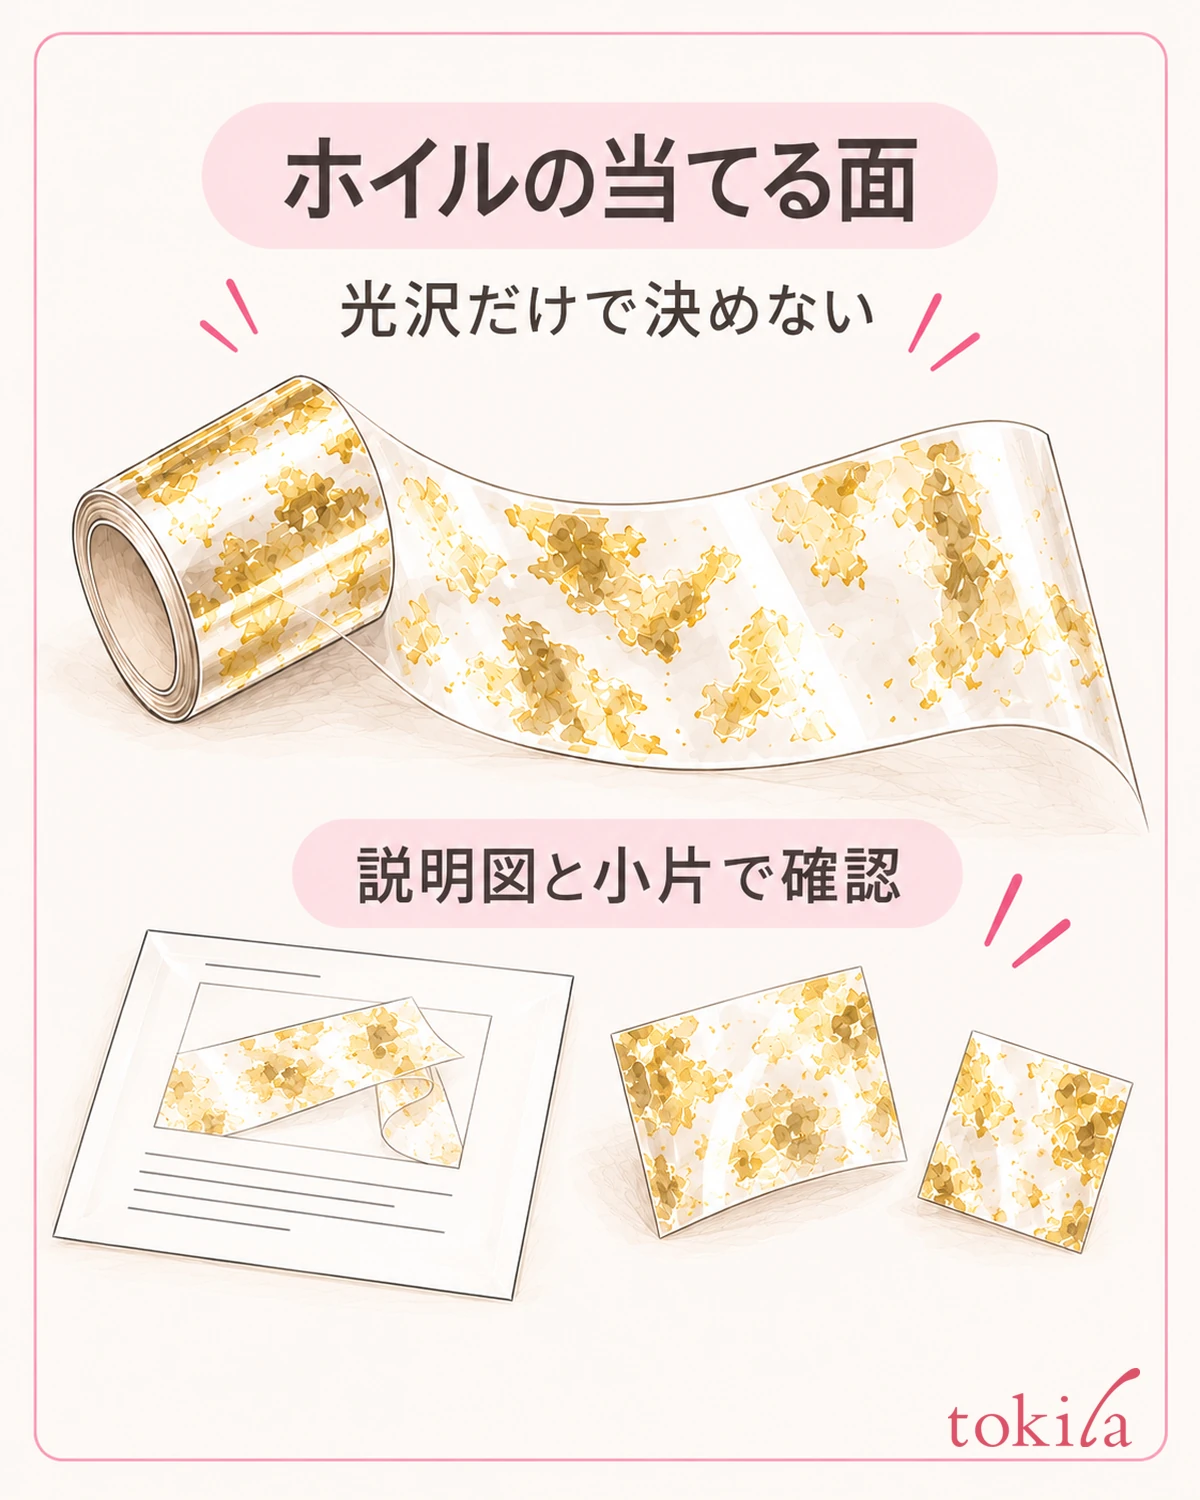
Next, check which side to apply to the material. A look such as one side being glossy and the other not cannot be made the rule for every product. For clear, metallic, and patterned ones the way the reflection looks also changes, so check the side to apply with the diagram in the package instructions.
Also avoid remembering the front and back only by the direction it was wound. If you turn it over partway or switch your hold after cutting it apart, you may lose track of the original orientation. Keep the instructions beside you, and set things up so you can check each time which side of the small piece in your hand to use.
If you tilt the sheet a little on a bright desk, it becomes easier to tell the pattern area from the clear margin and the surface reflection. However, do not judge that the more strongly reflecting side is always the top. Separate observing to confirm the range of the visible pattern from deciding which side to bring into contact.
For products that allow cutting apart, prepare a small piece that covers the area you will try. Leave a margin you can hold at the edge, apart from the part to be applied to the tip, so that the piece is not so short that there is nowhere to hold it. Do not stretch the sheet or pinch the pattern and make strong creases; prepare only what you need.
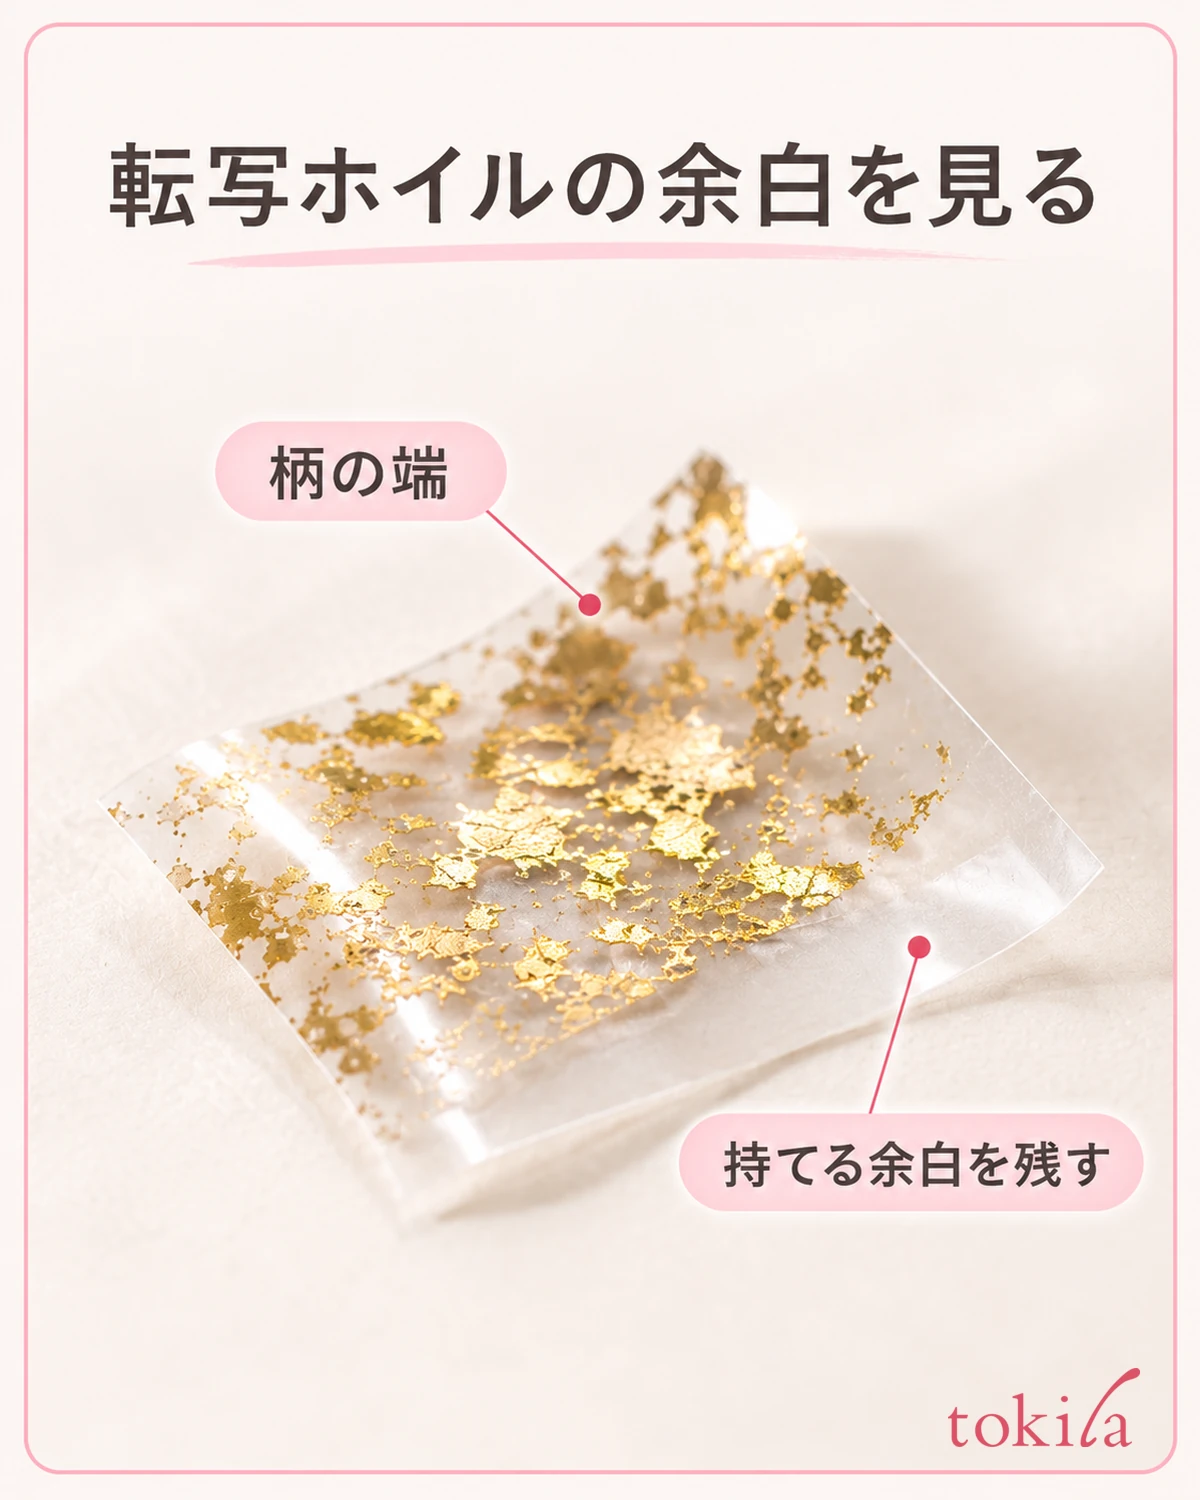
Place the small piece in a direction where you can still tell front from back after cutting it, and hold it by the margin at the edge. Do not make it a method of touching the part to be transferred with your fingers many times to look for the direction. If you lose track of the direction, go back to the diagram and the whole sheet to check rather than guessing from the strength of reflection.
When the instructions include crumpling or creasing the sheet, read what kind of finish that instruction is meant to create. A process meant for scattering finely does not have to be added when you want to transfer one continuous pattern. Manage the small pieces used for trials separately from the sheet you keep.
3. Try one specified round on a tip fixed to a stand
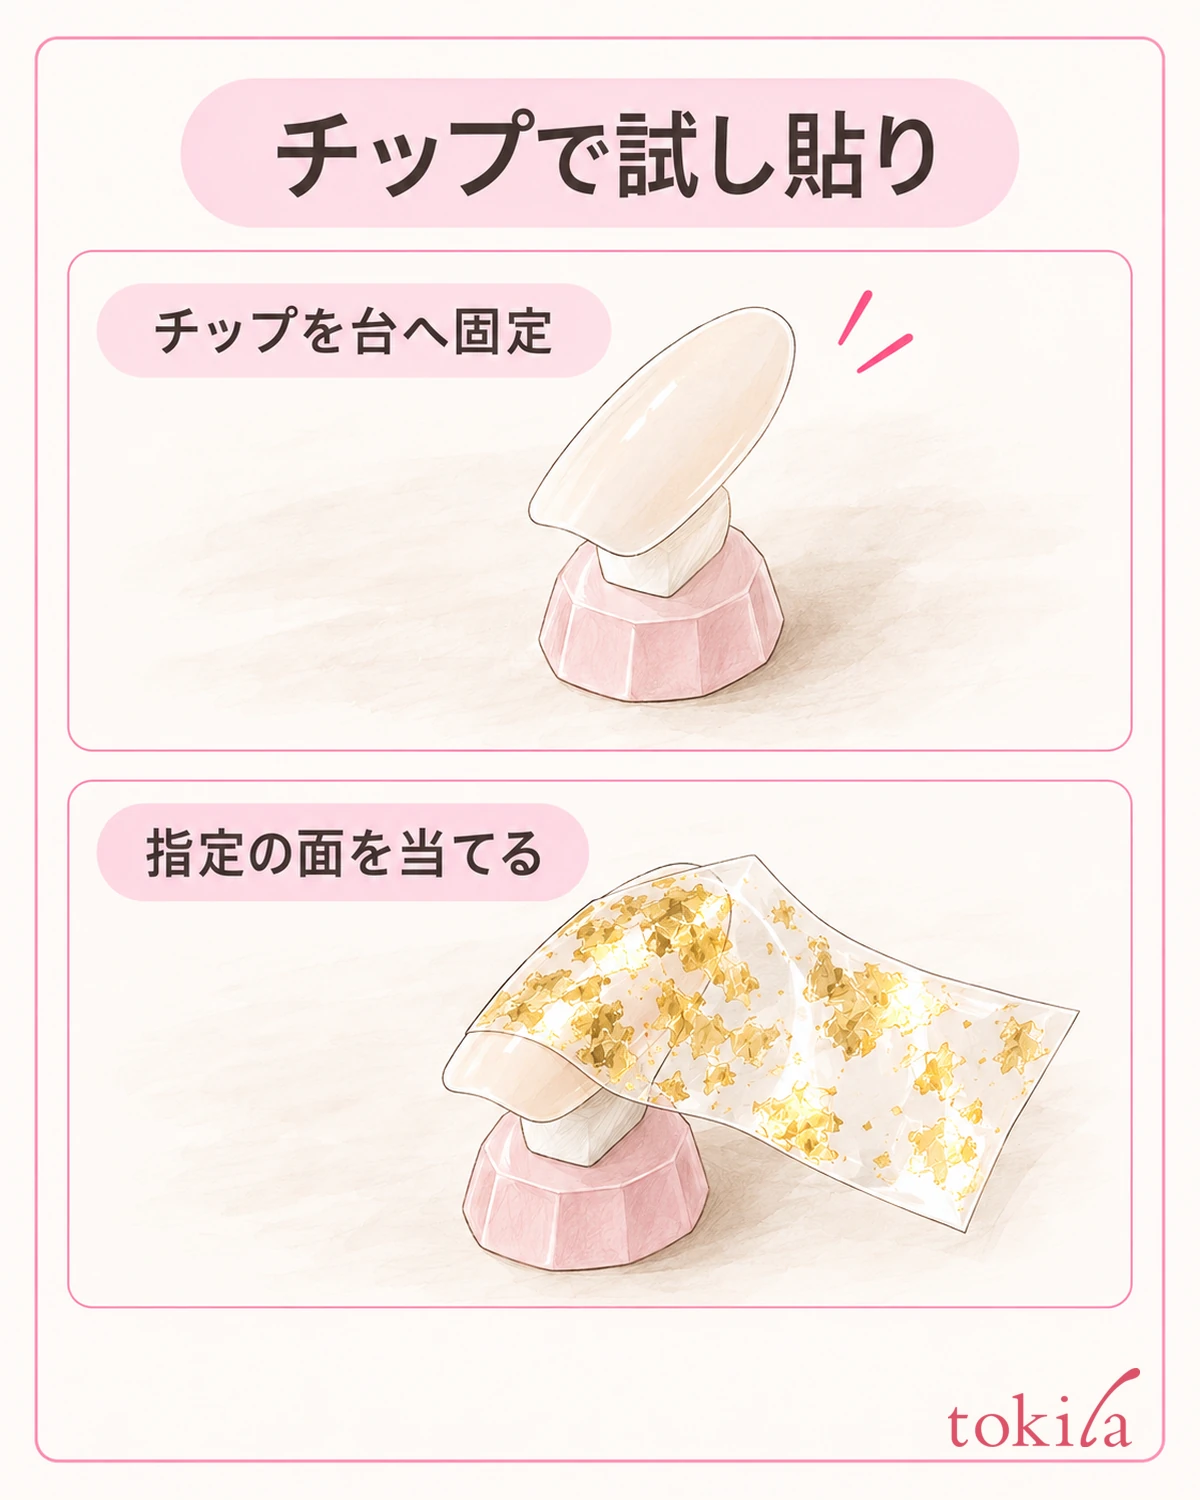
Fix the practice tip to a compatible stand and check that it does not wobble when lightly touched. It is important not to set things up so that you keep gripping the tip in one hand while handling the foil and an open container with the other. Arrange the desk so that what you need does not overlap within the reach of your hands.
If you use a base or color, prepare it up to the stage specified for your materials. After that, use the compatible transfer material in the specified area and amount. Whether to cure, dry, or wipe the surface here is a condition for each product. Even if it looks hard to transfer, do not add wiping off or extra light curing partway through.
When ready, bring the specified side of the small piece onto the tip. If the pattern has a direction, decide which end is up before making contact. If you slide the sheet sideways to correct the direction after it has stuck, the state at first contact and the state after moving get mixed, so first check one round on a small area.
Match how you press to the instructions too. Operating differs between a product that is pressed against the whole surface and one that is lightly touched to the area you want to attach. Avoid applying force the instructions do not describe, such as scraping with a nail or a metal tip, or crushing a thick lump. What you try is the fixed practice tip, and you do not spread the material directly on skin.
Once you have released the film as directed, look at the tip side and the used sheet side. Check how the places where color transferred correspond to the places that stayed on the sheet. So that you do not mistake white reflections of the lighting for areas where color is missing, change the angle a little, then return to the same angle and compare.
Even if you can confirm transfer on the trial surface, do not treat that stage as complete. Follow the whole set of instructions for the product you use, through the finishing materials, curing, and removal. Do not think the results on a practice tip are the same as having verified how well it lasts on your own nails, its safety, or the color of the actual product.
4. If it does not transfer or the pattern breaks, go back by separating the conditions
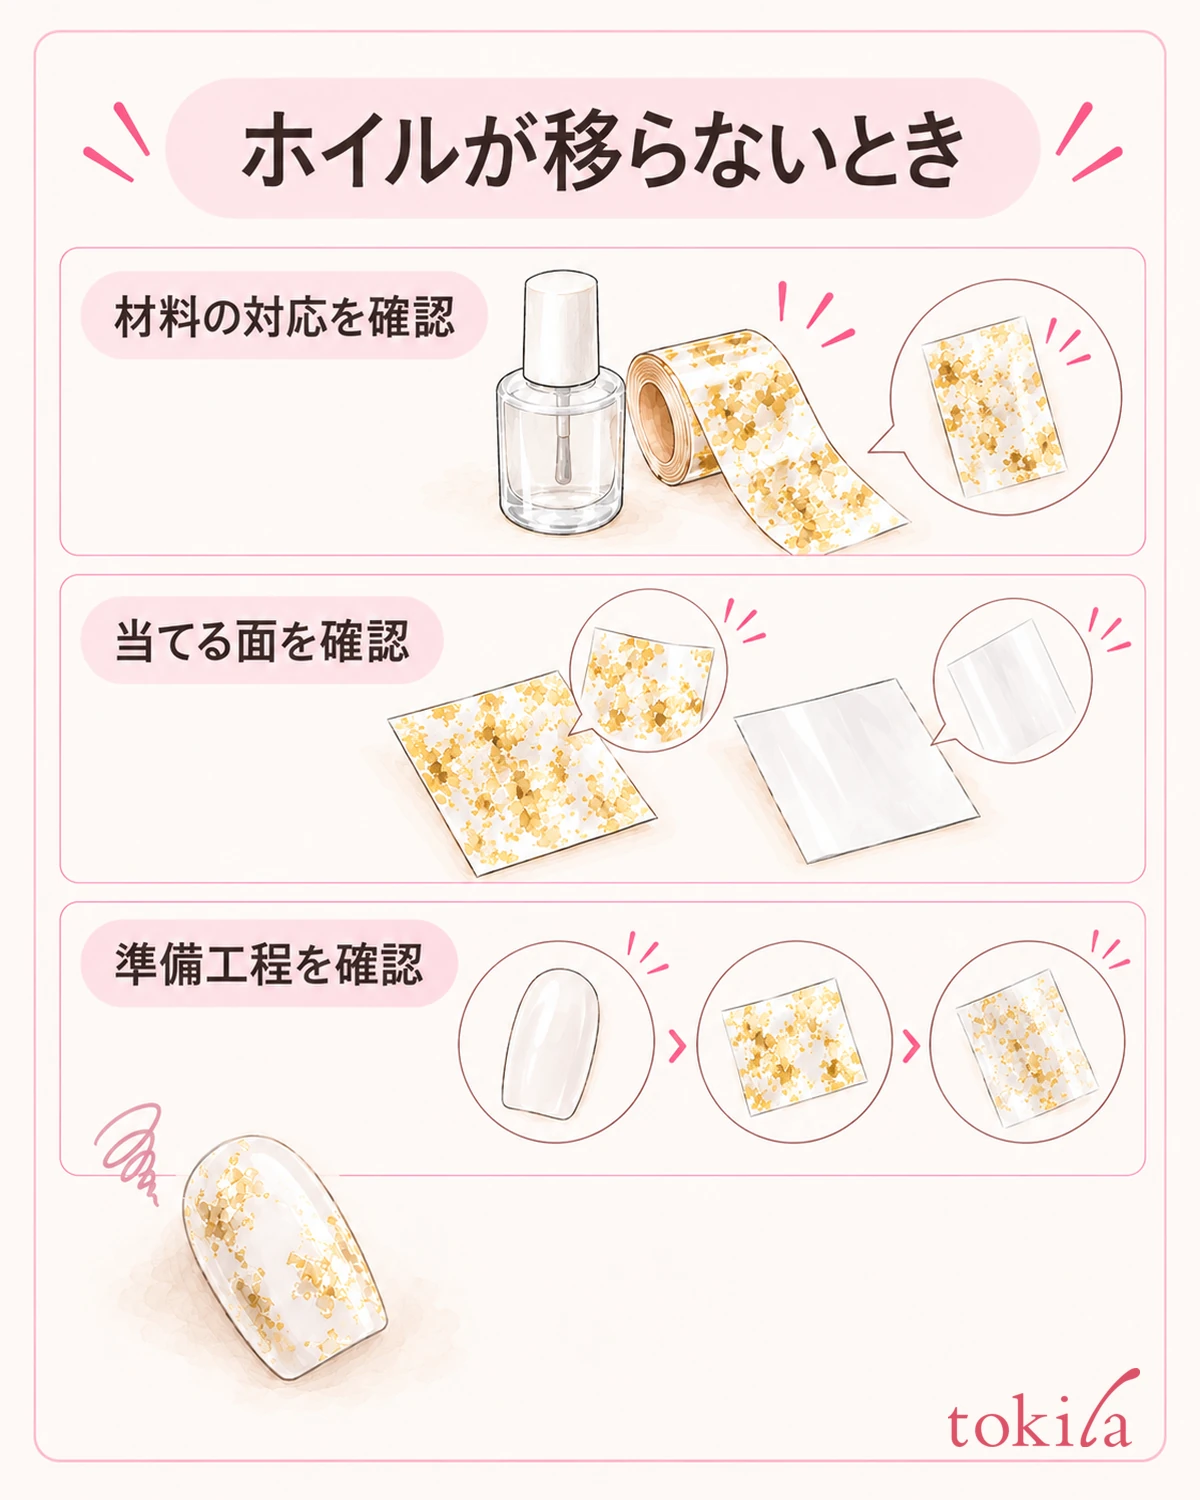
When nothing transfers, stop before pressing hard on the same place again and again. What you check first is whether it is a transfer type, whether you used the specified materials, whether the side you applied is right, and whether you skipped a preparation step. Do not treat all of it as a lack of pressing force.
If only part transferred, look at which place in the planned area is missing. What you want to check next differs depending on whether the center transferred and only the edges remained, or whether it dropped out in thin streaks. Check visible conditions one by one, such as a bulge of material, the curve of the tip, and creases in the sheet.
For example, if a crease formed in the sheet during the trial, one idea is to try the same preparation again with a new small piece. If you change the material and the light time at the same time, you will not know what was different. Also check whether using a new small piece is allowed, and choose just one condition to try.
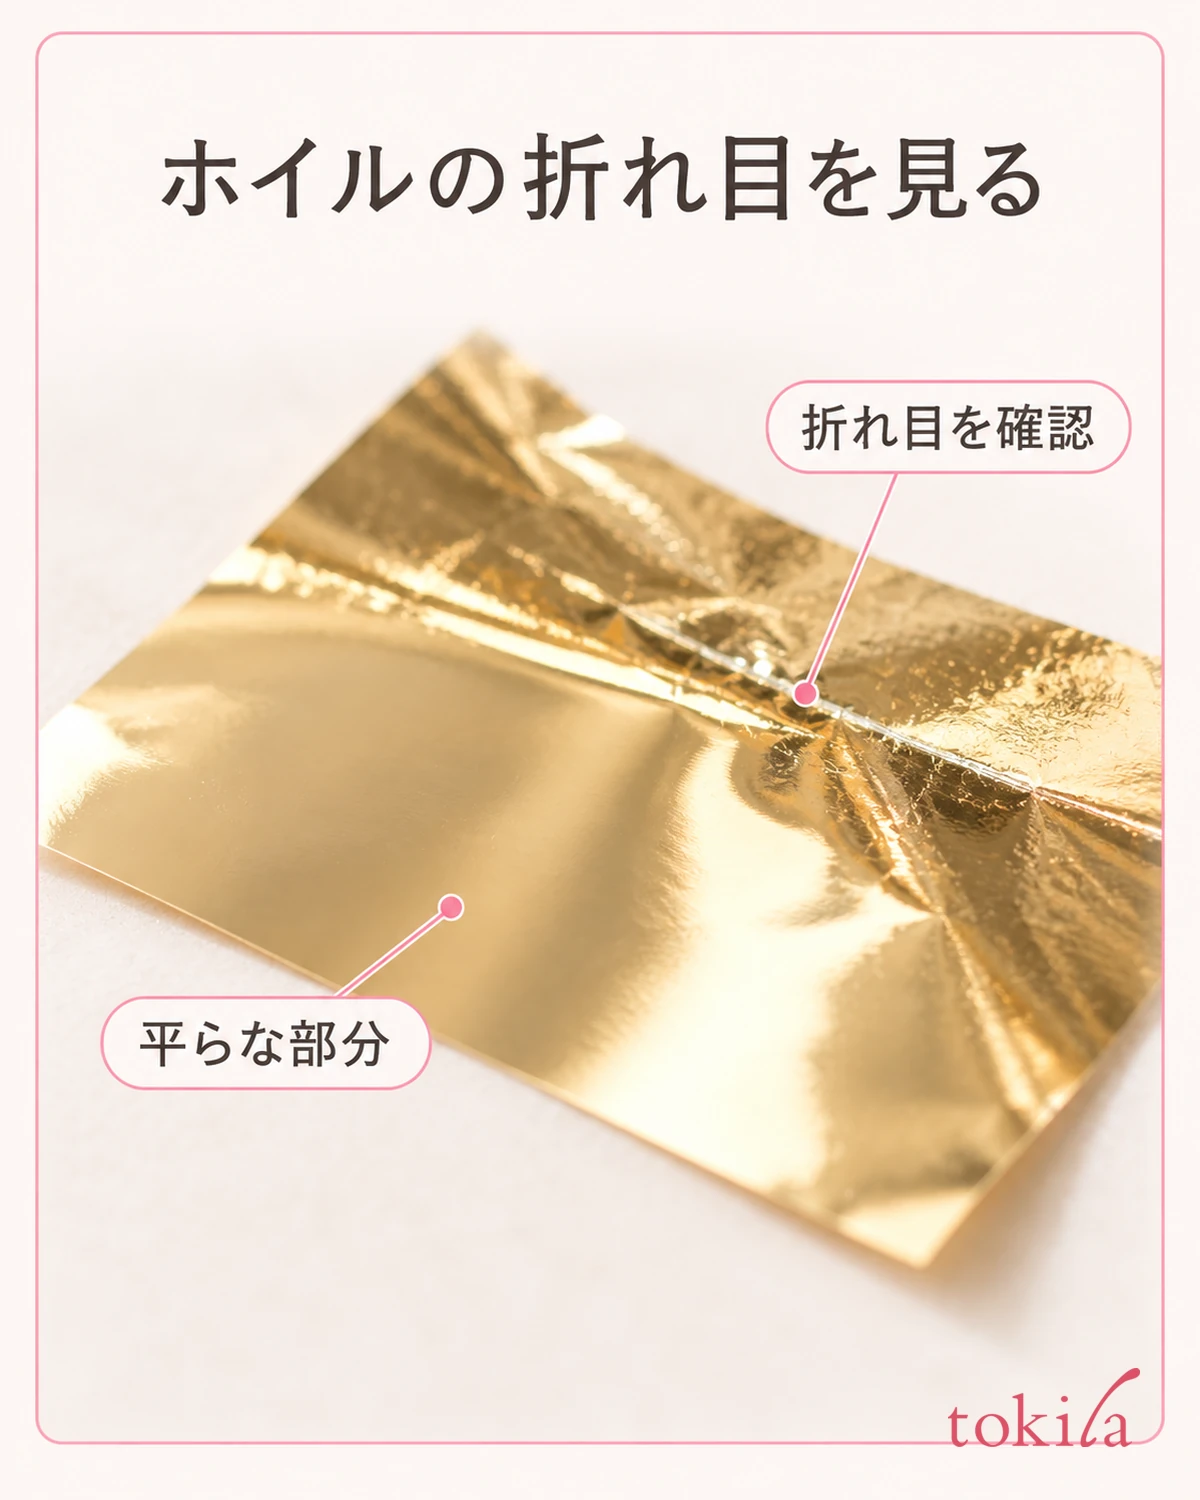
If the pattern position shifted, look back at its direction before contact and at whether you moved the sheet after applying it. Do not add repairs such as pulling to stretch it after contact or forcing another pattern to match a missing design to the first trial. Going back to a new practice surface can sometimes make the steps easier to sort out.
Because it does not transfer well, do not replace the dedicated material with another gel or adhesive, or mix in water or nail polish remover. The step of waiting for drying and the step of curing under a light also cannot stand in for each other. If you cannot follow the conditions on the label, go back to a combination you can check by dividing the work into stages.
Even if you aim for a full-surface pattern, if the same place is missing on every trial piece, do not keep adding force; record that state and put it on hold. Knowing a photo of the tip, the materials used, and what stage of the steps you were at will help with the next check. It is also important not to hide the missing parts and call it finished just to make the result look good.
5. Carry on to finishing and storing the remainder under the same product's conditions
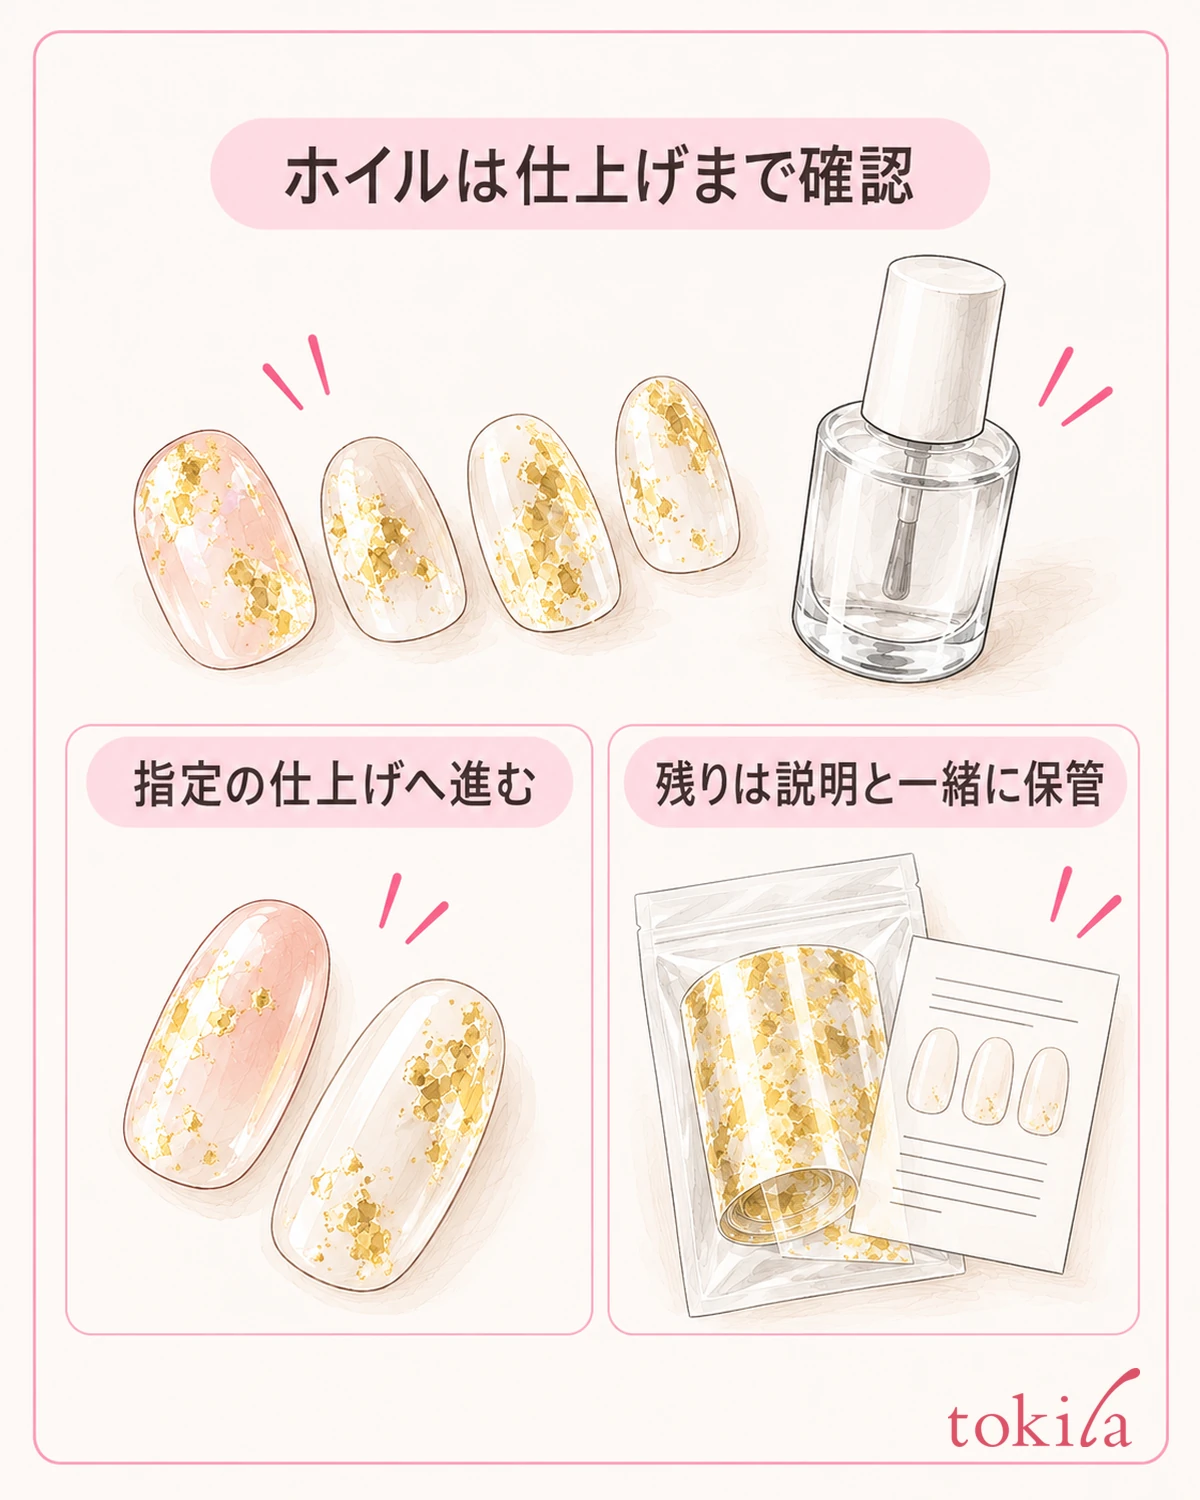
After transferring, move on to the specified finishing. Check the order and type of top material and the curing conditions in the instructions for your product, and do not wipe off or scrape away only the parts that look metallic on your own judgment. Check separately how the surface looks and whether the process is complete.
Do not put the used small pieces back on top of the remaining sheet; keep them distinguished after you finish. To avoid losing track of the pattern and direction of the sheet you have not yet used, it is easier to manage if you do not cut it all apart more than necessary. Return the part you keep following the storage conditions on the package.
Avoid repackaging that would make it unclear which instructions go with which material. Even if you move it to a clear case, confirm that this meets the storage conditions, and keep the product name and the explanation of compatible materials together with it. Do not mix in a different foil that looks similar, thinking it is the same sheet.
If you keep a record, write the states you actually confirmed, such as "I applied this small piece with this side" or "a crease remained at the edge." Add the materials and steps used, but do not rewrite the number of seconds that worked once as a usage that applies to other products. Next time you use it, compare it against the new label as well.
For a first combination, rather than preparing patterns for ten nails first, start by following preparation through finishing on a single practice tip. Check the compatible materials and the side to apply, and try one specified round. If it does not work, do not increase the force; choose which of the materials, the side, or the preparation step to go back to.



