

You thought you applied blush lightly, yet part of it is dark. When you add color to a spot that did not take, the neighboring area gets dark too. Before adding more color to fix that kind of patchiness, take a fresh look at the powder on your brush and the base on your cheeks separately.
This article mainly covers the preparation and layering to use when powder blush goes on patchy. For cream and liquid formulas, it also covers how application differs, and explains when it is better to start over in a small area than to keep fixing.
1. Tell patchy color, natural gradation and a disrupted base apart

First put the brush down and look at both cheeks in a mirror at your usual distance. Is it a gradation that fades gently from the center outward, or do small dark patches and bare spots coexist? Blush is not meant to be the same depth all over, and there is no need to erase natural gradation.
If there is a clear clump of color in one spot, recall where the brush touched first. If that same spot is dark every time, it is a clue to check how you loaded the powder before taking it to your cheeks. Rather than adding more color there, move the tool away from your face and go back to preparation.
Even in a pale area, if the foundation underneath is even, you can review how the blush goes on. On the other hand, if streaks of skin tone or white clumps of powder show up together, do not try to fill them in by adding only more blush. First check whether the brush movement has pushed the base around.
Also distinguish between a surface that looks dry and flaky and color that goes on strongly over a moist area. Do not conclude from looking in the mirror that dryness or oil is the cause; use it as an observation for looking back at the surface before blush and at the tools and layering you used just before. It is also important not to assume that the natural redness of your skin is uneven color.
Compare facing straight ahead and turning slightly to the side in the same light. If only the pearl reflection looks strong at an angle, that is different from a hole with no color. If only the cheek by the window looks bright, turn your face back to the front, and do not add powder while the lighting differs on just one side.
If your main concern is that your whole cheek is too dark, see how to fix the depth and edges when you apply too much blush. This article focuses on the state where “light and dark areas are mixed,” and gets you ready for before application and the first pass. Choosing one place to fix makes the next steps easier to decide.
2. Work the powder into the brush and tidy the excess
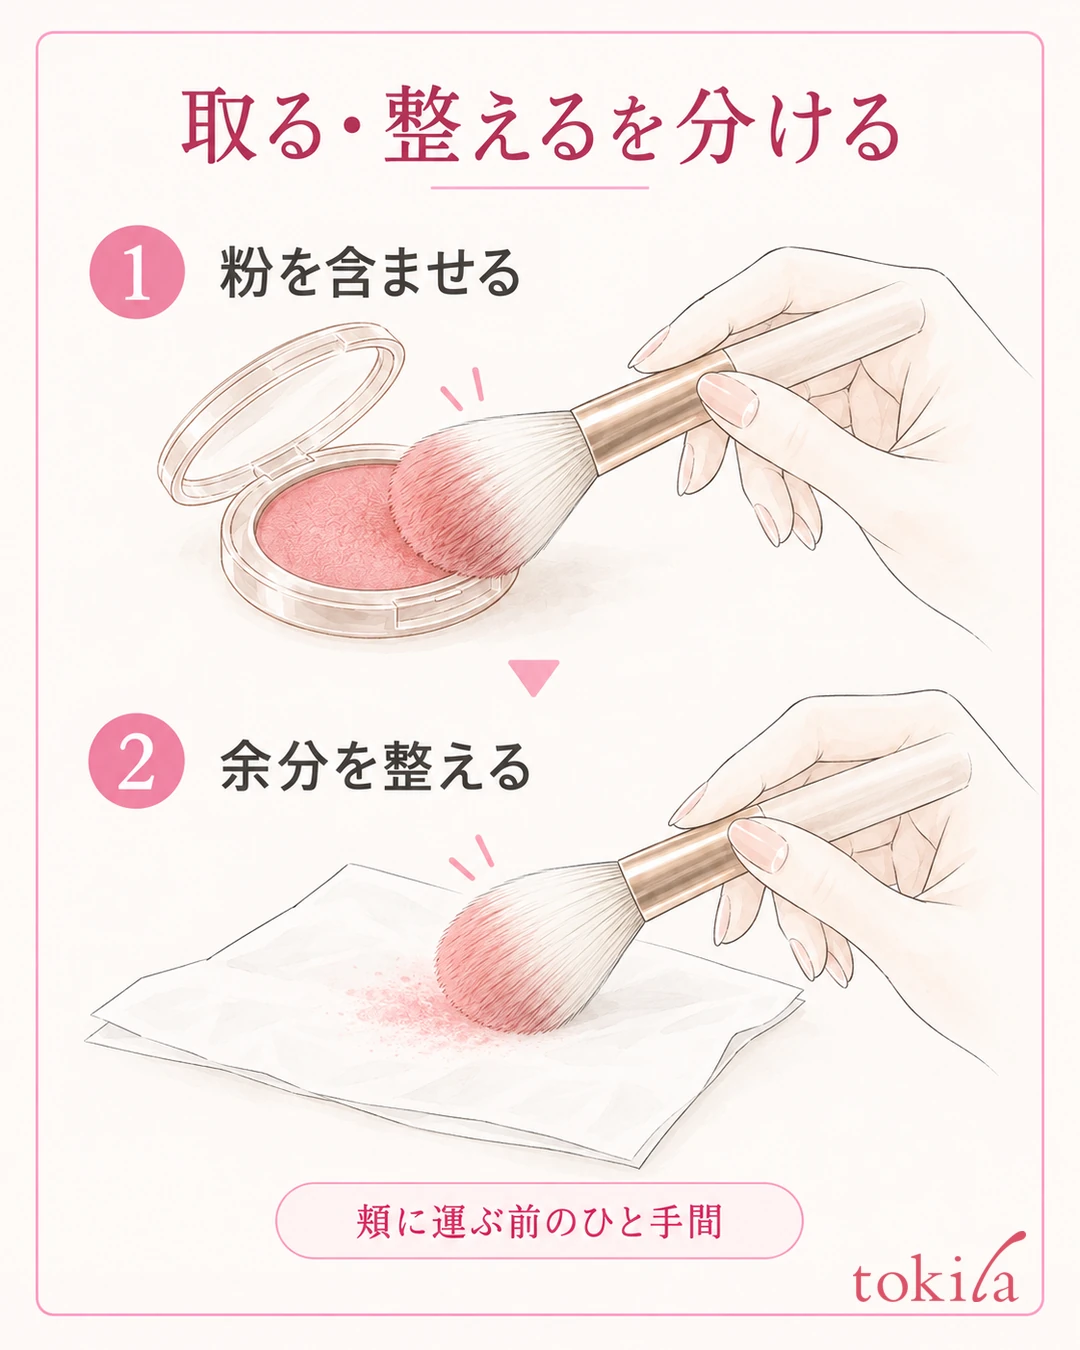
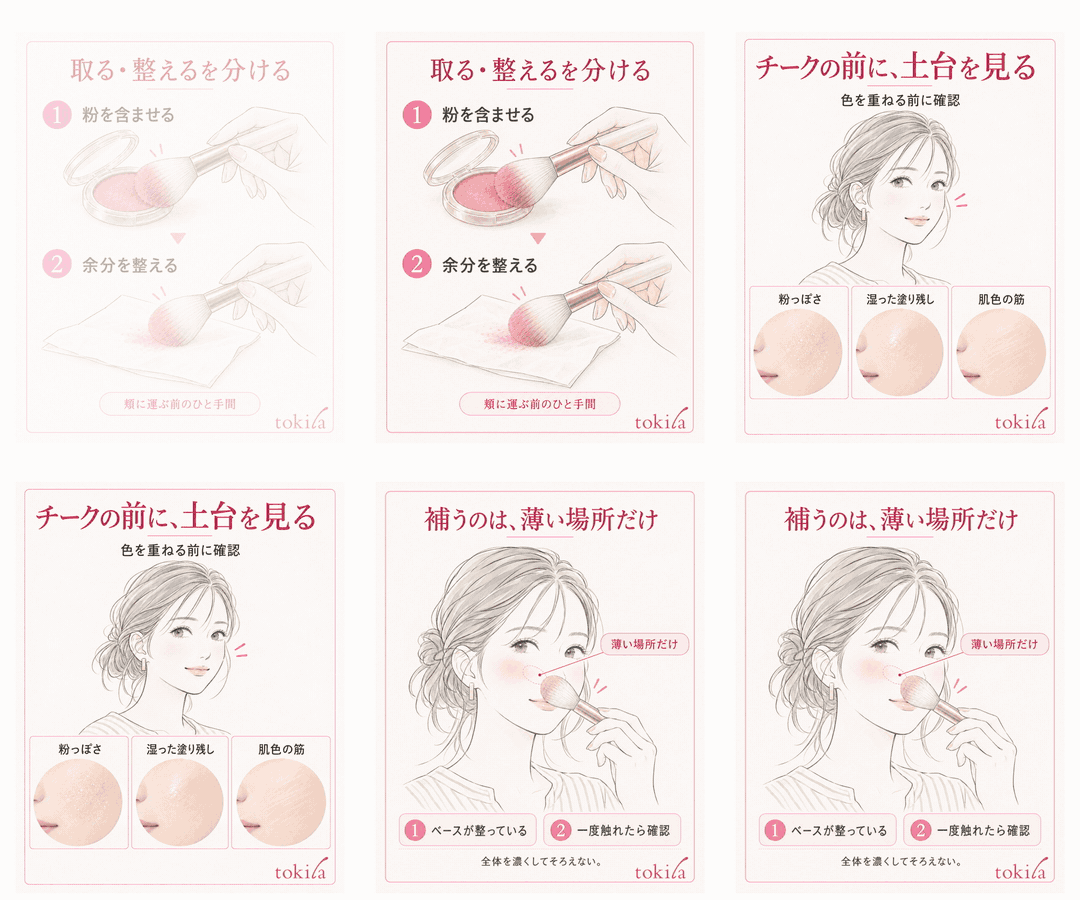
Are you so focused on reducing the powder that you touch only part of the bristle tips and carry that to your cheeks? Picking up the powder and adjusting how much goes onto your skin are separate steps.
First, use the brush or puff that your blush recommends. Do not pack the powder onto just one side of the bristles; work it into the surface you will use. There is no need to dig hard into the compact or crush the bristles to pick up a lot. For multicolor palettes with specified ways of picking up, follow those directions and mixing methods first.
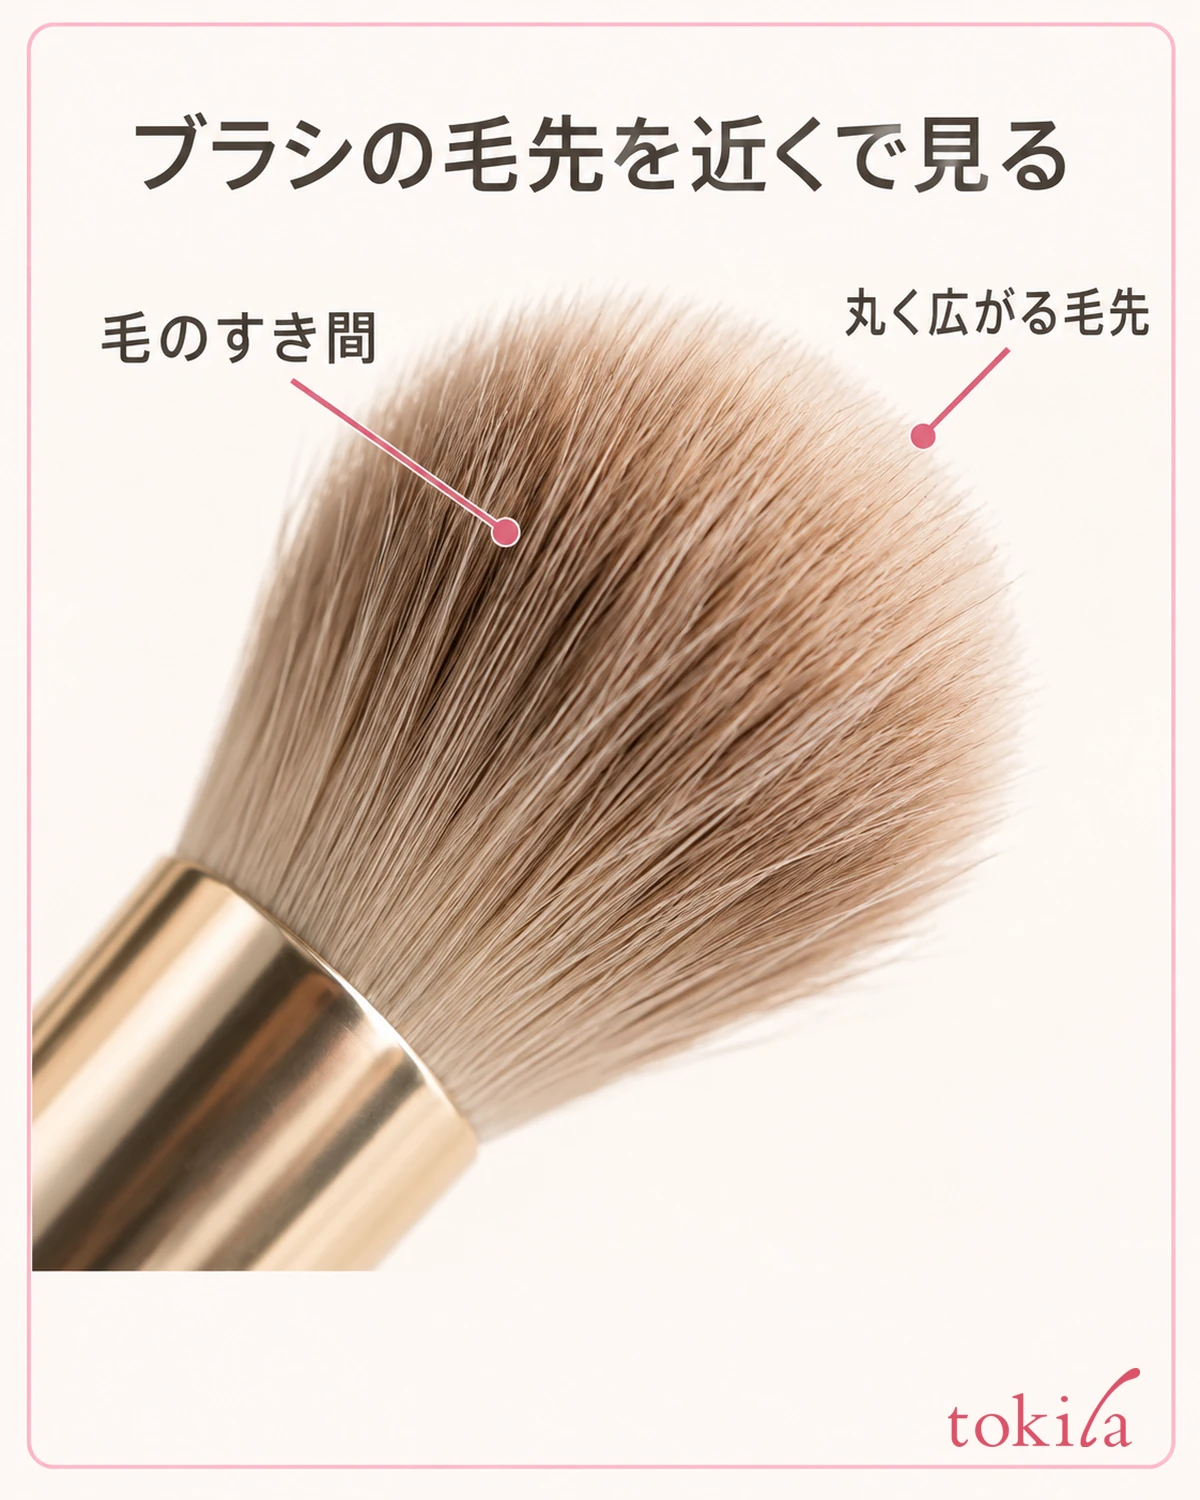
Next, lightly touch a clean tissue or the back of a clean hand to tidy the excess powder. Rather than shaking off all the powder to leave an empty brush, reduce the excess that would suddenly go on dark.
The color on the back of your hand is not for choosing the finished color on your cheeks; it is a clue for seeing whether the powder goes on strongly in one spot. A hand and a face, with different skin tones and bases, will not necessarily look the same. Do not pick up a lot more just because it looks light on your hand; try a light application on your cheek first, then decide.
If another blush or foundation is left on the brush, it becomes hard to follow how this color is going on. If the bristles are clumped, feel stiff or are wet, check how to care for them rather than putting them straight into the powder. Match whether it can be washed, what to wash it with, and how to dry it to the tool's labeling.
Even a small included brush can be an option if the working surface and the range of movement match. Do not assume that buying a larger brush will always remove patchiness. The amount of bristles and how they pick up powder differ, so do not treat the same number of passes as the standard for the right amount; treat picking up, tidying and testing on your cheek as one set.
3. Check the condition of the base on your cheeks before layering blush

In the morning, look at your cheeks once before applying blush. Are there faint streaks of foundation, dry powderiness or moist uncovered spots? If you know the condition before applying color, you can tell whether patchiness that appears later comes from the blush color or from changes in the base.
Work skincare in with the amount of the product you have, and do not rush to layer the next step. Keep this separate from the step of adding a lot of cream to your cheeks right before applying blush.
If the base is still moist and shifts easily, do not try to dry it by rubbing a brush over it again and again. Work it in according to the product's directions, check the surface, and then move on to blush. Do not assume a waiting time that applies to all products; check the instructions for each foundation and blush.
When you tidy excess base, use a clean sponge or similar that suits your product, press lightly and lift away. Rather than dragging the same spot sideways to keep thinning it, look at the change after one touch. If touching creates more streaks of skin tone, the order is to fix the base in that spot before layering blush on top.
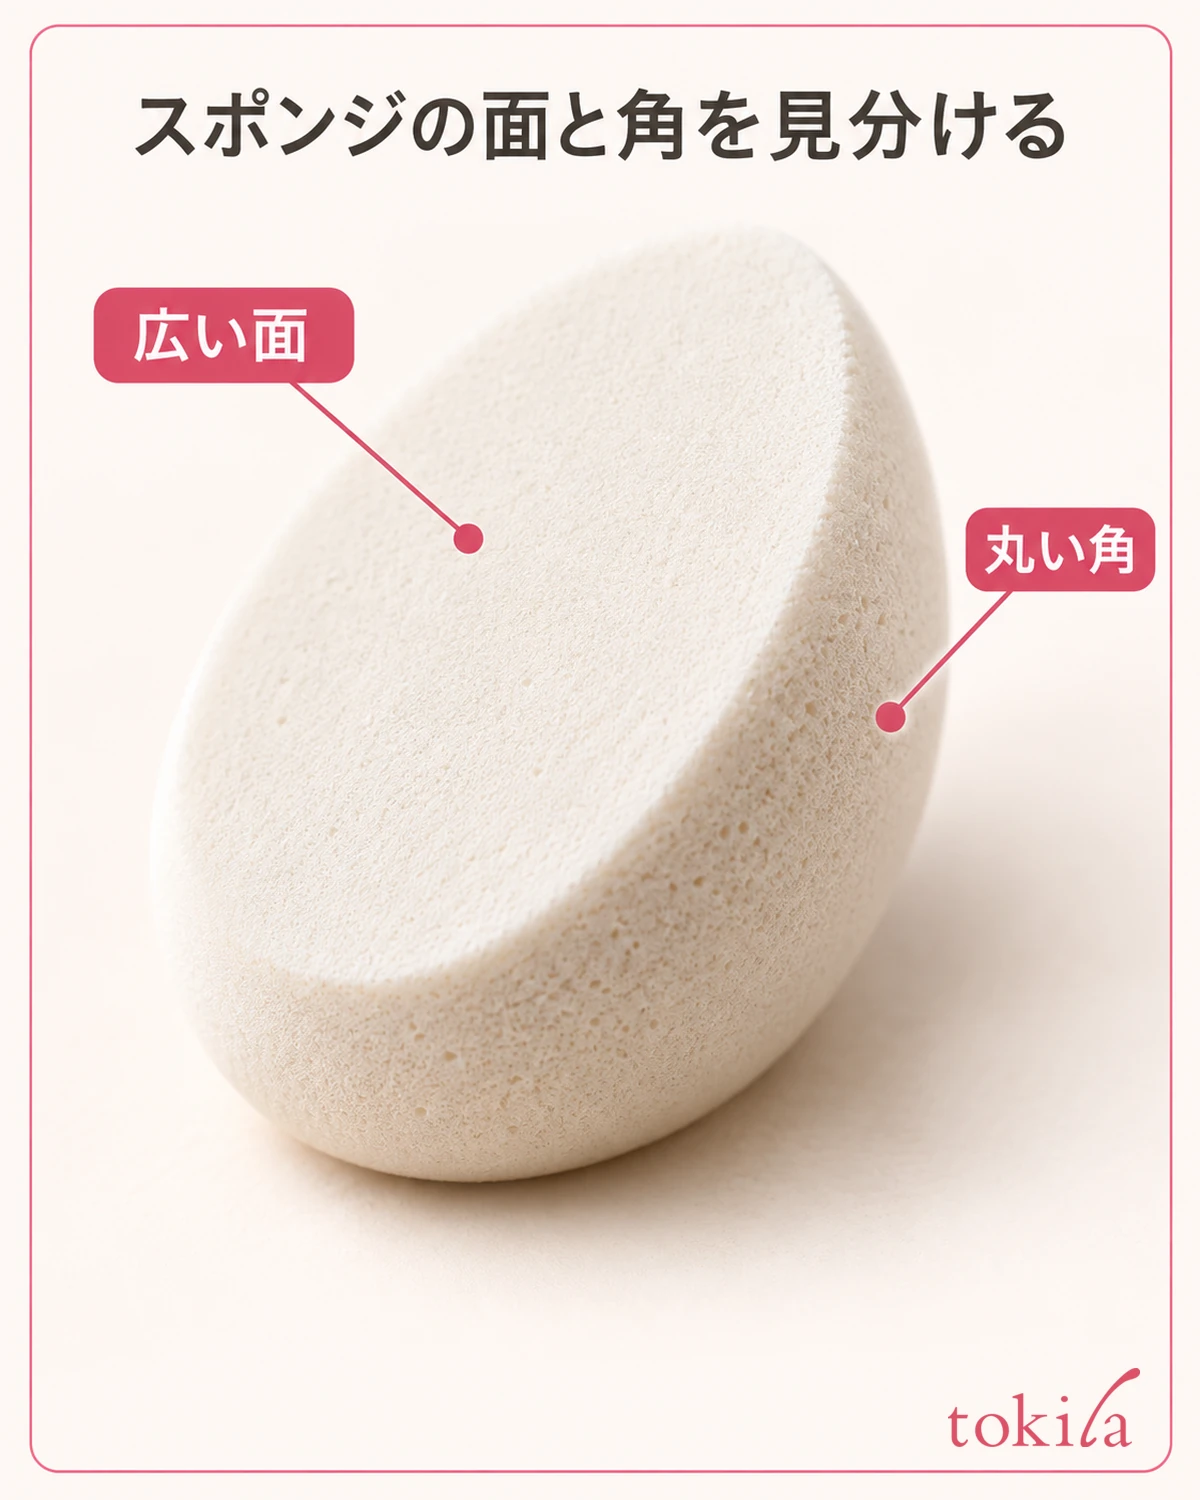
Whether to use face powder before powder blush depends on how your base finishes and what the product specifies. Do not decide that you must always build a thick layer of powder to prevent patchiness. When you layer more over an area that is already powdery, review the working surface and the tool before increasing the amount.
If it turned patchy during the day along with shine or dryness, do not blame only how you picked up powder in the morning. the order for touching up makeup according to how it has broken down is a reference; tidy the surface of your cheeks first, then put back the color that is lacking. For areas where you removed makeup, add the moisturizer and base you need, along with UV protection.
4. Apply lightly once, then add only where color is lacking

Decide the area where you will apply color and put it on your cheeks once with light pressure. You can adjust the position to your features and the impression you want. Rather than trying to cover a wide area from the start, try within the range you usually use, then lift the brush from your skin and look in the mirror. Do not press so hard that the bristle tips are deeply crushed.
The point this article wants to confirm is not to concentrate color by jabbing a single spot with only the tip, but to match the brush you use and the product's instructions.
After applying once, if it fades gently from the center outward, there is no need to apply the same depth all the way to the outside. If there is a small area with no color along the way and the base underneath is smooth, add a small amount only there. Do not even out the whole surrounding area to the same color while layering over the darkly colored patch.
When adding more, repeat from the step of picking up powder and adjusting the amount. Lightly touch the surface of the bristles to a light spot and check the connection with the surroundings in a small area. Instead of leaving the applied spot as a big round mark, stop at a depth that blends gently into the color already there. There is no need to copy the application amounts in the illustrations as numbers.
If only the edge stands out, one option is to lightly blend near the outer edge with a clean brush that has no new color on it. Do not make it a method of buffing the entire cheek over and over. If changes appear, such as the color spreading or more streaks appearing in the base, stop once instead of continuing until it looks light.
Look at both cheeks in the same light with the same expression. Even if one side looks lighter, first check whether the darker side is stronger than you like. If you increase everything to match the stronger side, the patchiness may become less noticeable but the finish gets darker. You can also judge whether you need to add more by looking at your whole face with lips and eyes finished.
5. If patchiness remains, review the type and the area to fix
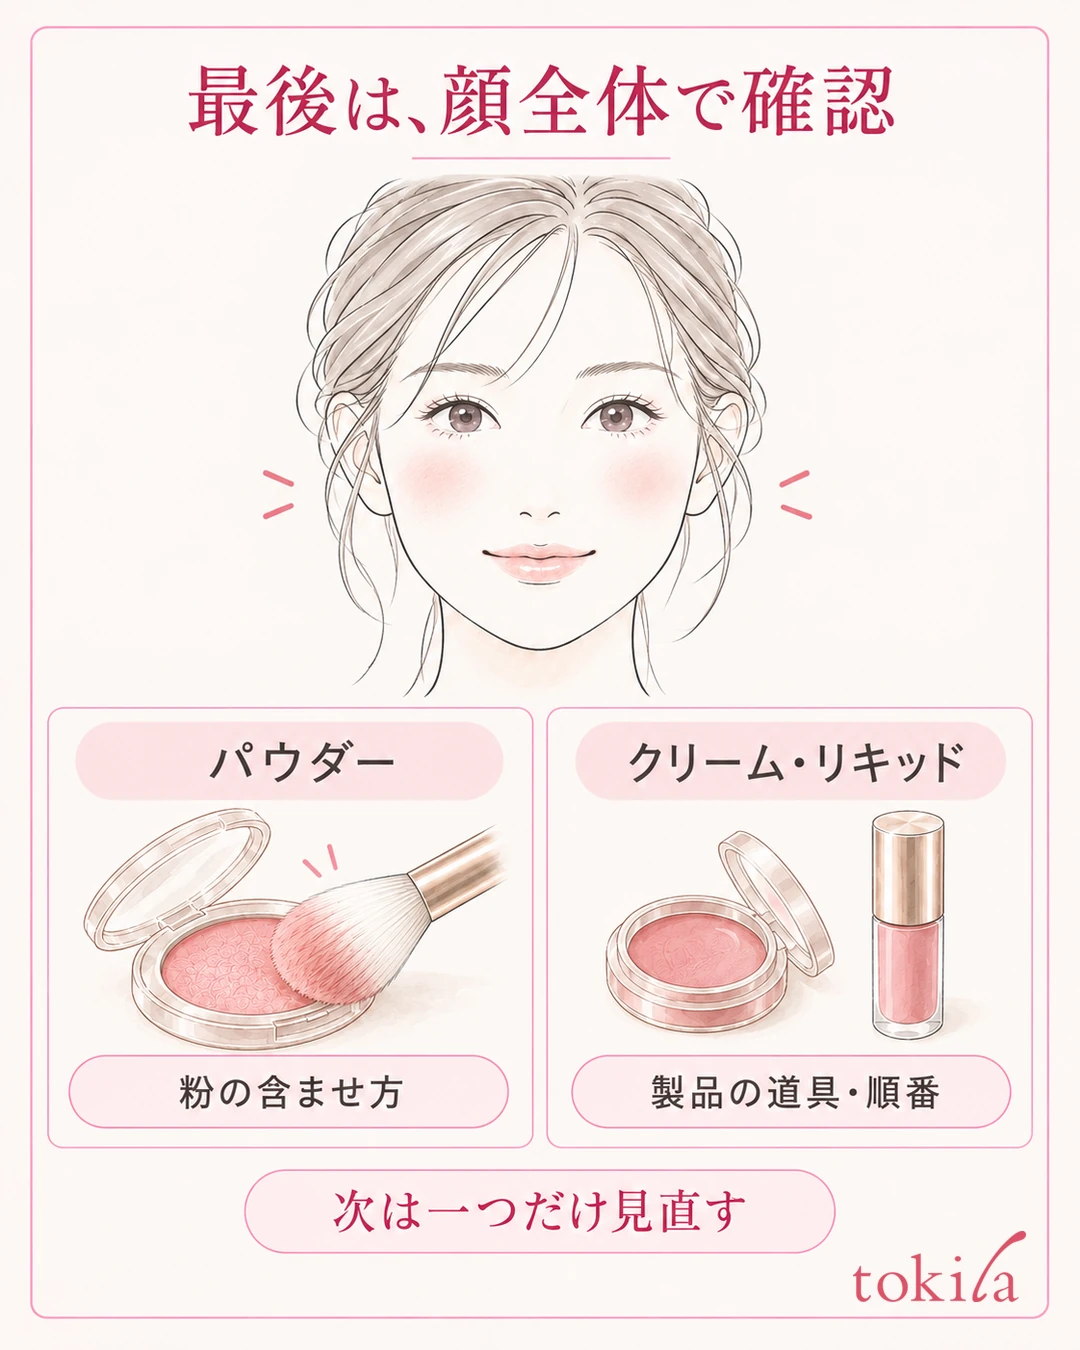
If it is still patchy after a light touch-up, check again whether the powder is insufficient, the color has adhered and will not move, or the base is damaged too. Before adding a lot of blush or concealer to fill in unevenness, decide whether you can keep the current layer and add to it.
For cream and liquid blush, do not apply the powder technique of brushing off excess as it is. Check the tool and order the product recommends, such as fingers, a sponge, a brush or direct application. Do not fix this method for every cream blush.
For products you blend with your fingers, pick the product up on a clean finger as directed and spread the color in a small area. For fast-drying products, handle them in the order the product directs rather than placing lots of dots on both cheeks and blending them all at once. Do not try to even out color that no longer moves by rubbing it over and over.
On days when adding thin layers only increases streaks and patchiness, one option is to remove the blush and base in that area and start over. Handle a small area according to the directions of the remover you use, then take care of aftercare, moisturizer and the base you need. When touching up, do not keep expanding the outer edge; return the color lightly and check once.
Lastly, next time change just one of these: the surface where you load powder, the base on your cheeks, or where you layer. Tie observation to change: if “only the first point of contact is dark,” prepare the brush; if “streaks of skin tone also form,” look at the base and your pressure. You can check how to care for your tools in how to wash and dry brushes and sponges.
Rather than erasing all gradation, take as your marker that the color you need connects naturally and that you stop where the whole face is close to what you like. On days when patchiness bothers you, separate the conditions before reloading powder, and set up your tools and base. If you apply once, check, and narrow down where to add, you will also notice more easily when you are layering too much.



