
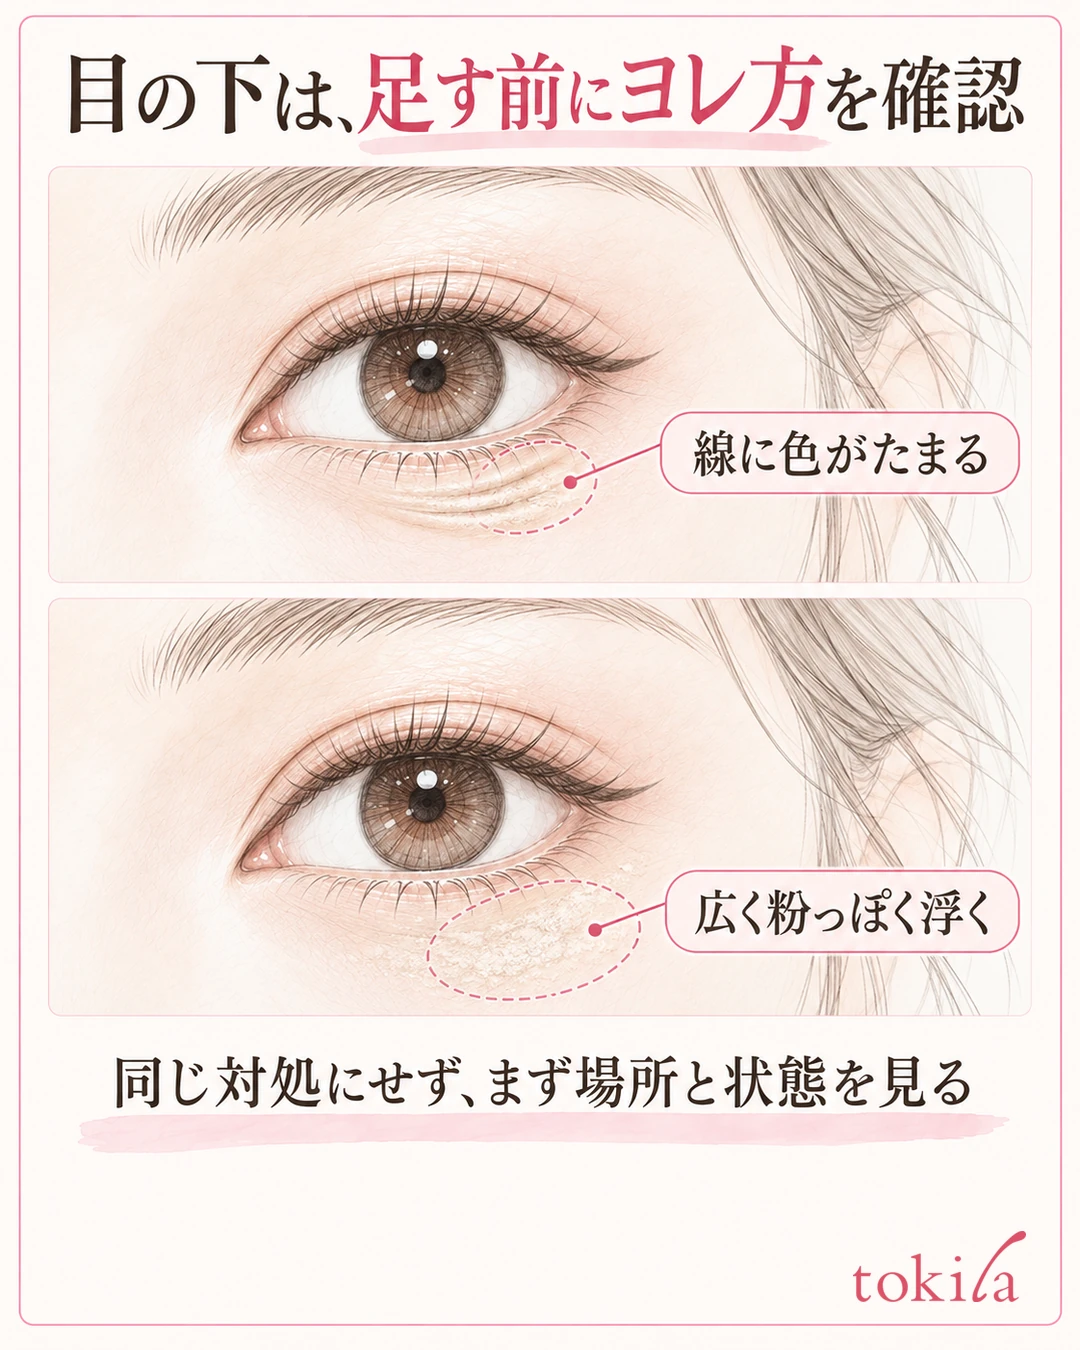
When under-eye concealer creases, first find where the color has gathered, smooth it out without adding more, and only then add color where it is still lacking. In your morning makeup, decide which spot bothers you and start with a small amount. Before going over the whole under-eye area again and again, review the total of the amount, the area, and the base layers underneath. If the coverage is still there once you have smoothed it, you can stop without adding anything.
This article focuses on the steps for smoothing creases in under-eye base makeup. For how to use concealer on other areas such as pores and spots, see Concealer basics. Rather than trying to diagnose the type or cause of dark circles from the mirror alone, let's check how much makeup you used today and how you applied it.
1. Check whether color is settling into lines or looking powdery
When you look at your under-eye area in the mirror, tell apart two things: beige color gathering in fine lines, and a wide area that looks powdery and sits on top of the skin. Also note whether it looks thick right after application, or whether it gathers in certain spots as time passes. However, do not settle on a single cause from how it looks or when it happens alone; use when and where it bothered you as a clue for adjusting the amount and the area.
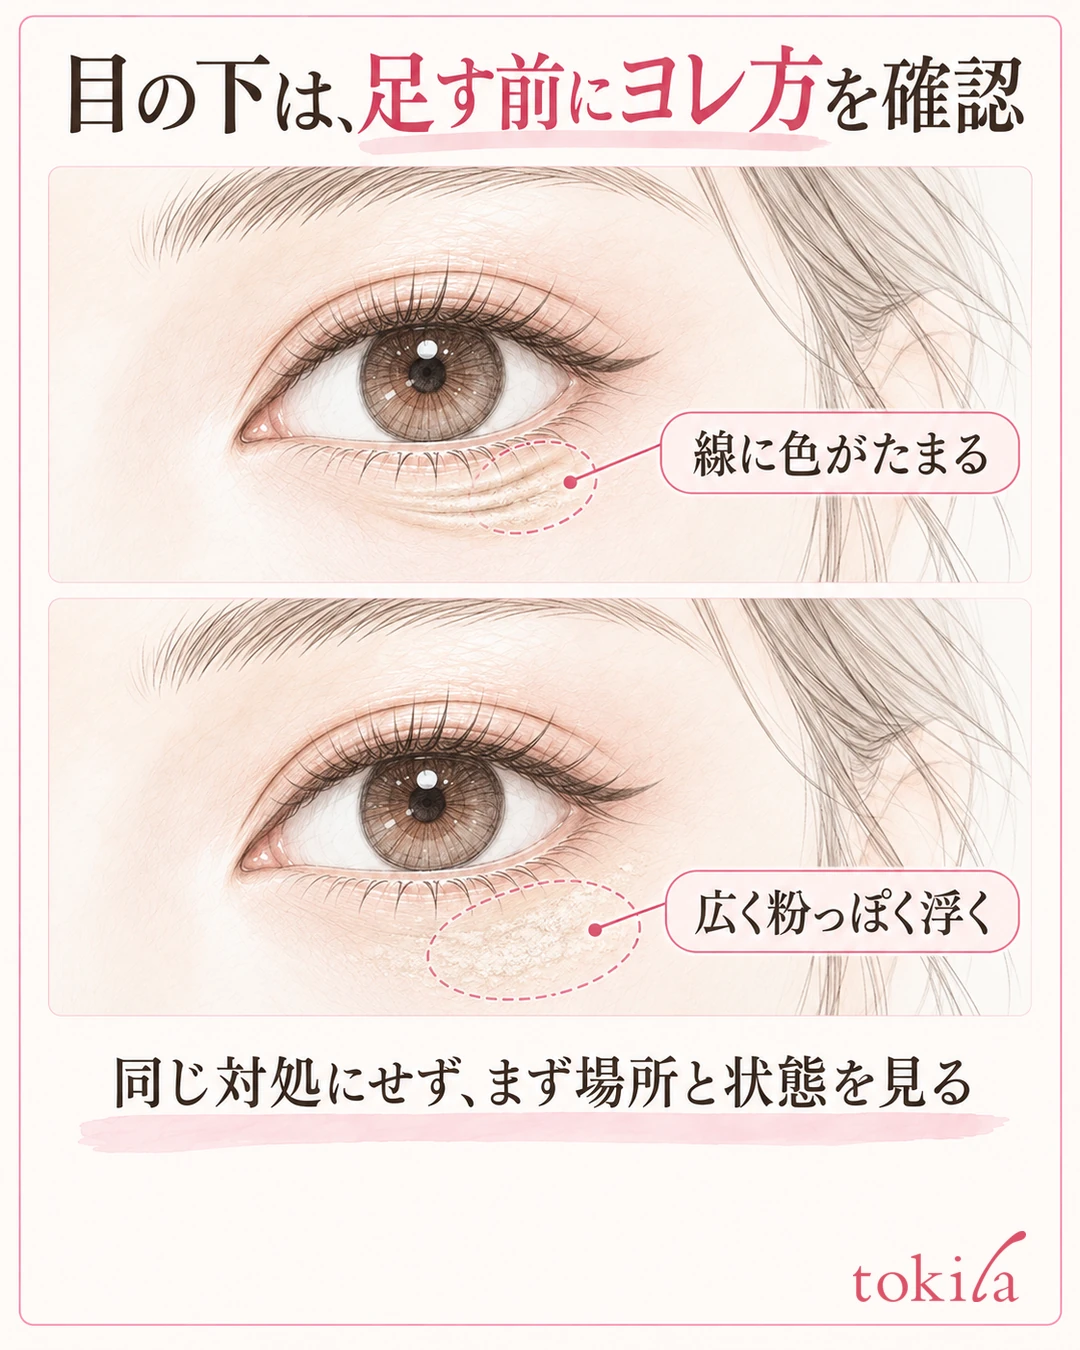
If the color has only faded, it is time to add some, but adding more to a spot where color has already gathered can easily build up thickness. At first, do not add anything, and look at how it appears after you have smoothed the creases and blended the edges. It is also important not to try to fill every visible line with concealer.
You do not have to assume that the under-eye area looks dark only because of the thickness of your makeup. Shadows can also change with the angle of your face and the light. Here, rather than classifying the condition of the skin itself, compare before and after applying under the same conditions, and check the area you have changed with makeup.
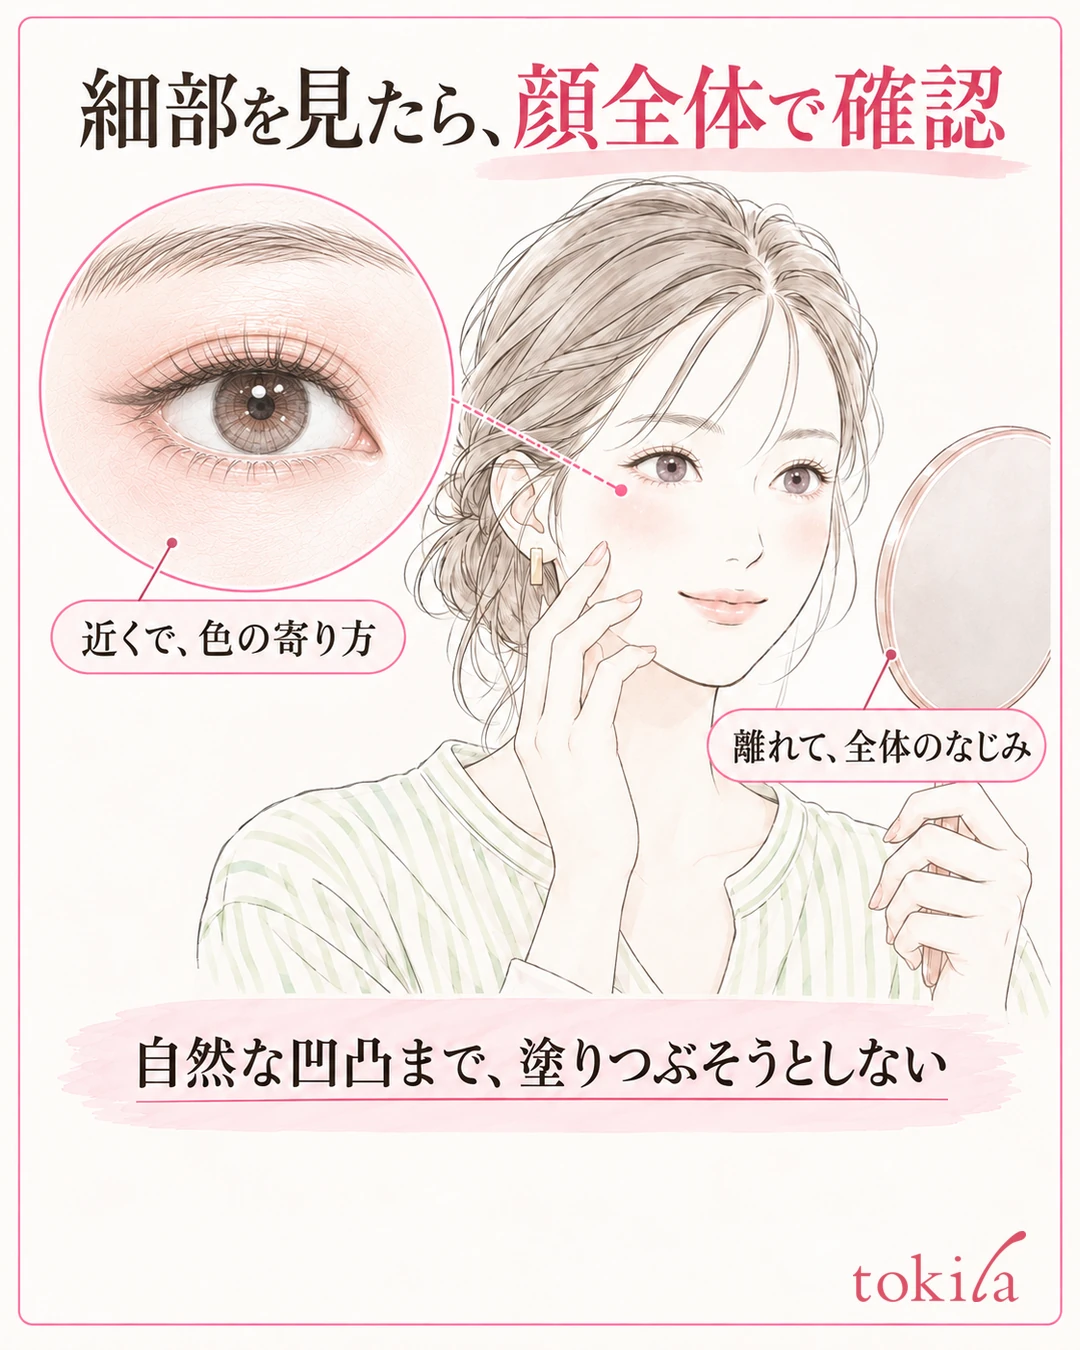
After getting close to the mirror, step back to a distance that shows your whole face
Up close, check where the color has gathered and how it is sitting. After that, look at the finish from a distance where your whole face fits in the mirror. If you concentrate only on the magnified eye area, you may feel like covering up even the natural contours and shadows, and end up using more coverage than you need.
After looking straight on, move your face slightly left and right and check the same spot. Instead of judging only by a mirror with strong light from below, also look at it under your usual indoor lighting, which makes it easier to tell shadow changes from color edges. Rather than comparing under different lighting each time, try to keep the conditions the same.
Even when you record it with photos, your smartphone's correction can change how the skin looks. Make checking in the mirror your main method, and use photos only as an aid to remember the position. Do not finish with the skin pulled flat around your eyes; check your face after it returns to its natural state, too.
2. Blend skincare and primer, and keep the base around the eyes thin
Before makeup, blend in your usual skincare and primer following the method for each product. Check whether anything extra is left on the surface, for example right after layering a lot of cream under the eyes. It is not a choice between skipping moisturizer or using more; check the amount you use and how well it blends in.
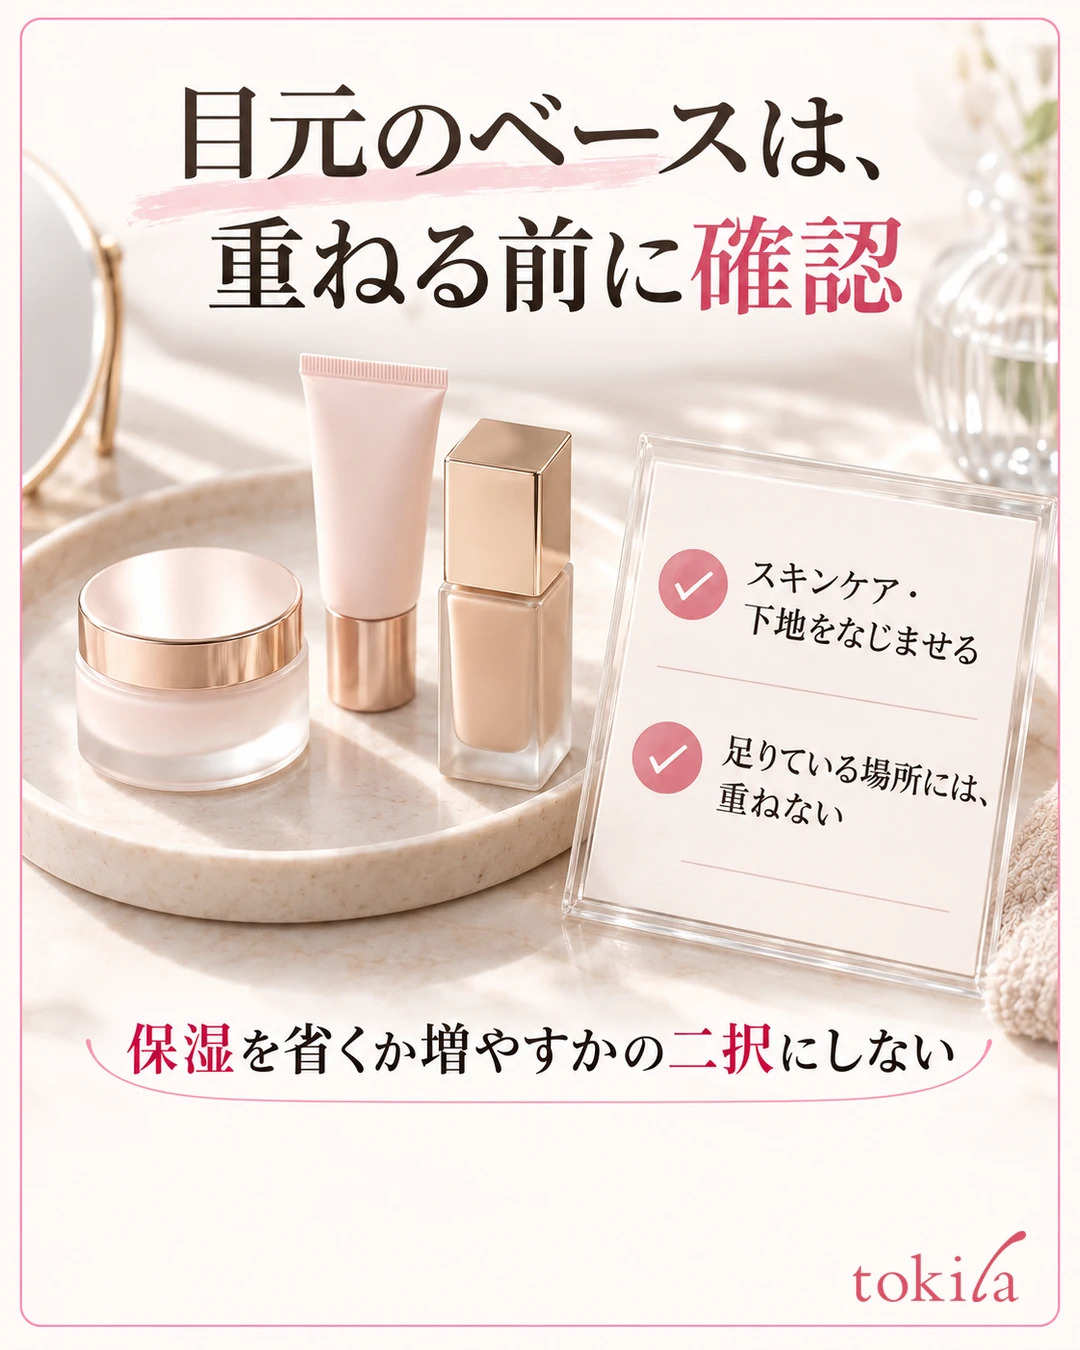
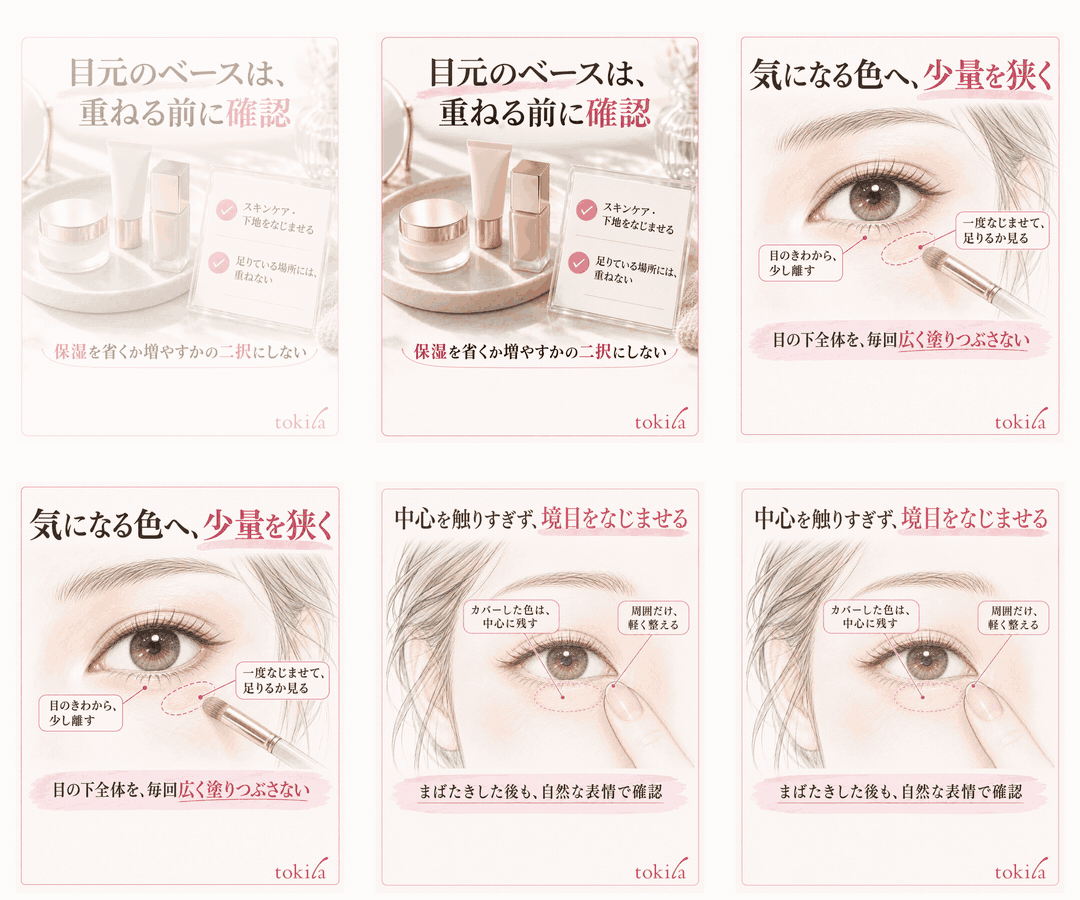
If you apply foundation thickly under the eyes and then layer concealer over the same area, it becomes hard to tell the total thickness. For spots that no longer bother you with foundation alone, there is no need to add the same amount again. Decide in advance where you will use concealer.
If dry-looking skin bothers you, do not use a lot of powder to try to hide the surface, either. Check with the items you own whether they can be used around the eyes, and check the amount to use and any cautions. If you notice irritation to your skin or eyes, do not continue the step of layering concealer, and reconsider its use.
Check the order for using concealer by the product and the type of foundation
The basic order is liquid or cream foundation, then concealer, or concealer, then powder foundation. However, if an individual product gives its own instructions, follow those first.
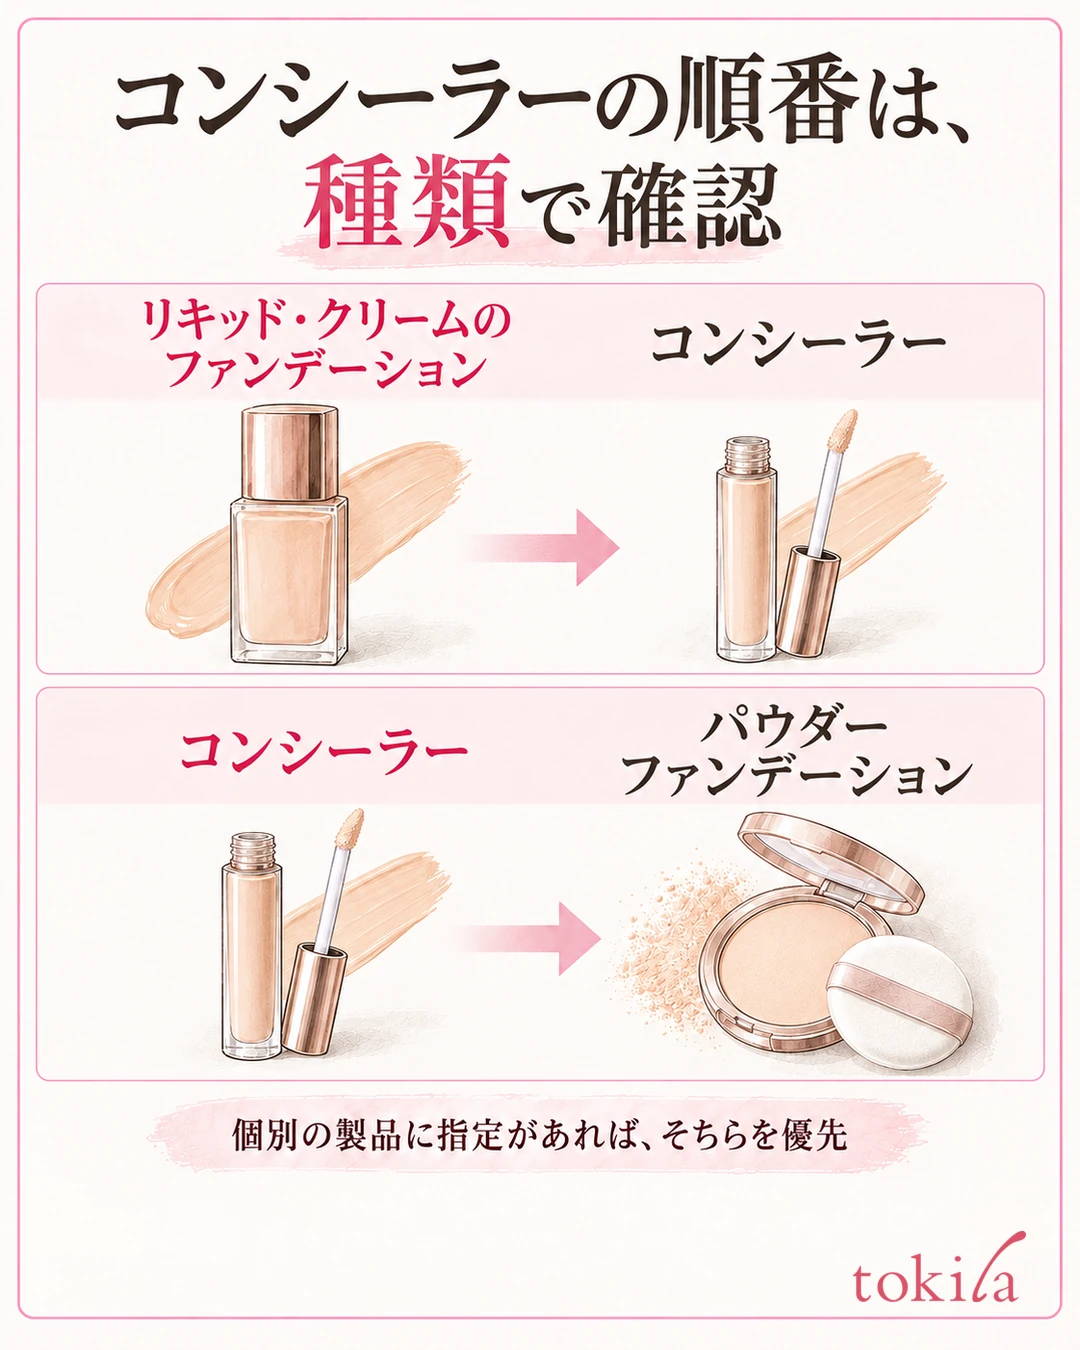
Before changing the order, check your current combination and how much you apply. The key is not to try to solve creasing just by changing the order while still using a lot of primer, foundation, and concealer. Try writing down how many layers you have under your eyes.
If you add a new product, keep the other conditions the same and try it in a small amount. If you change the primer, foundation, and concealer all at once, it becomes hard to tell which one affected the finish. Change one comparison condition at a time, either the order or the amount.
3. Apply a small amount narrowly to the spot with the color that bothers you
Before applying concealer, check where the color you want to cover is. Do not make it a routine step every time to fill the whole under-eye area with a big triangle. Pick up a small amount for the position that needs it, and after blending, judge whether it is enough.
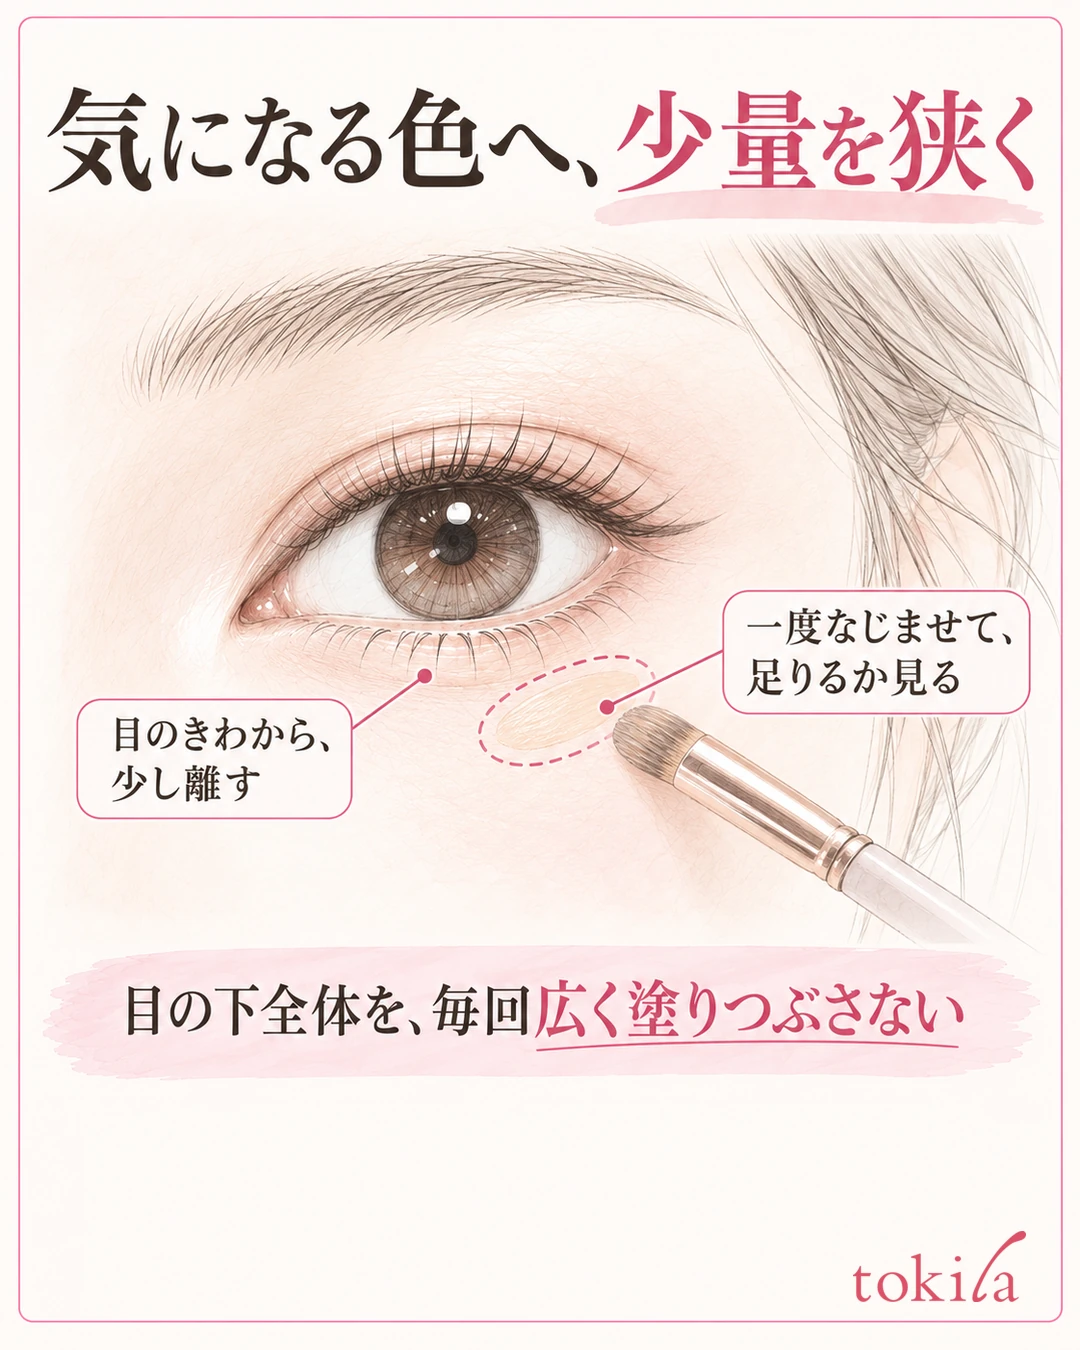
Do not apply a fixed amount or number of dots to every product; follow the instructions for the product you own.
Before applying a large amount right at the edge of the lower eyelid, check whether that spot needs coverage. Check the area where you use it on the skin so that your tools do not touch your eyes or mucous membranes.
Blend once, then layer only where it is still lacking
Once you have applied the color, blend it lightly with a tool that suits the product, such as a finger or a sponge. Rather than going back and forth strongly many times, proceed while watching the color you want to keep and the edges around it. If you spread it all the way out over a wide area of the cheek, the coverage can become thin even where you need it.

Look at the smoothed result in the mirror and add only to the small spots where the color still bothers you. Each time you add, do not widen the area you apply to. Rather than layering the same amount as the first time again and again, check where it is lacking and change the amount.
If the color keeps coming off the more you blend, or it disappears each time you add more, review the amount you pick up on the tool and how many times you touch it. Check also whether cream left on your hands is having an effect, and whether the sponge surface is clean. For preparing your tools, see Care for makeup brushes and sponges as well.
4. Do not touch the center too much, and blend the surrounding edges
Rather than rubbing the covered area many times to thin it, look at whether the applied color connects with the surrounding skin. Lightly smooth the edges while keeping the color you want to leave in the center.
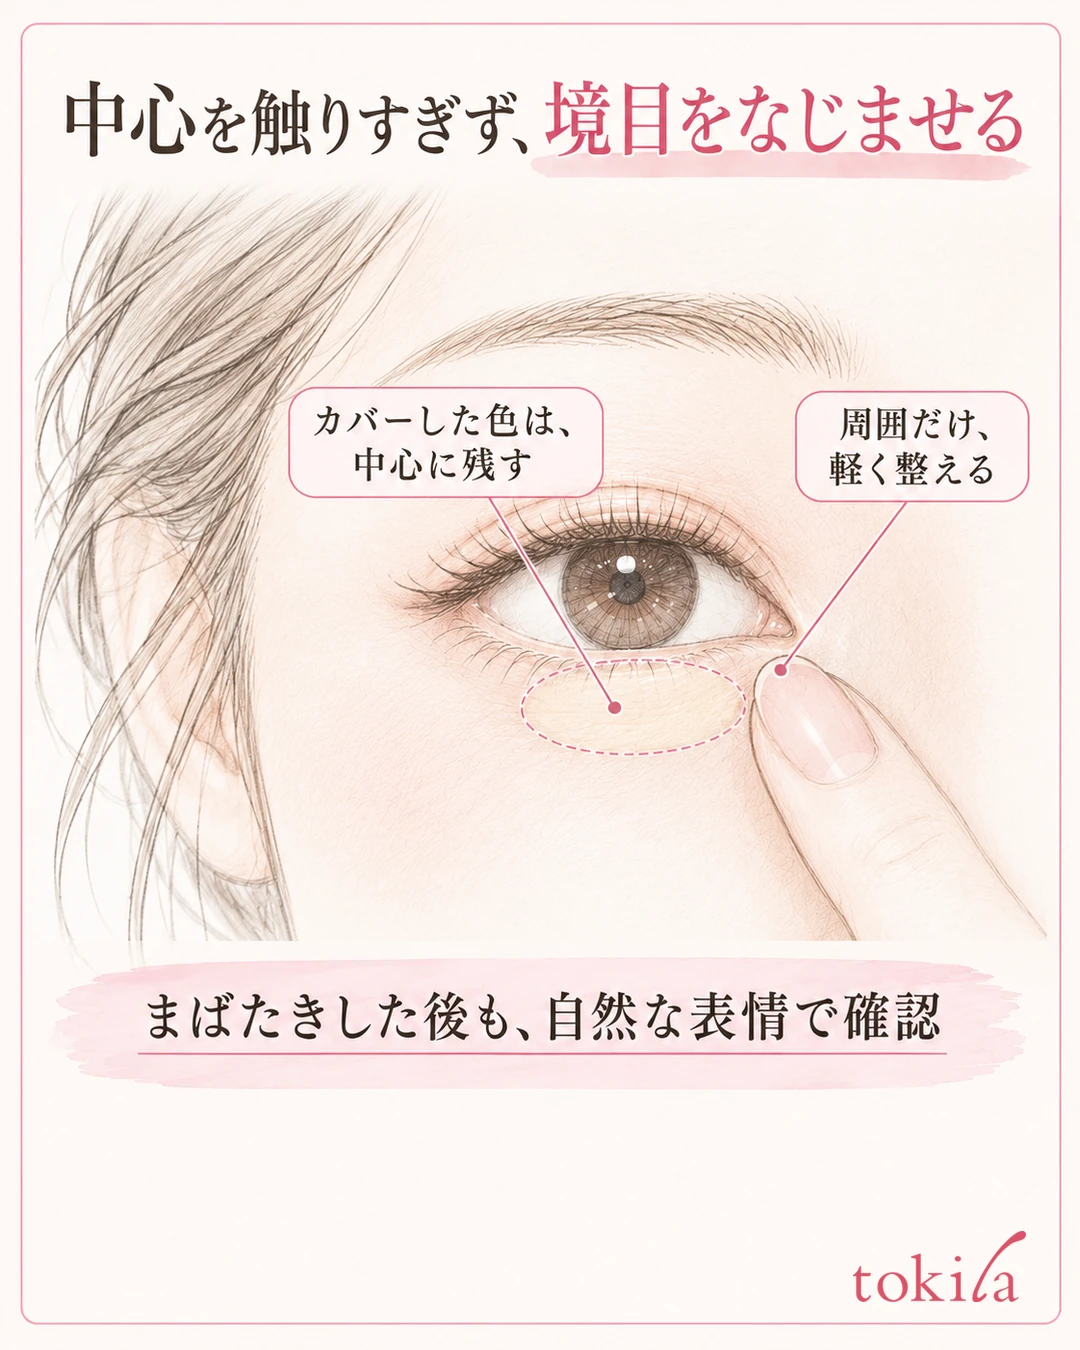
If only the color stands out, check the brightness as well as the amount. If you keep layering a light color, only the under-eye area may look like a band. Rather than continuing to add both the color for coverage and the brightening use in the same step, look at your whole face and decide.
Rather than applying the same number of times on the left and right, check whether the places that need it look even. If the color on one side is already enough, you do not need to add more just to match the number of times. Return to a natural expression, check the edges after blinking, and then move on to the next step.
If you use powder, layer it thinly over the area you need
If you use powder to set the concealer, use a small amount after blending it. If creases have already formed, do not pile powder on thickly as it is; smooth the gathered areas first and then use it. Choose a tool that suits the powder and the area of use, such as a clean, dry puff or brush. Do not try to erase lines by adding powder again and again.
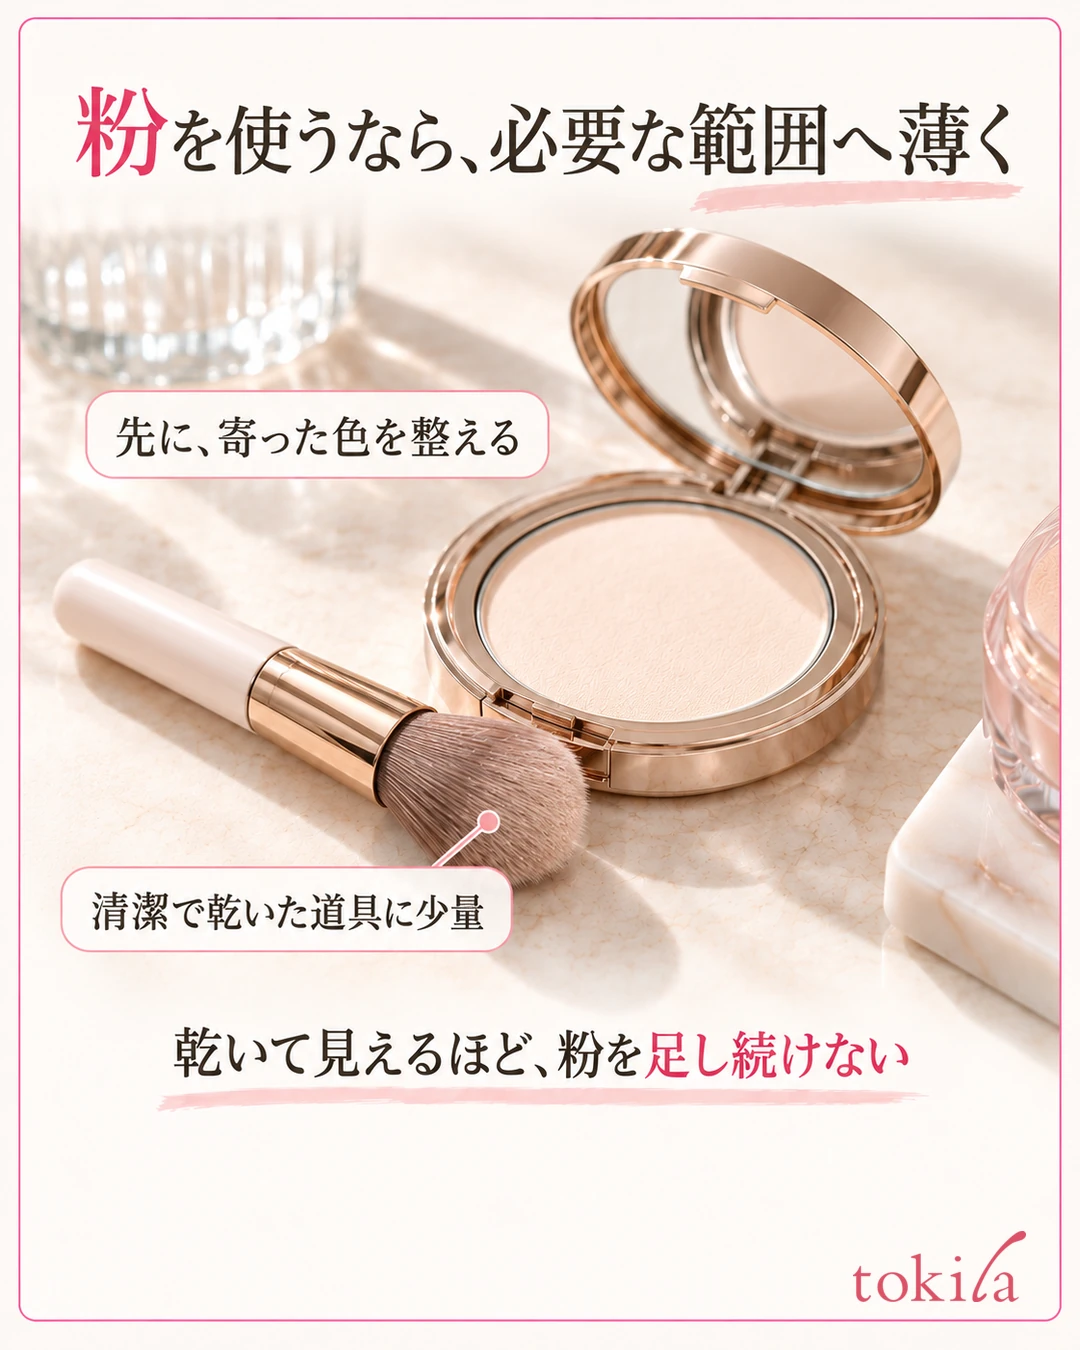
Check how to use the powder around the eyes as well, and adjust any excess on the tool before touching it to the skin. Use it lightly on the position you need, and keep powder from getting into your eyes. Erasing all the glow under the eyes is not a common goal for preventing creasing.
If the areas that look dry become more noticeable the more powder you add, stop adding and check. How you use powder also changes depending on the finish of the concealer itself and the product's instructions. If you compare using less powder, keep the other items and amounts the same so that you can tell which step you changed.
5. When you are out, smooth the creases first, then add only the color you need
When touching up, first look at the condition under your eyes. For places where color has gathered in lines, lightly smooth them with a clean finger or a surface of a sponge that has no color on it. Rather than wiping the whole under-eye area hard, check only the spots that bother you. For a powdery look, also check the instructions for moisturizing items that can be used over makeup.

When adding color, apply a smaller amount than in the morning, gently, and use it by placing it rather than rubbing sideways; this is said to be the key. Adjust the powder you use to suit the product and the finish.
If coverage remains after smoothing, it is fine to finish without adding concealer. Distinguish between tools for smoothing out the breakdown and tools for adding color, and avoid touching again and again with a dirty surface. If you are fixing other areas too, see Order for touching up makeup.
Next time, change one of the amount, area, or powder and compare
Briefly note where it creased today, how much you applied, and the area where you used powder. The next day, compare starting from one condition, such as using less concealer or narrowing the area you apply to. Rather than changing everything at once, it is easier to keep a record of which step suits you.

Keep the timing for checking the finish the same, too. Instead of comparing only right after the morning and in the evening, look at the same timings as the day before, such as right after applying and a little while later. Check not only whether the creasing has decreased but also whether coverage of the color you need remains.
With under-eye concealer, start by deciding where you need it before applying it widely and thickly. Prepare the base underneath, apply a small amount, blend the edges, and layer only after checking whether it is enough. Rather than erasing all the natural contours around your eyes, try the steps that balance color and thickness.
Written by the tokila editorial team. The editorial team organized adjustment steps you can try with the tools you already have.



