
You try to remove a press-on nail tip, and the edge moves a little but the center will not come off. The more you pull, the more it feels as if your natural nail is lifting too, and you may not know where to start. Before using more force, check what the tip was attached with. Adhesive tape and liquid glue do not necessarily call for the same tools or the same removal steps.
This article covers what to check before removing molded press-on nail tips applied at home, and how to decide what to do when you meet resistance partway through. It does not cover light-cured gel or artificial nails applied at a salon. If you have pain, bleeding, or any abnormality of the nail or skin, stop and consult a medical institution rather than trying to force the tip off.
1. Check what was used to attach it, and match it to the removal instructions
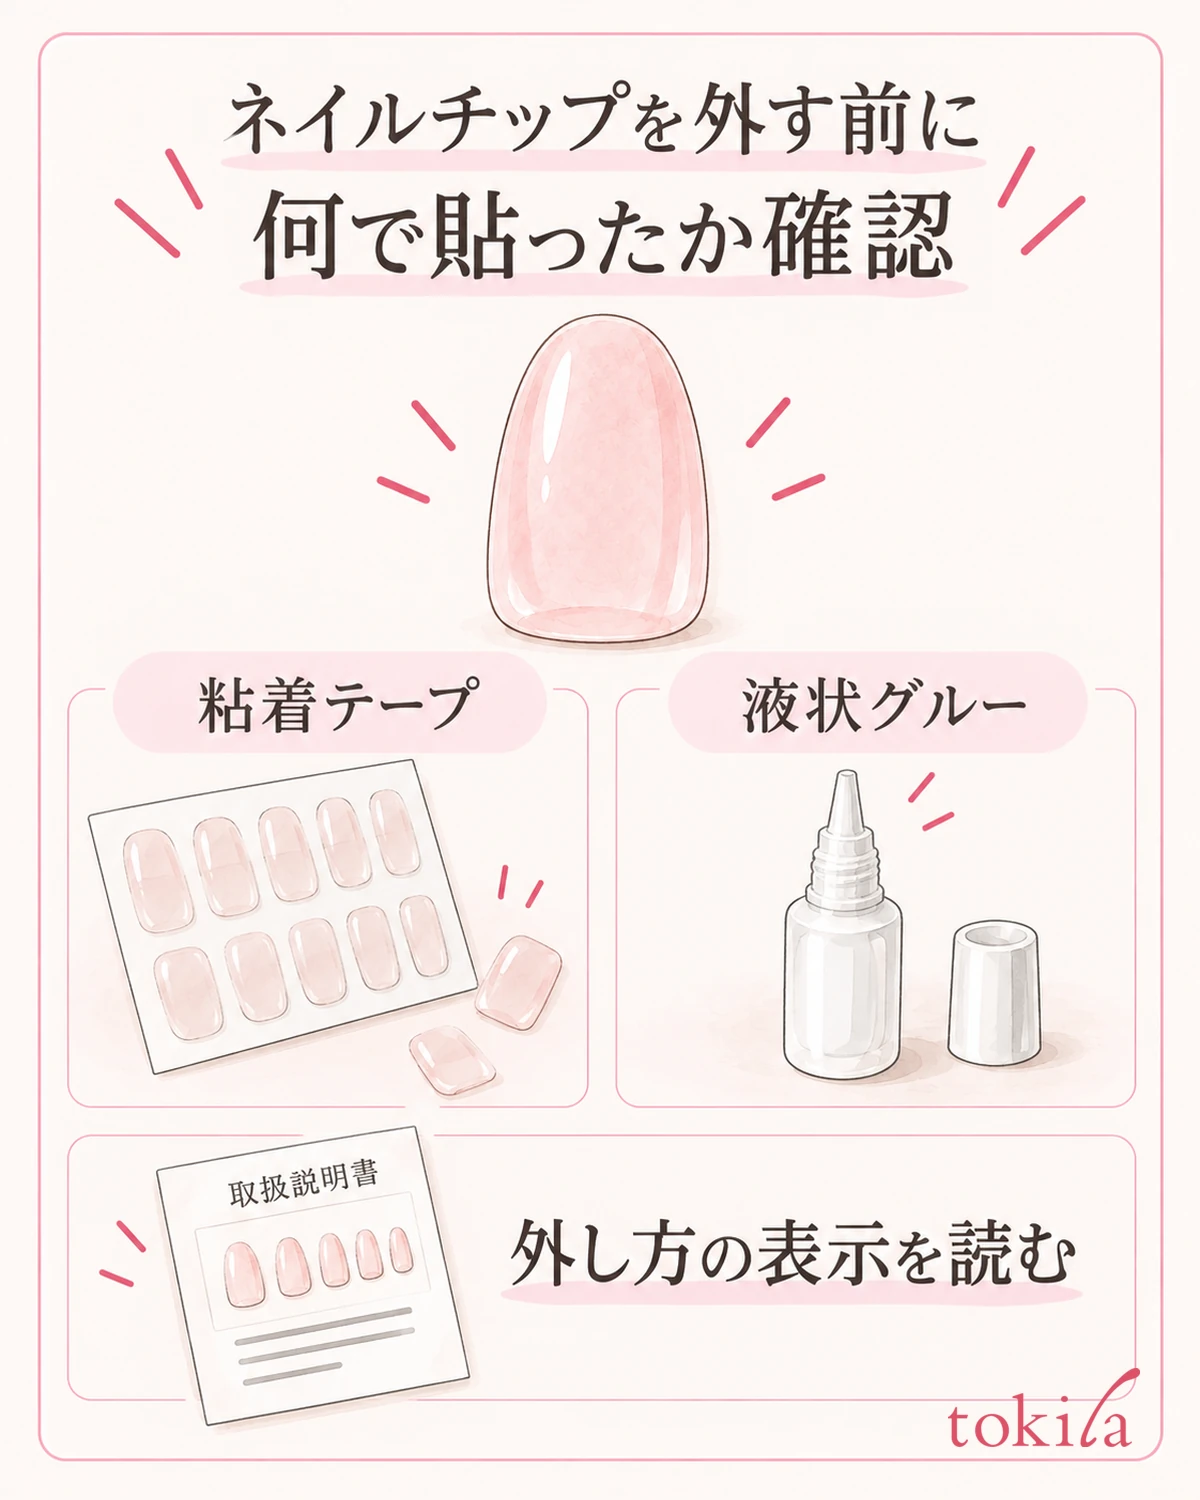
First, line up the box of tips you used and any separate containers of adhesive tape or glue. Recall whether the back of the tip came with adhesive already on it, whether you used a sheet of tape, or whether you applied liquid glue. The starting point is not to decide the type of adhesive from the design or firmness of the tip alone.
Next, read the removal method given for that combination. Beyond the tip's own instructions, if you used a separately sold adhesive, you also need the removal method for that adhesive. If you switched from the adhesive that came with the set to a different glue, do not assume you can simply use the removal method of the original set.
Even if a product says "nail remover," do not lump together polish remover, remover made for nail tips, and remover for gel. Check the intended use, the adhesives it can be used with, and the cautions about the tip material. Do not decide on suitability by whether it contains acetone alone; confirm from the label that it can be used with what you have.
Tips that look the same may be designed for reuse, or may be single-use once applied. Do not switch from the specified removal method to a different liquid just because you want to keep the design after removal. Think of keeping the design and removing the tip comfortably from your natural nail as two separate matters.
If you cannot tell what you used, do not push a tool into the gap to probe the type of adhesive. Check the remaining packaging and your purchase records, and hold off until you know the method. On days when you plan to remove tips in a hurry, preparing the tools for removal before you apply them makes it less likely that the steps will break down later.
If you used different adhesives on your two hands, note the correspondence finger by finger rather than hand by hand. For a finger where only part came off and you reattached it, check the adhesive you used last. Do not combine everything into one removal method just because all ten nails look the same.
2. Support the finger and have only the specified tools within reach
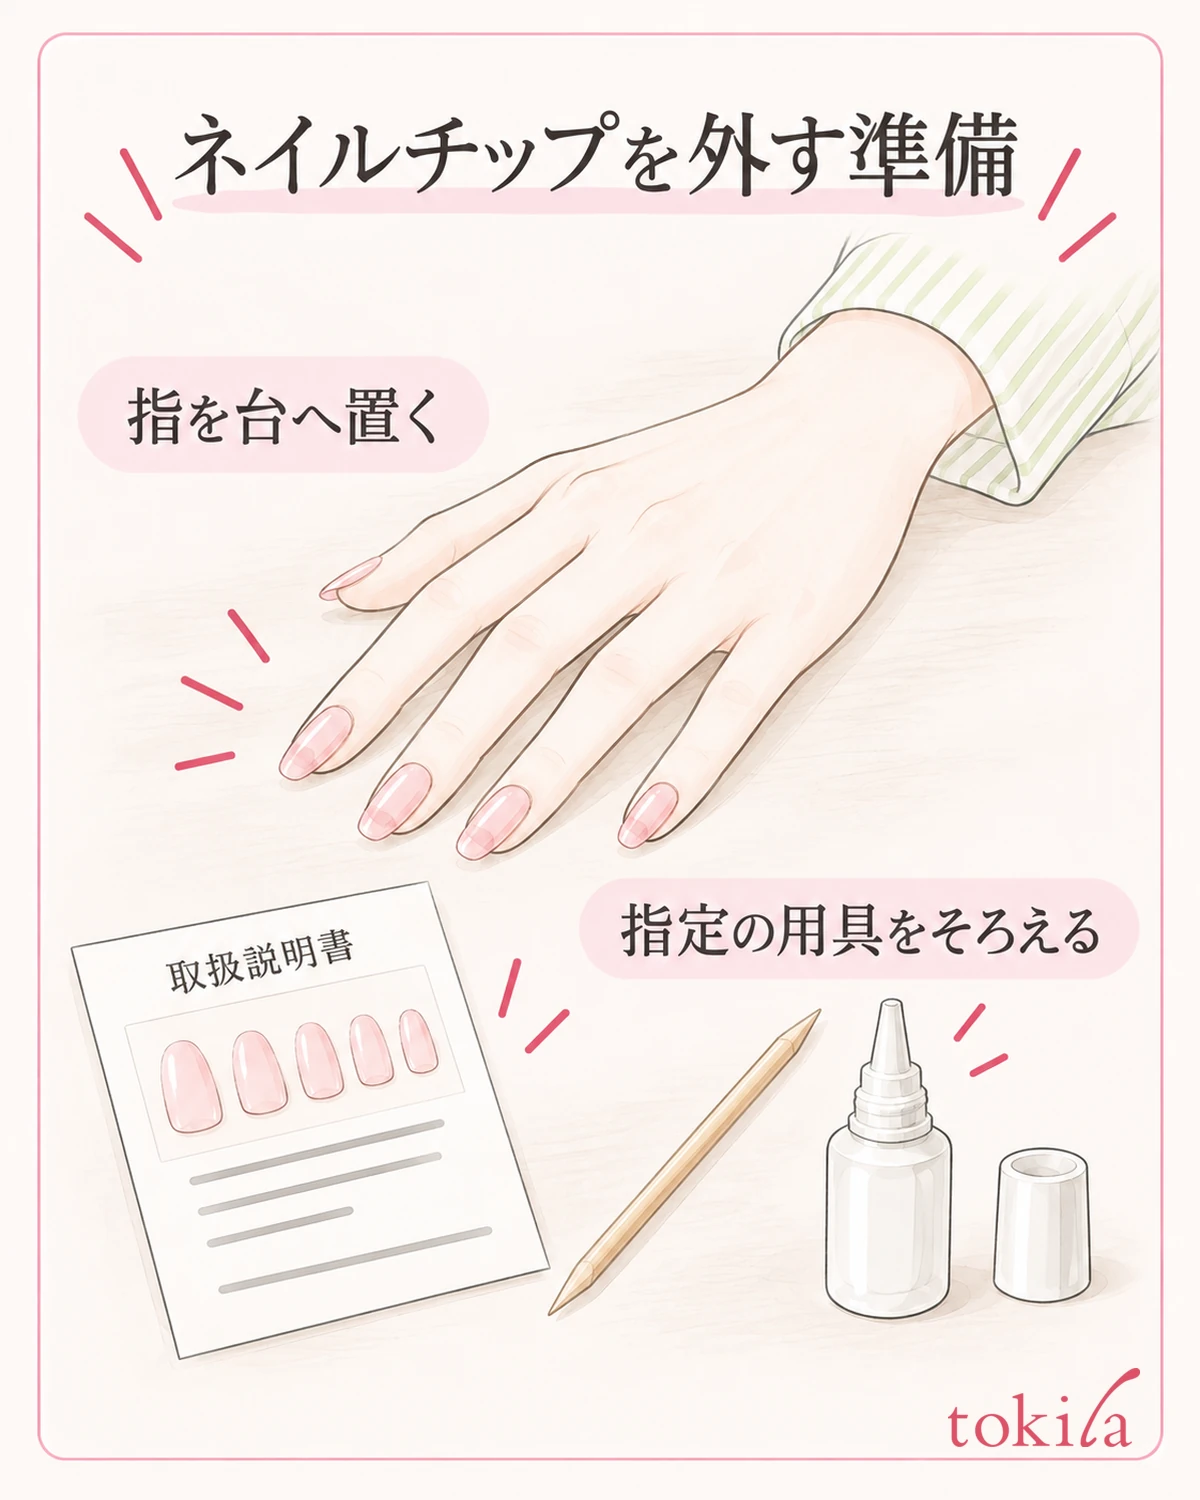
Before you start, set up a flat, well-lit work area. Rest the hand you are working on on a table, turned so that you can keep your fingertip in view. So that you do not end up pulling hard on a tip with your other hand while looking for a tool, lay out the tools named in the instructions first. If you use a liquid, also check the notes on the amount to use, ventilation, and keeping it away from fire.
Some products describe a step of shortening the tip, but this is not a common step of cutting first for every tip. Forcing a cut through a thick decoration or a hard material can make it split in an unexpected direction. Do not clamp it with your usual nail clippers unless you have confirmed that cutting is allowed and which tool to use.
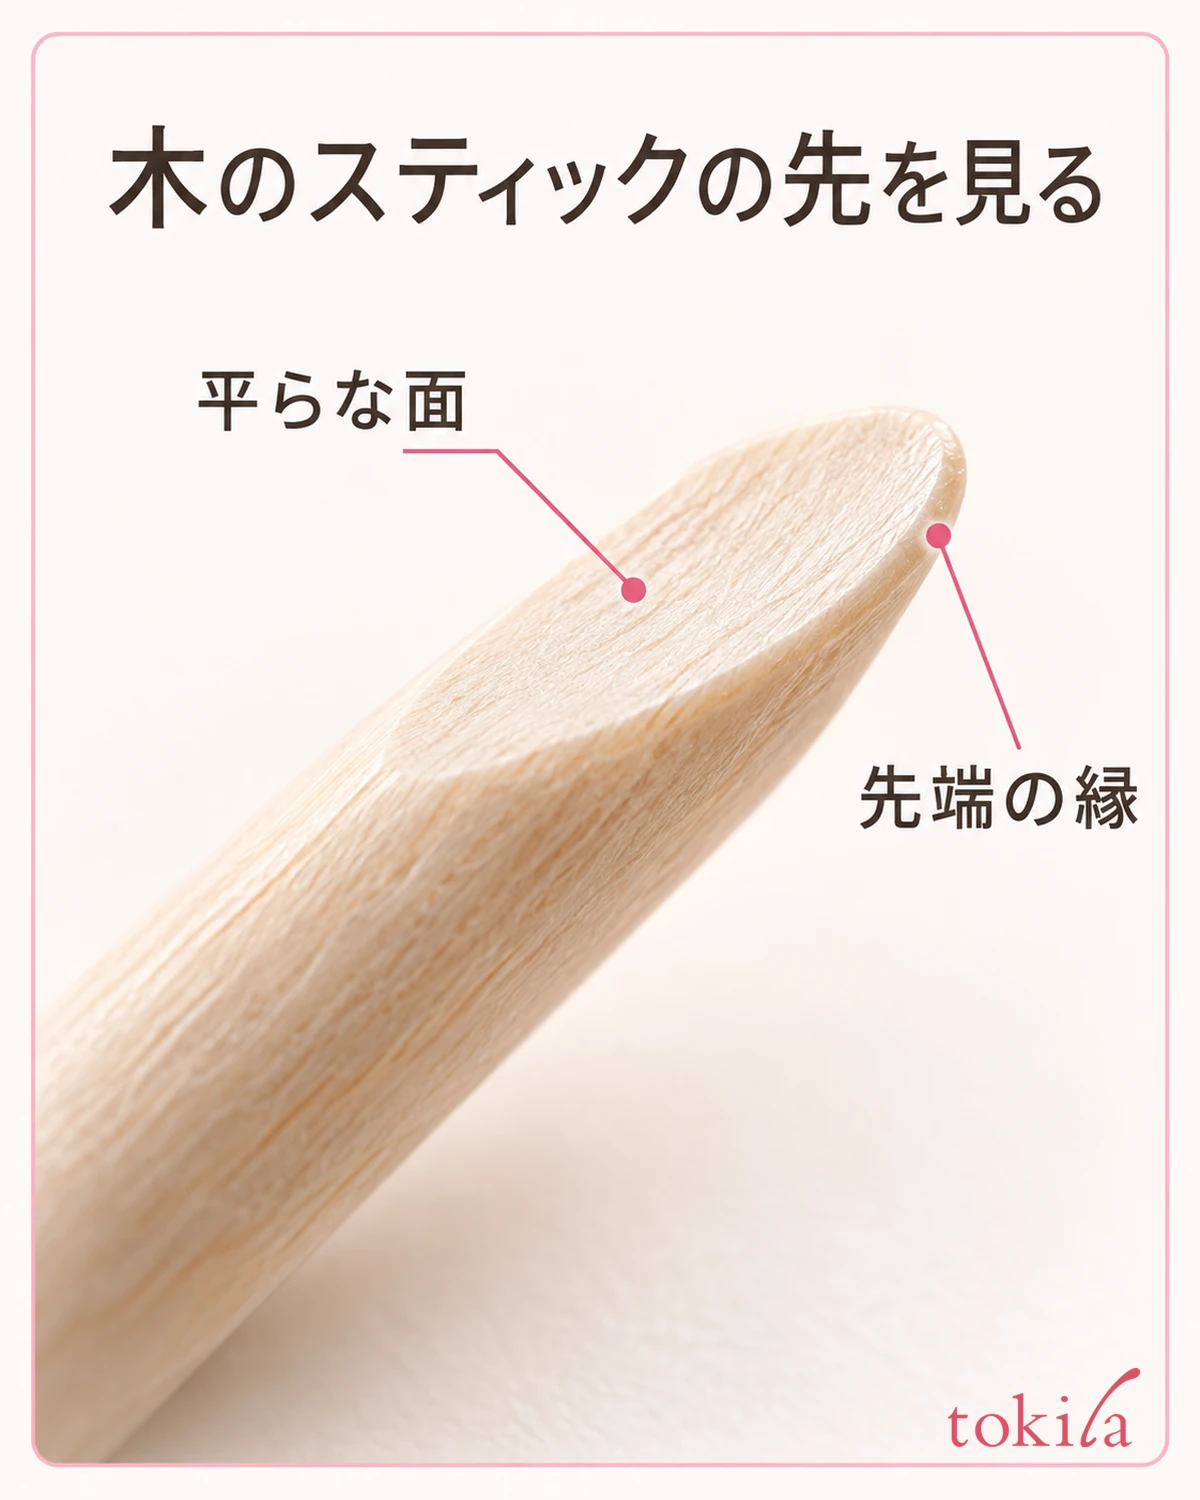
If the instructions specify a stick, prepare one of the specified shape with no chips or rough edges. Do not switch to a metal tweezer, the tip of scissors, or another nail slid in as a substitute. Even if a thin tip looks as if it will fit, a tool fitting in is not the same as being able to remove the tip safely.
Whether to use cotton or paper should also follow the instructions. Where liquid glue remains, contact with cloth and similar materials can cause heat in some products. Do not reflexively wipe up spilled adhesive with a nearby cloth; follow the cautions on the container. Keep the remover and the adhesive in separate places to avoid mixing them up.
Even if you come across methods using warm water or oil, first check whether they can be used with the adhesive you have. Do not assume that warming loosens every adhesive, and do not heat with hot water or a hair dryer. If something you need is missing at the preparation stage, do not start pulling at your fingertip anyway; wait until the tools are ready.
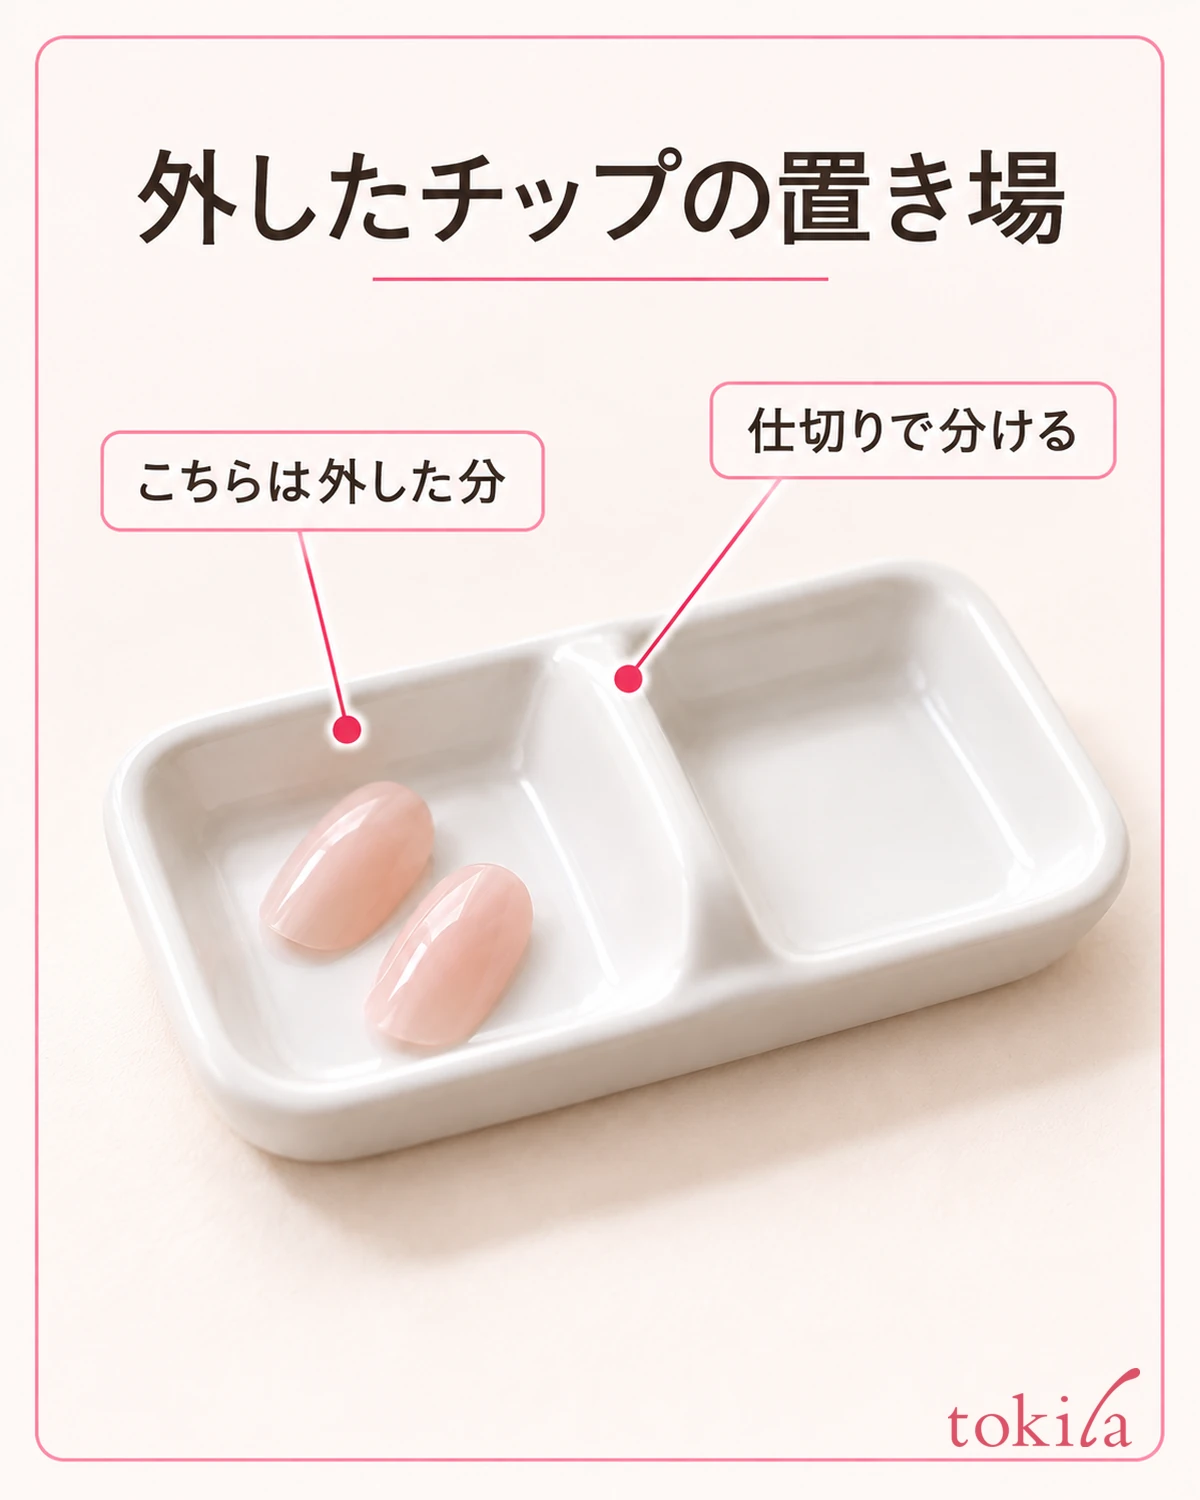
Decide in advance on a small tray for the tips that come off. Place it where you will not need to move your hand widely over an open liquid container, and put away any adhesive you are not using. If your hand casts a shadow on the light, change the position of the table and your hand before handling the liquid so that the base and both side edges are visible.
3. Follow the order on the label, and stop for now if you feel resistance
Remove the tips one finger at a time, following the order of the product you confirmed. If the instructions call for a remover, read where to apply it, how much, and the conditions for waiting, and use it only on the finger you are working on. Do not soak the whole hand in liquid in your own way or mix different liquids, and do not assume that using more from the start is faster.
Even where the instructions say to work the liquid into the base or edge, or to loosen the tip little by little with the included stick, do not turn the action into prying open a new gap with a tool. Stop if you cannot see the position shown in the instructions, or if your natural nail moves when you insert the tool. What matters is not to copy only the position of the edge in the figure and increase the force.
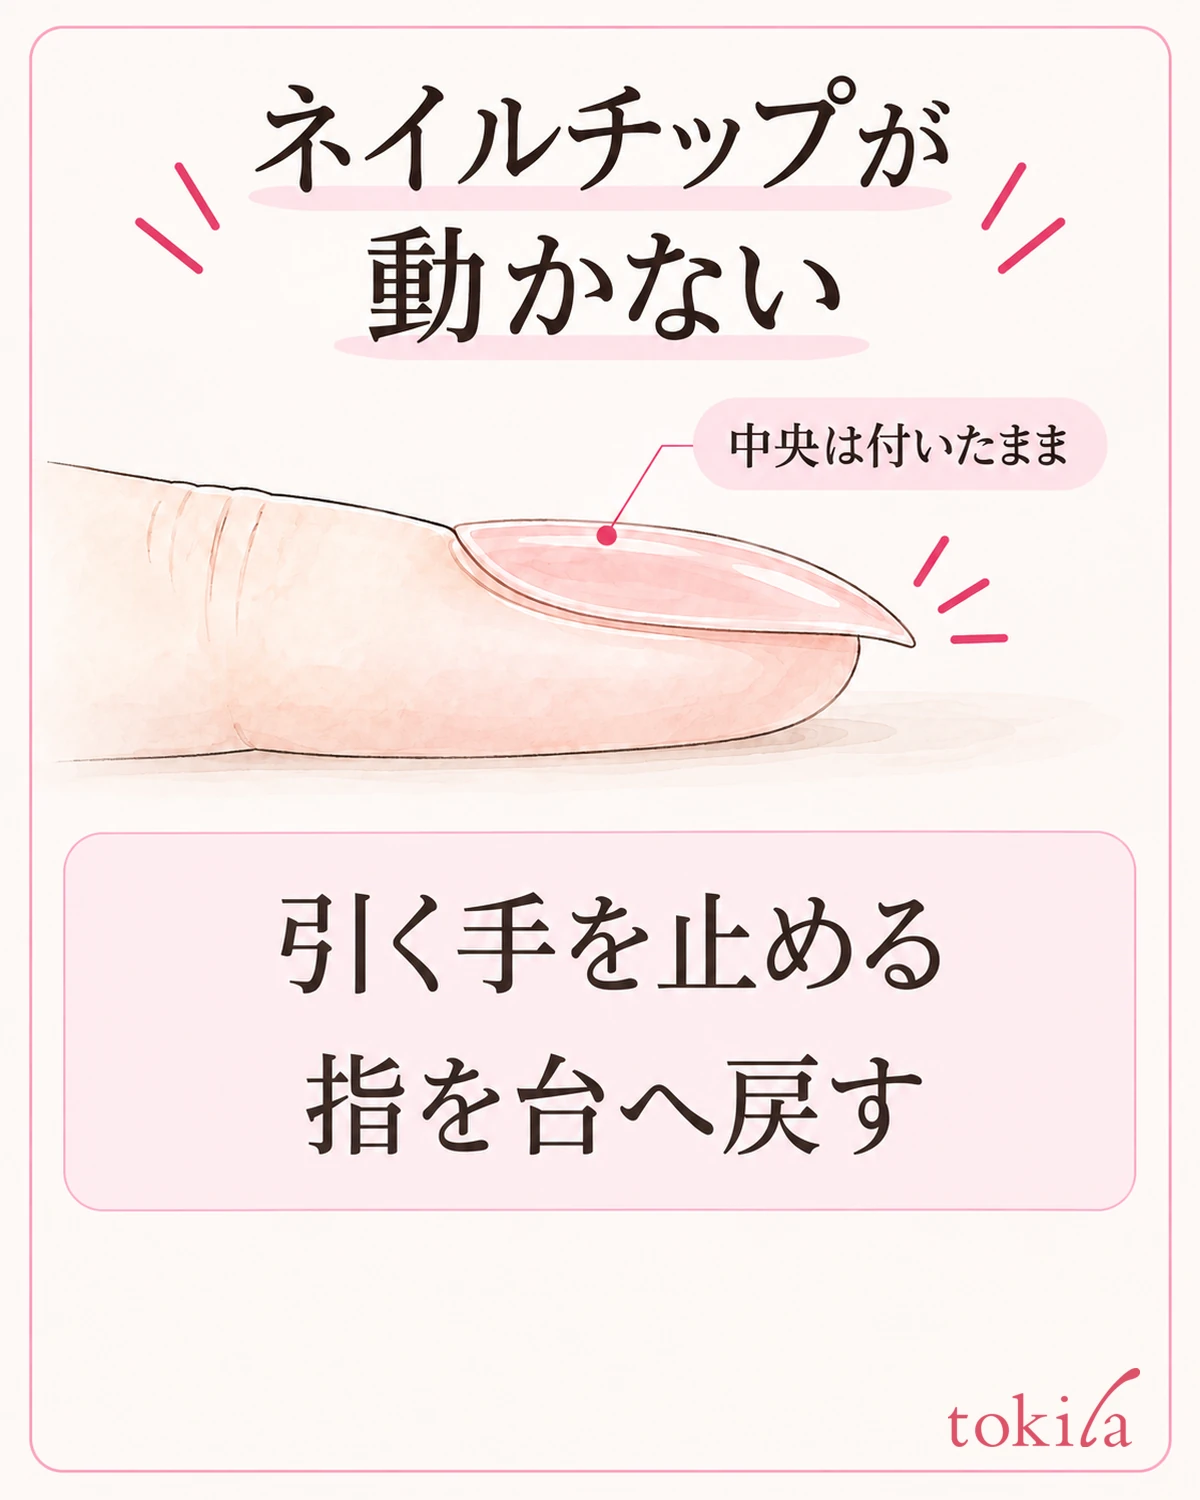
Even if the edge is lifting, the adhesive in the center is not necessarily loosened. Avoid pinching the lifted part and bending it back all at once, twisting it repeatedly from side to side, or lifting the tip like a lever. If it stops moving partway, stop pulling, return the finger to the surface, and check the part that is still attached.
If the instructions say to repeat the same step, go back to those conditions. However, do not take the fact that a step can be repeated to mean you should continue even when there is pain. Do not keep increasing the time or the number of repetitions on your own judgment; if the tip will not come off even when you follow the method, stop and review the combination of product and adhesive.
Even if you have an appointment coming up, you do not need to treat fingers that come off easily and fingers that do not at the same speed. If resistance continues on one finger, set only that finger aside. Move the tips that come off without difficulty to the tray and keep them separate from the work on the remaining fingers, which helps you avoid repeating the same motion in a rush.
4. After removal, look separately at what is left on the natural nail and at whether the tip can be reused
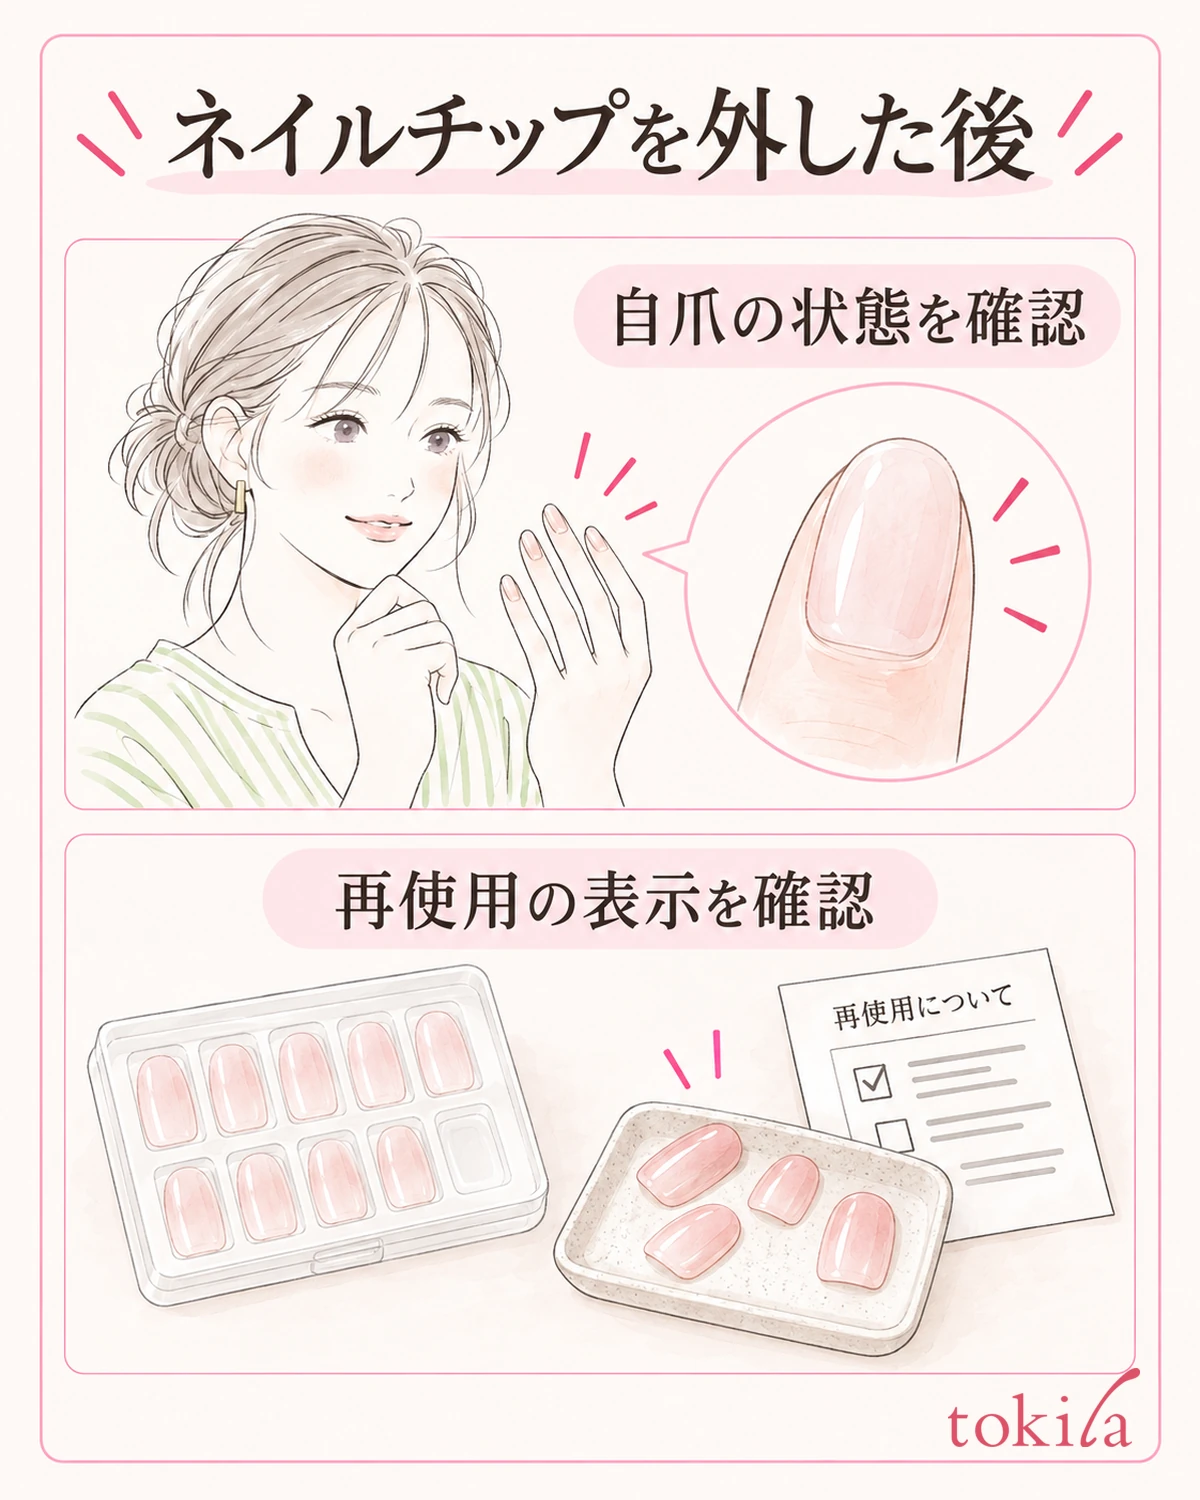
When a tip comes off, check your natural nail and the surrounding skin before hurrying on to the next one. In a bright place, look at whether what remains is adhesive or a change in the surface of the nail. If you cannot tell the difference, do not try to even it out by filing it off with a nail file or scraping it with another nail.
How to remove leftover adhesive also follows the instructions of the product you used. The liquid used for removal is not necessarily something you can rub onto the nail surface again and again. If adhesive remains after the specified steps and you do not know how to handle it, hold off before rubbing hard.
If there are steps for cleaning your hands or moisturizing, follow them. If the nail has pain, redness, bleeding, or peeling after removal, do not cover it with a new tip or color; consult a medical institution. Treat being bothered by how it looks and being fine to put tips back on the same day as separate judgments.
Set the removed tips apart from the unused remainder. Check whether reuse is permitted, or whether they become single-use because of the adhesive you used. Do not decide they can be reused just because the shape is intact or the design still looks good. Also consider that the remover may change the tip or its decorations.
Even when reuse is specified as allowed, check how to care for and store the adhesive on the back before putting the tip back. Do not try to restore it in your own way by scraping with a blade or soaking it in solvent for a long time. Do not mix tips with cracks, deformation, or loosening decorations into your candidates for next time.
Once one tip is off, even if a spot looks thinner than the other fingers or something catches, do not keep touching it to check. For a change you cannot tell was there before removal, do not decide the cause on the spot; leave it in a state where its condition can be seen. Hold off on reapplying tips to hide an abnormality of the nail.
5. Next time, decide on the removal tools and your schedule together before applying
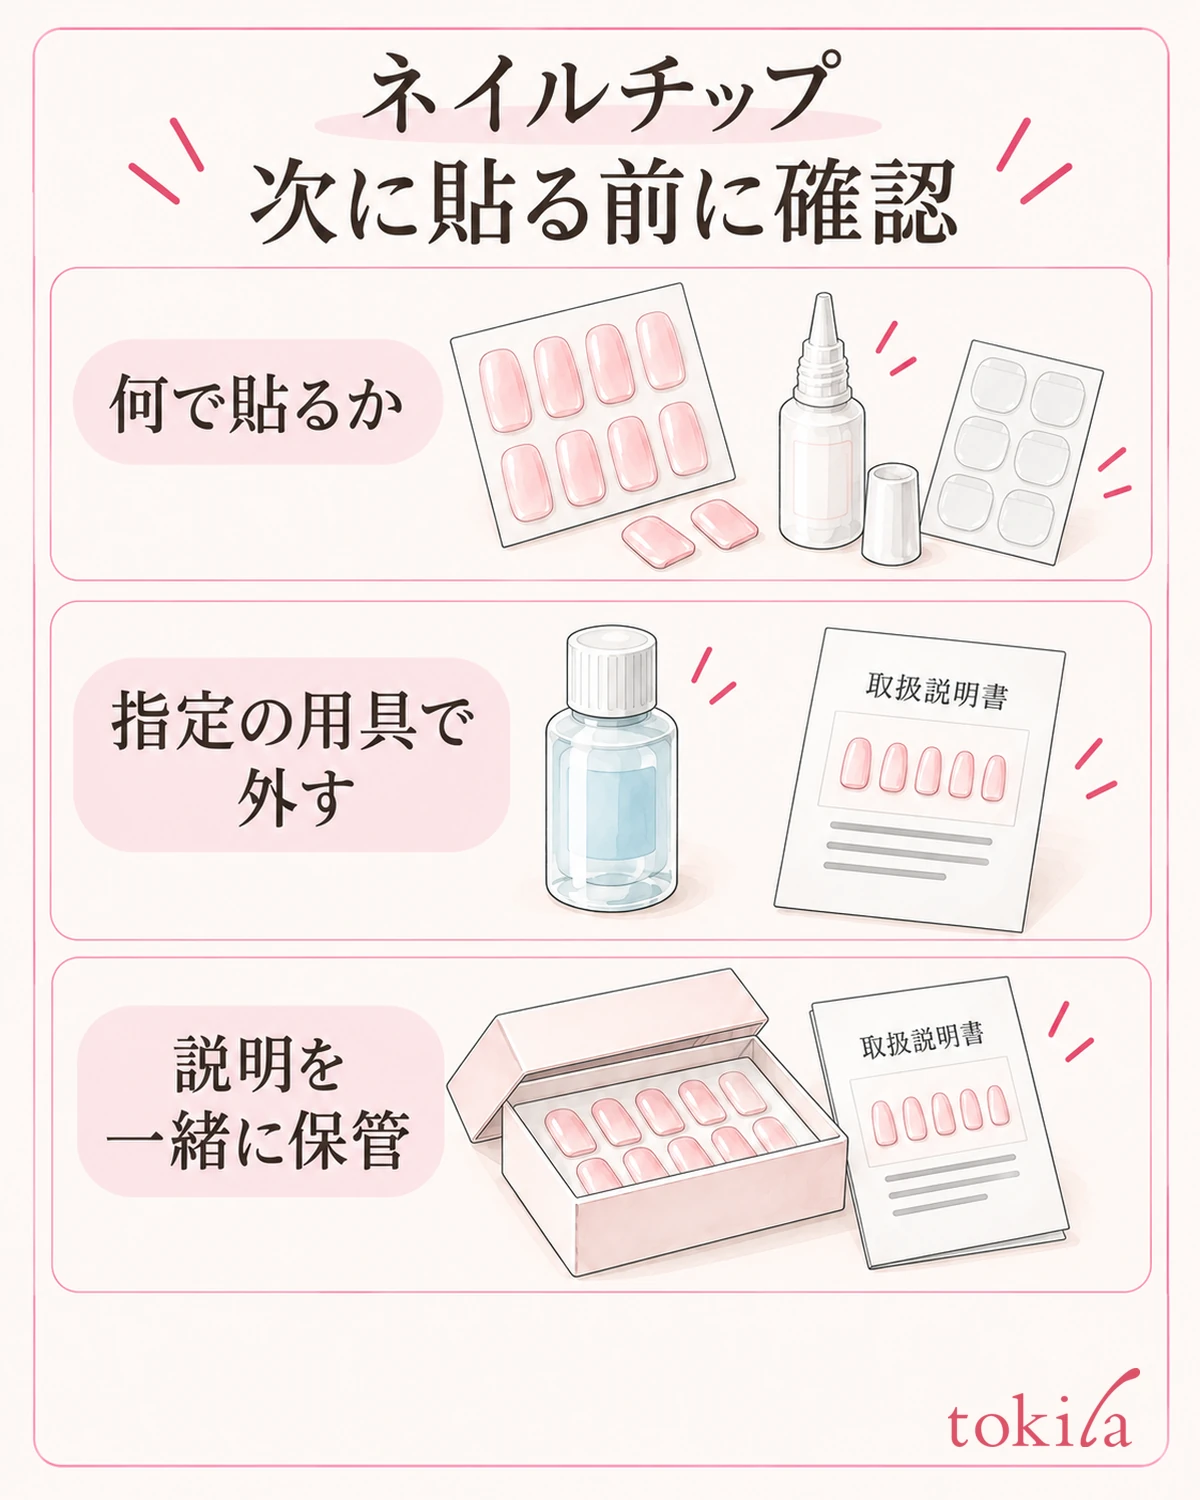
When you use them next time, at the stage of choosing the design and size, also confirm what you will attach them with and what you will use to remove them. Do not choose the adhesive method by time alone, thinking "it is only for a short while today, so it will come off"; check that the conditions for applying and the removal instructions come as a set. If a separately sold tool is needed, gather it before you apply.
If you are unsure about size or direction, see checking the direction, numbers, and trial fit of nail tips. There is no need to change how you apply them, such as using less adhesive than specified to make removal easier, or sticking them on only part of the nail in your own way. First choose the correct combination for what you have.
It can also help to keep a note for yourself of the name of the adhesive you used and any fingers that gave you trouble when removing. Write down only what you felt, such as "on my right thumb the edge moved but the center did not come off." You do not need to decide on causes you cannot confirm, such as having left it on too long.
Store the box, the adhesive, and the removal tools in a way that shows which go together. If you move similar clear liquids into one unlabeled container, you will no longer be able to tell what to use next. Whether you may transfer a product to a small container also follows the label; before throwing away the original instructions, check whether the necessary cautions would remain.
If you plan to use soft stickers, do not remove them the same way as molded tips; see also types of nail stickers and what to check before applying. When you notice that something is hard to remove, go back to the adhesive method rather than adding force. Separate preparation, removal suited to the product, and checks after removal, and avoid pulling tips off by force.



