
When you try to take off false eyelashes, the end won't budge, or you feel your eyelid being pulled along. Before you pinch harder, check how to remove the lashes and the adhesive you used. Pulling on the tips of the hairs and gradually releasing the glued band are two different actions.
This article covers strip-style false eyelashes for the upper lashes that are attached temporarily with a dedicated adhesive. The same steps do not apply to eyelash extensions, products designed for long-term wear, or magnetic or adhesive-tape types. Using five diagrams, it walks through preparation before removal, how to switch approaches when you meet resistance, and tidying up afterward.
1. Check the type of false eyelashes and the adhesive you used
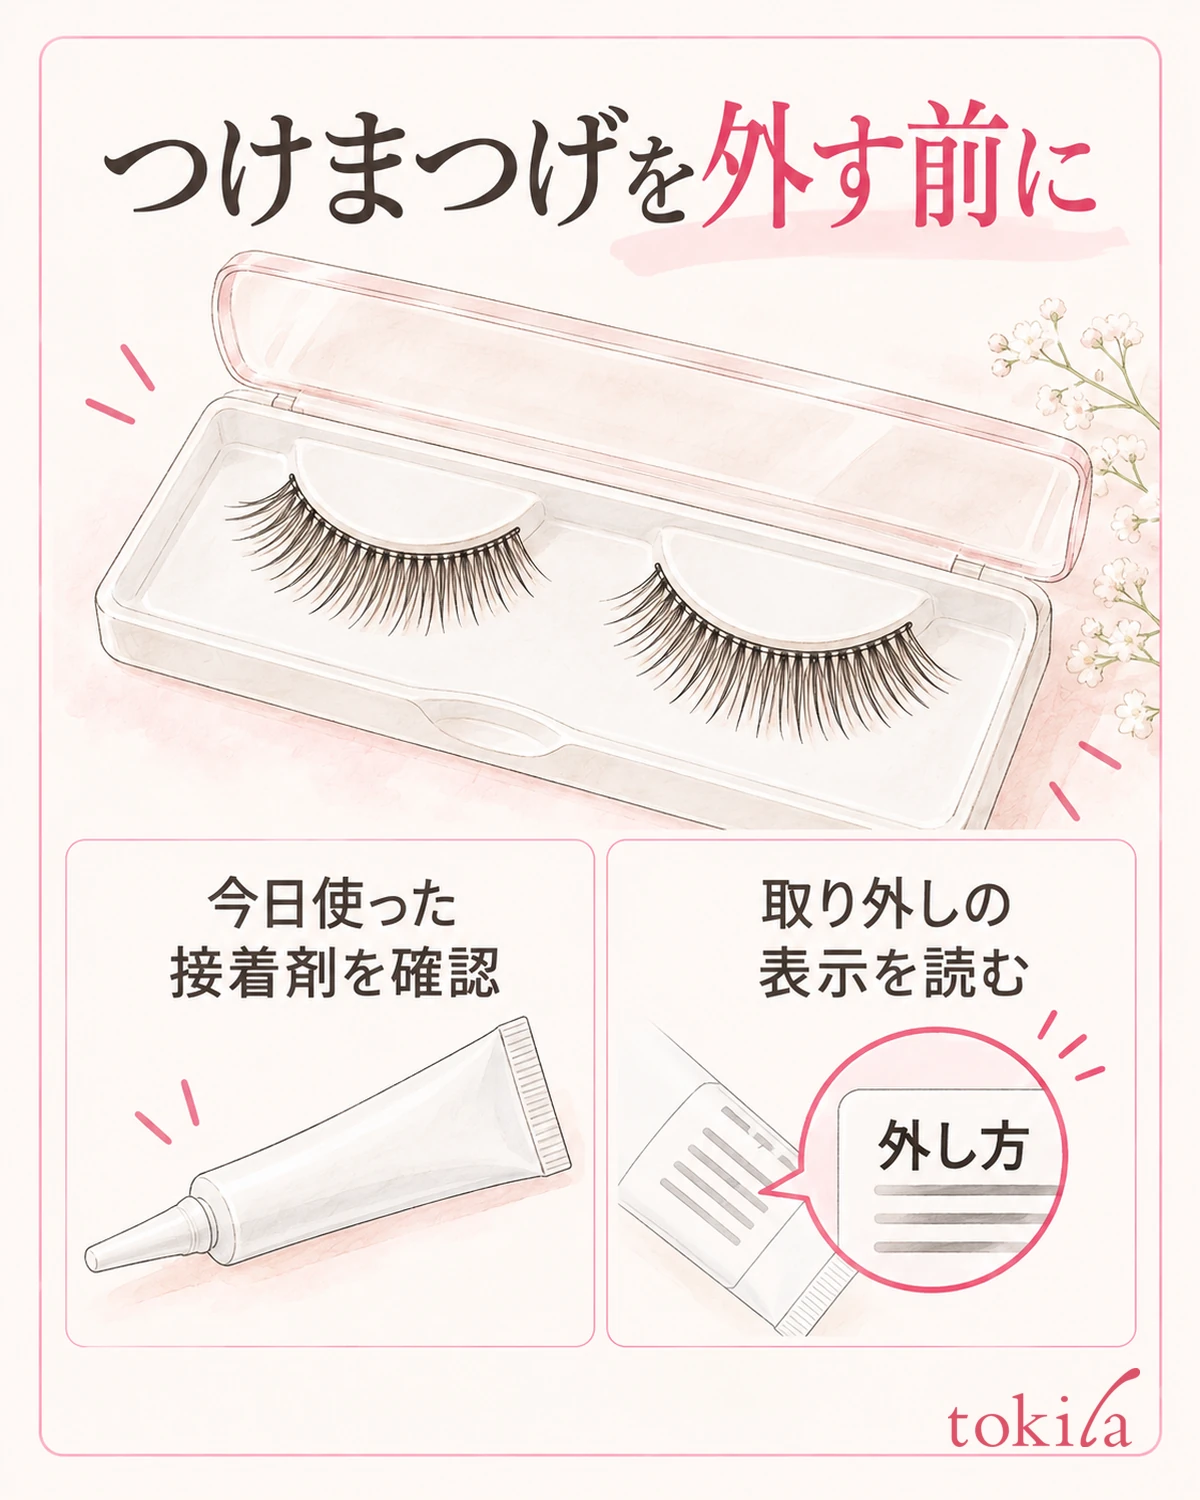
First, look at the tray or packaging at hand and confirm the type of false eyelashes and the name of the adhesive you used to apply them. Even if they look like strips, the way to remove them is not necessarily the same. Don't combine a different adhesive or remover just because it says "for false eyelashes."
There are three things to check: where to start removing them, what you can use when they won't come off, and whether the removed lashes can be reused. Some products direct you to use water, and others use a specific remover. Don't invent your own method, such as removing them with a different liquid because the label says waterproof; read the removal instructions.
If you keep several pairs of false eyelashes in the same case, also make sure you can tell which pair you used today. On a day when you changed adhesives, don't rely only on the method that worked well before. Don't decide how to handle them just because they resemble a product you remember; if anything is unclear, ask the contact for the product you used.
If you may have used an extension or long-wear adhesive, do not proceed with the strip false eyelash steps described here. Instead of trying to pull hard with your fingers or dissolve it with a household solvent, consult the place that applied it or follow the product's instructions for removal.
Before removing them, also look in the mirror at where they are attached. The thin band at the base of the lashes, not the hairs themselves, is the band (the strip). If you want to review matching the width, see how to check the band and width of false eyelashes for the structure. It is not a procedure for re-trimming the width while they are on.
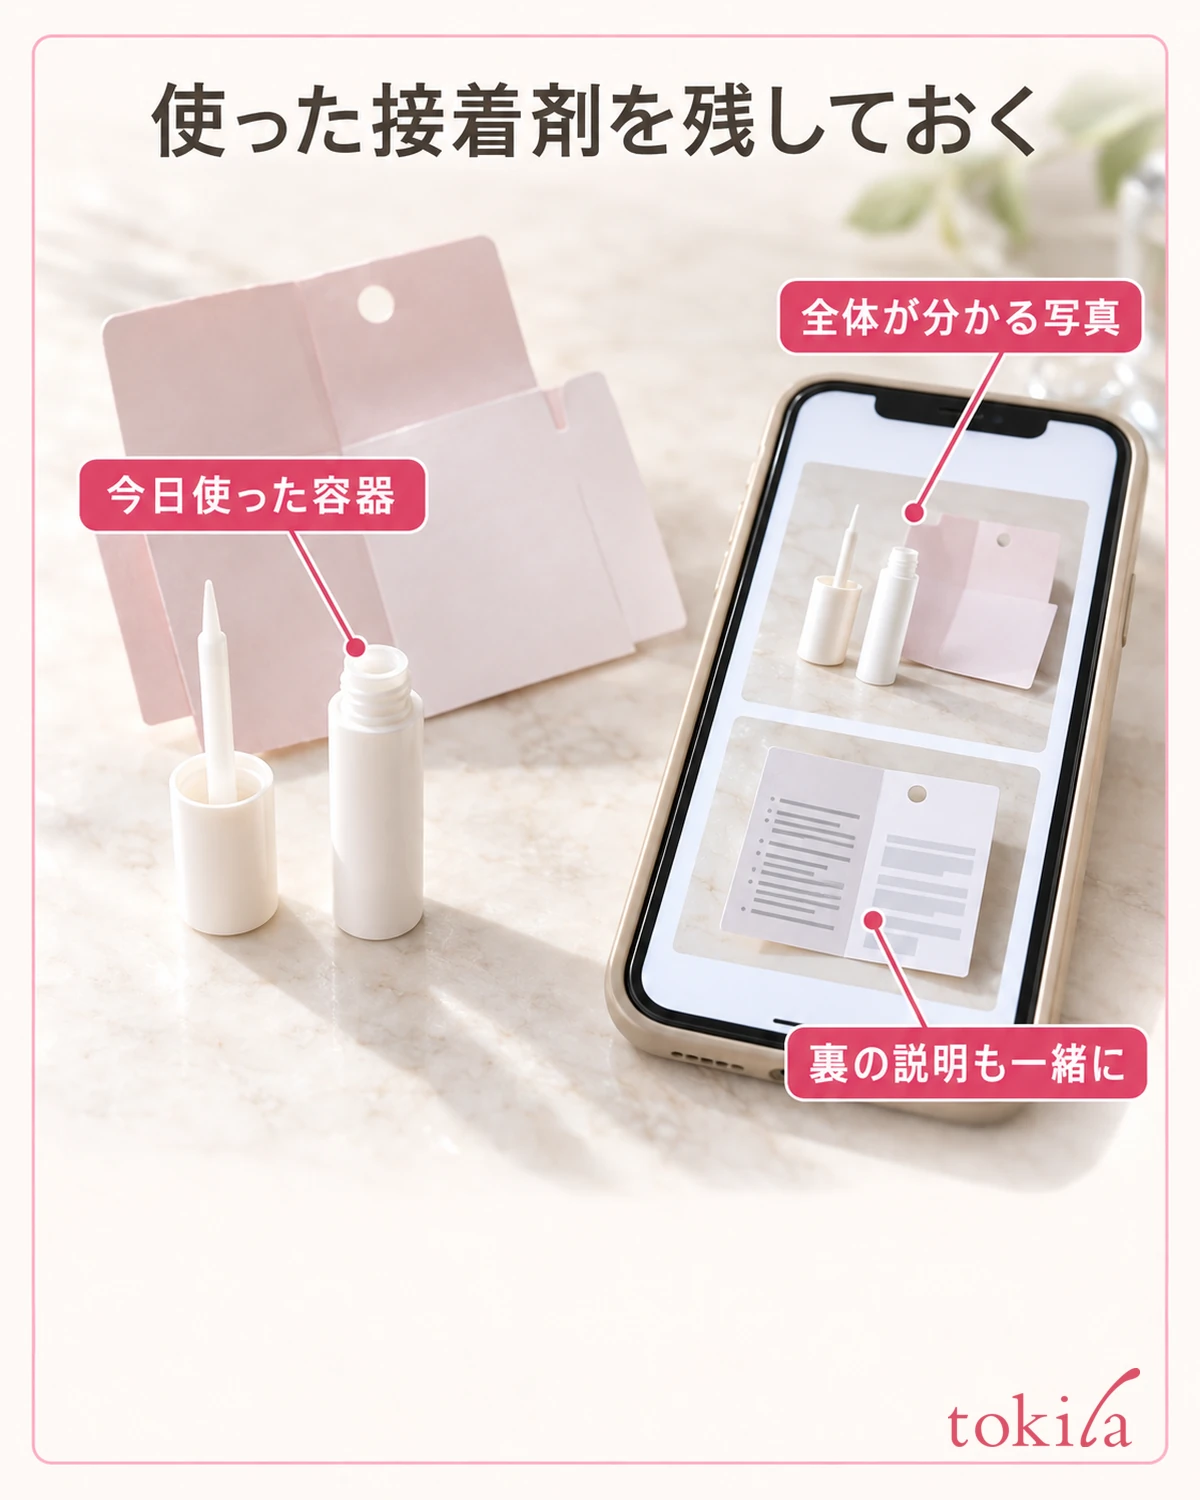
Keep the packaging until you have finished using the lashes, and storing it in the same place as the adhesive saves you from searching for the instructions again at night. If you photograph the instructions on the back of the box, also include a photo of the whole item so you can tell what you used today. This makes it harder to mix up with the instructions of a different product.
2. Prepare a mirror where you can see your hands and a case for the removed lashes
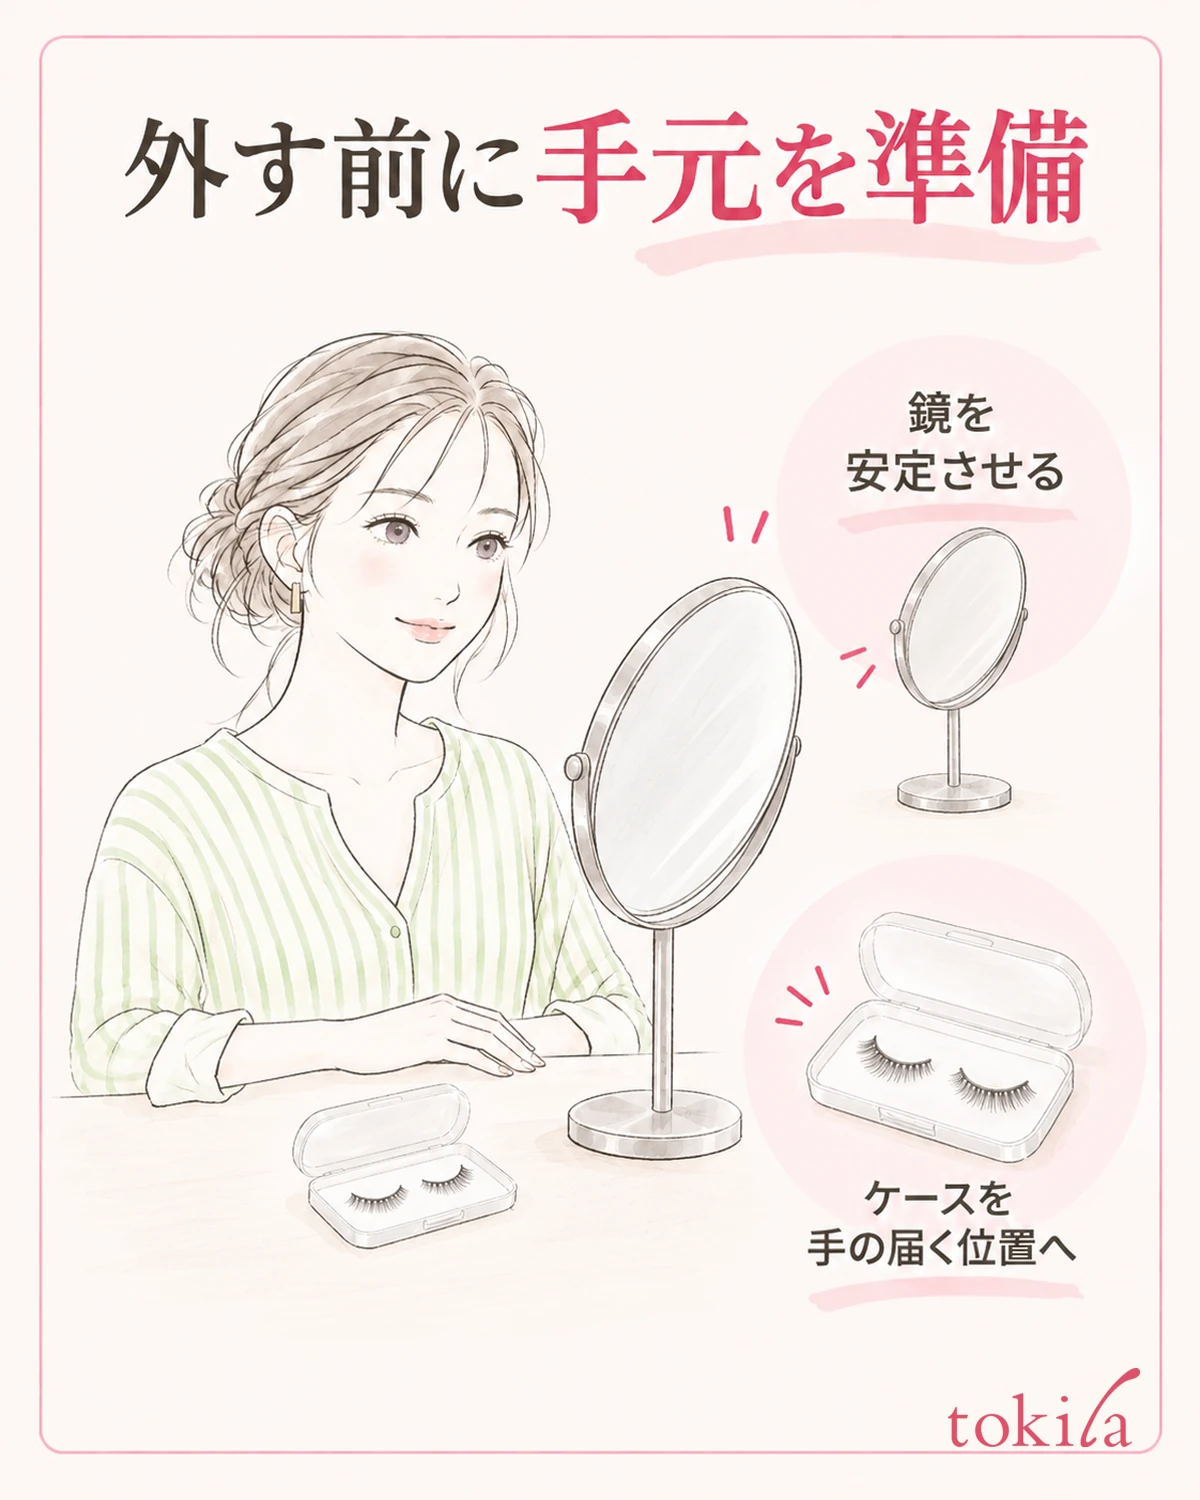
Remove them in a place where you can see both your eyes and your fingertips at the same time. Rather than leaning your face close to the mirror in a dim bathroom, get the lighting in order and steady the mirror before you start. If you keep moving the mirror with one hand, the position you are looking at shifts, and it becomes harder to tell the band from your own lashes.
Wash your hands and dry your fingertips. If the lashes slip because of makeup on your hands, don't keep pinching hard; sort out your hands first. Rather than pushing the tip of a long fingernail into the glued part, check the way of holding them that the product instructs.
Put a clean case within easy reach, positioned so you can set the left and right lashes separately. This cuts out the step of setting the removed lashes down on the edge of the sink or on a wet towel. If you have adjusted the width or shape for each side, also decide beforehand how the left and right of the case correspond to your own left and right.
For cotton and remover, prepare only what the removal method for your product requires. There is no need to suddenly wet the cotton on the assumption that you will use some liquid. Prepare the amount you need once you have confirmed which liquid you can use, where to apply it, and how to work it in.
While you are still checking around your eyes, don't hold scissors or sharp-tipped tools near your face. Avoid actions such as searching for the band with a blade because you can't see it, or moving your own lashes aside with tweezers. If you can't see well, adjust the angle of the mirror and the light rather than adding more tools.
Don't try to remove both sides at once; check one side at a time and set it in the case. If you let go partway, for example to take a call, don't carry on working with a tool still close to your eye. Start again once you have made time to look at your hands calmly.
3. Look for the end of the band and release it gradually using the product's method
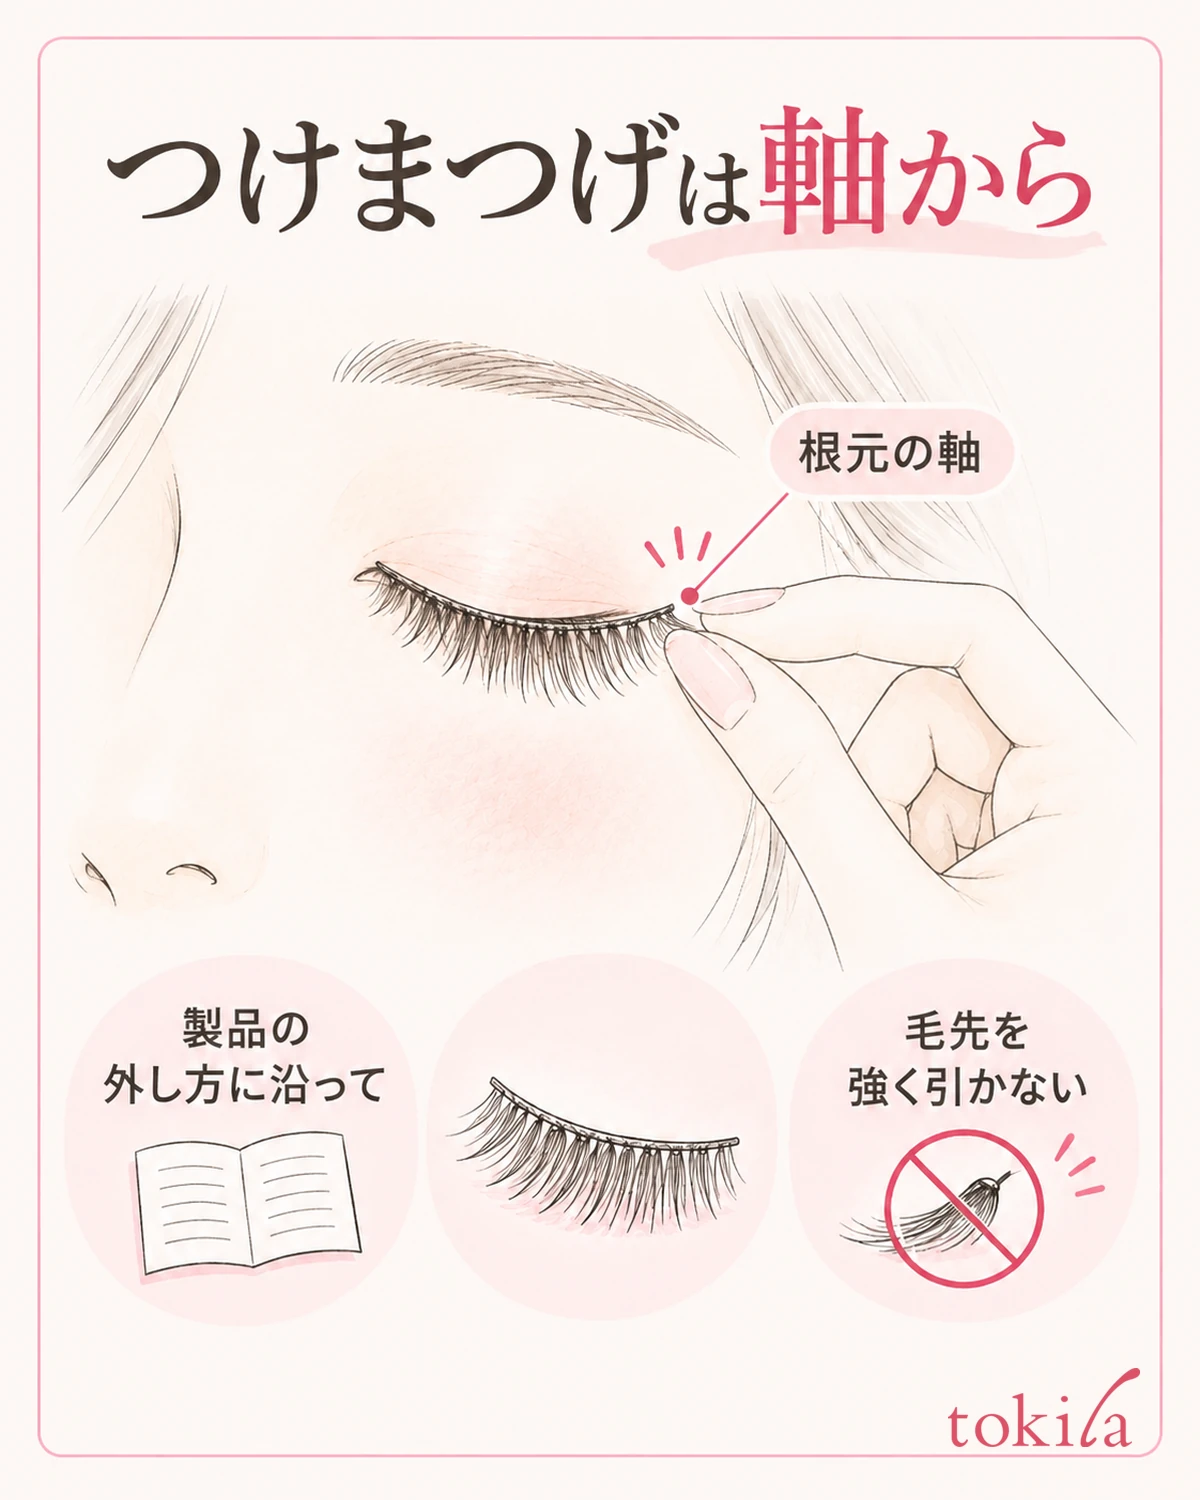
If the product instructs you to start from the outer corner of the eye, look in the mirror for the end of the band nearest the outer corner. It is important not to confuse what you are pinching with the tips of your own lashes. Don't start pulling when you can't see the end and don't know what you are holding.
Check the end of the band with the specified way of holding, and release it little by little without applying force. Rather than yanking it out in one motion, proceed while watching the part that has come away and the part that is still stuck. If you feel the skin around your eye being pulled along, don't take that as a cue to use more force; stop there.
If you hold only a tuft of hairs and pull, it becomes hard to tell where on the band the force is going. Rather than hunting for a place to hold near your eye, let go once, look in the mirror again, and check the end of the band again. Where you pinch and which direction you remove them in should follow the instructions for the product you have.
Sometimes part of it comes away but one spot stays on. If you hold the lifted side for a long time and pull, the force concentrates on the spot that remains. Don't make up for it by pulling vigorously from the opposite side too; look at where the adhesion remains and switch to the checks under "When they won't come off" in the next heading.
Once they come off, don't keep them in your fingertips while doing something else; move them into the case you prepared. Before removing the other side, also check that nothing is wrong around your eyes. If you feel pain or discomfort, don't repeat the same action and try to finish both sides in a hurry.
The aim at this stage is not to remove them quickly but to keep track of which parts have come away and which remain. With a combination you are using for the first time, don't judge by your usual feel; keep the instructions for that day's adhesive within reach so you can look at them again.
4. When they won't come off, stop pulling and check which methods you can use
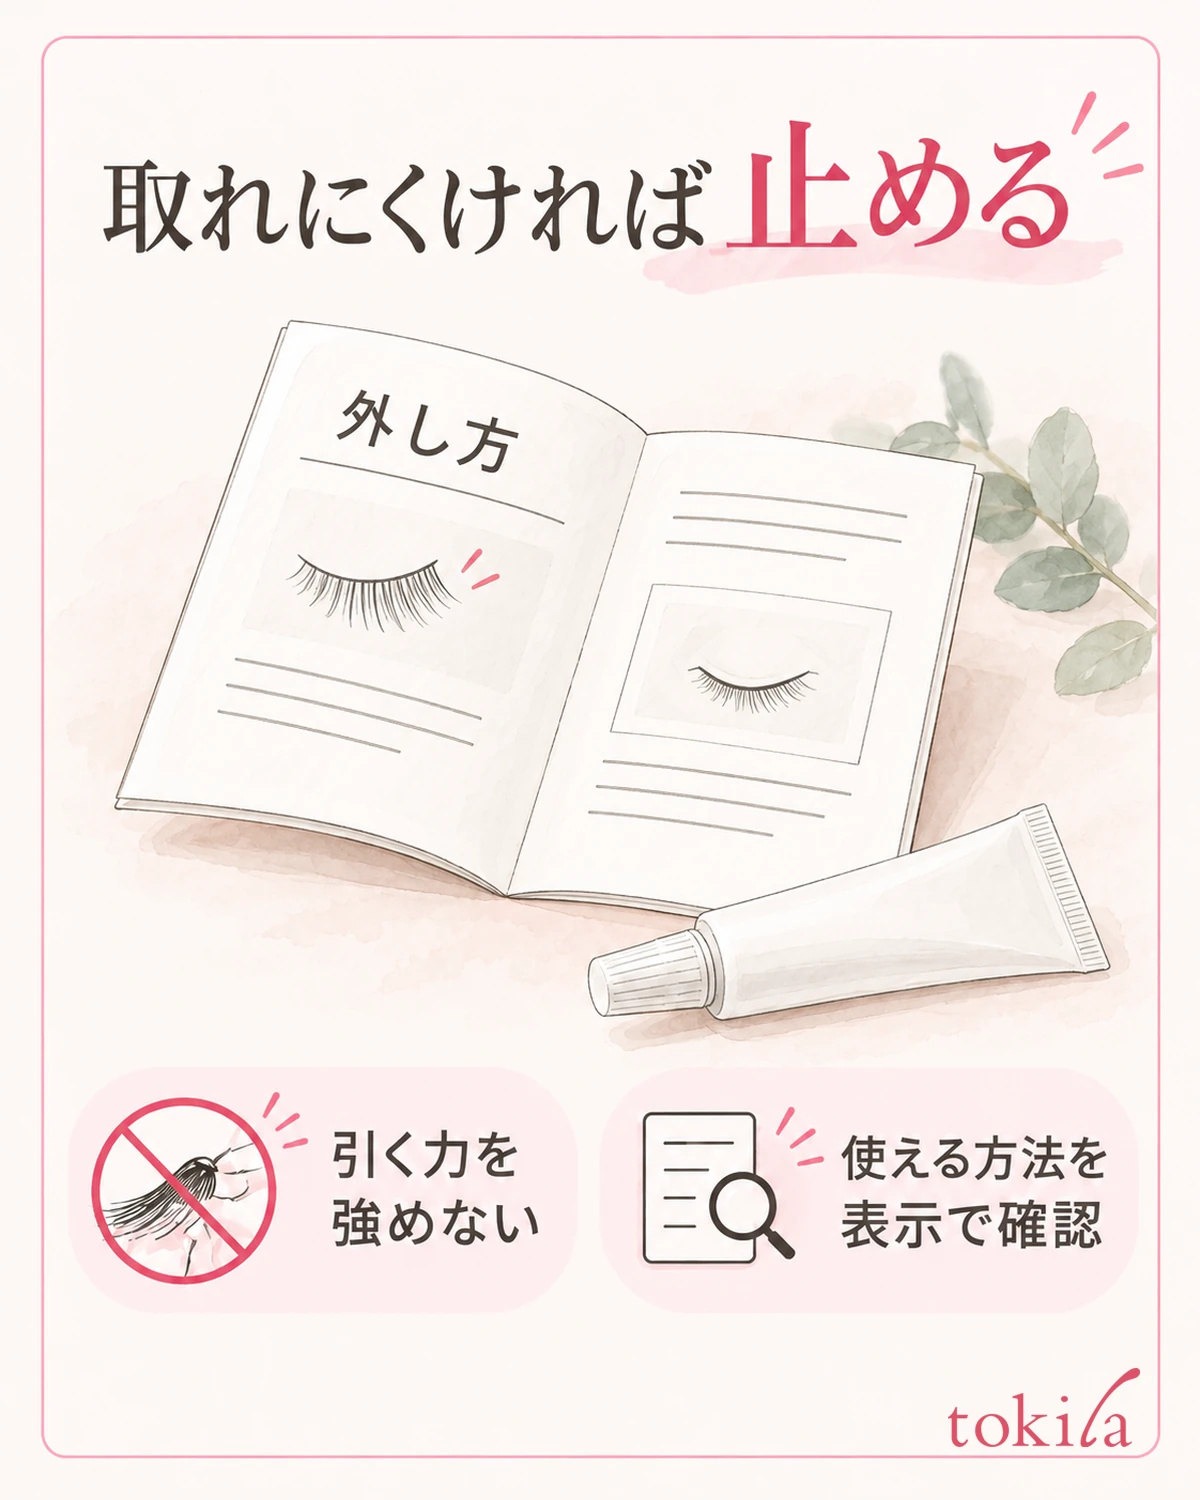
If the band won't move, your skin is pulled, or you no longer know where to hold, stop pulling. Rather than adding force to your fingers with "just a little more," go back to the removal instructions for the adhesive you used. You don't need to conclude that the cause is too much adhesive or the like just because they won't come off.
If the instructions specify holding cotton moistened with water against the base, follow them to work the adhesive loose. Don't turn it into a universal procedure such as soaking all false eyelashes in water or assuming they will come off after a set number of seconds. Don't substitute a method that uses hot water or hot air to loosen them quickly either.
If the instructions mention a dedicated remover, check whether it can be used with today's adhesive and where around the eyes it can be applied. Don't choose by names such as "for mascara" or "for the whole face"; read the conditions for use on false eyelash adhesive. Never use it in a way that pours extra product toward your eyes.
It is also important not to carry over a method you saw in the instructions for a different adhesive to your current combination. If you keep adding water, oil and cleanser one after another, you lose track of what you used. If you can't decide which method to try, don't push on; ask the product's inquiry contact.
If they still won't come off even when you follow the labeling, do not cut them with scissors, scrape the adhesive off with a fingernail, or use a household adhesive remover. If you have irritation, pain, redness, or a feeling of something in your eye, stop using the product and follow the product's precautions rather than tidying up your appearance, and consult a medical institution if symptoms continue.
For next time, it is enough to briefly note which side and at what position you felt resistance, and which false eyelashes and adhesive you used. Use it as a memo for checking the labeling, not for deciding adhesive compatibility from memory alone or for recreating and testing the same situation.
5. Check the removed band and your eye area separately, then put things away
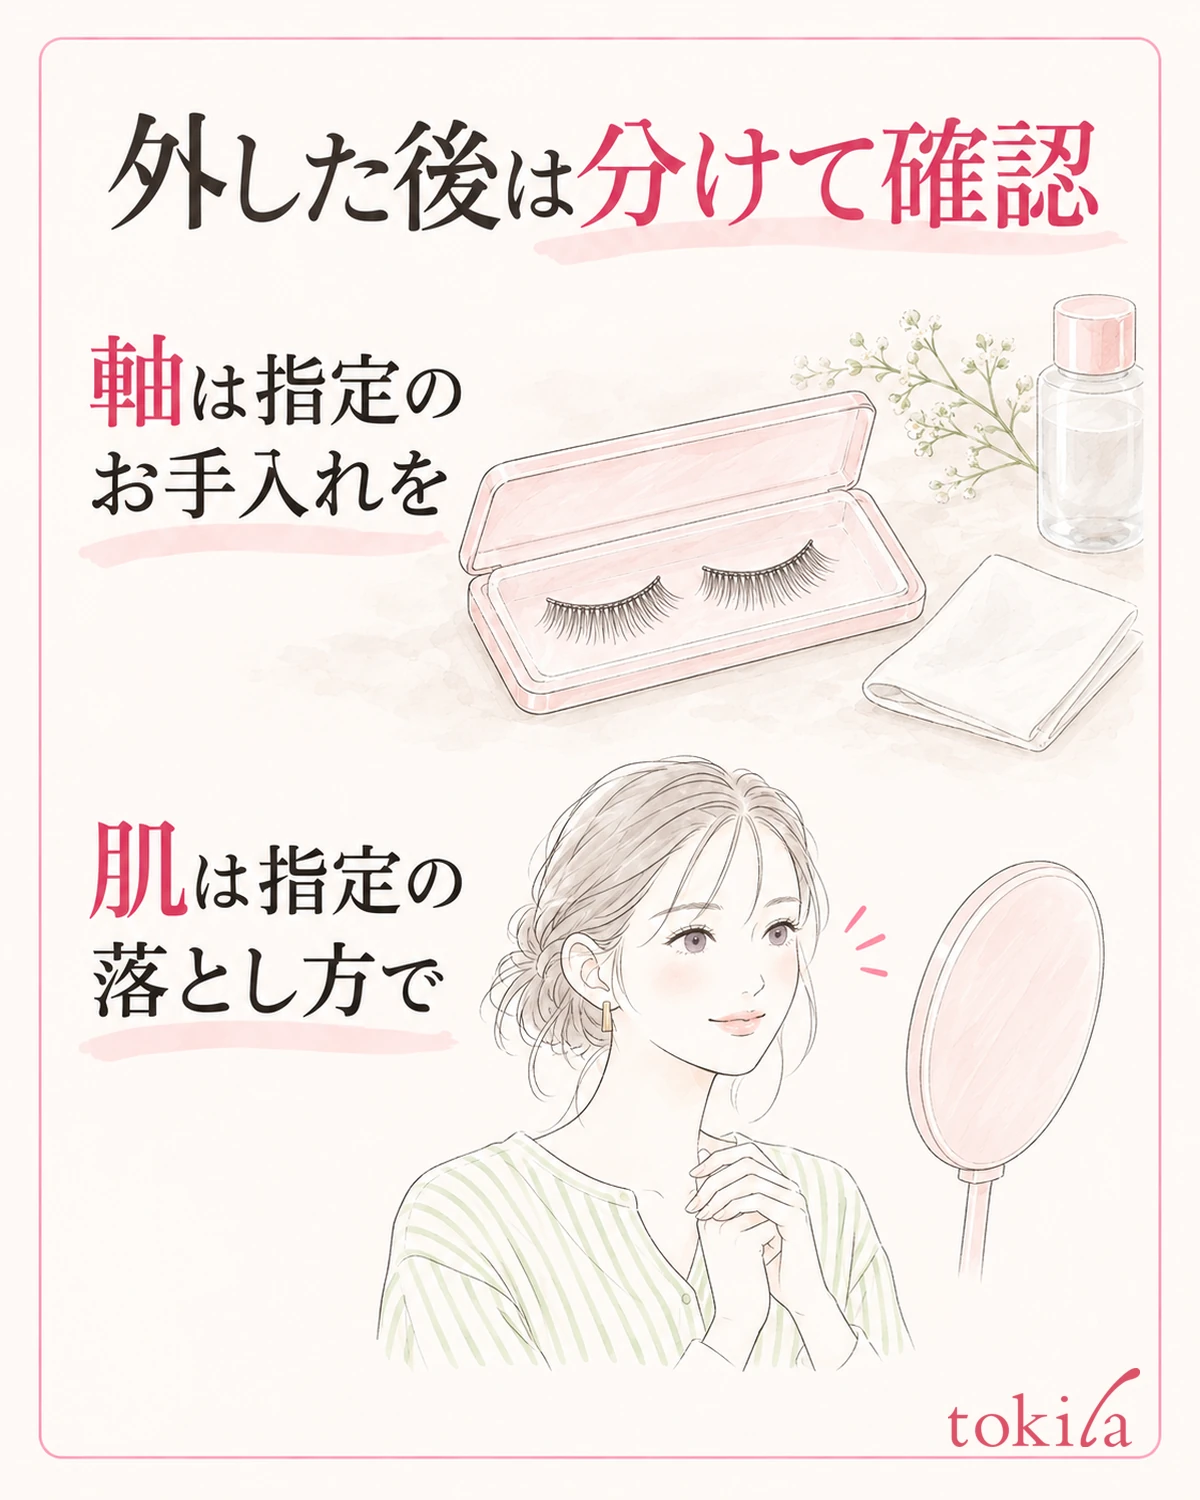
Check the adhesive on the removed false eyelashes and the adhesive left on your skin separately. The same liquid will not necessarily remove both. Handle what remains around your eyes according to the instructions for the adhesive you used and for your cleanser, and don't try to scrape it off with your fingernail.
For false eyelashes that can be reused, check on the labeling how to remove the adhesive from the band. Rather than holding the hairs and stretching the band, support the part indicated in the instructions and care for them while watching what you are removing. Also check that the ends of the band have not frayed and that there is no bending or shedding of hairs.
To restore their look, don't apply cleanser or alcohol to the false eyelashes by your own method, and don't soak them for long. Also avoid washing disposable products to reuse them. If you don't know how to care for them, check that together with whether they can be reused, and don't decide to use them for the next application right away.
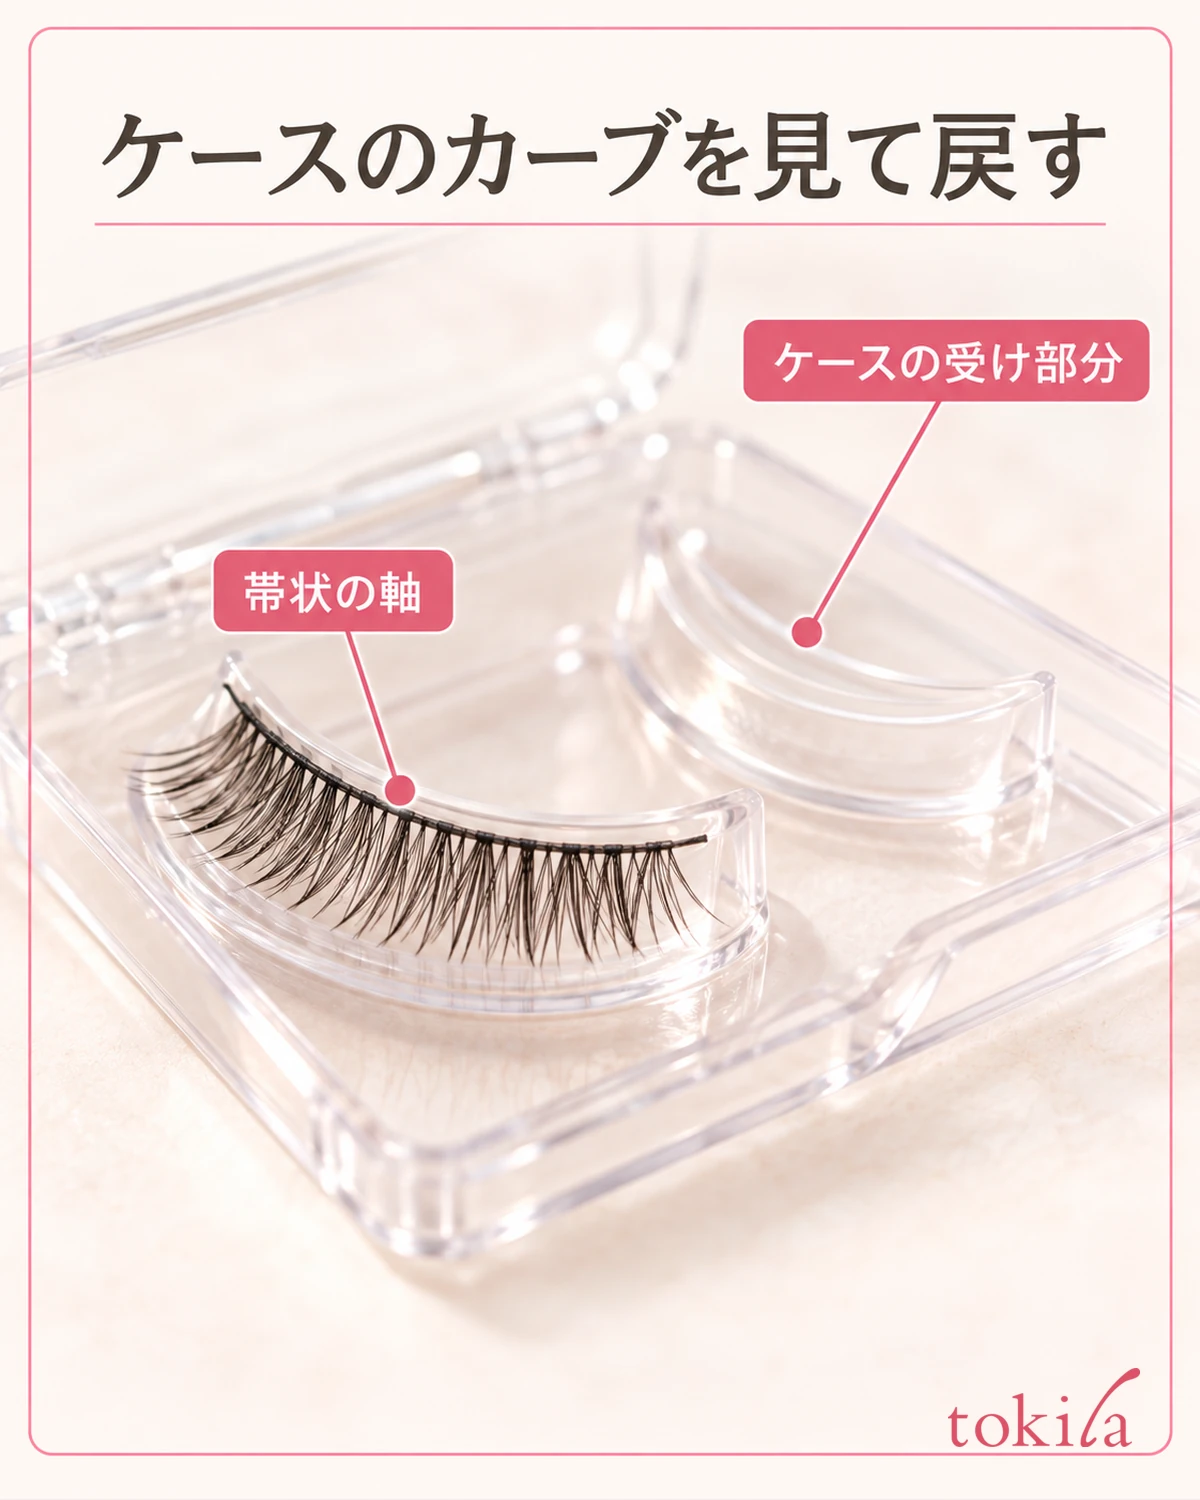
Store them after any care and drying that are needed. Return them to the case that came with the product or similar, checking left and right and the curve. Don't bend them sharply with your fingertips to force them onto the protrusions of the case; look again at how they were originally placed. Don't close the lid while they are wet, and follow the storage labeling, such as avoiding direct sunlight and high temperatures.
Put away the cotton you used, and close the lids of the remover and adhesive securely. If you also used other makeup tools, see checking care and drying for each tool. Don't read it as a way to wash the false eyelashes themselves, and keep to the handling method for each item.
When you finish removing them, look back at which step you stopped at today. If the mirror was hard to see, start by fixing the lighting next time; if you didn't know the type of adhesive, start by keeping the packaging. Keep this not as a record that guarantees easy removal in one go, but as preparation for reading the instructions next time and gathering what you need.
Written by the tokila editorial team.



