
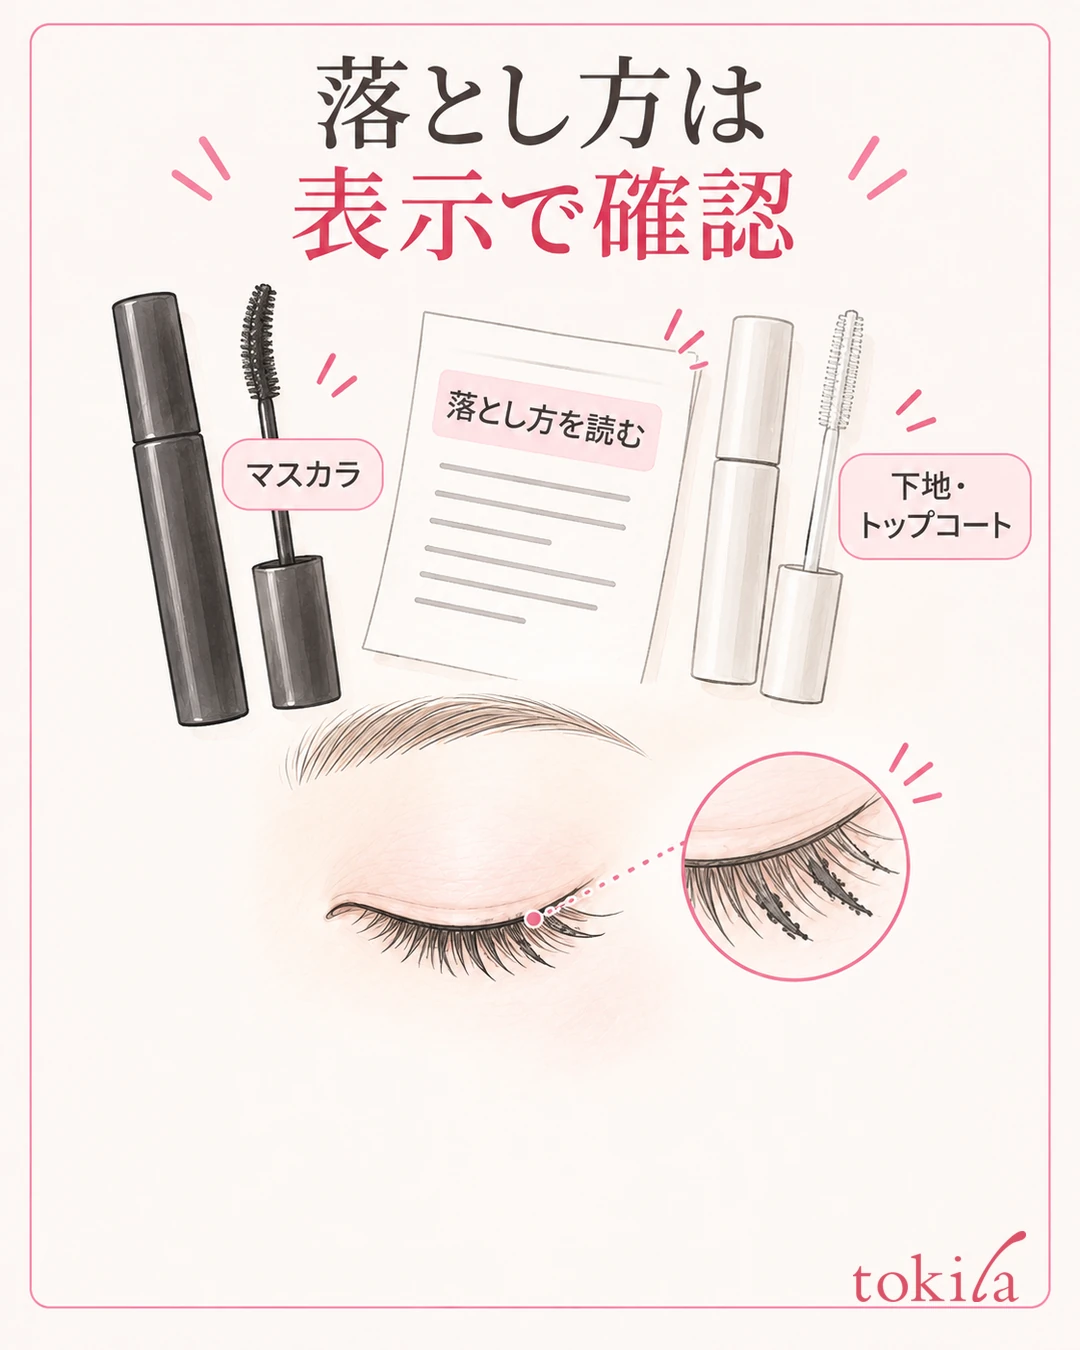
Have you been rubbing again and again to get waterproof mascara off? What to check first is not how hard you press, but how the mascara you used is meant to be removed and what range of products your makeup remover supports. Also look separately at the black film left on your lashes and the smudges that have transferred to your eyelids.
This article focuses on eye makeup removers that you wipe off with a cotton pad, and explains checking the labels, preparation, how to let the remover work in, and what to review if some mascara remains. Hot-water-removable products and comb-type removers have different steps, so follow the instructions of the product you have. For how much to apply, see how to apply mascara to prevent clumps.
1. Check where it "won't come off" and how your mascara is meant to be removed
When you look in the mirror, separate whether a black film remains on the lashes or color has transferred to the skin under your eyes. If you want to remove what is on the lashes, wiping the surrounding skin over and over will not serve that purpose. Stop for a moment and decide where care is actually needed.
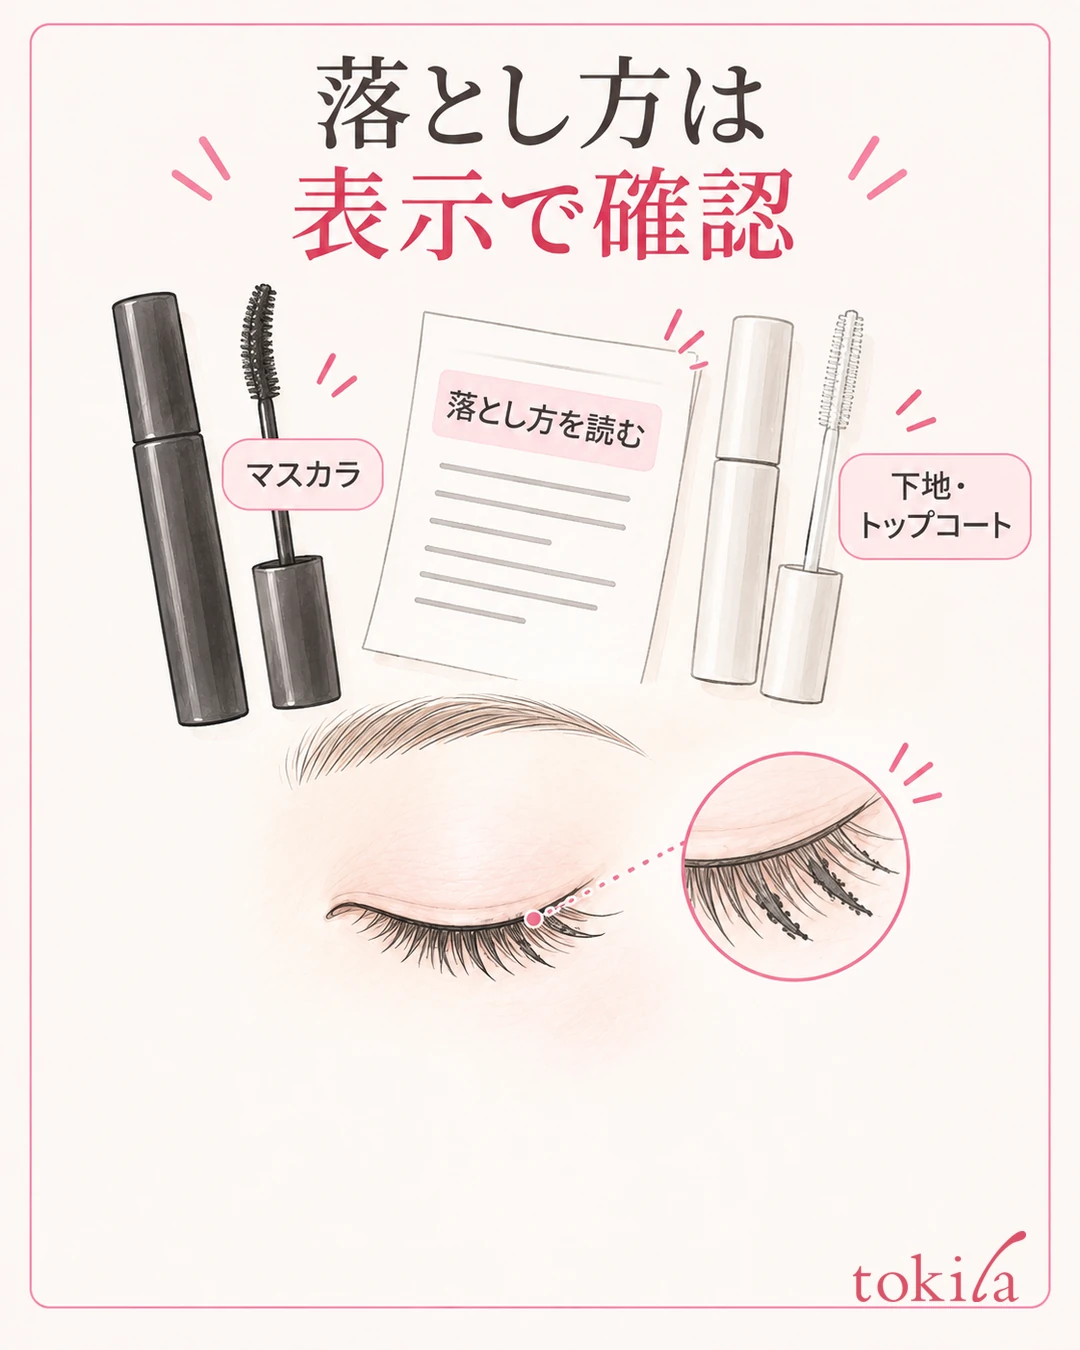
Next, read the official product name of your mascara and how it is meant to be removed. The word "waterproof" alone does not mean every product is removed the same way. Some specify an oil-based cleanser or a dedicated remover, some use hot water, and some combine hot water with a face wash. The steps differ by product.
This article is limited to cases where you use an eye makeup remover that supports waterproof mascara. Do not apply steps for a different type as they are to a product that specifies removal with hot water.
If you layered a mascara base or top coat that day, check their names too. If you choose a removal method by looking only at the surface mascara, you may overlook the instructions for the products layered with it. Sort out "what I used today" and "how to remove that combination" as a pair.
If you threw away the packaging, match the name on the container with the manufacturer's product information. Once you find the removal method, keep that part as a photo or a note so you can check it the next day too. Look at the full name so you do not confuse an older product in similar packaging with the one you use now.
Fixing mascara that got on the eyelids right after applying it is a different task from removing all the mascara on your lashes at night. For touch-ups during makeup, see what to do when mascara gets on the eyelids. Not confusing whether you want to remove it from the lashes or from the skin is the starting point for not adding extra friction.
2. Prepare a compatible remover and clean cotton pads
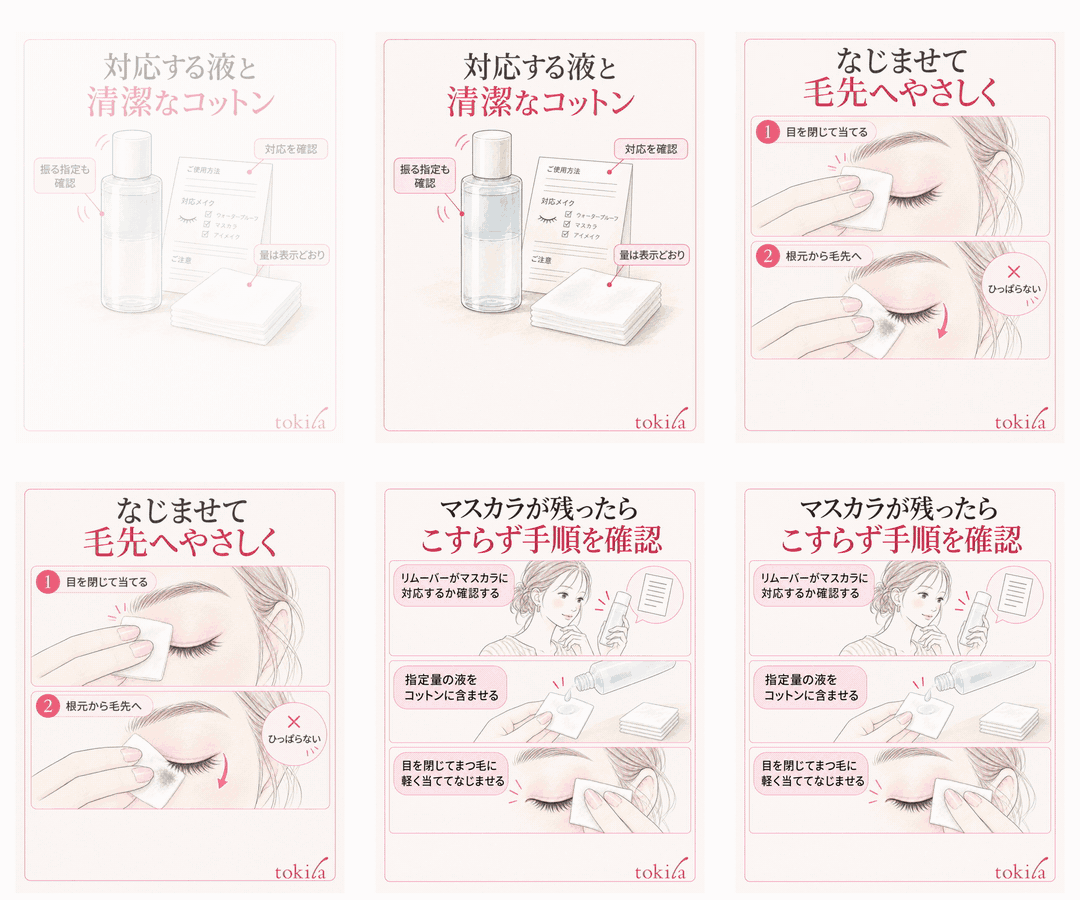
Check on the remover's container or official description whether it can be used for waterproof mascara and eye makeup. Even if you own a face cleanser, that does not automatically mean it supports the mascara you want to remove. When it will not come off, check the supported range first, before increasing the amount.
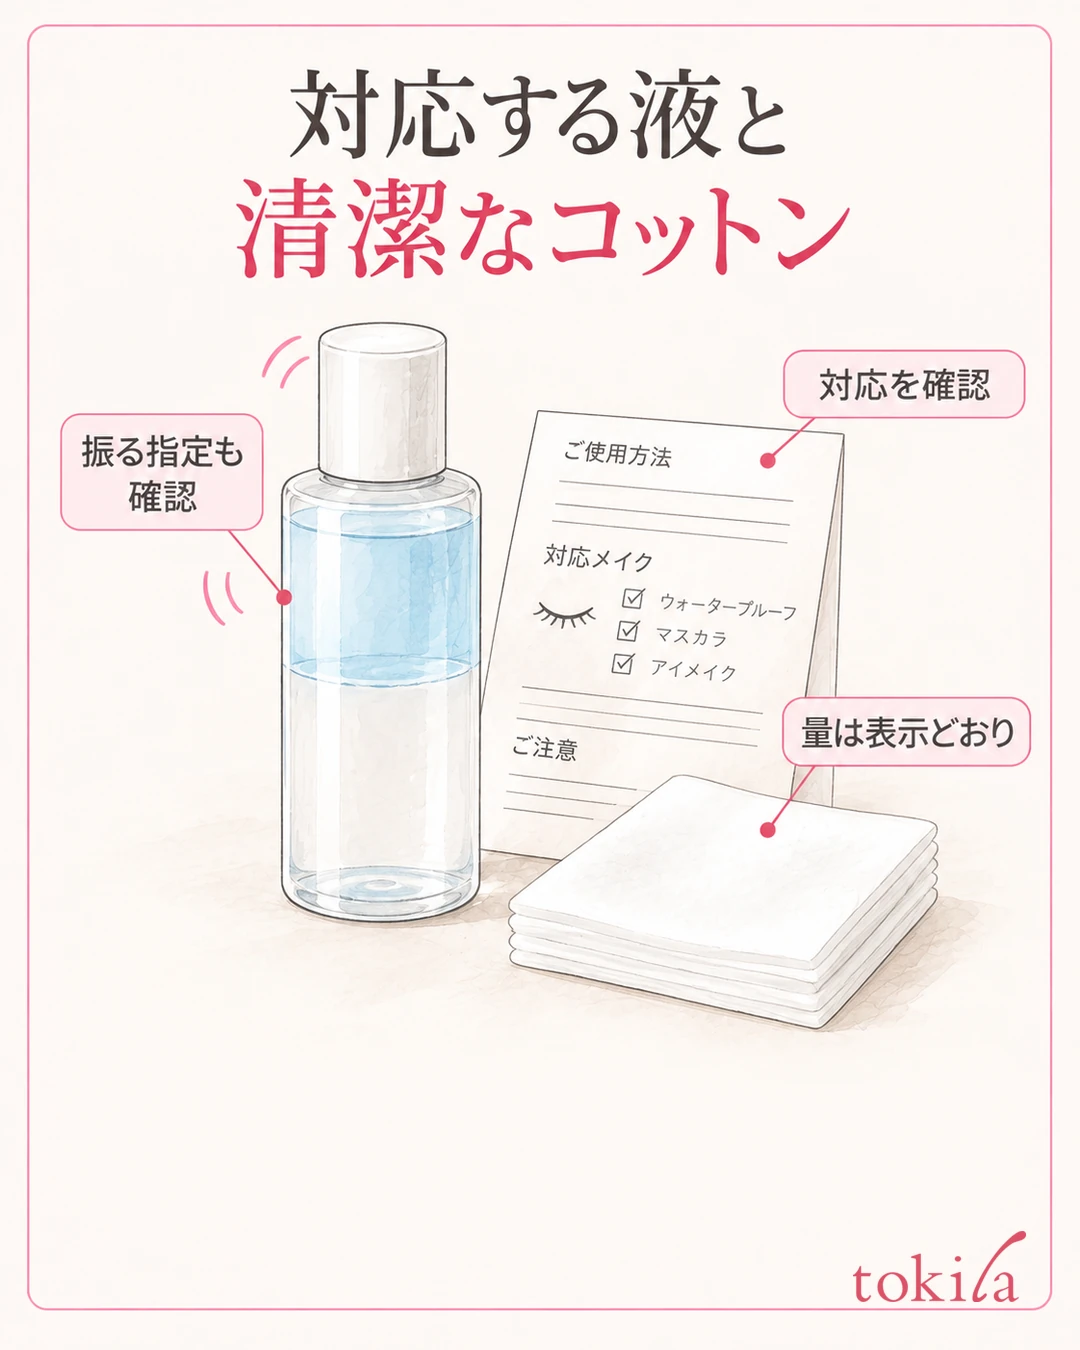
Do not judge by form alone, such as assuming all oil-based products are the same or that no milk type can be used. Check the instructions of the product you have. If you cannot tell whether it is supported, do not fill the gap with the description of a different product that has a similar name.
For the cotton pad type, prepare clean cotton pads and a mirror where you can check your hands. Match the amount of remover to what that product specifies. Do not rub first with a dry cotton pad, or use only a tiny amount of liquid and make up for it with force. Soak the pad as the instructions say, and then place it on the eye area.
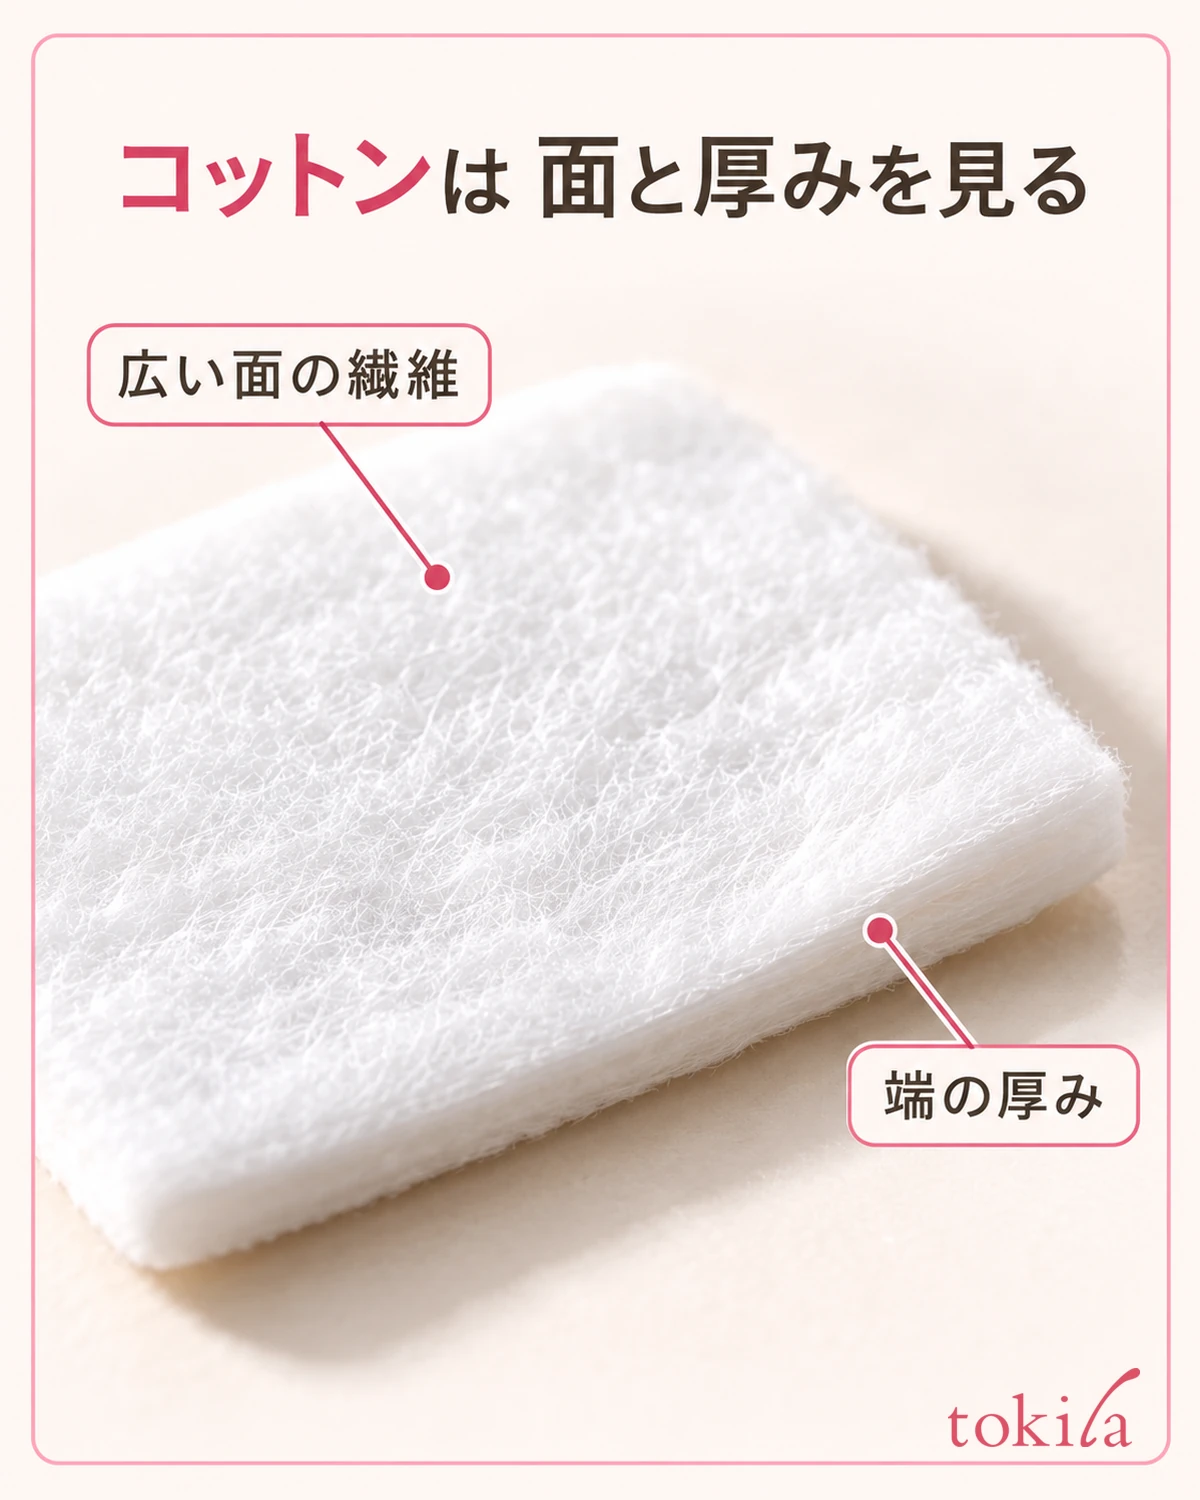
For two-layer products, read whether the instructions say to shake before use. Do not treat single-layer products the same way across the board; check the steps written on the container.
Whether it can be used on wet skin is also something to check before you start. Do not assume it can be used anywhere just because you are in the bath; prepare in a place and at a time that match the conditions of your product.
If you wear contact lenses or eyelash extensions, check the remover's precautions first. Some products specify taking out lenses or have restrictions for extensions. If you are unsure whether a combination can be used, ask the manufacturer or your salon before using it around your eyes. Including this check in the step of getting your tools and liquid ready makes it easier to avoid hesitating midway.
3. With your eyes closed, let the remover work in and gently wipe from the base of the lashes to the tips
Close one eye at a time and lightly place the soaked cotton pad so that it follows the lashes without strain. Do not move it back and forth right away; take the step of letting it blend with the mascara. Follow the product description for how long to leave it, and do not keep pressing for a long time because it is hard to remove, or put pressure on the eyeball.
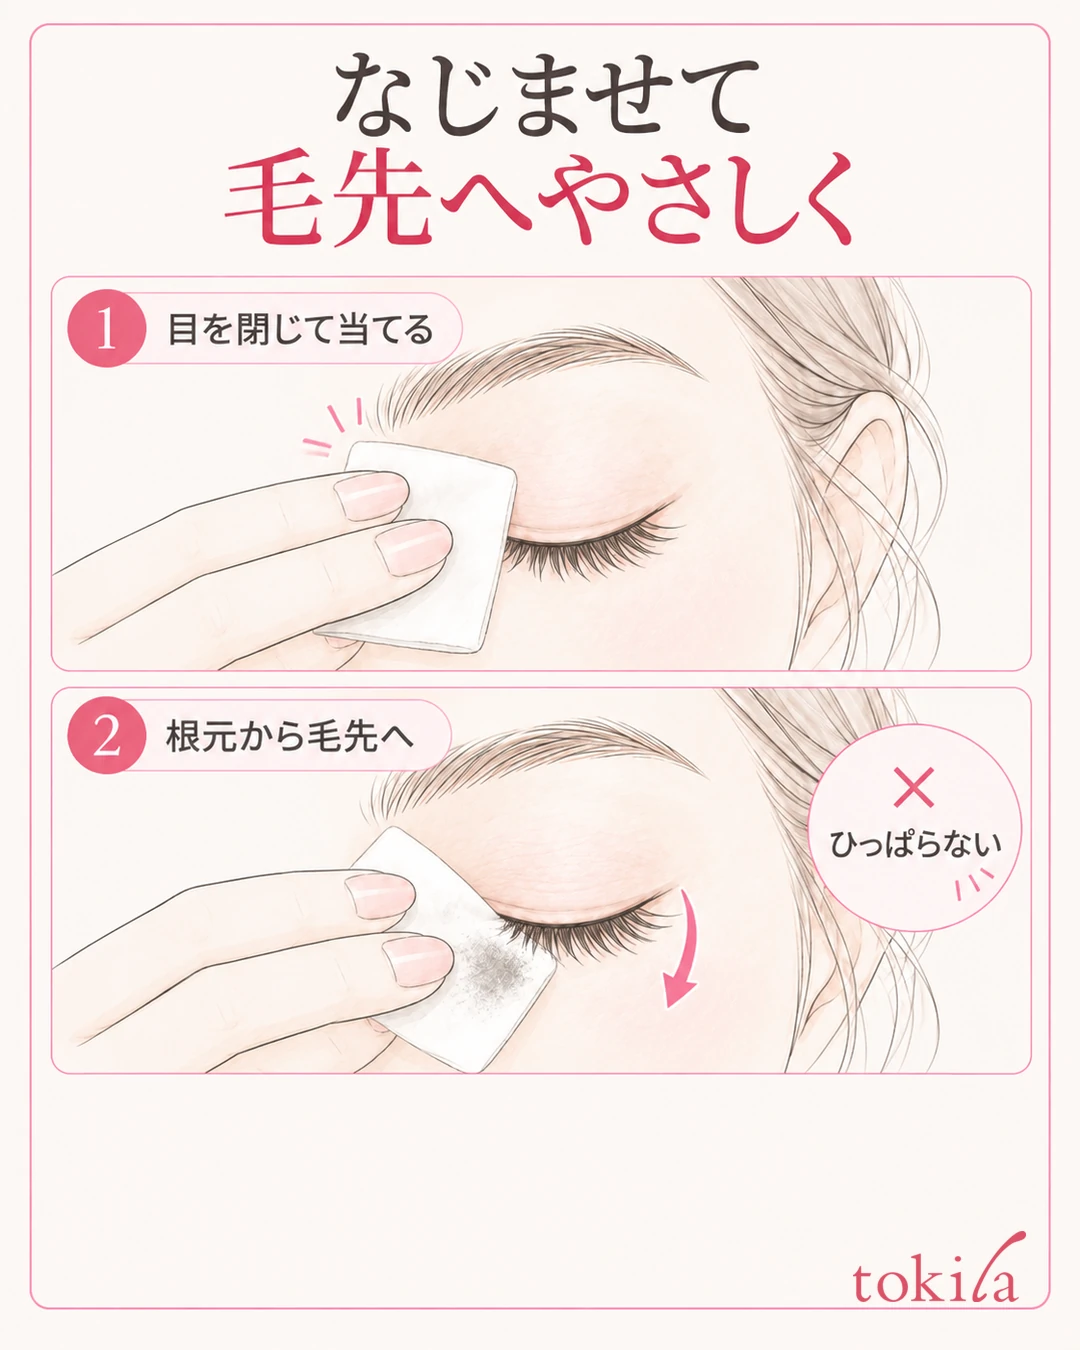
Keep in mind to follow the direction in which the lashes grow, and not to remove the mascara by pulling. Avoid wiping hard in a way that moves the skin a lot, or movements like pinching the tips and pulling the lashes out.
The illustration is a schematic that separates the state of placing the cotton pad with eyes closed from the direction going from the base to the tips. It does not show a method of pushing the corner of the pad in with your eyes open, or of wiping the inside of the eye. Do not try to clean the inside of the eyelid or the mucous membrane; target the lashes with mascara on them.
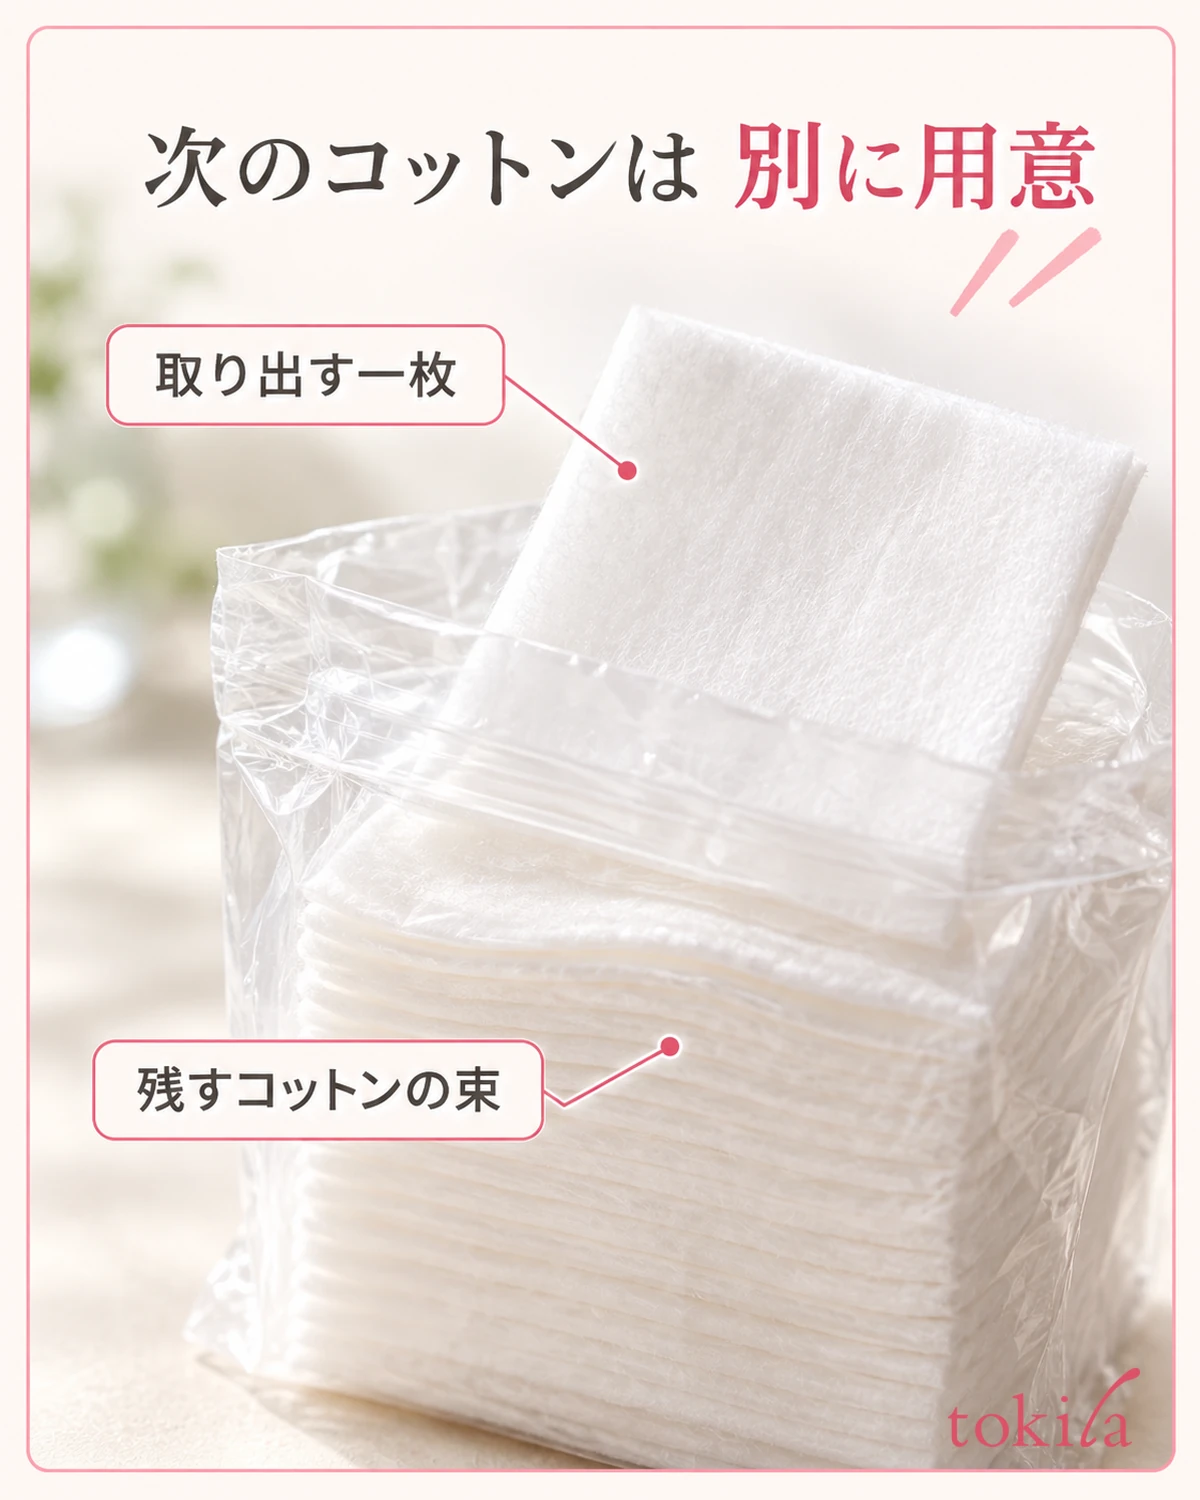
When color transfers to the pad, do not spread the dirty side across the whole eye area; switch to a clean side or a new pad. There is no need to use the black side from the right eye on the left eye as well. Also adjust the amount of liquid by returning to the product's instructions so that you do not use the new side dry.
When you use a comb-type mascara remover, do not substitute this cotton pad preparation; read that product's application method and follow-up steps. Products that apply the liquid directly to the lashes and products that soak it into a cotton pad start differently. Even with the same "remover," it is important to check what you use to take it off after it has blended in.
4. If some remains, review compatibility, amount and how you let it work in before adding force
After wiping once, look in the mirror at the places that remain. Where to apply the pad next differs depending on whether a black film stays on the lashes or color has transferred to the skin. Instead of rubbing the whole lashes the same number of times, proceed while checking the necessary parts with a clean cotton pad.
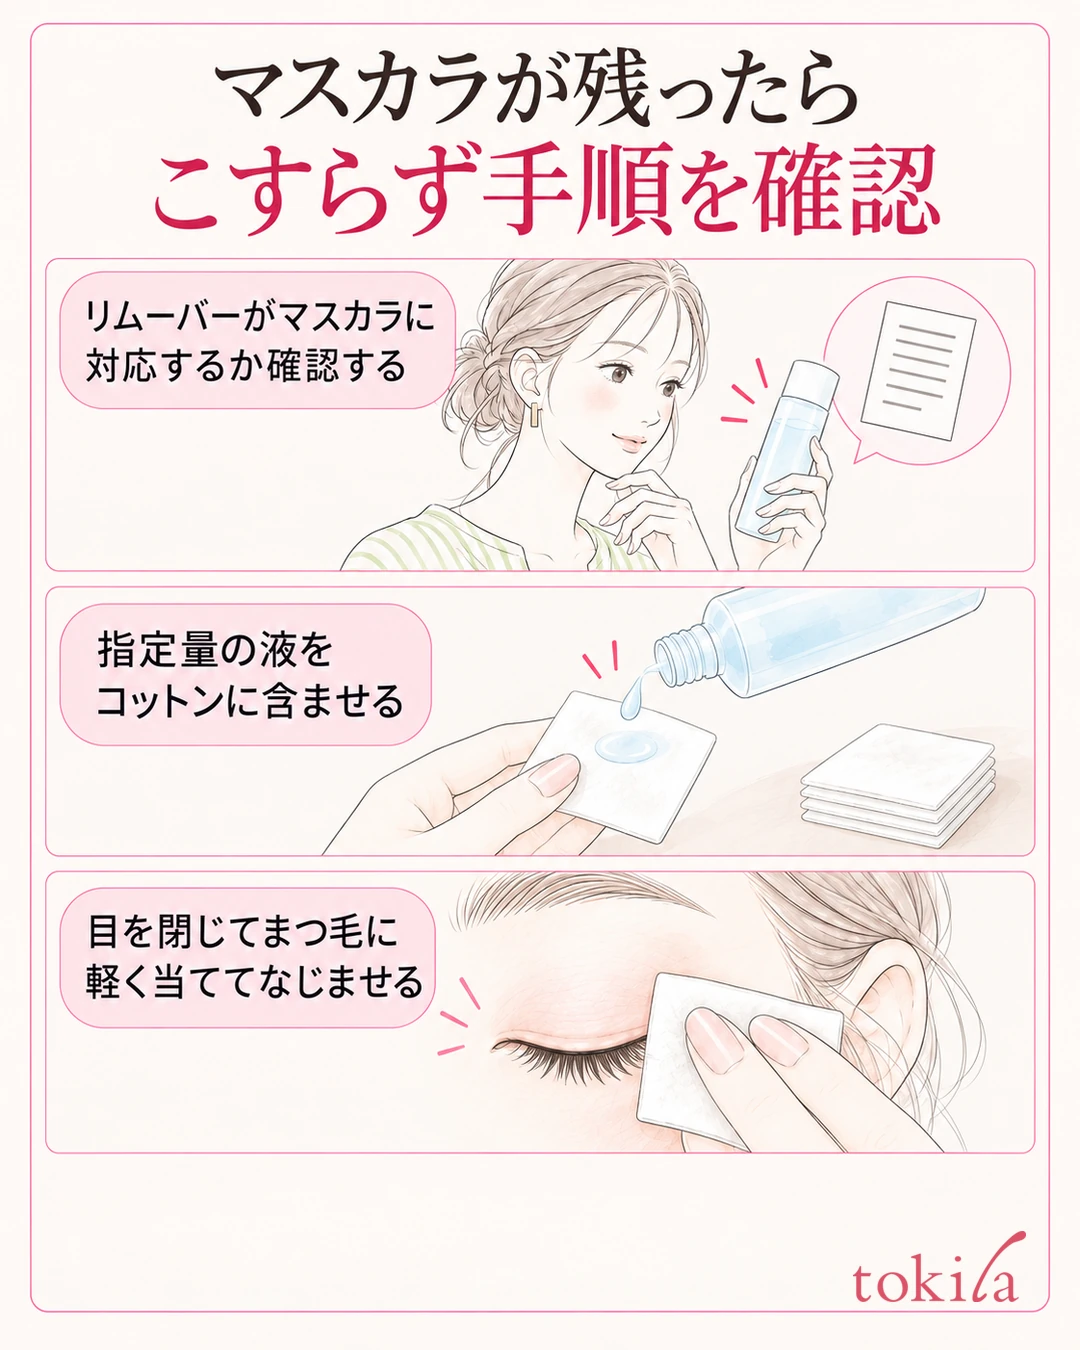
If it keeps coming off poorly, first re-check the product's compatibility. Then review in order whether you skipped the preparation for a two-layer product, whether you used the specified amount, and whether you wiped right away without letting it blend in. If you increase the liquid, the force and the time all at once, it becomes hard to tell what did not suit.
Here too, rather than trying to solve a stubborn mascara with force, put priority on returning to how to use the product you have. Do not carry over the amount or waiting time for one specific product to another liquid.
Do not peel off the film with your nails or pull out black clumps with tweezers just because you can see what remains. Also avoid self-styled changes such as adding hot water, or switching to household oils or tool cleaners. If it is hard to remove even when you use it as described, note the product name and what you layered, and ask the manufacturer about the method.
If you feel pain or stinging, stop repeating the steps. If the liquid gets into your eye, follow the product's cautions and rinse with water or lukewarm water without rubbing. If pain or a feeling of something in the eye remains even after rinsing, take the product you used and consult an ophthalmologist. It is important not to keep wiping as if "a little leftover color" and "discomfort in the eye" were the same problem.
5. Finish the steps the product specifies, then change one condition next time
After removing the mascara, check whether you finish with wiping, or whether rinsing or face washing is needed. Go through to the steps specified for your combination, such as cleansing the whole face after an eye makeup remover. Do not take the pad's color becoming lighter alone as a sign that all the cleansing is done.
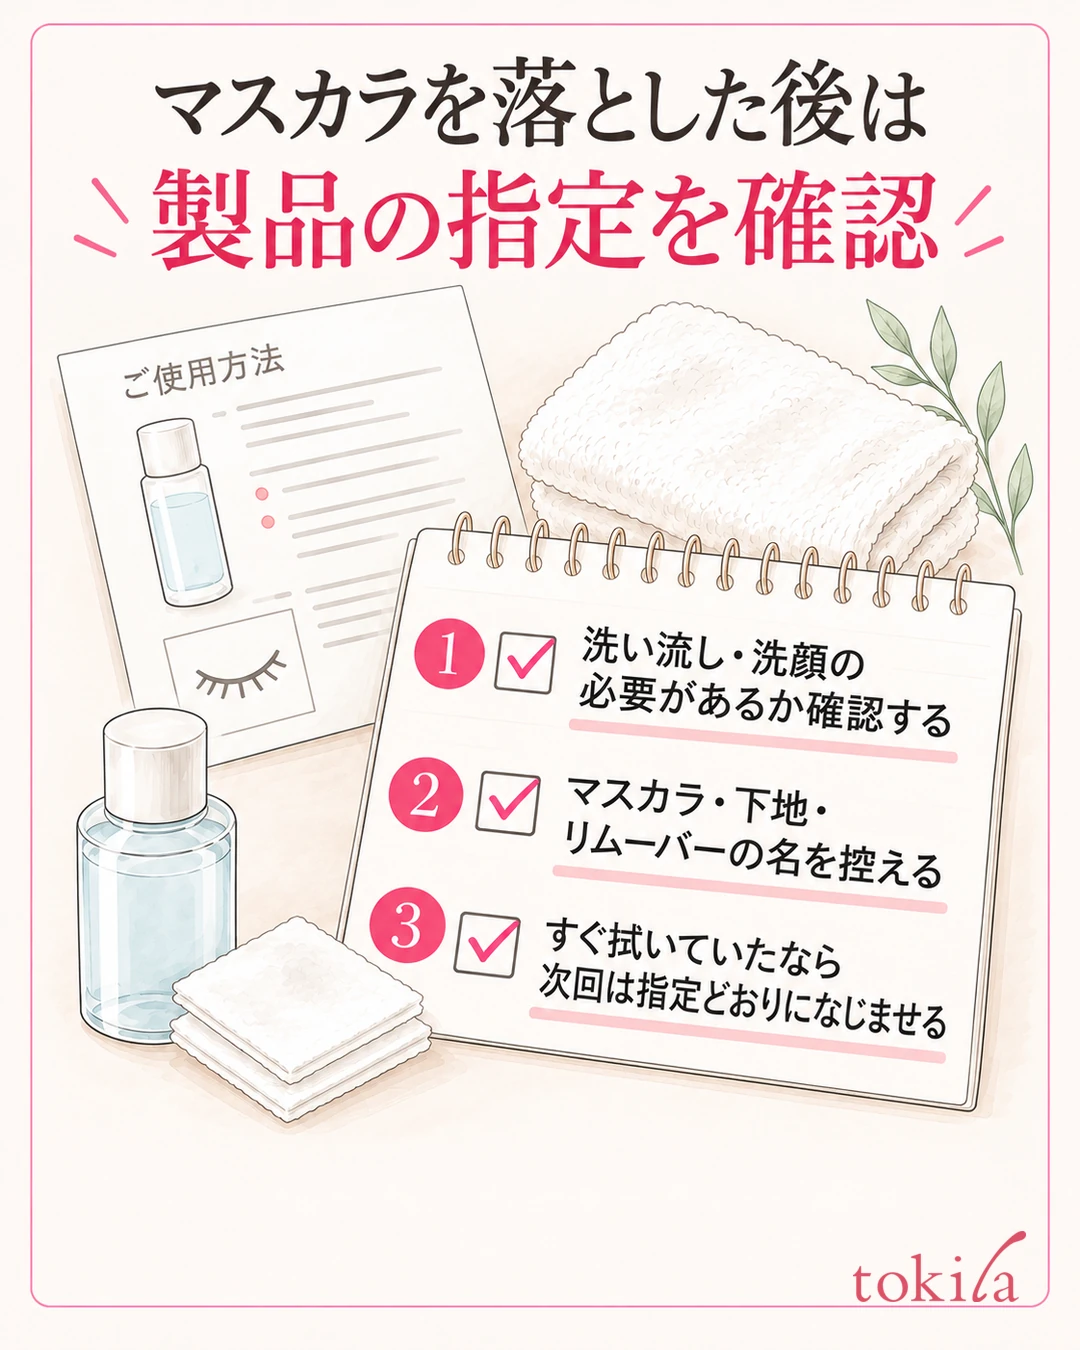
When you take off moisture with a towel, do not wipe in a way that pulls the lashes again and again; press lightly. In the mirror, check separately the color left on the lashes and on the surrounding skin. Do not try to erase the natural color of your own lashes or eye area, and if you cannot tell whether something that looks black is makeup, stop and check before increasing the number of wipes.
For notes to keep for next time, start with three points: the product names of the mascara and base, the compatible remover, and whether you were able to prepare as described. When choosing a new remover too, check whether it can be used with your current mascara and eye area conditions instead of deciding on reputation alone; this makes it harder to repeat the same trouble.
You do not need to change everything at once. For example, if you were using a compatible liquid but wiping right away, next time work on the step of letting it blend in as specified. On a day you switched mascara bases, read that product's removal method again. Treat the record as a way to look back at how you used the products, and do not leave behind ease of removal or number of uses that you have not tried as results.
When you contact the manufacturer, tell them specifically where it remained, which liquid you used and whether you used a base. For example, organizing it as "with this combination, a film stays on the tips even when I use the cotton pad as described" makes clear which step you want checked. Rather than hiding the difficulty and continuing the same routine, leave a note of what to check next.
When removing mascara, the basic flow is: check the products you used, prepare a compatible liquid and a clean surface, let it blend in and wipe lightly, and finish the specified follow-up steps. The harder it is to remove, the more you should go back to the label before increasing force. Along with the basics of eyeliner and mascara, try reviewing applying and removing as a pair.



