
When you get home and remove your makeup, do several cleansing wipes come out together, or do you keep wiping your cheeks with the same side? Wipes become easier to handle when you plan how to switch to a clean surface and how to close the packaging after taking one out.
This article covers disposable sheets soaked in makeup remover and organizes how to take out one wipe, refold it, switch methods for stubborn makeup, and clean up afterward. They are used differently from body wipes and moisturizing masks, so start by checking the intended purpose and application areas printed on your product.
1. Check that the wipes remove makeup, where they can be used, and what comes afterward
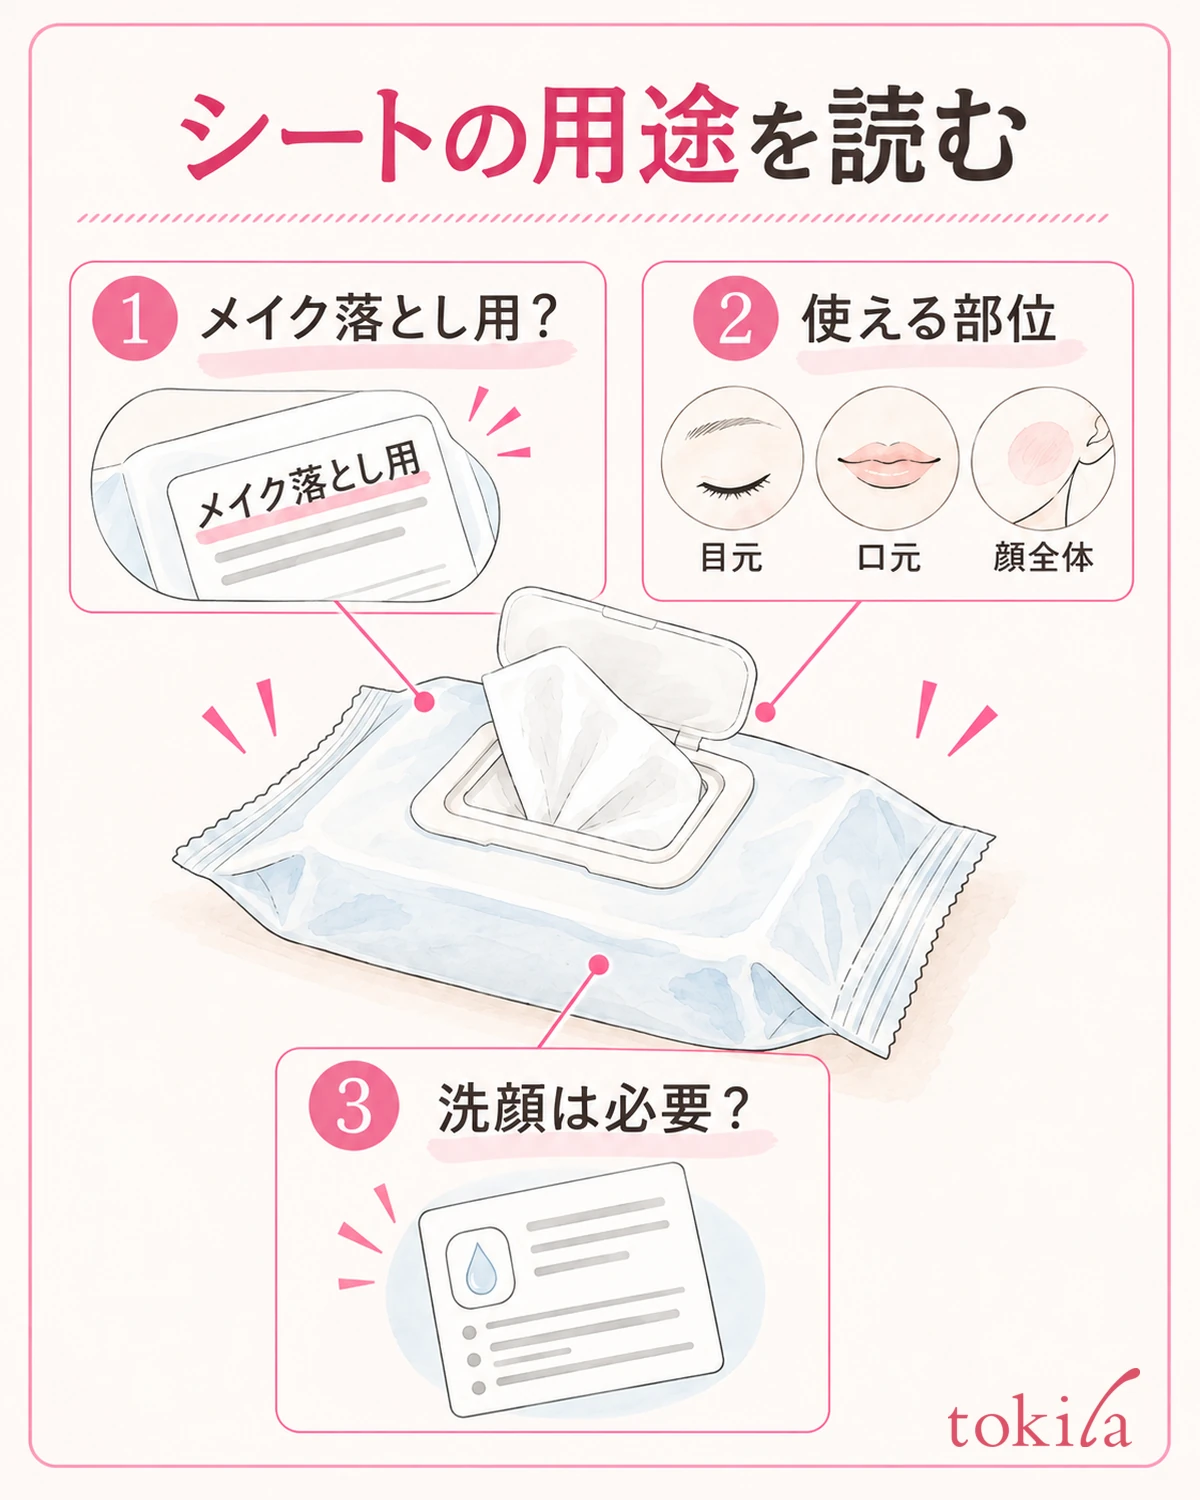
First, check the front and back of the package to make sure the wipes are intended to remove makeup. Similar-looking pouches may contain wipes for sweat, makeup touch-ups, or moisturizing, each with a different purpose. Do not assume they can be used over your whole face just from the opening shape or fragrance.
Small travel packs and larger containers for home may have different sheet sizes and dispensing openings. Even if you remember a method that suited your previous pack, reread the instructions when you switch products. If you note the opening date for yourself, write it in a blank area that does not cover the directions.
Check instructions for the eyes and lips, the types of makeup the wipes remove, and rinsing or face washing afterward. Some wipes say no rinsing is needed, but that does not apply to all wipes. Before taking one out, check the finishing steps printed on the pack you are using today.
Also read the labels on your mascara and lip products. If your makeup requires a dedicated remover, do not plan to remove it entirely with wipes alone. Instead of treating everything labeled waterproof as the same, check the combination of the cosmetics you applied and the product that removes them.
If you have eyelash extensions or similar additions, read the applicable conditions individually. Even if the wipes are labeled suitable, that does not mean vigorous rubbing is recommended. When unsure, confirm the conditions before using them around your eyes.
For travel, consider more than the number of wipes: whether you can rinse at your destination and prepare any skincare needed afterward also matters. A practical combination lets you choose a small pack without omitting necessary steps. For packing preparations, see What to check before traveling with skincare for further guidance.
2. Take out one wipe, then close the remaining wipes inside
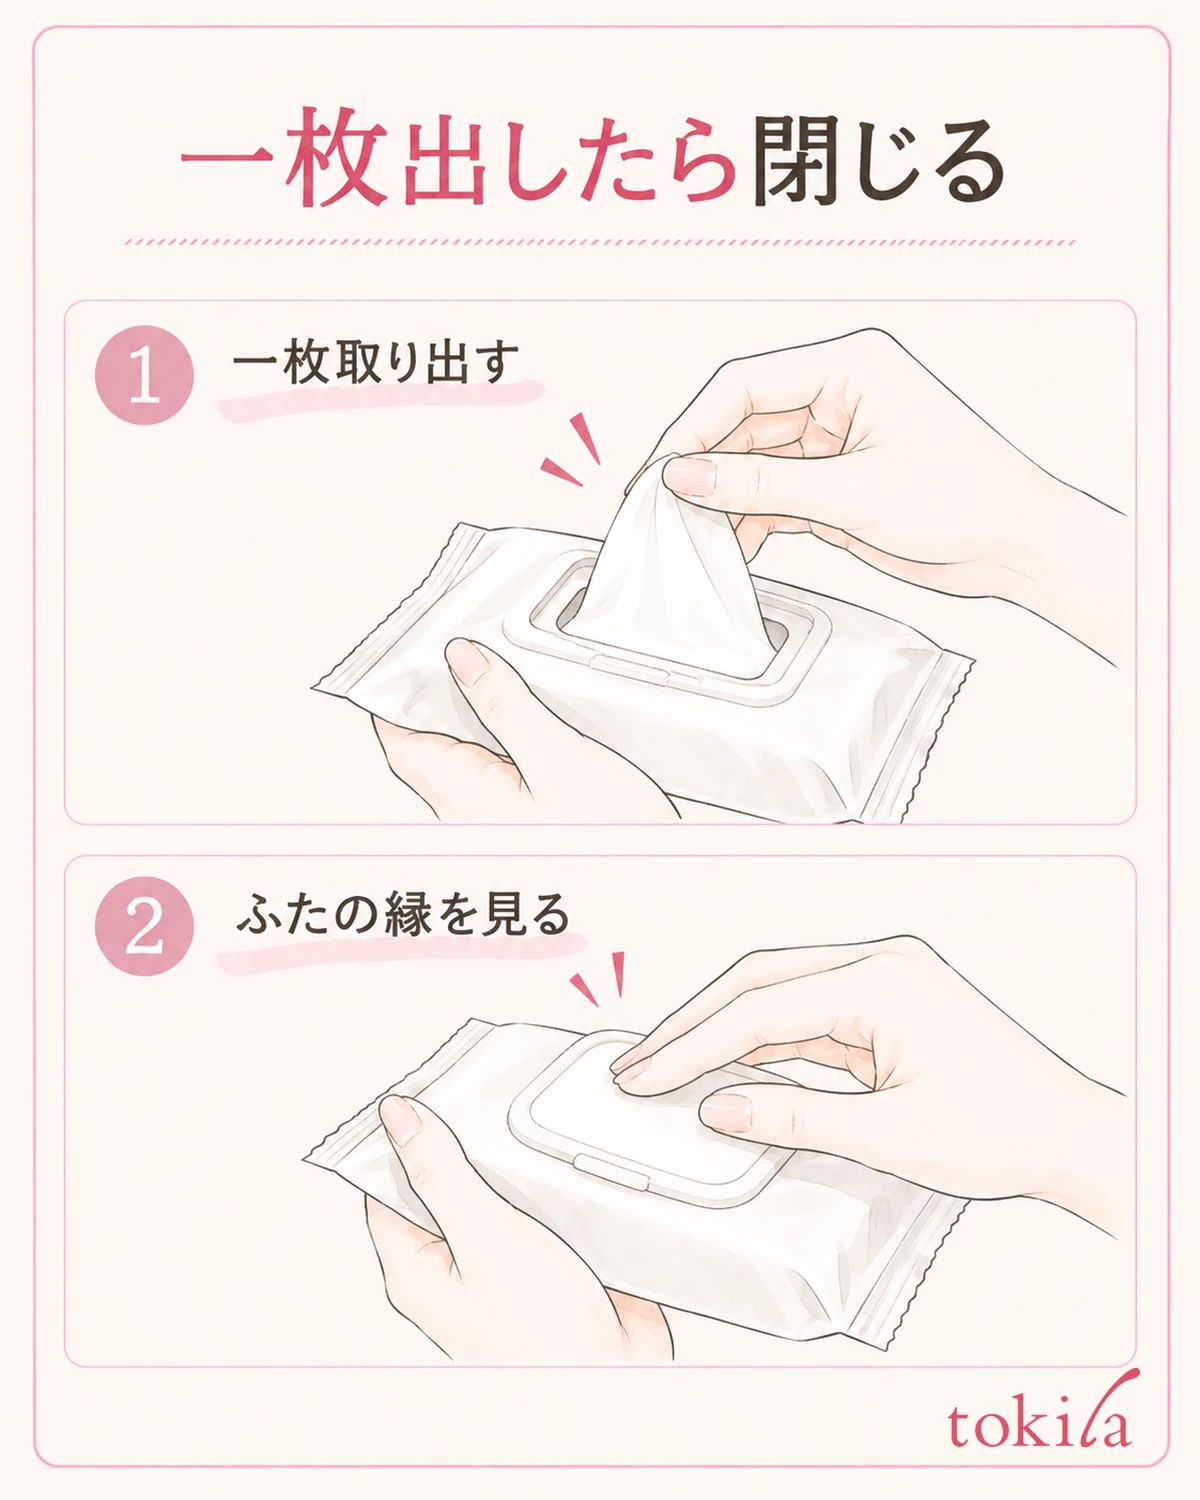
Clean your hands and place the pouch on a flat, stable surface. Check the lid tab or opening-seal instructions for how to open it. Distinguish between a seal that is removed completely and one that is resealed after every use, and do not forcefully cut the opening wider.
Once you find an edge, take one wipe out first. If several sheets overlap, do not tug them all out at once; look at their edges and separate them one by one. Avoid spreading the removed wipes and those remaining in the pouch on a wet sink counter.
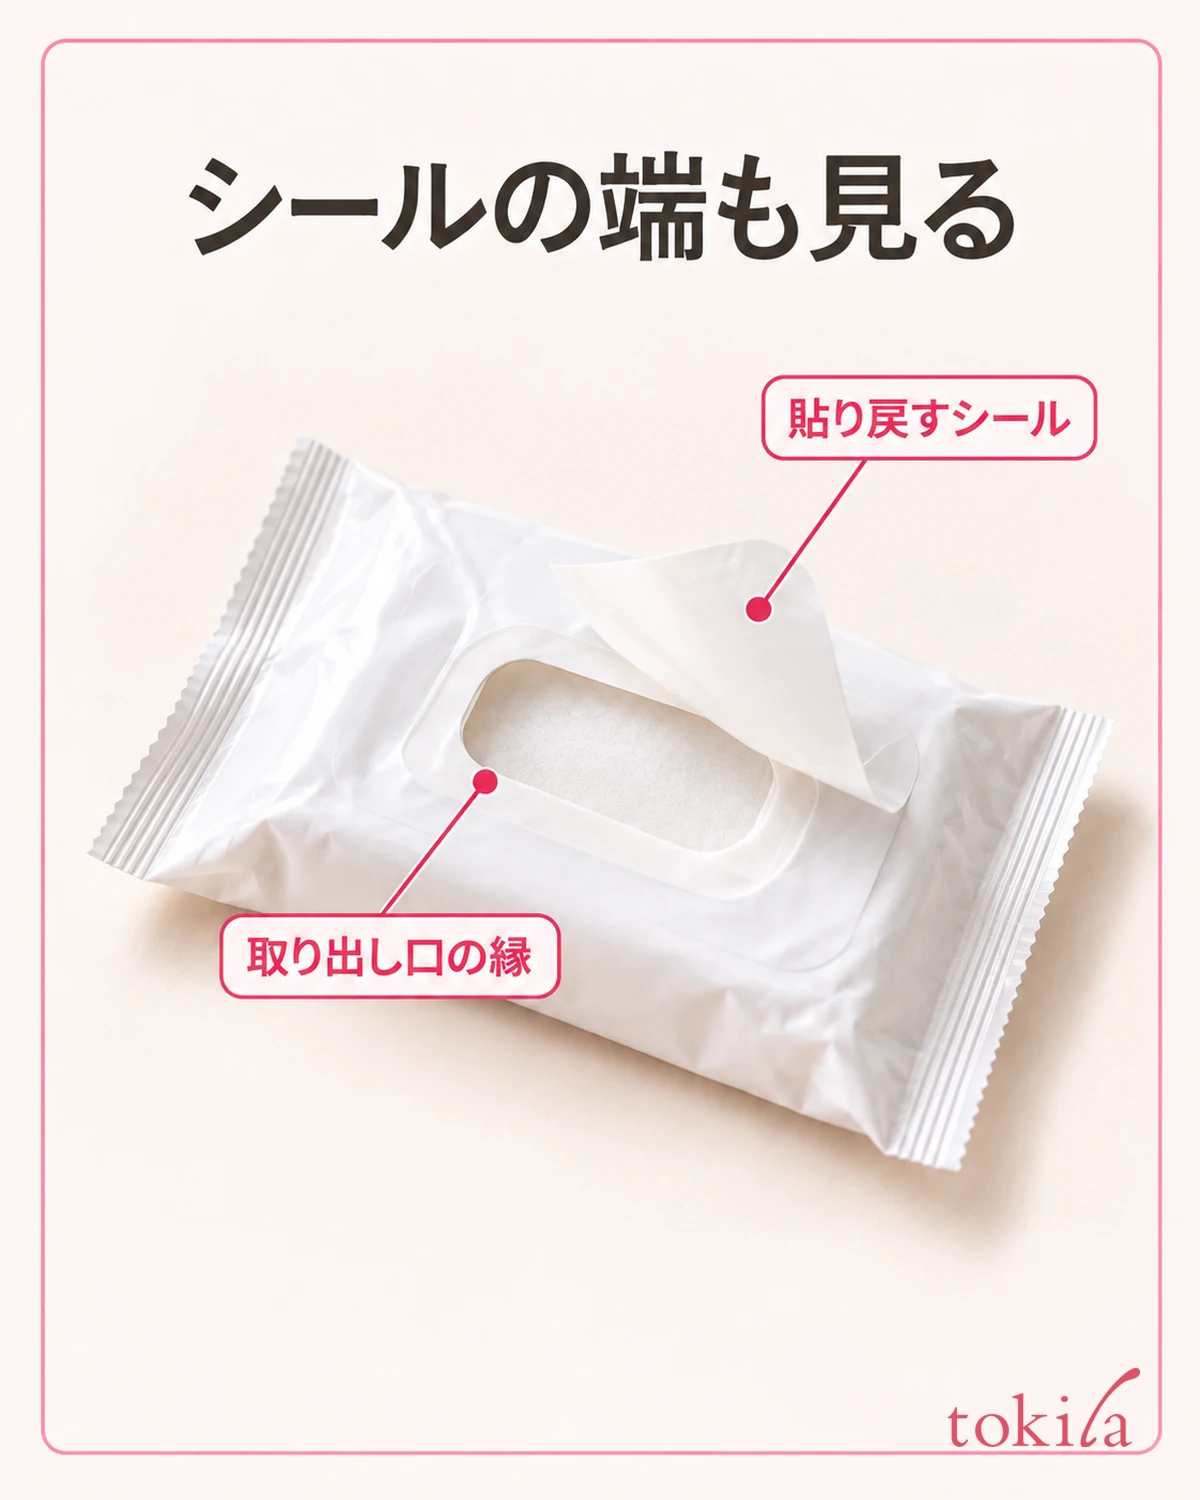
After taking one out, close the packaging before wiping your face. Check that no sheet is caught around the opening and that the resealable area is not lifting. With a rigid lid, do not rely on the closing sound alone; check that the edges fit into place. The key is not to leave the opening uncovered while working on your entire face.
When closing the lid, reposition the pouch so you can see around the opening rather than turning it over and crushing it down. If a sheet edge protrudes under the seal, do not push it back with fingers that have touched your face; check how your product should be handled. Finishing the closing step first avoids touching the pack again with your wiping hand.
Do not push extra wipes back into the pouch after they have touched your face or the table. Follow your product's directions on whether unused extras may be returned. Also avoid removing everything in advance and transferring it to an unlabeled container; use the original packaging that identifies the product and precautions.
If a removed wipe does not feel sufficiently soaked or seems different from before, do not add water or toner to restore its feel. Check the label to determine whether it is still suitable for use, and avoid rubbing your skin hard with a dry wipe.
3. Refold the wipe and place a clean surface against your skin
After unfolding the wipe, fold it according to your product's instructions to form a surface you can support with your fingers. Follow any specified number of folds. Some products recommend folding into quarters, but you do not need to use that same number for wipes of different sizes and thicknesses.
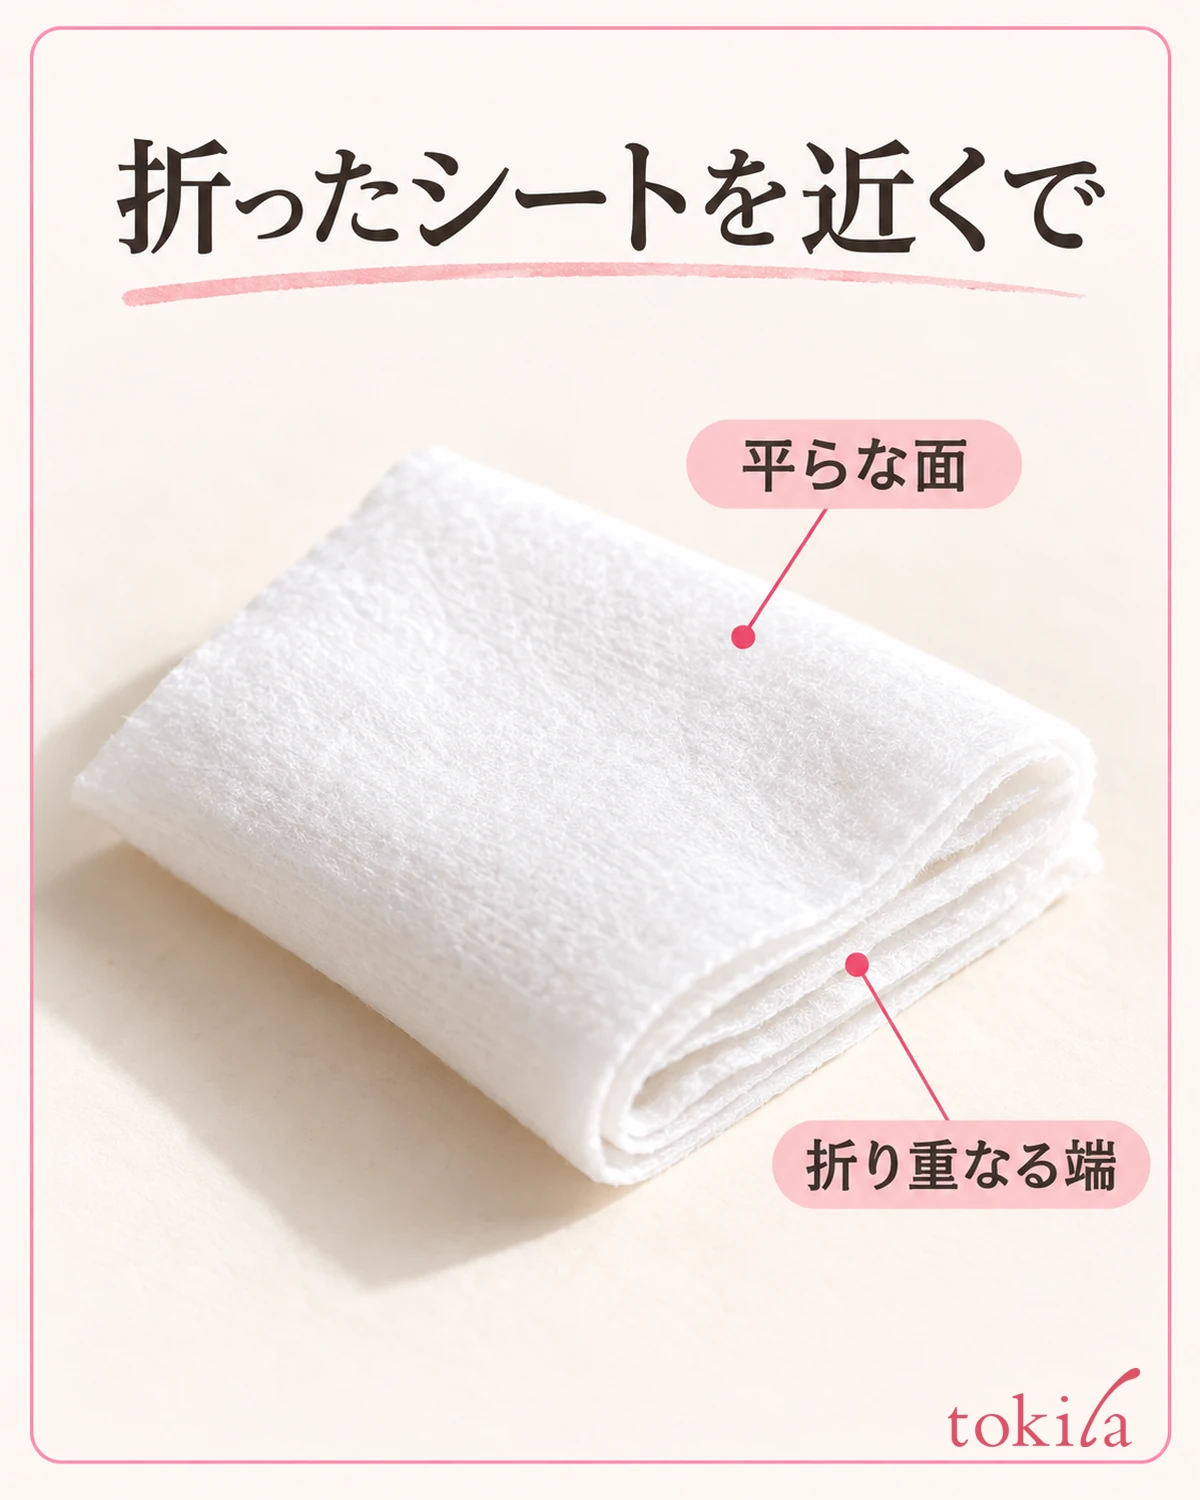
The part placed against your skin should be the flat surface supported by your fingers, not a narrow tip formed by raising a folded corner. Do not wrap the wipe tightly around a fingertip to scrape off color; let it follow your face's contours. Before moving it, check in the mirror that your grip will not press your nails against your skin through the wipe.
If the directions tell you to start by letting the remover work on eye and lip makeup, follow that order. With wipes approved for the eye area, close your eyes, follow the specified method for letting the remover work, and then wipe gently. Do not add a fixed number of seconds or back-and-forth strokes from another product's instructions.
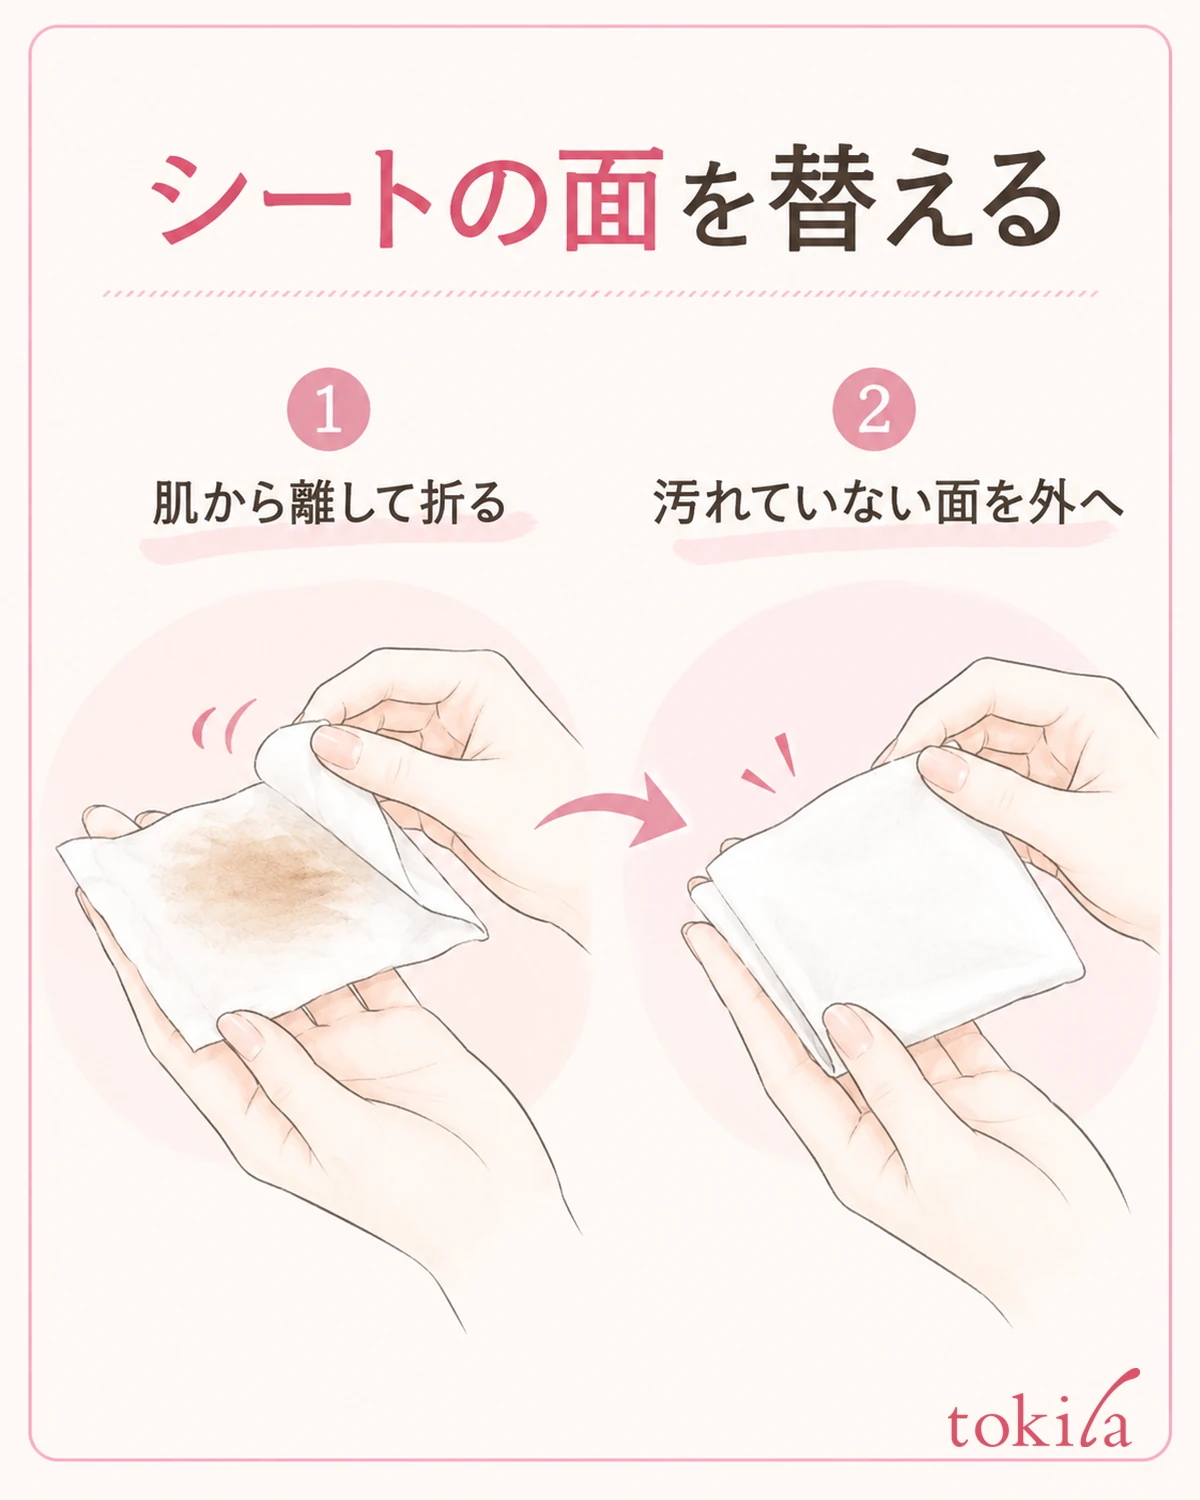
Rather than continuing to wipe another area with the stained surface, lift it off your skin and refold it. Adjust your grip so a clean surface from inside faces outward, then use it on the next area. Watching the folds as you switch helps avoid accidentally placing the previously used side against your cheek again.
For example, after wiping a cheek, lift the wipe away, look at the stained surface, and fold that side inward. Do not try to change surfaces just by moving your fingers while keeping it against your face. Keeping enough distance from the mirror to see the folds in your hands makes it easier to choose the surface you use.
If no clean surfaces remain, switch to a new wipe as needed. There is no need to prioritize using up one sheet by spreading out a dirty surface. Do not push dirt through to the reverse side or wash the wipe for reuse; follow its instructions as a disposable product.
4. For stubborn areas, reconsider the makeup and removal method before applying more pressure
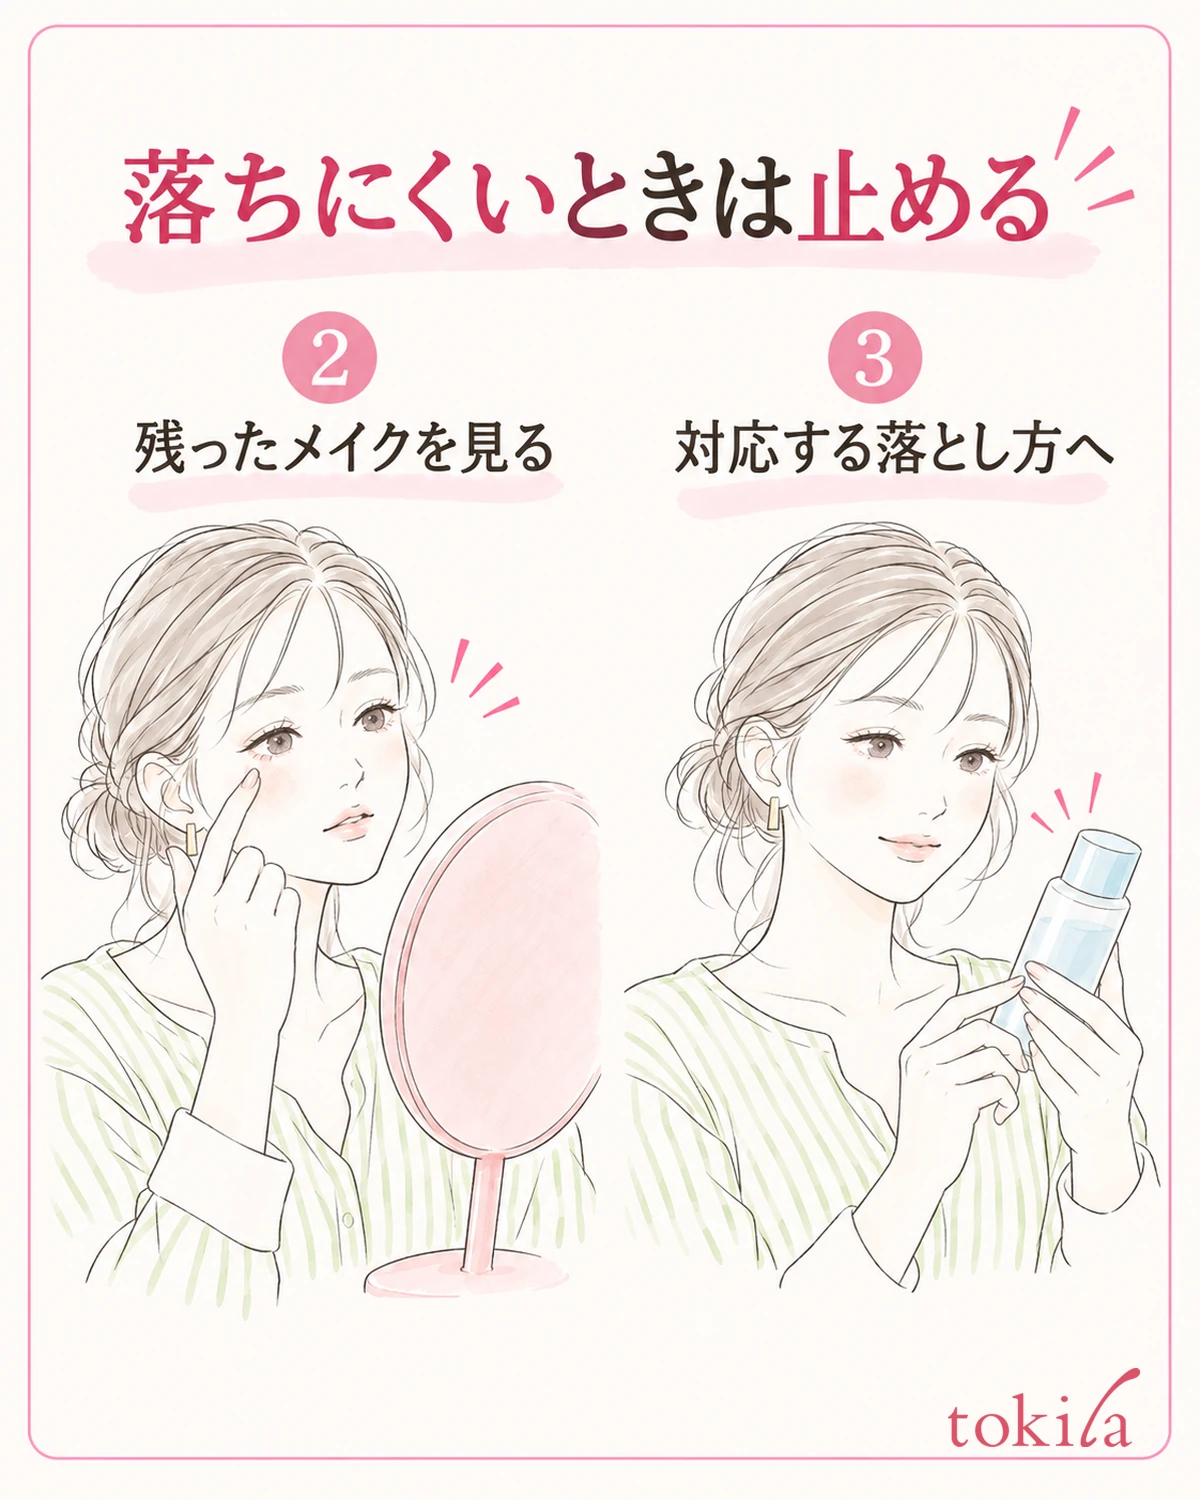
Foundation may come off your cheeks while some color remains on your lashes or lips. In that case, do not rub the same area forcefully back and forth; identify which cosmetic remains. Do not assume all makeup is gone simply because no more dirt appears on the wipe.
If the label recommends a dedicated eye and lip makeup remover, switch to its directions. Rather than pouring another liquid onto the wipe and mixing them, use the tools and steps specified for each product. For stubborn mascara, How to remove waterproof mascara also organizes the points to check.
Beside your nostrils and at the corners of your mouth, lay a flat surface along the visible area rather than pushing in a tightly twisted tip. Do not put the wipe against mucous membranes or into your eyes. If the edges of your face are difficult to see, stop wiping, adjust the mirror and your face's angle, then check where makeup remains.
If the wipe becomes difficult to move across your skin, check its surface and moisture before pressing harder. Do not keep using a dry or heavily soiled area; take a new wipe if needed. If makeup still does not come off with the specified method, reconsider which makeup remover suits it instead of merely increasing the number of strokes.
Distinguish between running out of clean surfaces while wiping your cheeks or forehead and a particular mascara not coming off. For the former, first change surfaces or wipes; for the latter, first check a removal method suited to that makeup. Do not try to solve the problem just by taking more wipes from the pouch without looking at where color remains.
If irritation, redness, or other abnormalities occur, stop using the product immediately and follow its precautions. Do not keep wiping simply because you want every trace of color gone. Read what to do if it enters your eyes beforehand, and consult a medical professional if a concerning condition continues.
5. Check your skin and the dispensing opening's closure separately after use
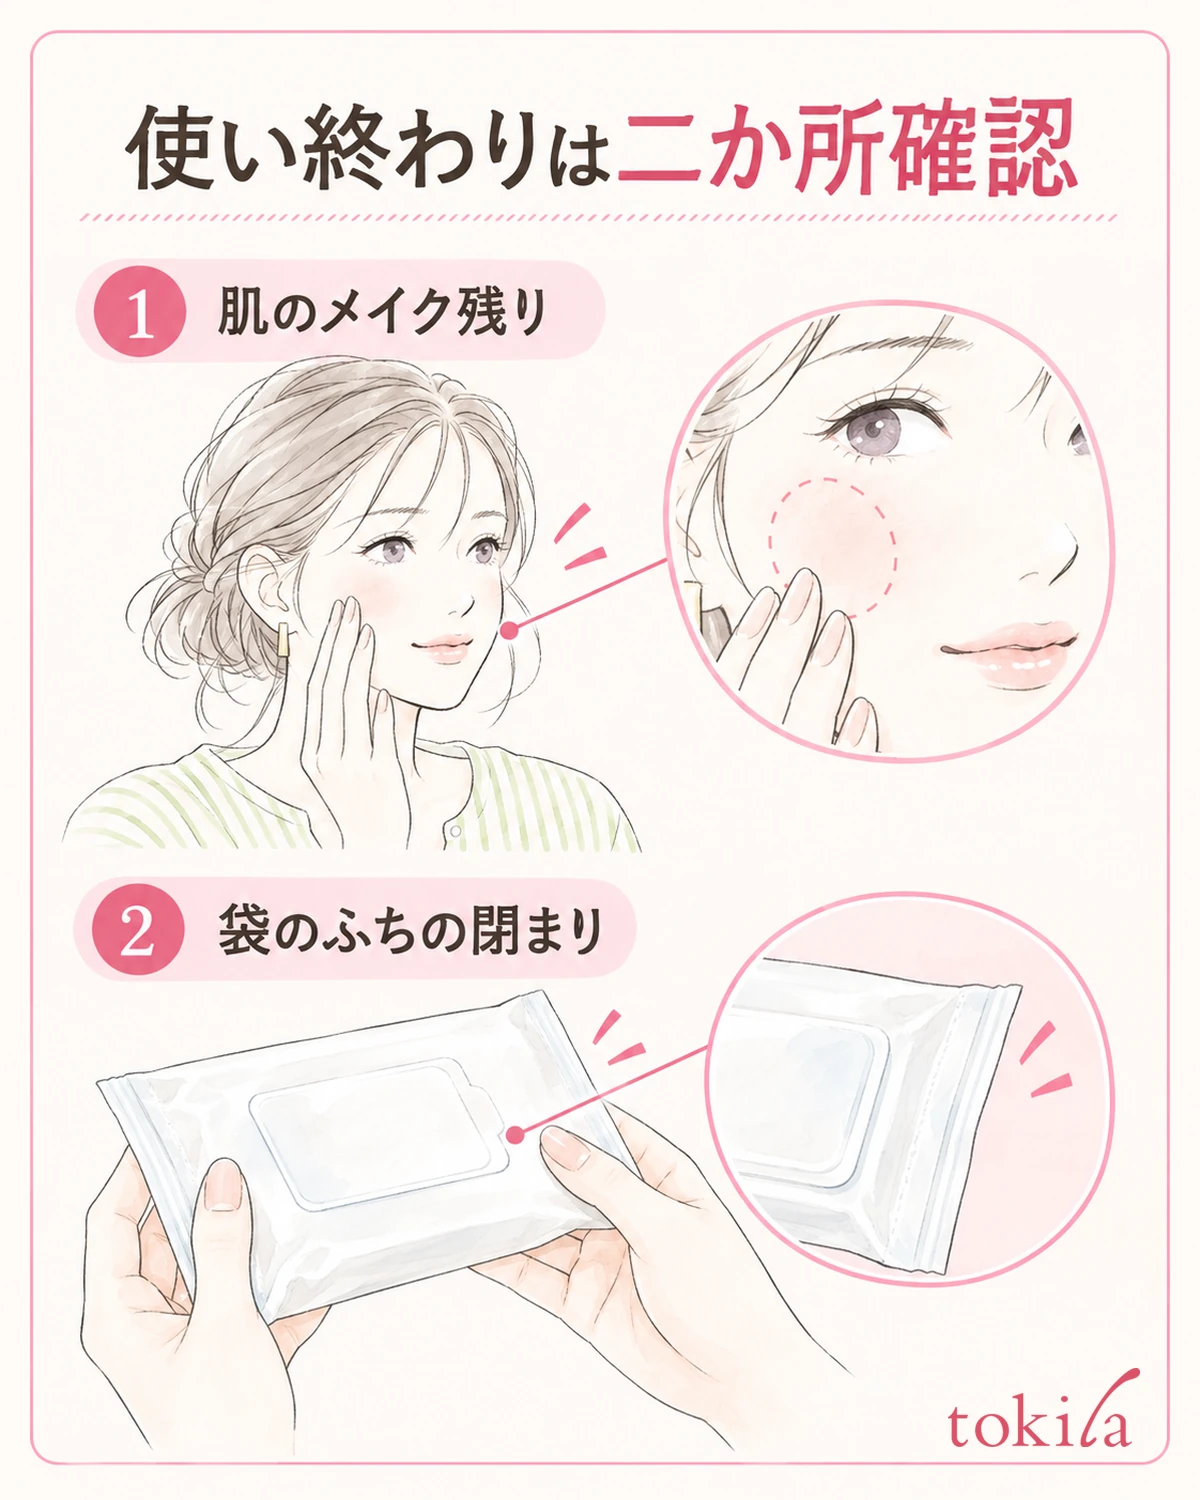
After wiping, check in the mirror the areas where you applied makeup. Look for places you thought you had wiped but did not reach, such as your hairline, jawline, and around your mouth. Do not finish solely because the wipe looks white; consider the makeup applied alongside your product's guidance for completing removal.
If the product requires rinsing or face washing, continue with the labeled steps. Even when these are unnecessary, follow with skincare suited to the products you own. Do not interpret phrases such as one wipe as meaning every product leads to the same moisturizing routine afterward.
Dispose of used wipes according to the package and local waste-sorting rules. Do not flush wipes that do not dissolve in water, or use a wipe on the sink or furniture after using it on your face. Deciding beforehand where used wipes will go helps keep them separate from the unused pack.
At the end of cleanup, check the lid or resealable label again. Look for fibers caught along the edge and lifting corners of the seal. Avoid repeatedly touching inside with dirty hands, and follow any specified closing method or storage orientation.
When carrying the pack, choose a position where other luggage will not press heavily against it. Read each product's instructions on places to avoid, such as high temperatures and direct sunlight. Do not assume a rubber band will restore a poorly closing pouch to its original condition; reconsider any problems with the container or contents before taking it with you.
For next time, reflect on just one step that caused difficulty today. Was it hard to take wipes out one at a time, did you lose track of the used surface, or was the remover unsuitable? Rather than focusing on reducing the number of wipes, separating dispensing, changing surfaces, and closing into distinct steps offers a way to use them without rushing.



