
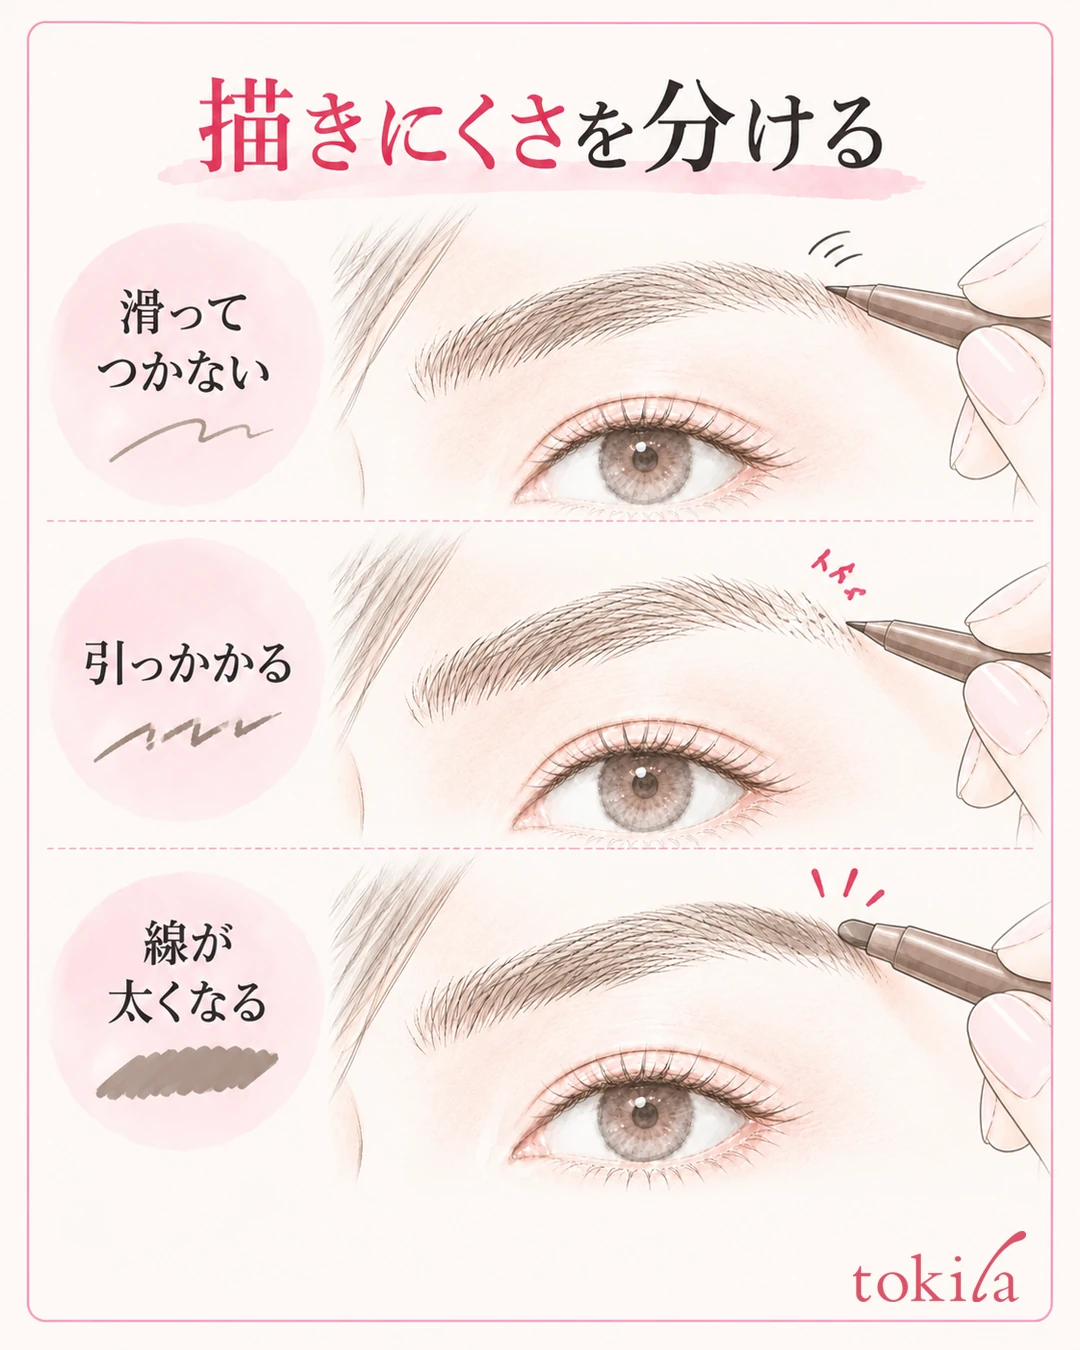
You move the eyebrow pencil, but no color shows up. Or you press harder and the lead snaps, or a dark line suddenly appears. Before going over the brow again and again, check in order how far the lead is extended, the surface you are drawing on, and the direction in which the tip meets the skin. The starting point is not to solve every difficulty by pressing harder.
This article covers situations where, from the very first stroke, the pencil slides, catches, or makes a thick line. It is separate from the worry that the tail of the brow fades over time or from judging why hair is falling out, and it introduces ways to review the one pencil you already own. For differences between the left and right brows, go on to checking the height, length and density of your brows.
1. Separate "no color," "catching," and "too thick"
First, take the pencil away from your brow, move your hair aside, and place the mirror straight in front of you. Look at where drawing is difficult and pick just one place: the center where there is a lot of hair, or the end where there is little. Finding the short stretch that is giving you trouble narrows down the conditions to check better than going over the whole brow the same number of times.
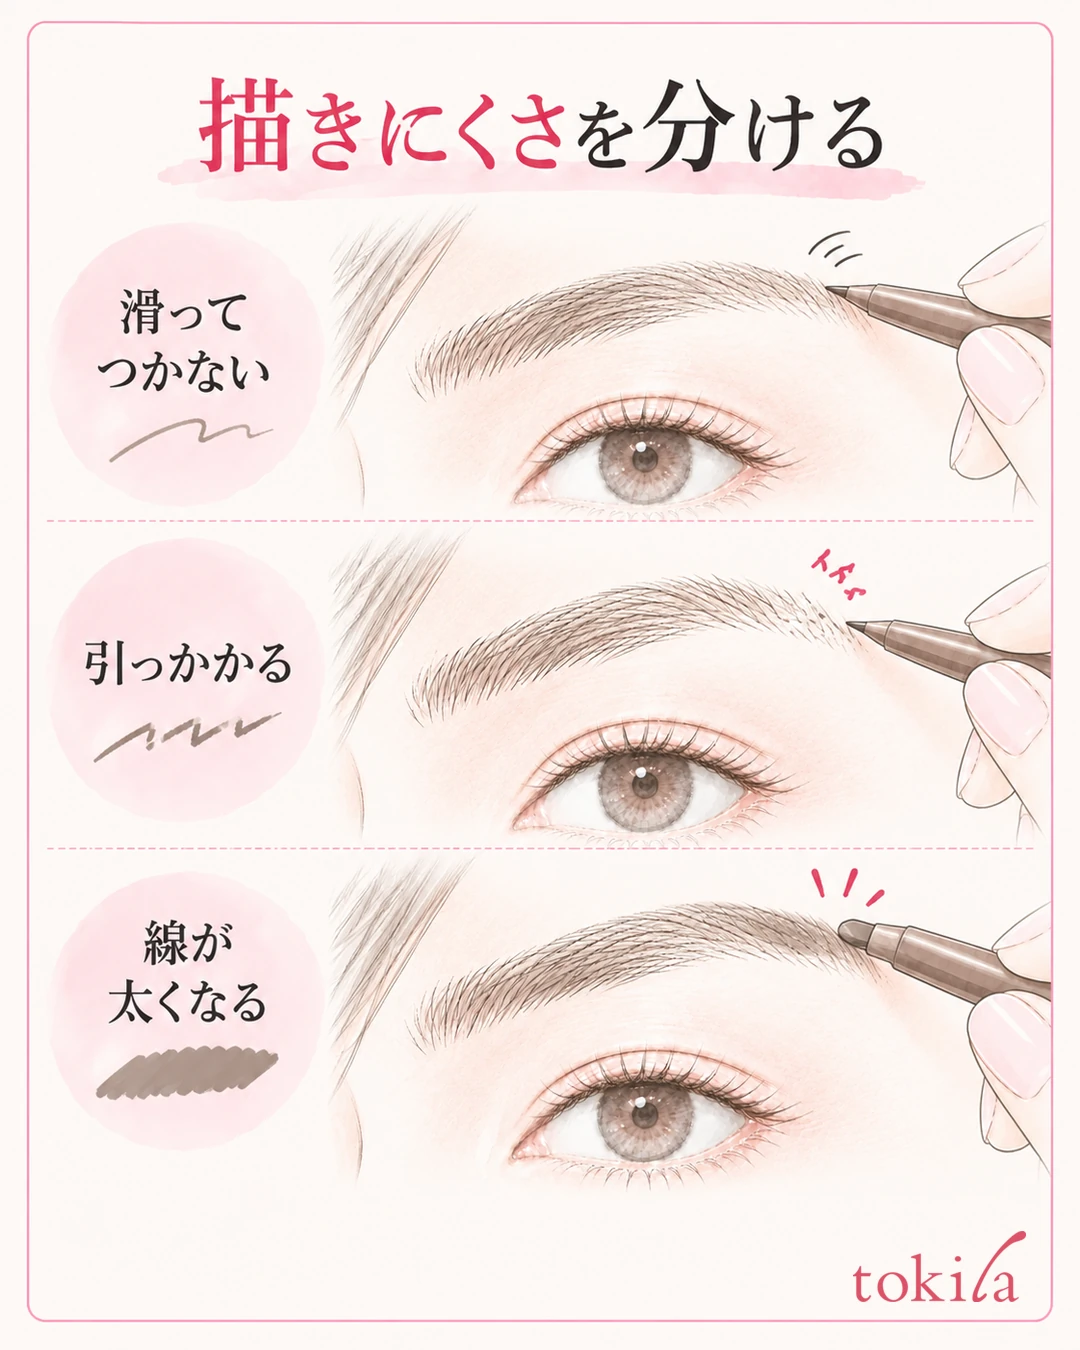
If the tip slides and hardly any line is left, look at the condition of the lead and the skin. If it catches and hurts, or the skin shifts, stop instead of pressing harder. If a line does go on but comes out thick, treat it separately from the problem of no color, and check which side of the tip is touching and whether you are drawing a long line in one go.
Also separate your natural brow hair from the color you add to the skin. If you draw the same color over dark hair, it can be hard to see the change even when a line has gone on. Focus on the places you want to fill between the hairs, and do not test the color by filling in the whole brow. Also check whether only hair is lying between the tip and the skin.
If the same pencil is harder to use than yesterday, look back at what has changed, such as a drop, a cap left open, or the lead extended too far. Do not conclude from appearance alone that the lead has deteriorated or that it is your skin type; use it only as a clue to reread the directions. A pale color alone is not a reason to buy a new one right away.
Before trying anything, check whether yours is a sharpen-it pencil, a twist-up type, or a cartridge type. Even products that look alike differ in whether the lead can be retracted, whether it can be sharpened, and what length is recommended. If you cannot find the instructions or the markings on the body, check the product labeling, and do not apply the handling of a different pencil as it is.
Use the mirror at two distances: close enough to see the gaps between hairs, and far enough to take in both brows. If you follow only one magnified line, it is easy to draw it darker than necessary. While you check, hold the tool away; separating the time for looking from the time for drawing stops the unconscious habit of layering on more because you think the color is not going on.
2. Check the lead length, tip and body for each product
For twist-up types, extend only the length given in the directions. Do not start by adjusting with the idea that it will draw if you push the lead out longer.
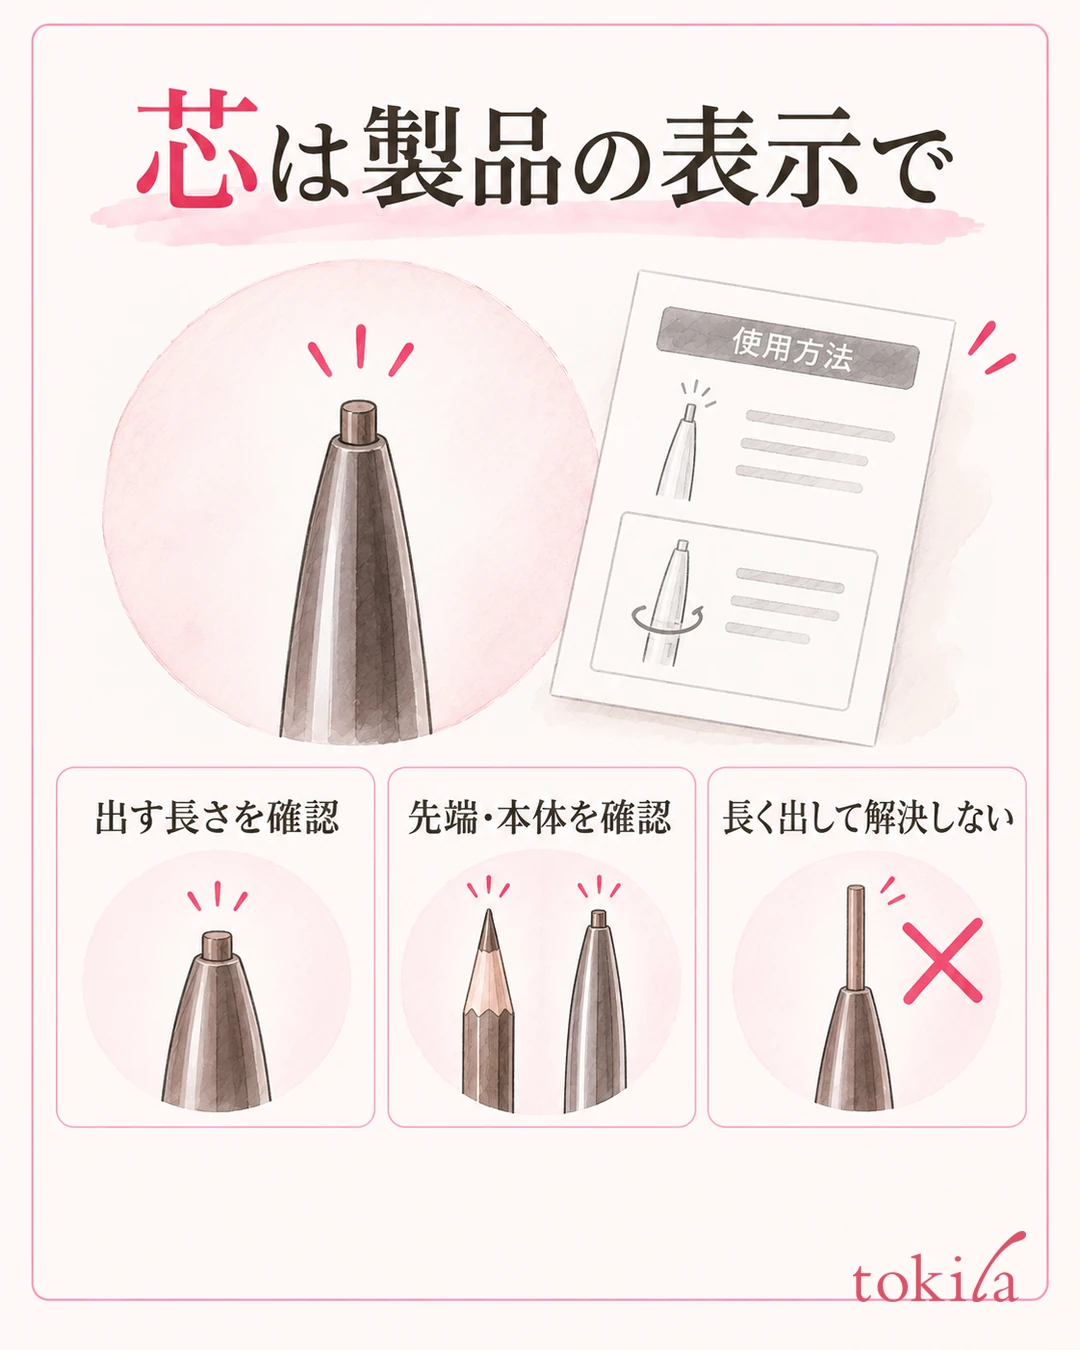
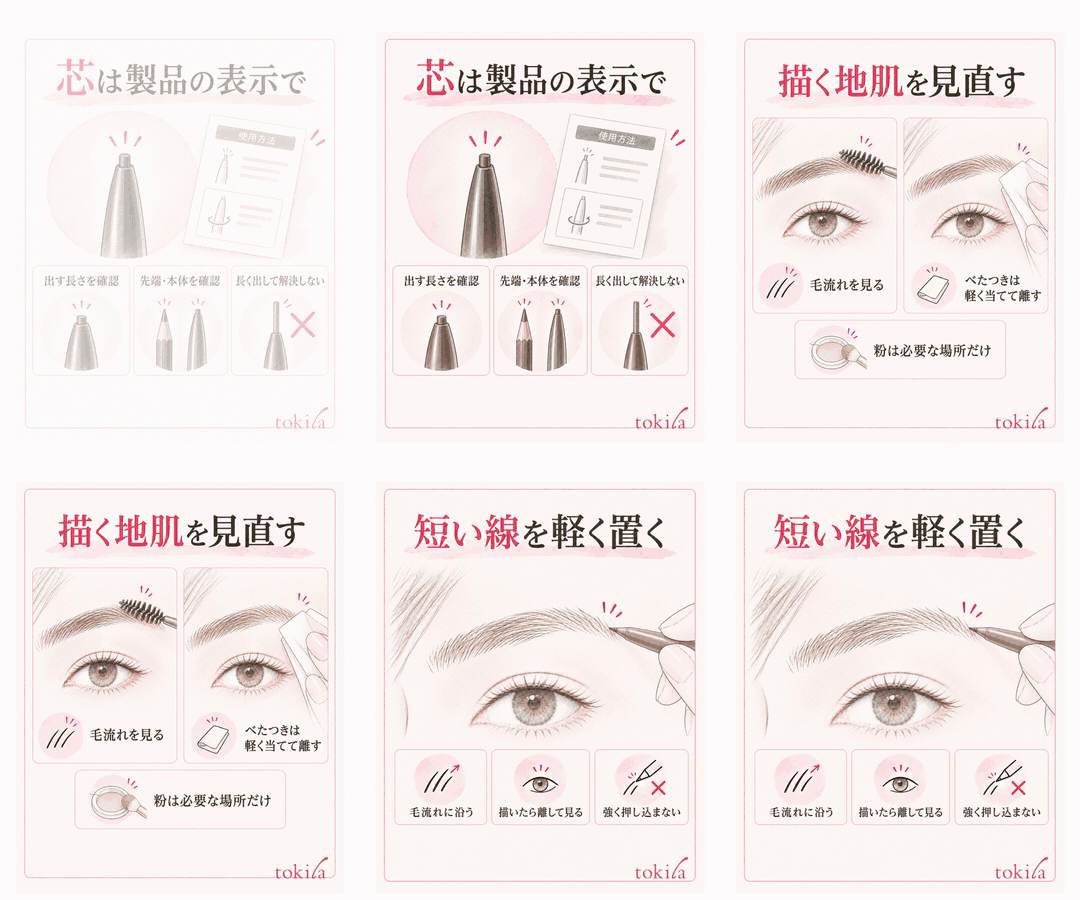
The length to extend differs from product to product, so it is not fixed to one value for all.
If the lead is so short that the rim of the container touches the skin, adjust within the specified range. If turning does not bring the lead out, the lead wobbles, or it is chipped, take the body away from the brow instead of fixing it while it is against your brow. Check the directions for how to attach the cartridge and how much is left, and do not force the barrel to turn or pull the lead out.
For sharpen-it types, use the sharpener and sharpening method that suit that product. Do not treat a twist-up type as something to be sharpened like a pencil. Rather than reshaping a flat or slanted lead into a round needle shape, check which side of its original shape to use.
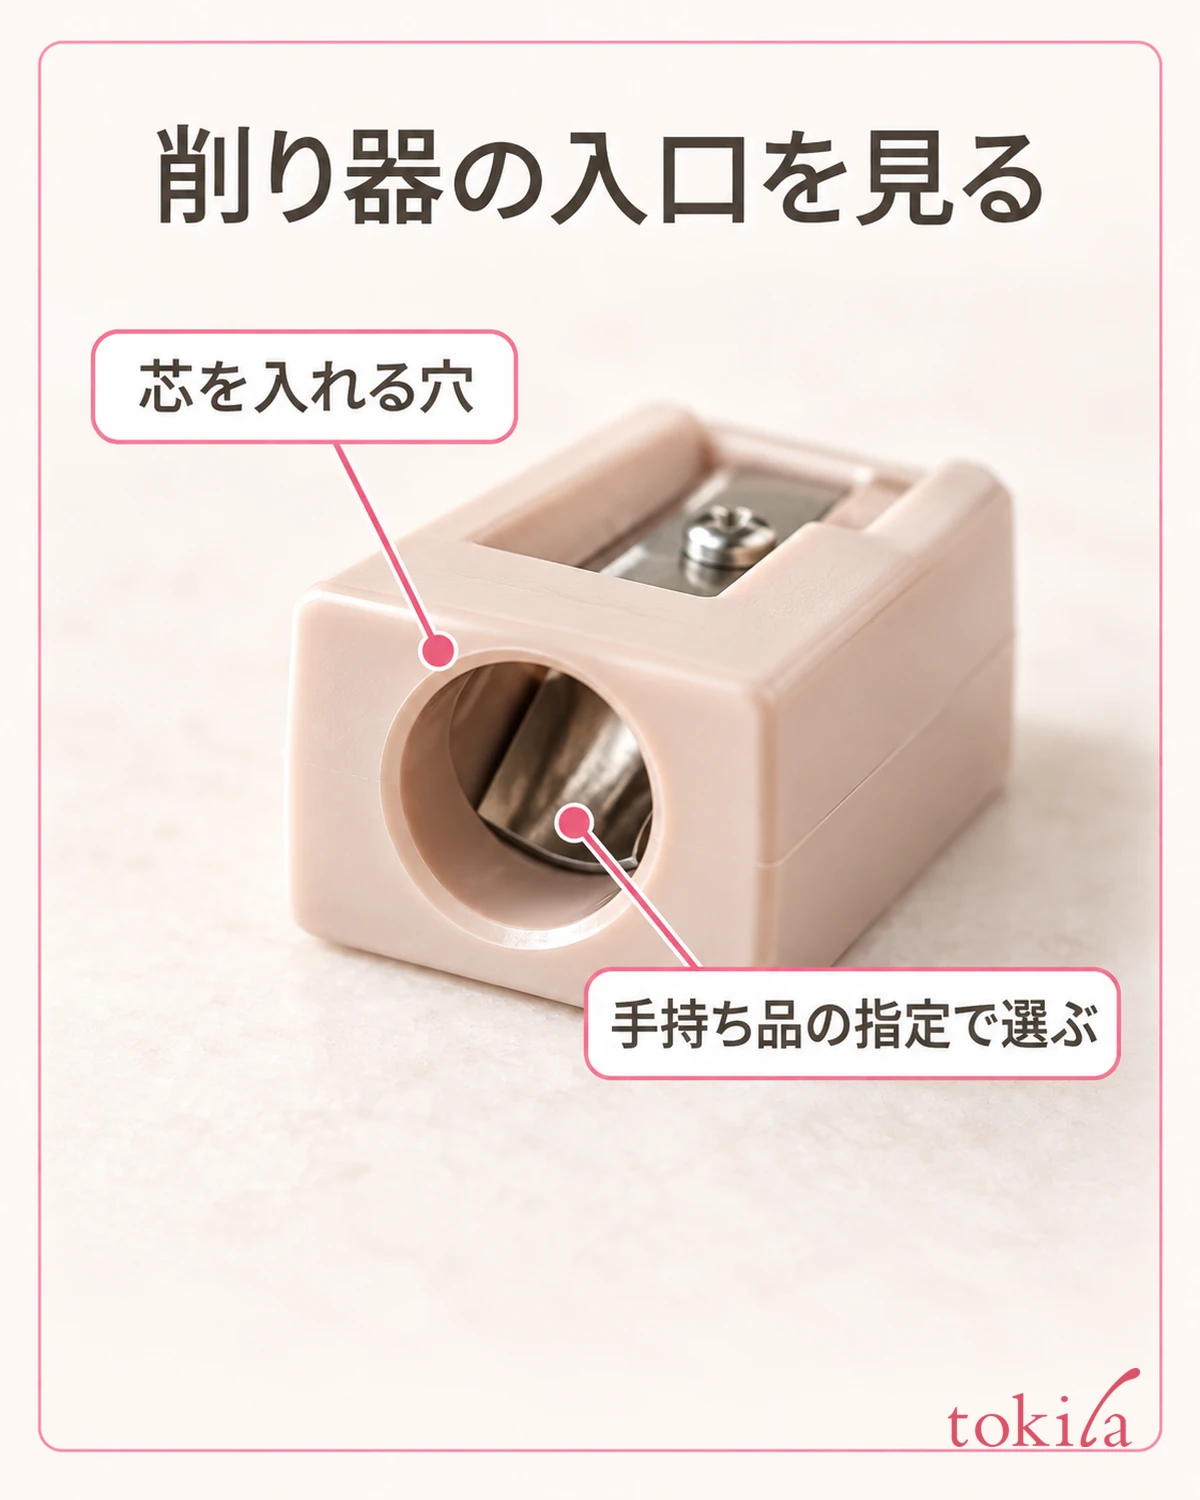
If the surface looks dirty, follow the method the product gives for caring for the lead and body. Do not use do-it-yourself treatments such as soaking it in water, wetting it with alcohol, or softening it with fire or hot air. Some products have a different hardness or feel even when they are clean, so do not decide that softer is always right.
If the lead has become easier to break after a drop, or the barrel does not move properly, it is a time to review how you handle the body rather than keep practicing pressure. Do not run a broken tip over your skin; check whether it needs to be replaced or whether you should ask for advice. Checking the lead alone does not mean you need to redraw the width or length of your brow.
3. Smooth the hair direction and review the skin surface you draw on
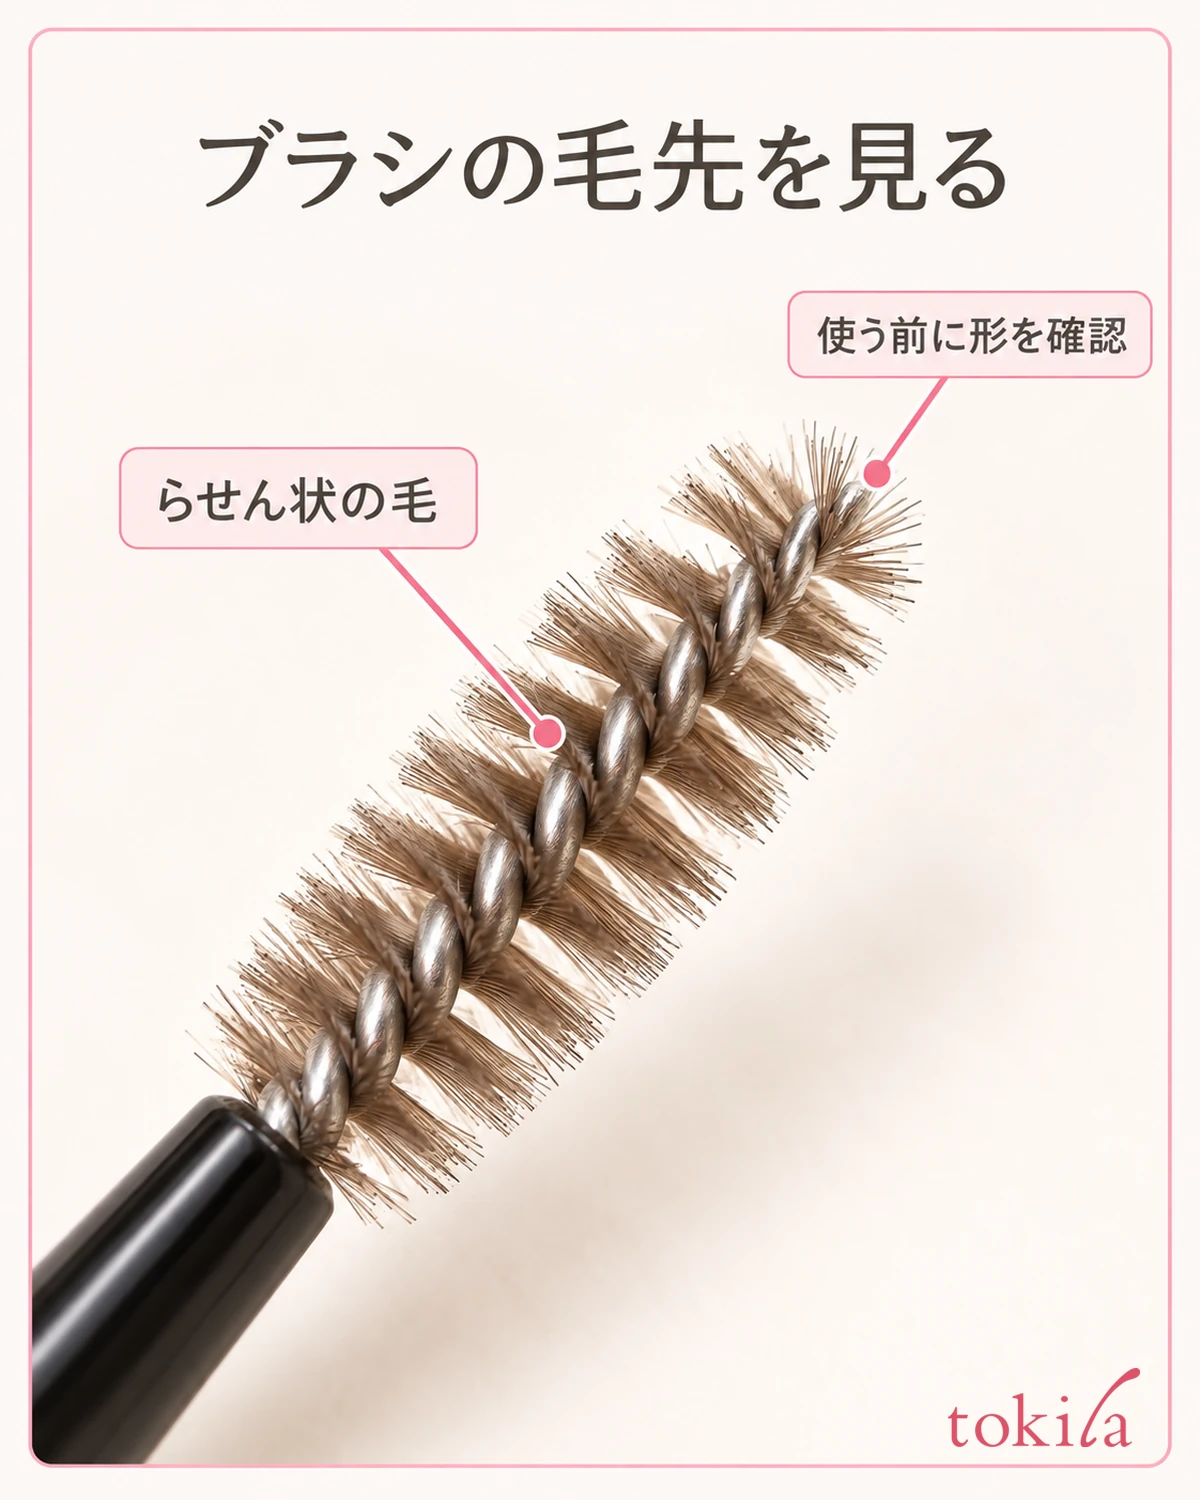
Once you have checked the lead, lightly smooth the hair direction with a clean spoolie or similar. If the hair is lying flat and hiding the gaps, just smoothing it may change where you want to fill in. Do not push hard into the roots, and do not force a comb through hardened brow mascara. Decide again where to add.
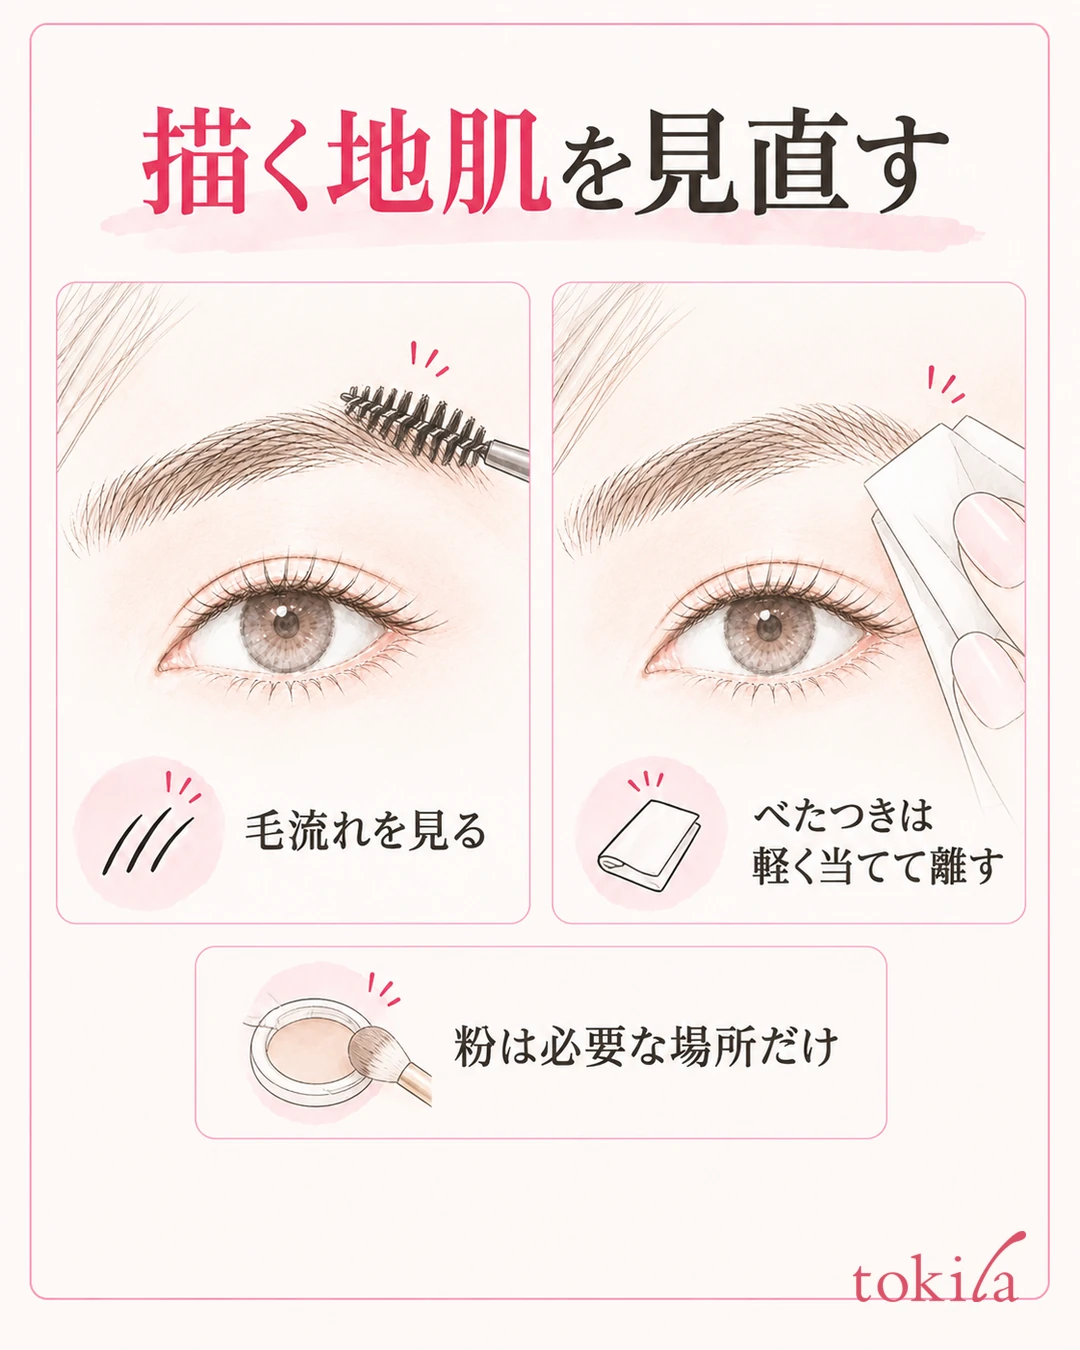
If a lot of oil from skincare or base is left on the skin, lines can slide. In this article, we treat powder as an option for checking whether the current surface needs it.
If the stickiness bothers you, press a small piece of clean tissue on the area and lift it off, then look at the surface where you will draw. Do not keep wiping long across the whole brow; lightly adjust only the area you need. If you wipe so much that you remove sunscreen, add the UV protection you need, and do not make it your goal simply to remove all the oil.
If you use powder, take a small amount on a small brush, tap off the excess, and blend it thinly onto the skin. If white powder stands out or clumps remain on the hair, stop adding more. There is no need to layer more powder, meant to keep the pencil from slipping, on a spot that is already dry and powdery. Do not extend this to skipping moisturizer across the board, either.
If the base is thick and shifting, neaten a narrow area before layering lines over it again and again. If necessary, remove it again with the method that suits the product you used, and finish the specified wiping or rinsing. Do not draw in a hurry while it is still wet; try again after the necessary care is done and a thin base is in place.
Once you are ready, check whether a light line goes onto the short stretch you chose earlier. If it still does not take even after the surface is prepared, look next at the side of the tip and the length you move. Rather than adding several layers of powder and then also pressing harder, lifting off and checking after each single change makes it easier to trace which action made the difference.
4. Touch the tip lightly and try short strokes that follow the hair direction
Choose a place where hair is lacking and touch the tip lightly to the skin. Draw a short stroke along the direction of the hair that is already there, then lift off right away and check. Do not outline the top and bottom of the brow in one long stroke; keep each place where you set a line small. The number and length of strokes are not set to the same figure for everyone; match them to the gap and the finish.
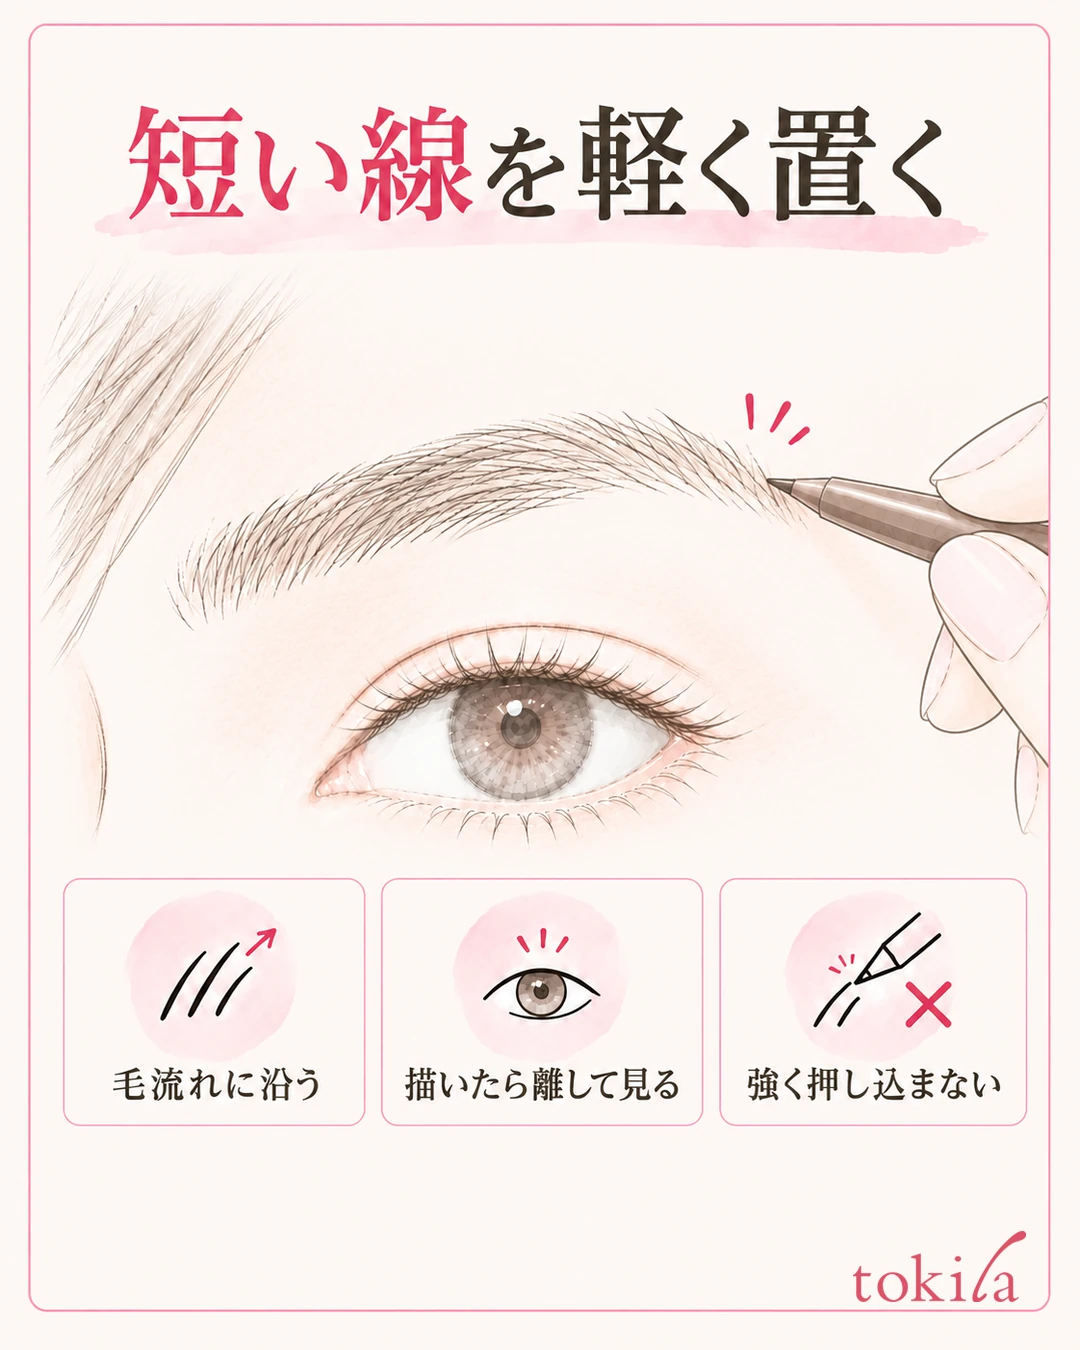
The key is not to switch to movements such as pressing until the skin dents because no color is going on, or going back and forth over the same stretch to fill it in. After placing one stroke, take the tool away and check both whether the line took and whether you have made it too dark.
A round fine lead, a flat lead, and a leaf-shaped lead touch the skin with different surfaces. Use the surface the product recommends for drawing thin lines, and check that the wide side is not touching and making the line thick. Rather than lengthening the lead as a way to adjust, review the angle in a mirror where you can see the point where the tip meets the skin.
If your hand tends to move, use a tabletop mirror and choose a posture in which you can support your forearm comfortably. If you tilt your face a lot to get closer to the mirror, return to facing front when you check. Do not widen the outline to suit an expression with only the drawing-side brow raised; look at the range of hair with a natural expression.
If a line has gone on but still feels lacking, check across the whole face whether it connects with the hair. Do not try to create both soft areas and dark lines with the pencil alone; divide the roles with powder if needed. Follow the order for combining them that suits your own products, and do not try to create softness just by layering the pencil repeatedly.
If a line suddenly becomes dark, stop adding more; if the product can be blended, lightly neaten only the boundaries that need it with a clean brush. If you have drawn the front of the brow too dark, go to reviewing where and how much to blend the front of the brow. Do not keep drawing on a spot where you feel pain or irritation, and review your use according to the product's precautions.
5. Stop with the whole face in view, store the lead, and note the conditions for next time
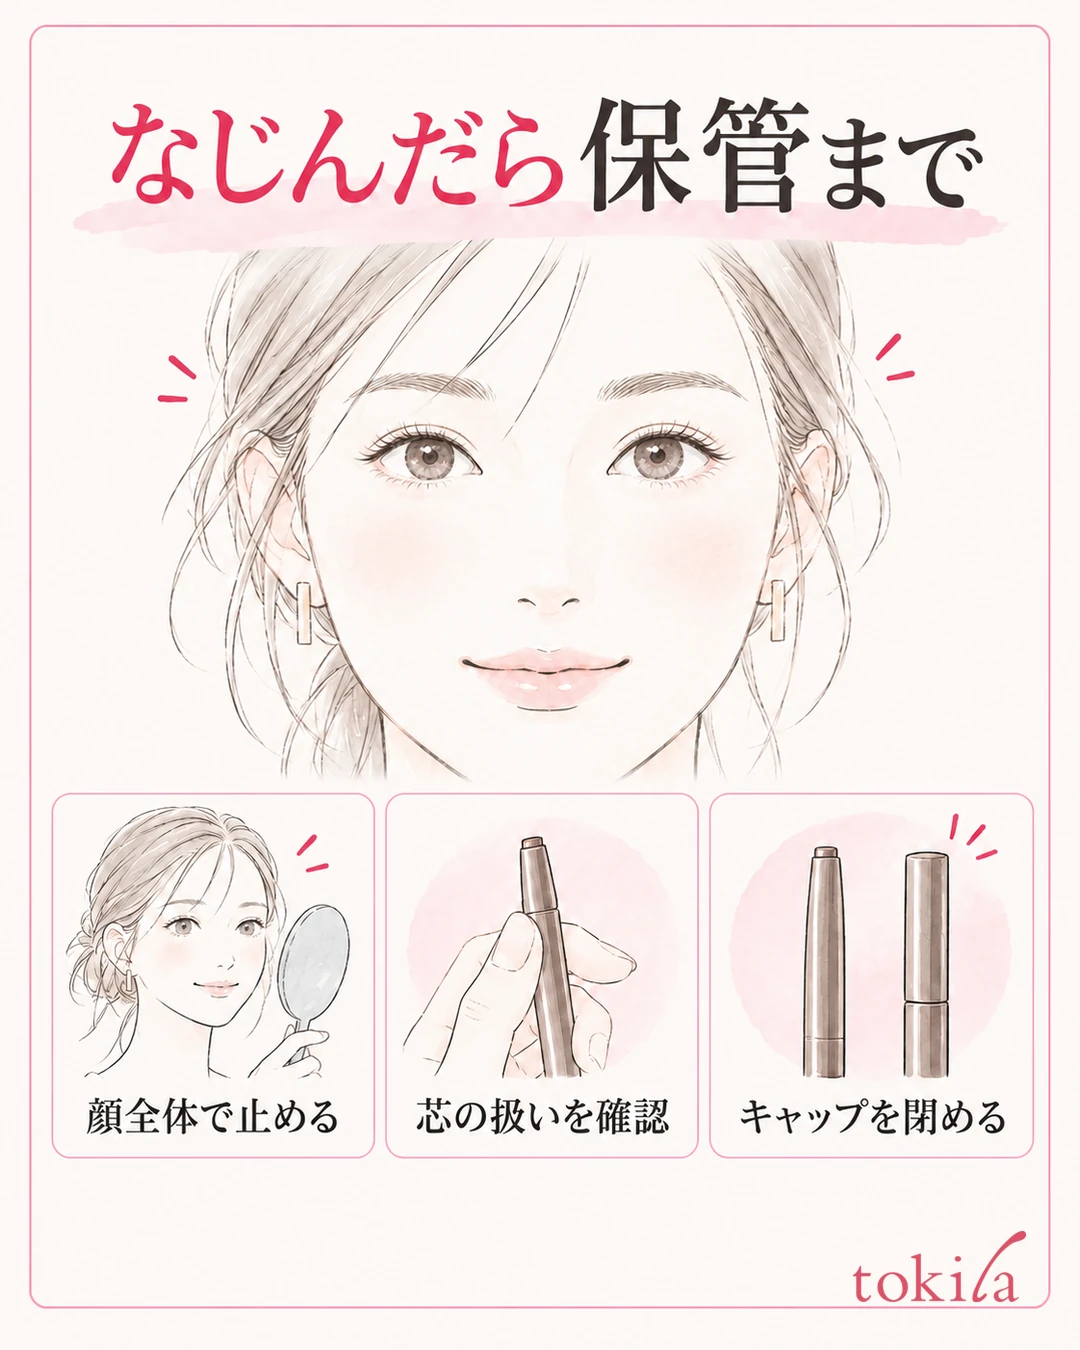
Once the short strokes have blended in among the hairs, move the mirror back to a distance where both brows and the eyes are in view together. What to look at is whether only the added lines stand out darkly and whether the width has widened more than needed. Do not make drawing until the lead color is clearly visible the finishing condition; stop when you have filled in what today's brows need.
Even on a day when one side was harder to draw, you do not need to go over the other side the same number of times. The amount and flow of the original hair differ between left and right. Rather than making the drawn lines exactly the same in number, see whether it bothers you with a natural expression. Do not turn it into a step of darkening the front of the brow all at once just because a left-right difference remains.
After use, if the product lets you retract the lead, store it according to the directions and close the cap firmly. For products where the lead does not go back once extended, follow the product's instructions first.
Before you put it in your pouch, check that the body and cap are seated correctly. Avoid places in direct sunlight or a hot car, and keep to the storage conditions the product states. If it is hard to draw the next morning, do not suddenly blame your skin; make it a habit to review both the tip and the storage.
If you take notes, leave one entry for a condition you actually changed, such as "lead extended as marked," "lightly neatened the surface at the tail of the brow," or "used short strokes." Rather than changing color, lead, base and tools all at once, this makes clear what you will check next time with the same pencil. Do not treat your own observation as a test that gives the same result for everyone.
On a day when drawing is hard, separate the situations, check the product's lead, and adjust the skin only as much as needed. Then lightly place short strokes that follow the hair direction, and stop with the whole face in view. With this order, you can revisit the cycle of getting darker each time you press hard and breaking each time you extend the lead longer, starting from where you check and what you do.
Written by the tokila editorial team. We have organized the judgments and adjustment steps you can review with the tools you already have.



